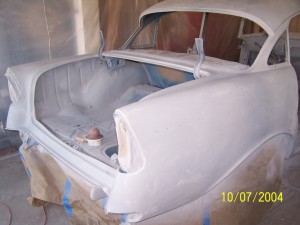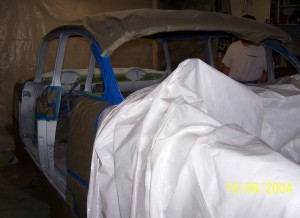
Preparing to spray the final colors.
Everything had to be taped off again, once all the dust coated paper
was removed from the body working stage.
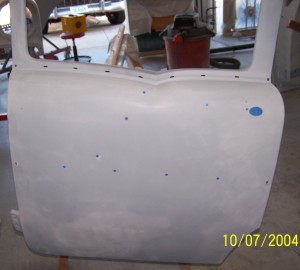
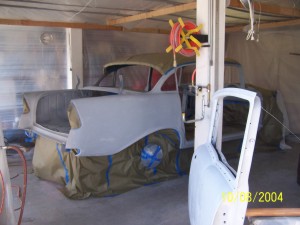
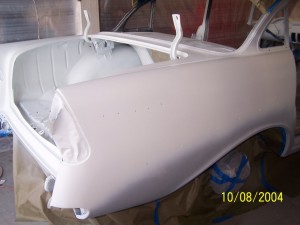
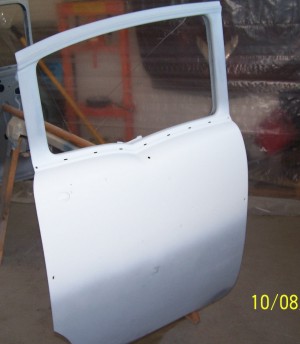
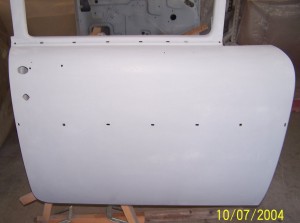
The driver rear door.
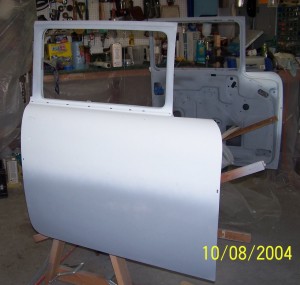
The passenger front door.
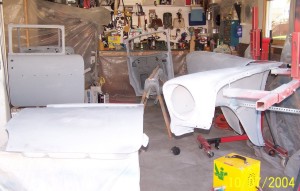
The final chosen
colors were the same Emerald Green and Bright White used back in the
1980's restoration, except that we chose base coat/clear coat system
instead of enamel. The Emerald Green is a metallic, so anything that
would be green had to hang or prop at the same angle that it would
be on the car. Kurt devised a system to support the doors and the fenders
at the proper angles. However, we decided just to paint the interior
and edges of the doors and fenders, then remount them on the car for
the final exterior green application so that the split line between
the two colors would be even.A few words of advise, don't choose a
metallic two tone split to be your first paint job - this is a very
difficult job!
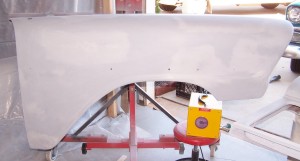
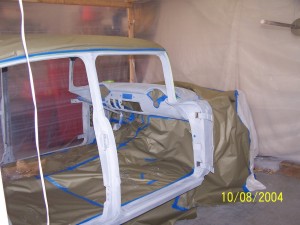
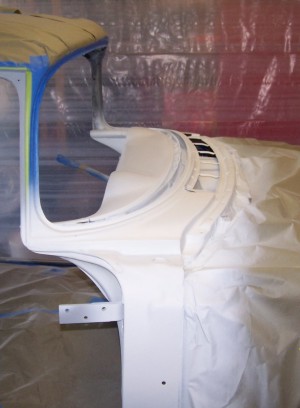
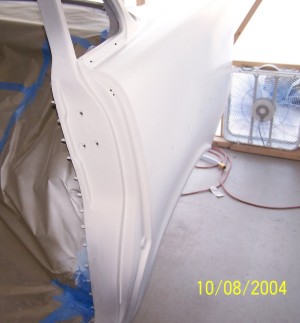
Passenger front fender prepped for white.
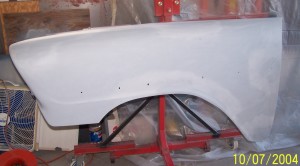
Driver front fender prepped for white.
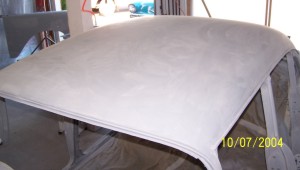
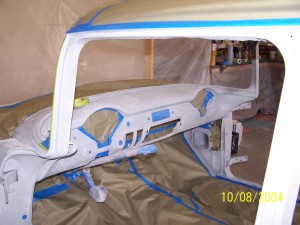
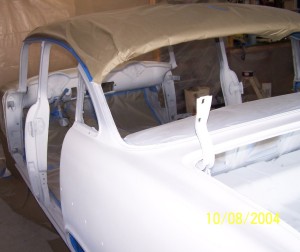
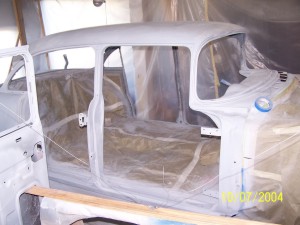
The roof was a concern for even covering by the
spray gun. But for the white, we would be covering it. Later with the
green, we would have to work hard to avoid dry spots and tiger stripes.
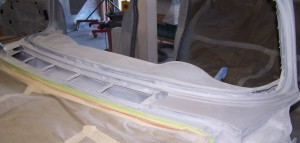
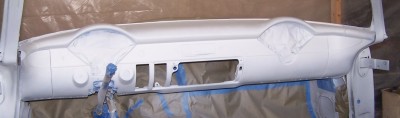
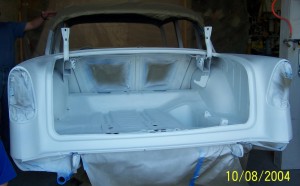
Since the firewall had already been painted,
we taped off the engine bay at the rear seal and in front of the
inner cowl section.
To protect the
already finished frame and undercarriage from overspray, we created
a paper skirt around the car. The interior was taped off again. For
all of the taping off, professional paper and blue tape was used. Newspaper
bleeds, so don't use it. The blue tape comes off painted surfaces easily
with no residue. Also an anti-static alcohol prep wipe was used, as
was a degreasing agent. And before the clear was shot, tack cloths
picked up the rest, except for the one time they were forgotten.