Body Work
(Page 3 of 3)


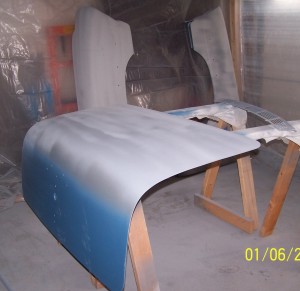
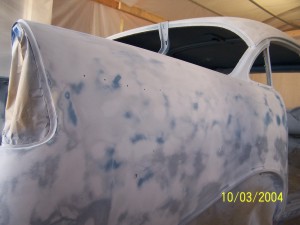
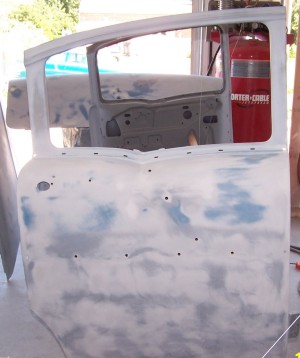
Next to seal the major putty work and the first epoxy primer layer, we spot sprayed a second coat of epoxy primer, this time a dark blue.

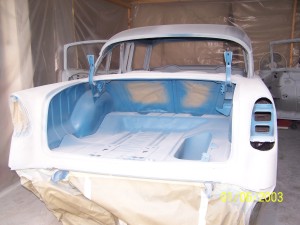
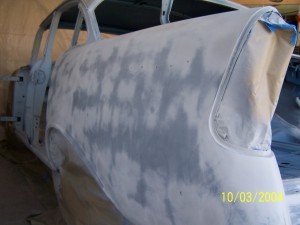
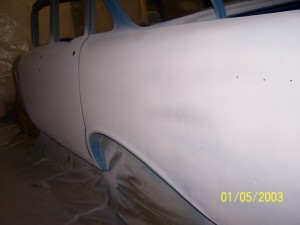
All of the blue spot have some amount of putty work and/or sand thru areas to bare metal.

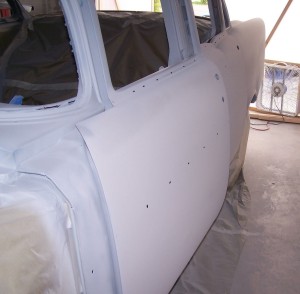
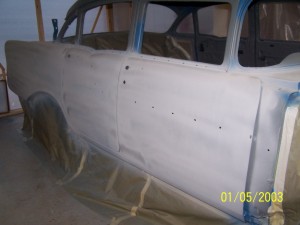
The entire passenger rear quarter panel was either worked or sanded.

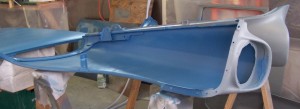
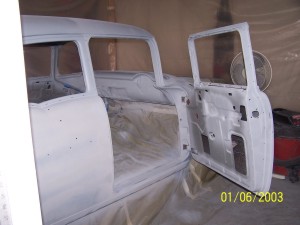
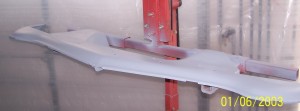
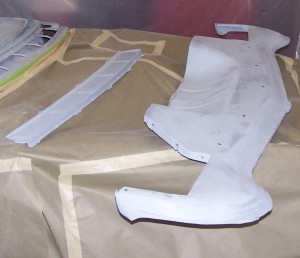
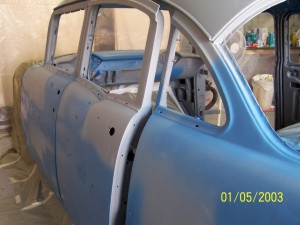
The blue epoxy was used to seal the inside of the front fenders.
Now that the car was in epoxy, we knew what was coming next, the body work. Fortunately, there doesn't seem to be much, but what does need to be done is mostly in the worst spots to reach. After a survey of every piece, we found that we had to touch every piece.

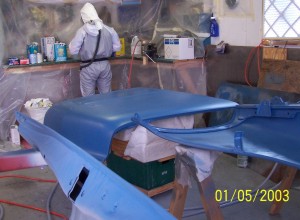
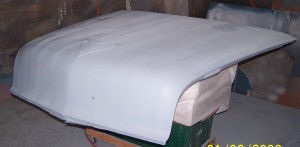
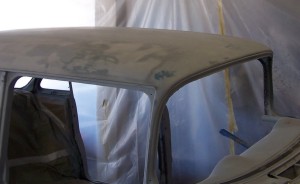
Even the hood had some minor spot that had to be taken care of.

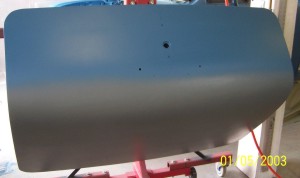
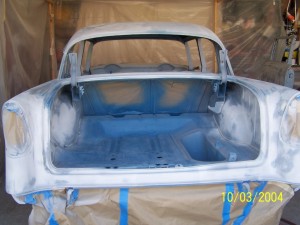
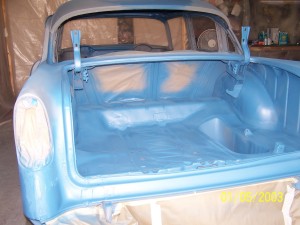
The bottom edge of the deck lid had to be worked a lot.

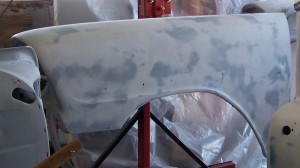
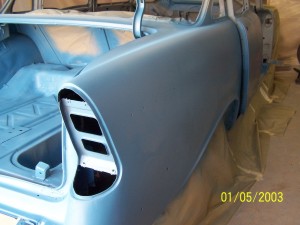
We sprayed featherfill, a high build, easy to sand surface prep to help smooth the lines.

Even at this stage, you can still see a few waves in the rear driver quarter panel.
As we worked each fender and door, we noticed slight waves and bumps on each piece. After several discussions with the local paint shop and the Paintucation forum, we decided to use Featherfill to even out the waves. Featherfill sands easy and made all the difference in the surface of the body panels, but it has a couple of drawbacks. Be sure to wear a dust mask for this and you will have to seal it with another layer of primer because it really soaks in whatever is shot over it for the first layer.

We didn't spray the featherfill on the door jambs. We really weren't into sanding that much!

On the trunk interior, we stopped at the blue epoxy primer. You can really see the overspray from the featherfill spraying.

The hood didn't need featherfill.

The deck lid was supposed to get featherfill, but we ran out halfway through the piece. Since this was the last piece, we decided to stop and see what happened during the sanding process.

The splash pan didn't get featherfill either. Too many curves to sand!

The driver door is looking really good. To shoot the featherfill, we had to rehang the doors. Ya know, we were really getting tired of taking the doors on and off at this point.
Now for sanding the featherfill. To recap, we sprayed a dark gray epoxy primer, then did the putty work and had a patchwork of colors there. Then we sprayed a dark blue epoxy and a light gray featherfill. As we sand the panels straight for the last time, you will see the patchwork of colors start to appear, indicating the waves that the body still had after the fill work.

The passenger rear quarter panel had a lot of small waves. We went to bare metal in a couple of small spots during the sanding, but nothing that a spot of sealer couldn't handle.

Both front fenders
had some minor waves.

Of the doors, the passenger side were the worst.

The splash pan and cowl grill had very little work to do at this stage.
 

In sanding the roof, we found a couple of shallow areas were too much for the featherfill. Time for more putty work.

The trunk had some welds seams on the side and in the wheelhouse areas. Since we had ran out of time on the first layer of epoxy before we had to shoot the second layer, we fixed the trunk side now.

The driver rear quarter was a big patchwork of colors. Due to the earlier accident and the very early damage, the metal here was warped. The featherfill handled the final smoothing of this panel well.

There were many stages of putty work, but we simply didn't stop to take pictures of each step on each piece. You can tell the really dedicated car enthusiast - they are the ones who make it through this stage. Either that or they are the stubborn ones who insist on doing the whole project themselves, no matter what. I won't admit as to which category I would put us in.
Home
Home
Dismantling
Dismantling
Dogleg Rust Repair
Welding
Engine and Chassis
Frame
Body Work
Body Work
Painting
Painting
Reassembly
Reassembly
Before and After
Before and After

Drive, Show, and Enjoy