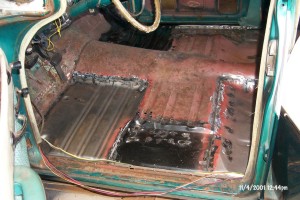
The replaced driver front floor pans.
The replaced passenger front floor pans.
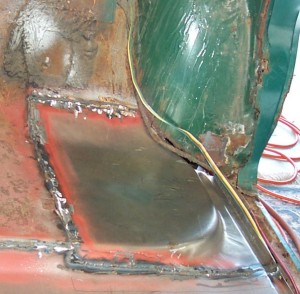
The replaced driver rear floor pan. We haven't
even touched the dogleg yet as that will need to rotisserie!
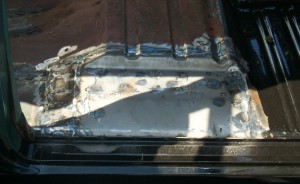
A second picture of the under-the-seat area of
the passenger front pans.
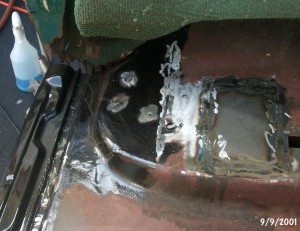
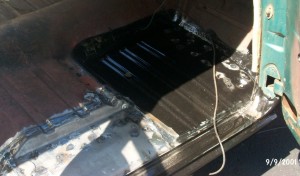
The passenger rear floor pans were replaced, again leaving the dogleg
again.
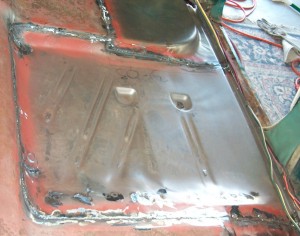
Another view of the driver rear floor pans.
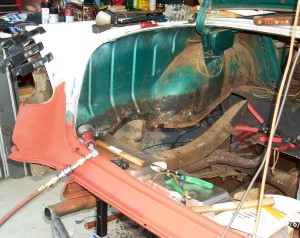
What really slows up a restoration project is moving. The family had expanded again by this time, so we all decided a bigger house with a 3 car garage was needed. A flatbed tow truck was called to move Betsy. Many of her loose pieces were packed in her for the move, to protect the edges from being bumped around and to protect small fingers from rusty edges.
After that move, the trunk floor replacement was started.
Ok, what's wrong with this picture?
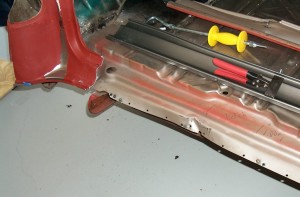
First, the tailpan was replaced, then the last 10" of the trunk floor
pan, to stabilize the trunk. Then the trunk floor was cut out.
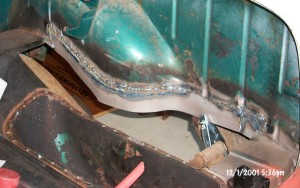
Next, the side weld areas were replaced to bring the body back down to the
level of the floor pan.
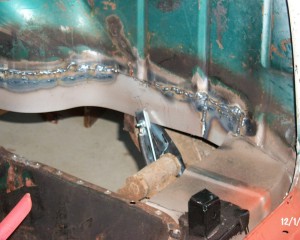
A close up of the body side welding.
The old house had had a slightly sloped driveway and Kurt had been able to easily roll Betsy outside to work on her without help. However, the new house had a driveway with a significantly greater slope. The first time he went to roll Betsy outside, she started to get away from him. No problem, the brakes still worked.
So he opened the driver door to step on the brake pedal . . . and found parts still packed on the driver floorboard. Betsy succeeded in taking out the 4x4 post the mailbox sat on before she stopped rolling.