
A wooden lift was made, using ratchingtrailer
straps to raise the body off the frame. It worked wonderfully.
|
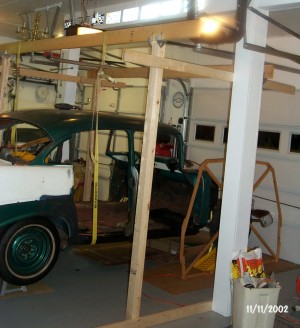
Another picture of the body being lifted. Notice
the template that Kurt made to find the rotating point leaning against
the car at the front.
|
Since so much of
the floor board was rusted through and had to be replaced, the bottom
side required welding. Kurt didn't want to do that while laying on
his back, so he made a rotisserie to put the body on. Built from 2
engine stands and 2x2 box channel steel, he attached it to the body
at the firewall and the rear bumper mounts. He also had to figure out
the height to set the bars at so that the body could be turned over
without bumping the ceiling or the floor. I highly recommend having
high ceilings in your garage for this!
|
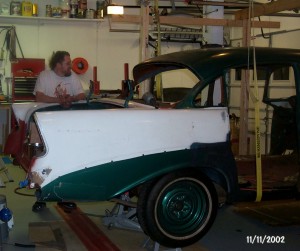
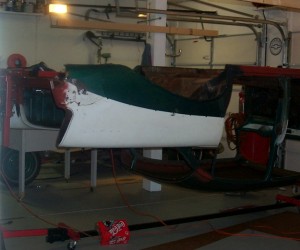
Well, what do ya know, it really works! The jack
stand were used to raise the car as high as possible so the straps
had less lifting to do.
|
Once the body was off the frame, the frame was rolled out of the way and
the rotisserie was brought in. Due to the carefuly pre-planning, the
rotisserie connected to the body perfectly.
Once the rotisserie was in place and secured,
the straps were loosened and removed. Of course, Kurt had to test the
rotisserie immediately.
|
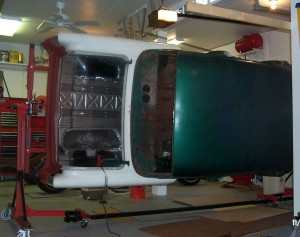
Looks good from the top, although this is not
a sight for the faint of heart!
|
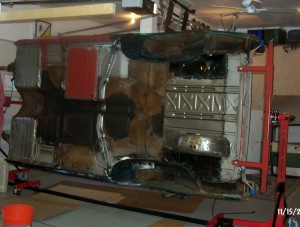
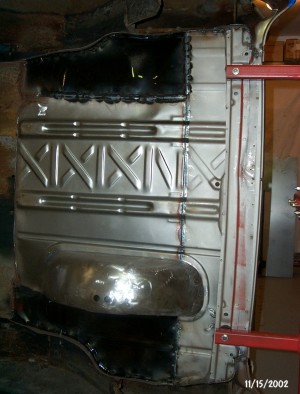
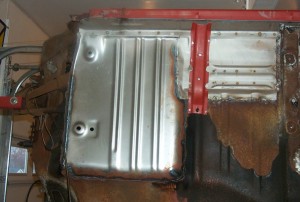
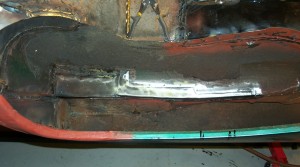
All the shiny areas are new steel,
that was welded in from the top side. Now to seal up the bottom side
and smooth the welds.
|
Yes, the car is upside down on the rotisserie.
|
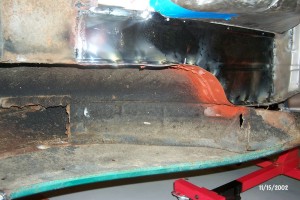
The underside of the trunk floor pan. Notice where the rotisserie connects
to the body.
|
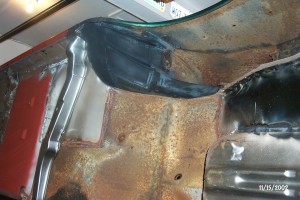
This is the inside of the driver rear wheelhouse. There are just some pictures
that are impossible to get with the body in a normal position, like this
shot.
|
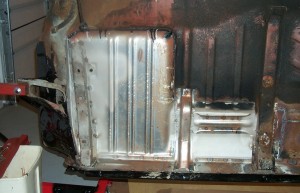
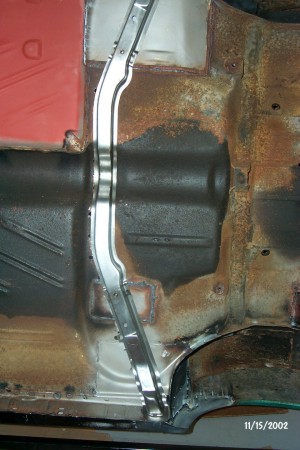
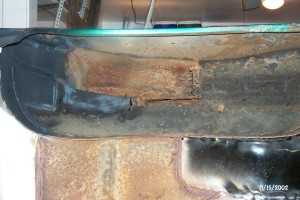
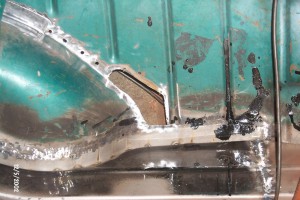
Passenger front floor pans. Notice where the rotisserie connects to the body.
|
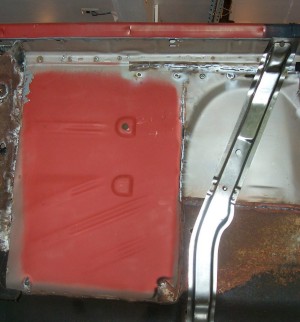
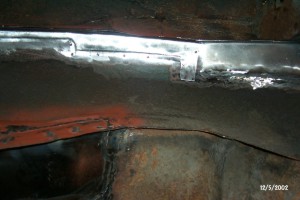
The large brace that goes from one side to the other.
|
The driver rear floor pan.
|
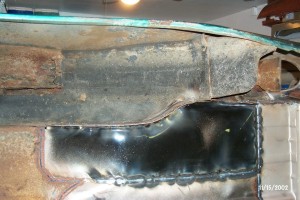
The driver front floor pans. Again, notice where the rotisserie connects
to the body.
|
The driver rear wheel house.
|
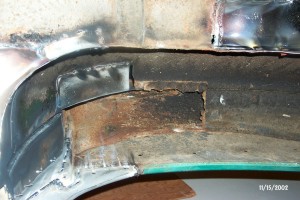
The passenger rear wheelhouse. Notice the rust at the back.
|
Another picture of the passenger rear wheelhouse. There is still a piece
missing.
|
The driver rear wheel house is in better condition than the passenger one.
|
Another picture of the driver rear wheelhouse.
|
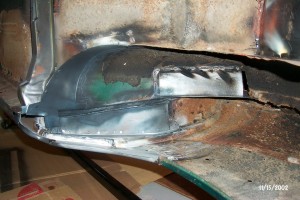
Yes, this a spot where the putty underneath has popped. And yes, this is
on the roof. Much easier to find with the rotisserie.
|
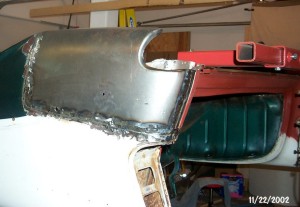
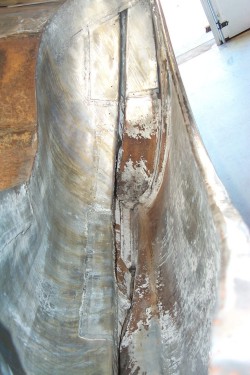
The passenger rear fended needed the whole corner area replaced.
|
The driver rear fender, while less needed to be replaced, the entire panel
was very rough. This would prove to be very tough to get contoured correctly
again.
|
The trunk had multiple small areas that had rusted completely through. We
cut and replaced as much as we could.
|
The rear wheelhouse area had been missing for years, so there was much work
to do here.
|
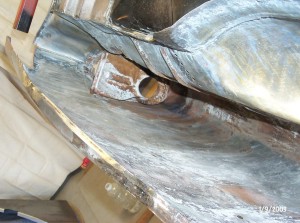
Close up picture of the rear wheelhouse area.
|
There are just some pictures that you can't easily take without a rotisserie.
This is the inside of the rear passenger fender.
|
And this is the inside of the rear driver fender. You can tell by the bracket
for the gas spout, unique to 56 in the tri-fives.
|
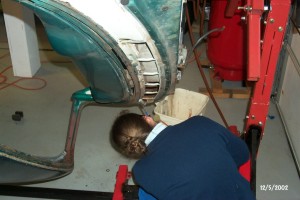
Kurt had to take some pictures of me working on the car, if only to prove
that I helped. Yes, I helped to restore my car both in the 1980's and
now.
|
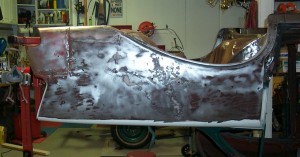
Once all of the major welding was done, the bottom of the car was coated
with POR 15 and then the body was put back on the frame prior to the
acutal bodywork.
|


