Drip Rail
|

The drip rail on the passenger side also needed attention. The driver side is at least whole.
|

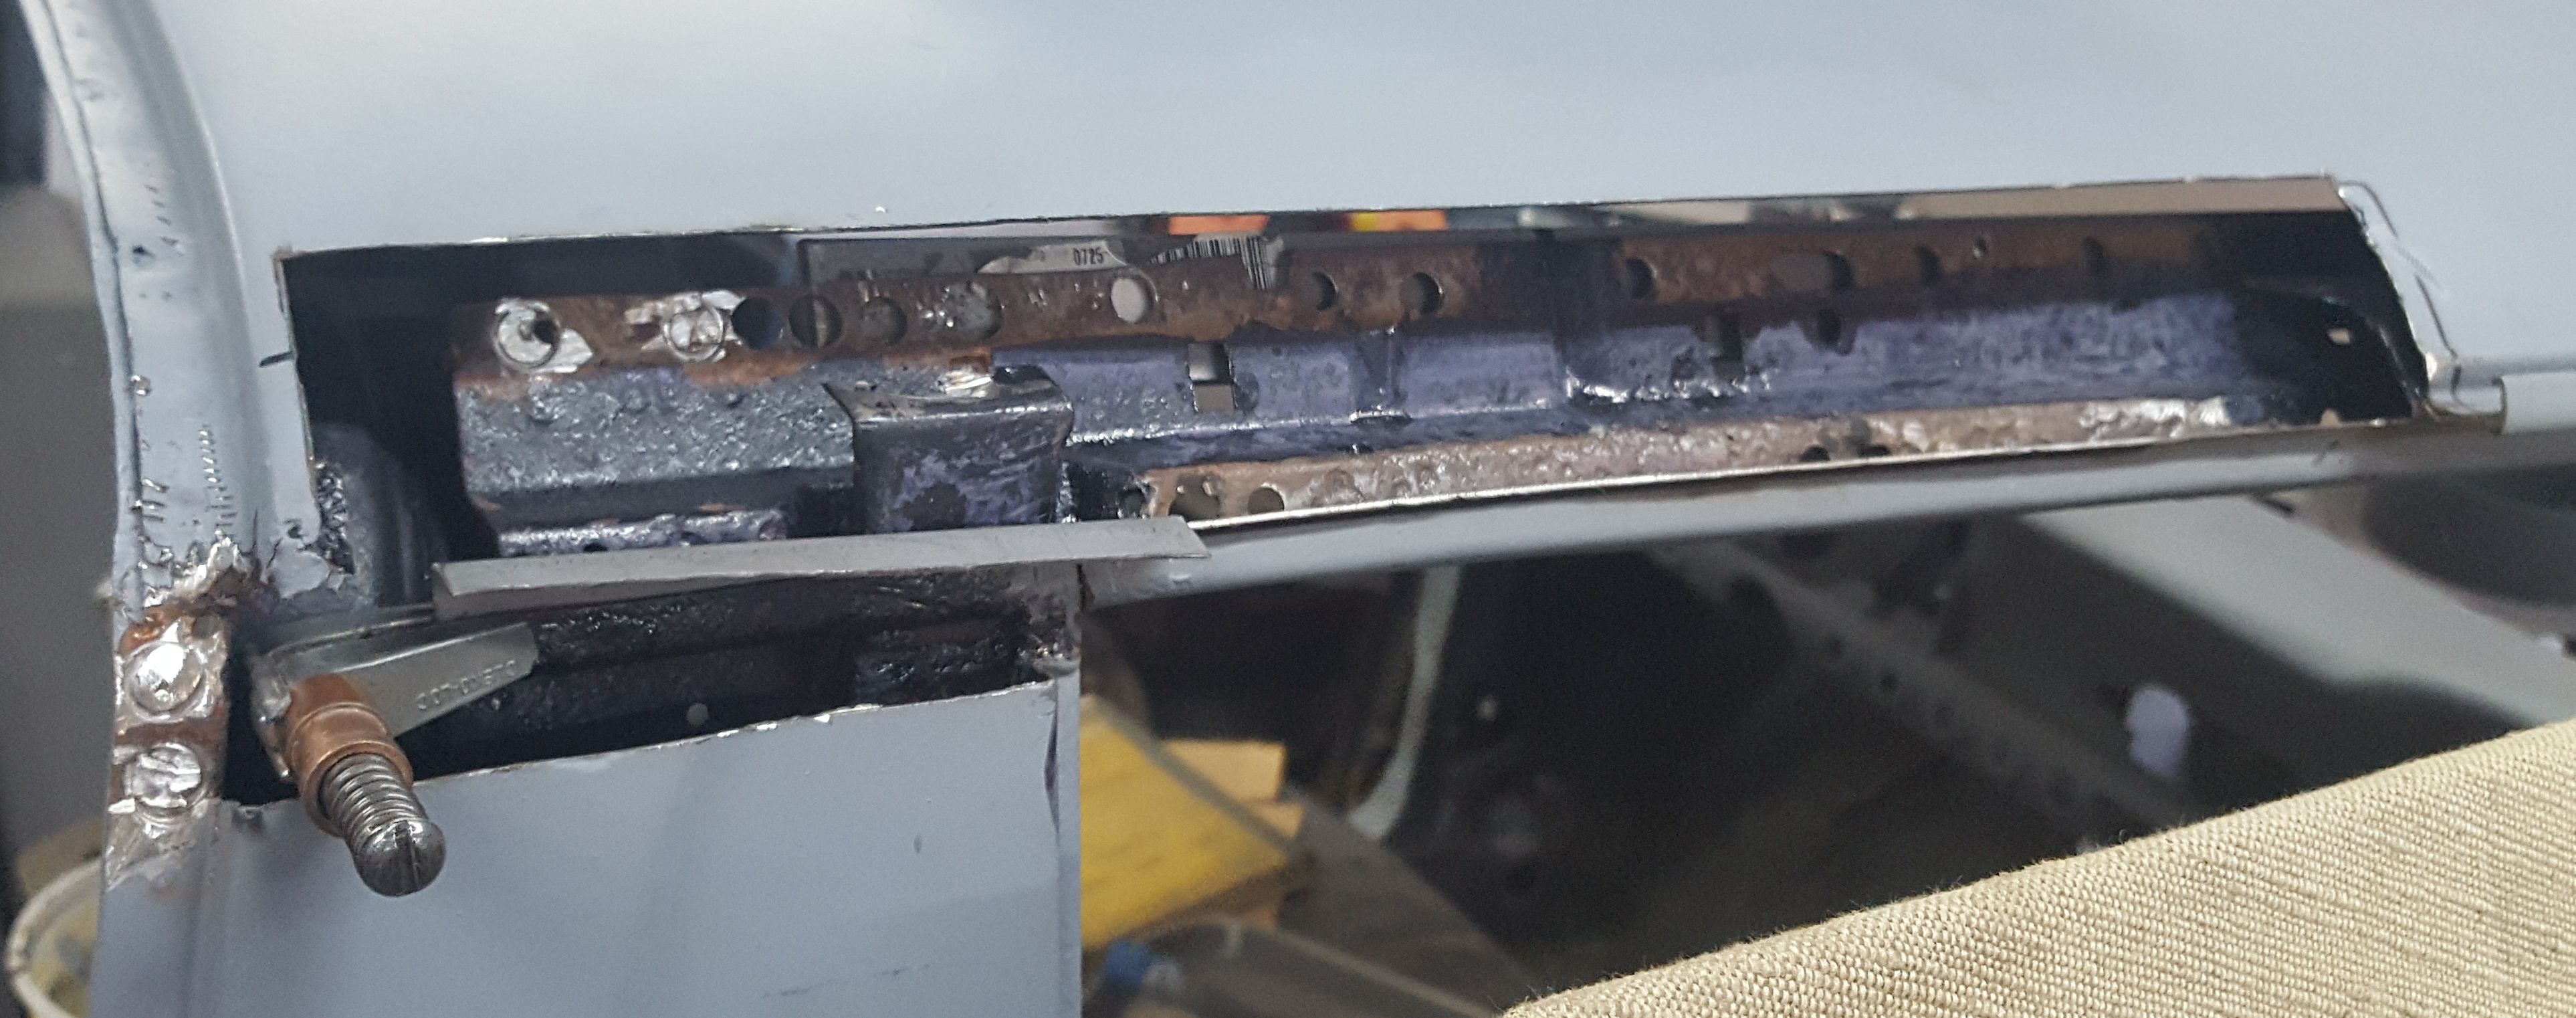
Underneath the outer skin of the drip rail was three more layers of rotted metal that also had to be replaced.
|

The drip rail edge was removed and recreated first. The roof portion that was welded to the drip rail has already been removed.
|

Then the top of the B pillar sail panel.
|

Next they removed the spot welds on the inner structural support and cut it out.
|
Clickos are essential to holding the replacement panels in place, here on the drip rail.
|

Both the interior roof and the inner structural panel have been created and screwed in place. Nothing will be welded until all the panels fit. Locking pliers are holding the recreated drip rail channel in place.
|

The last inner layer is in place for the drip rail area.
|
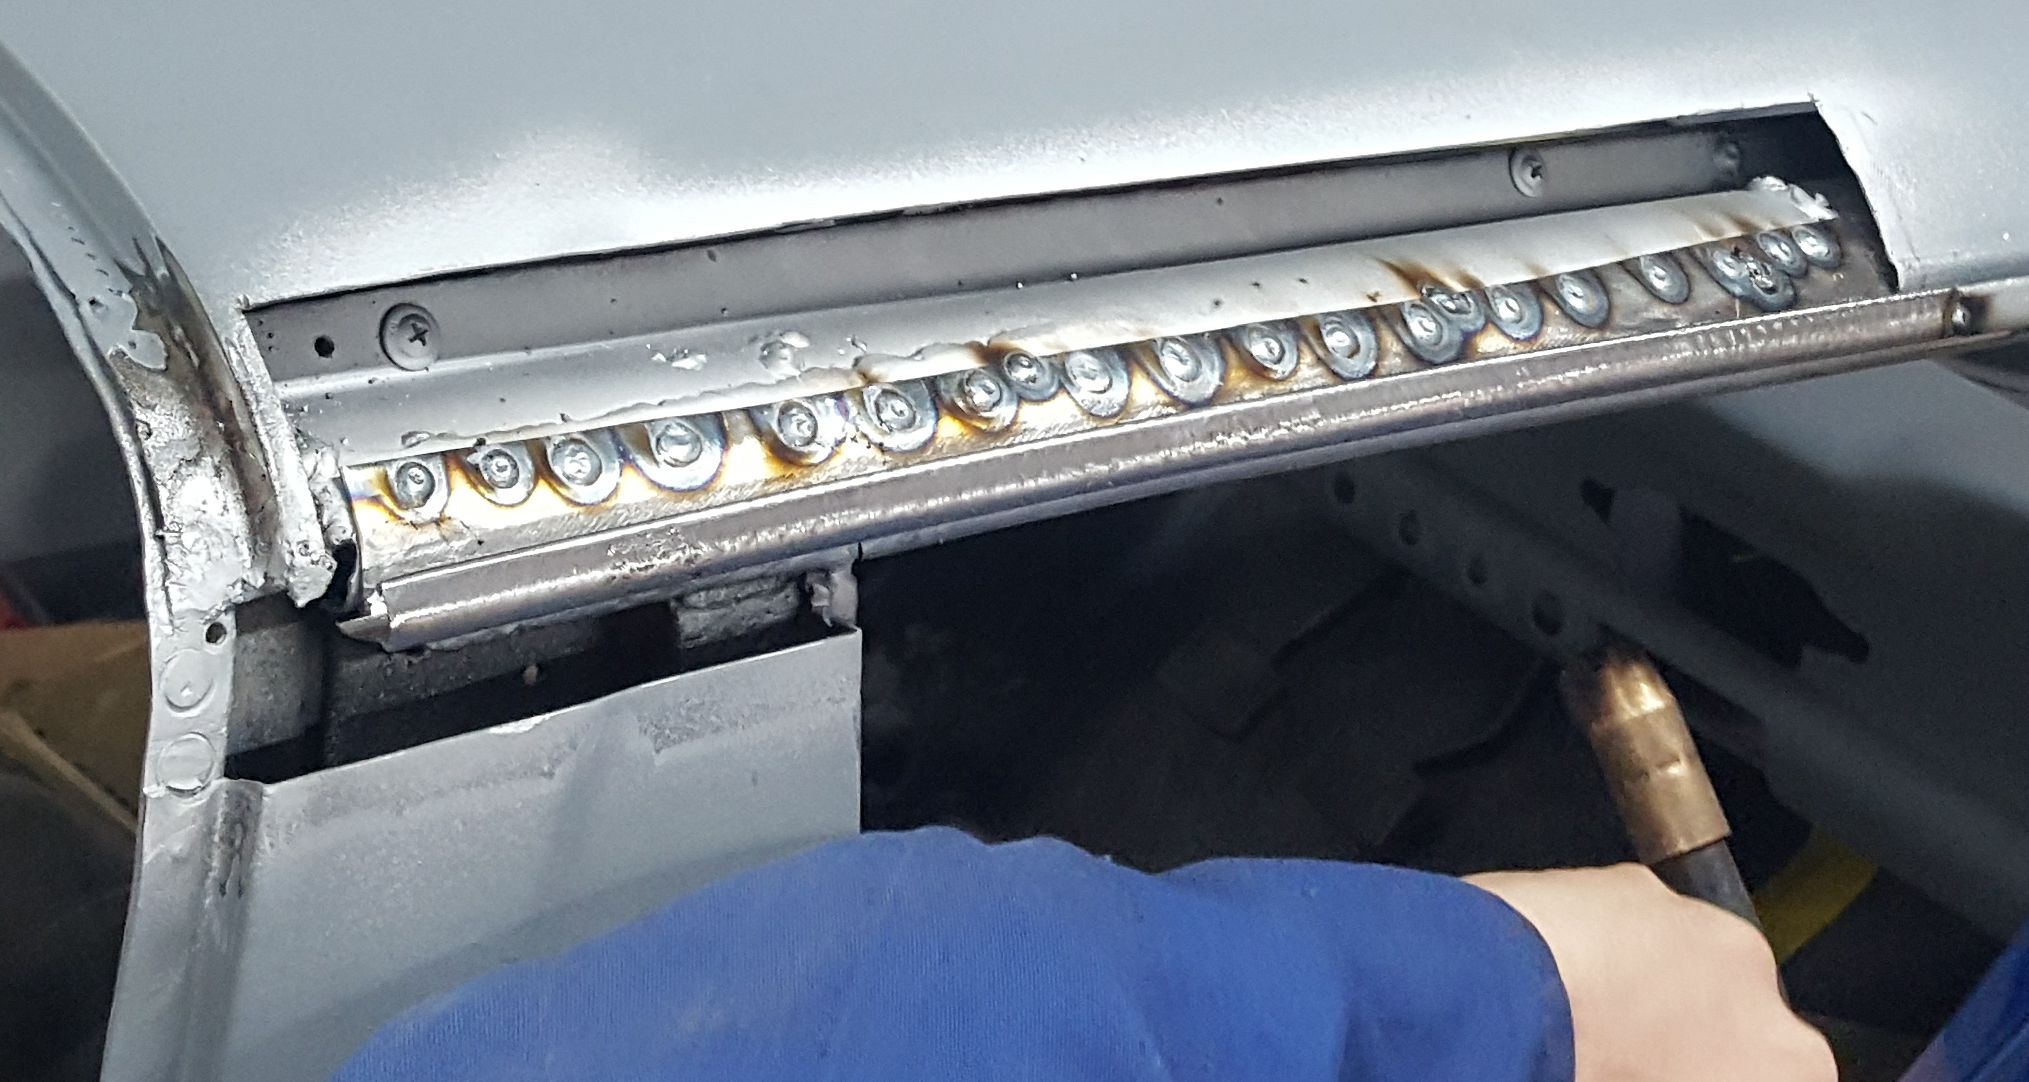
Once all pieces were trial fitted, the welding started.
|

The top of the B pillar sail panel.
|

Everything is ready for the outer skin to be welded in.
|
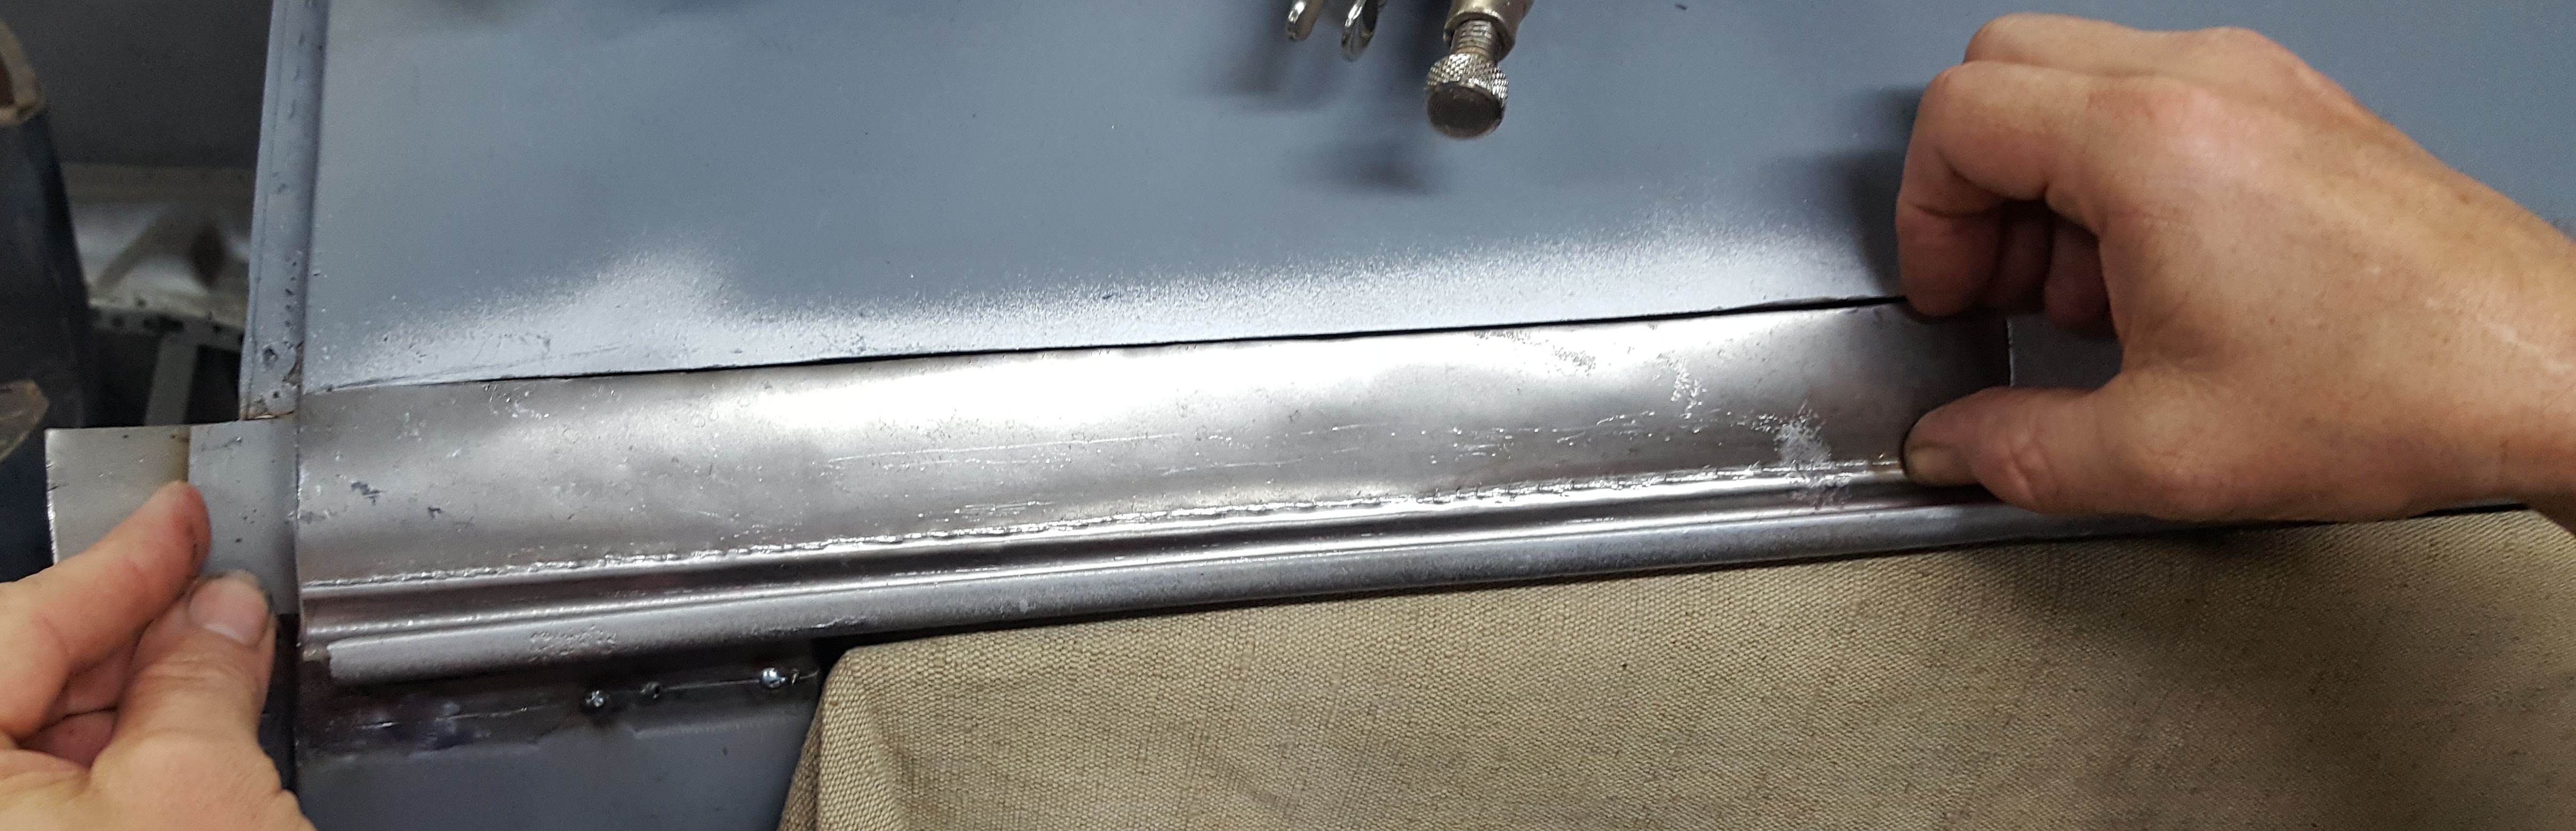
The last trial fit of the outer roof skin, just before welding.
|
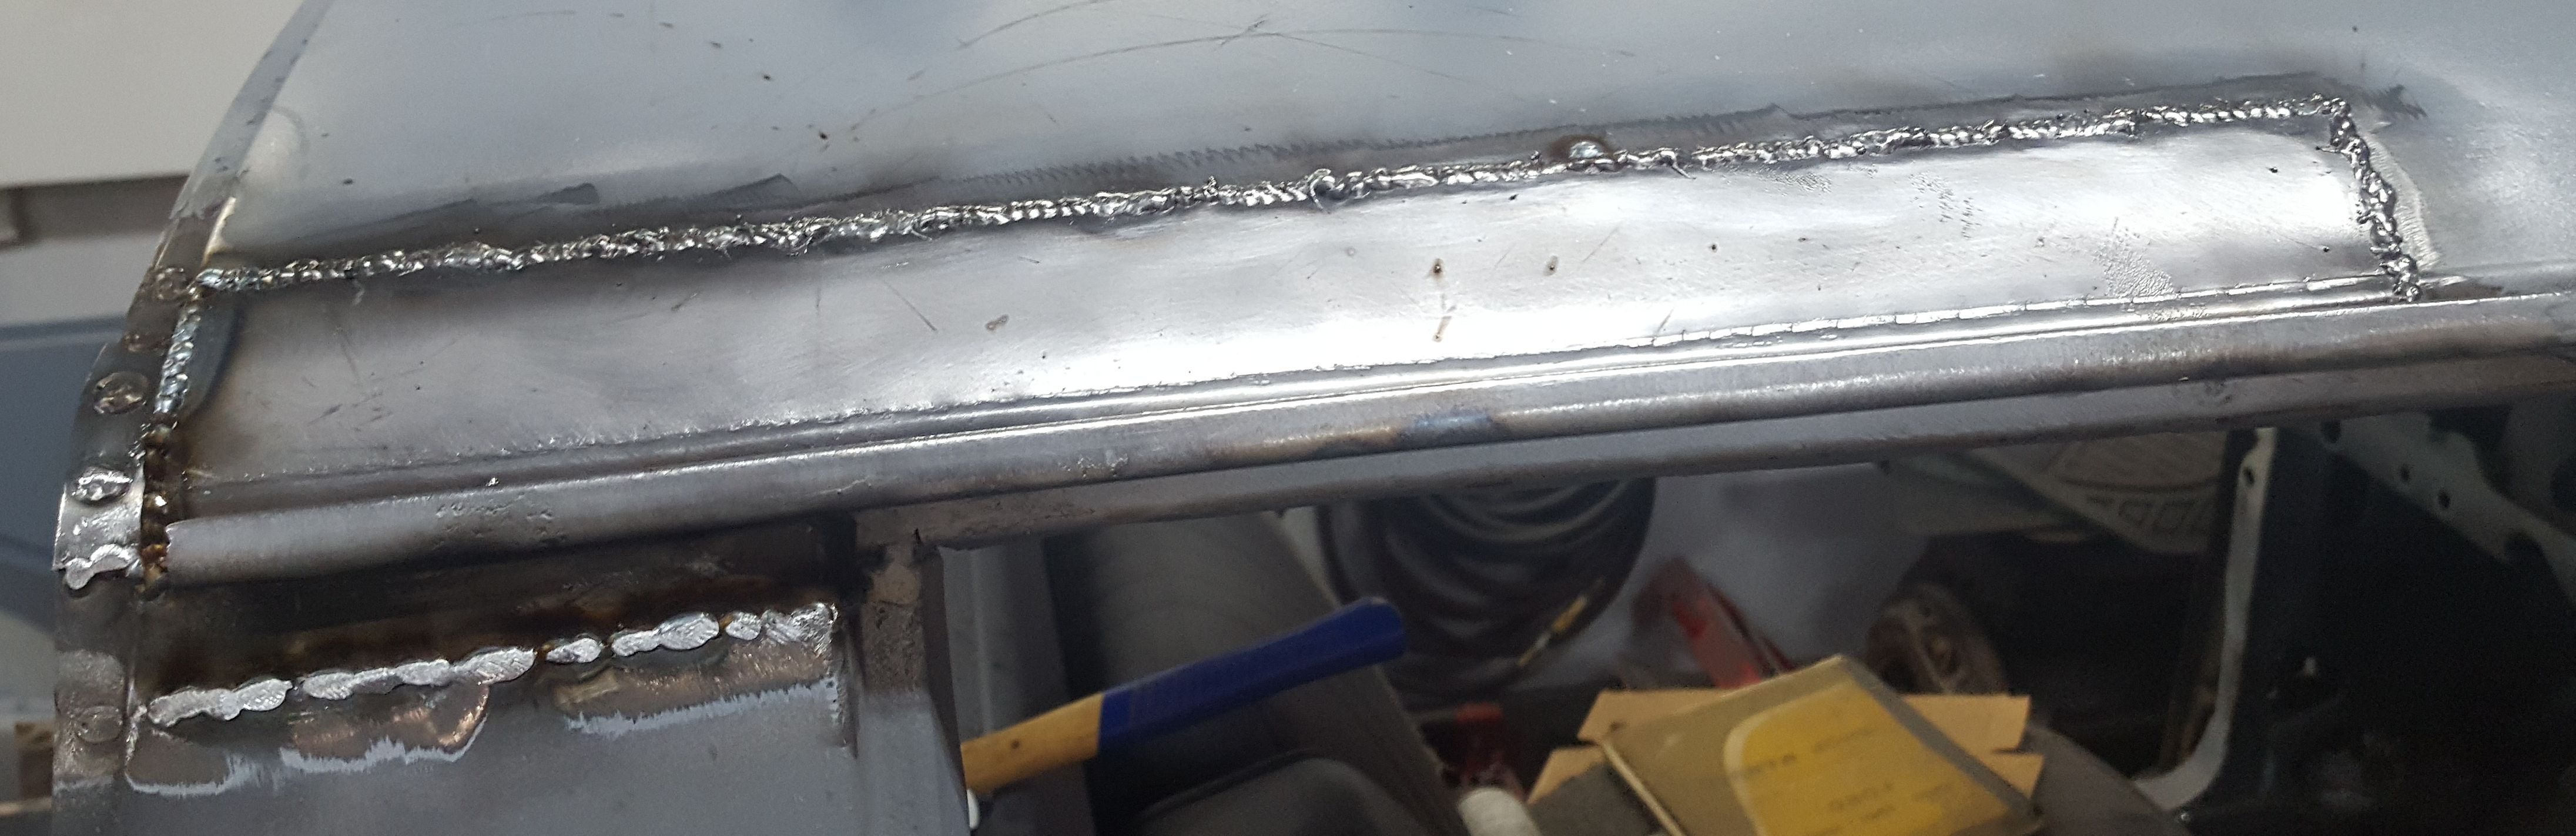
The outer roof skin welded up. Once this is ground down, there should not be much putty here.
|

And now the roof seam ground down. It will need a little filler to smooth the seam up.
|
|
|

For reference, this is the starting cowl exterior.
|

And this was the area underneath the cowl cover. Note
the fresh air vents and the rust around them.
|

Time to finish the cowl section and replace all the rusted
out metal both in the cover and underneath.
|

The driver's side was removed and the steel underneath checked. We need to remove a bit more metal and then fabricate the replacement piece.
|

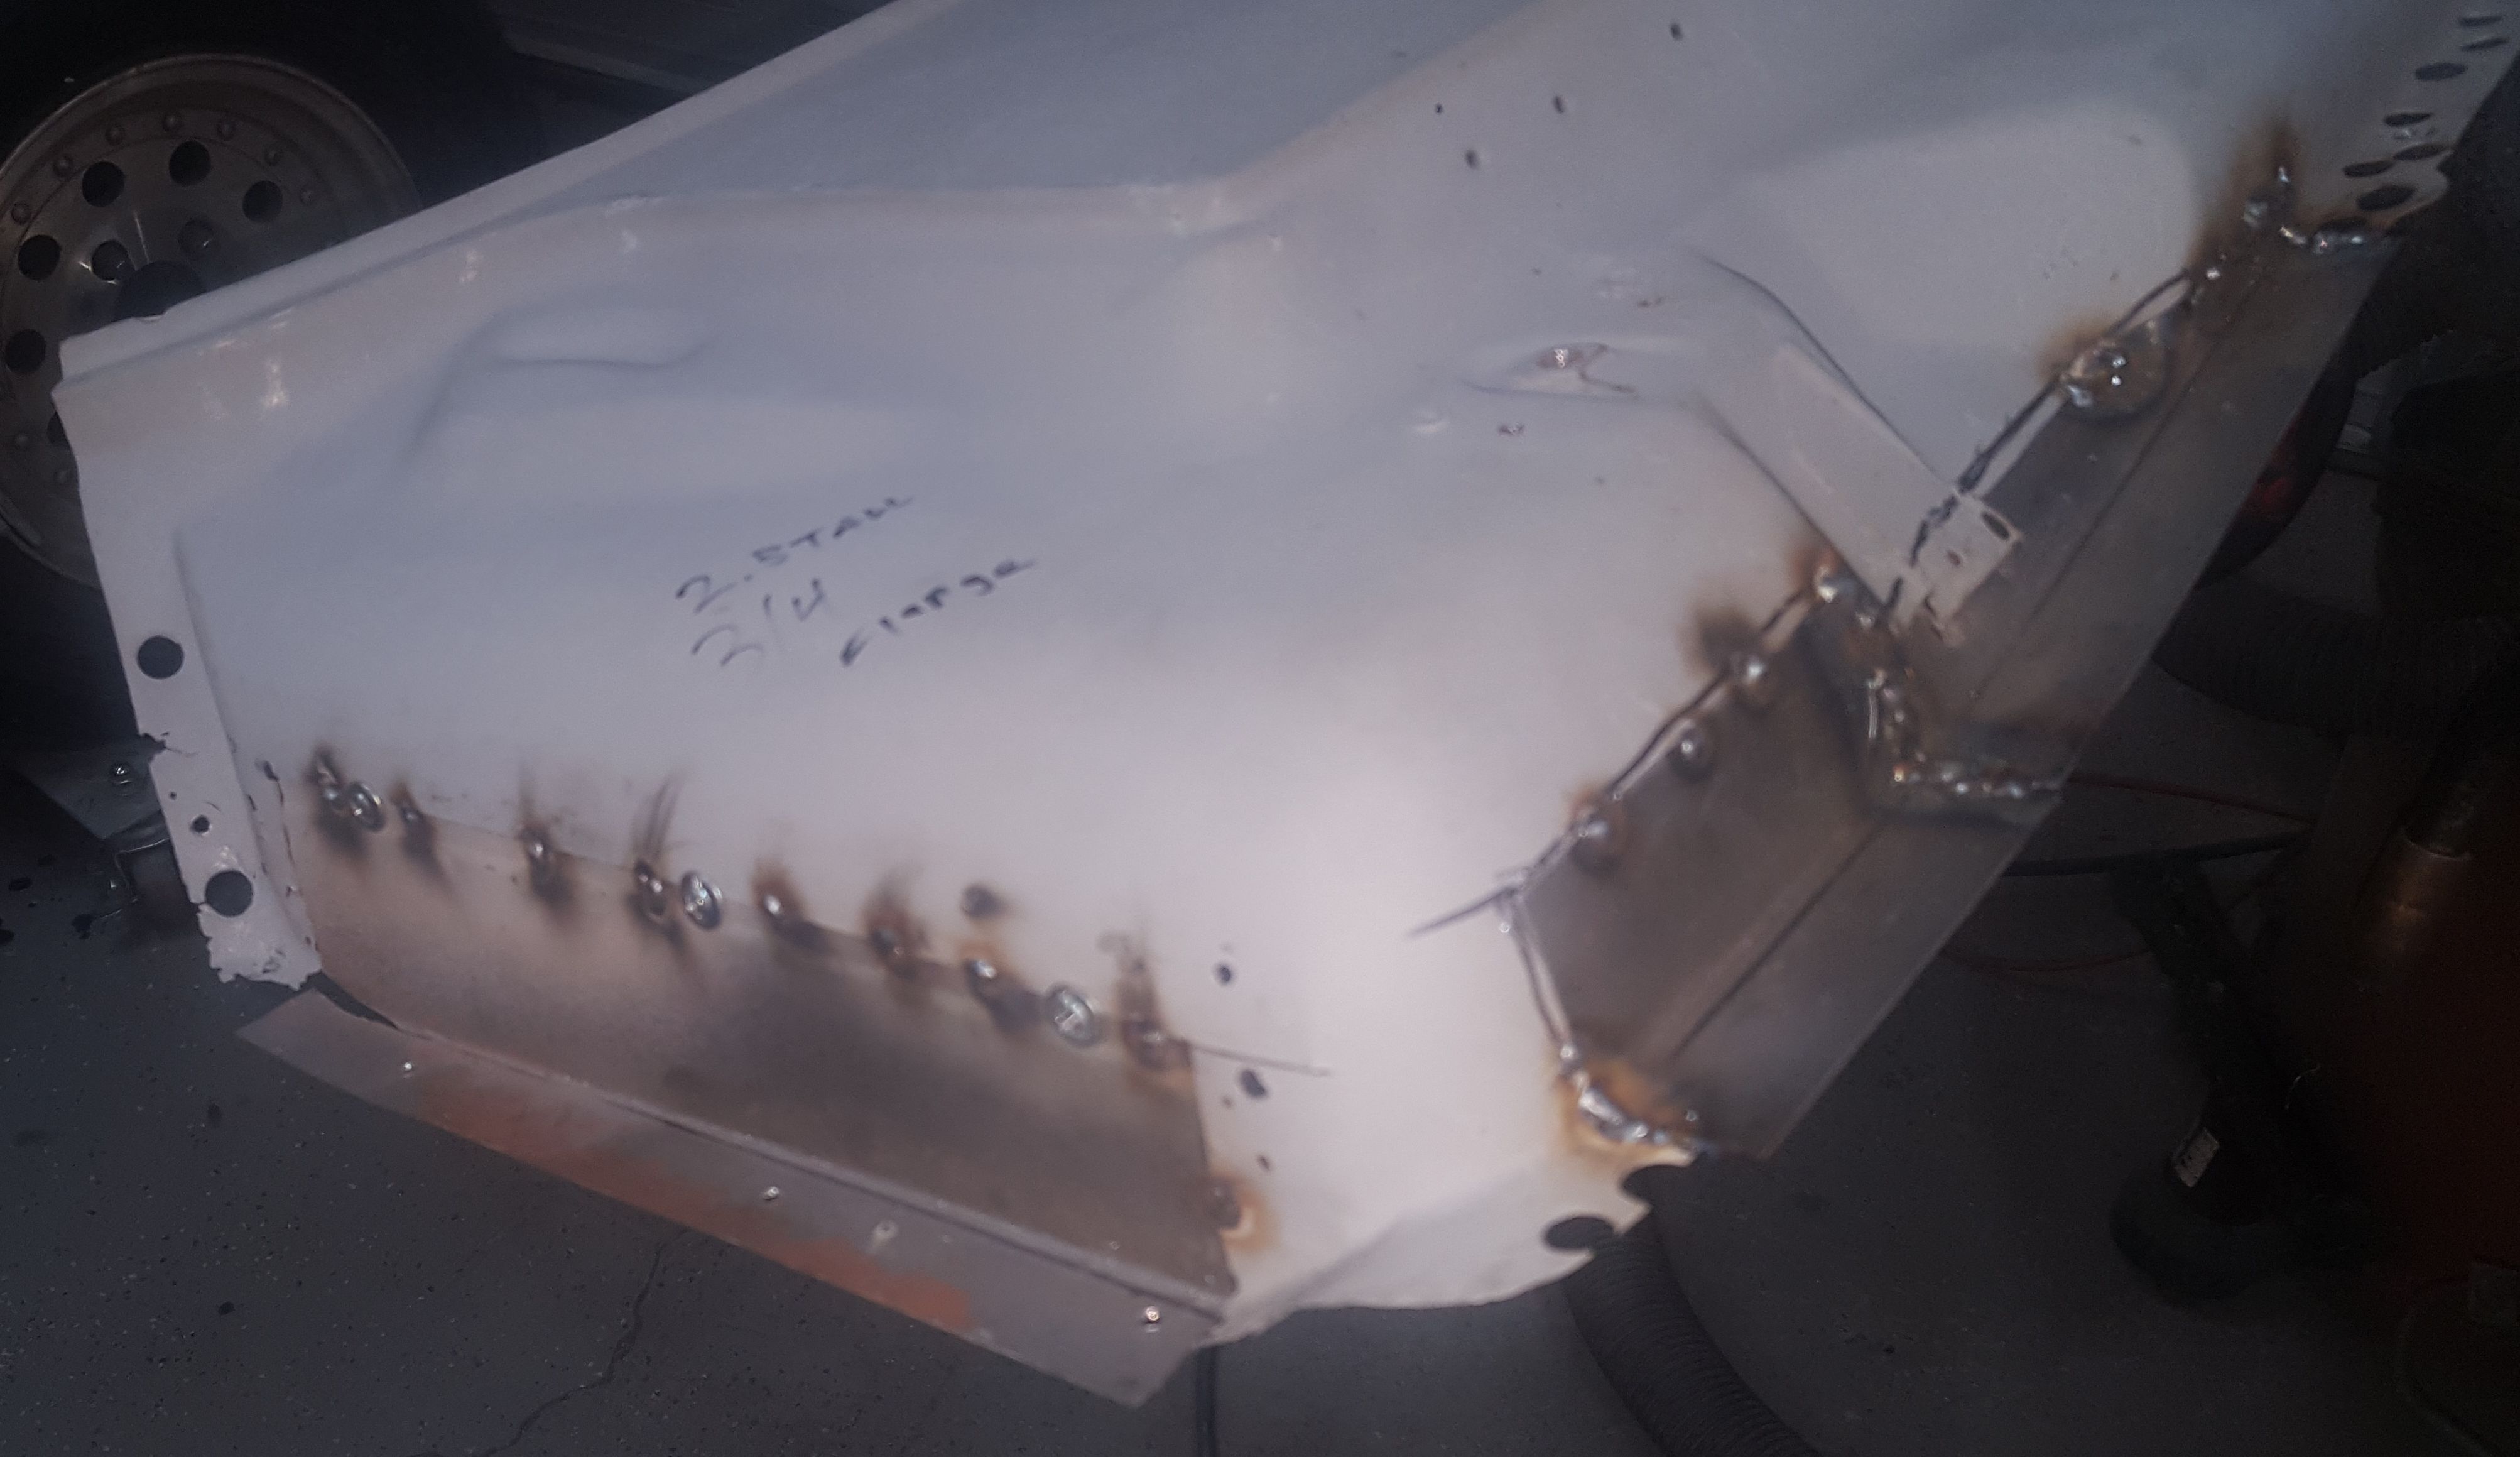
The replacement pieces for the cowl on the driver's side. Just one more to go. Note the holes in the cowl above this section but below the windshield flange. Our son decided that he wanted to add air conditioning to the vehicle, so the fresh air vents were deleted since the AC kit supplies block off plates.
|

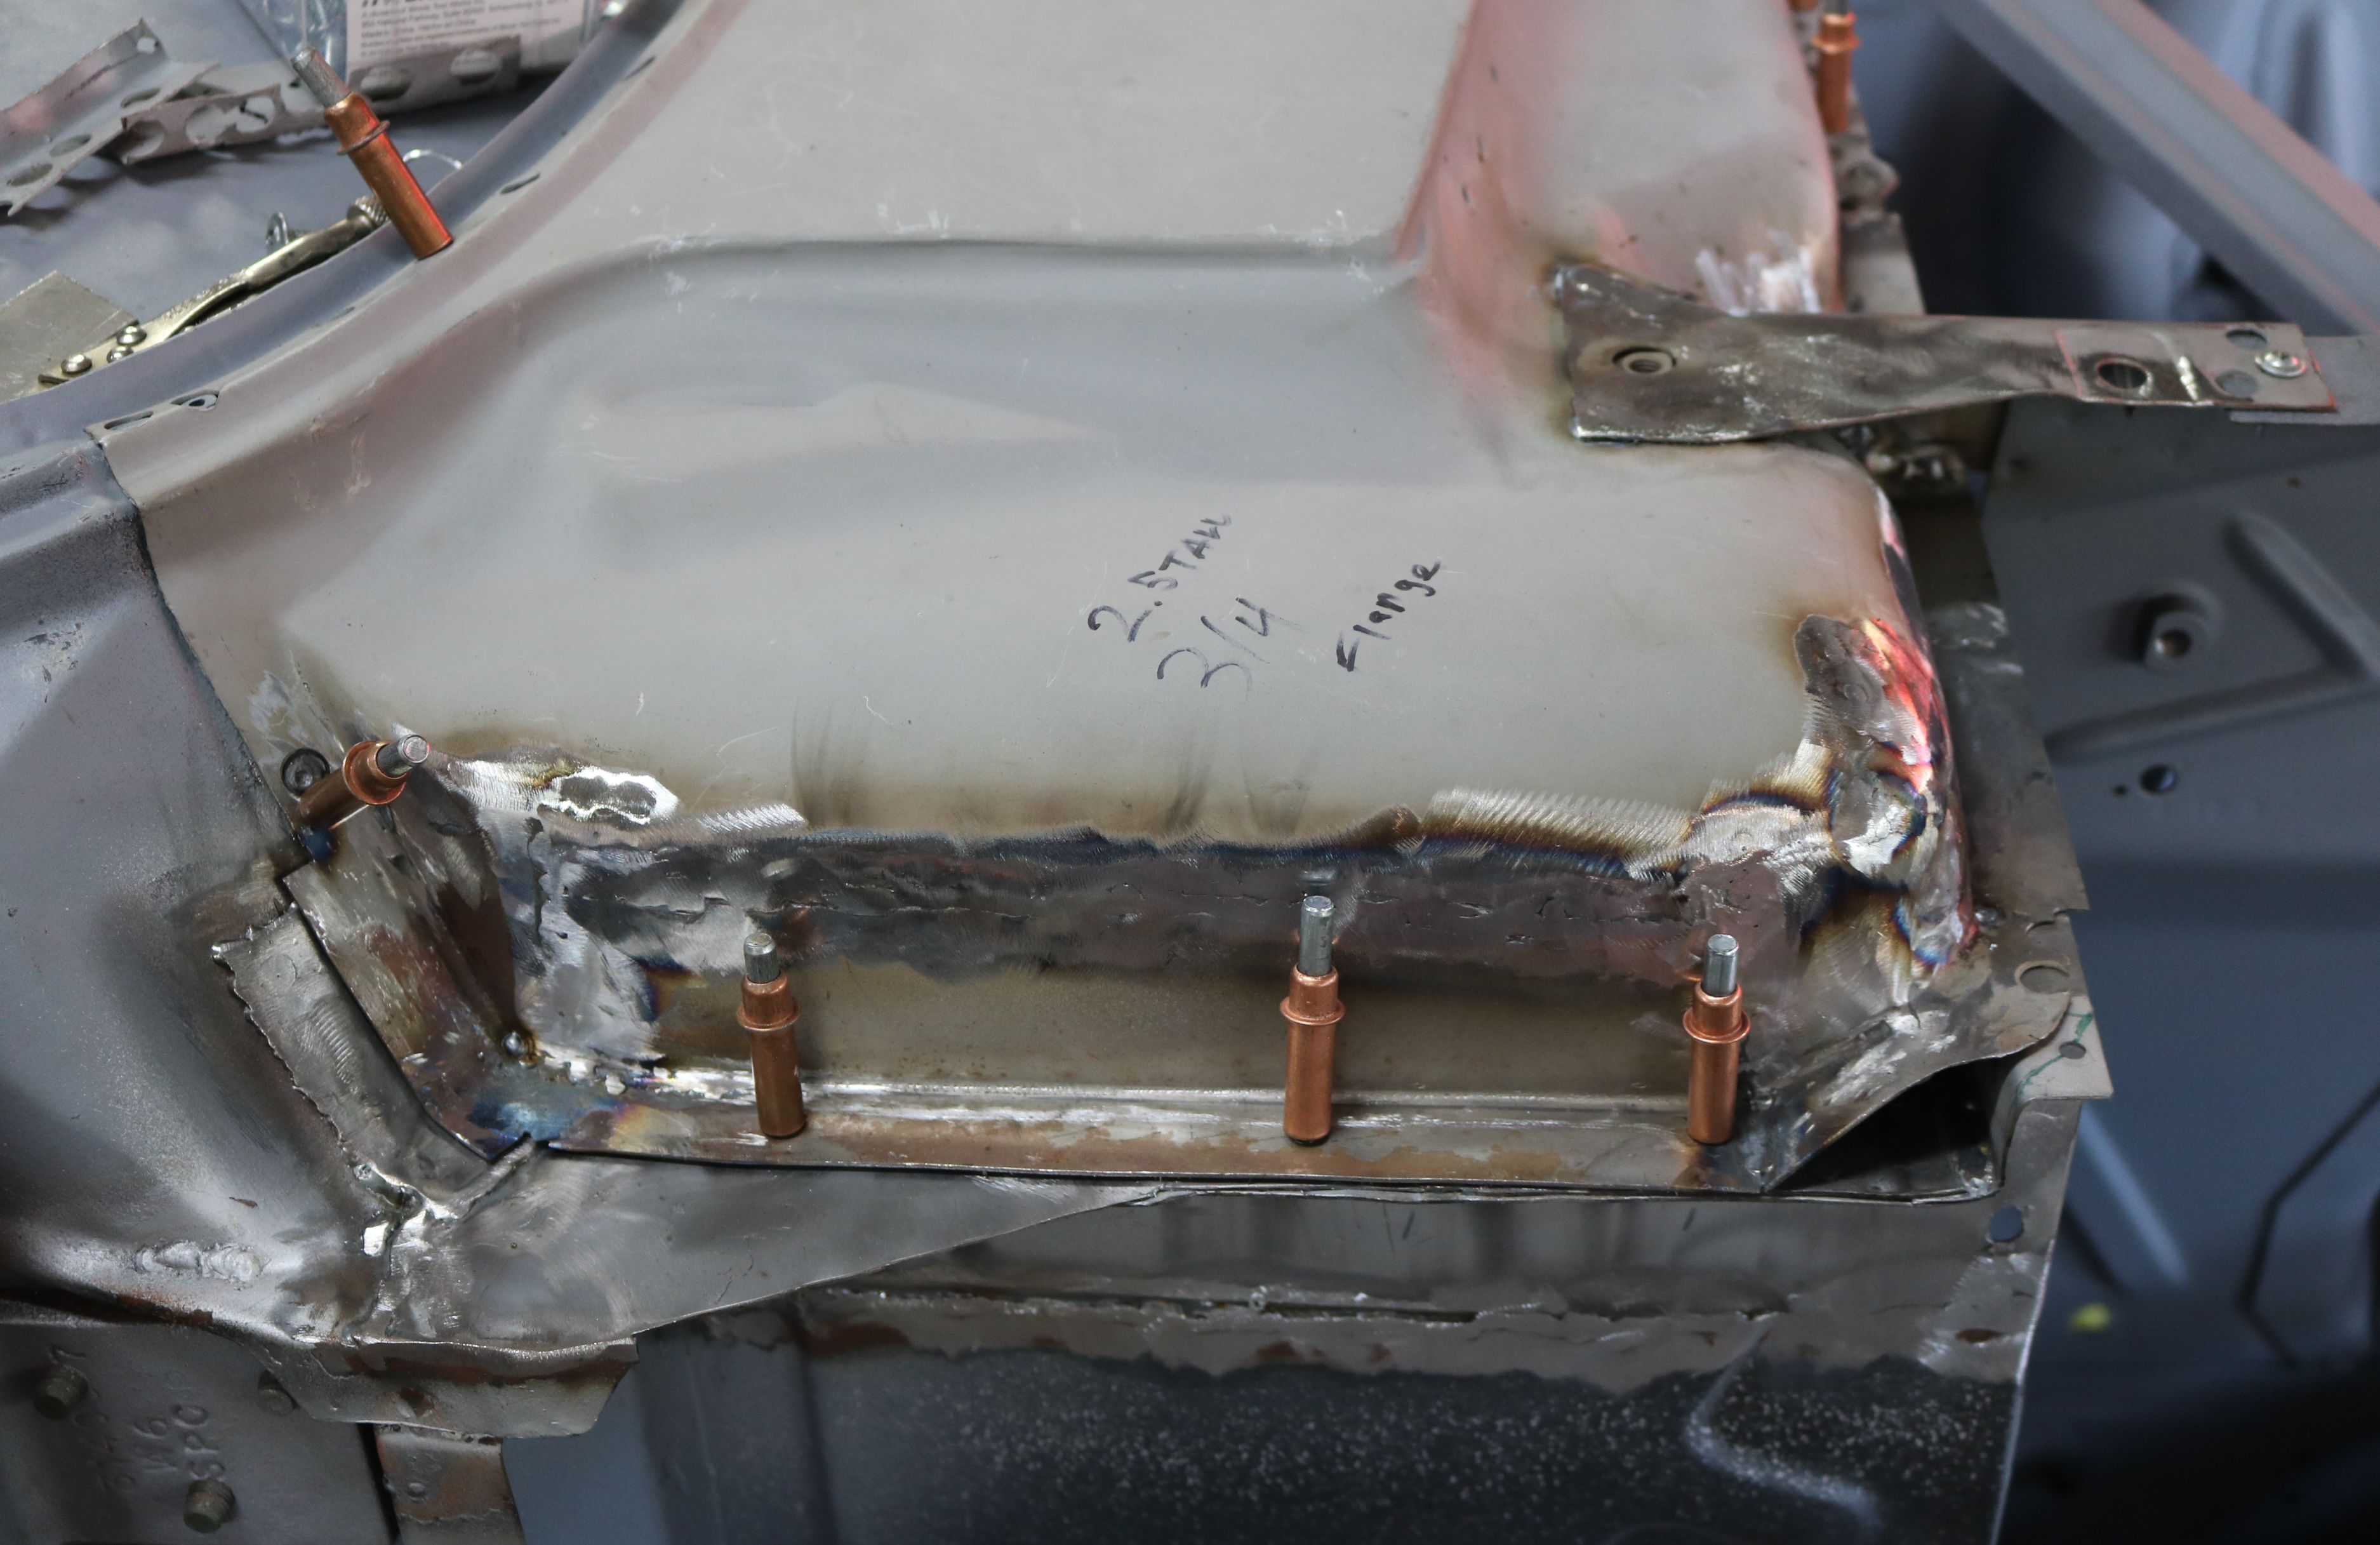
A better view of the replacement panel. The excessive overlap between the panels will be trimmed back prior to welding.
|

A quick replacement on the upper cowl to repair the holes below the windshield flange.
|

The cowl section on the passenger side all welded in. He deleted the air intake as he is planning to install an air conditioning system.
|

The cowl replacement panels for the driver side, again with the air intake removed.
|

Time to finish the cowl cover. There are some spots to fix on the outer cowl skin
on the driver side.
|
All the panels were spot welded in place, then finally welded in fully and
the welds were ground down. The passenger side is shown here.
The rest of the pictures were lost when our son's cell phone
was stolen out of his Cherokee while at the gas station.
|
The passenger side of the cowl skin had similar rust, just more than the
bottom inch like on the drivers side.
|

Just a few holes in the lower inch of the cowl skin on the drivers side.
|

New metal ready, now to drill the spot weld holes.
|

While Dad makes engine sounds, our son pretends to drive. All I wanted to do was to get the car turned around so that we could tackle the major areas on the passenger side.
|

The cowl cover front edge is highly visible in the engine bay with the hood open.
So our son took a hammer and dolly to the front edge to level it as much as
possible in the areas not being replaced. The goal is to minimize the filler on
the whole car.
|

The whole area was prepped for paint, because, once the cover is back in place,
painting this is impossible. We choose to paint it now, with primer, sealer,
body color and clear.
|

The underneath side of the cowl cover was prepped as well. Yes, we are not yet
finished welding the rest of the panels, but this one is going into paint.
|

Stage 1 was an epoxy primer.
|

Epoxy on the underneath side of the cowl cover.
|

While we were at it, we sprayed an extra glove box door that we had. This is a
test piece for the two-tone color combination our son is debating on.
|

Once the epoxy dried, seam sealer was used on all the seams, welded or not.
Laquer thinner is used to smooth the seam sealer so that the water runs off
and does not pool up.
|

Seam sealer complete on the driver cowl corner.
|

The glove box door in the body color of Mustang yellow.
|

The cowl in the yellow. He wanted a bright color. I think we have one.
|

However, as I gather the pictures for this page, I noticed that the yellow changes
tone in different light. This could be fun to shoot outdoors, with lights and
shadows.
|

The glove box door with clear now.
|

Test look in the dash. That is a lot of yellow. Time to try the two-tone effect.
|

And here is the white pearl on the glove box lid.
|

The seam area had been taped off to keep it clean for the next step.
|

Panel bond was applied to the cowl cover and then it was carefully set into place,
ensuring everything lined up correctly.
|

The panel bond was allowed to squish out through the holes.
|

The full cowl cover in place. C clamps and locking pliers will hold it in place
until the panel bond dries. The vent slots were covered with paper that was taped
down. The plan is to leave the paper and tape in place until time for the final
paint, then remove it and blow the area out very well to minimize the trapped dust.
|

