
While the guys finished up the welding, I started on the body work on the areas
that I could. First up, the roof, since it was out of spark zone.
|
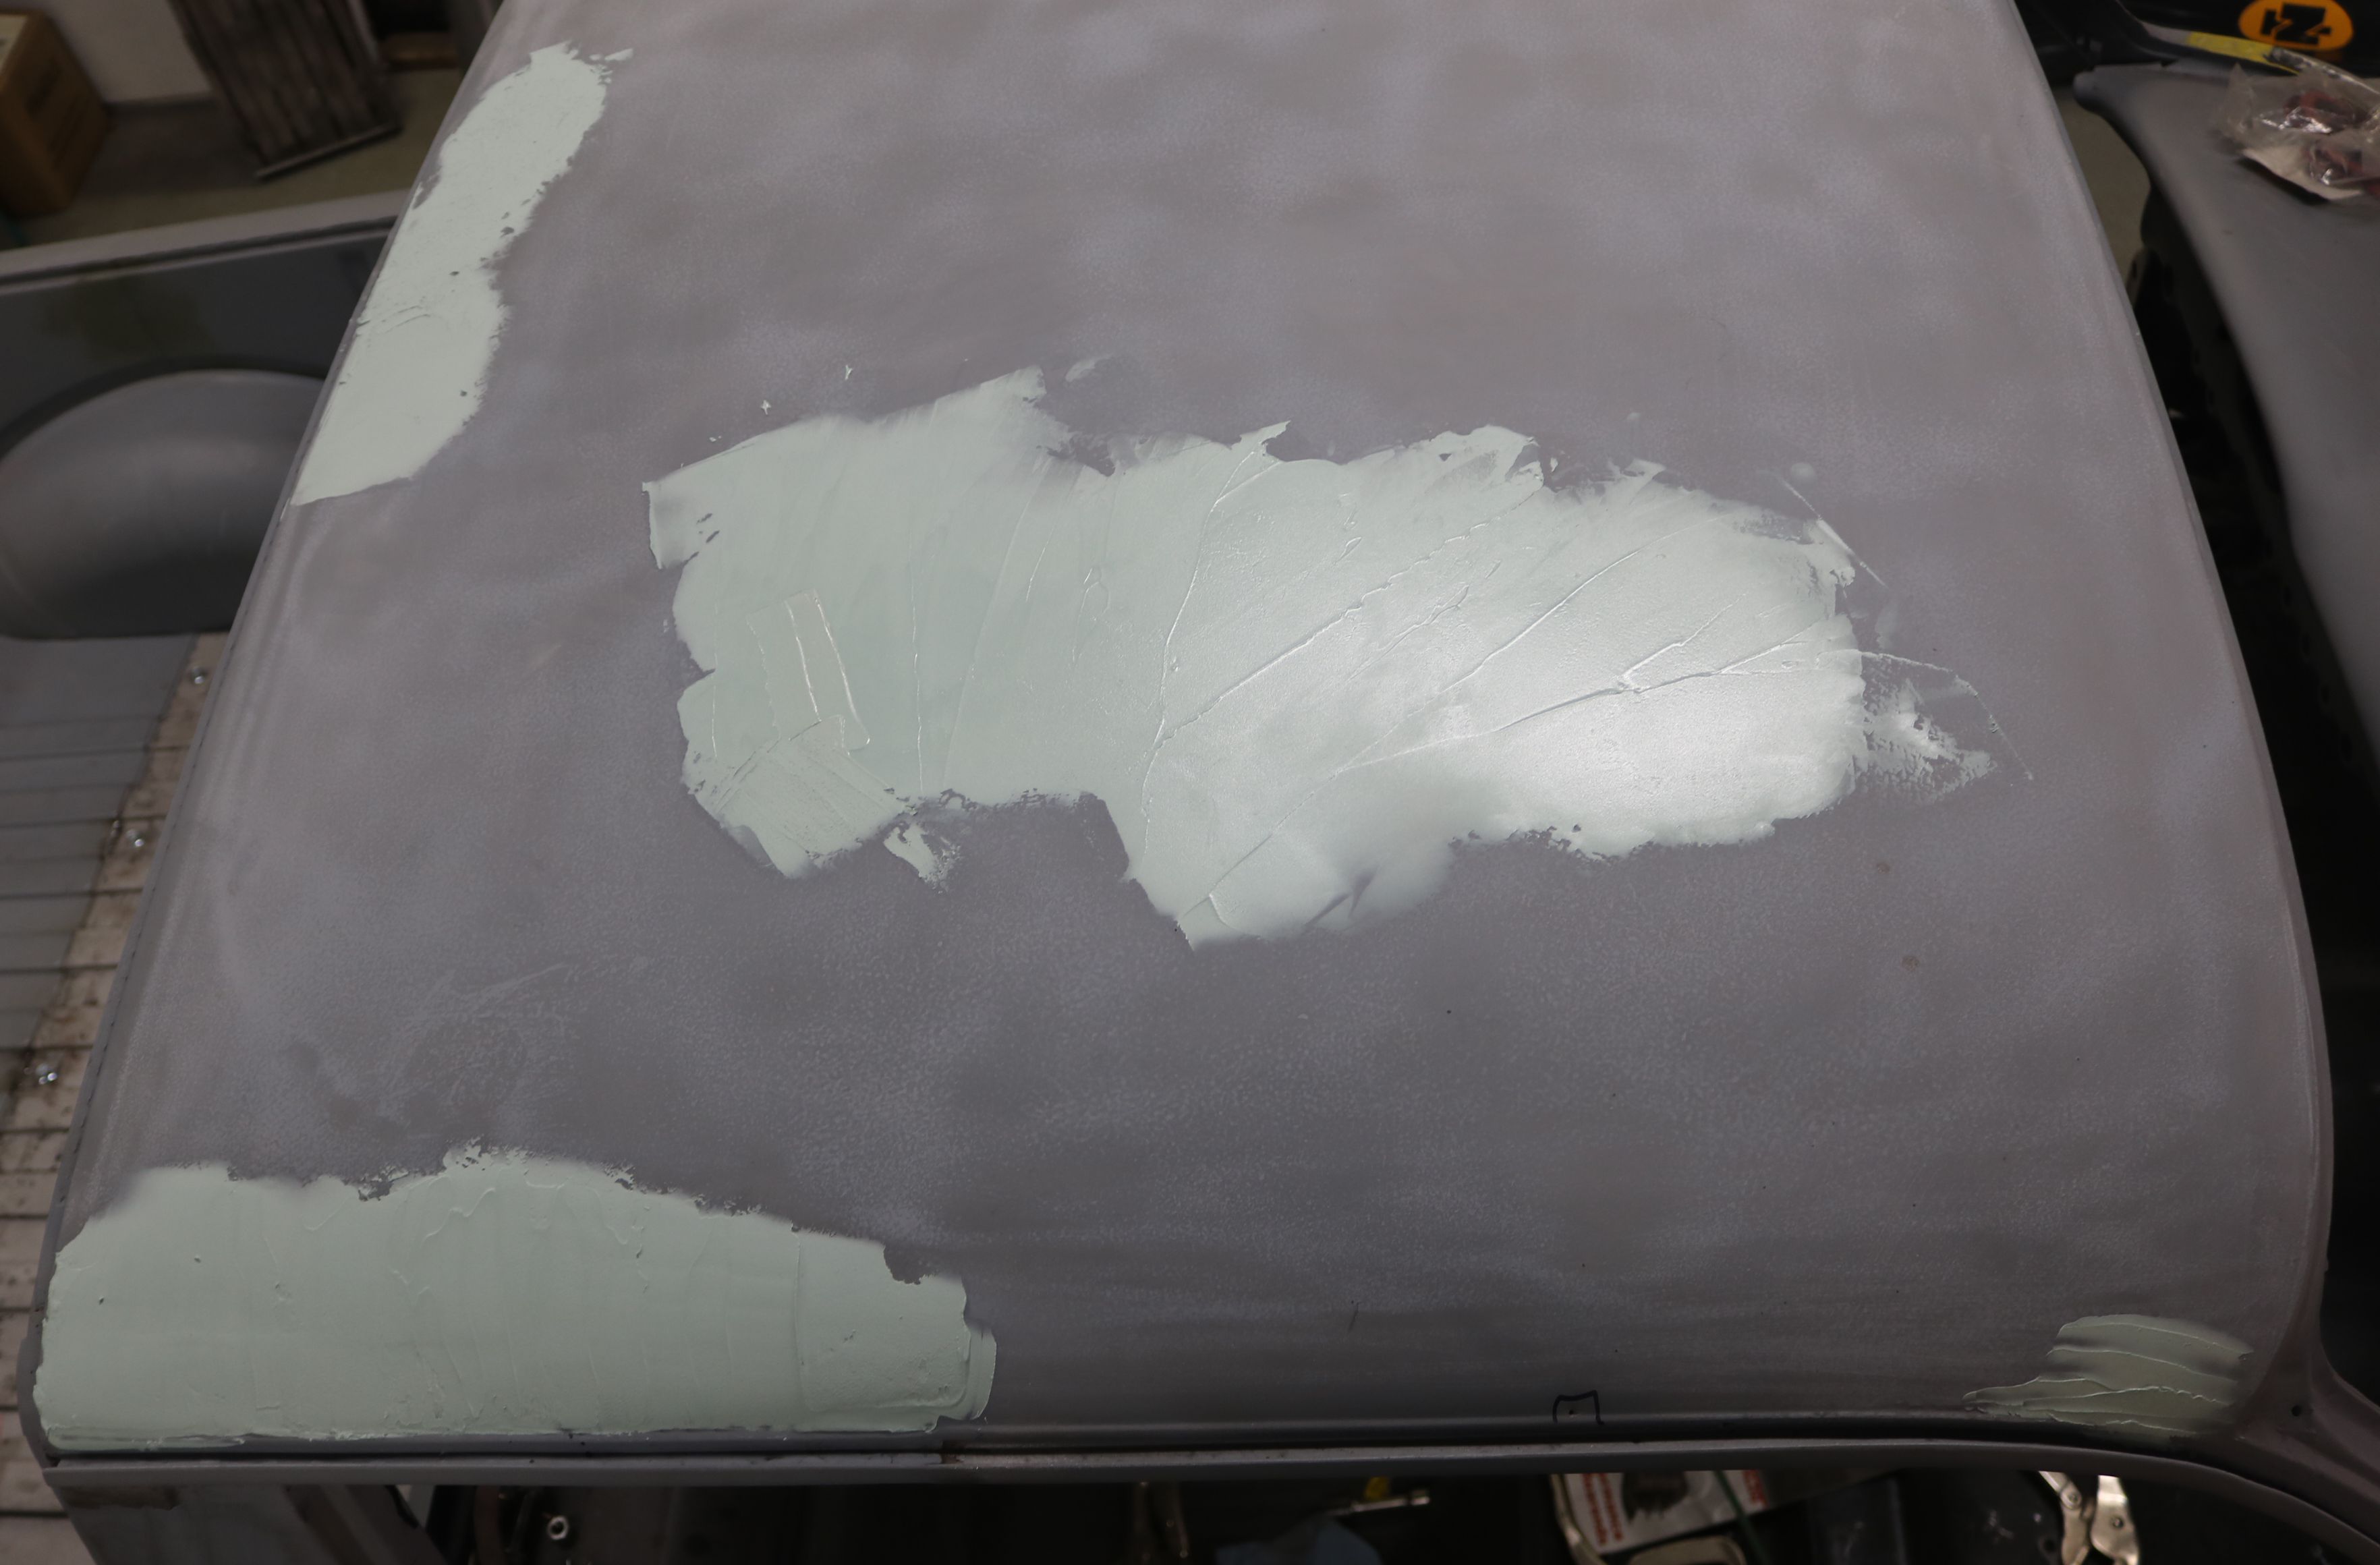
There were three main areas - the drip rail repair, the repaired CB antennae hole,
and some large shallow dents in the middle.
|

Then I moved to the driver side, since we thought it was done. Turns out I
discovered a major flaw in the welding that
set us back several months.
|

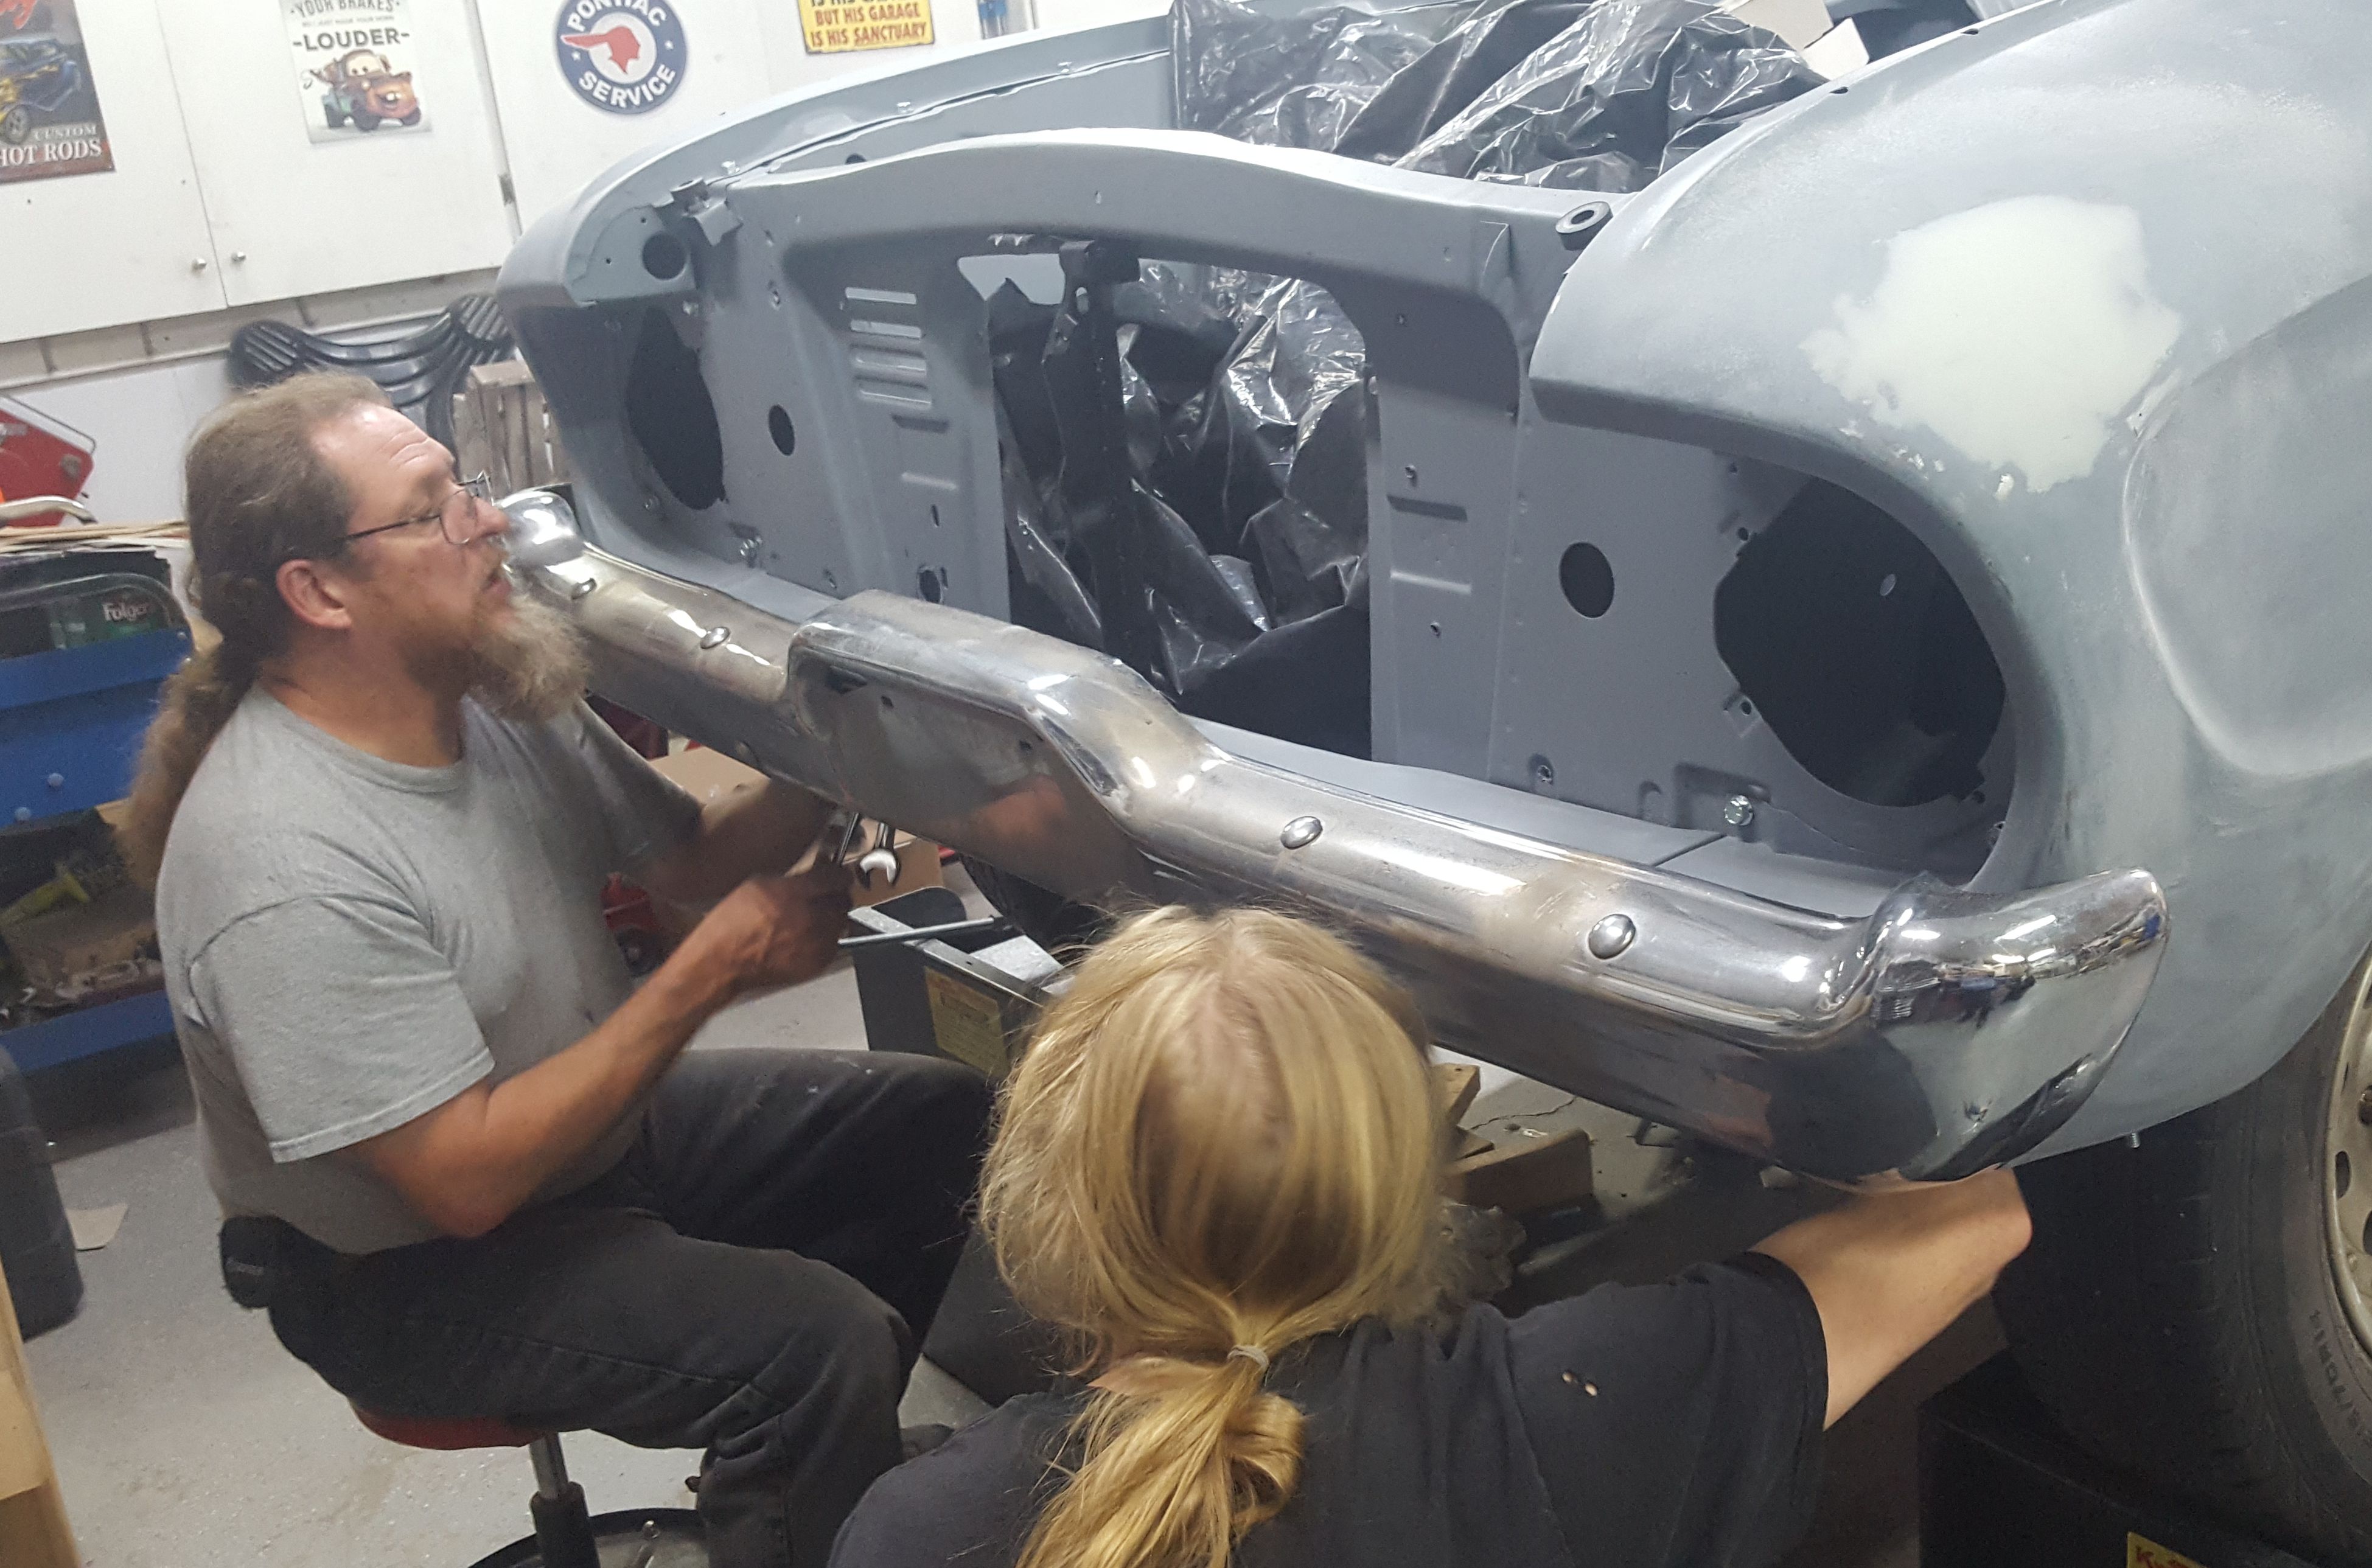
We bolted on all the panels and ensured that the fitment of each panel was correct, since we are starting the bodywork on the main body.
|

Ignoring the rear quarter panel, I continued to work the area between the doors
and the wheel wells.
|

Our son wants to remove some of the factory "flaws", the visible spot welds and
other blemishes. As this will be a show as well as driver car, that meant the
bottom of the hood had to be done as well. And the welded area needed minor
dressing up.
|

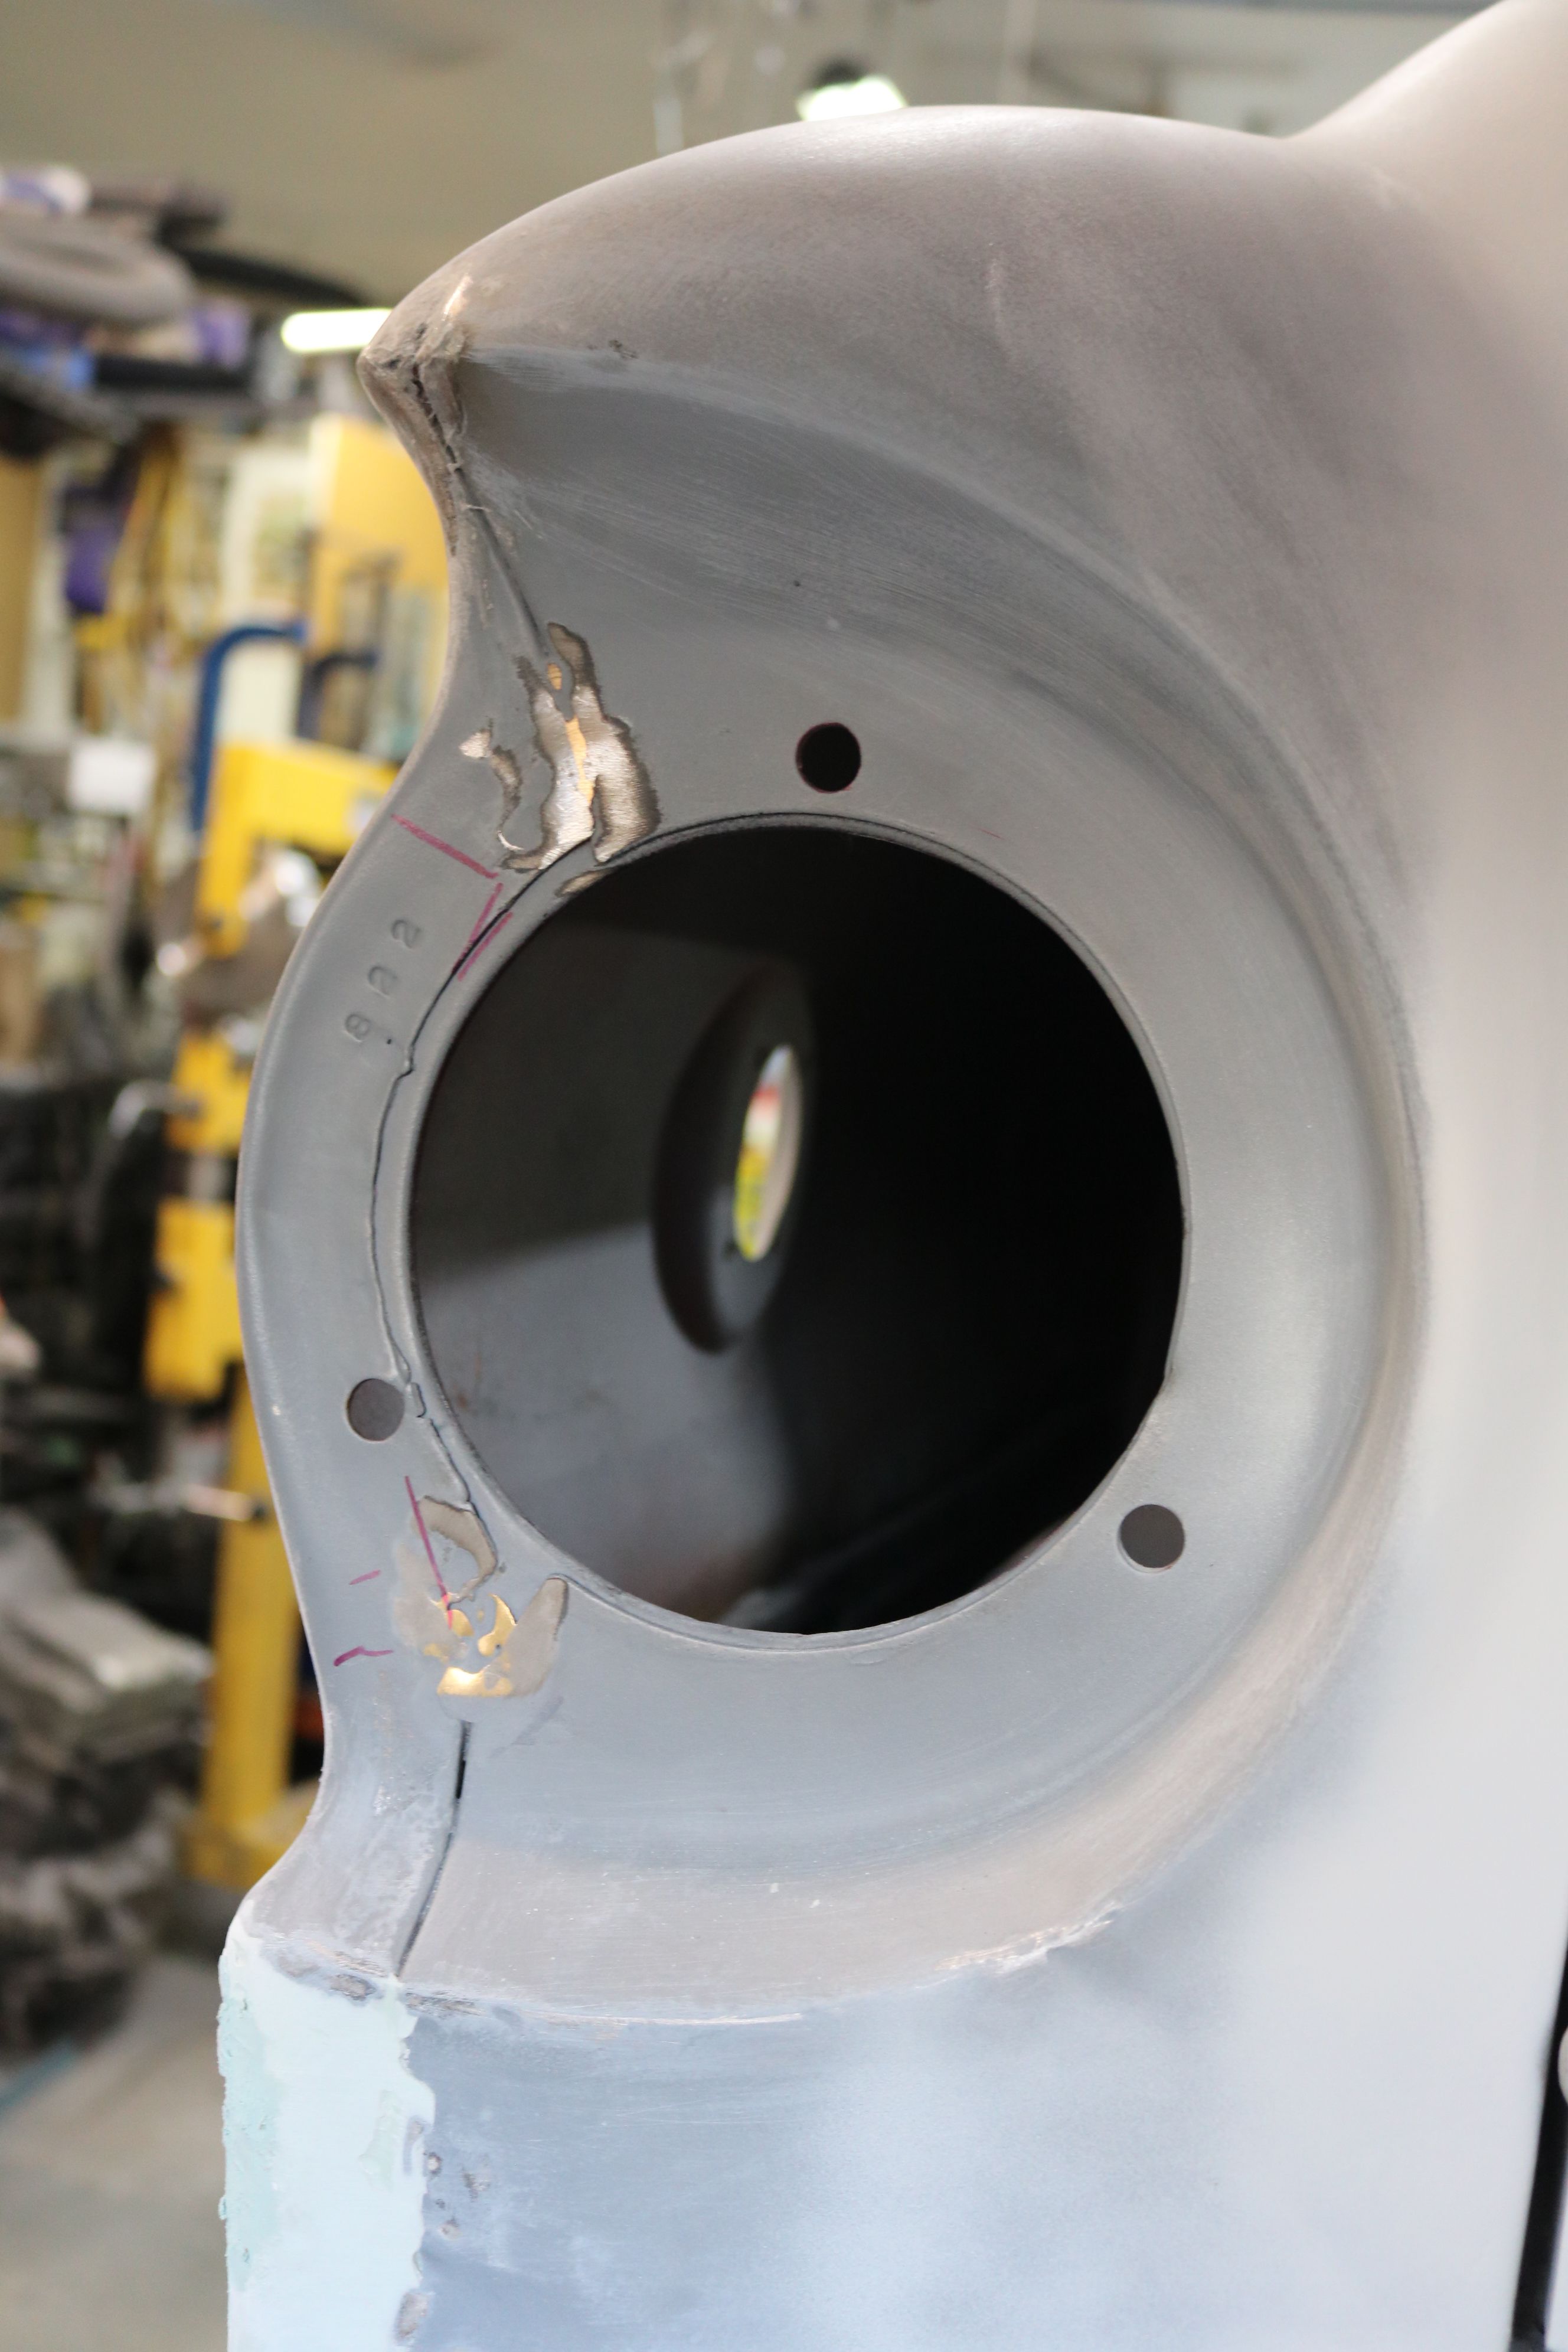
The front edge of the hood had taken a few bumps through the years.
|

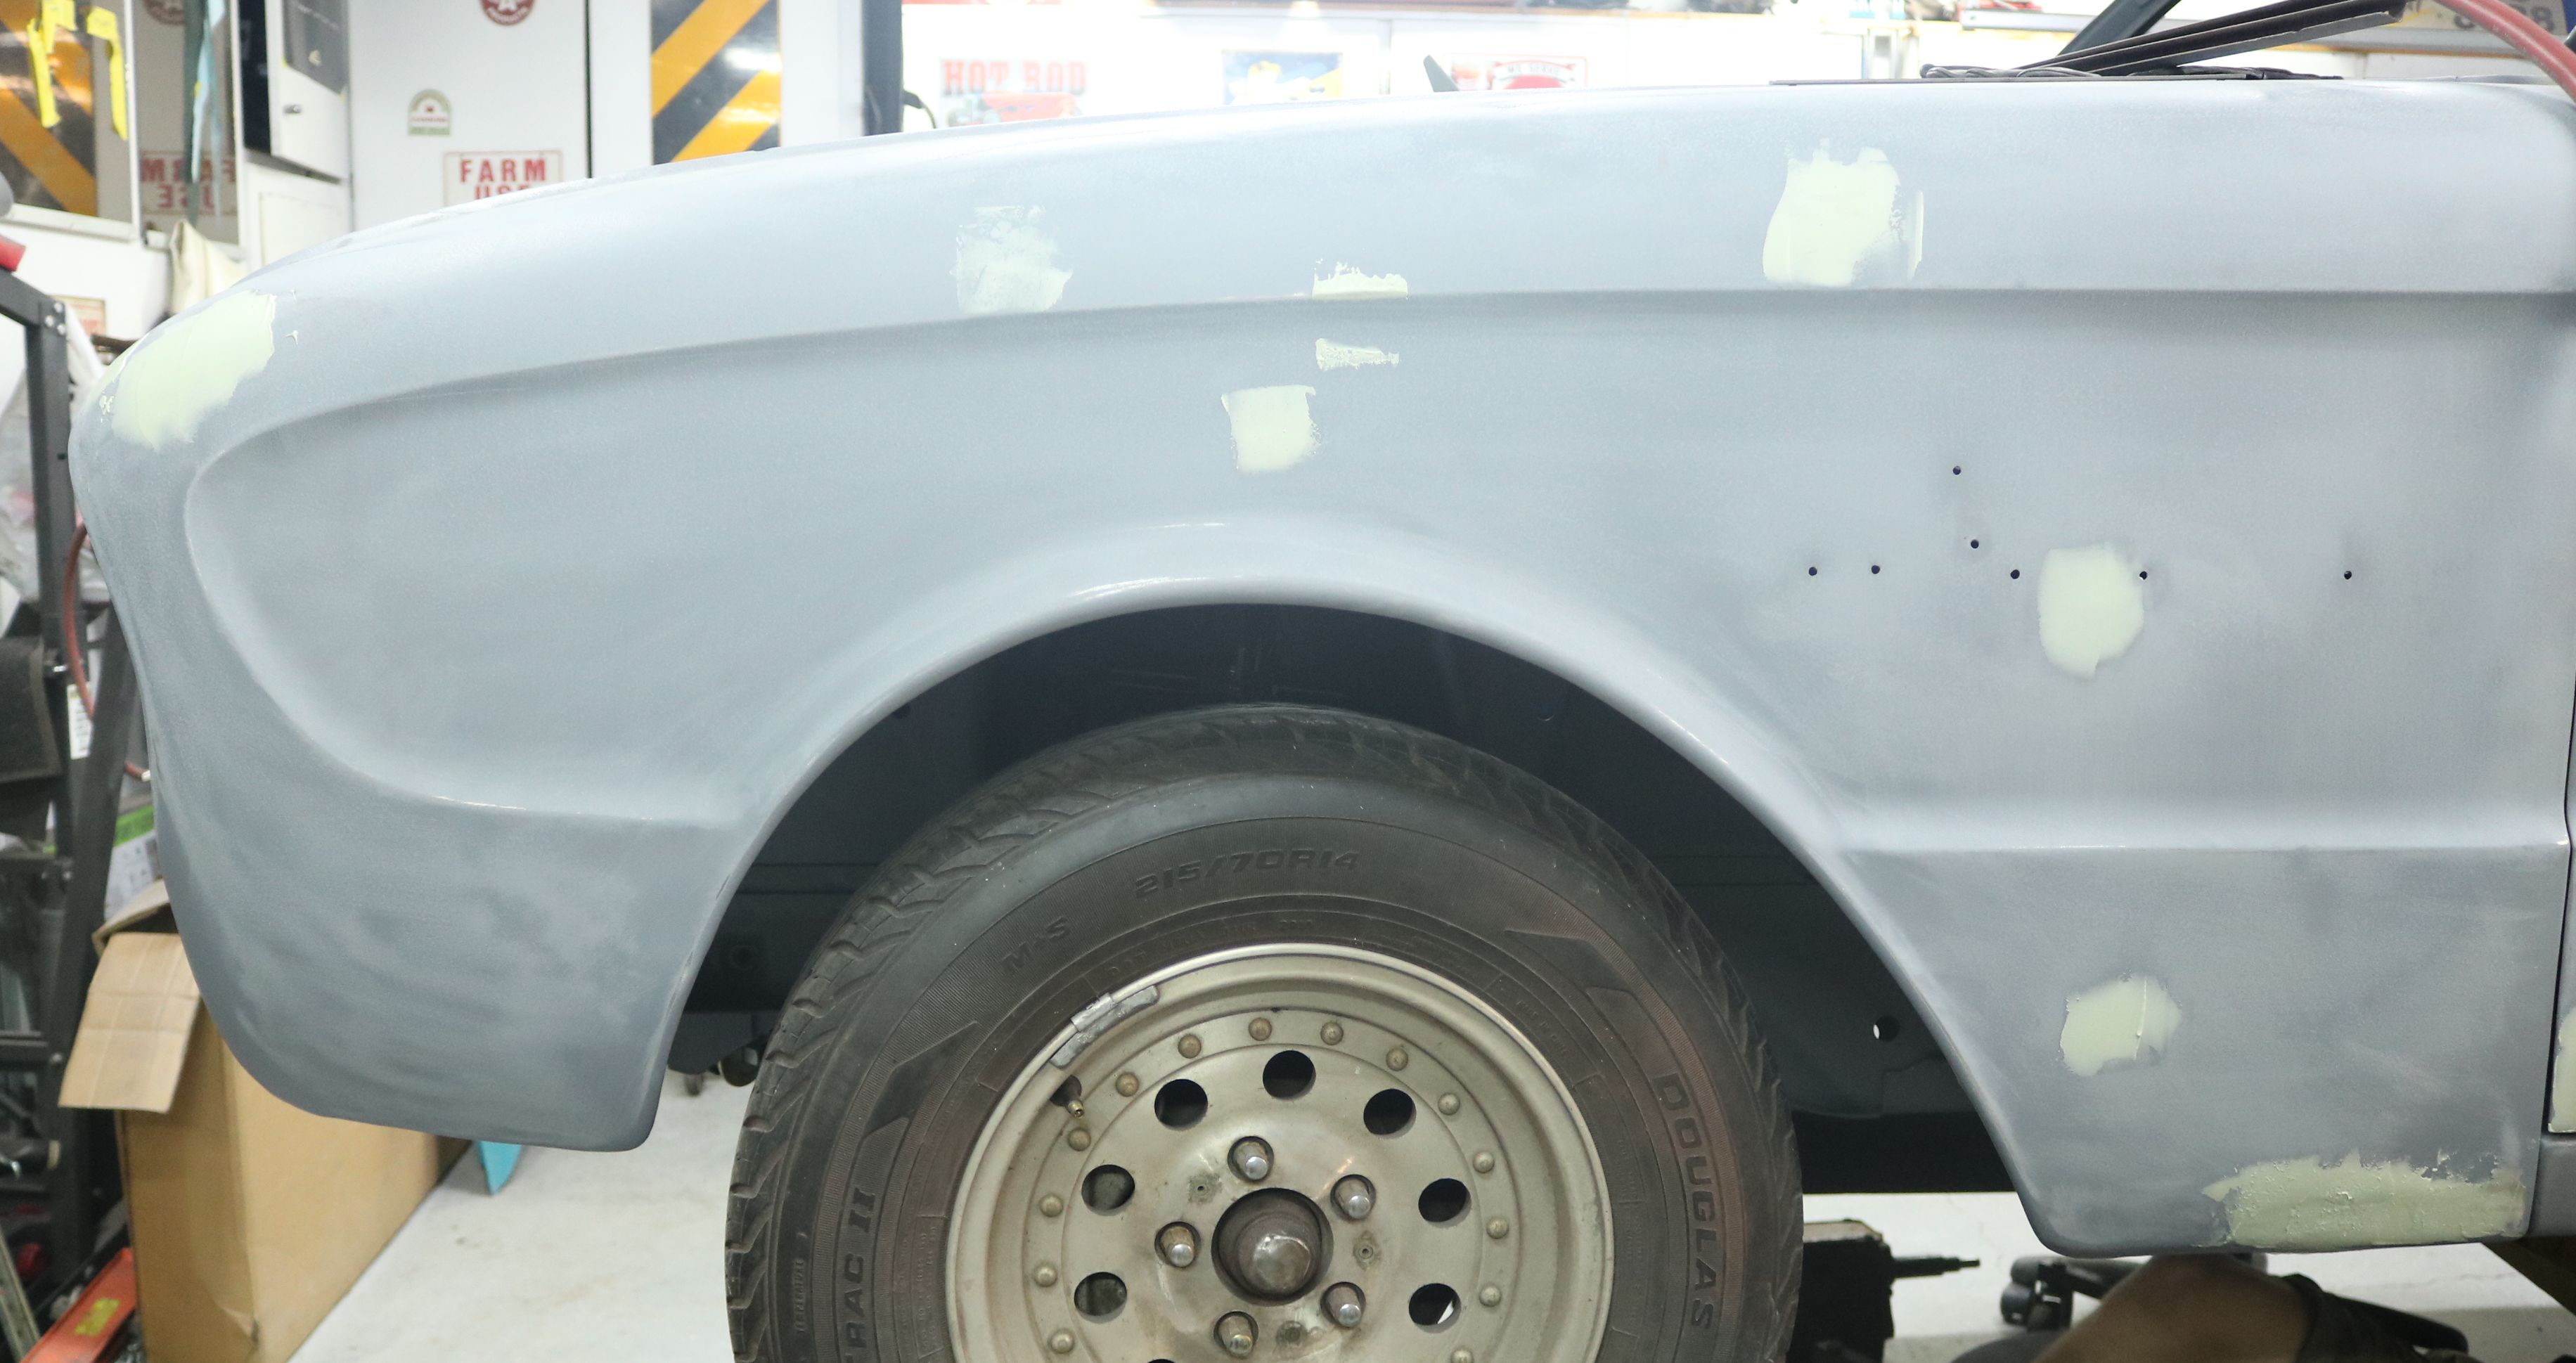
The passenger front fender. The major work is where the panel was grafted on.
This is primarily to dress it to the door.
|
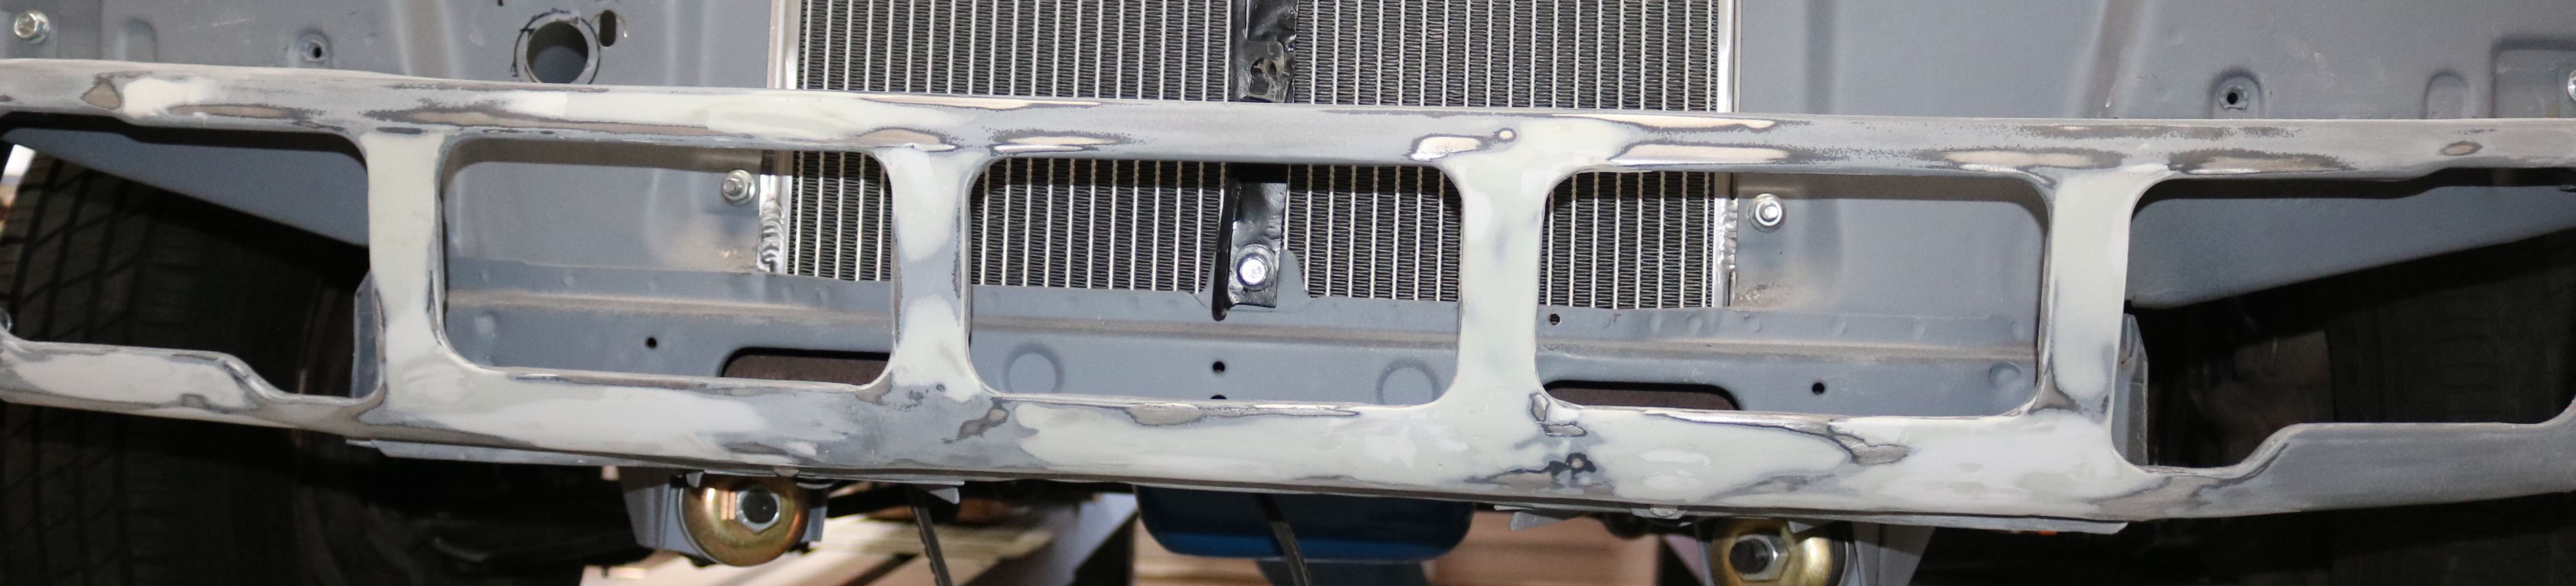
The front bumper was mounted to check the front valance panel, specifically how
much is visible, which equted to the bottom 3/4".
|
 The grill was mounted temporarily for the same reason, to check the visibility of
the radiator surround. Unfortunately, most of it is visible and there are many
spots here that we want to smooth out.
The grill was mounted temporarily for the same reason, to check the visibility of
the radiator surround. Unfortunately, most of it is visible and there are many
spots here that we want to smooth out.
|

The front valance shows minor dings before I even scuff it. The small areas
means this will actually be more difficult to block down than say a door.
|

Making great progress on the hood.
|
The driver front fender from the donor car had very few areas that needed
smoothing.
|

The driver door had even fewer areas.
|

The hood is almost done.
|

The passenger rear fender needs work on both the mid and lower sections. Unfortunately, the area at the top of the wheel arch still needs some welding on the inside. The plan is to put the body back onto the rotisserie to safely weld the inside of the wheel well. I have to skip the body work in this area.
|

The passenger taillight area needs a little smoothing, or so we thought. More on this particular trouble spot later.
|
The small rust spots on the tailgate with Mar-Hyde. Epoxy will be sprayed over this before we body work out the minor dents.
|

That passenger door was also treated with Mar-Hyde.
|
The front valance had many little spots, mostly on the edges.
|

He decided to delete the seams on the front corner panels, even though most of the these are covered by the bumper.
|

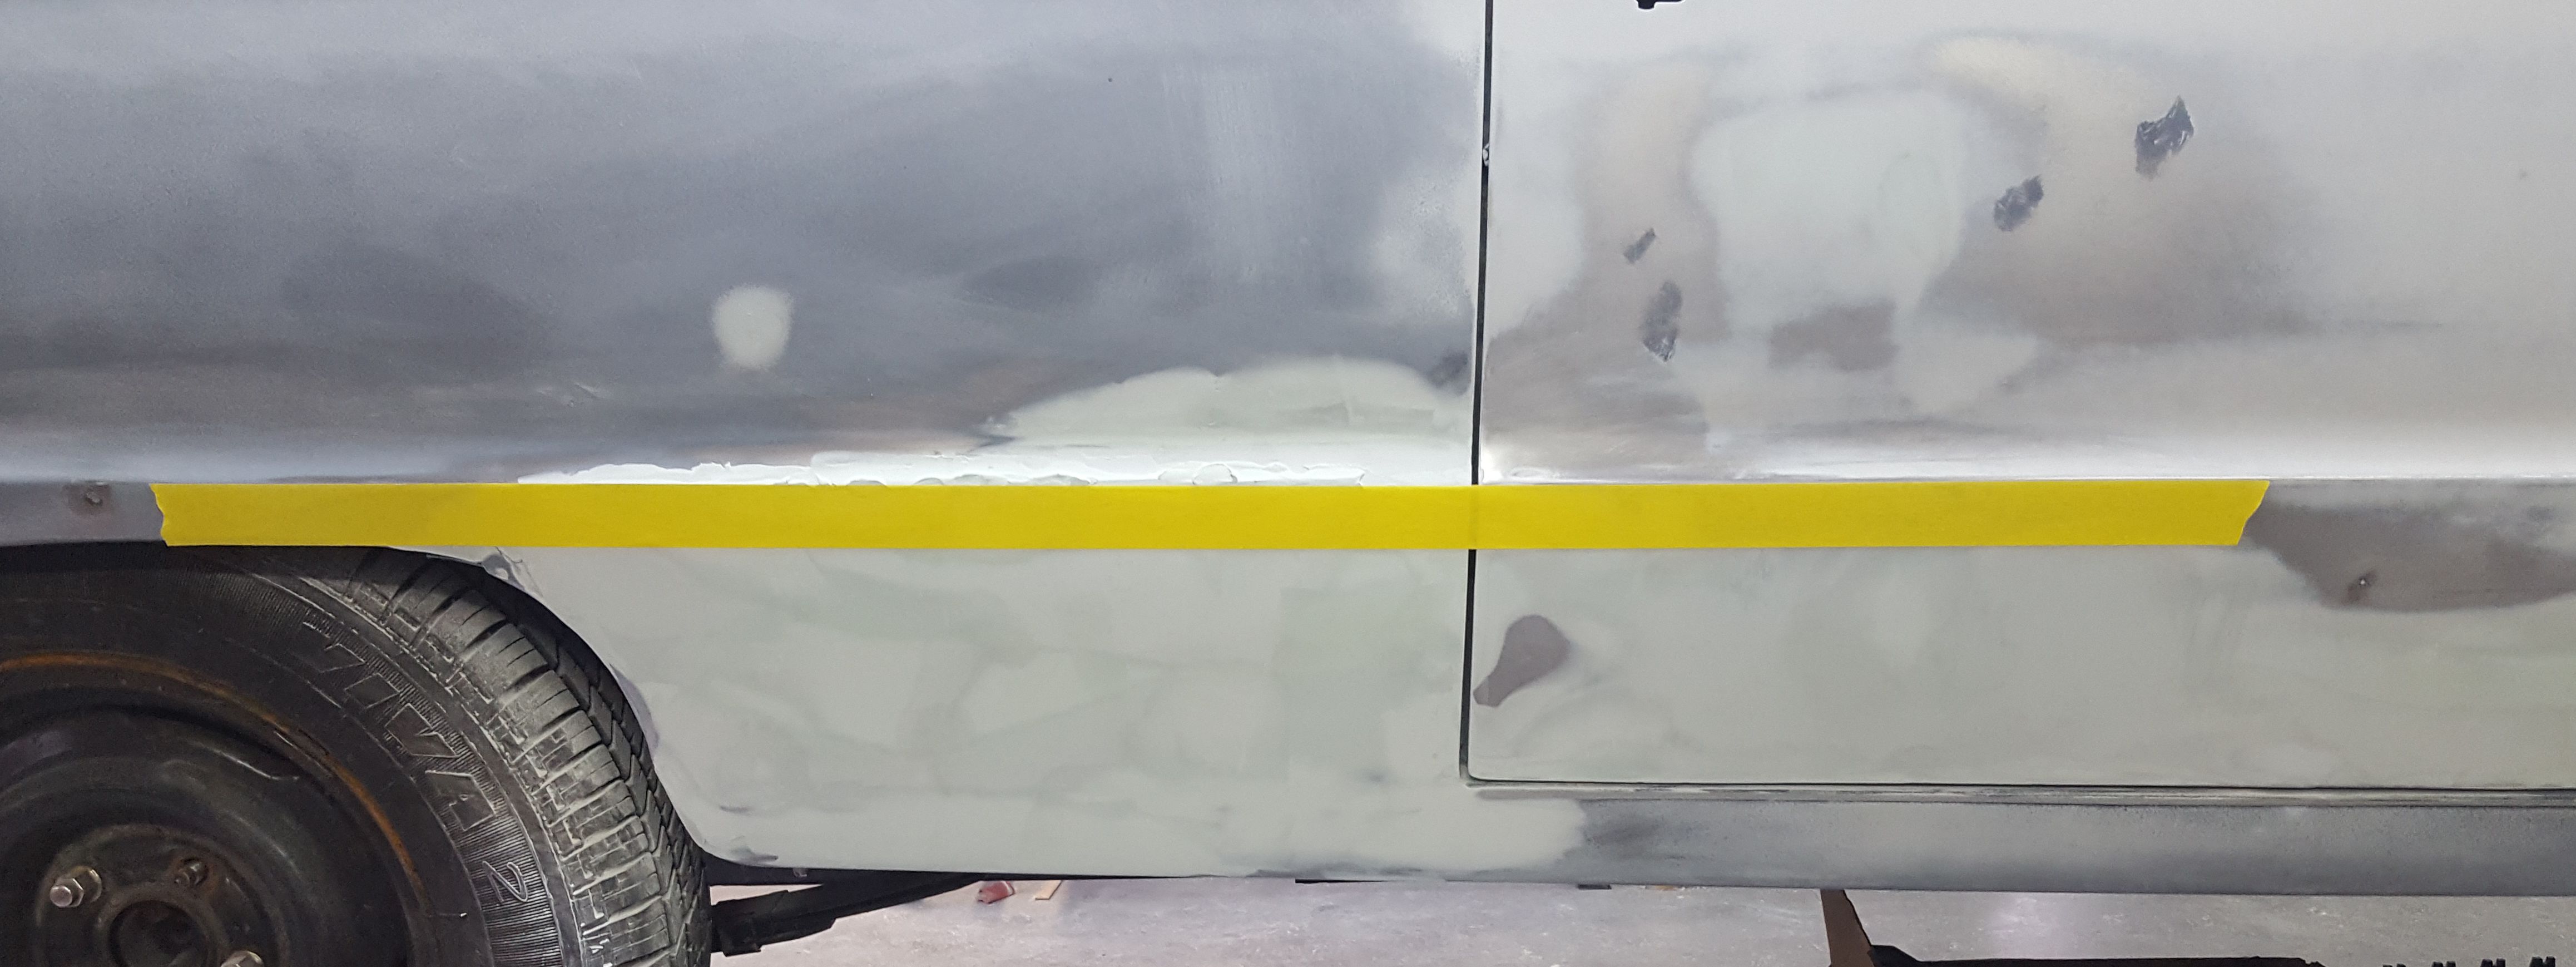
The driver side has a slightly larger seam than the passenger side. Another trouble spot the will require additional attention.
|
The driver side taillight doesn't need much work. Fortunately. I ended up using this taillight as a template to mirror to the passenger side.
|

Every panel on the body had to be worked, including the package tray behind the seats.
|

Once the majority of the body work was thought to be done, the body was "measled" with blue tape spots. This process involves someone with a sensitive touch running their hands over the entire body, feeling for the smallest imperfection, then marking it with blue tape.
|

More measle spots on the hood.
|

And down the passenger side. Once this is done for the whole body, I get to come back through and determine the problem - more sanding, more putty, or whatever is needed.
|
But no amount of measles could help with ensuring that the body lines are straight. For that, we took a tip from the professionals and used a tape line to form a straight edge. This helped with both the problematic quarter panels.
|

Once the body had recovered from the measles and I was satisfied with the rear quarter panels, we started prepping for the next step, featherfill. The body was rolled outside and air hosed thoroughly to blow all the dust out.
|

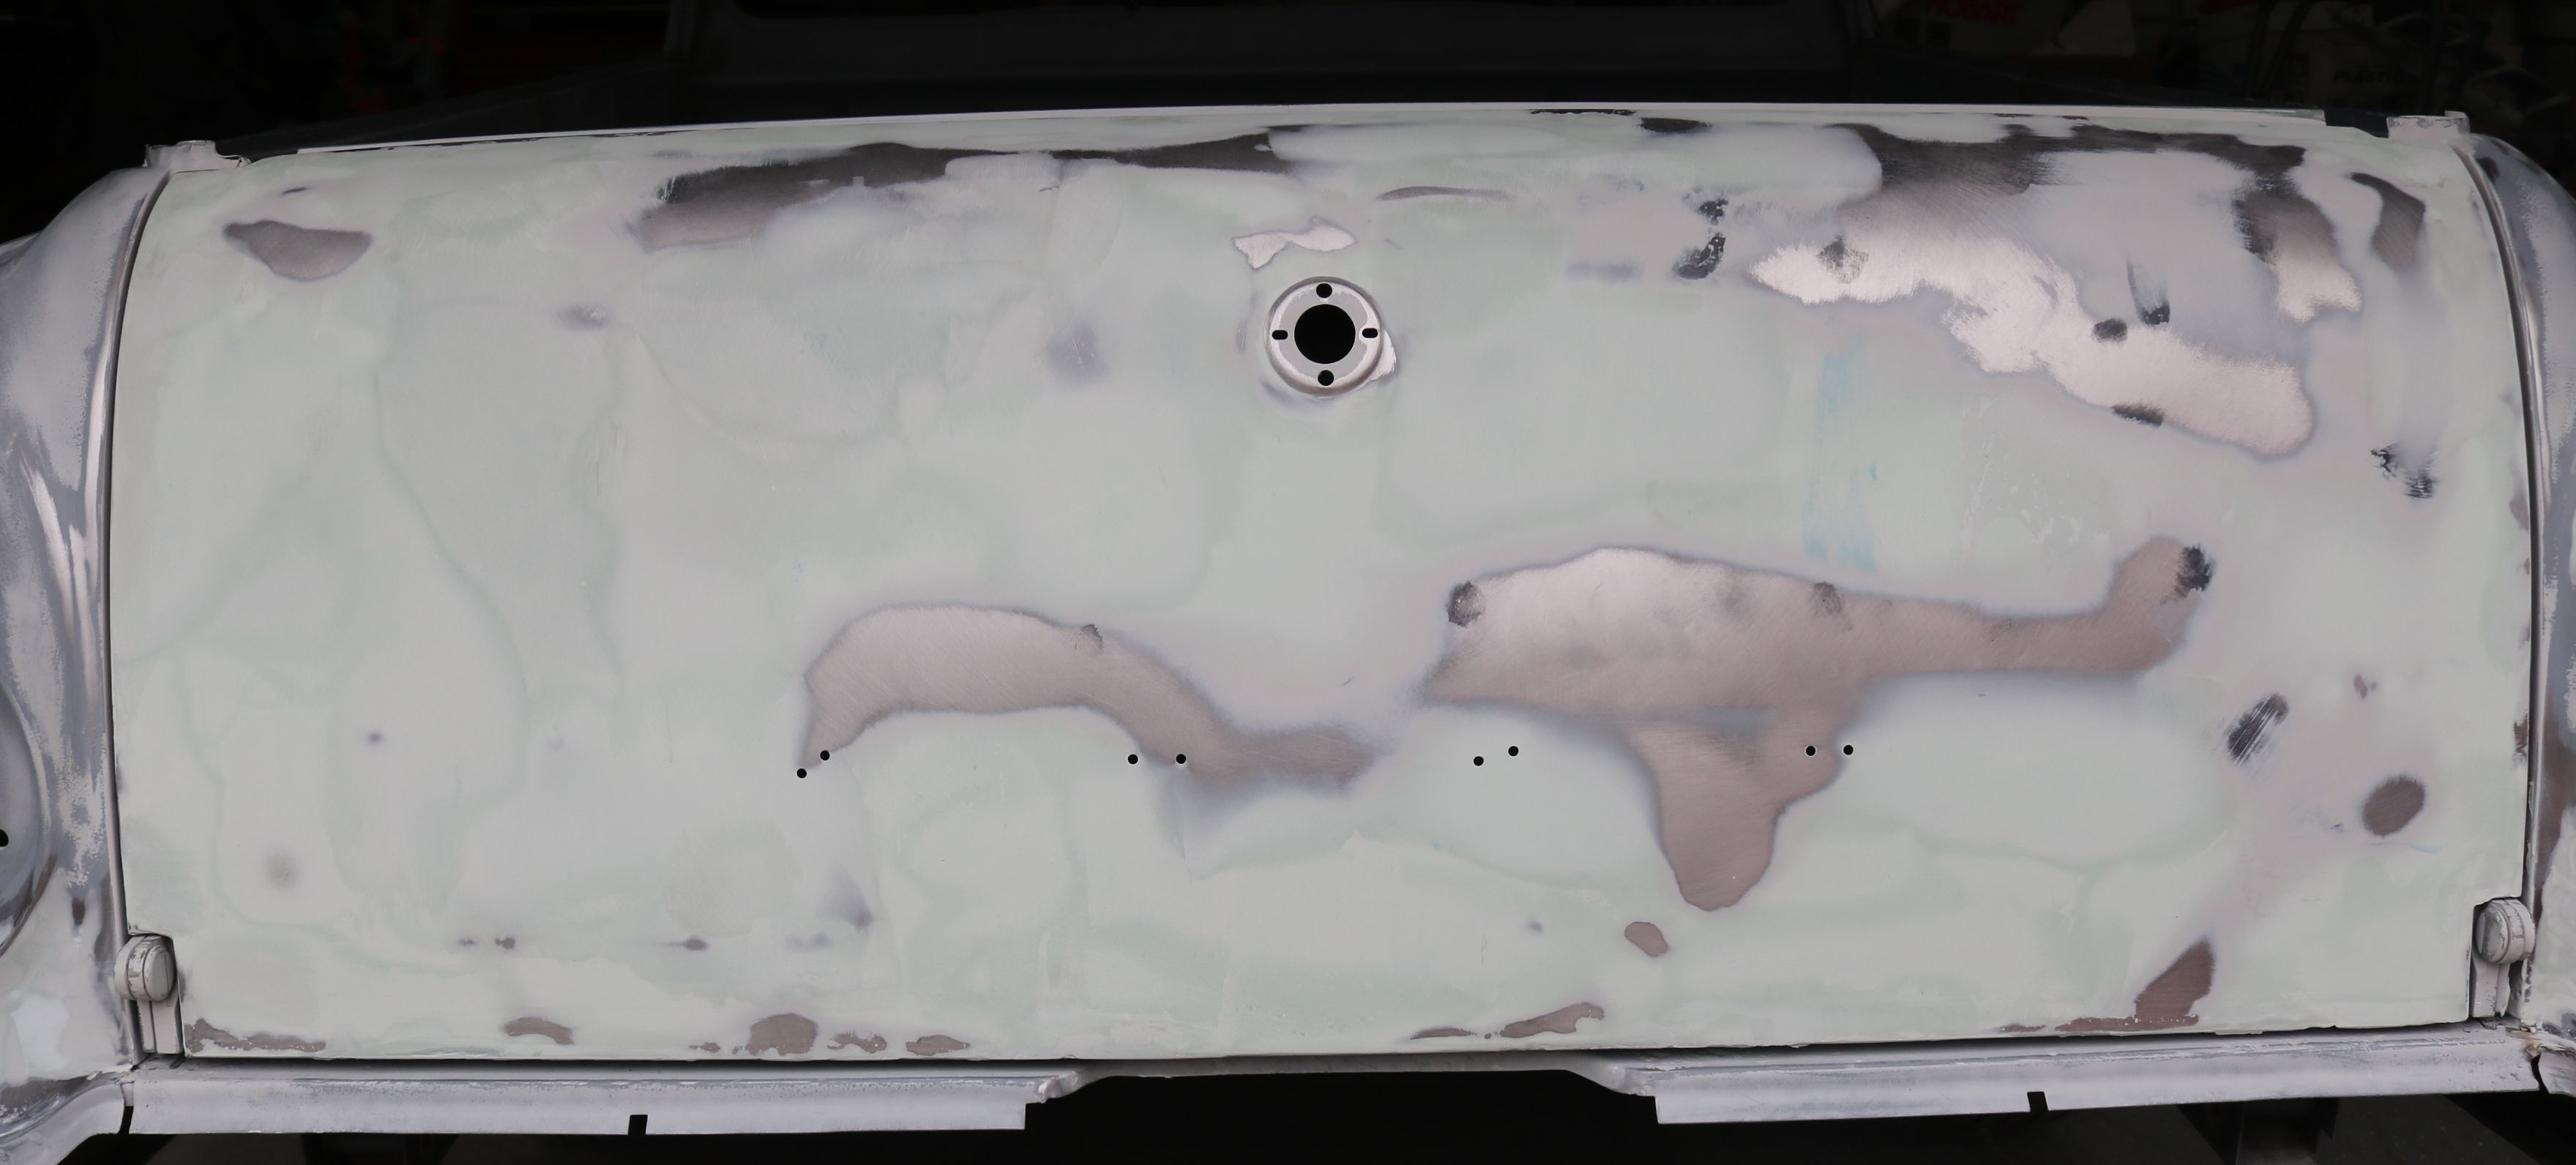
Sanding dust settles into all holes and crevices. Note the cloud from inside the tailgate. Unfortunately, that dust will cause problems with the paint so we have to blow until there are not more clouds.
|

Now that all the dust is out, it's to prep for spraying the featherfill, an easy to sand sprayable filler. This will ensure a flat finish and catch any imperfections that we missed before. Note the putty around the taillights. What is hard to see is that there is still a problem here that we didn't notice just yet.
|

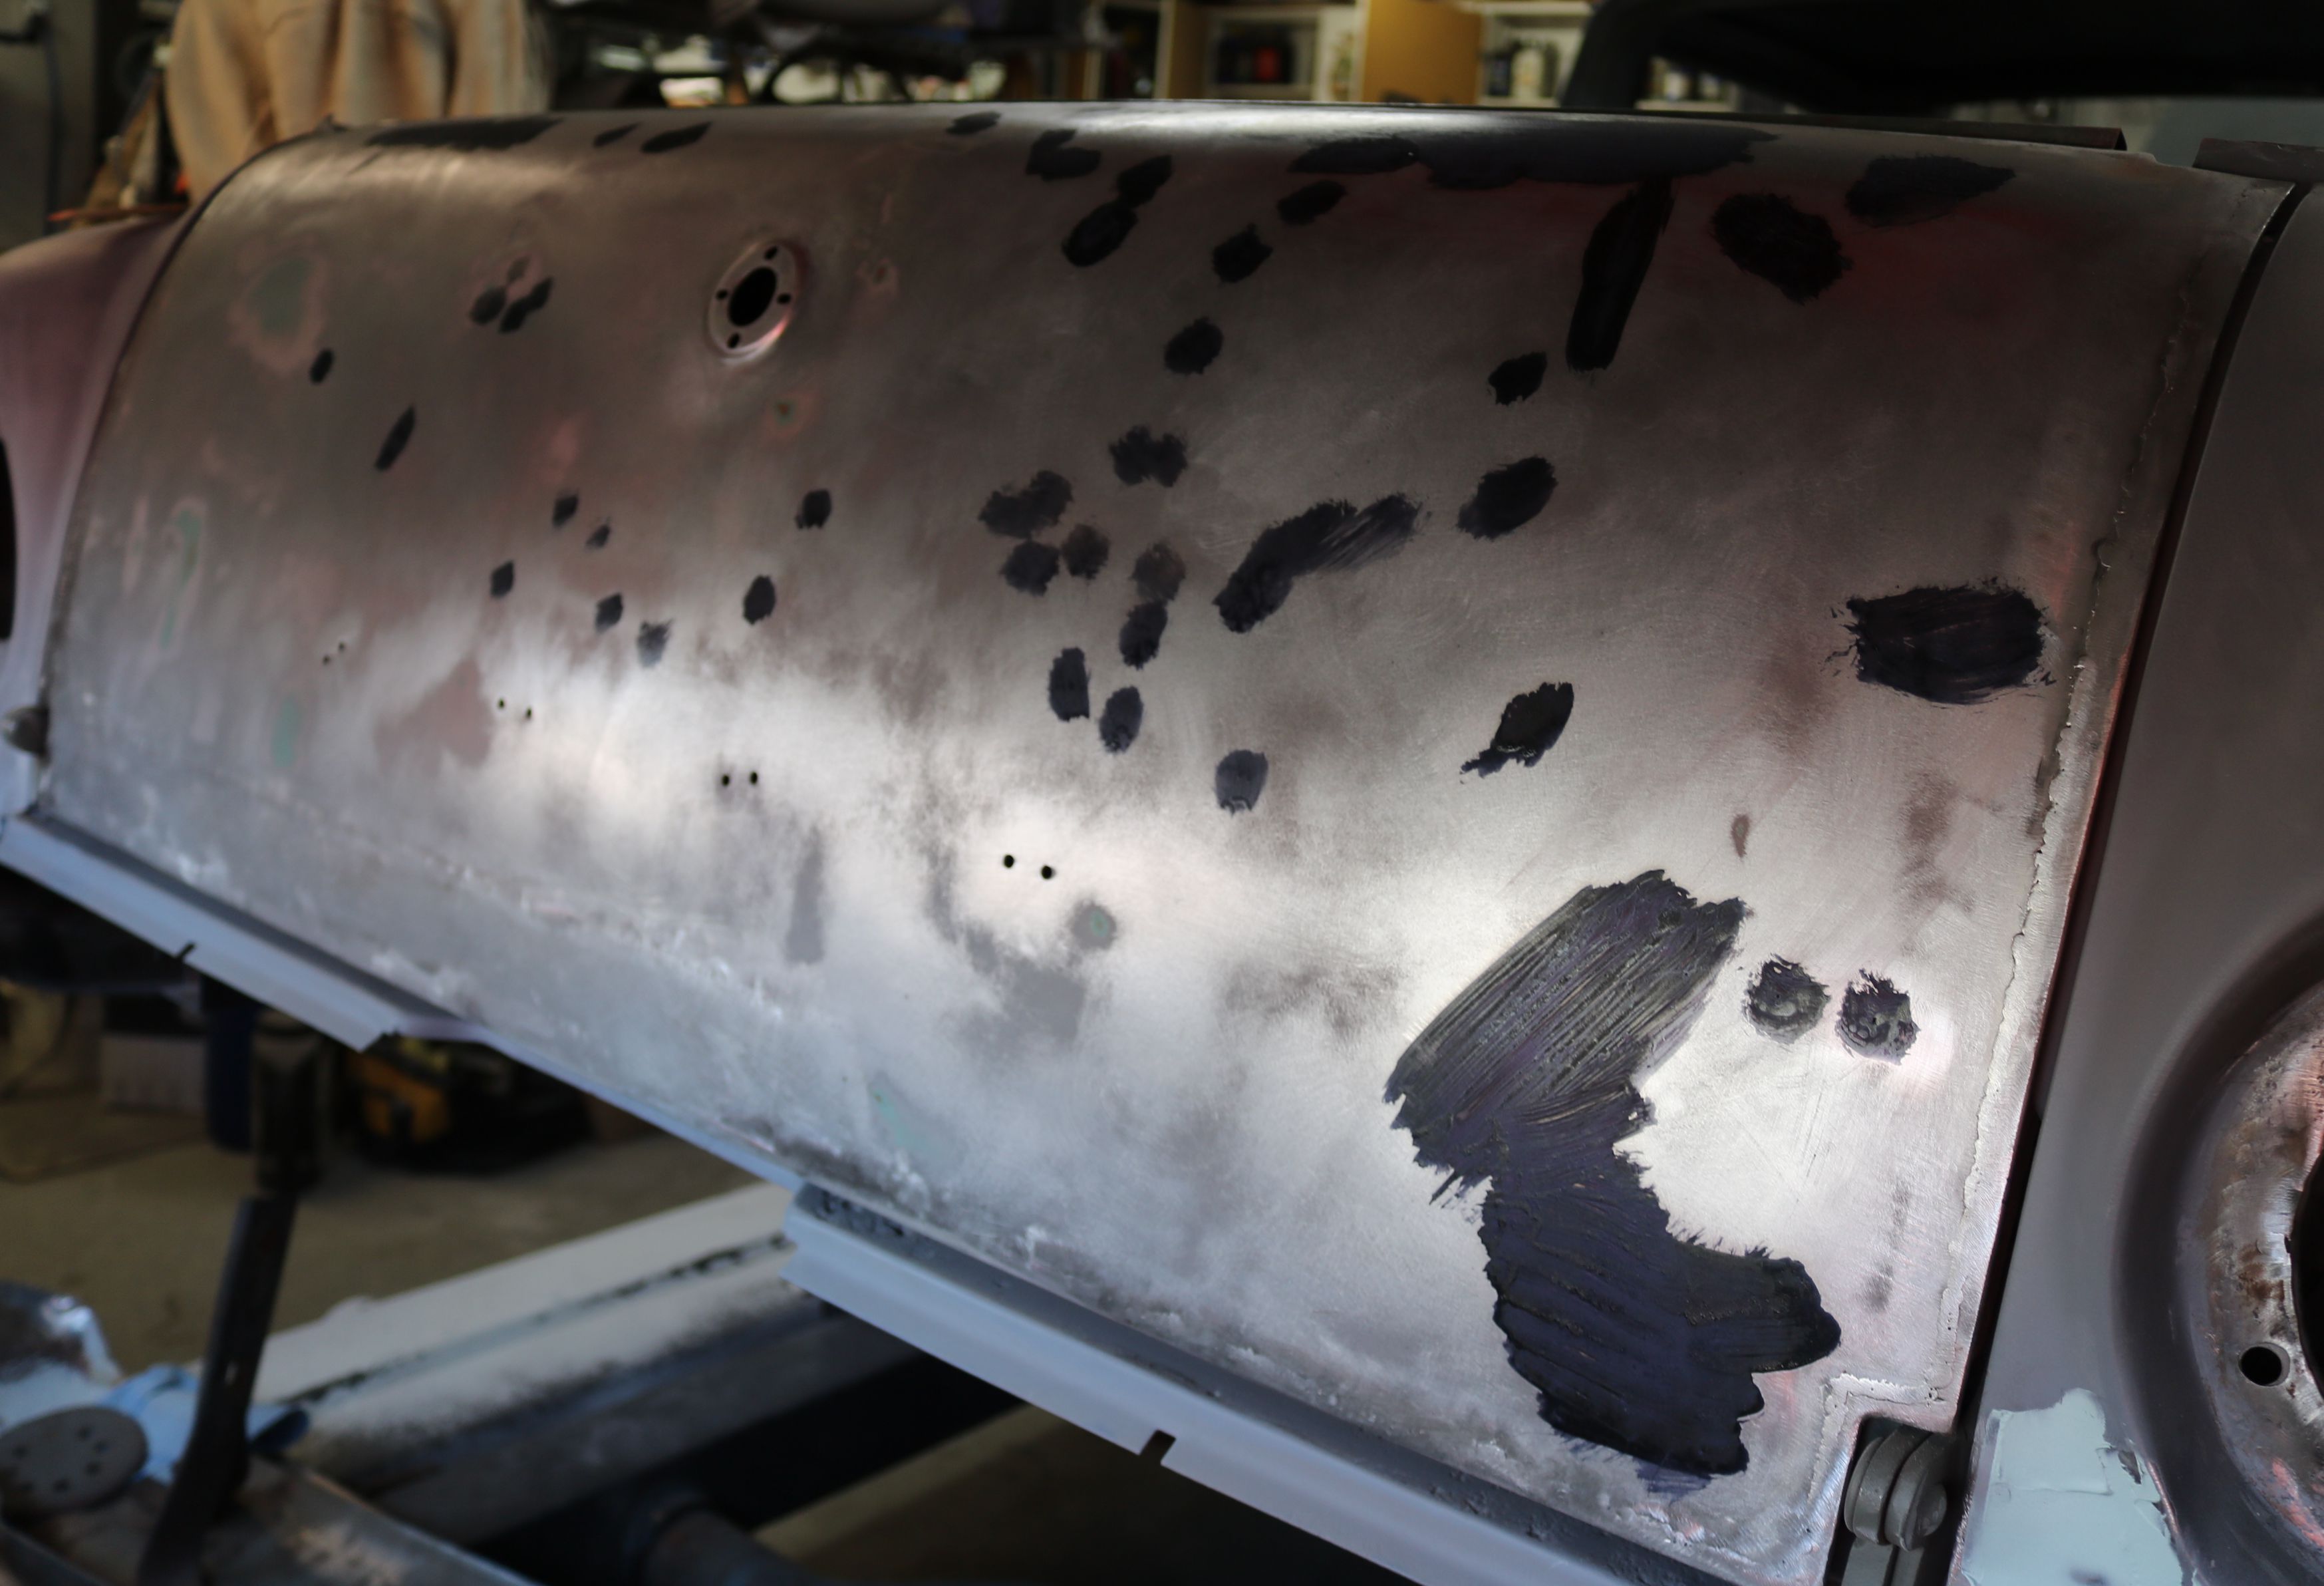
The putty down the driver side. Other than the lower problematic quarter panel, there really isn't much here.
|

And the passenger side is similar. The epoxy used on the door was white instead of gray. Also, note the unfinished wheel well, still waiting to be welded. More on this later.
|

The passenger taillight area. Note the shape at the top. It isn't right but it was hard to tell with all the mottled putty colors. Another redo area.
|

The hood ready for featherfill. Again, just minimal areas.
|

The roof. We know there are still some shallow lows, but we hope the featherfill will take care of them.
|
The tailgate was also sprayed with the white epoxy primer. It makes seeing the putty difficult, but the metal areas are where sanding occurred to get the putty flat.
|

All the major body work is done, except for the passenger rear fender, so it is time to tape off and spray the featherfill. Any place that is hard to sand should be taped off. While they worked on the front, I got to work on the floor drape.
|

