
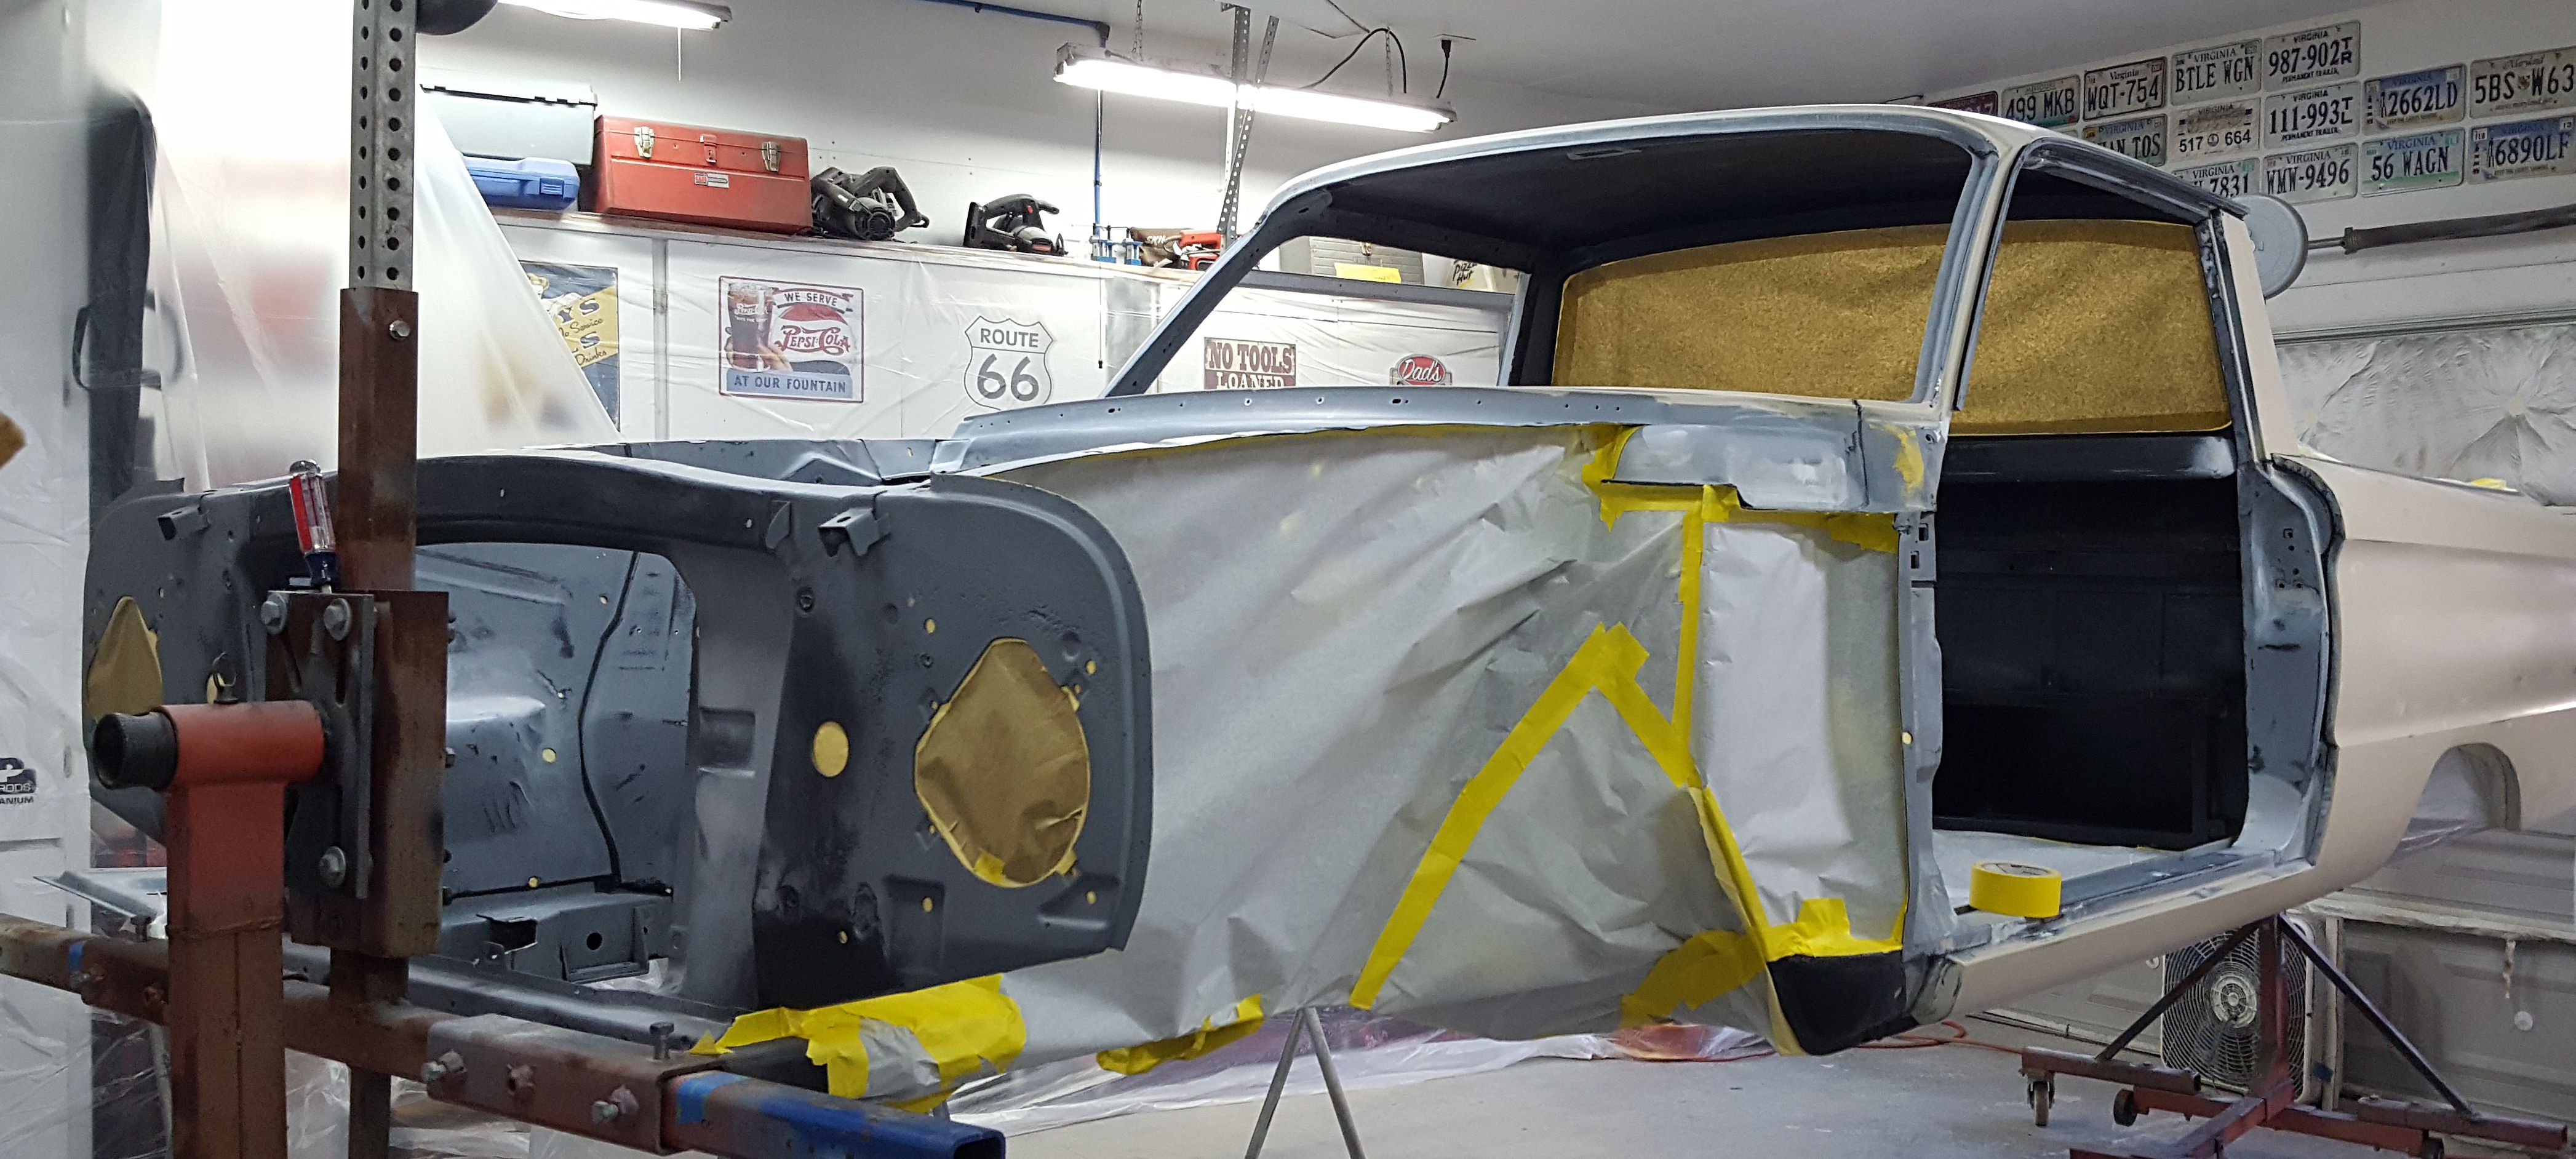
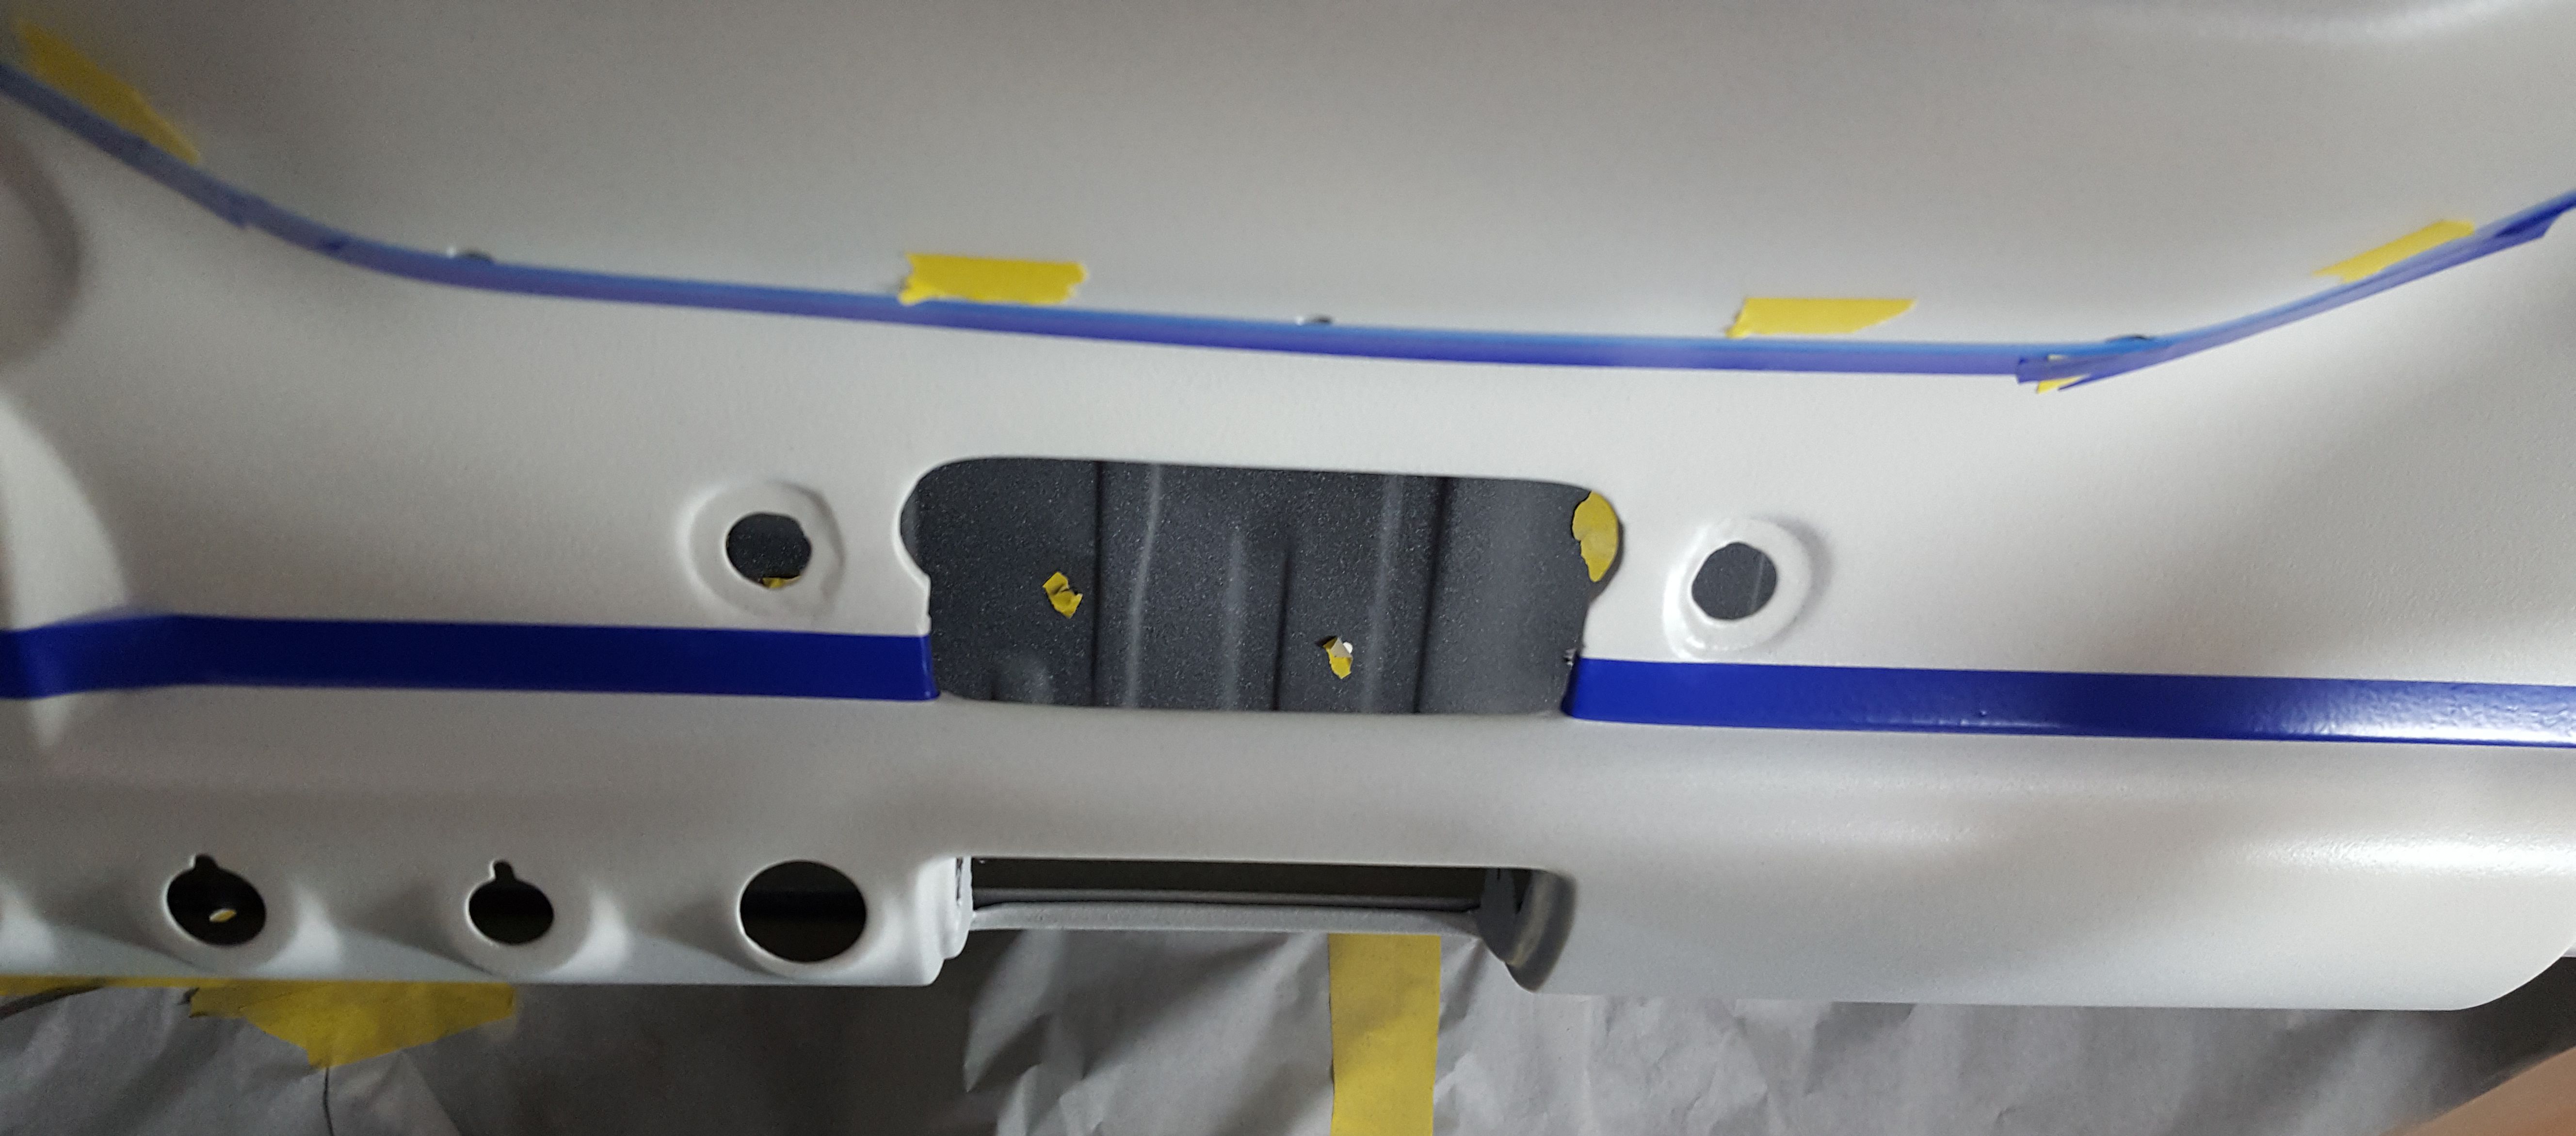
Much like when we sprayed the bedliner, all holes had to be taped up, this time on the opposite side of the panel.
|
The Mustang seat with the cardboard template and the doors to the storage
boxes. The design for the custom interior is shaping up nicely.
|

This is the back of the instrument cluster and since part of it shows on the dash, it will be sprayed white to match the dash.
|

No holes to tape here, since we will be spraying both sides.
|

We used the large plastic sheeting to seal off the bed, since it will not be sprayed yet. It is still in the bodywork stage.
|

The dash stainless and instrument cluster were set in place to help lay out the tape line between the yellow and the white on the dash.
|

The inside of the outer tailgate panel, in the original factory green. The panel was scuffed to give it tooth for the paint to stick to, but since none of this will be seen, it doesn't have to be smooth.
|

The entire body was given a light seal coat . . .
|

Including the inside of the roof. This was primarily to seal anything down and provide some protection. A vinyl headliner is already waiting for installation.
|
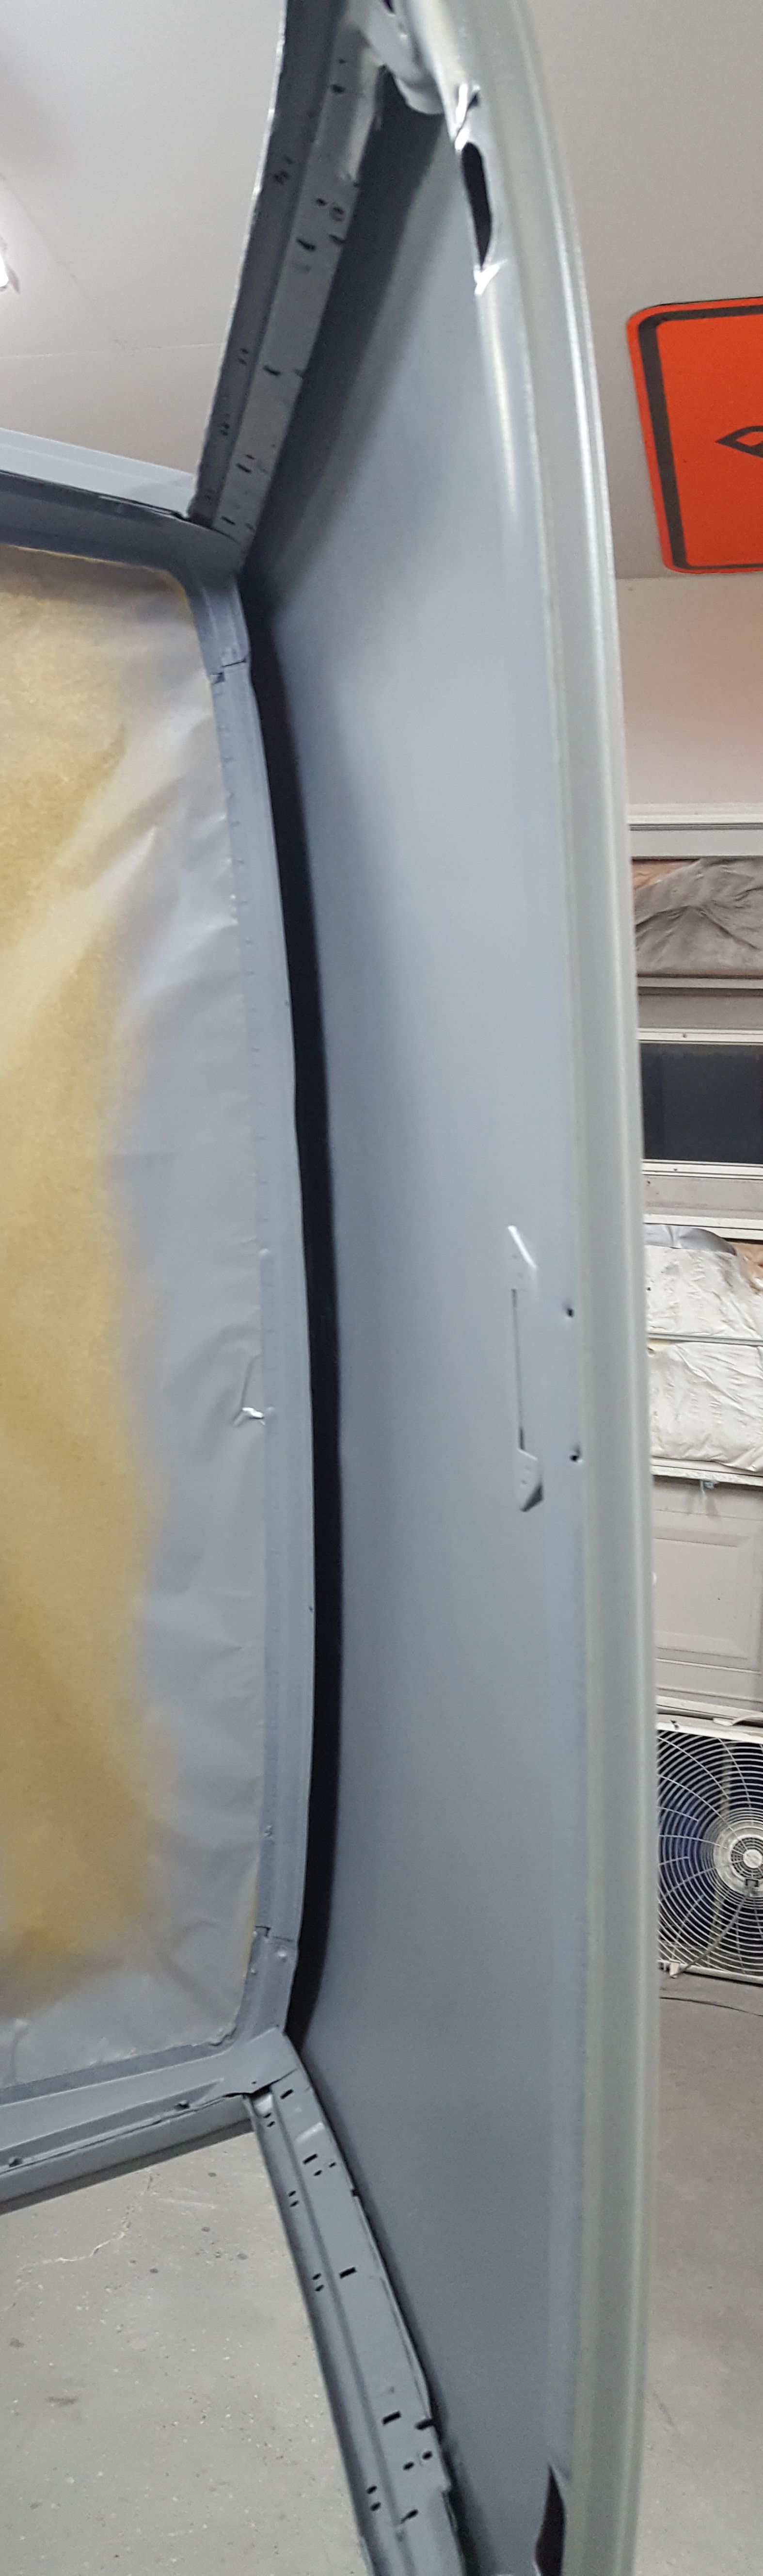
The inside of the roof. Stepping in and out of this area for painting was problematic in this position of the rotisserie. But we need the rotisserie in this position to better reach the roof of the car.
|

The hood with the seal coat. The top side is taped off and will be sprayed later.
|

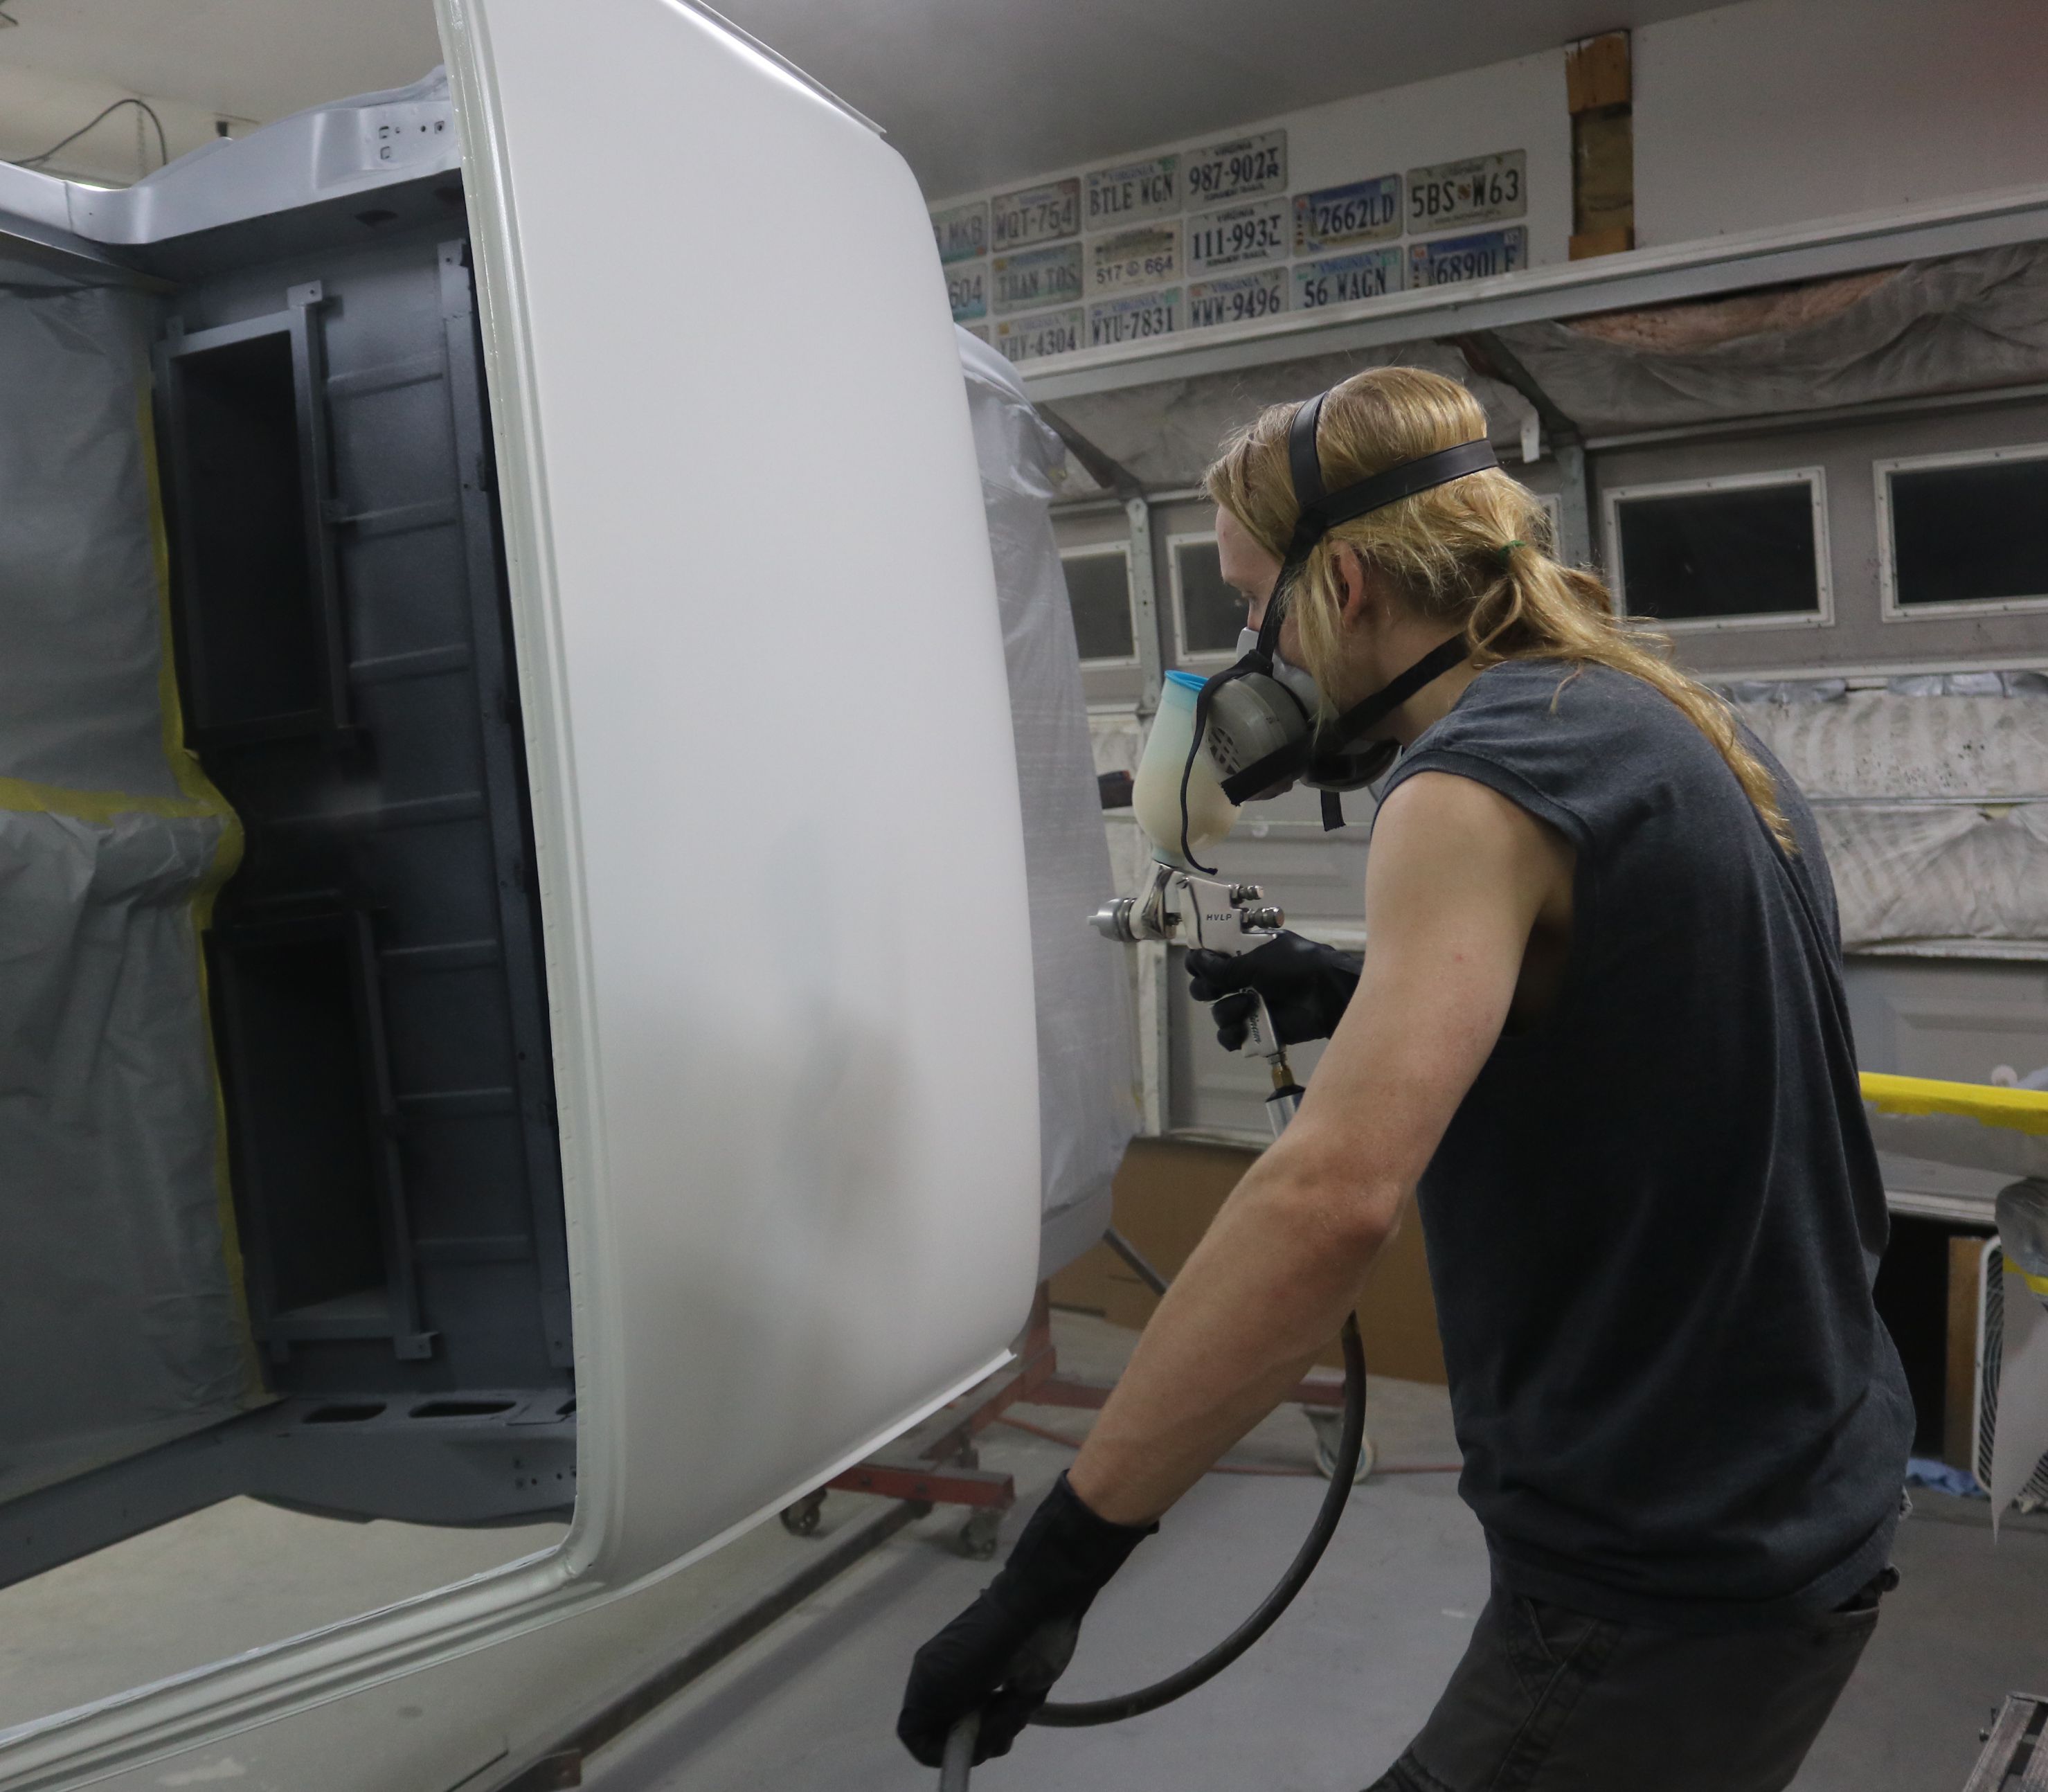
The white base coat for the dash and the roof.
|
We thought the white was covering pretty well.
|

The pearl base coat for the white to give it a shimmer in the sunlight.
|
Spraying the pearl on top of the white was tricky. There was little change so figuring out what had already been sprayed was difficult.
|

The top edge of the roof will be reached by a step stool.
|

The roof with both the white and pearl base coats. There is some shimmer, but not as much as we expected. We should have guessed that something was off.
|
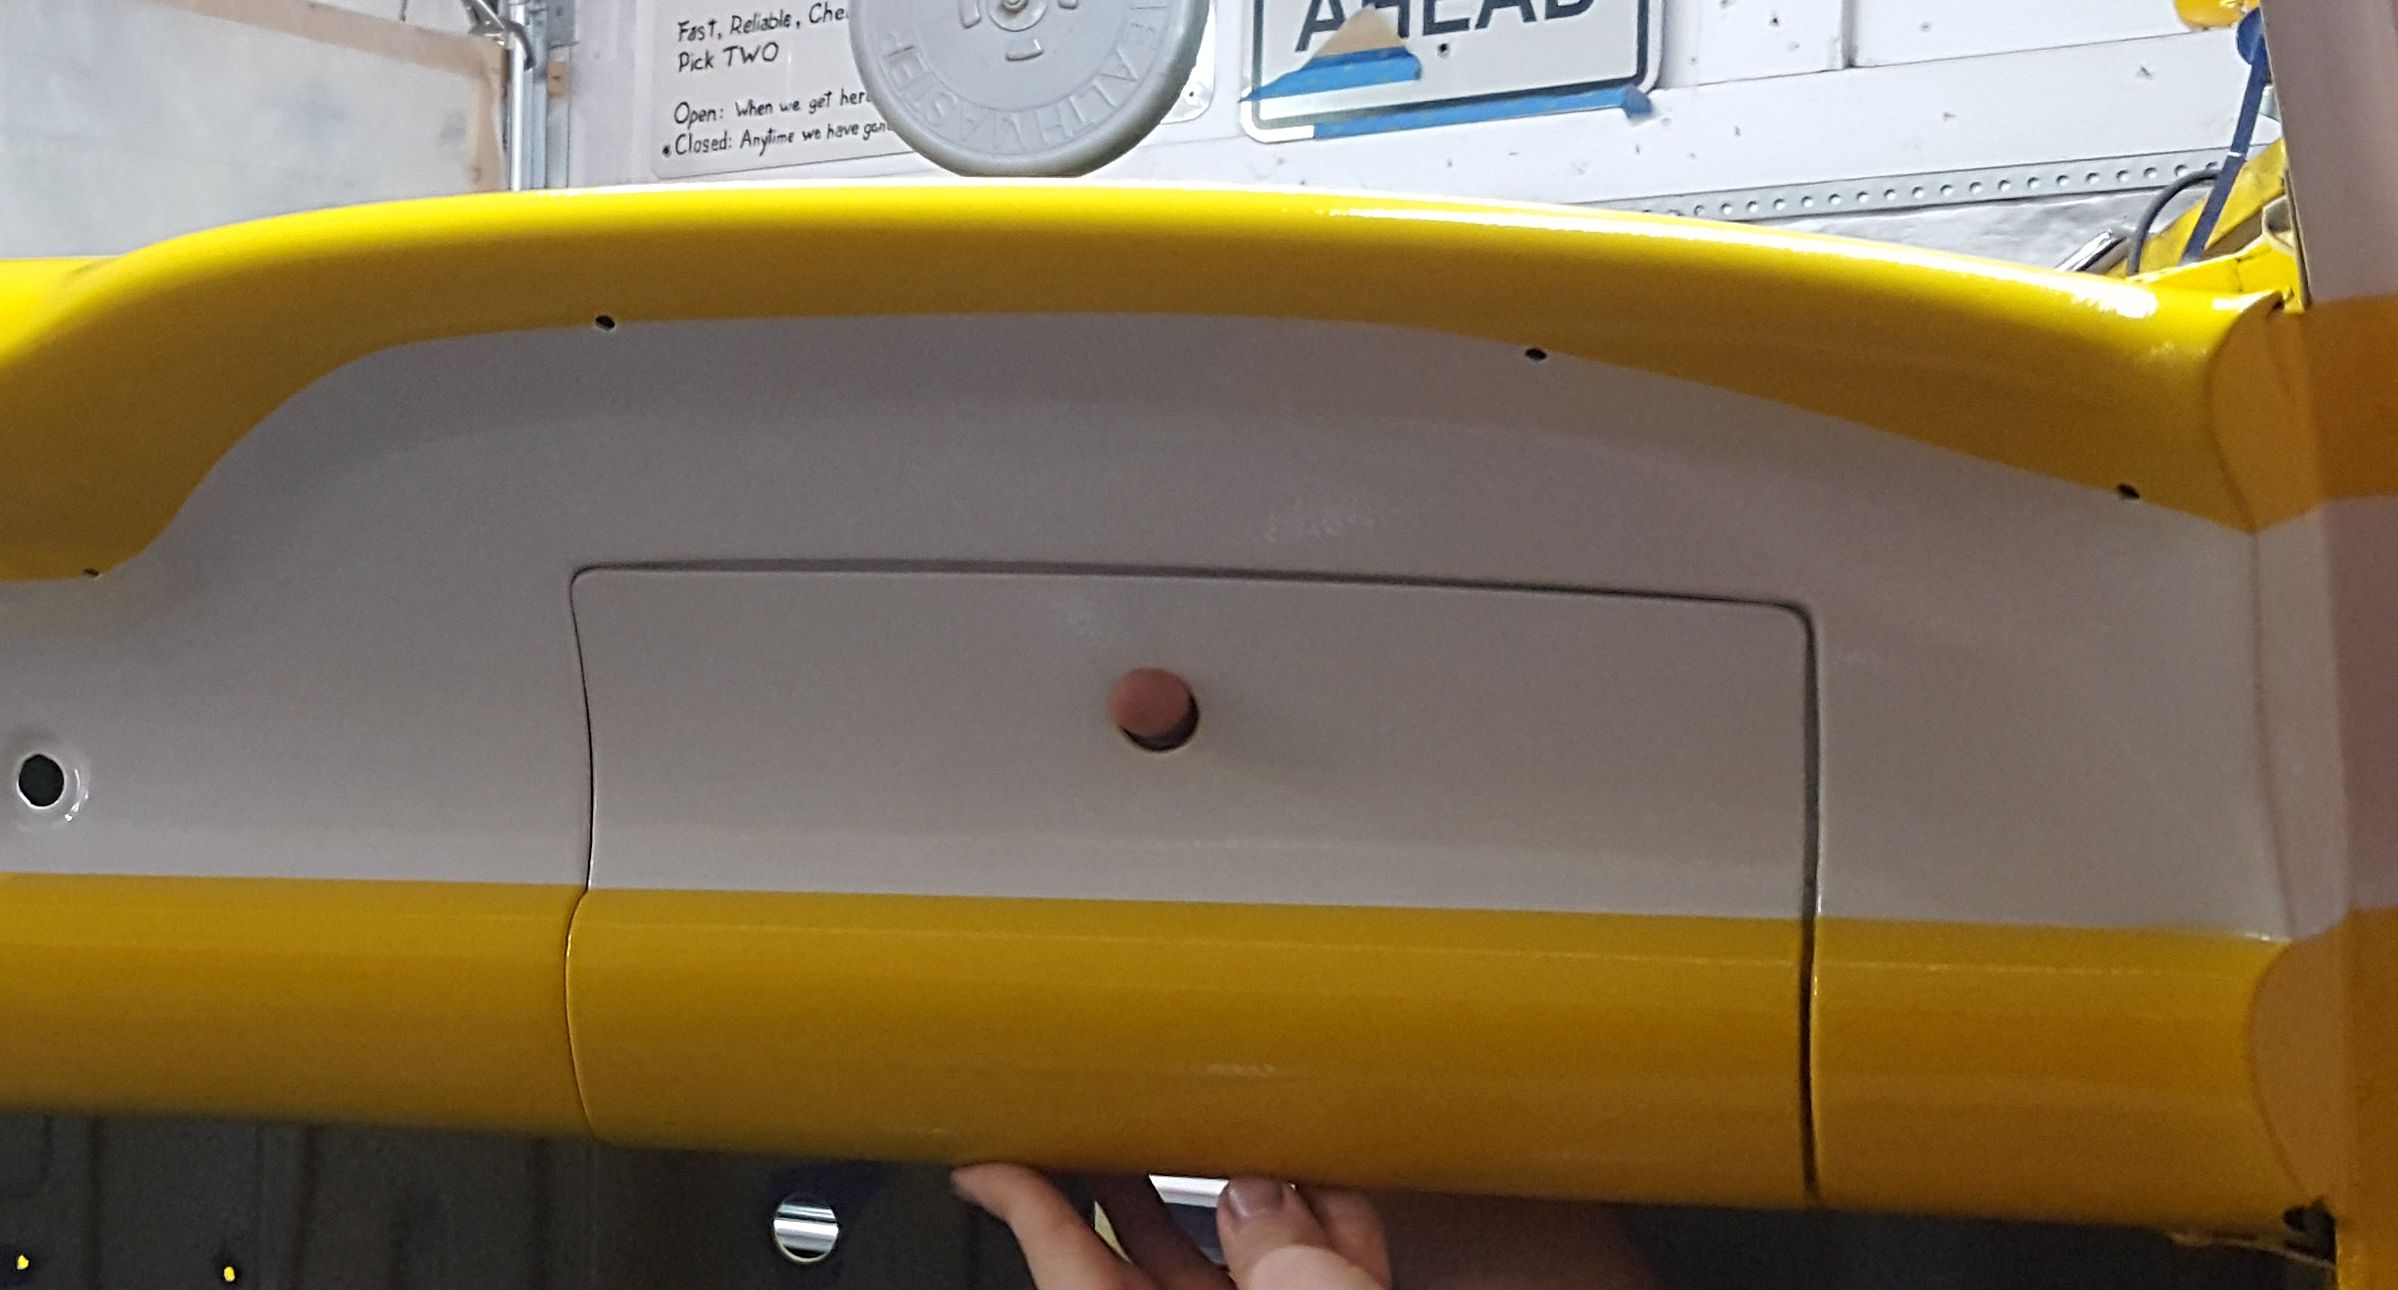
The dash with the tape lines for the stainless and the bottom body line. Everything in between will remain white and the rest of the dash will be sprayed yellow.
|

The glove box door with the matching tape line at the body line.
|

Then we had to untaped the yellow and tape up the white. The goal is to spray yellow, then untaped the white and spray clear on both colors.
|

Again the large plastic sheeting was used to cover the bed and the floorpans.
|

This is called Competition Yellow. Yep, it's a bold racing color.
|

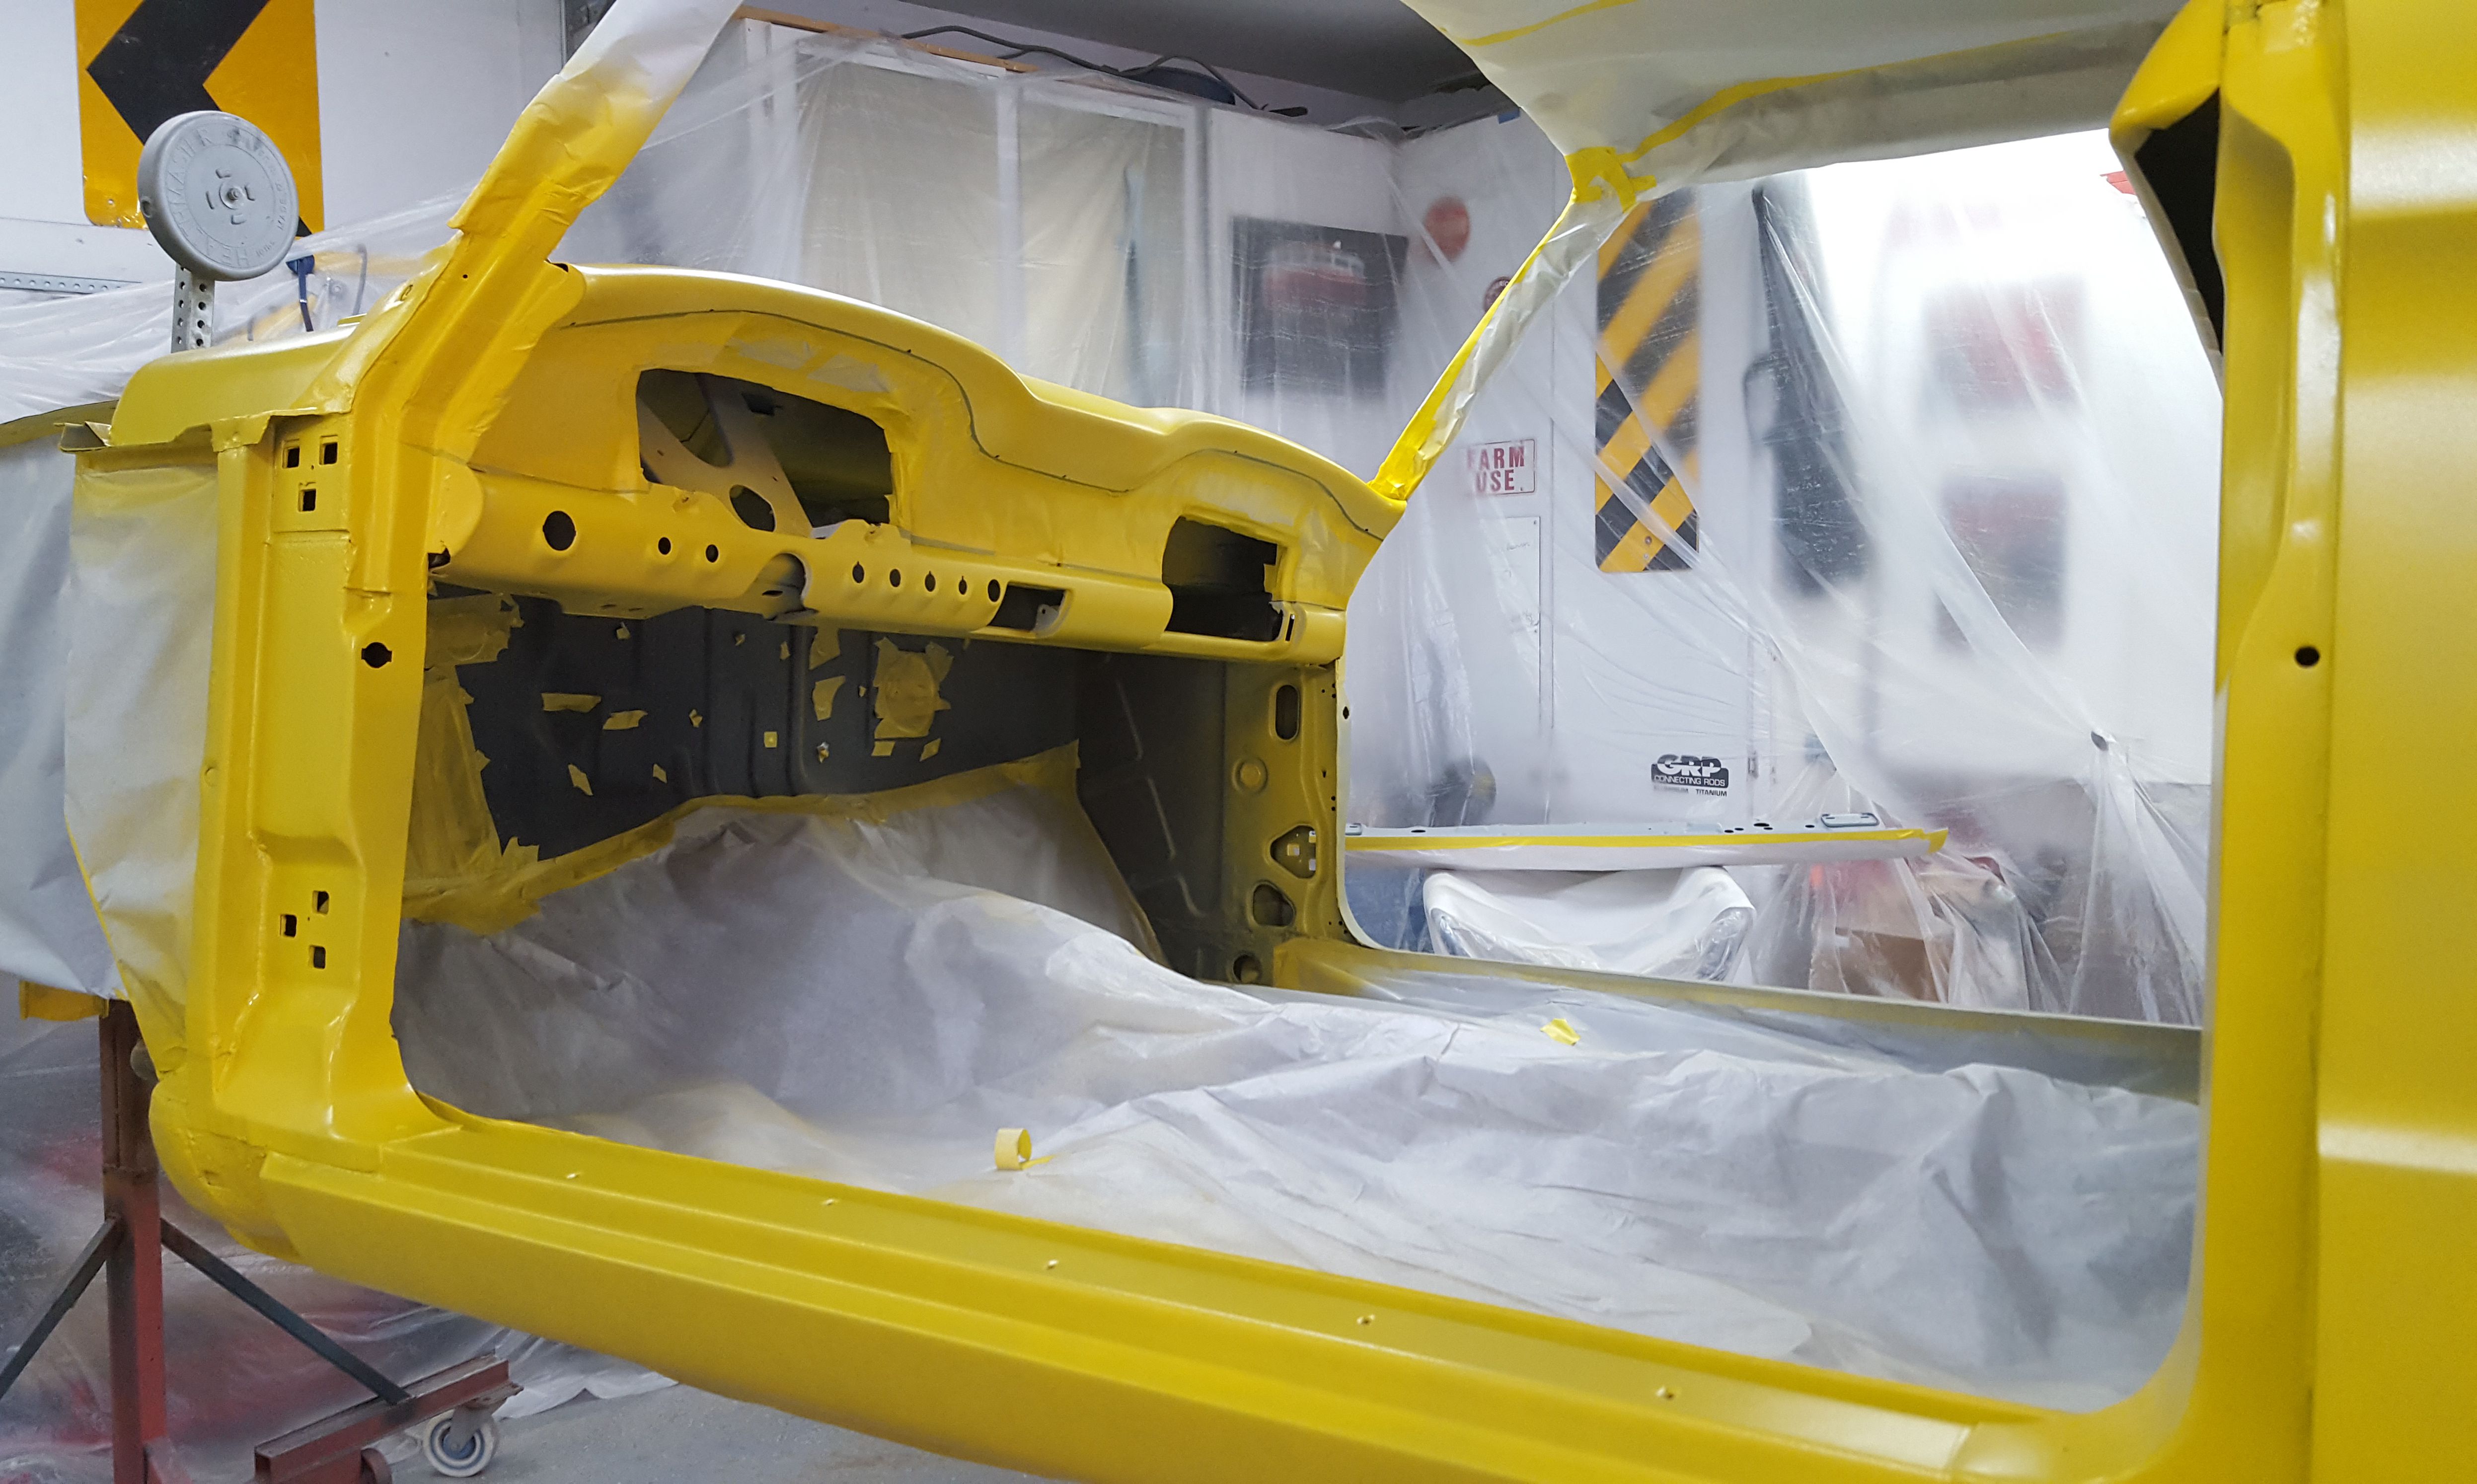
The engine bay was sprayed yellow first.
|

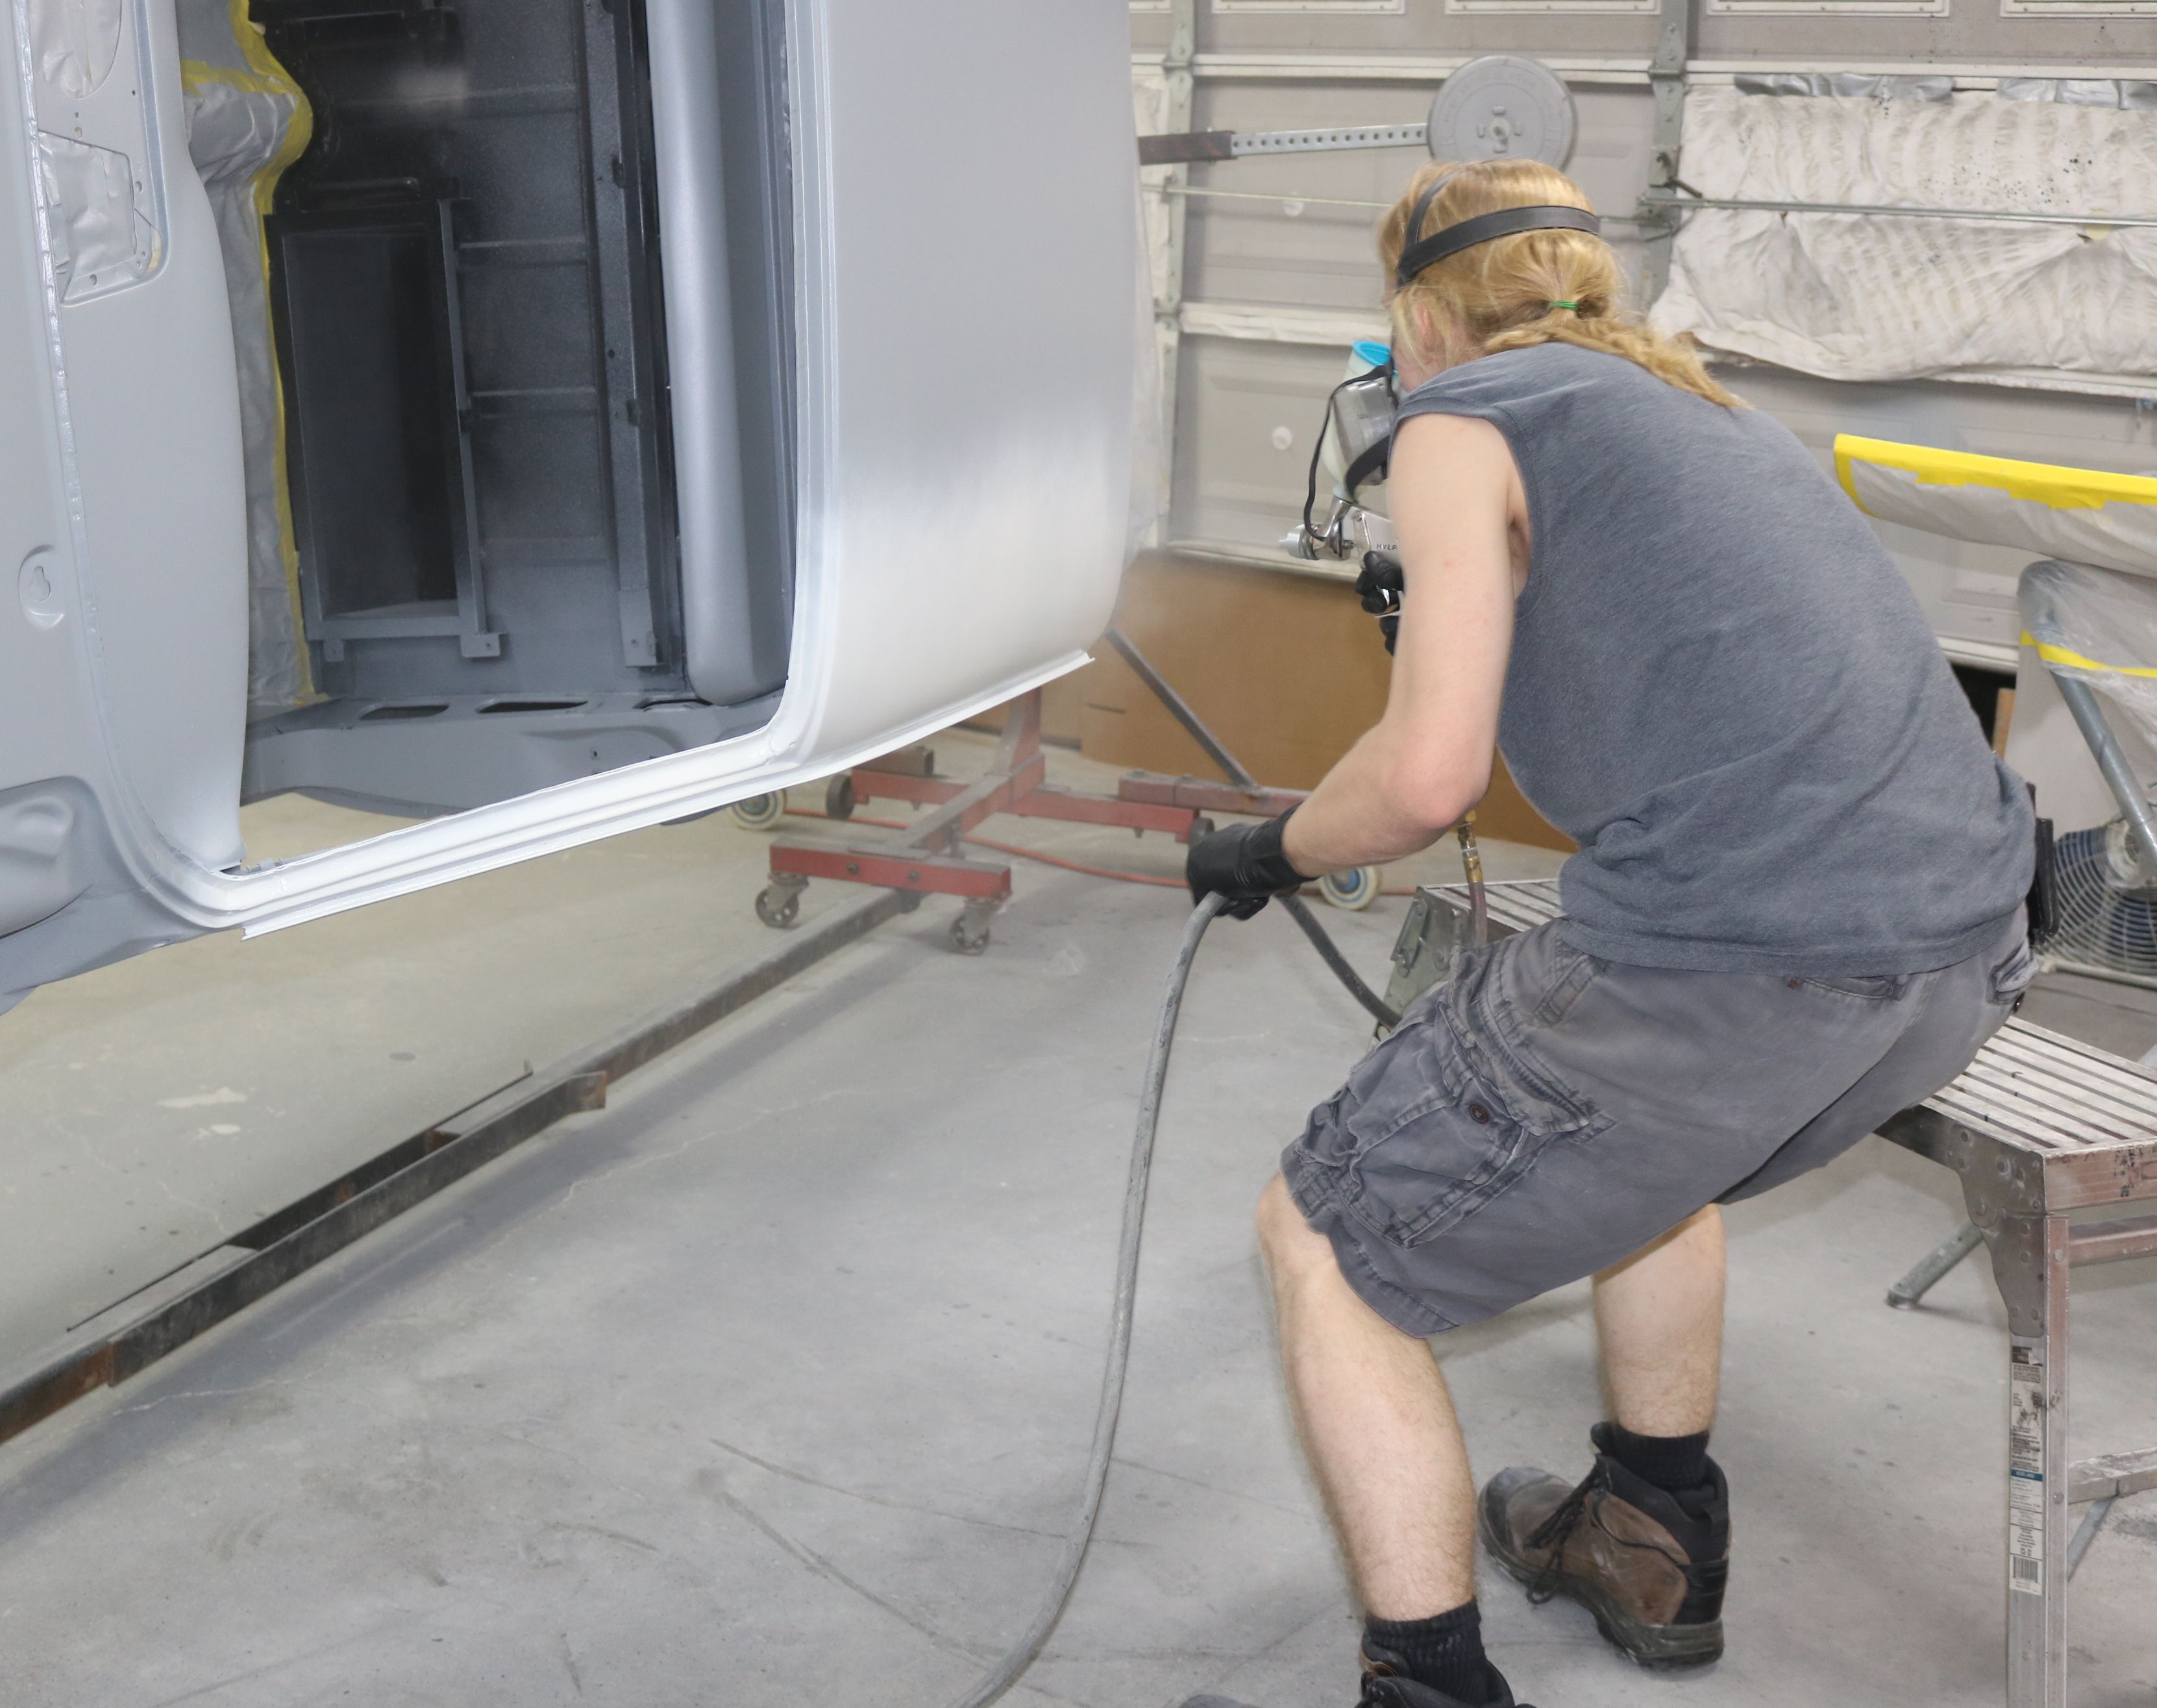
Father and Son took turns on the spray gun. The body is looking good.
|
In clear. This is when we started suspecting a problem. It was not as shiny as it should have been.
|

The two toned dash looks sharp though.
|

The driver fender in clear. Rough and no depth.
|

Once the clear was sprayed, everything was untaped.
|
The dash, complete with the glove box door. Nice color combination. However, if you look close, you can see the roughness in the paint as the reflection of the light is fuzzed. It should have some depth in the reflection.
|

The hood is the same roughness with no depth.
|

Even the roof was rough with no depth.
|
And here is where we really saw the problem, the color in the engine bay was speckled with gray peeping through. We didn't catch that the gun was spraying light. So much for forward progress. But seeing color finally did reinvigorate us to fix this problem and get this beauty back on the road.
|

