
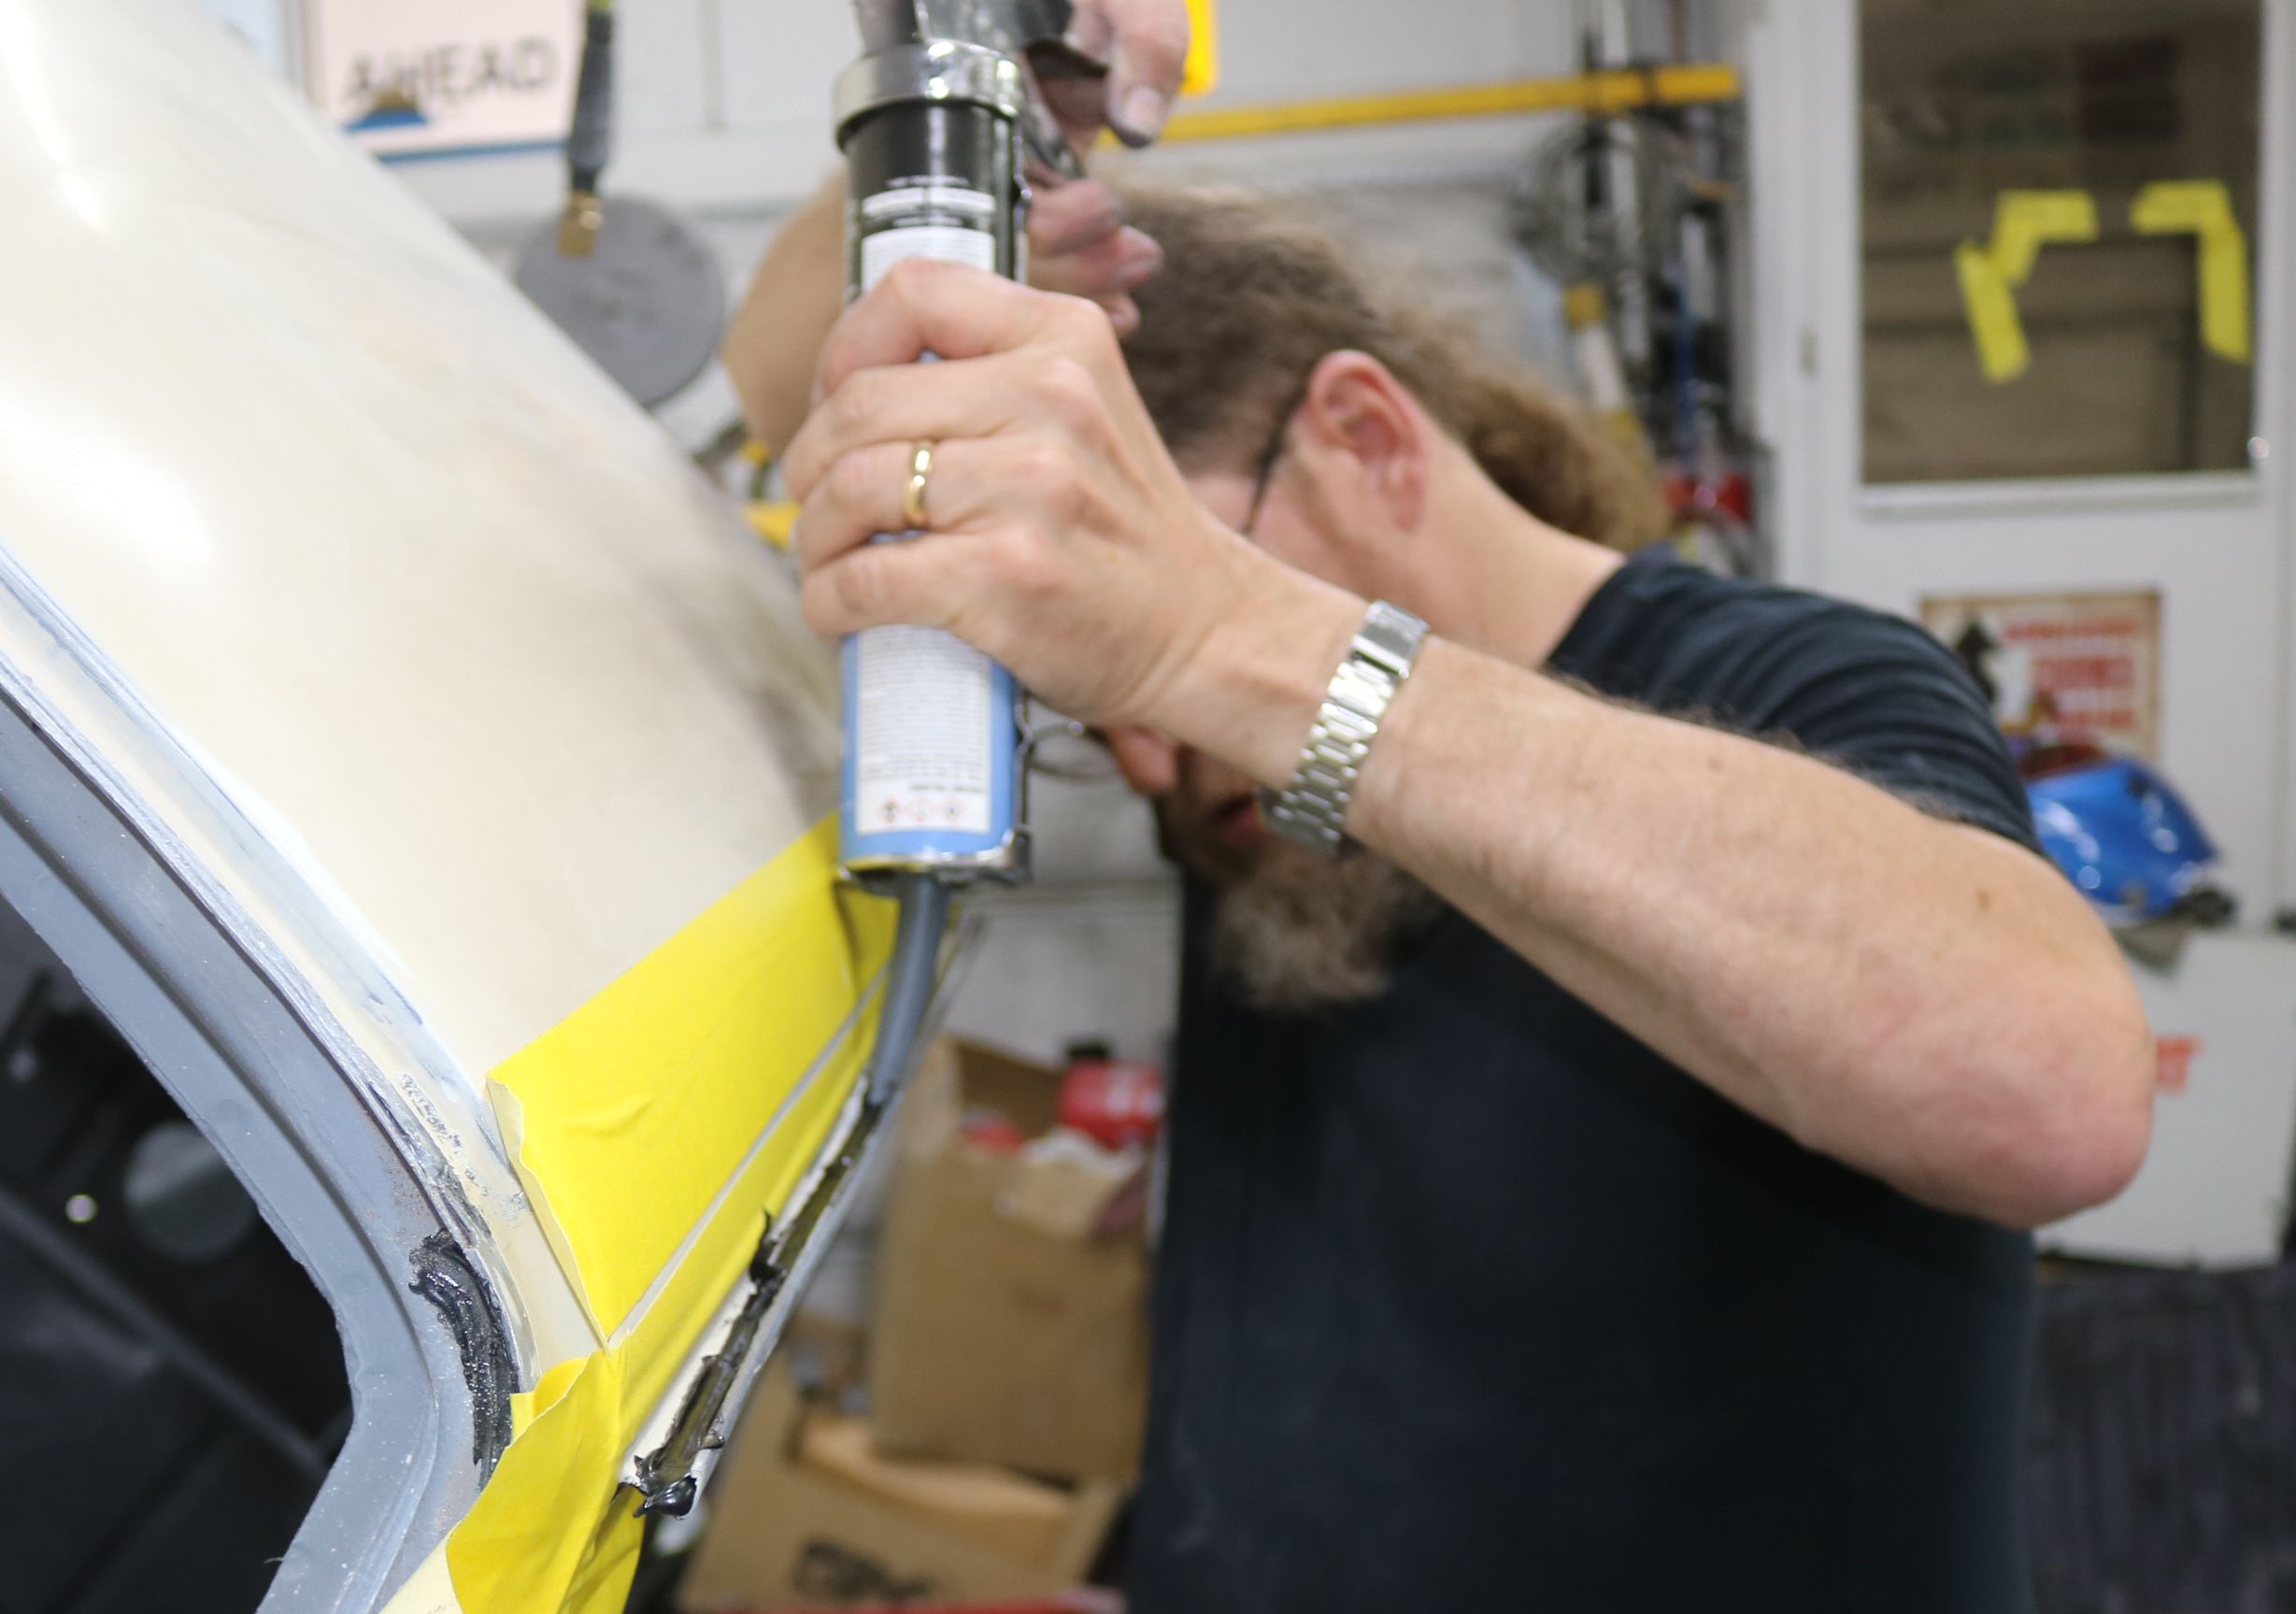
From the factory, all panel seams are sealed to prevent moisture from getting between the layers and causing rust. We know all about rust on this car, so the seams were sealed back up using a flexible seam sealer.
|

The yellow tape is to give a good, clean line for the finished product. The seam sealer goes between the tape lines.
|

The engine bay taped off for seam sealer.
|

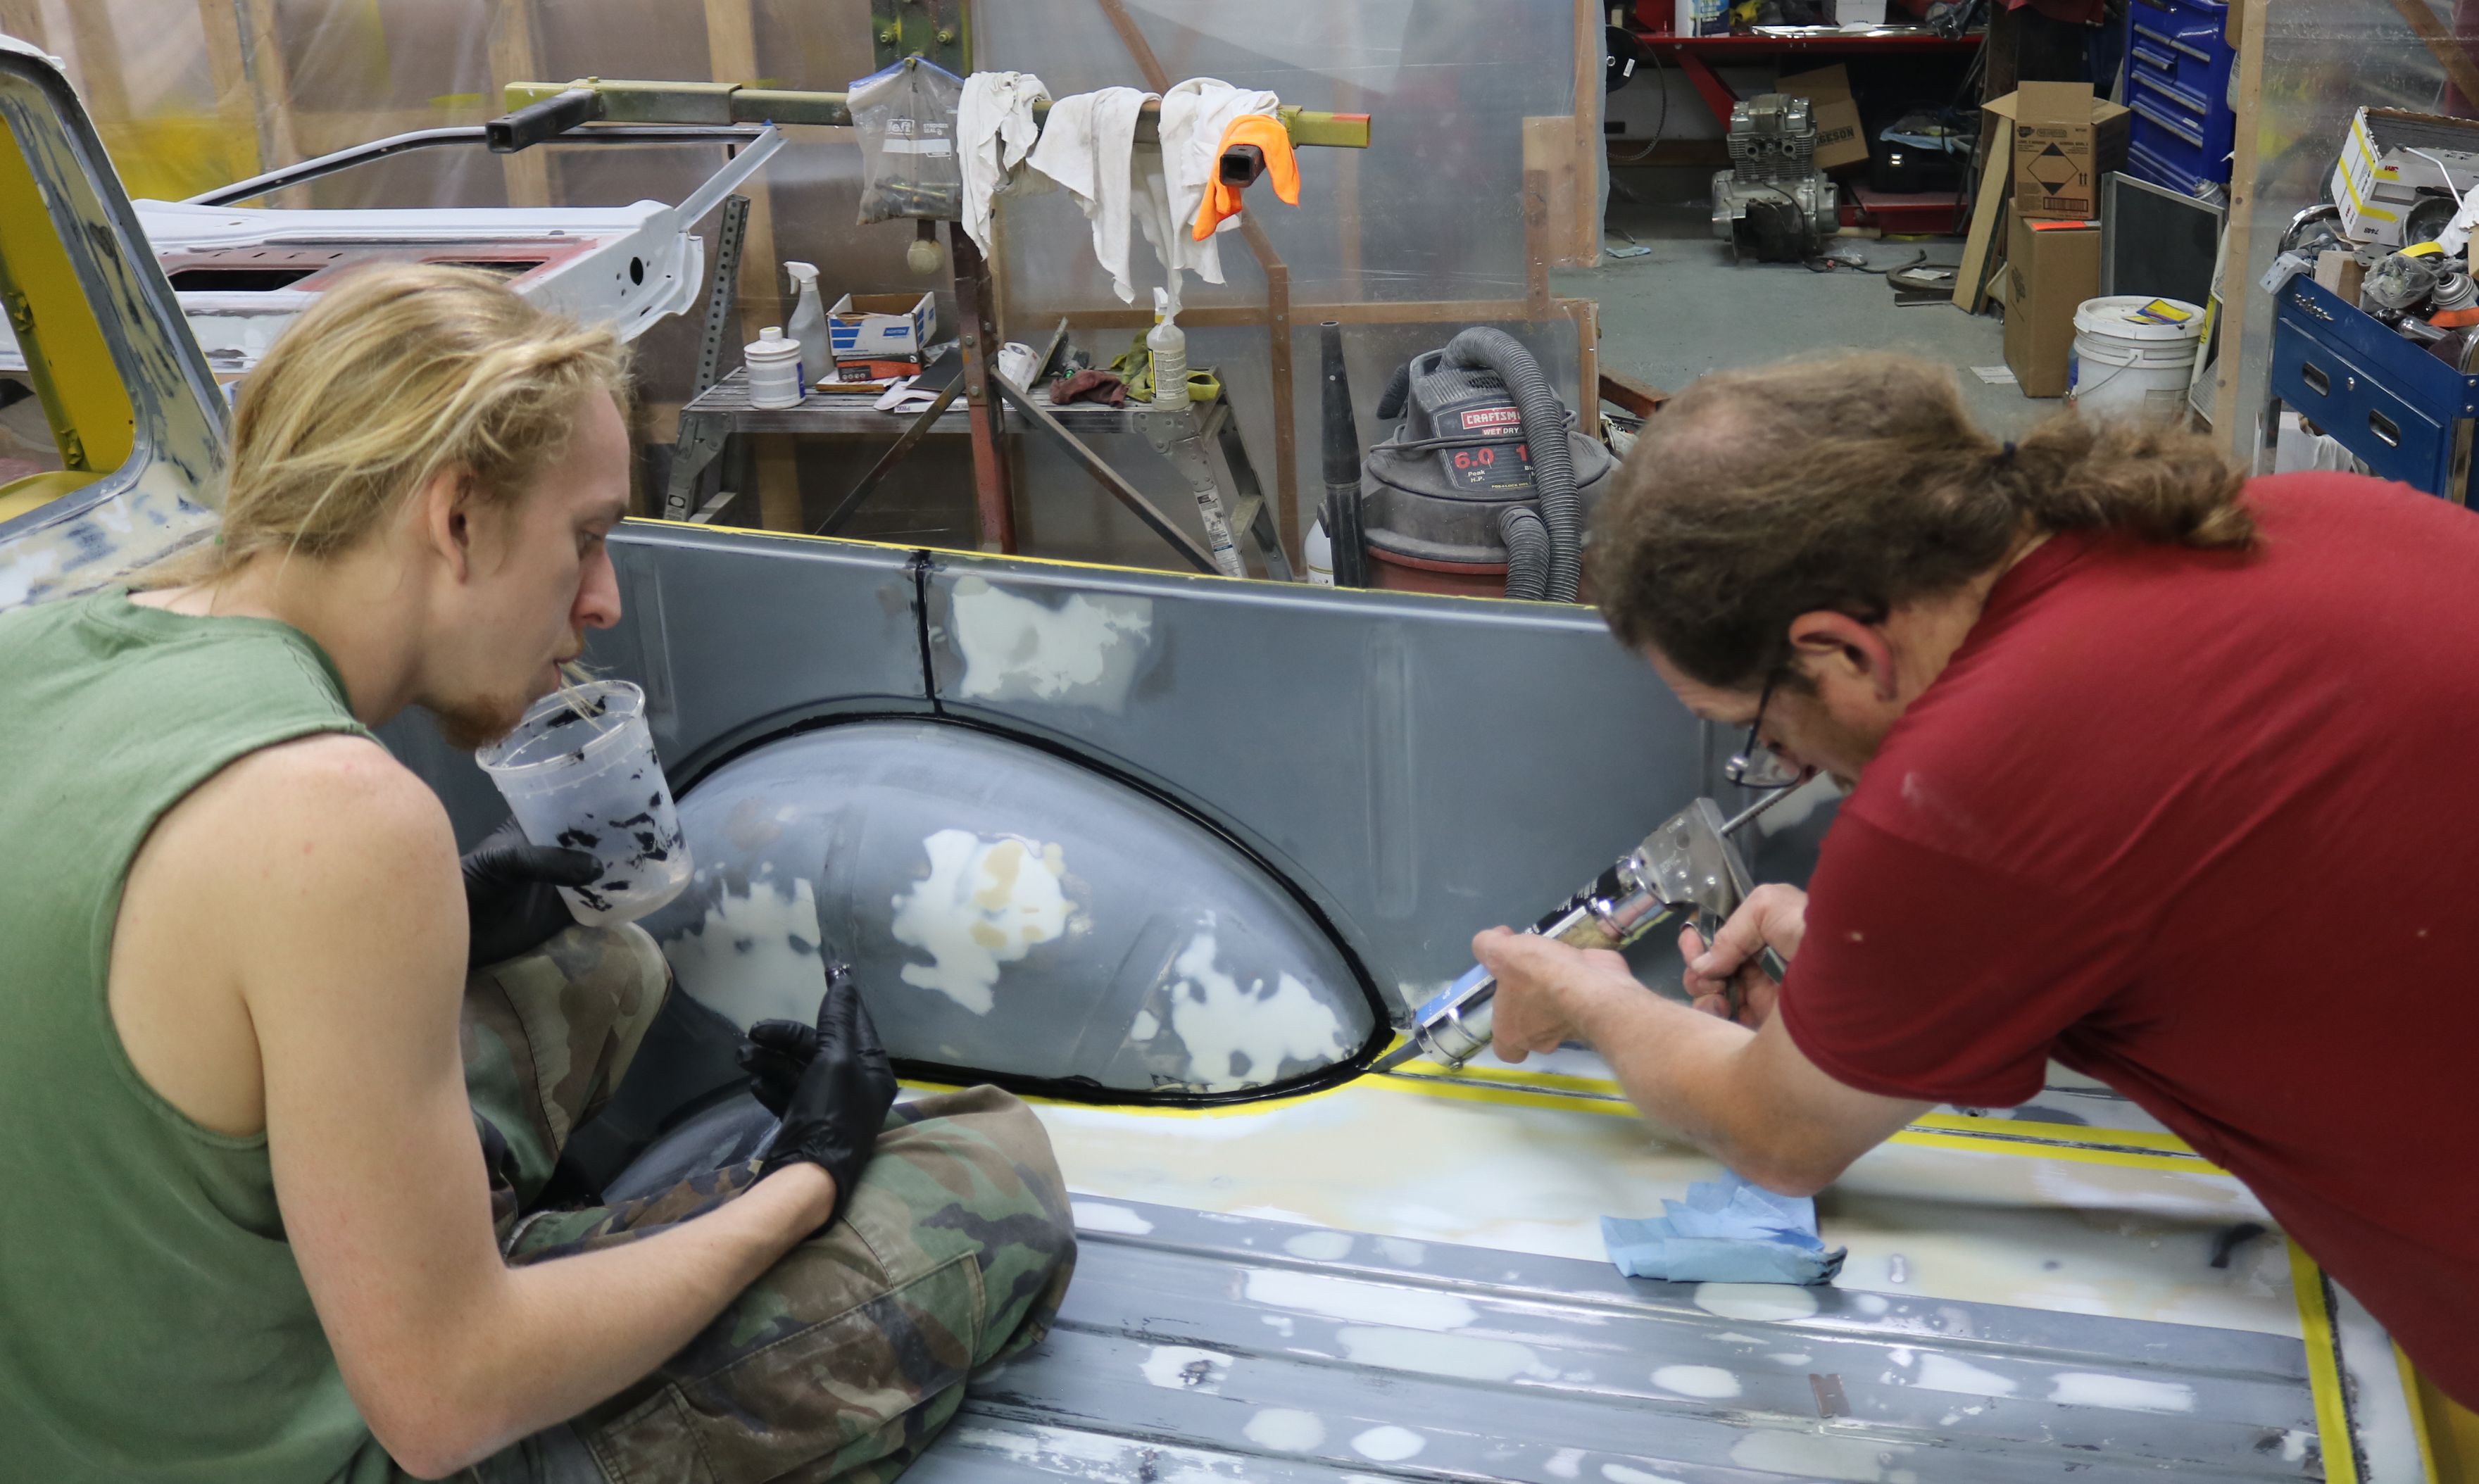
The Father-Son team tackles the seam sealer. While Dad uses the caulk gun and a steady hand, our Son smooths the sealer with a bit of laquer thinner.
|

Before the sealer can dry fully, the tape is peeled off to allow the line to lay back down flat.
|

The passenger sideof the engine bay. Paint will go over the seam sealer and hide all this meticulous work.
|

The sail panel was easy to reach, but had to be straight as this is highly visible.
|

A gentle wipe over and the sail panel looks good.
|

After months of metal and body work, we thought that was all done. But nope, the tip of the caulk gun showed us that the drip rail was slightly bent on the passenger A pillar. We had to straighten it before we could finish the seam sealer.
|
 Now to partially fill the drip rail. The extra wide tape strip is to keep the caulk gun from scratching the bodywork.
|
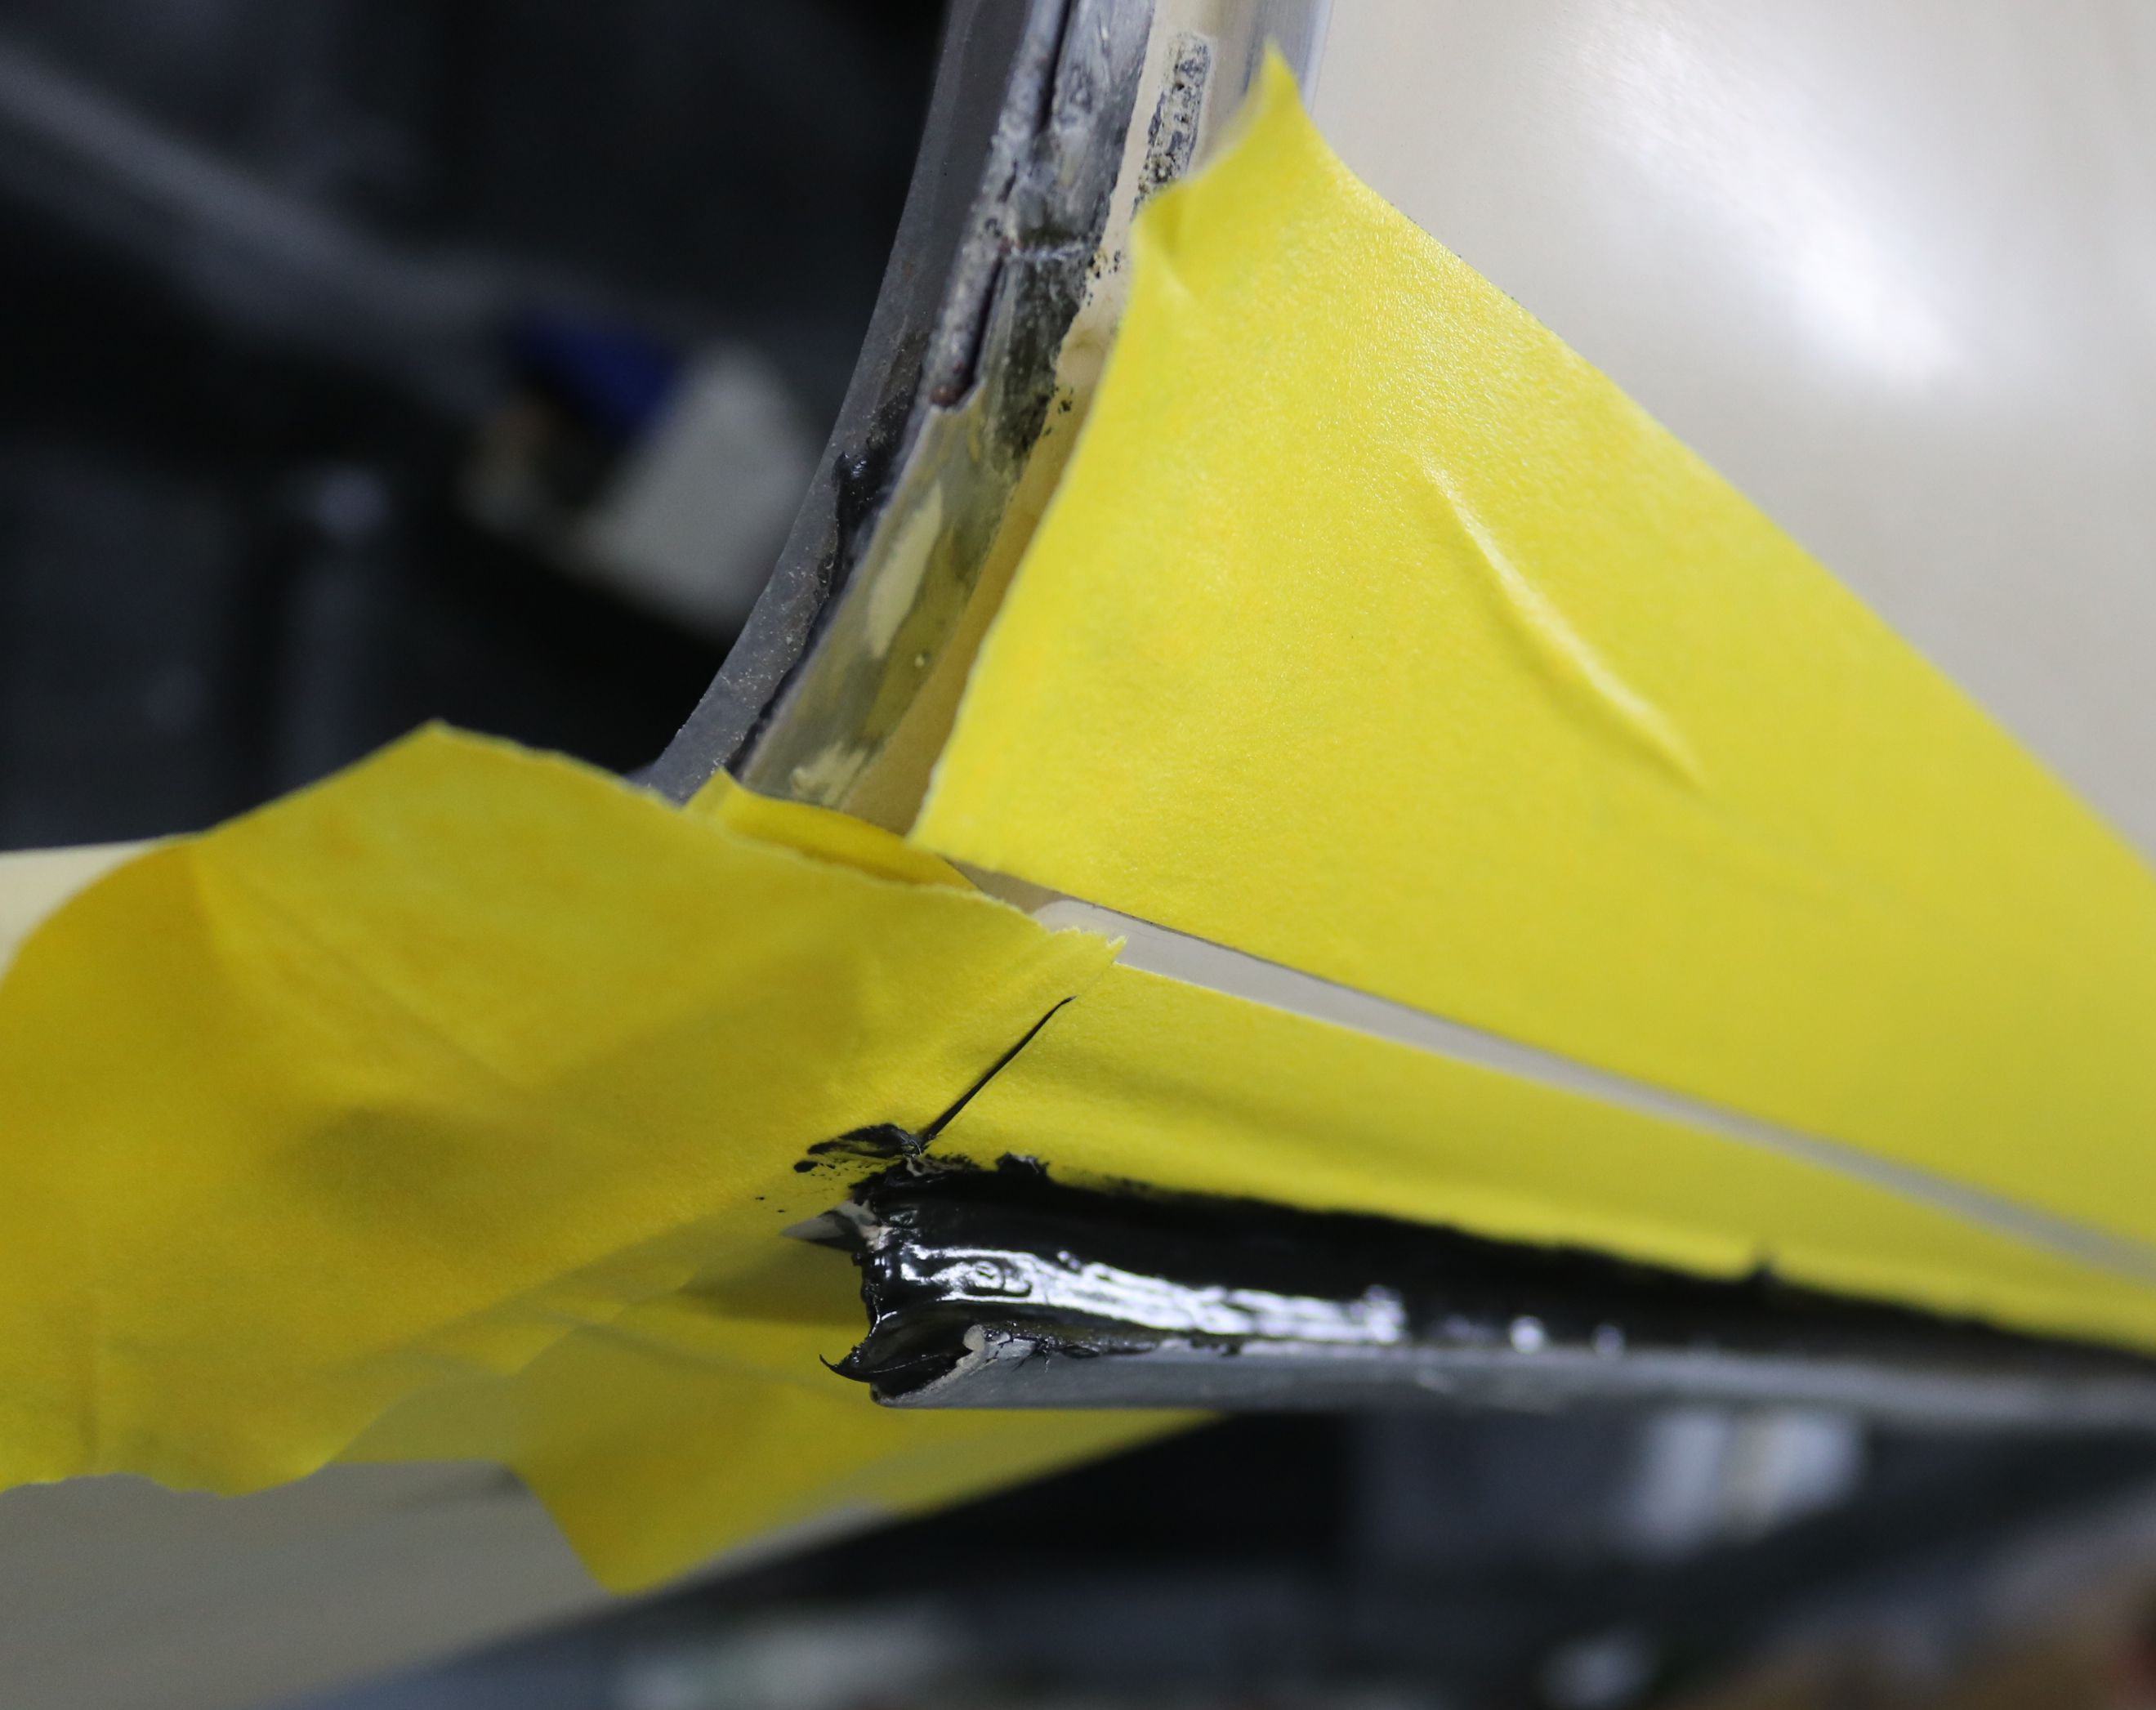
The drip rail after being wiped down.
|
Time to spray on the undercoating on the outside of the inner fenders and the bottom of the car. For the undercoating, we chose to use a sprayable bedliner for a more durable finish. All holes had to be taped off to prevent overspray going into the engine bay. Bedliner does not sand well. Note the minor body work on the factory battery tray.
|

Same with the holes in the floorpans.
|
These are the filler panels that go between the inner and outer fenders. They will get bedliner on one side, but we don't care so much about overspray here as these are not visible.
|

A large sheet of plastic protects the rest of the bodywork. This is a trick we learned from our son from his time at OTC. And it is so much faster to tape off the whole car with the large sheets of plastic than the small sheets of paper.
|
The bottom of the car ready for bedliner. All holes are taped up and the mounting studs were taped off to protect the threads.
|
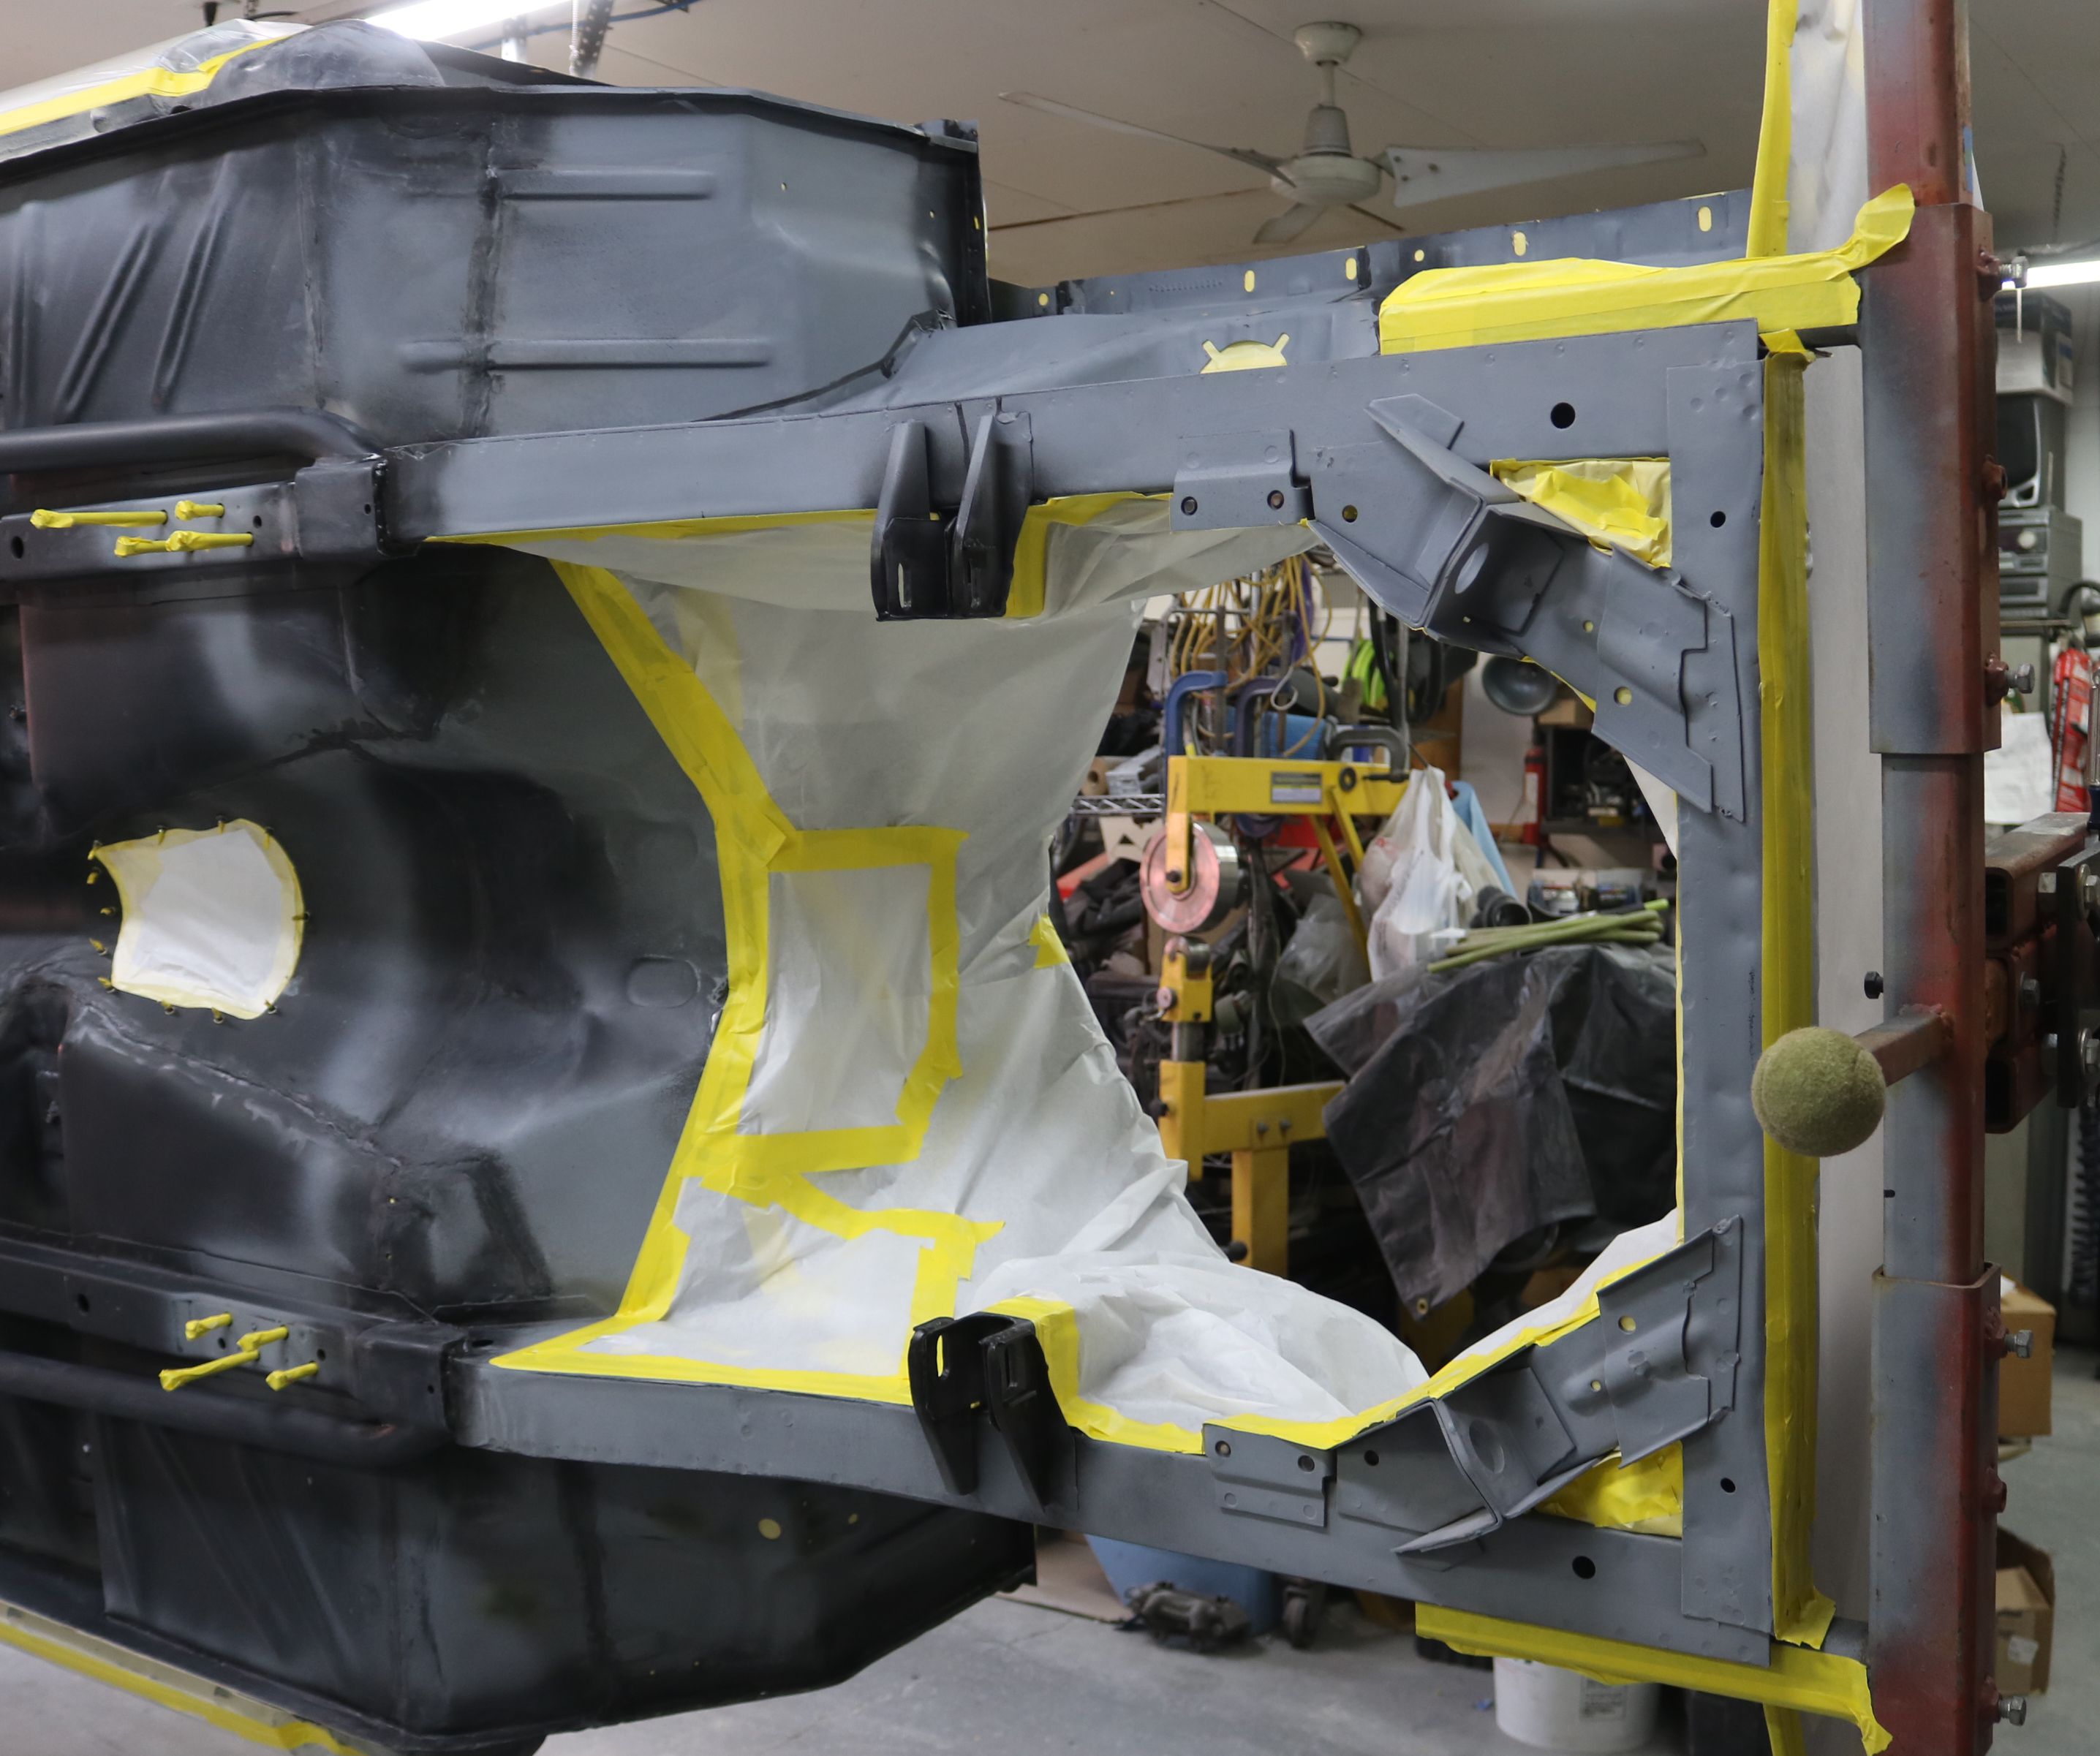
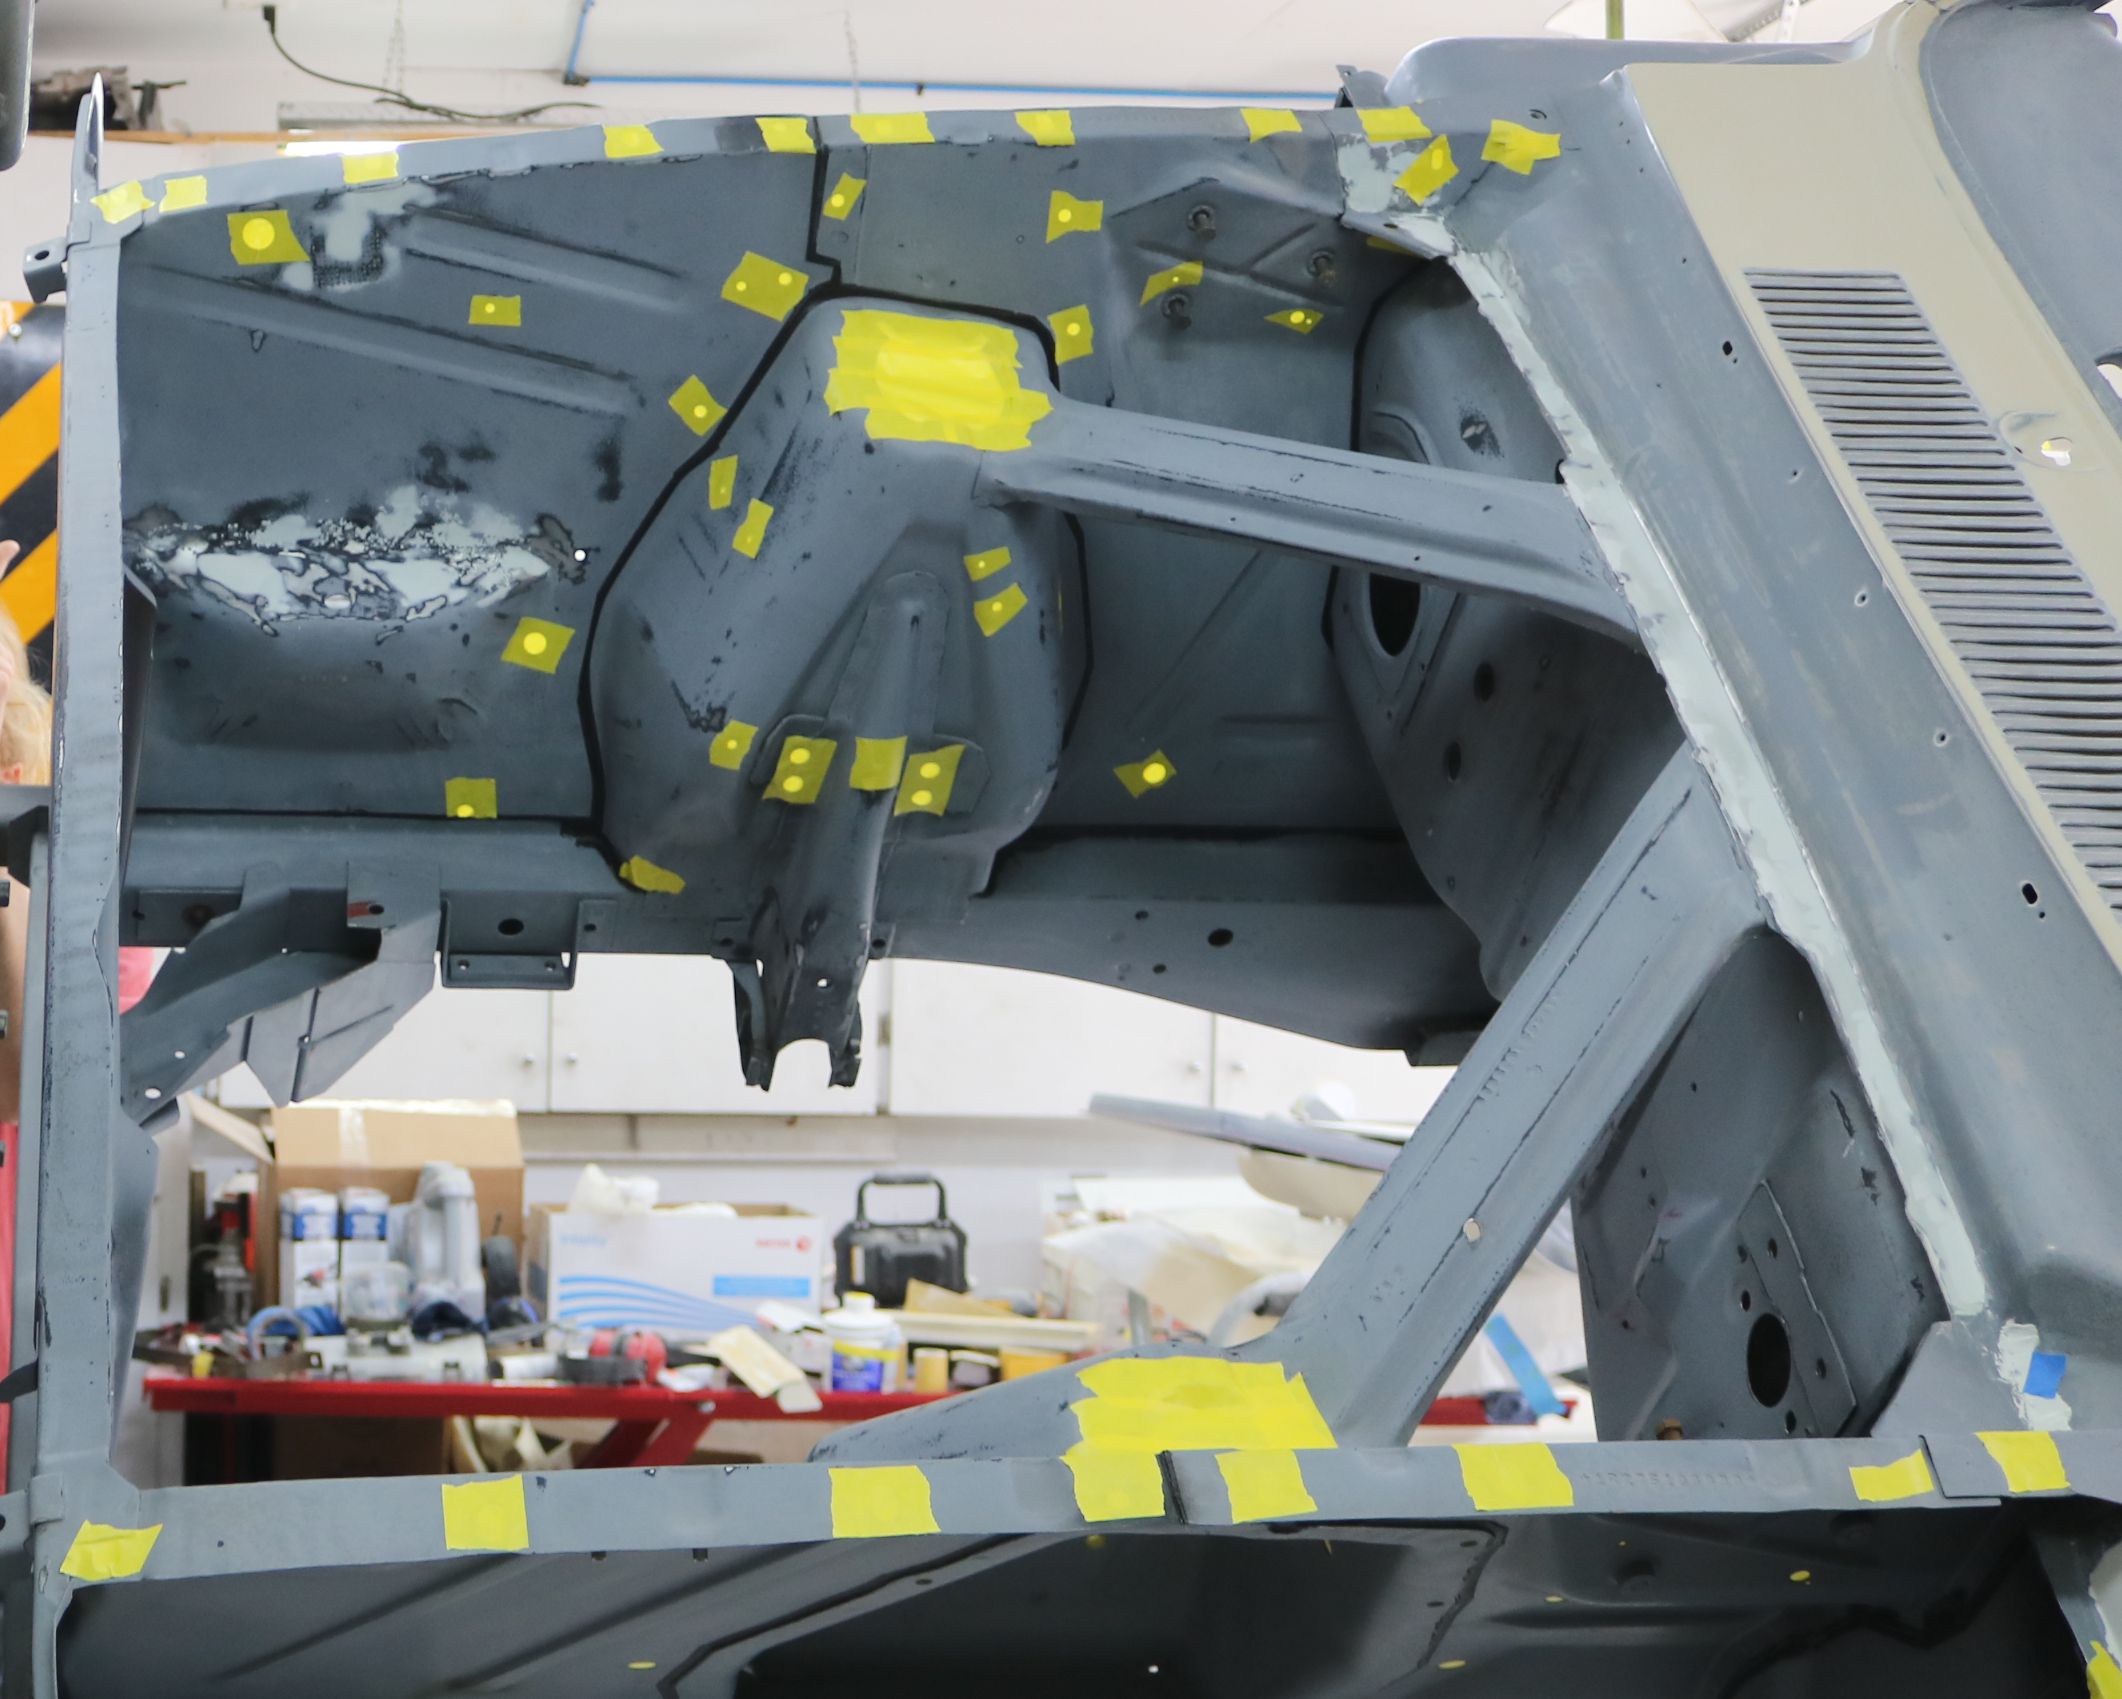
The protective tape on the engine bay. The bottom of the front unibody frame and the shock towers will be sprayed as well.
|
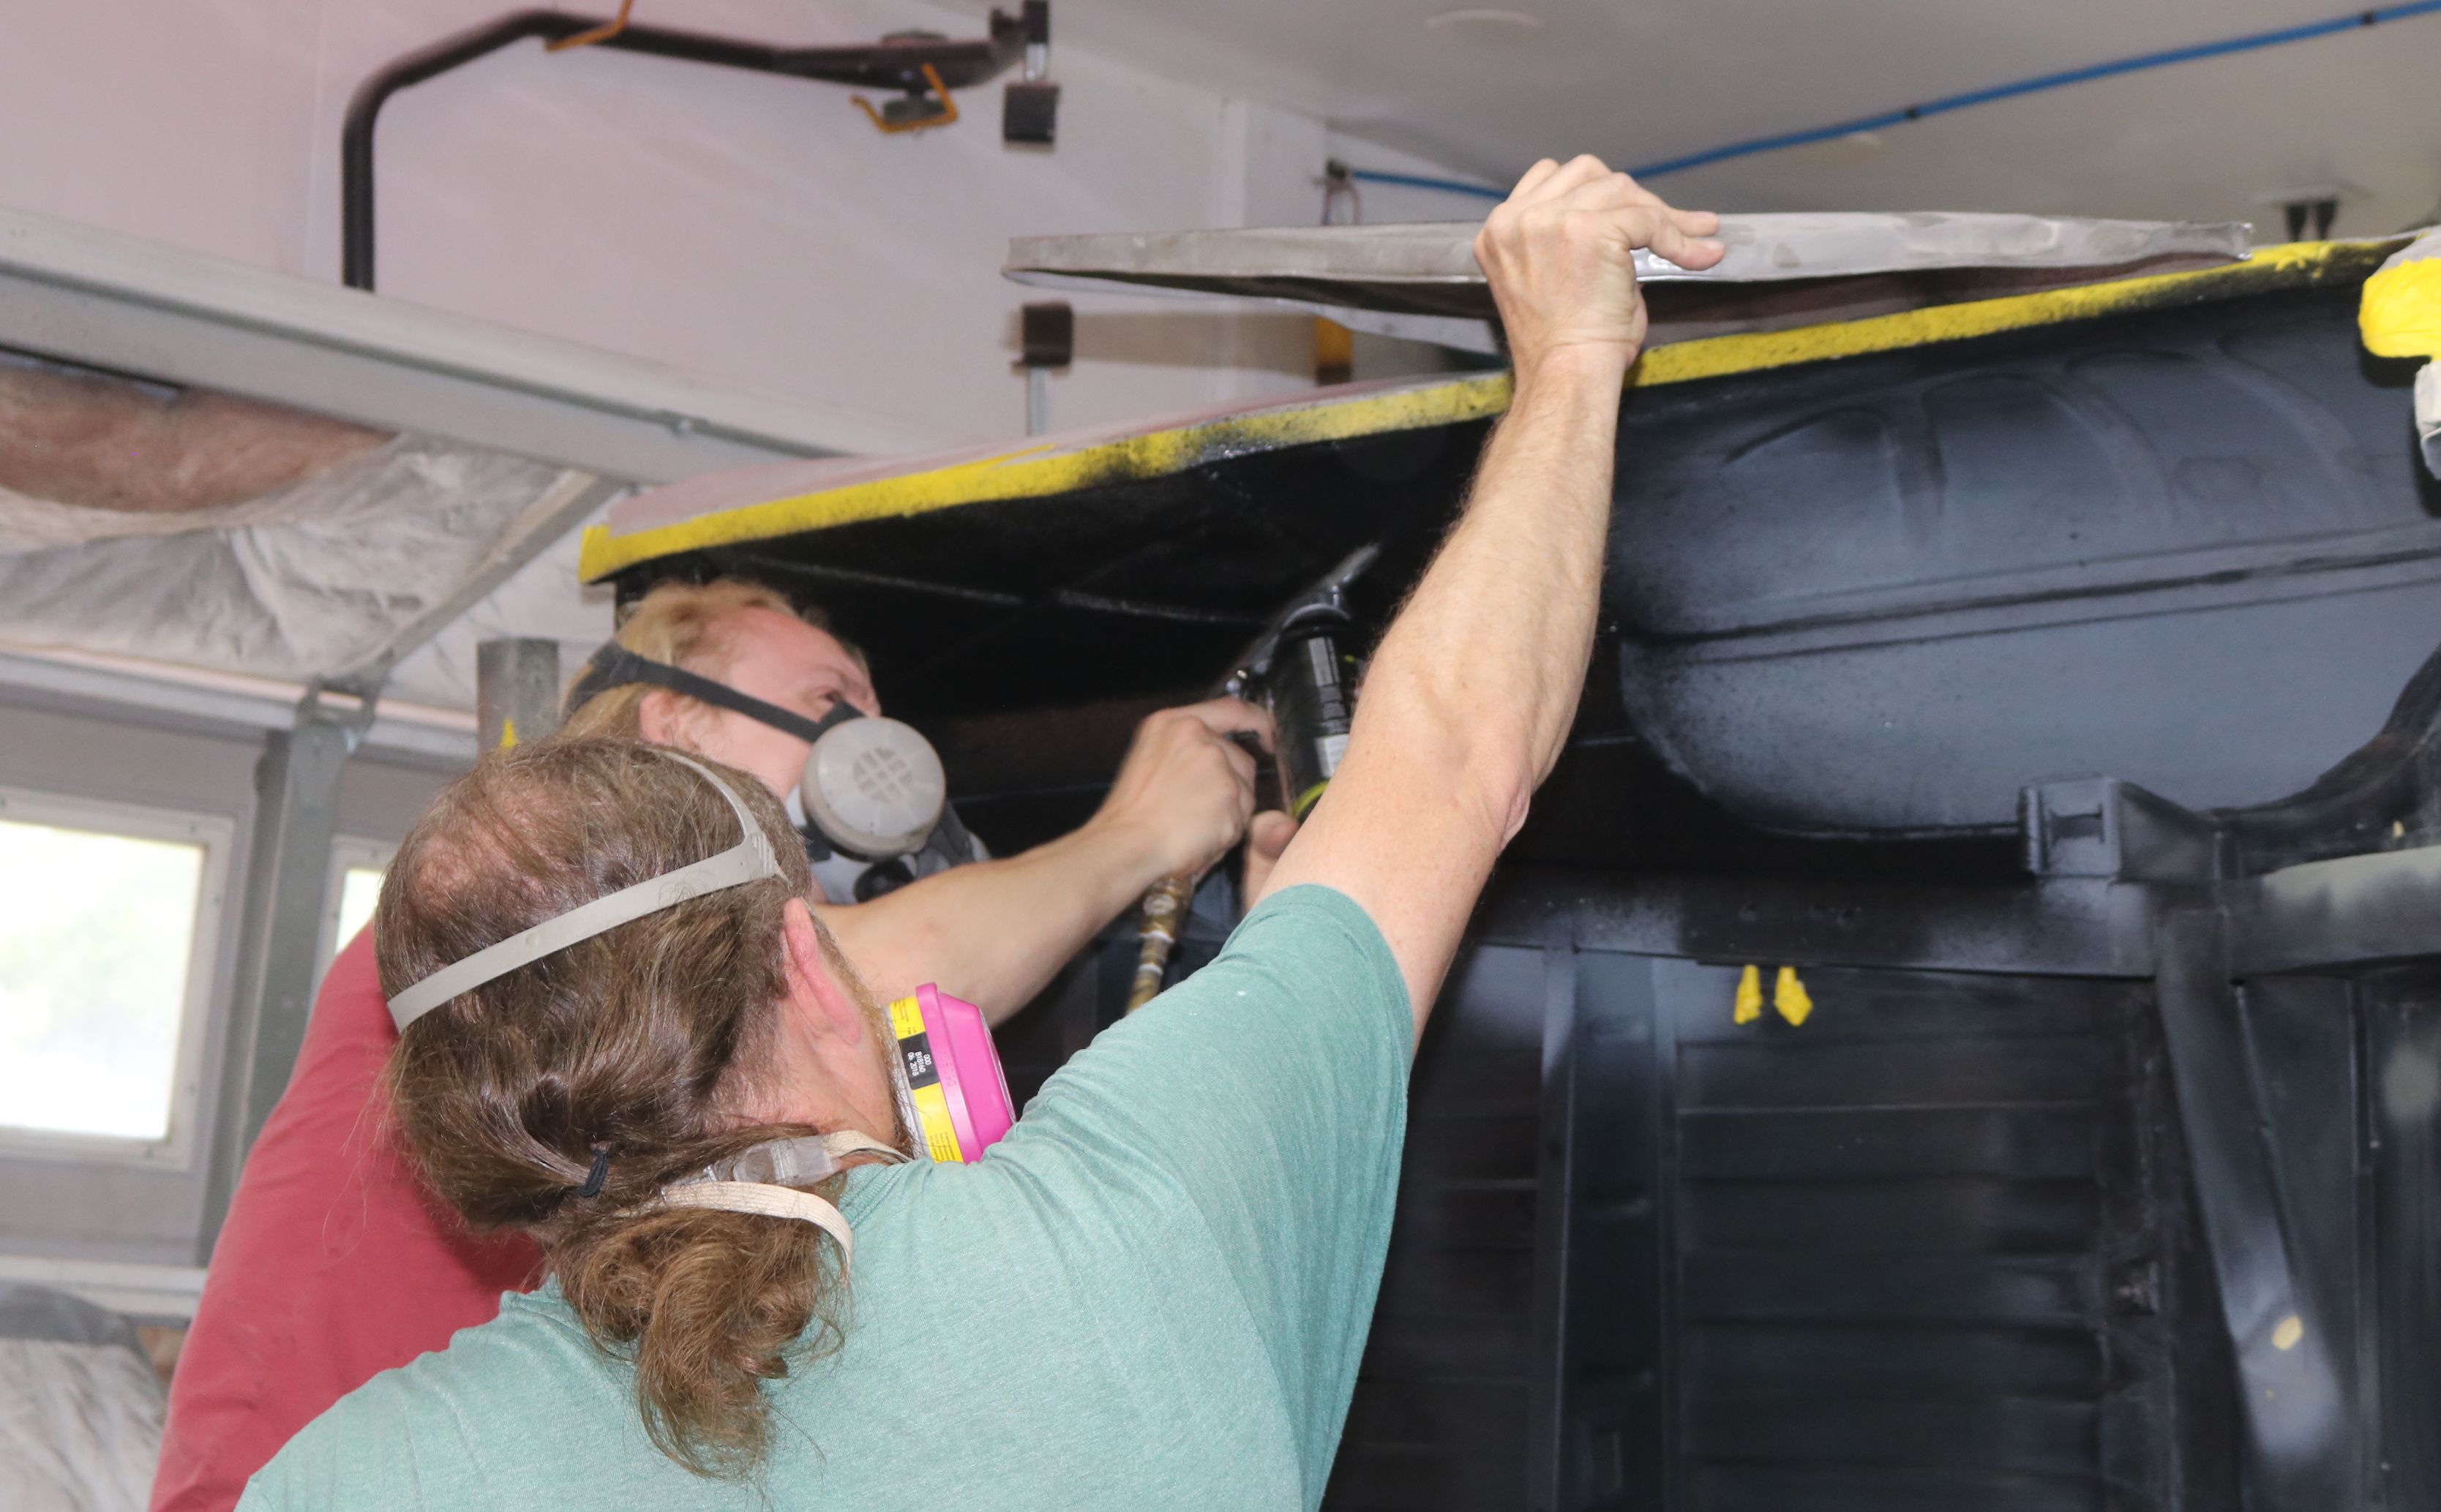
Another Father-Son task as Dad plays backdrop to prevent the spray from going too far and to block out the overhead lights.
|
The passenger inner fender in bedliner.
|

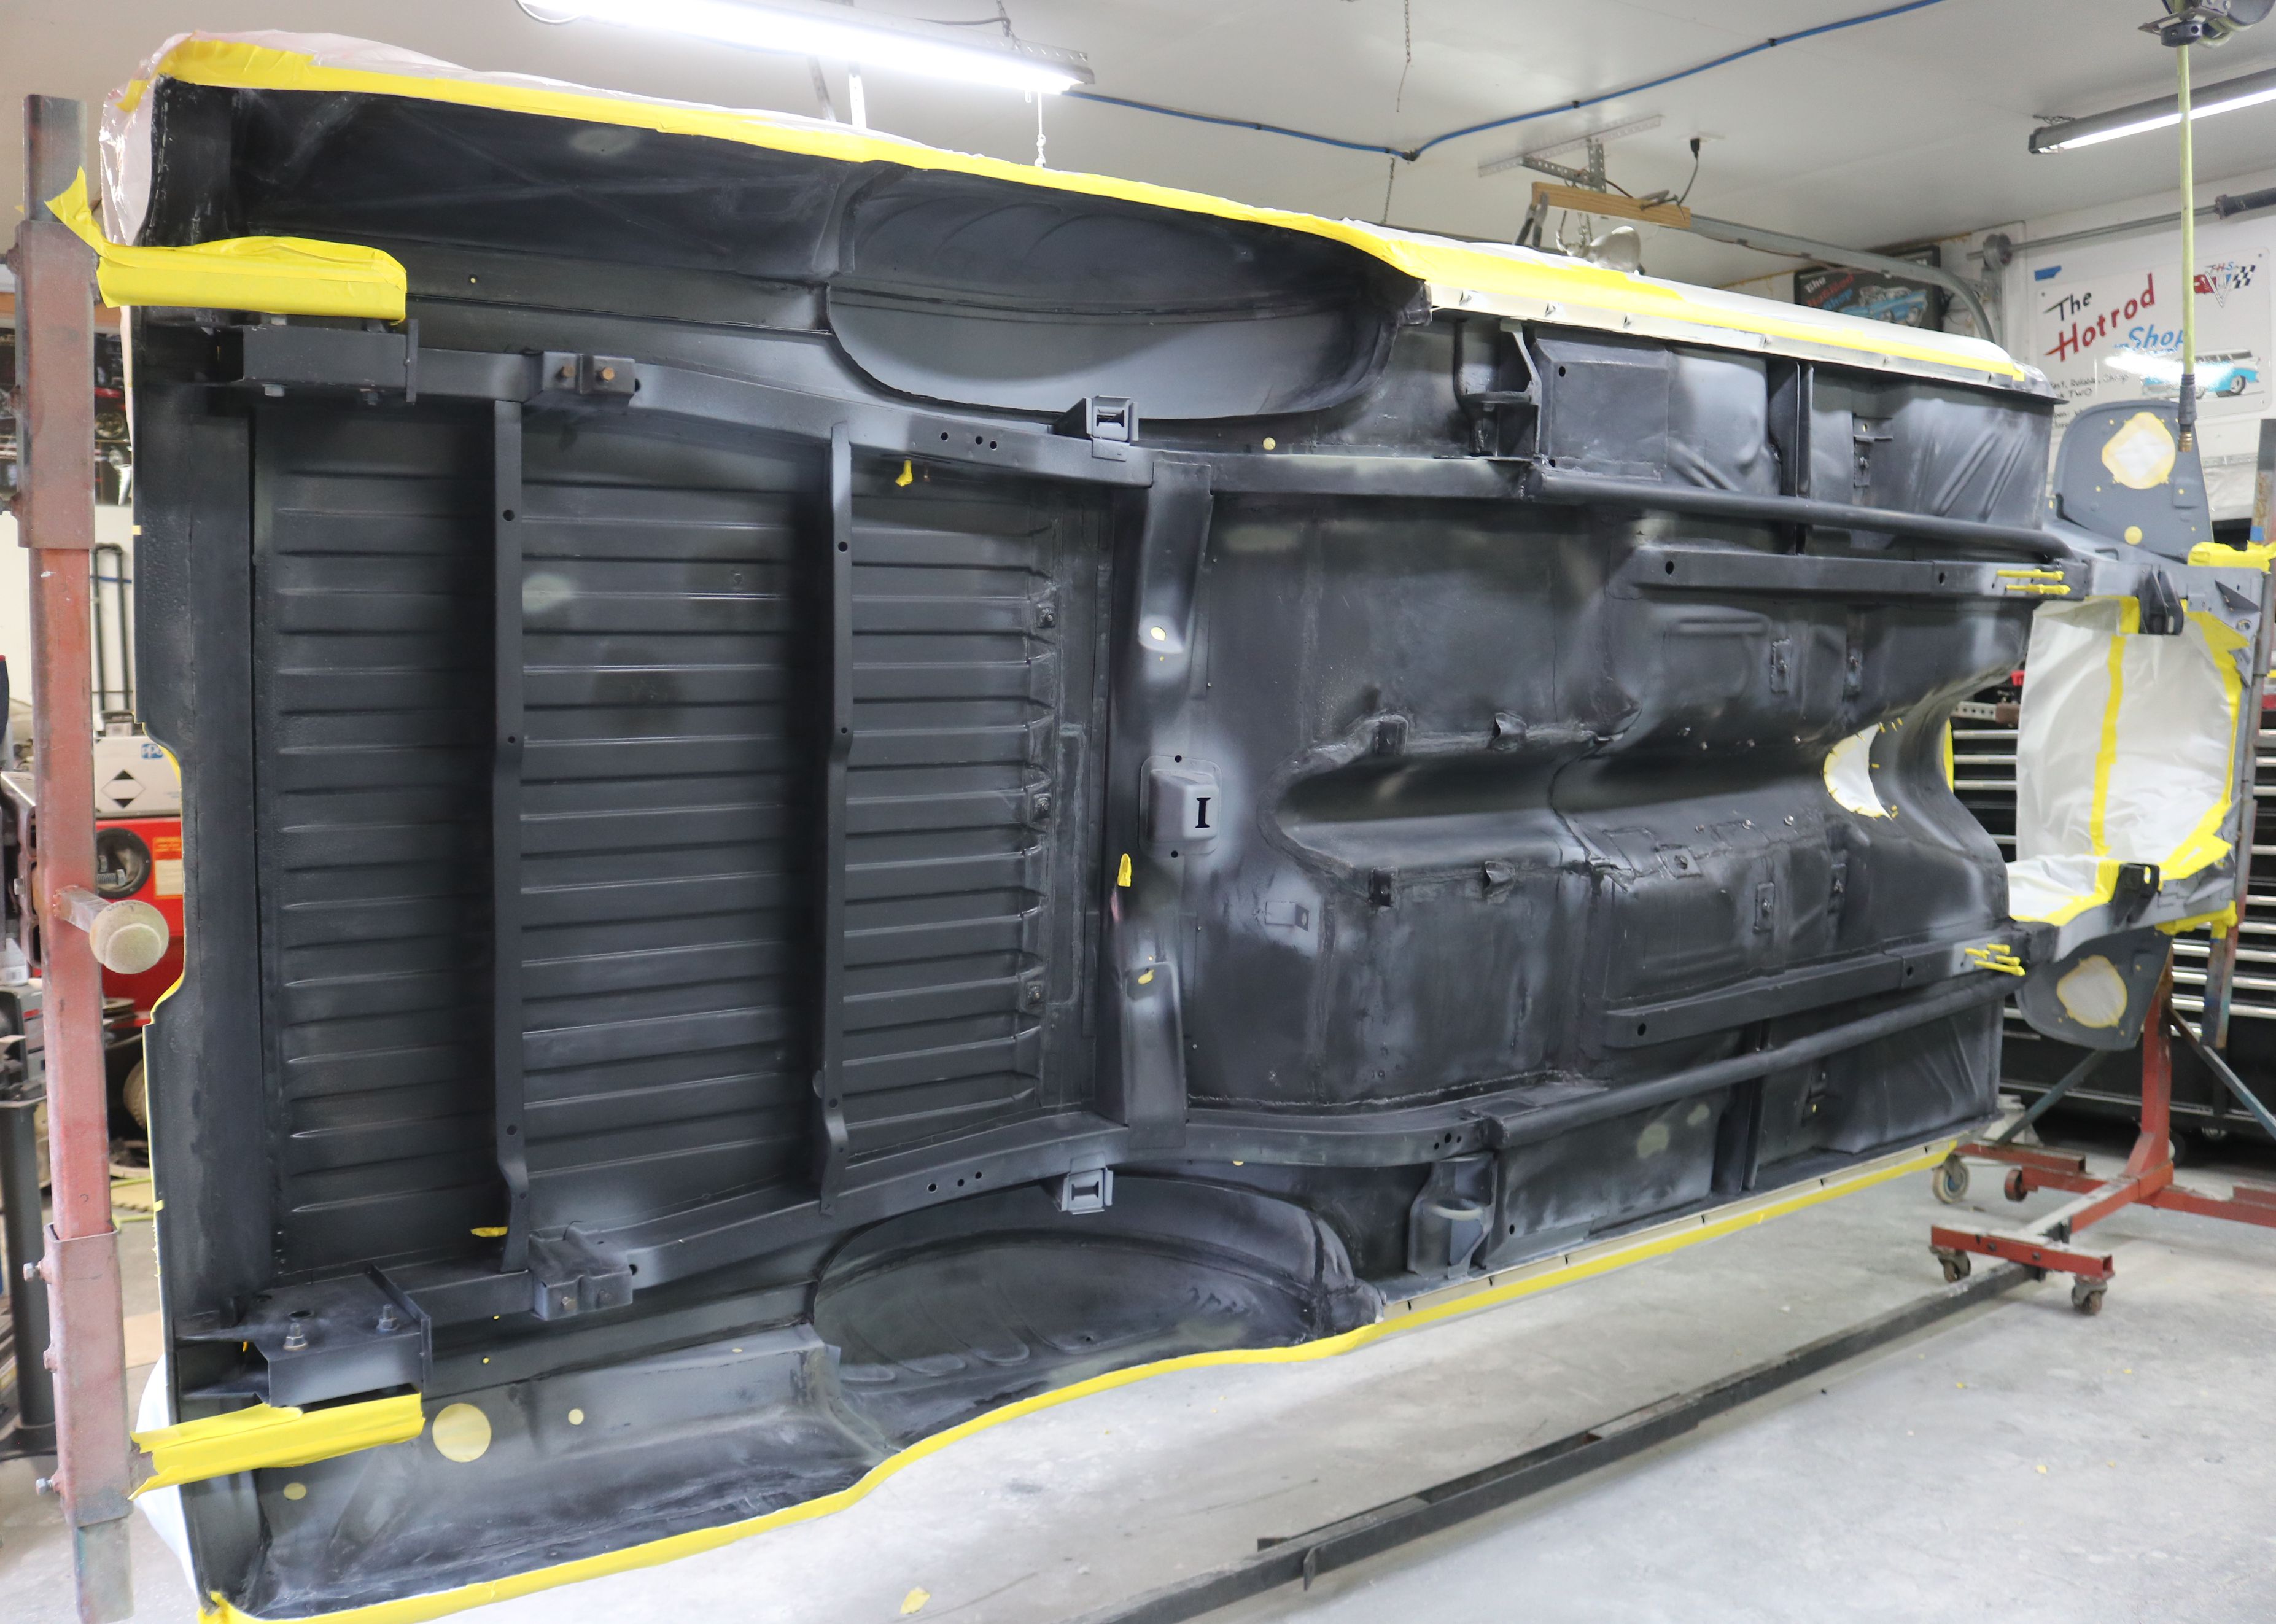
The whole bottom side in bedliner.
|

A close up of the bottom of the unibody frame rail and the shock tower, for those Falcon enthusiasts who want to see where our tape line was.
|

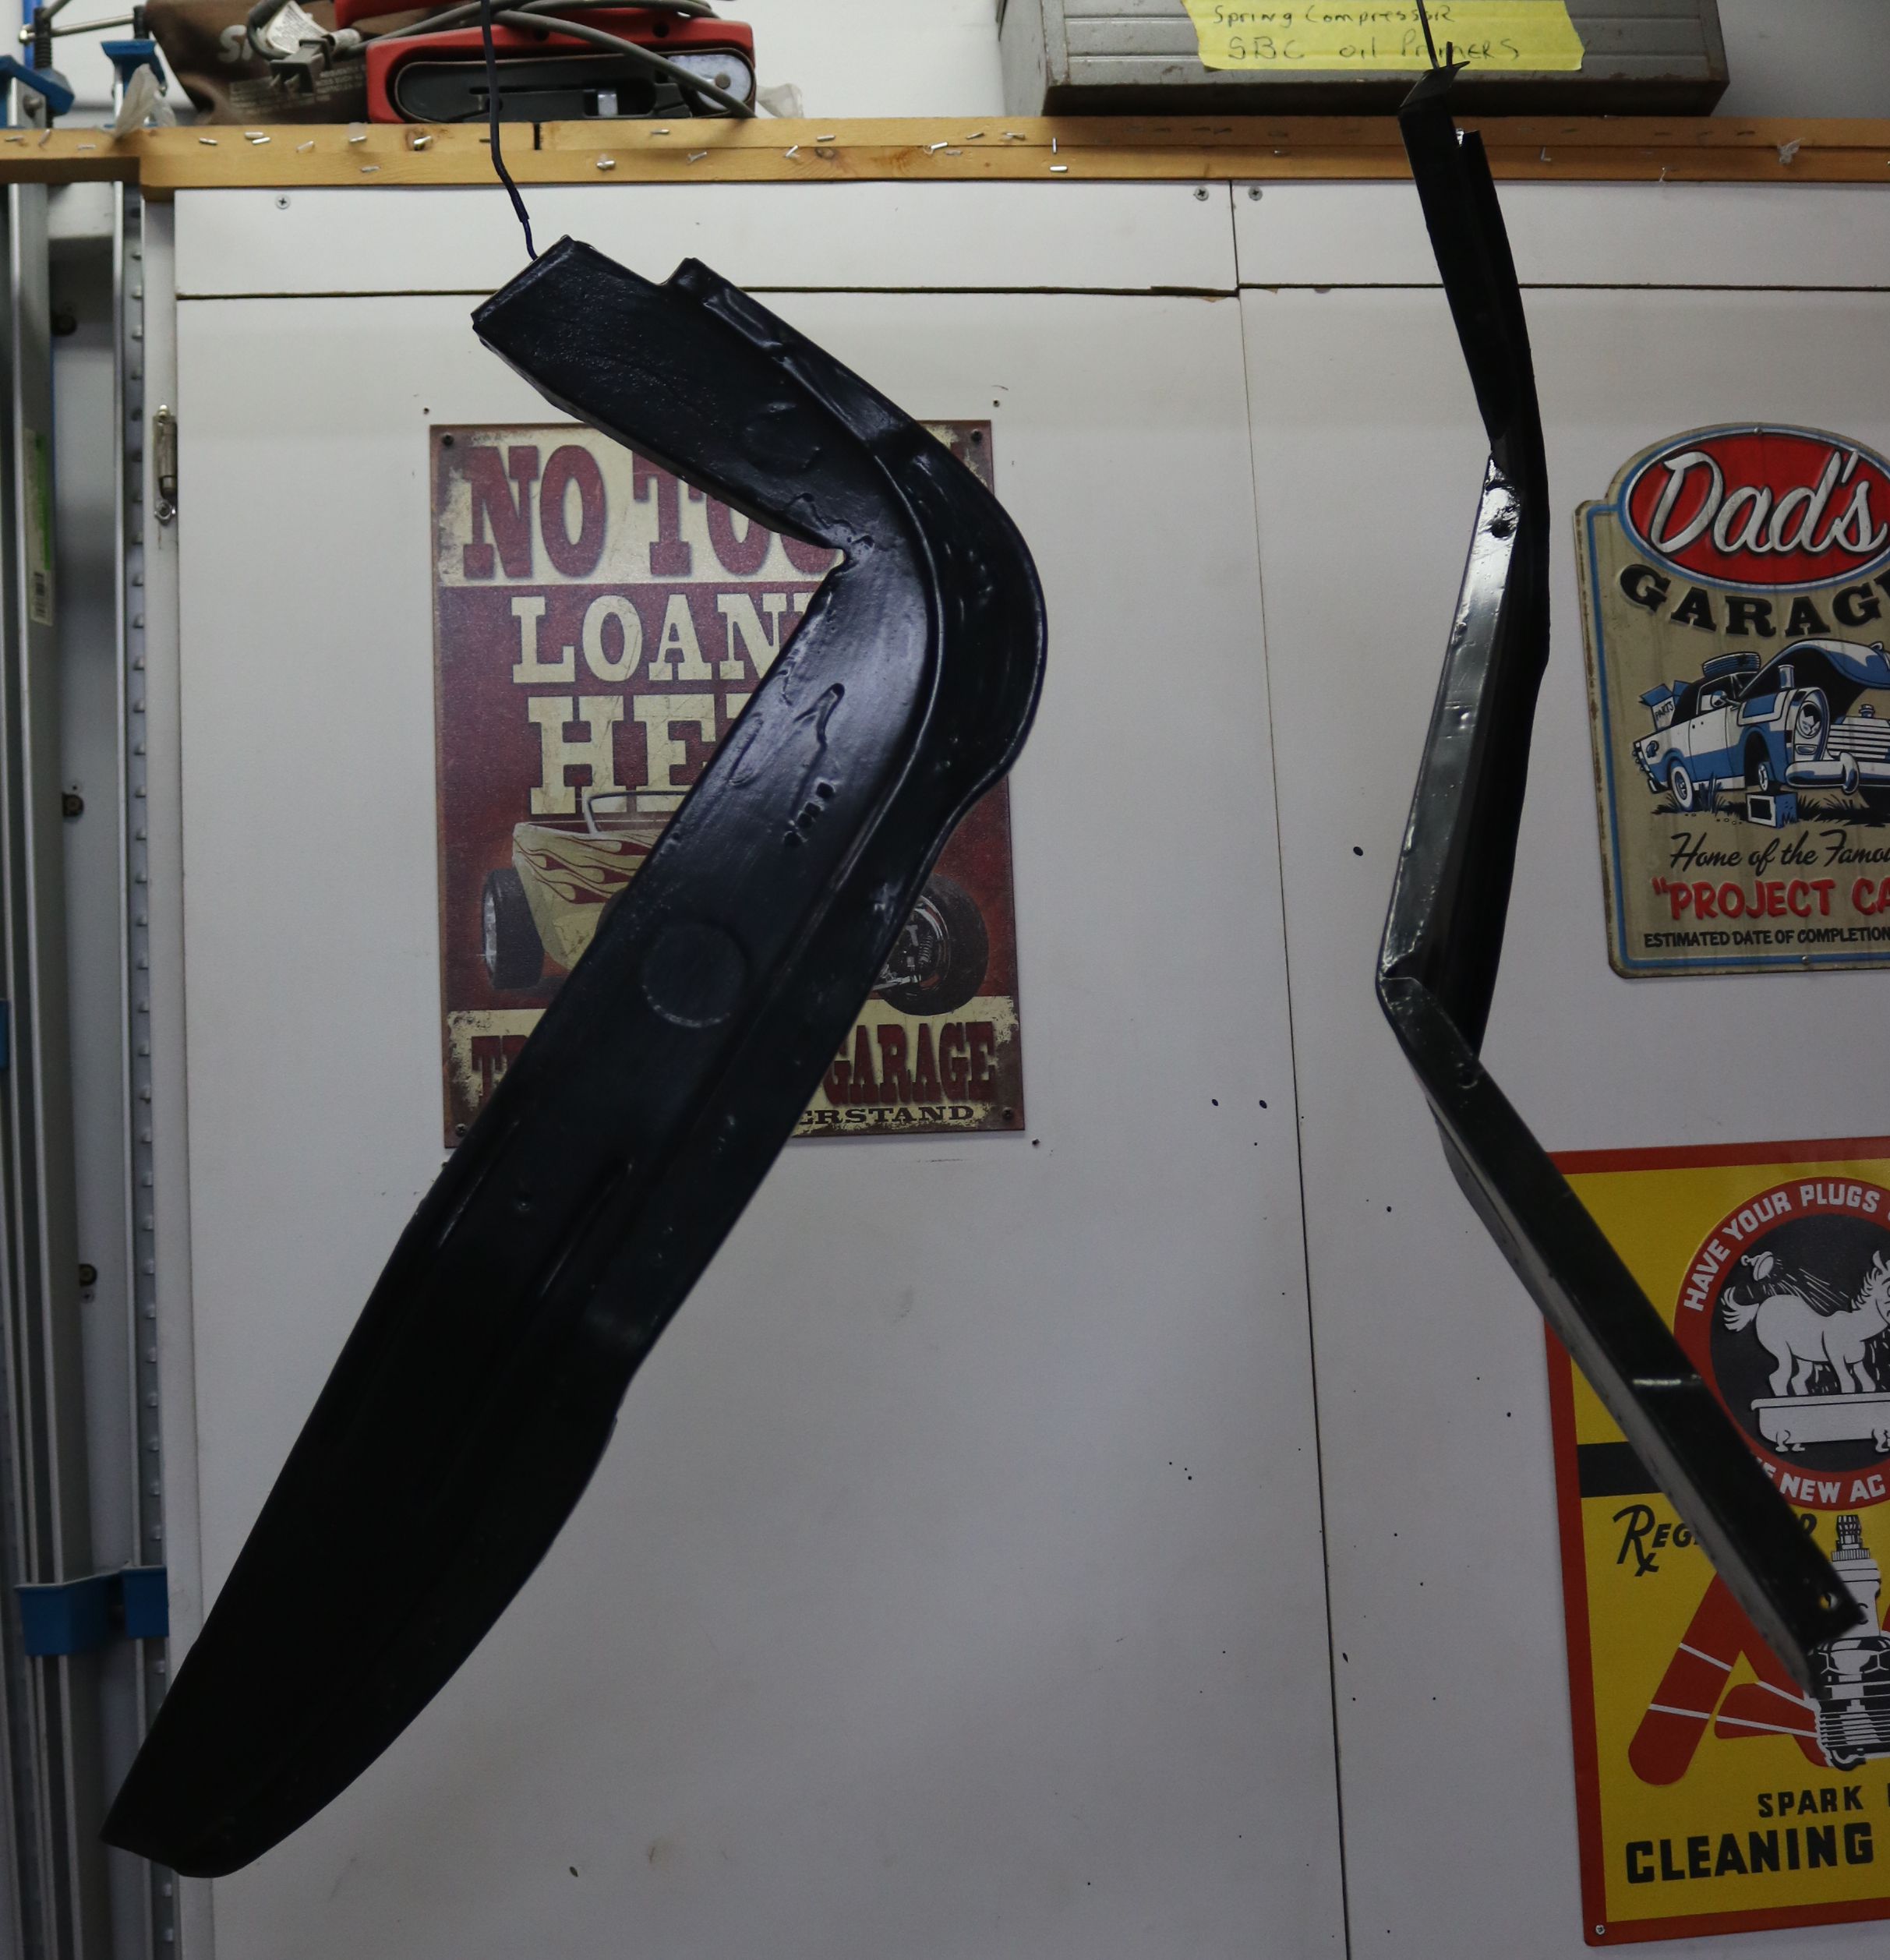
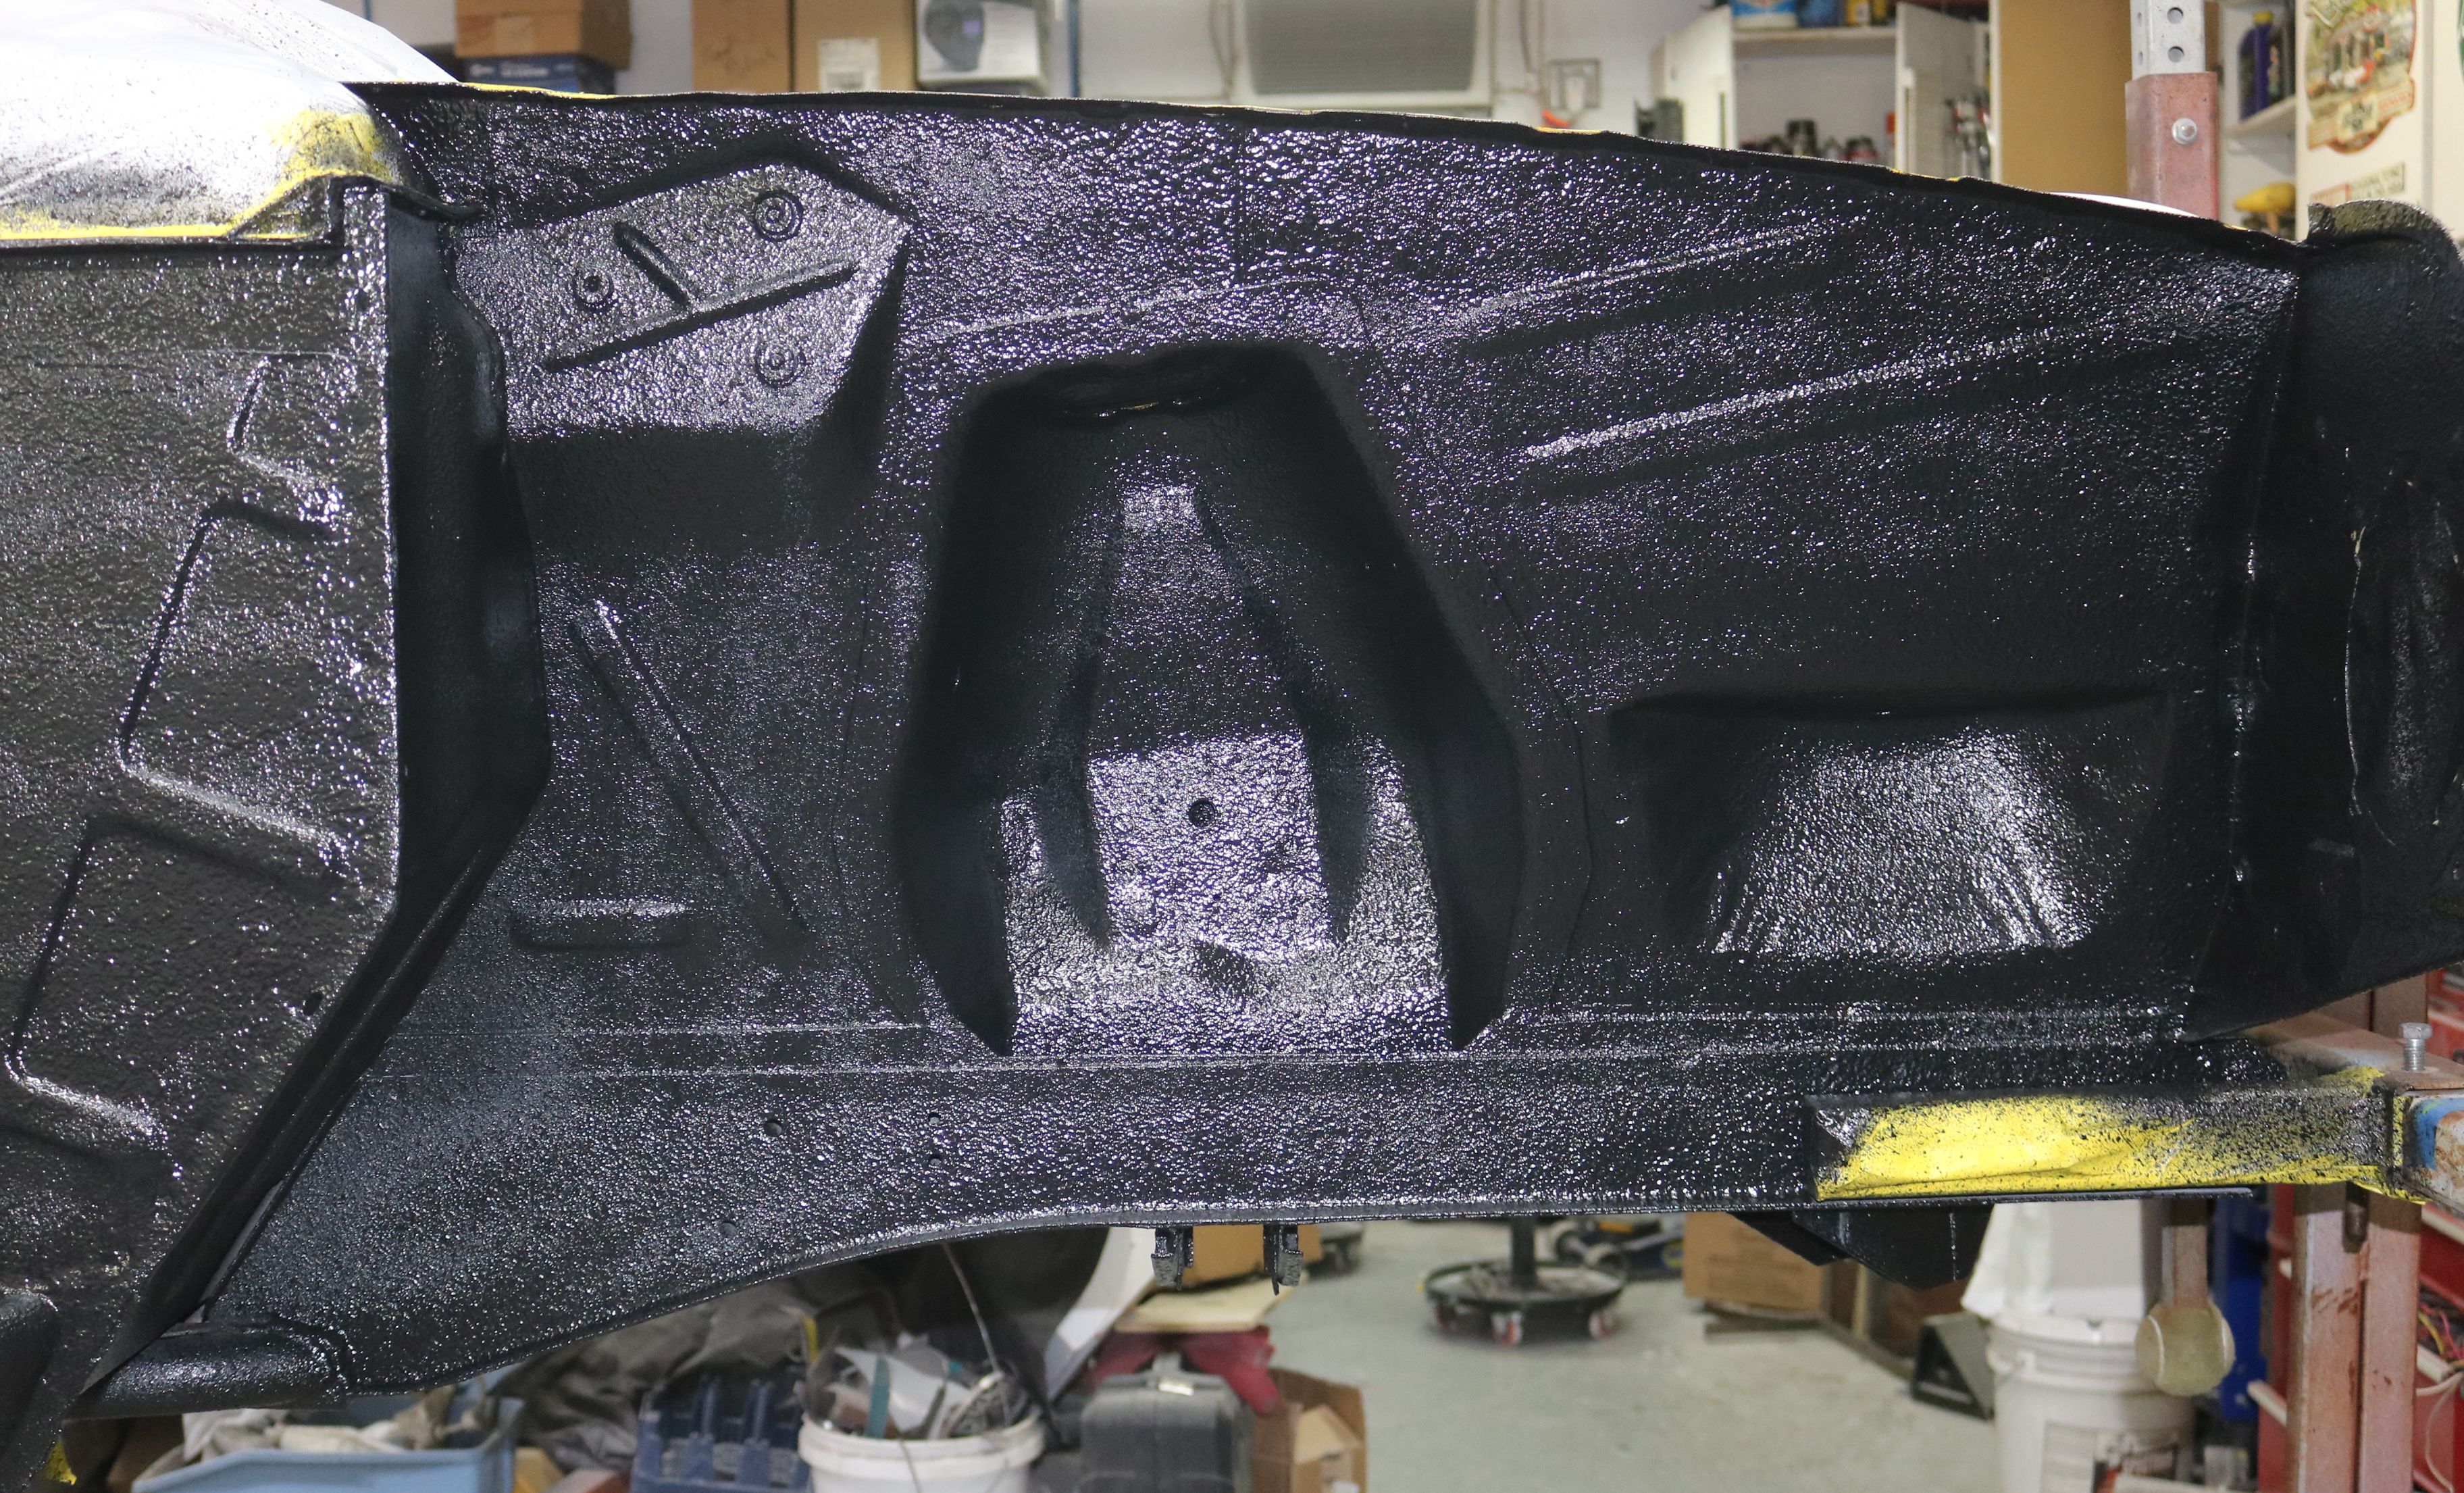
The shock tower cover for inside the fender area.
|

The filler panels that go between the inner and outer fenders.
|

The passenger side of the engine bay, upside down. The odd bump out on the left side of the picture is the factory battery tray support.
|

The last shot of the bottom of the car. Back to finishing the bodywork in preparation for paint.
|
Once the bed had been sanded and was ready for sealer, the seam sealer was applied.
|

The whole bed in seam sealer. This also shows off the many dents in the bed of a work truck.
|
Time for paint. We wanted to paint the body on the rotisserie to aid getting to the bottom of the rocker panels and make the roof easier. Well, we did that, but had problems with coverage and dryness. More on this on the next page of this story, but hopefully this explains why the previous picture shows the exterior in dull yellow and the bed not done.
However, to get the body to the professional painter, we had to reinstall the suspension. Like much of the metal and body work, some of the next section is not in time sequence, but has been moved to make the story flow better.
|

