
Passenger front fender after the blocking party for round 2. Look, no measles.
|

The passenger door outer skin is done. There are a few spots on the bottom to take care of though, since they are painted inside the car.
|

The driver front fender, sans measles.
|

The tailgate and valance were set aside. These will be blocked down separately.
|

Yes, I realize that this looks out of place, but we are prepping to put the body back onto the rotisserie. The doors, fenders, and hood had to come off. That light area on the B pillar shows where the blocking stopped this time. The plan is to finish the quarter panels on the rotisserie.
|

The passenger side, again only partially blocked down on the rear quarter panel.
|

The doors were set aside so that I could work on the front fenders first.
|

One last shot before the engine comes out.
|

The engine was pulled out. For some reason, the paint is flaking off the block, all the way to bare cast iron. This will be fixed before the engine goes back in.
|
 The steering and suspension were all removed.
|

The complete rear end was dropped.
|

And now the body is back on the rotisserie. It spent just over 1 week in this position.
|

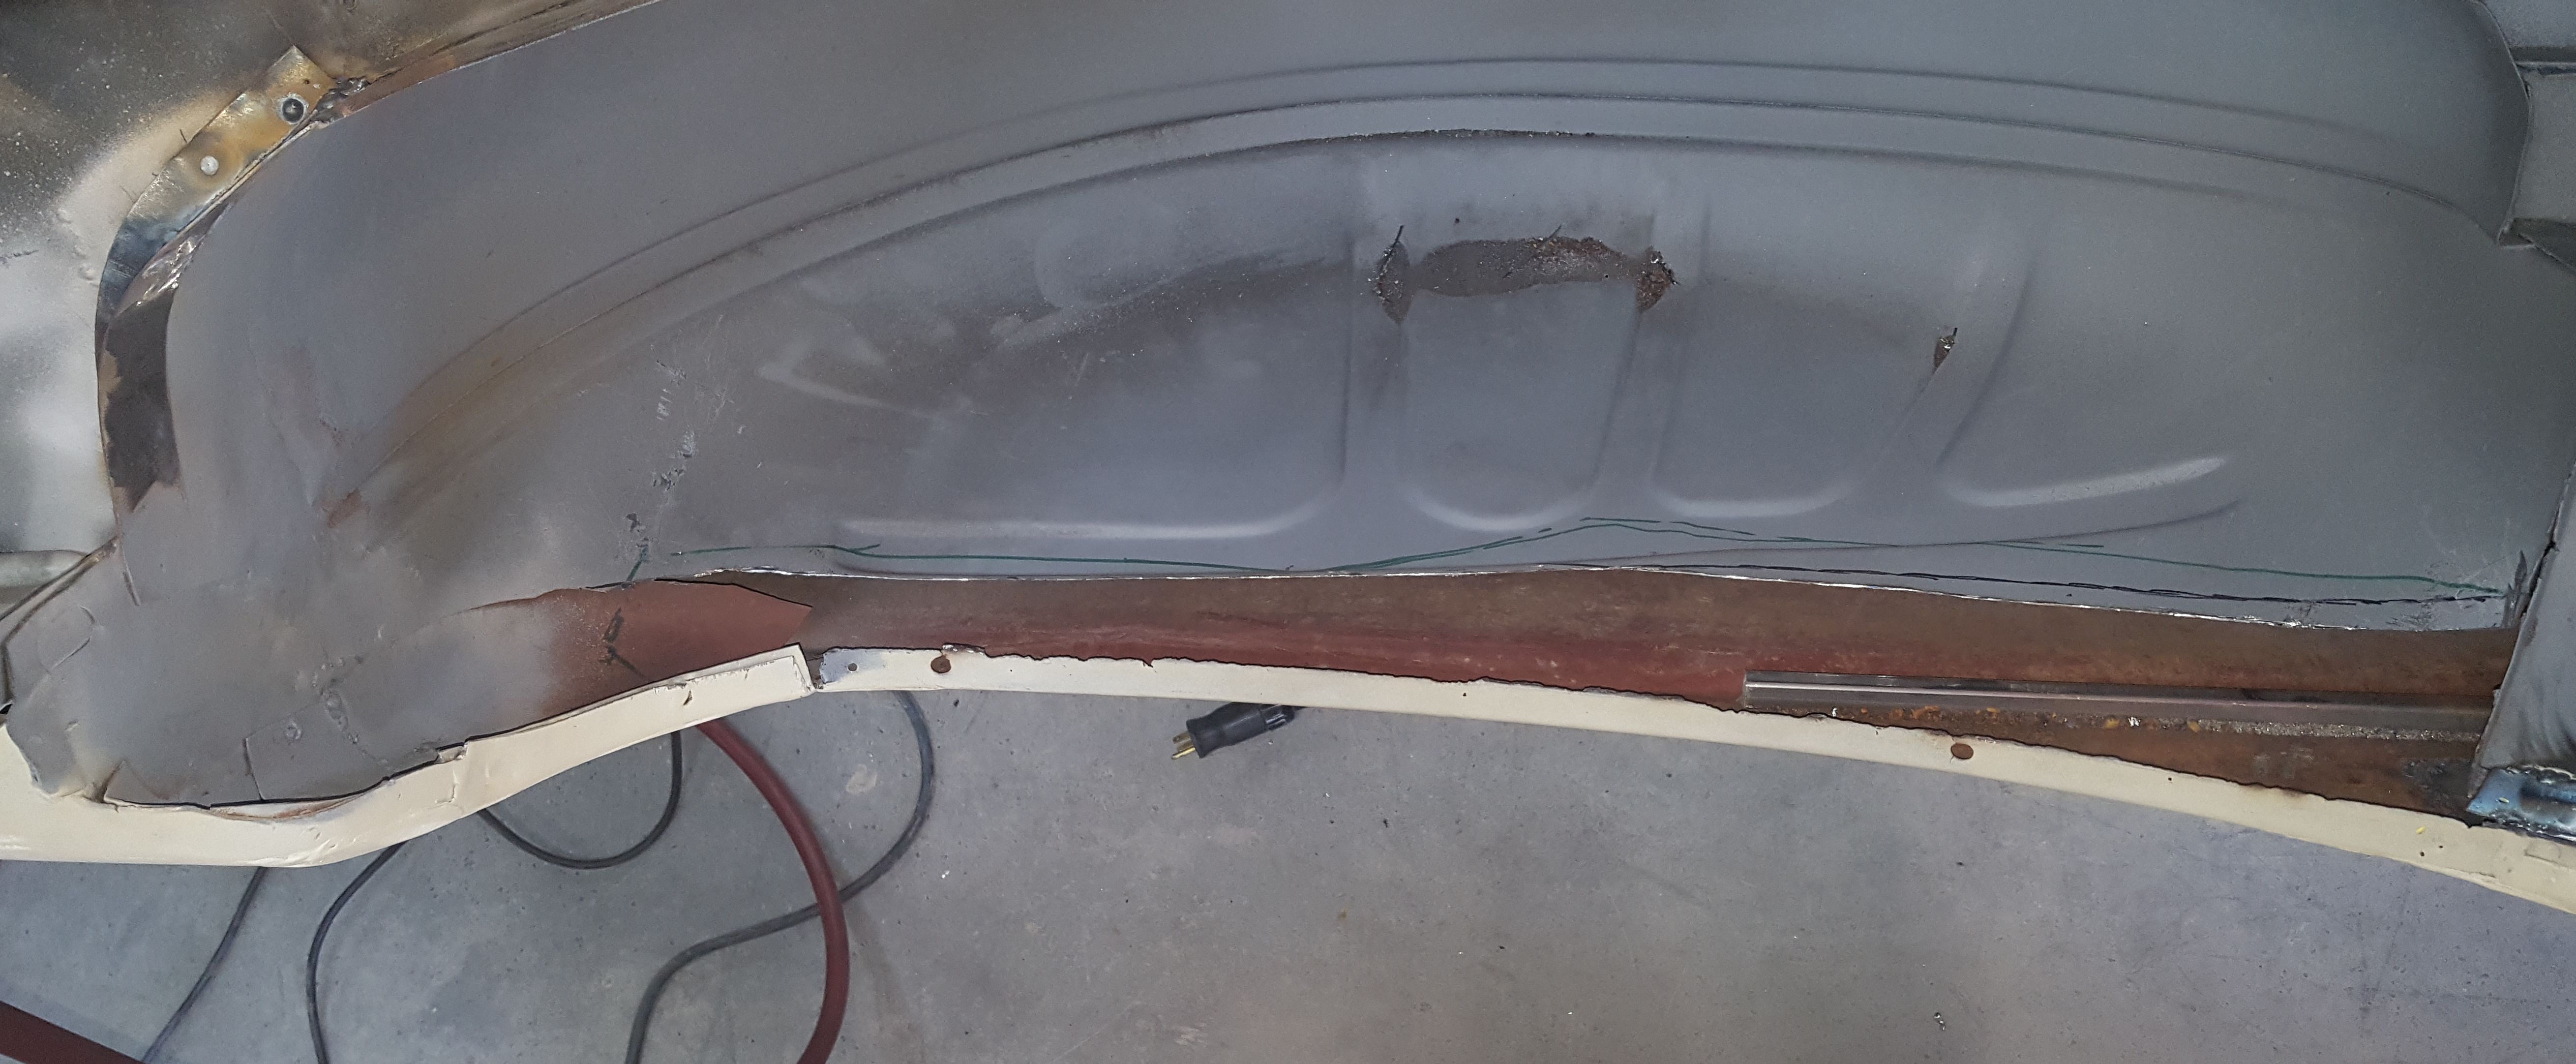
And this is why. The passenger side inner wheel well needs a patch panel. But to weld that up required someone to put their head inside the wheel well, with sparks flying everywhere. We decided doing this repair on the rotisseria would be safer.
|

The fenders were set on a body dolly so that I could work the edge where the fender shows in the engine bay.
|

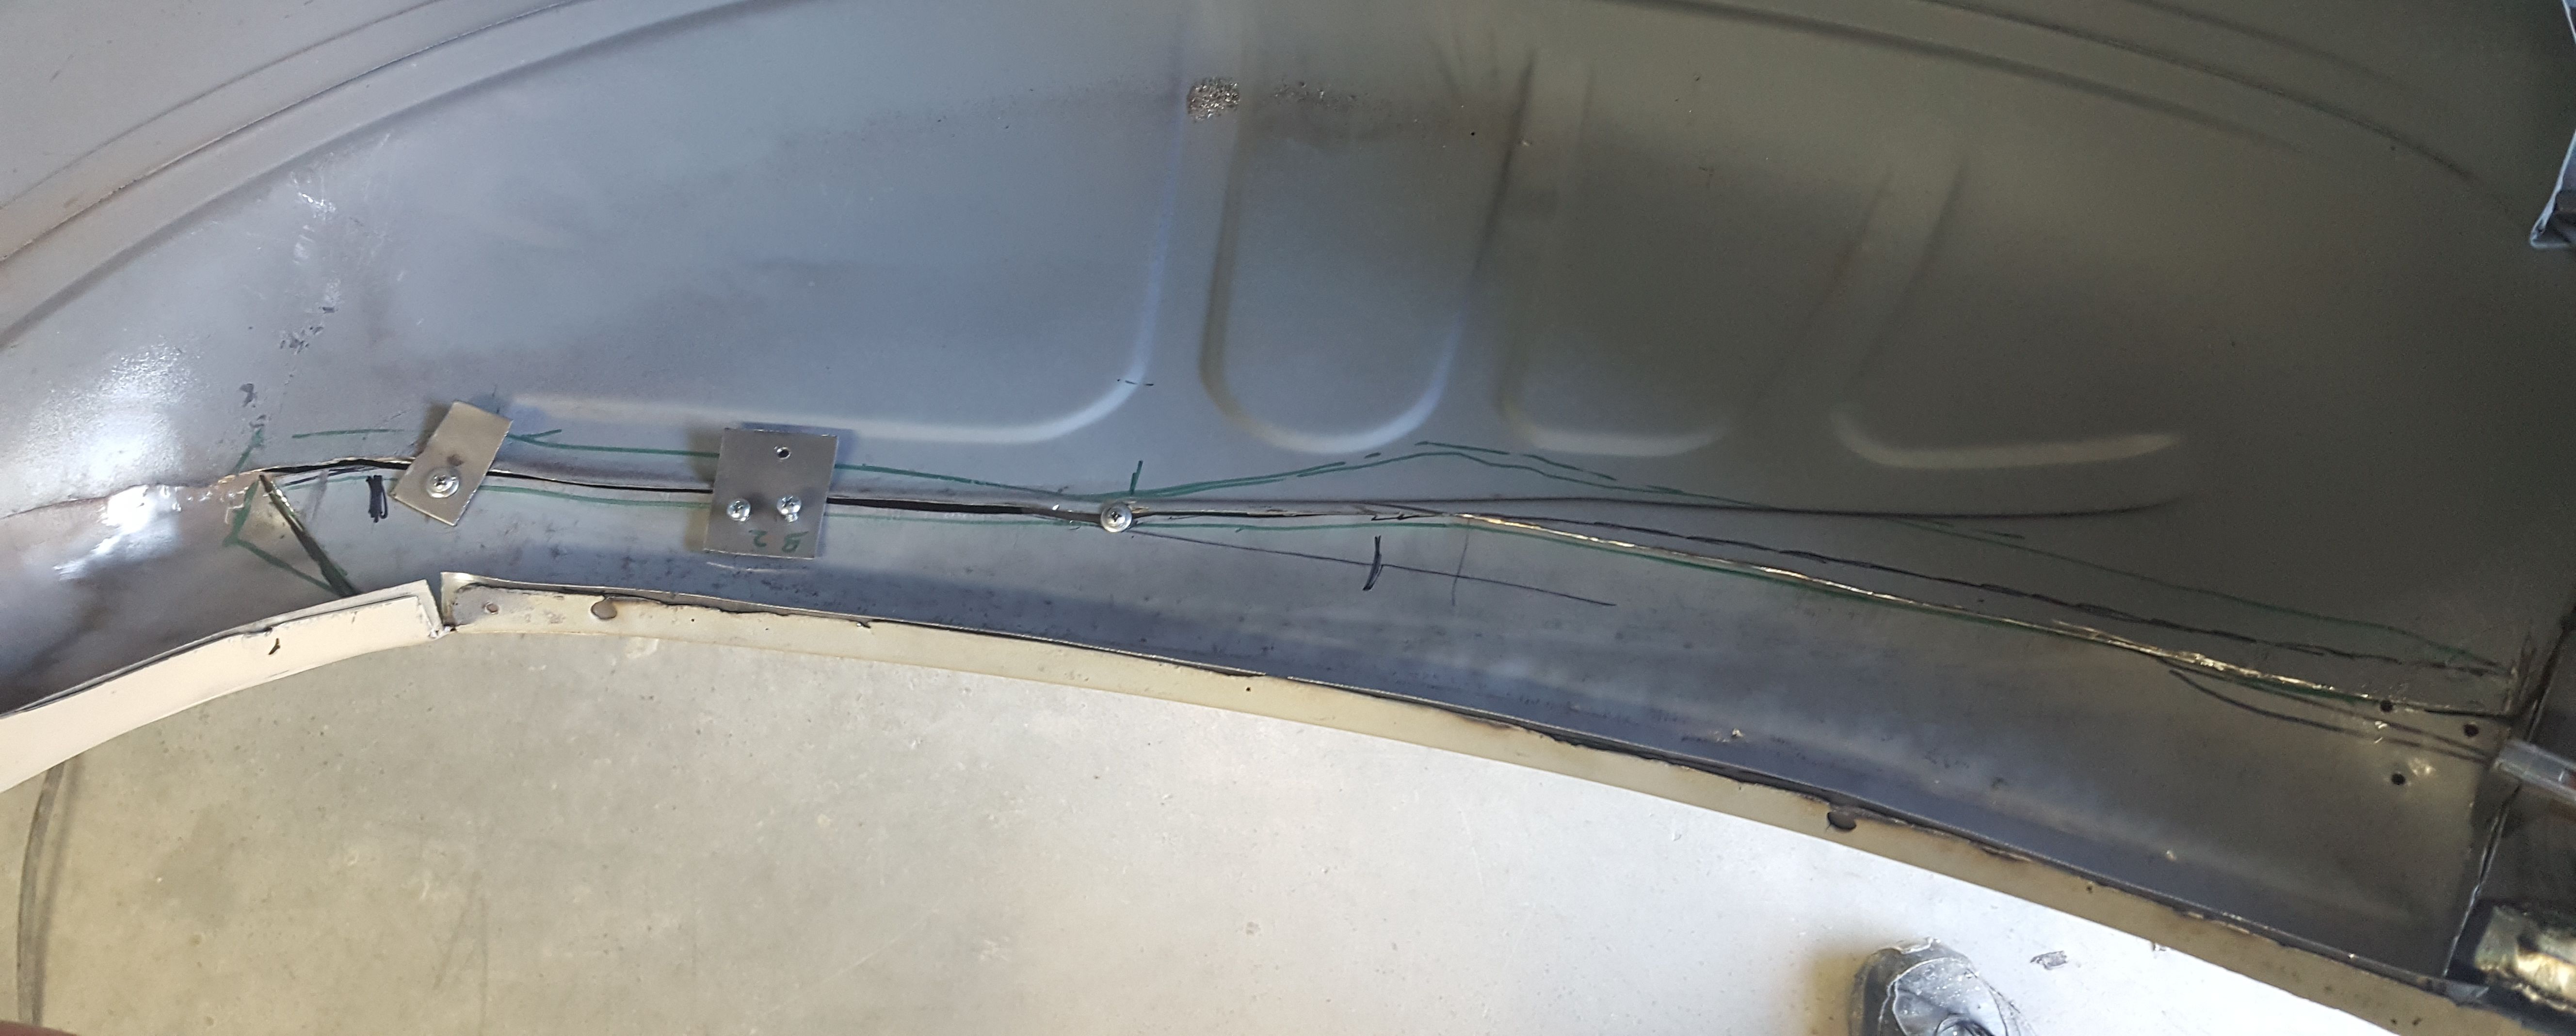
The passenger quarter panel also needed the edge trimmed from the patch panel. While we could have done this on the wheels, doing this on the rotisserie was easier.
|
The area to be repaired was removed.
|

And the patch panel was made.
|

One front fender done and ready to be safely stored until paint time. The storage will be in the house, so the dust was blown off, then the fender was wiped down with an alcohol based cleaner.
|
The patch panel ready to be welded into place.
|

The second fender ready to go into storage. I had one small spot that was still a touch low.
|

Remember that lower driver front fender corner with the wide body seam? Well, as I worked the fender, it kept opening up. So we removed the putty and welded the factory seam up better.
|

A small smoothing layer of putty and the fix has disappeared.
|

The bottom of the driver door with the few spots that needed attention.
|

The passenger door needs a bit more attention due to the bottom edge that had to be repaired.
|

Time to work on all those little spots that need welding, sealing, or other touchup. This is the rear corner of the bed on the driver's side. It needed a little welding.
|

And the passenger rear bed corner, coated in POR 15.
|

Both of the wheelwells have a small spot at the front corner where it meets the bed planks. All easy fixes on the rotisserie.
|

All the welds on the bottom of the car were ground down or cleaned up, including the frame stiffeners.
|

These holes were originally mounting holes for the stock voltage regulator and the horn relay. The American Autowire kit relocates these components. These holes were originally punched out from the back, leaving 4 sharp points on the front of the surround just waiting to skin up knuckles.
|

The "knuckle busters" on the radiator surround were cut off and welded up, then ground down.
|

The patch panel was ground down as well.
|

Even this tight area at the rear tailpan needed to be ground down.
|

Once all the welding was done, there was a mini-celebration. Then epoxy was sprayed on every spot of bare metal that had been exposed.
|

More epoxy spots. Looks like black measles.
|

Welding done, epoxy done, so time for the next step. The inside of the fenders, frame rails, and rocker panels were sprayed with rust encapsulator. This is the inside of the driver quarter panel.
|

And the inside of the passenger quarter panel.
|

And this is the reason that I had not completed the sanding. Spraying causes overspray, which landed on the unsanded bodywork surfaces if the area is not taped off. Sanding will remove this, so we didn't take the time to tape off and just waited on the sanding.
|

One disappointment in all of this is this crack in the putty from the patch panel. This will need to be removed back to epoxy and replaced. This is the front of the wheel arch at the lower passenger B piller area where I fought so hard to get that body line straight. My goal will be to keep the removal out of that problematic body line.
|

The driver door is to 400 grit paper and ready for paint.
|

Back finally to the inside of the tailgate. After a couple of tries at smaller areas where I just ended up chasing every enlarging spots, I gave up and laid in the whole inner segments. The yellow tape was to keep the putty off the ridges.
|

The two gray panels are the inside access covers in the bed. The other two were etched primed and are the interior B pillar covers. Each had just minor imperfections that needed to be worked.
|

The bed, as we chased the rust pits, dents, and dings, both in the floor of the bed and on the sides. The plan is to have the bed in paint for awhile, then have color matched bedliner sprayed in so that the bed is actually usuable without fear. But it has to look good for the few months in paint.
|

Between the tedium of chasing spots in the bed and interruptions by other life events, the progress had become disheartening. Time to show some forward movement. We had been debating about painting the body ourselves or getting the professional at our son's work to spray the paint. We opted for painting it ourselves. Time to put up the paint booth, tape off the body and spray some color. The hood was prepped quickly.
|

The roof was sanded to 400 grit and prepped for spraying first. We found a small spot on the edge of the drip rail that needed fixing, so that was bodyworked and primed.
|

The problematic driver rear quarter panel ready for color.
|

The reconstructed passenger taillight area looks great. We had to spray primer over the final bodywork in the lower area.
|

The outer shell of the tailgate was prepped. I'm still bodyworking the inner half.
|

The driver fender had a small spot on the wheel lip that I decided to fix. Another tip from the pros - a high powered light will help to show up blemishes. I tried it and it works. This one has a magnetic base.
|
There are just a couple of steps between here and color, the seam sealing and undercoating. After those, we sprayed color on the dash, roof, and body exterior.
Oops!
Evidently, the chosen yellow color does not cover well and somehow the gun was set up incorrectly. The paint came out very dry and rough with orange peel. So . . . our step forward into color to reinvigorate morale ended up being a side step that will lead to a better paint job in the end, just more work now before we can send the car to the professional. While I finished the body work on the passenger door, bed, and inner tailgate panel, the guys tackled resanding the color.
|

The passenger door had the entire bottom removed and welded back in, so a little putty was used to dress out the weld seams. We also found a dent in the bottom panel and since this panel shows with paint, we fixed that too.
|
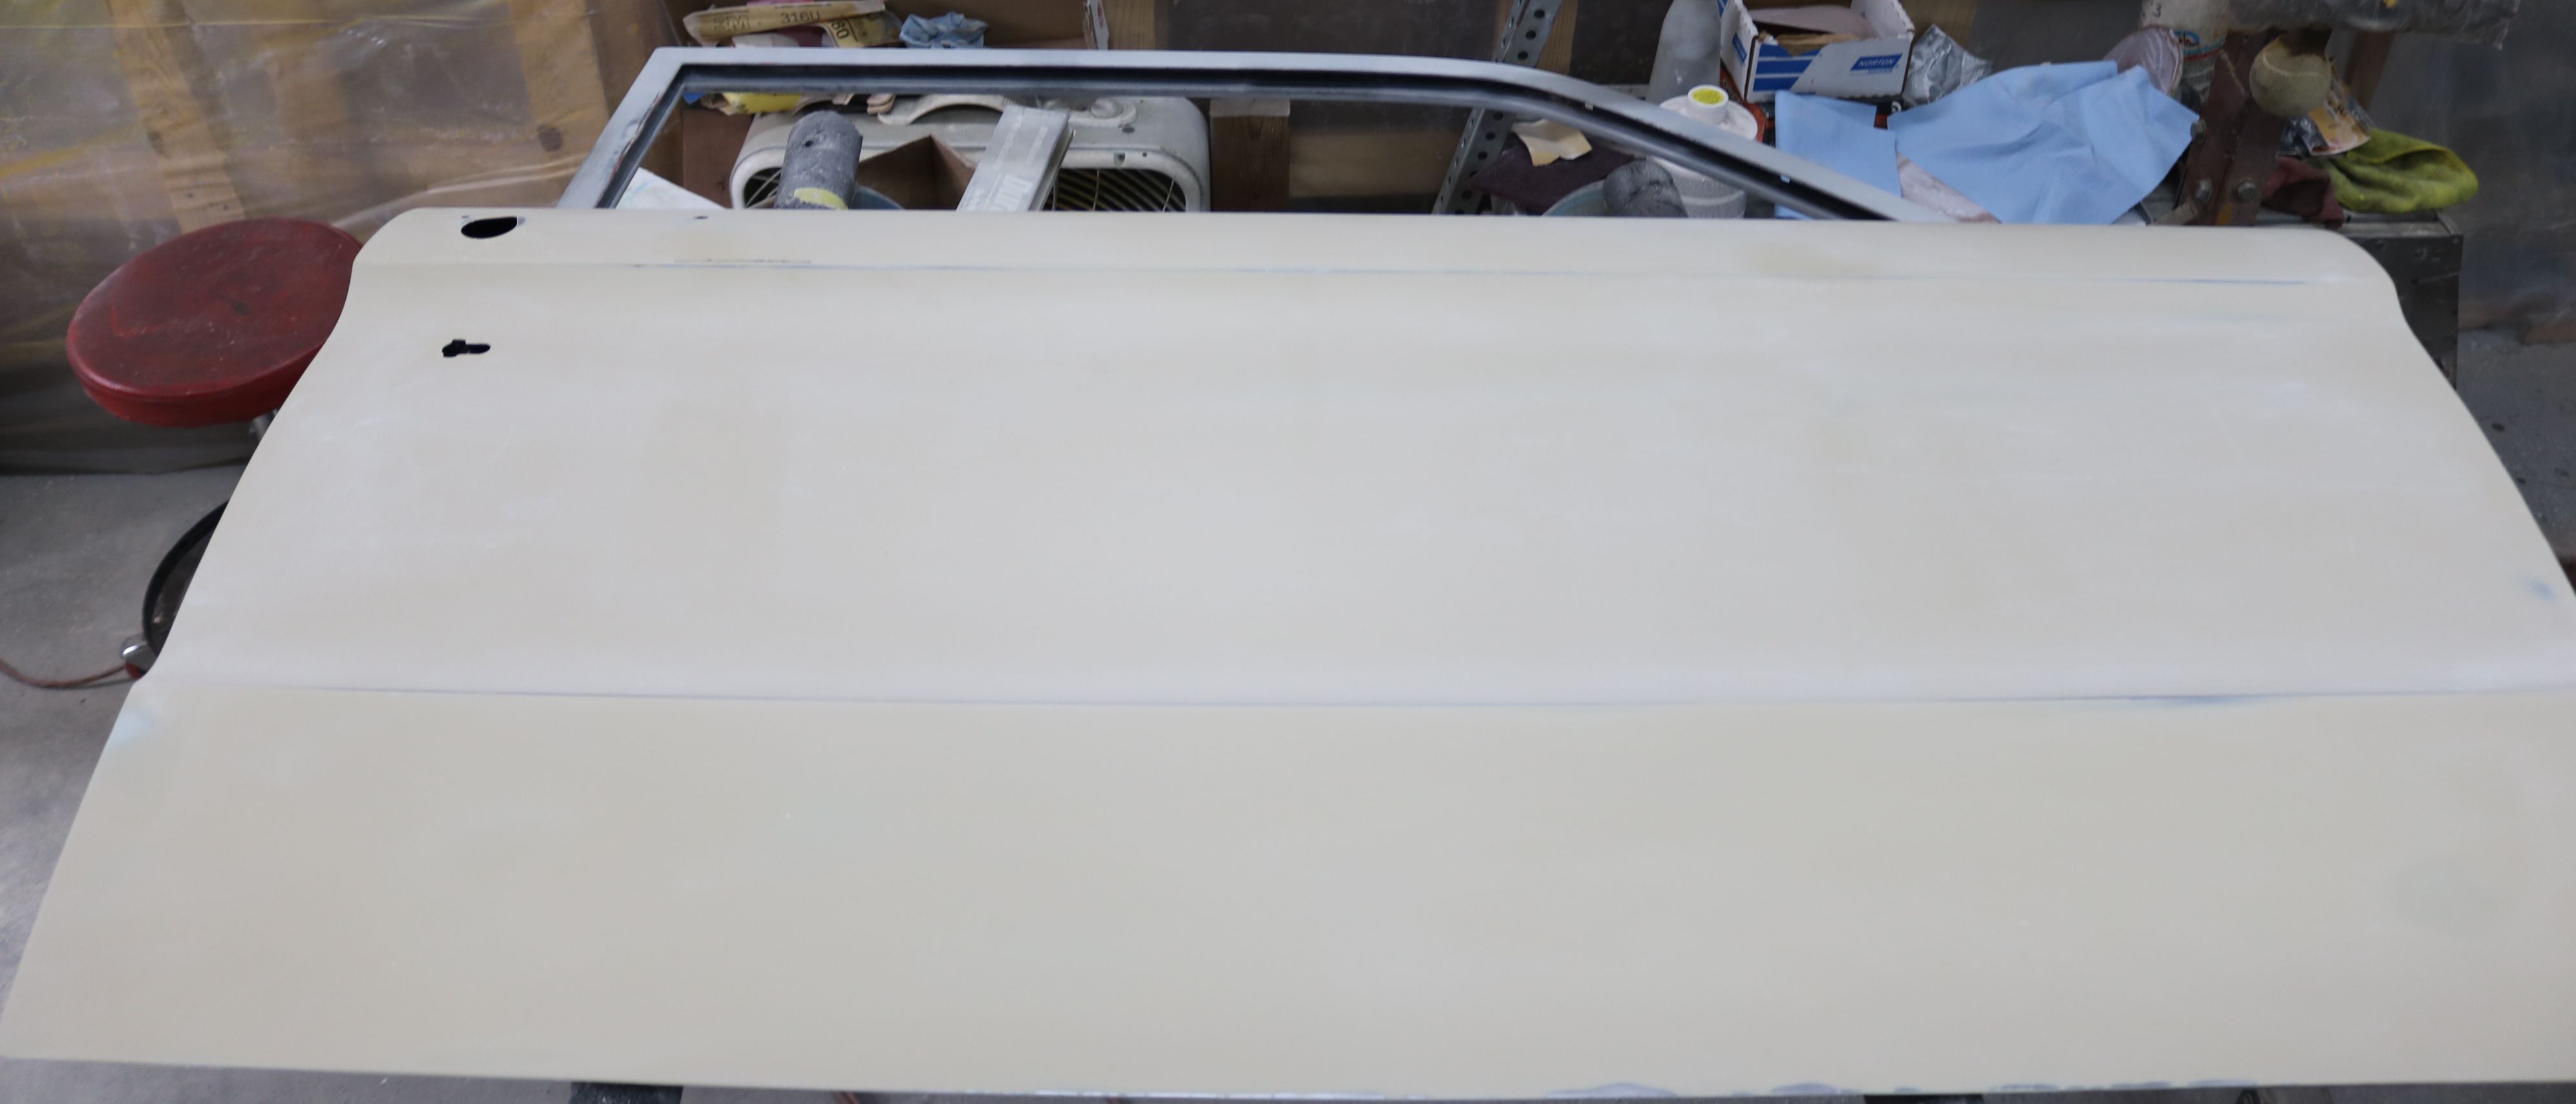
The passenger door is now at 400 grit and ready for paint.
|

Again, I gave up chasing the spots that kept growing. We mixed up some featherfill and brushed it on heavy on the sides of the bed floor. The rest of the bed floor was pretty good by this point.
|

The passenger side of the bed with brushed on feather fill. More on the real reason for the brushed on feather fill in a few pictures. We had to be very careful with the water for the color sanding to keep it away from the bare metal in the bed. The full lay in will help with inadvertent drips.
|

The tailgate with brushed on feather fill. I was chasing minor imperfections here as well.
|

The re-sanded tailgate has just a few measle spots to fix.
|

The troublesome inner tailgate is now ready for paint.
|

And here is the reason for the brushed on feather fill. A friend came down one weekend and measeled up the back of the cab. In this small area, he found 30 spots that needed something. I could keep chasing each spot - or just feather fill, sand, and be done. We choose the feather fill route. And because we had to mix up so much, we had enough left to do the other areas at the same time.
|

The bed is finally ready for paint.
|

The back of the cab is finally ready for paint. The feather fill saved countless hours chasing spots.
|

The last panel to work, that removable bed section. After working on the plastic panels of the Miata, we used the filler designed to be highly flexible and move with the plastic panel here as this panel needs to flex a lot.
|

Only some of the rust pits have been filled. While sanding these I found more areas. After the quick success with the solid layins on the bed and tailgate I know why the professionals choose to do a solid layin on the whole car. It is, quite simply, faster. Time was of the essence at this point, so I changed tactics.
|
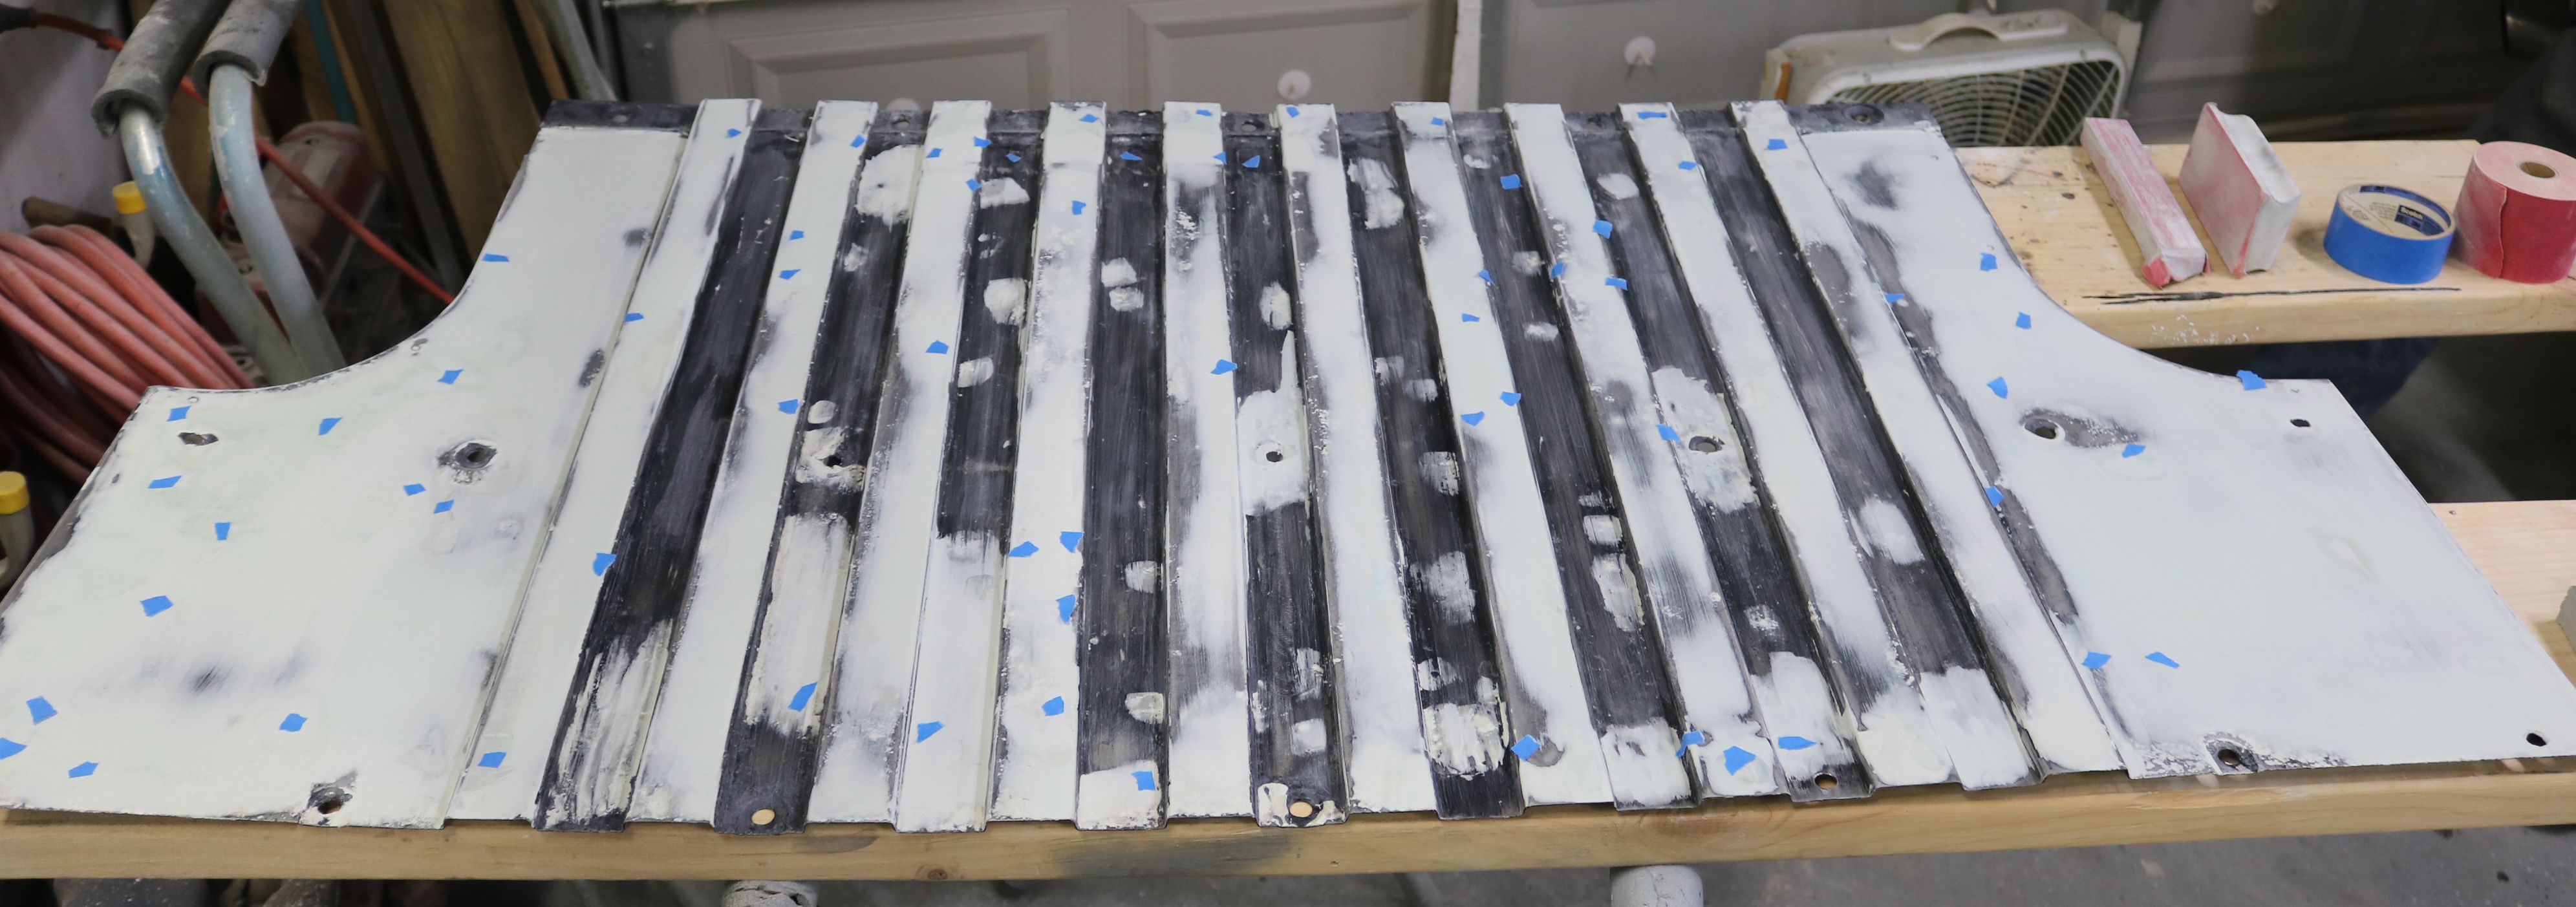
Yep, you guessed it. I did a full panel layin, at least the top surfaces. I didn't like the idea of sanding down into the insets, especially since most of the problems were not there. Once sanded down, I measled the panel to get as many of the imperfections fixed as I could on this very rough panel.
|
|

