
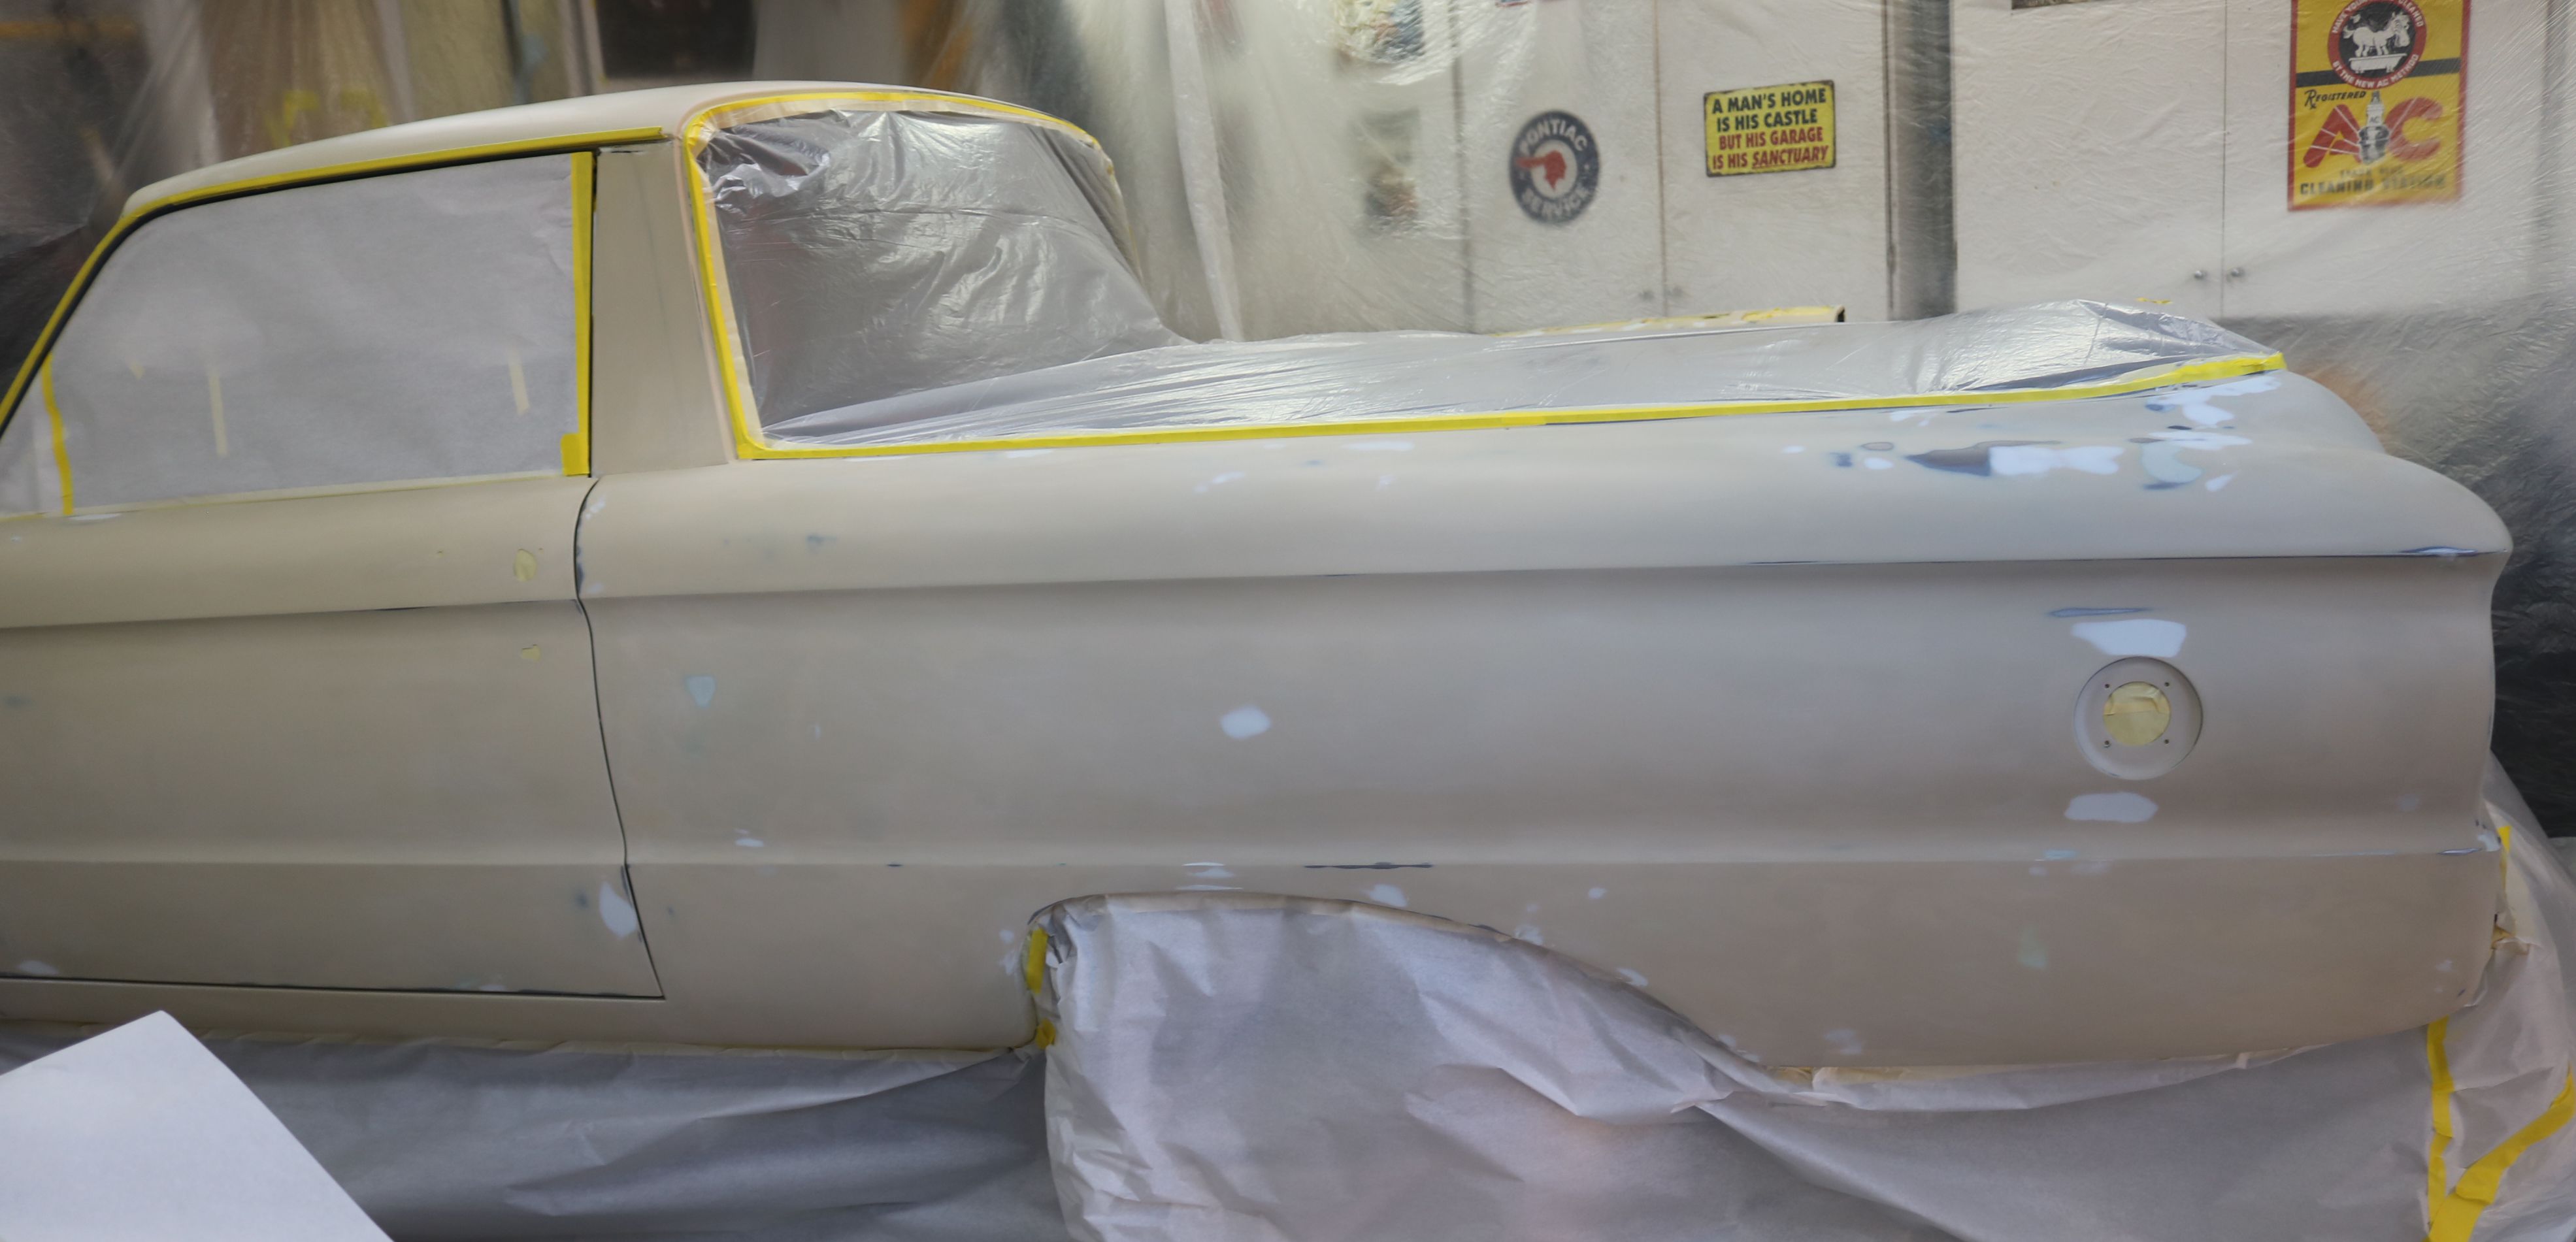
Driver side all taped off.
|

Finishing up the passenger side rear drape.
|

The driver side taillight. Note the shape.
|

Now the passenger side taillight. It is hard to tell, but they are slightly different in shape.
|

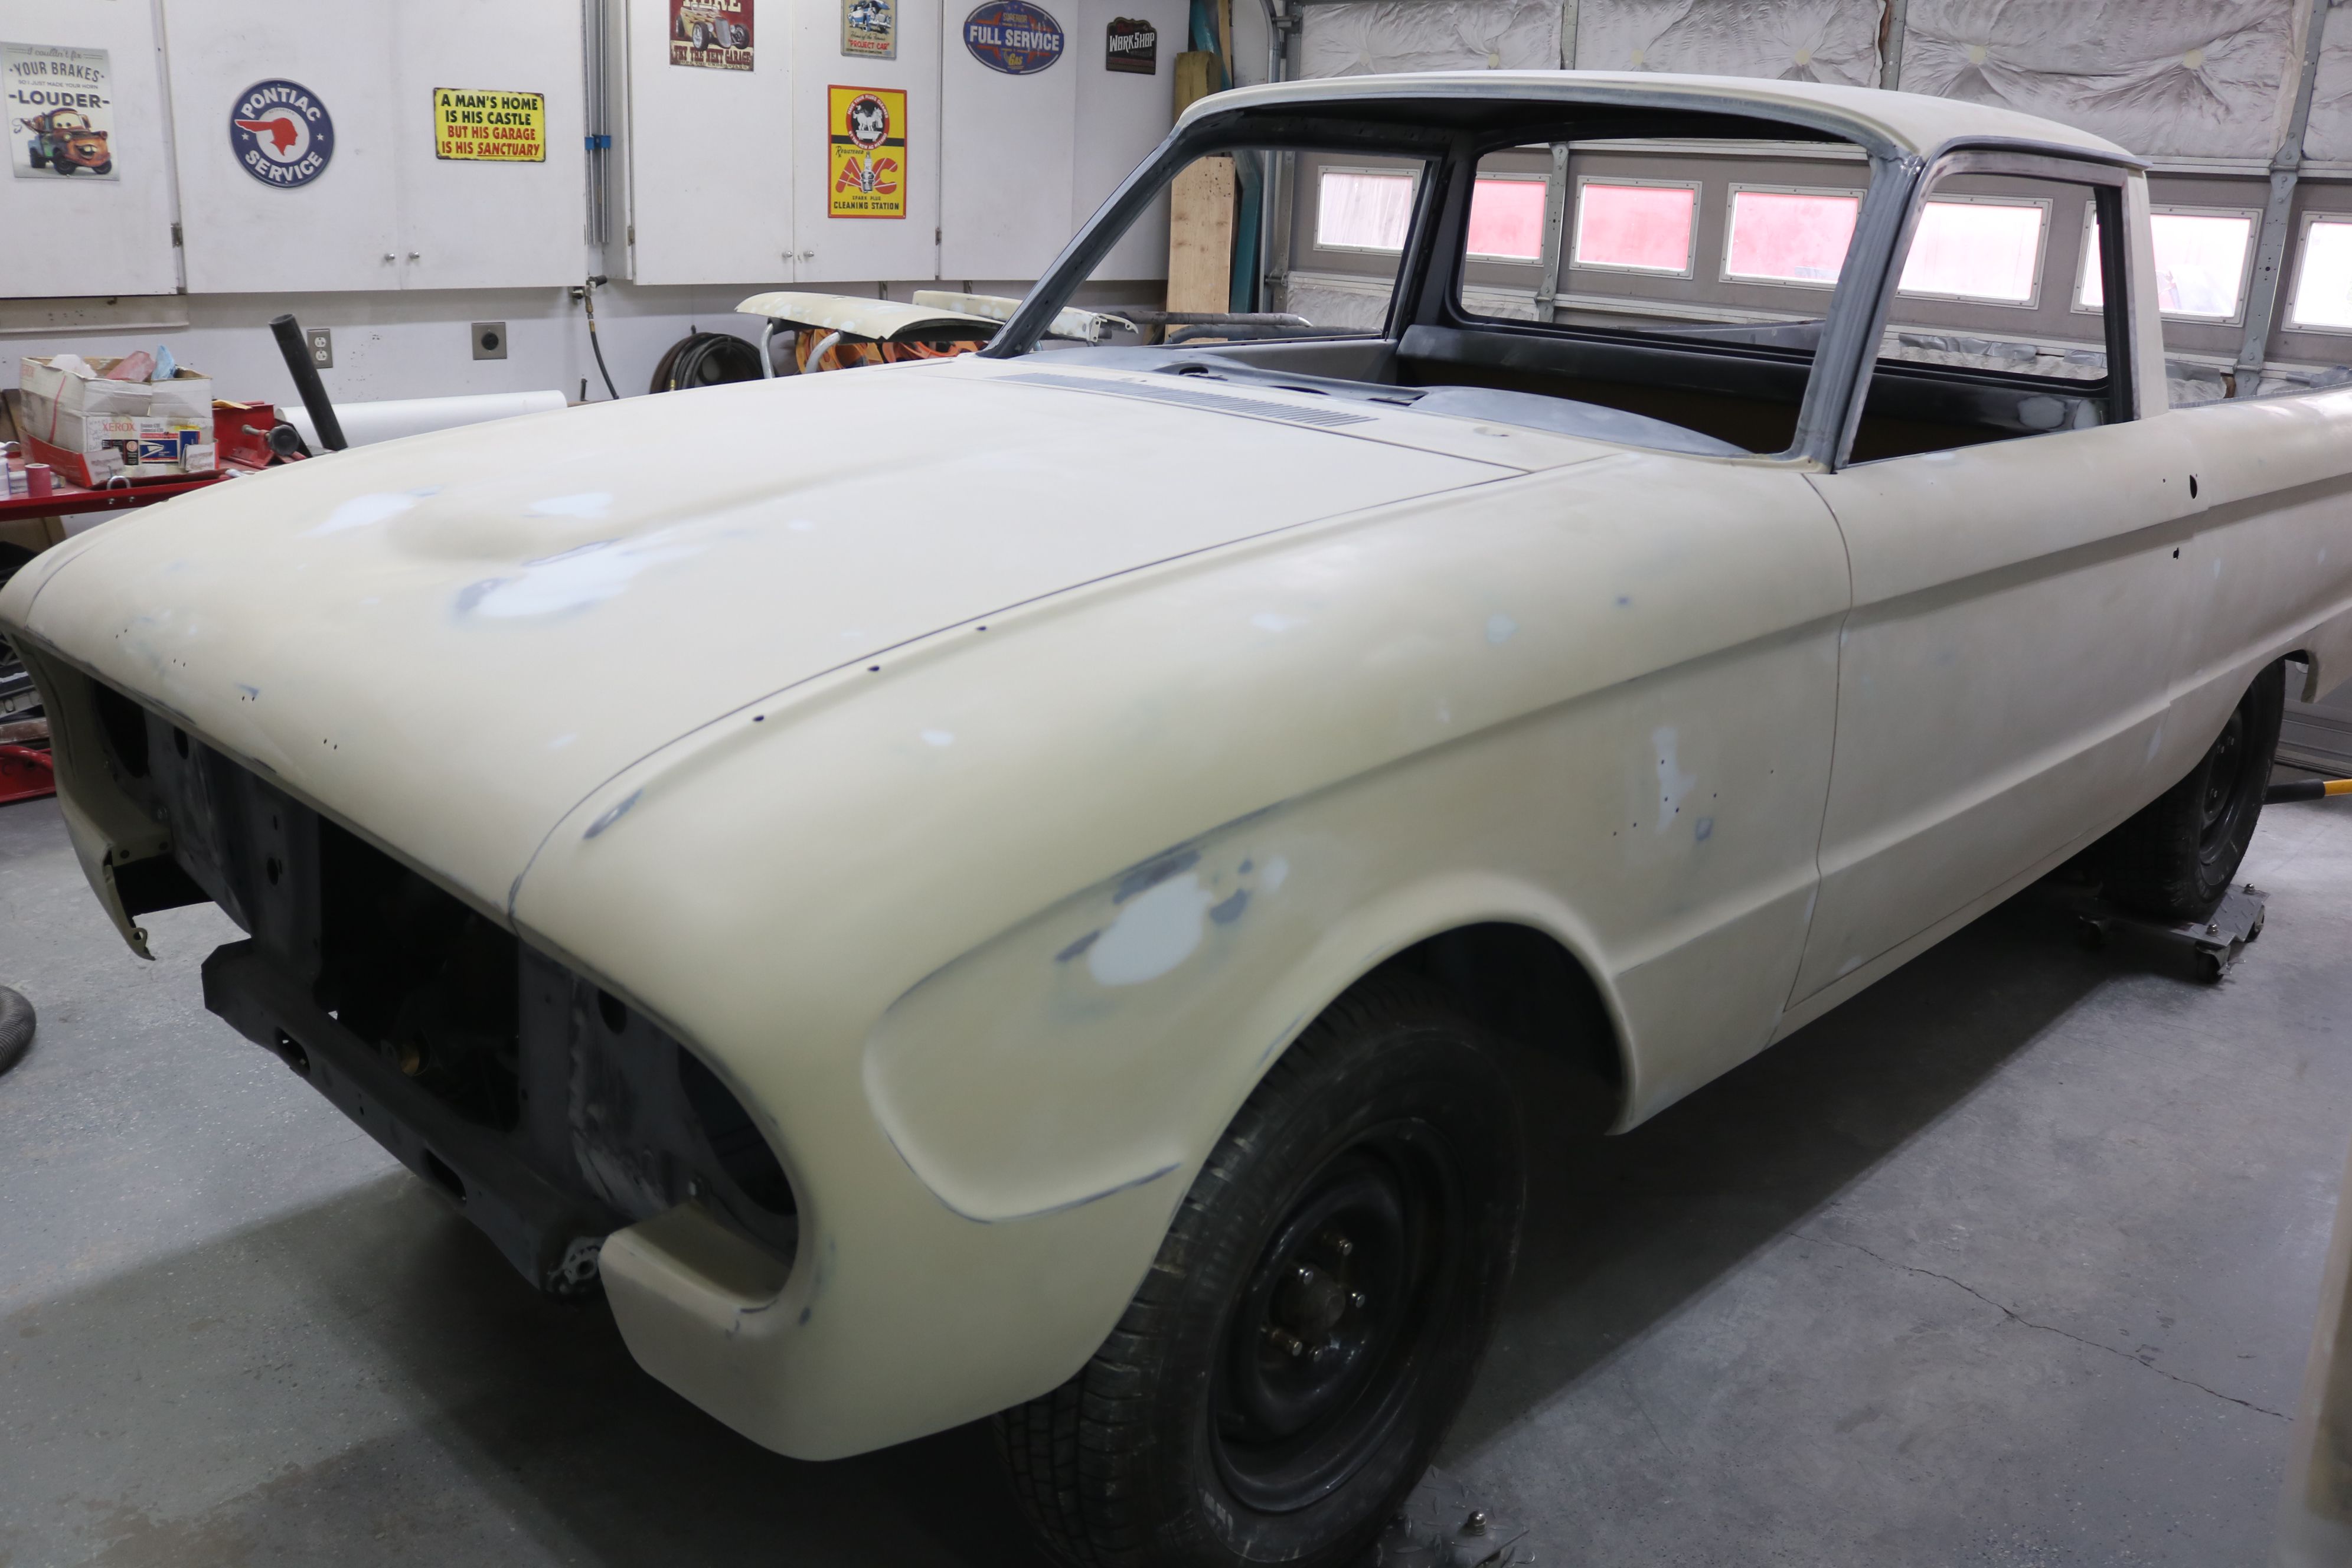
All the multitude of small spots, no more measles, and a prepped garage ready for spraying.
|

The taped off valance. We decided to spray this one off the car to be sure we could get the bottom edge.
|

Long arms come in handy for spraying the roof. However, there was a problem.
|

Dad stepped in to figure out the problem. The featherfill was setting in the gun. They had to stop and clean out the gun, then thin the remainder with acetone.
|

The car, partly sprayed as they refilled the gun.
|
 All sprayed. The driver side looks fairly straight. We just have to wait a couple of hours to untape and see what we have overall.
|

The passenger side looks pretty straight as well.
|

The front valance shows a few blemishes that I missed.
|

The passenger quarter panel looks great.
|

So does the tailgate.
|

Untaped and ready for a blocking party tomorrow.
|

And the blocking part started. The goal is to use the largest block possible and keep it flat to the panel while moving it in a diagonal or X pattern. This helps to ensure flat, straight panels while maintaining the curves.
|

Body work is a dusty process. During the blocking, we came to the conclusion that there is no flat panel on this body as every panel has some curvature to it.
|

More measles, again to mark the areas that need to be checked and worked.
|

There was one shallow dent that perplexed us for awhile. We wanted to fix it, but it was on the edge of the cowl vent. Putty would show tremendously. They discussed a hook through the grates and several other possible solutions. Kurt thought of using small wires and a slide hammer to pull on the grates gently until the dent came out.
|

More measles on the driver quarter panel.
|

And measles on the tailgate.
|

Measles on the passenger quarter panel.
|
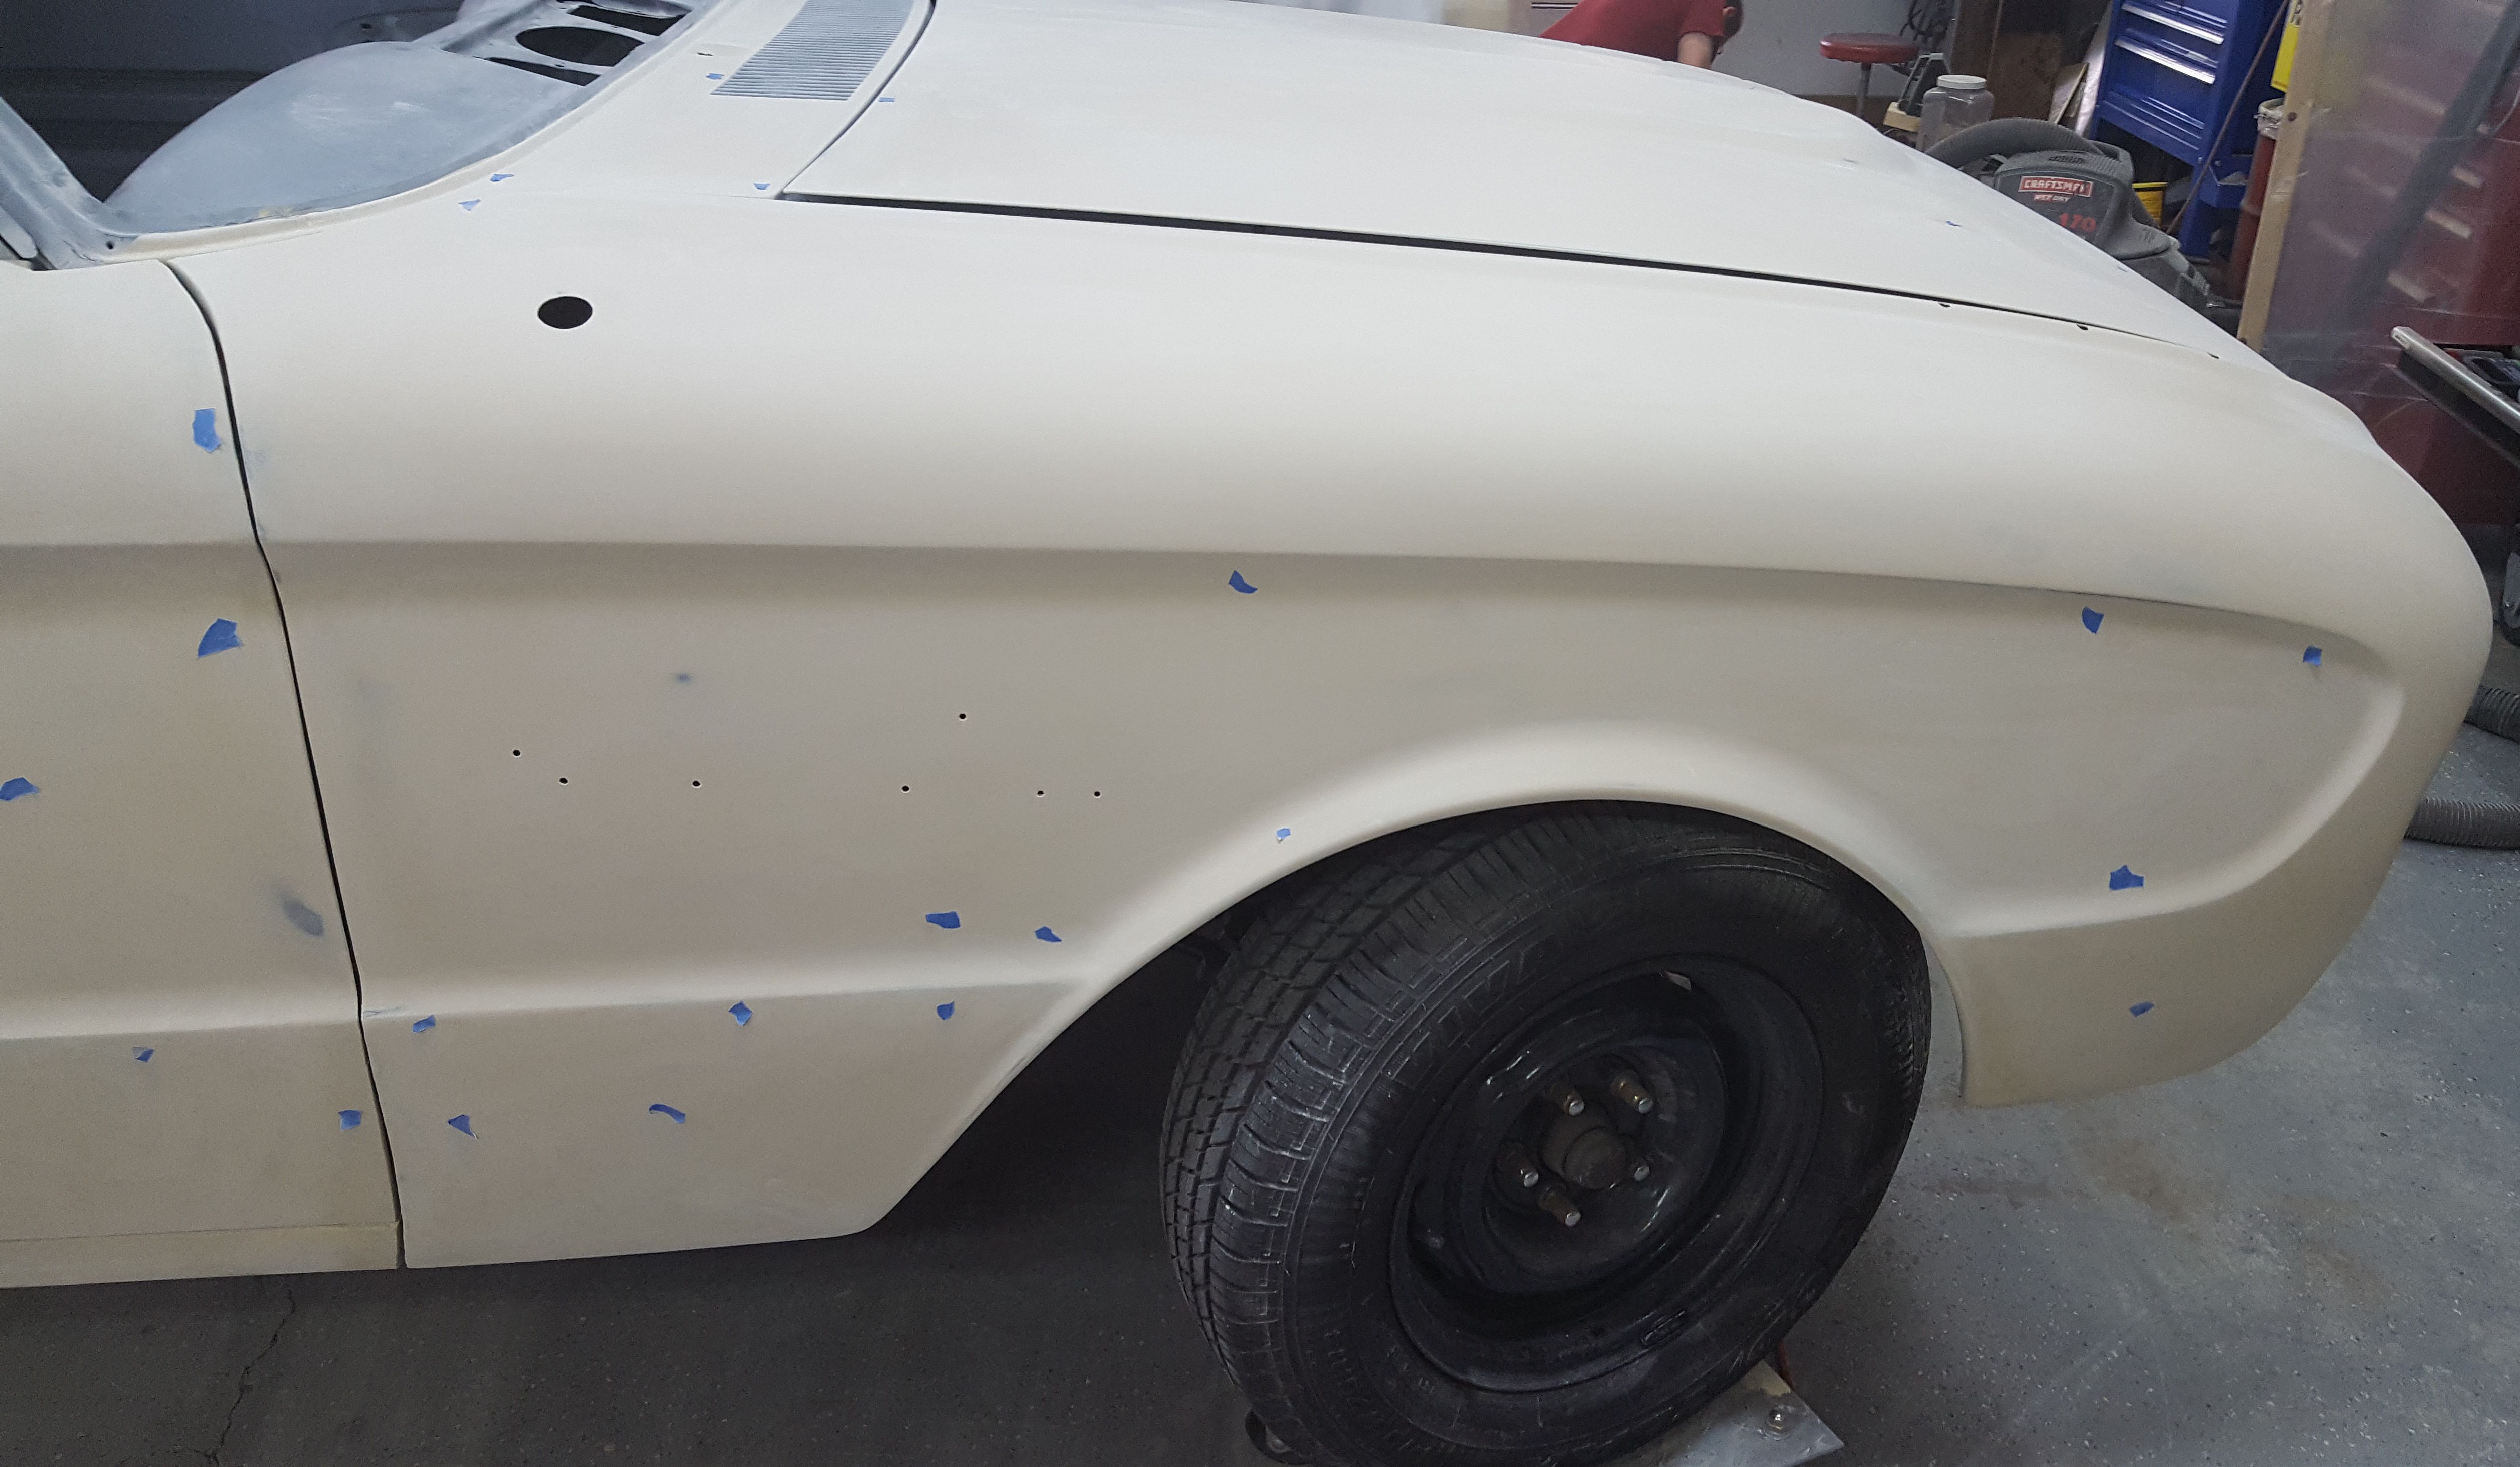
At least the passenger front fender has only a few measles.
|
Measles all taken care of, but there were more spots that we missed than I want to fight with sealer and paint. We decided on a second round of featherfill.
|

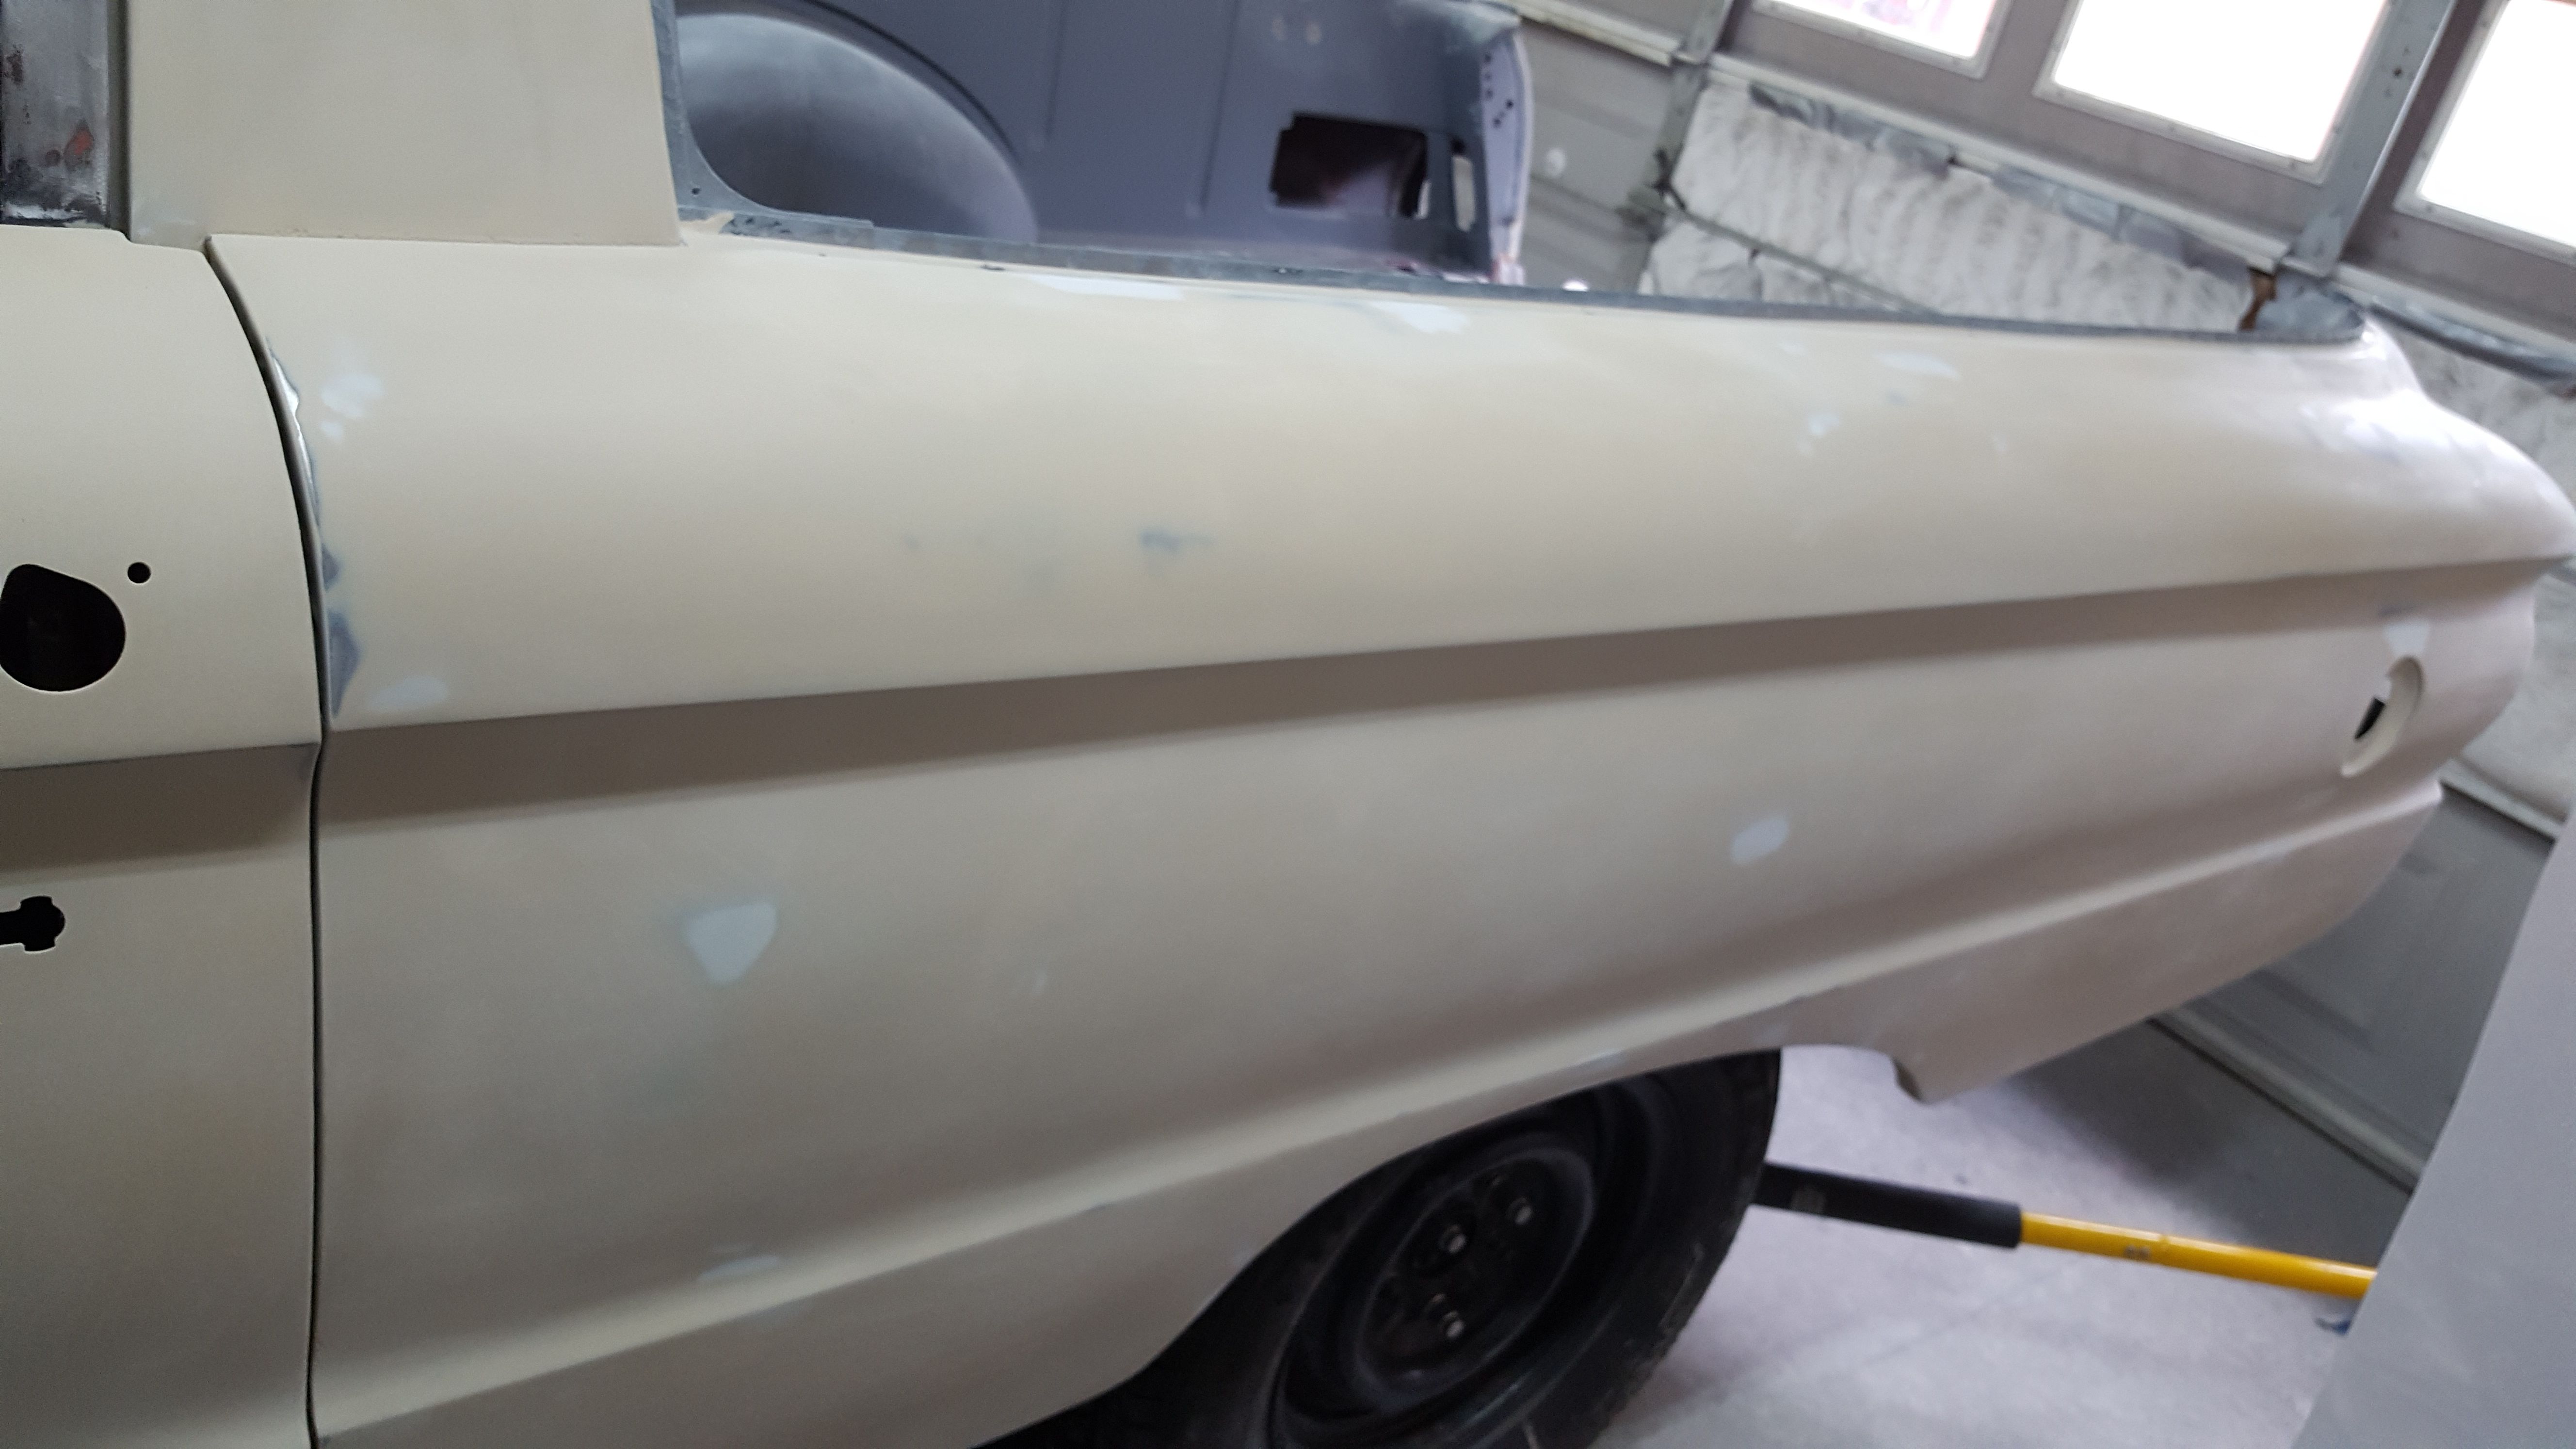
The passenger side shows spots as well that we missed.
|

The passenger door has some spots. These became obvious once we blocked down the edge from the door to the fender.
|

And here is the problem area. When we were looking at every line in the solid color once more, we noticed the shape difference between the two taillights. If you remember, this taillight was reconstructed out of multiple pieces (~21 total) welded together because the original was so mangled. We all decided that the driver side looked better, so I got the privilege of sculpting the passenger side to match the driver side. That took the better part of 2.5 days, lots of tape for lines, and lots of measuring with the blue contour gauge.
|

But now, if you compare the shapes, they match fairly well.
|

Those shallow dents on the roof were deeper than featherfill could completely fill, so we quickly worked them as well.
|

Even the hood had a couple of spots. Not sure how I missed these.
|

Not surprisingly the tailgate had a few areas. So did the valance.
|
Even the driver side had a few spots.
|

Taped off again for round 2 of featherfill.
|

I feel better about this round. I've touched every panel now and feel that we have all the spots found. That unfinished passenger quarter panel is really bothering me now that the rest of the body looks good.
|
The few spots on the driver side.
|

One spot we missed on the first round, the A piller. There is a narrow band that shows in paint between the windshield trim and the drip rail. We quickly smoothed out the rust pits on both sides.
|

The driver A piller had only a few spots.
|

Ok, most of the spots that I had to dress out were tiny and mixing putty in dots smaller than a dime is tough. So the extra was used to start filling the weld spots on the bed sides.
|

The driver side weld spots, untouched so far. Evidently at some point, tie downs had been mounted to the bed sides. Not only did these leaves holes behind, but the metal is not straight in these areas now. The holes were welded up. Now I just have to smooth out the shallow dents.
|

Round 2. We spotted in the putty spots as the putty usually soaks in the first round and shows through. That thin extra layer should help with that.
|

Spraying round 2 took less time, but they did have to thin the featherfill again.
|

The tailgate came out flat on this second round.
|

The valence shows no blemishes this time.
|

Time to pull down the wall and the drape and have another blocking party.
|

While I know this looks the same as after round 1, but the finished product will be worth the extra time.
|

The next step is to pull the car apart again and put it back on the rotisserie. We still have welding to do on that passenger rear wheel well.
|

