On to the front fenders. These were part of that extra work I warned about.
|

This is the inside of the original front fender support brace, probably someplace that the Ford engineers never expected anyone to see. But there were rust holes to repair, so the fender was cut open. The fender also had rust on the sheet steel, so new will be welded in.
|

Another view of the passenger front fender.
|

The replacement panel for the passenger front fender.
|
The replacement panel was welded in, ground down, and THEN we nabbed a pair of
replacement front fenders. The headlight sections were in much better shape, but
this area was just as bad. Seems this was a design flaw that held dirt and
moisture, causing it to rust out.
|

We had located donor fenders, compliments of Ebay and replacement doors from a local salvage yard. We
mounted both so that we could check out the alignment.
|

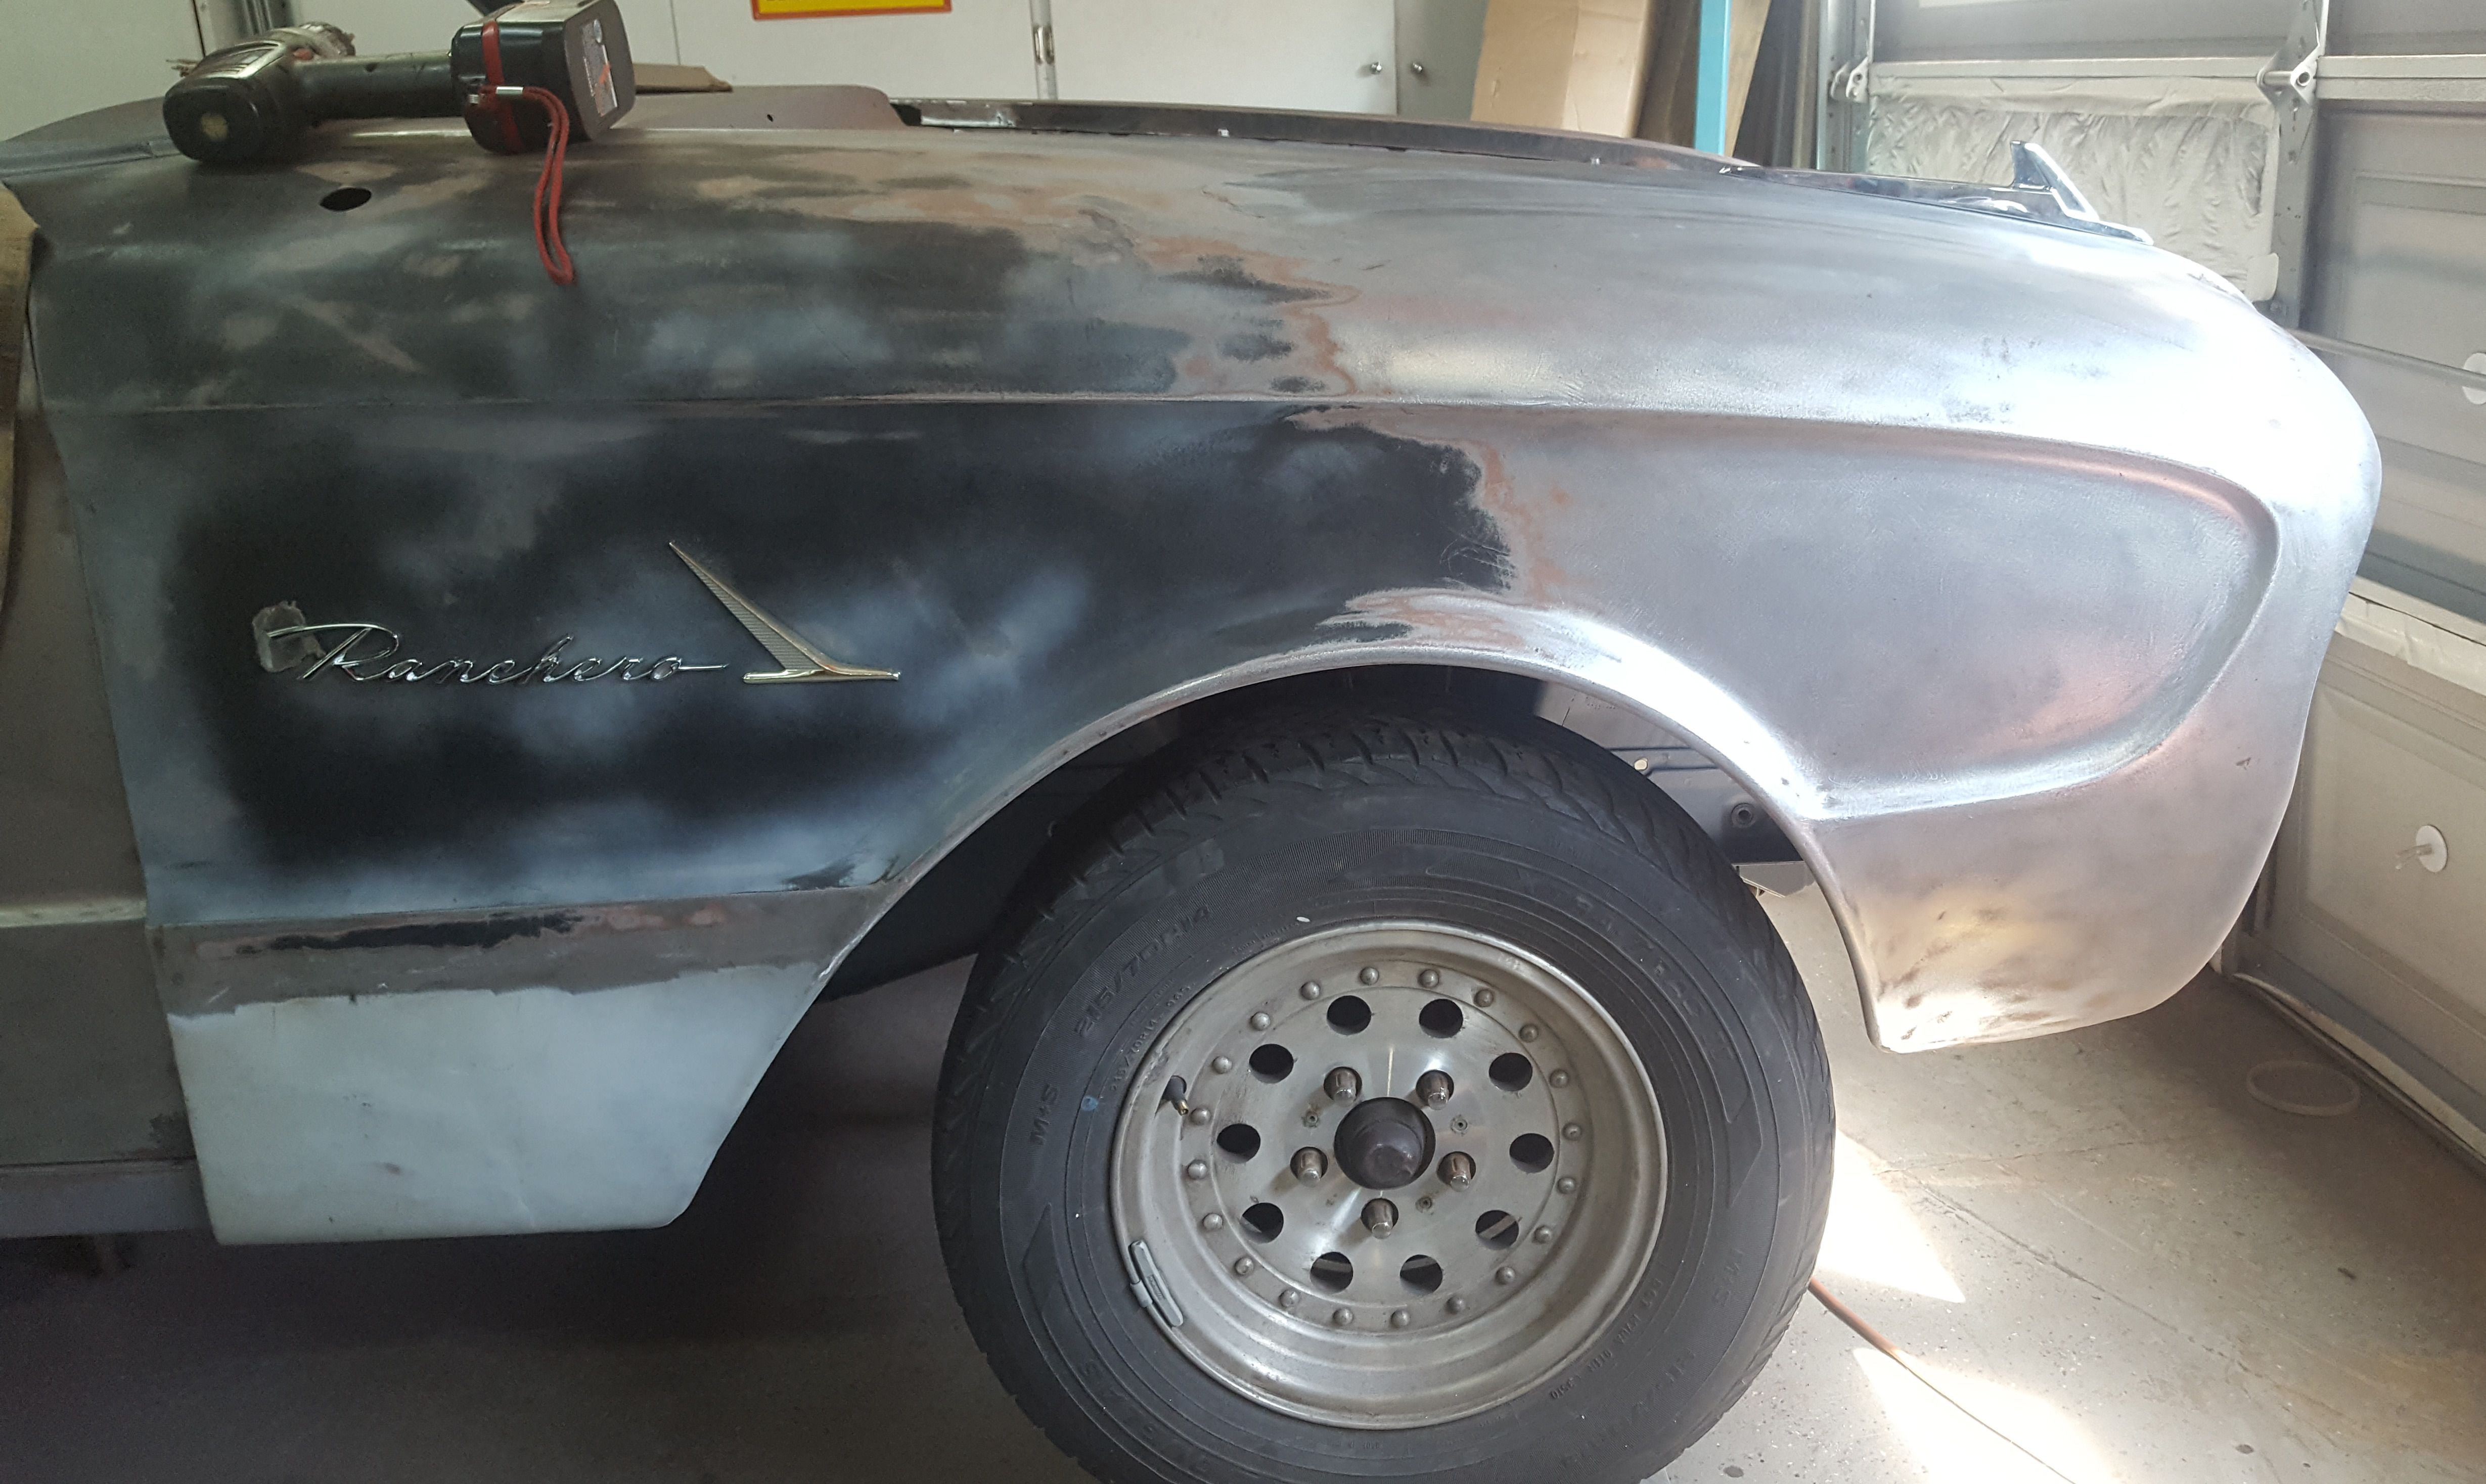
Not too bad on alignment, though we noticed that the body lines don't match exactly. They are off just a bit. We will try to correct that and blend the lines.
|

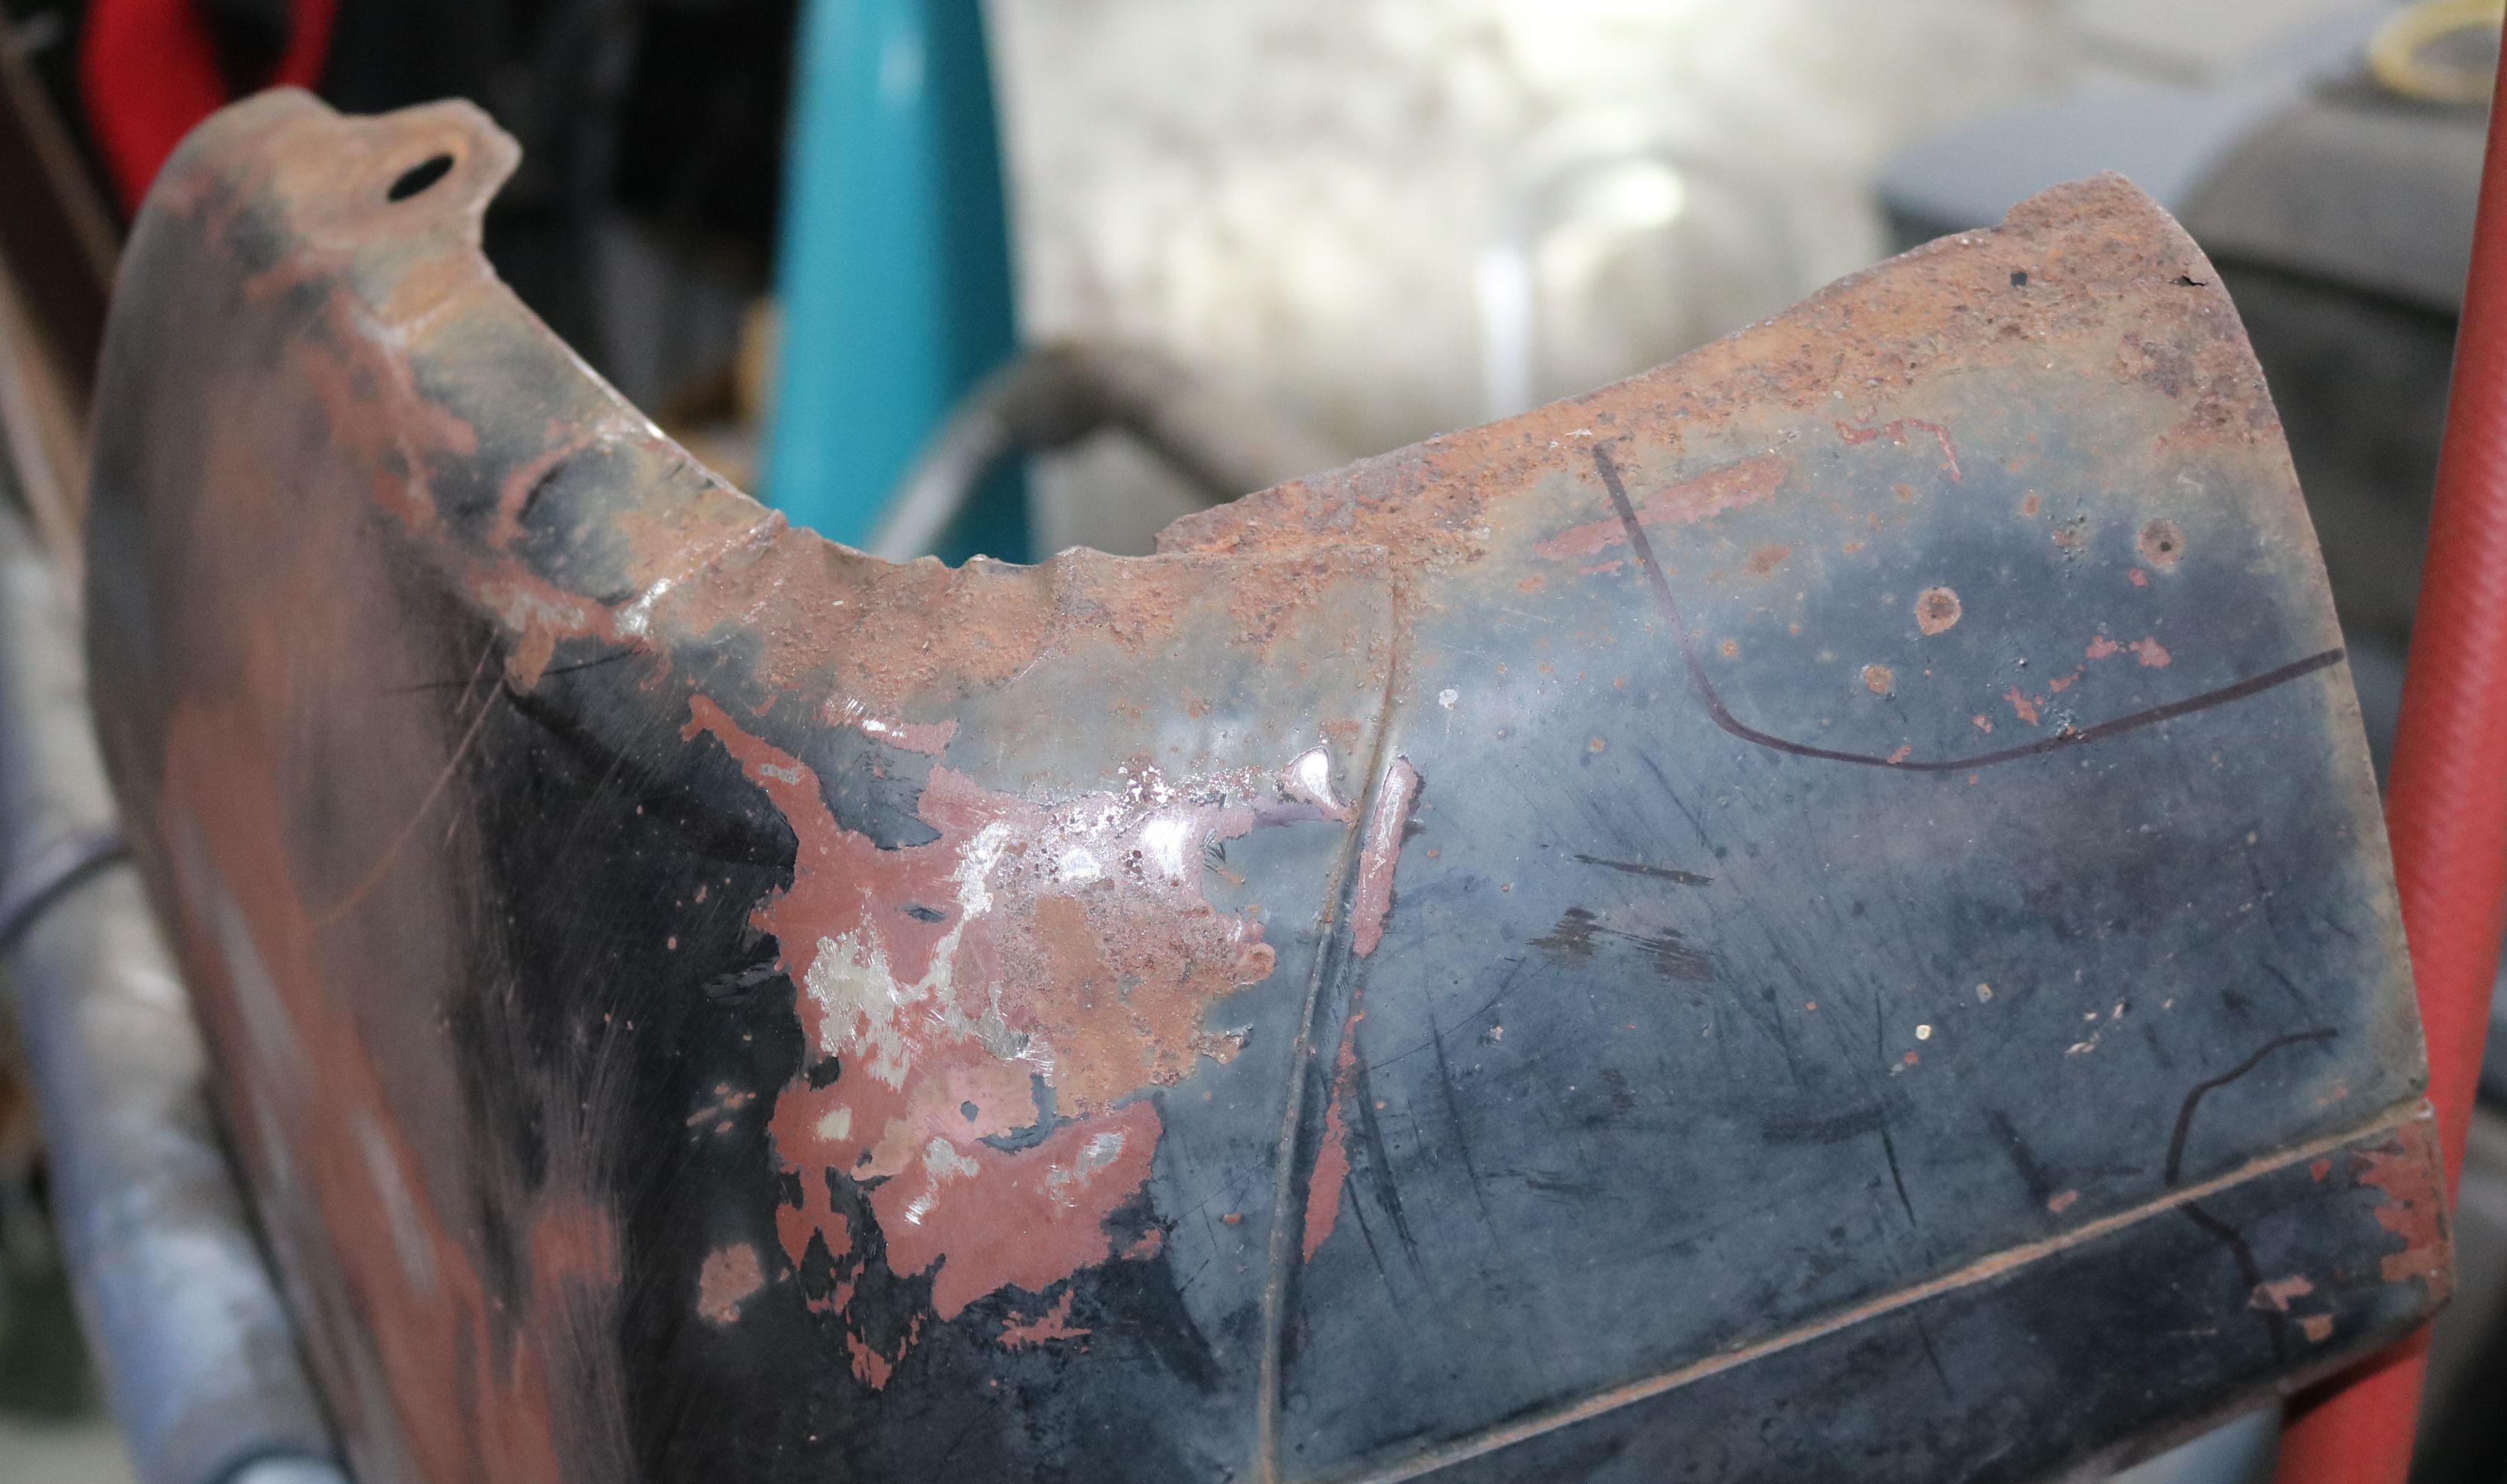
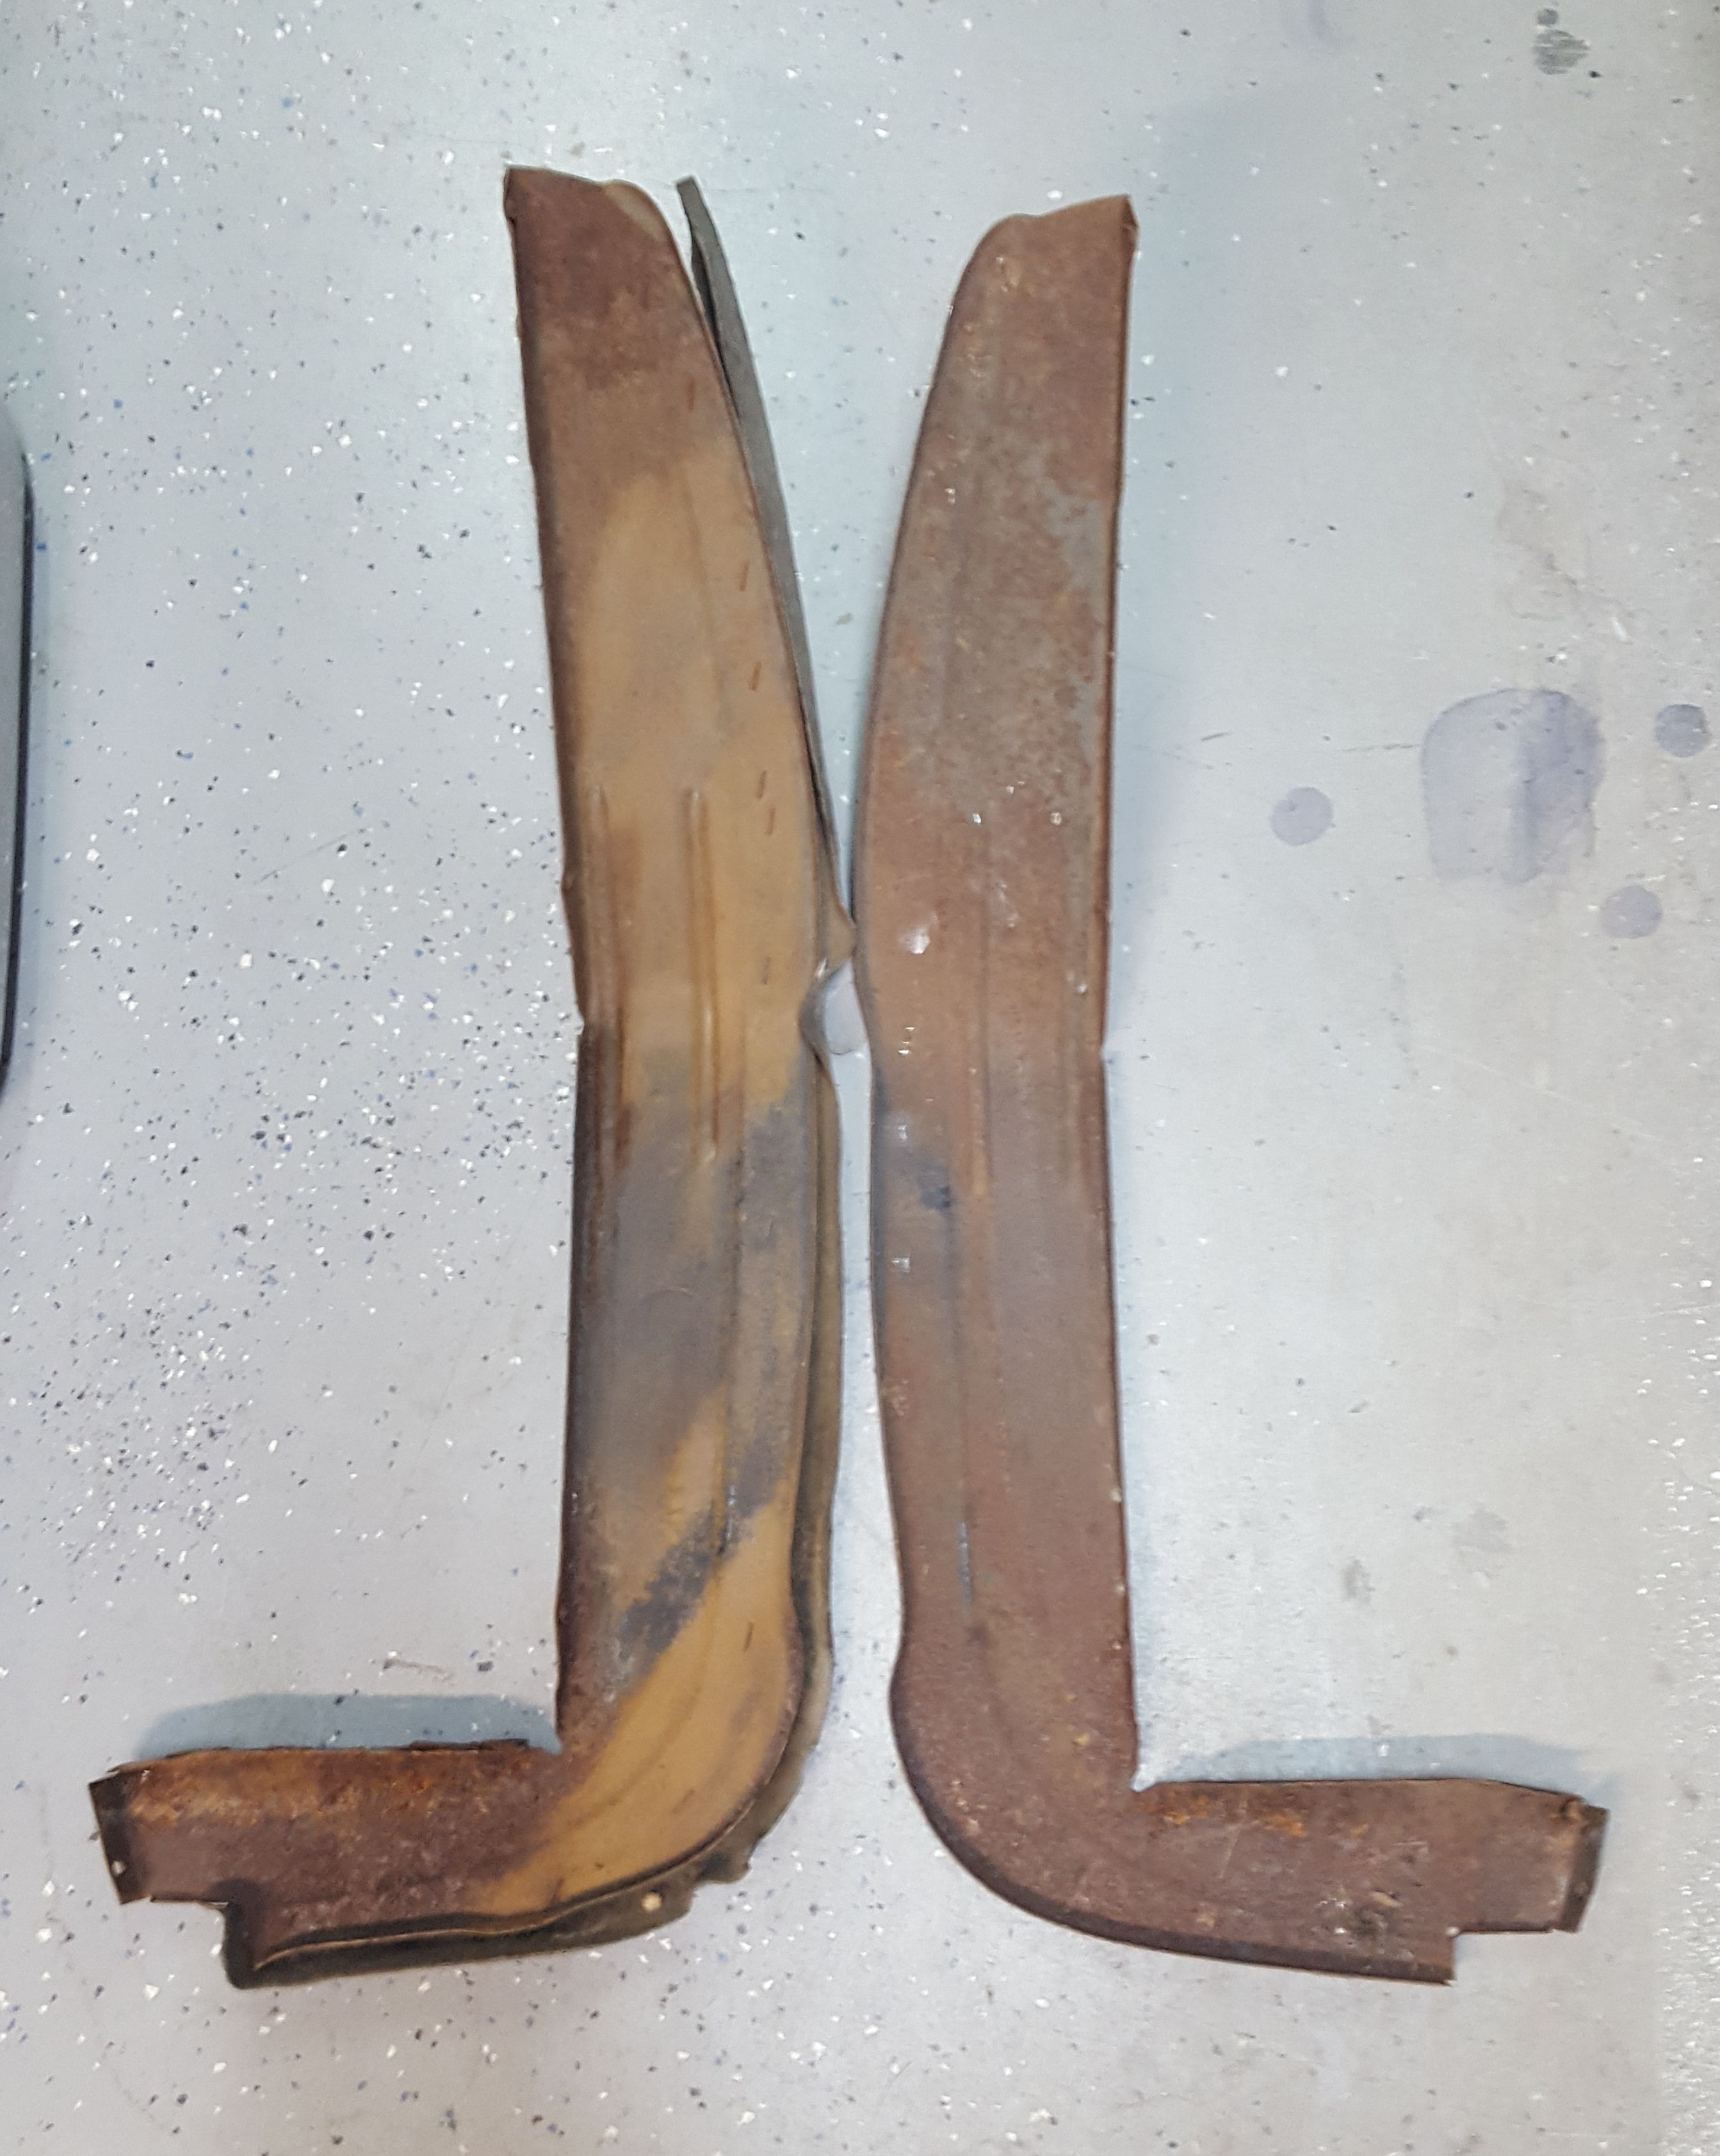
The donor front fender had a hole in the same place on the lower passenger rear corner.
|

The replacement driver front fender had a dent above the headlight, again in that hard to repair section. But this is much less damage than the original fender.
|
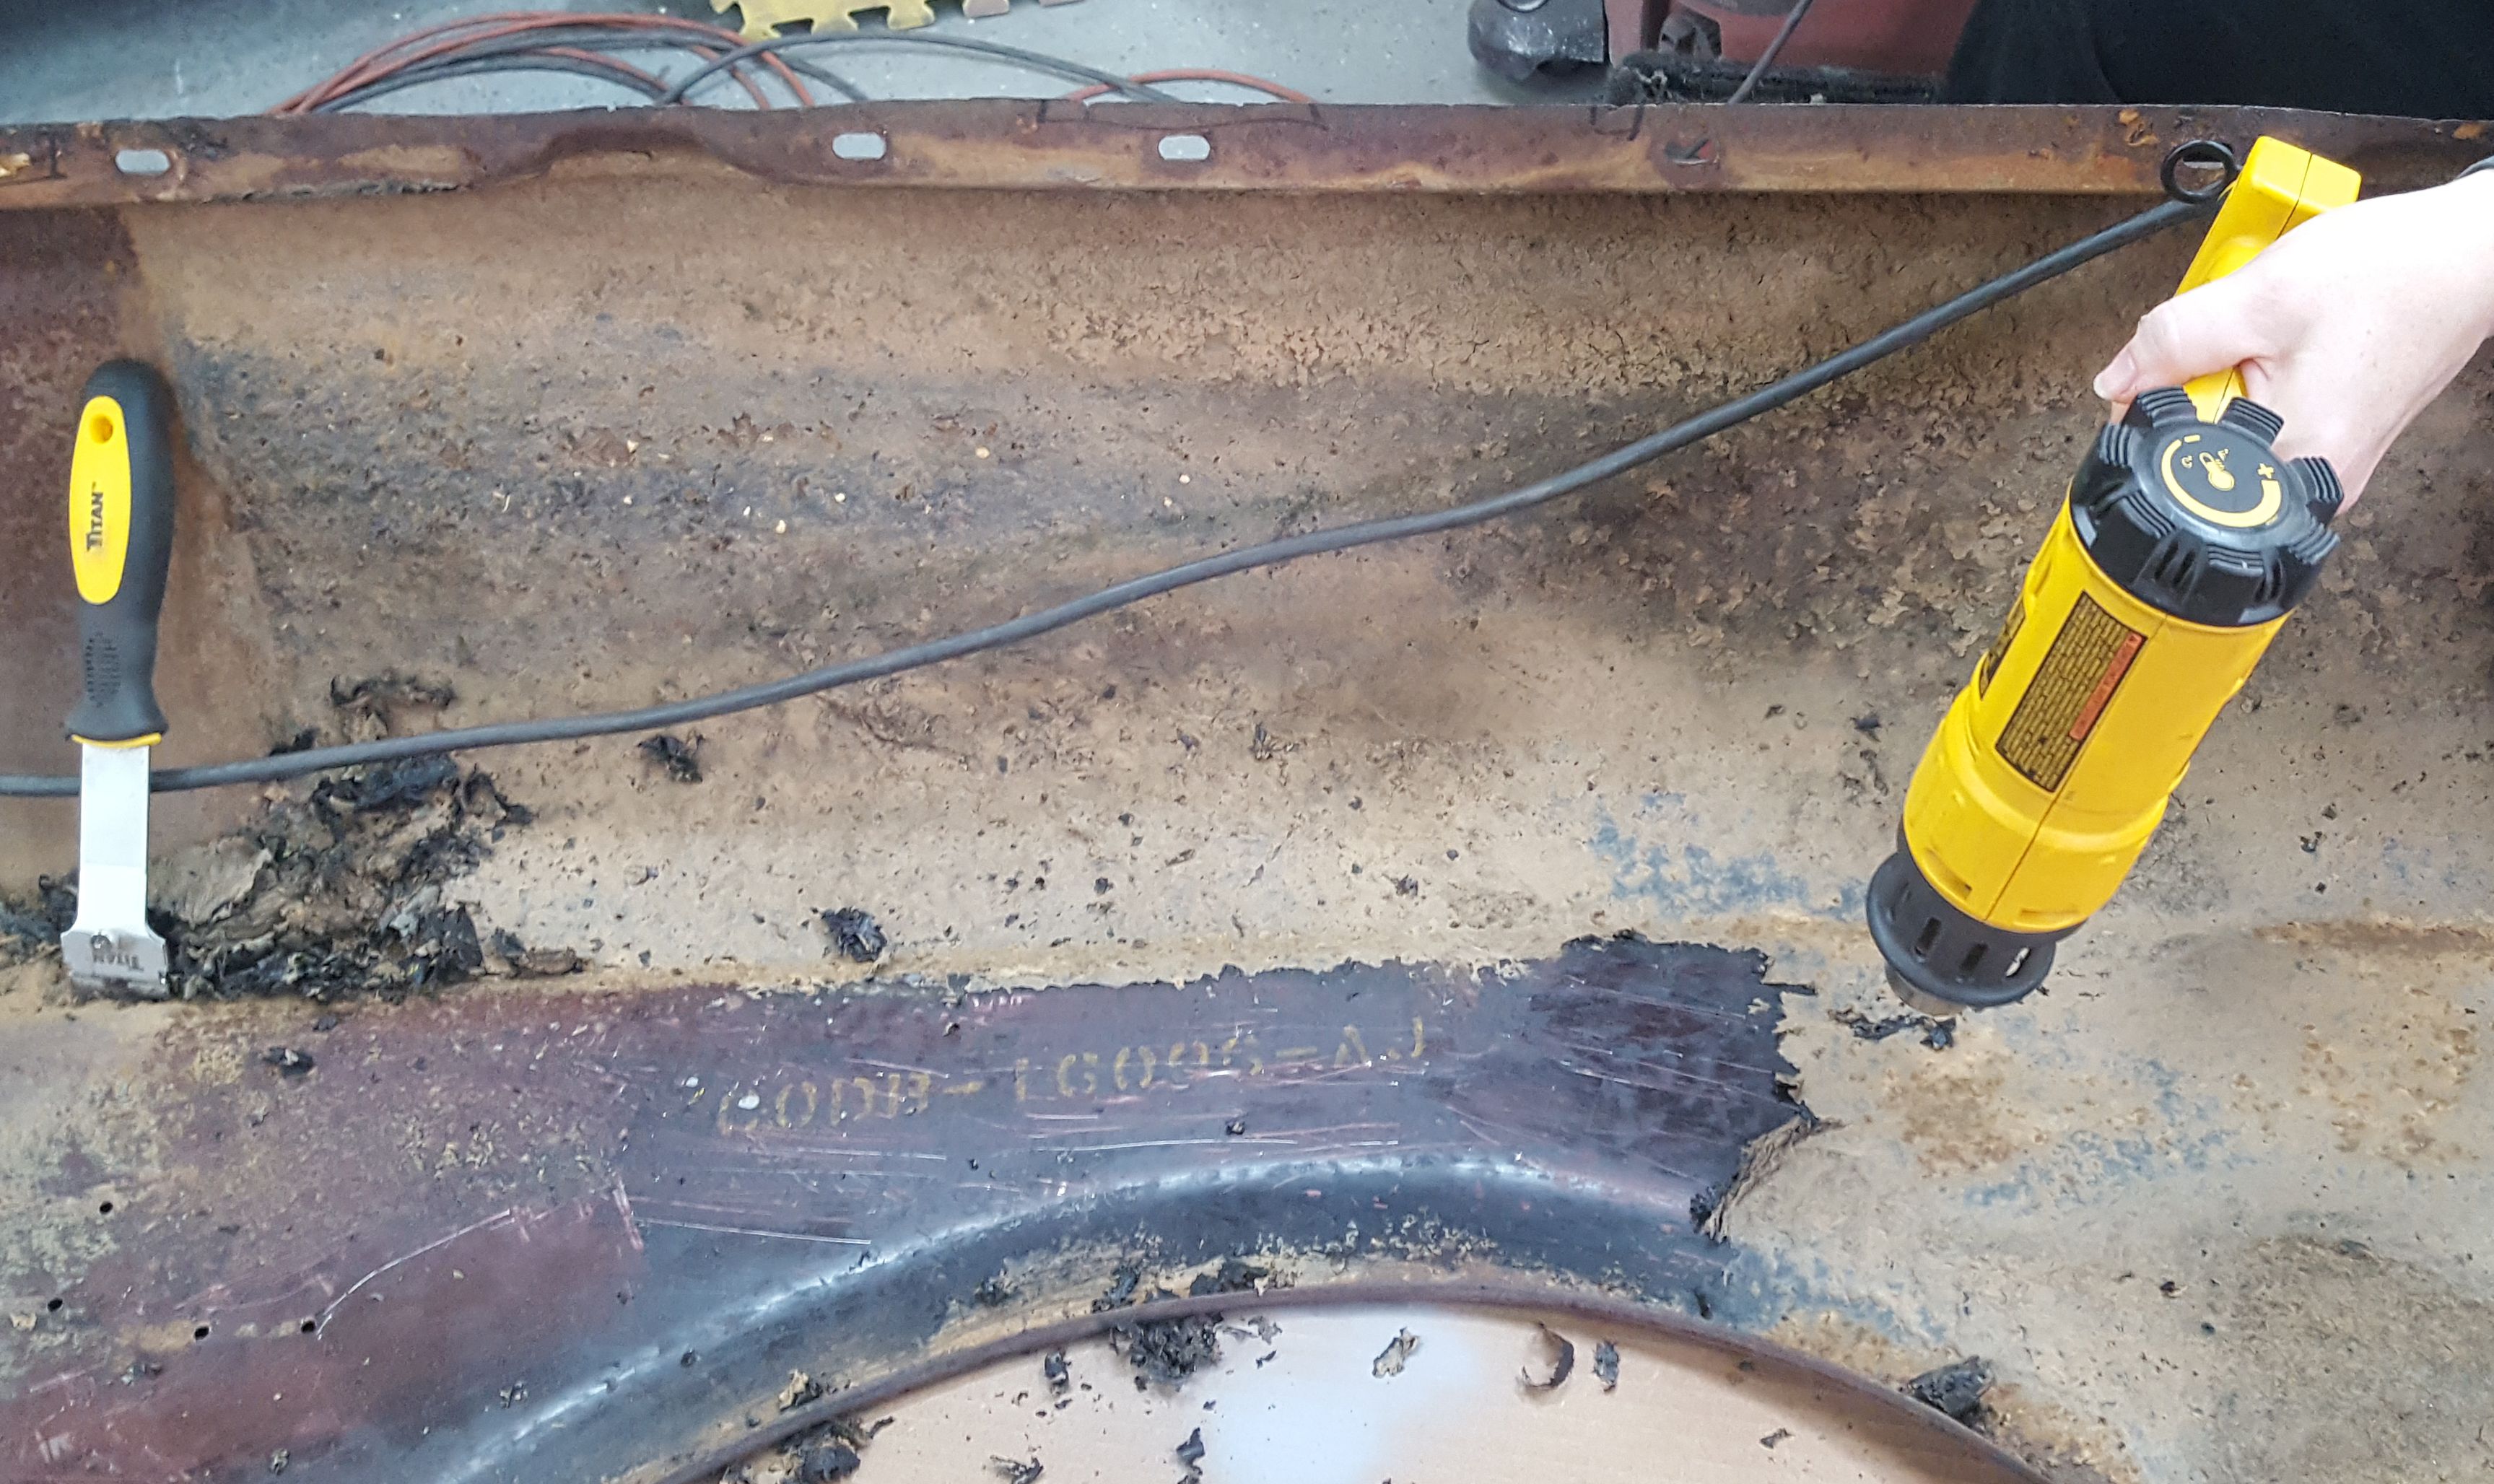
I got the dirty job of removing the decades old undercoating from the inside of the donor front fenders. A heat gun makes the job easier. Underneath the undercoating we found the stamping C0DH-16096-AJ, the factory part number stamping. The C0 means 1960.
|

The lower section of the passenger front fender is ready for welding. This was grafted in from the original fender, the one that we had already repaired.
|

The passenger front fender also needed a patch in the front bottom corner. We drilled out the spot welds from the original fender and grafted it into the donor fender. Ford did not even smooth out the creases in the metal bends on this corner. I've been informed that we will smooth those out as well.
|

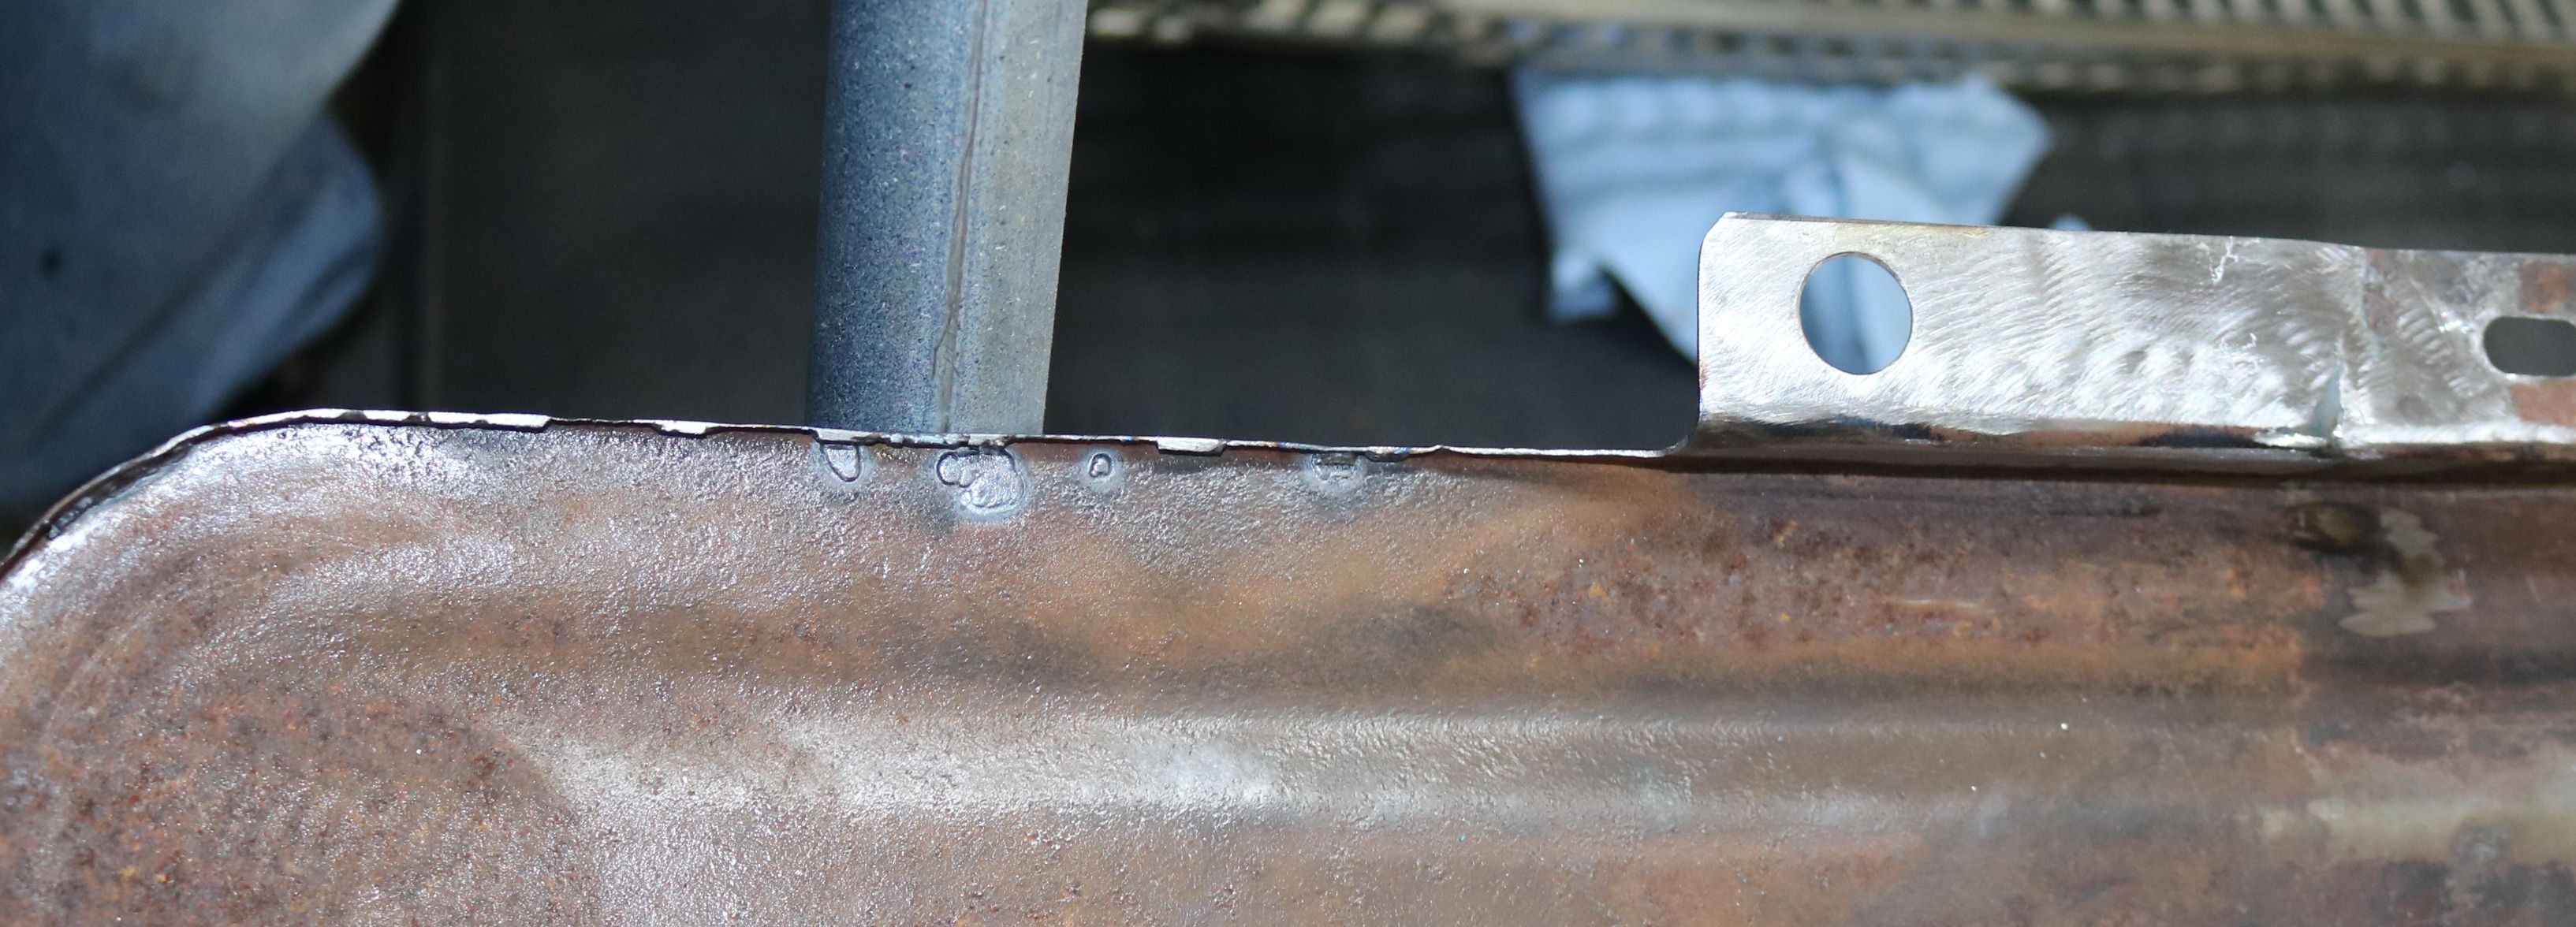
The front fender section tacked in place.
|

The lower front corner welded in. Note the metal creases were cut to remove a thin triangle, then welded back up. Now to grind the welds down.
|

To minimize distortion caused by heat, the fender section was done in small sections, then allowed to cool.
|

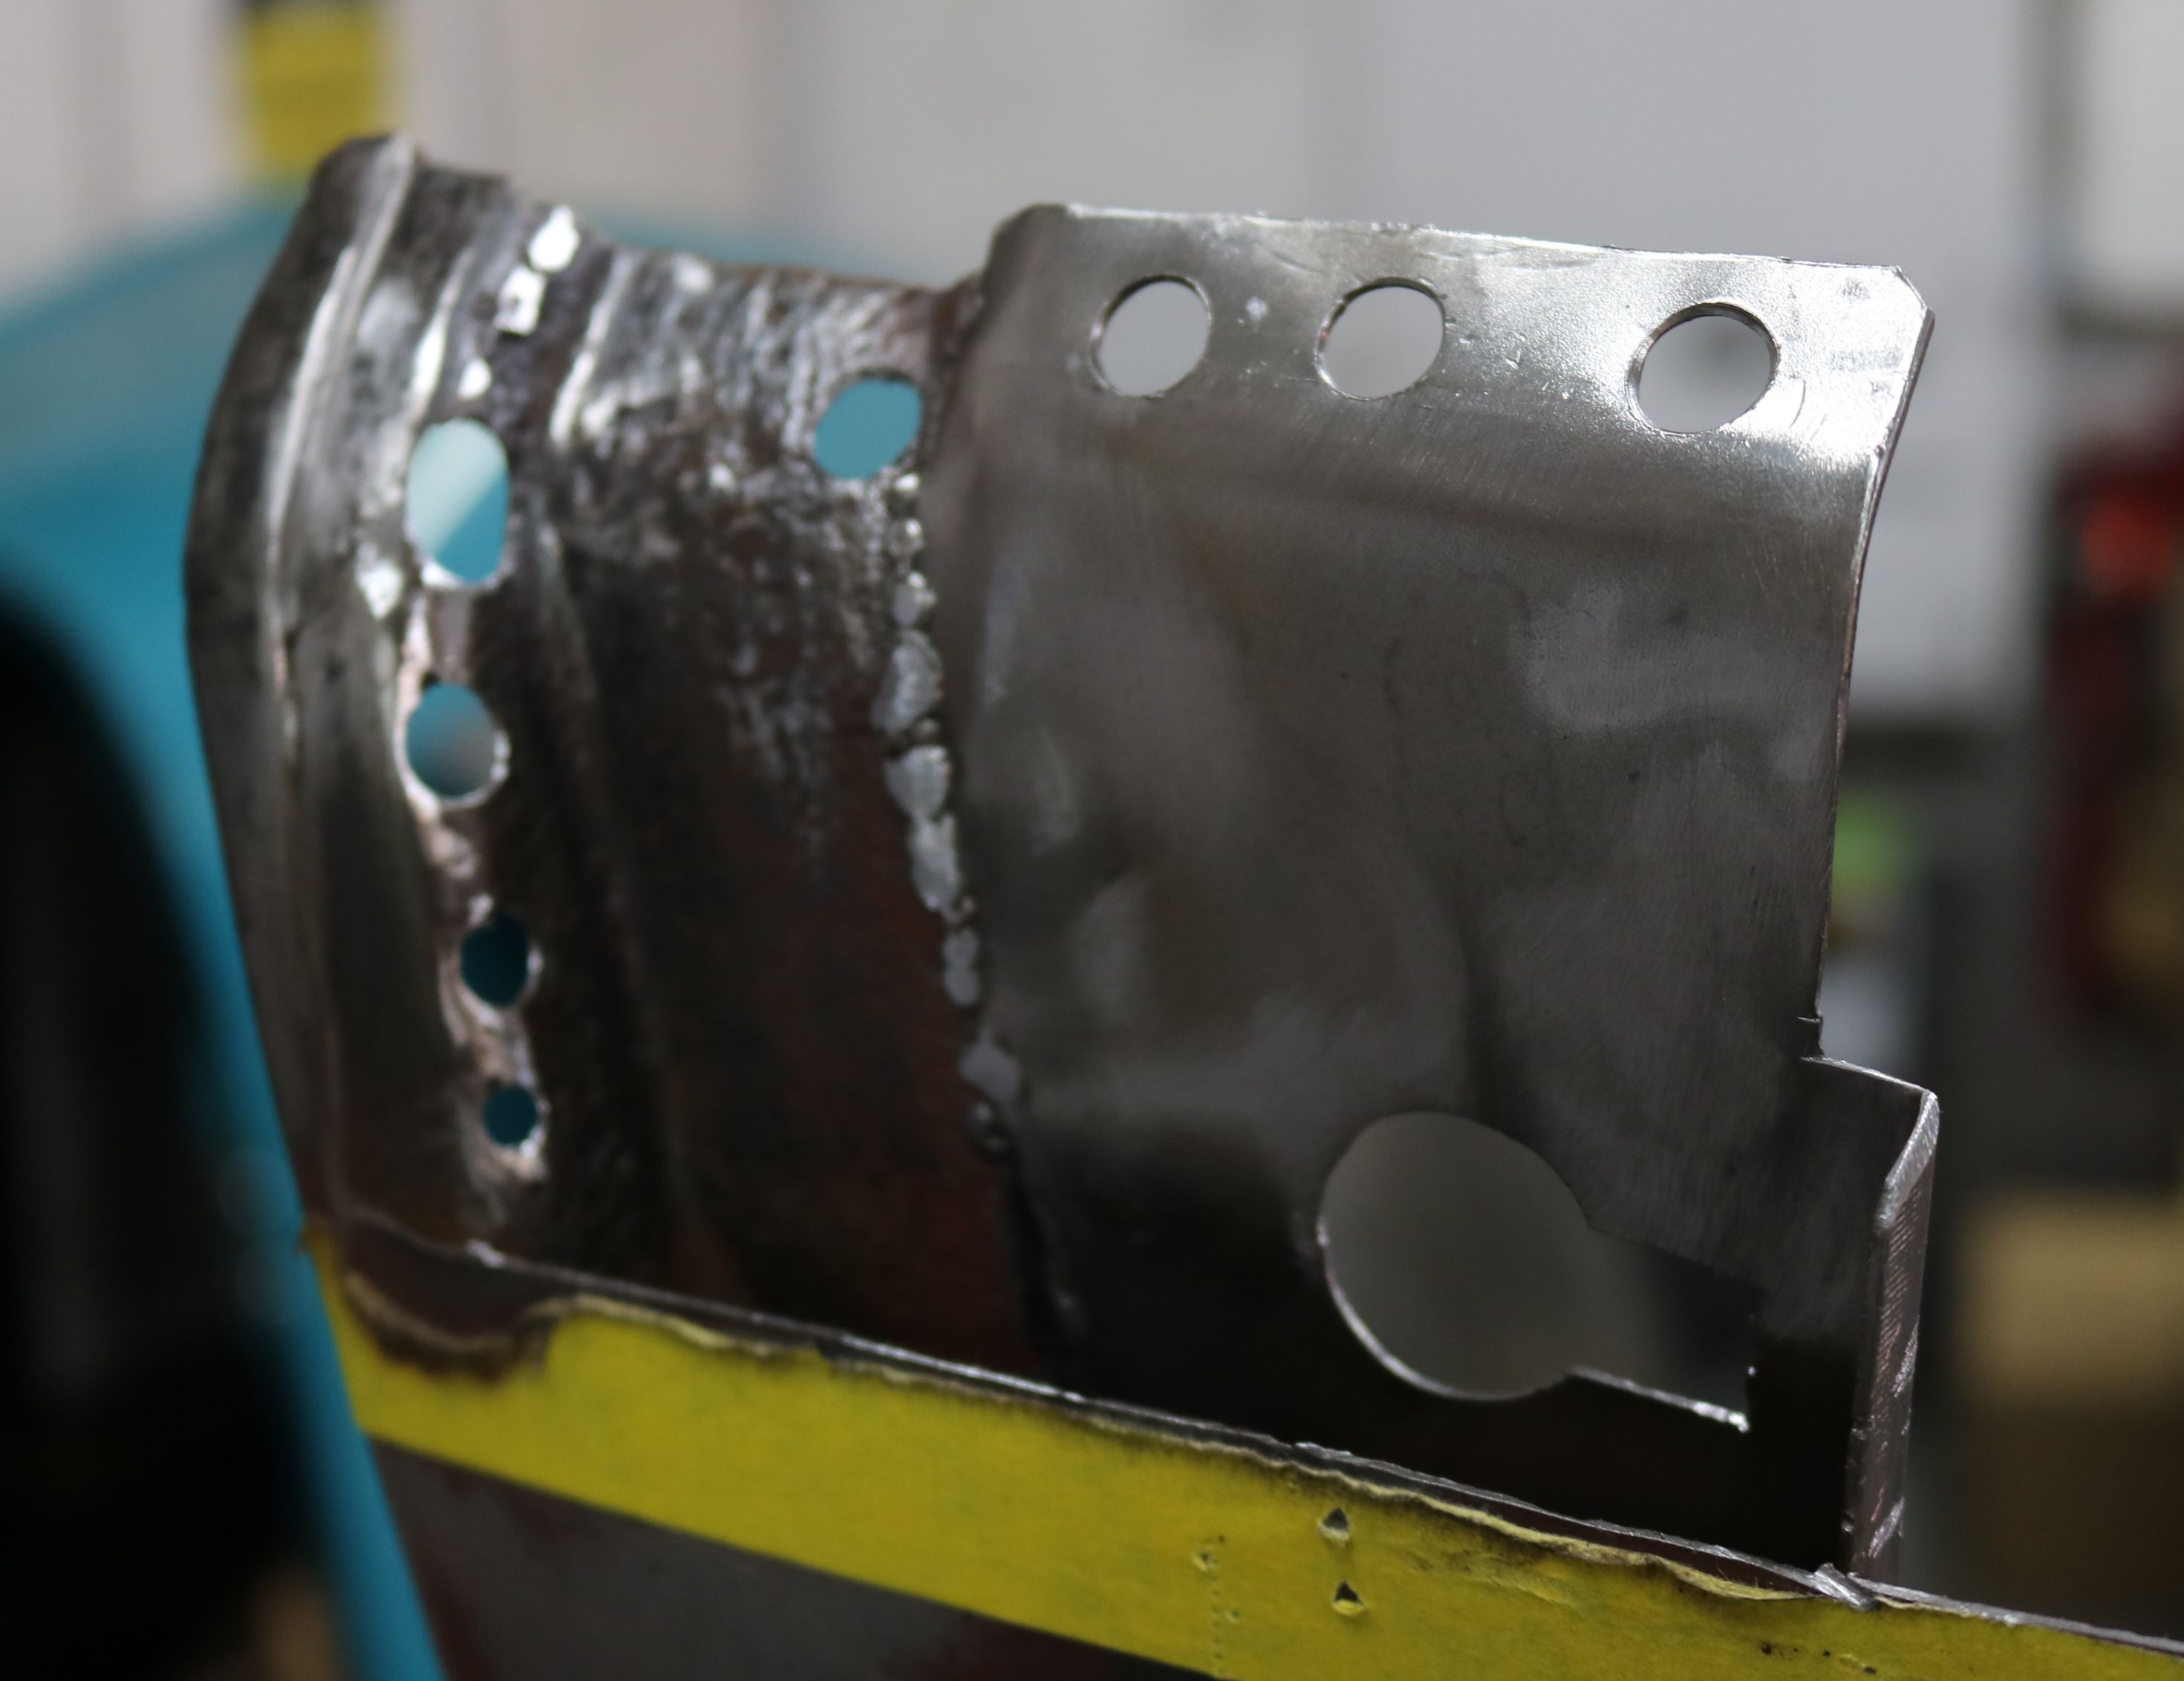
The inner fender brace has a relief that matches the body. We oopsed and thought it was a dent and put in a solid patch. We had to go back and remove the metal at the red lines to put the relief back in.
|

The driver front fender brace has the same rust issue. That relief is still here on this fender.
|
Minor holes welded up on driver front fender.
|
The donor driver fender has the same rust issue in the lower front corner. And the same rumpled metal creases.
|

The rust on the innder fender brace was repaired.
|
The inside of the fender brace. This is the only time this area should see daylight.
|

Locking pliers and a clicko hold the repair panel in place on the driver fender.
|

The inside of the fender, with the repair panel held in place..
|

With the fenders now solid, POR 15 was applied to the backside to seal these
from further rust.
|

Ok, so the fenders are done and ready for bodywork. But the rest of the car is
not. The fenders were mounted back onto the car and I started the body work.
That will be handled in the bodywork section.
|
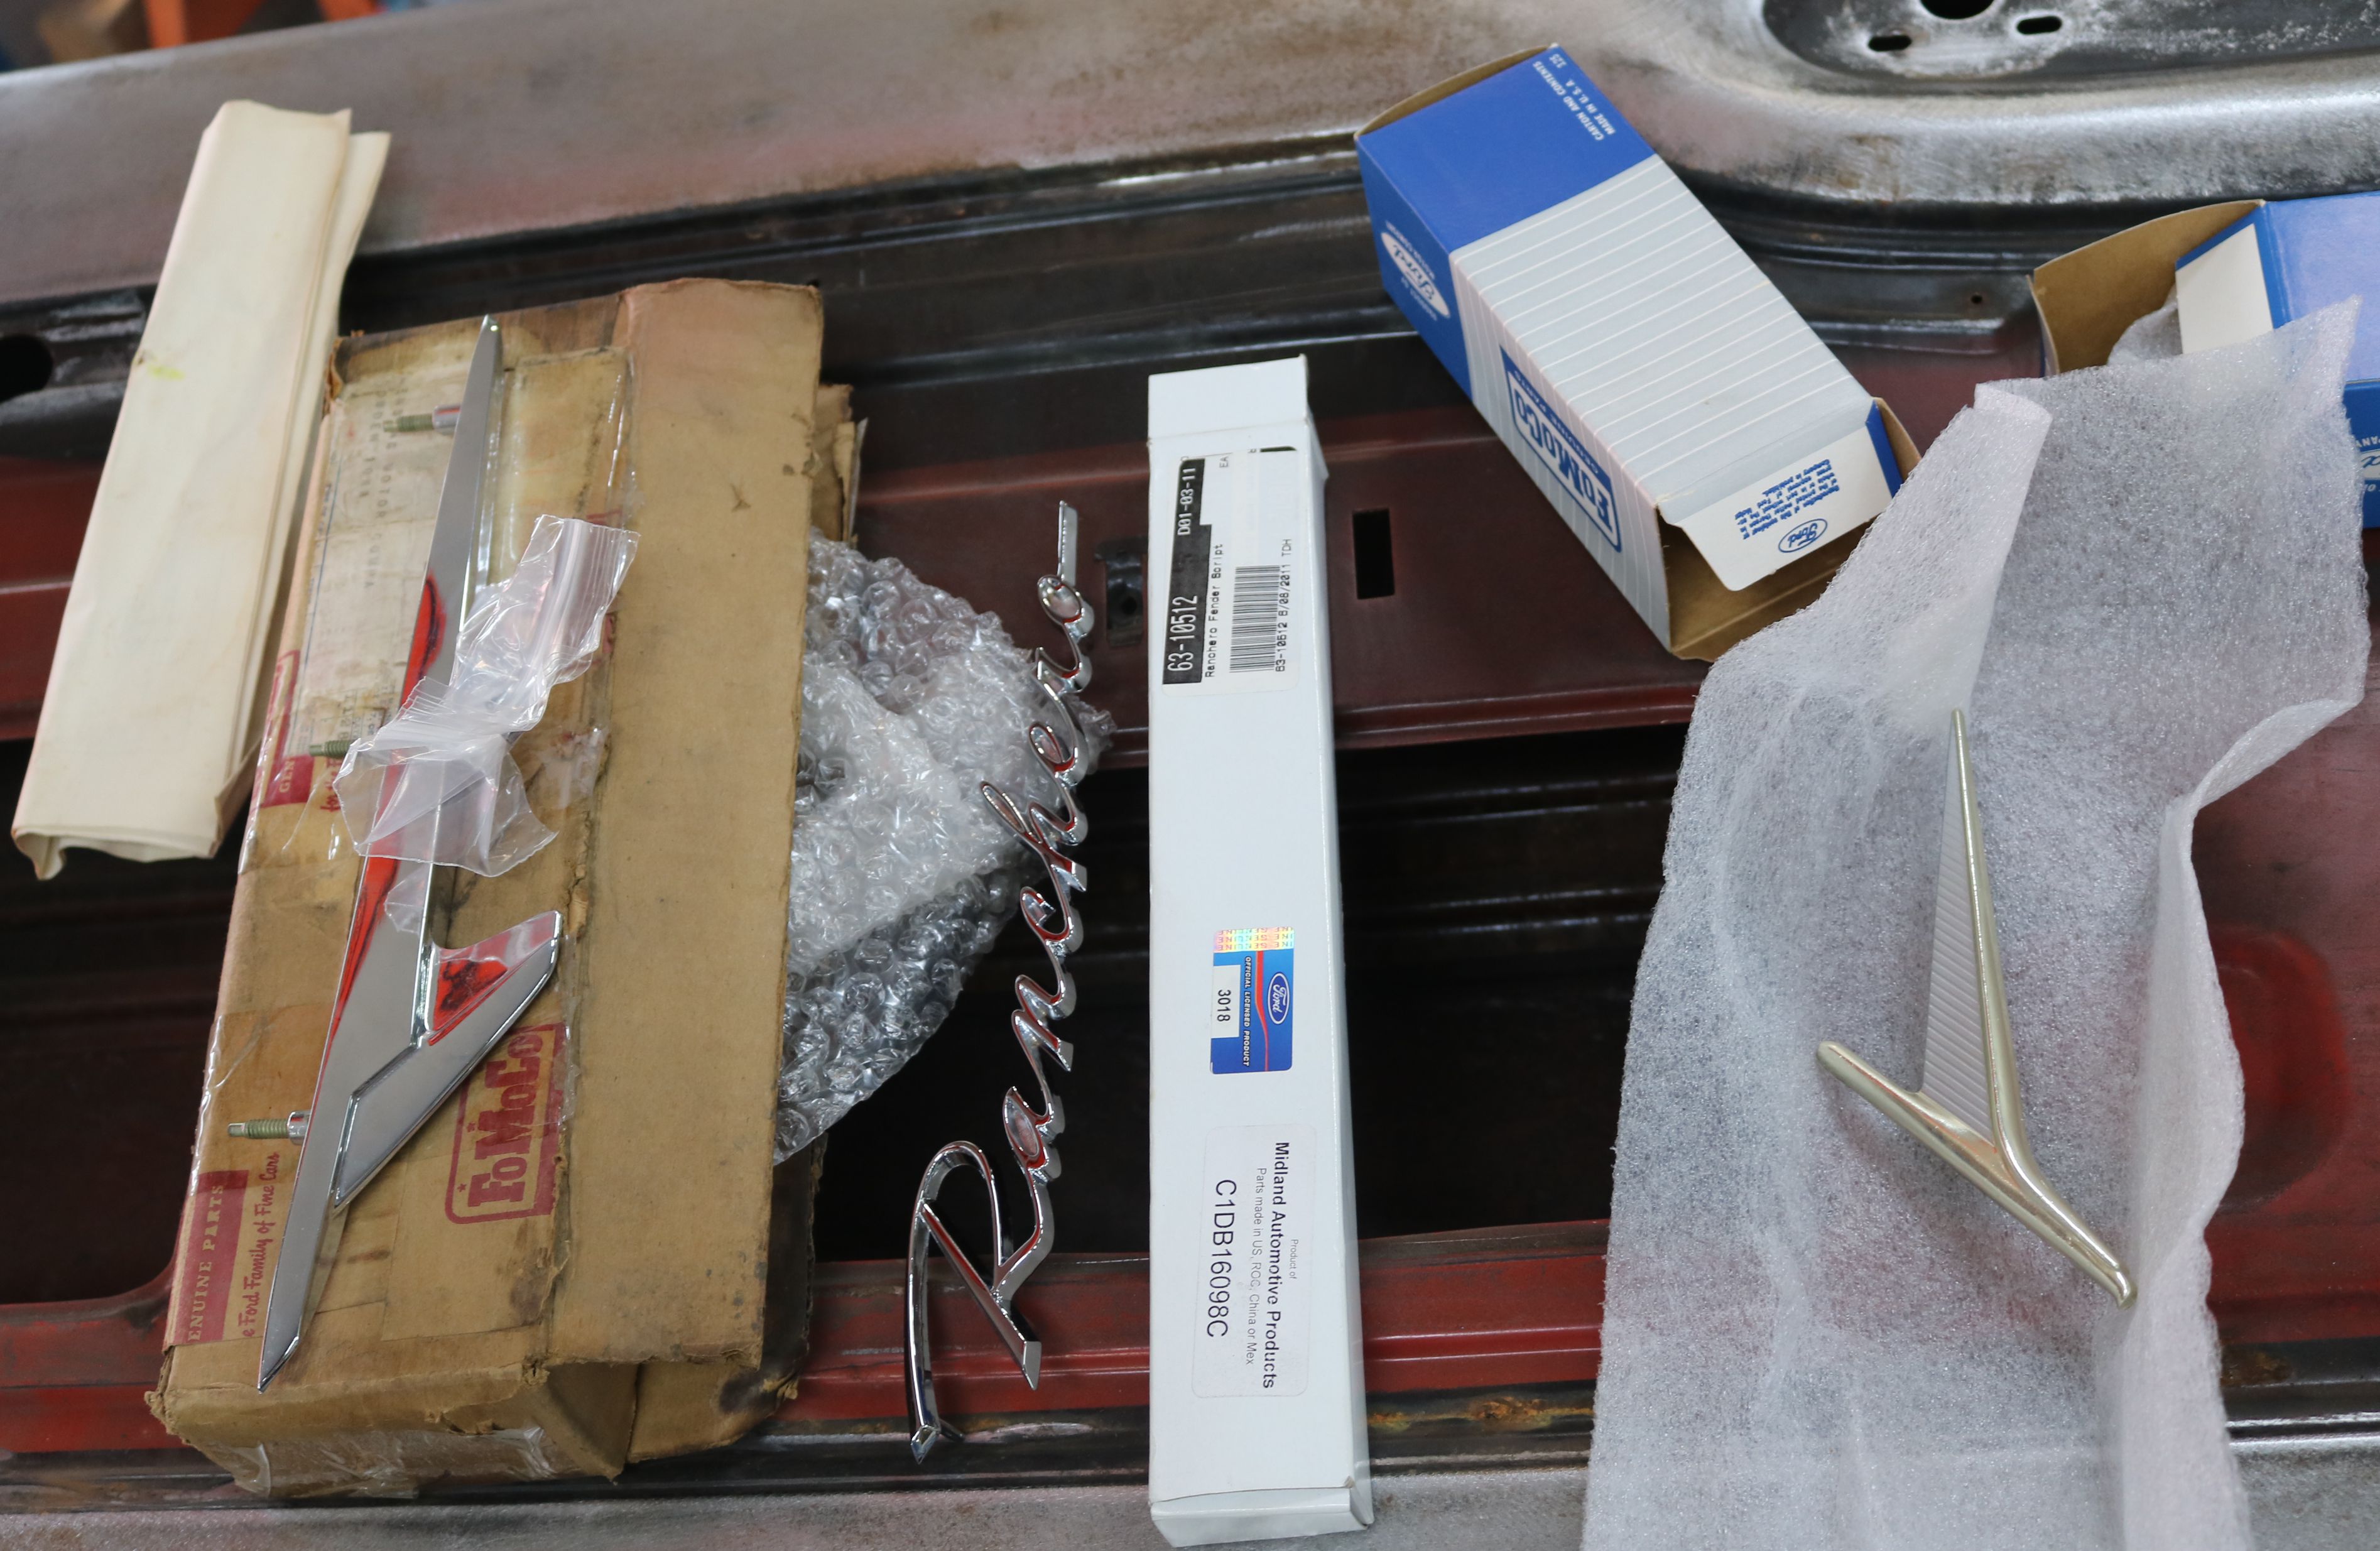
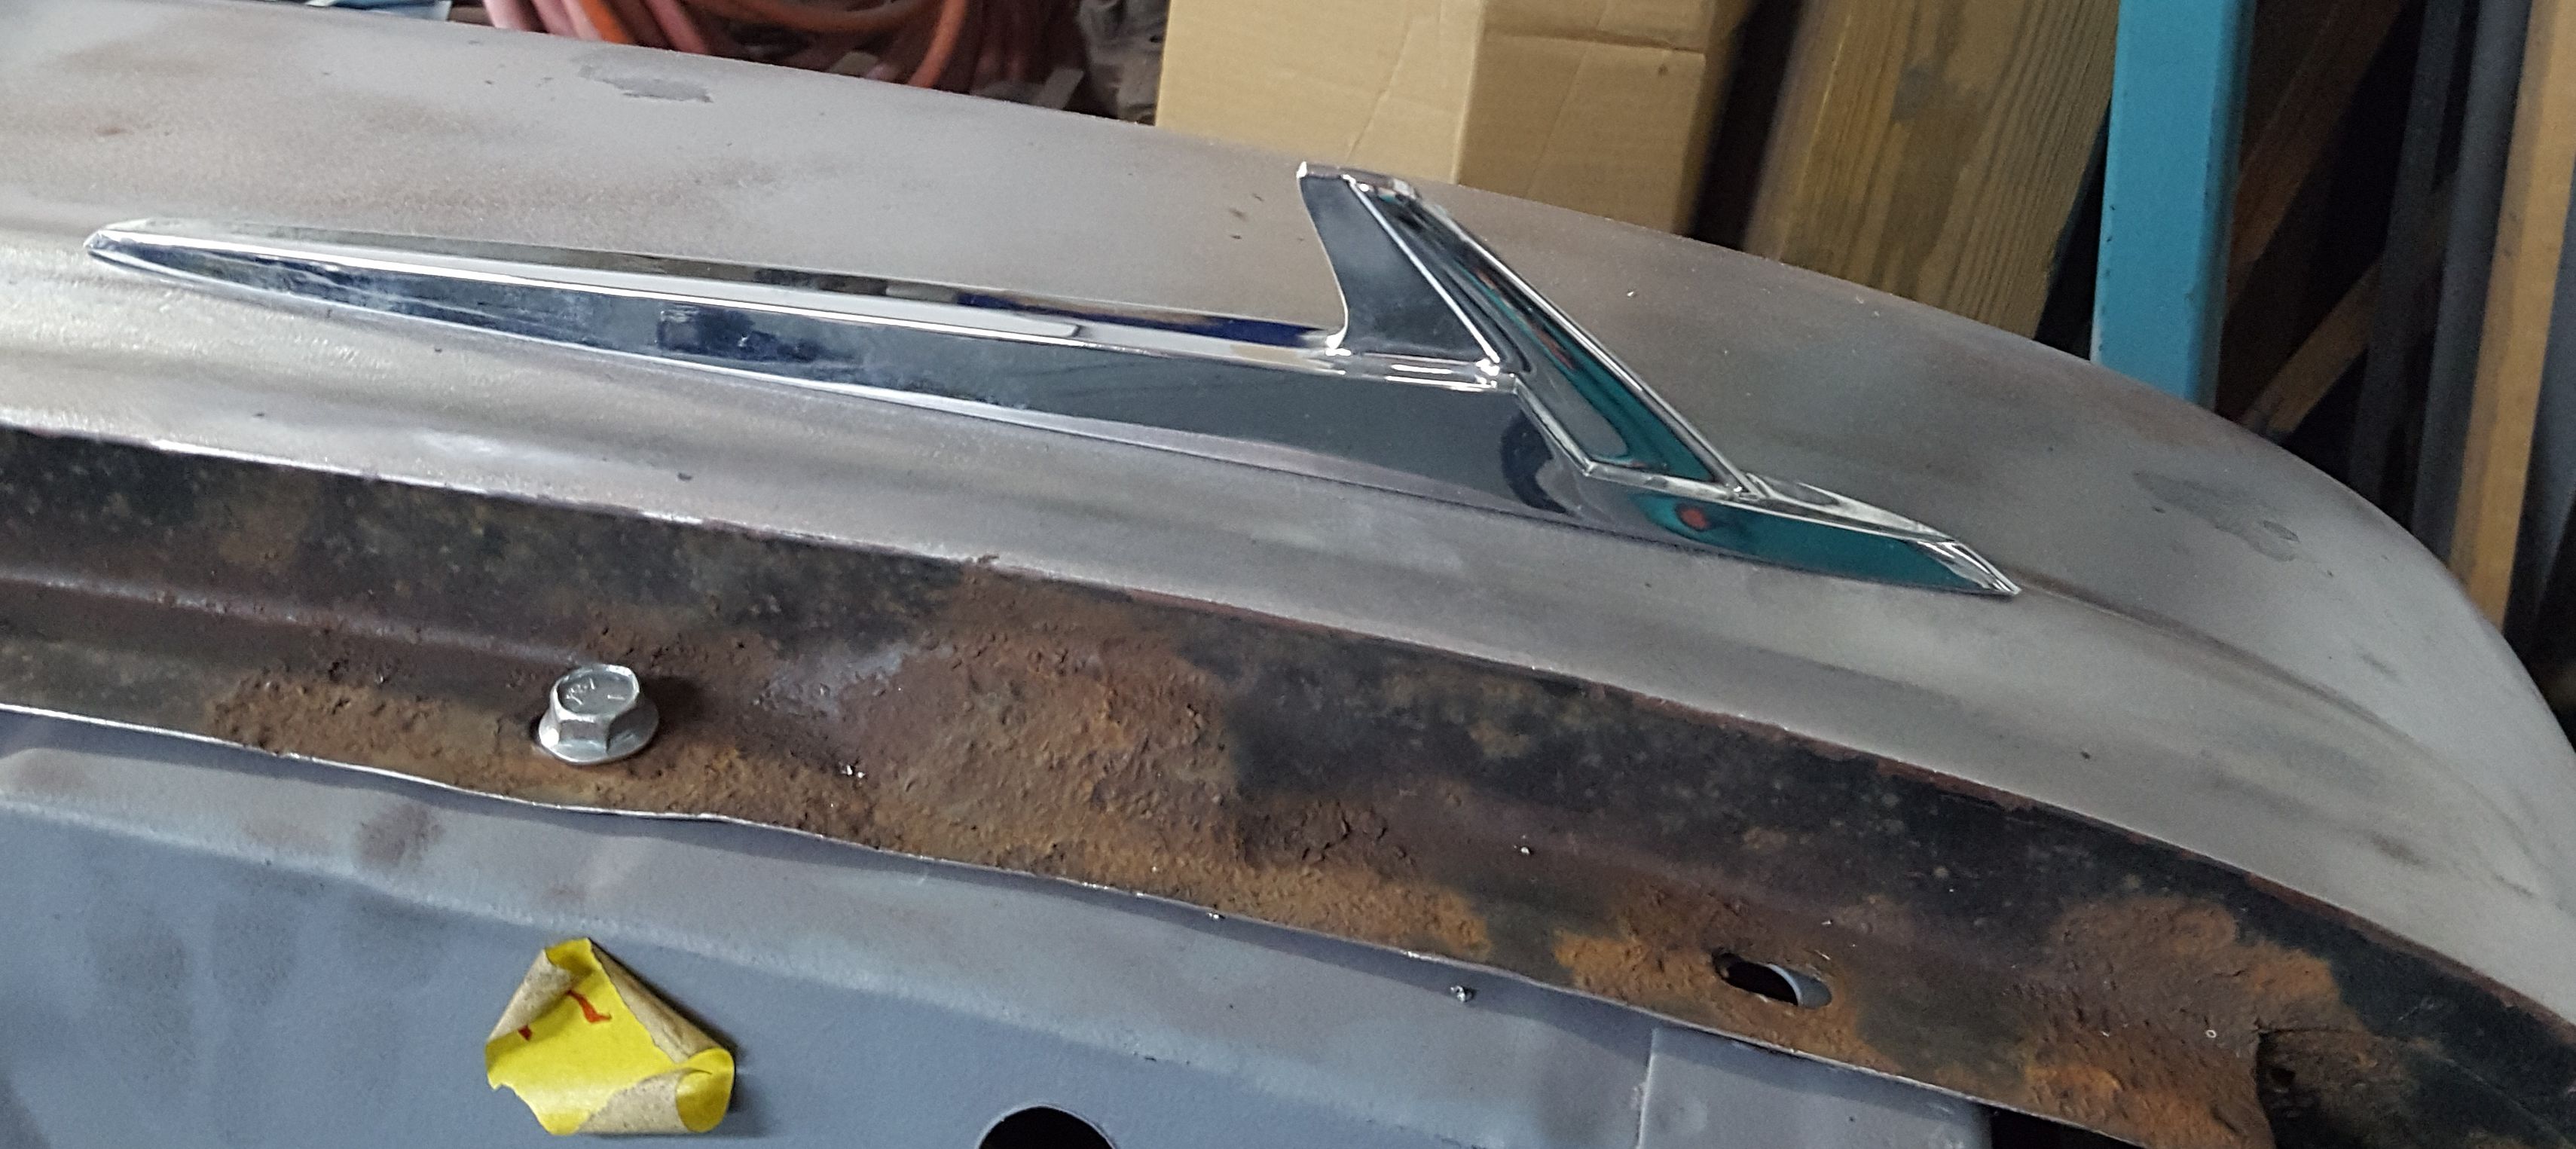
On Ebay, we found a pair of NOS Falcon fender emblems. We wanted to see how these
looked before we welded up the holes. So we pulled out the Ranchero scripts and the
NOS fender birds.
|
The script and the bird on the donor fender. After looking at this for awhile, we
decided to keep both.
|

The fender bird on the donor fender. Here we had to drill holes.
|
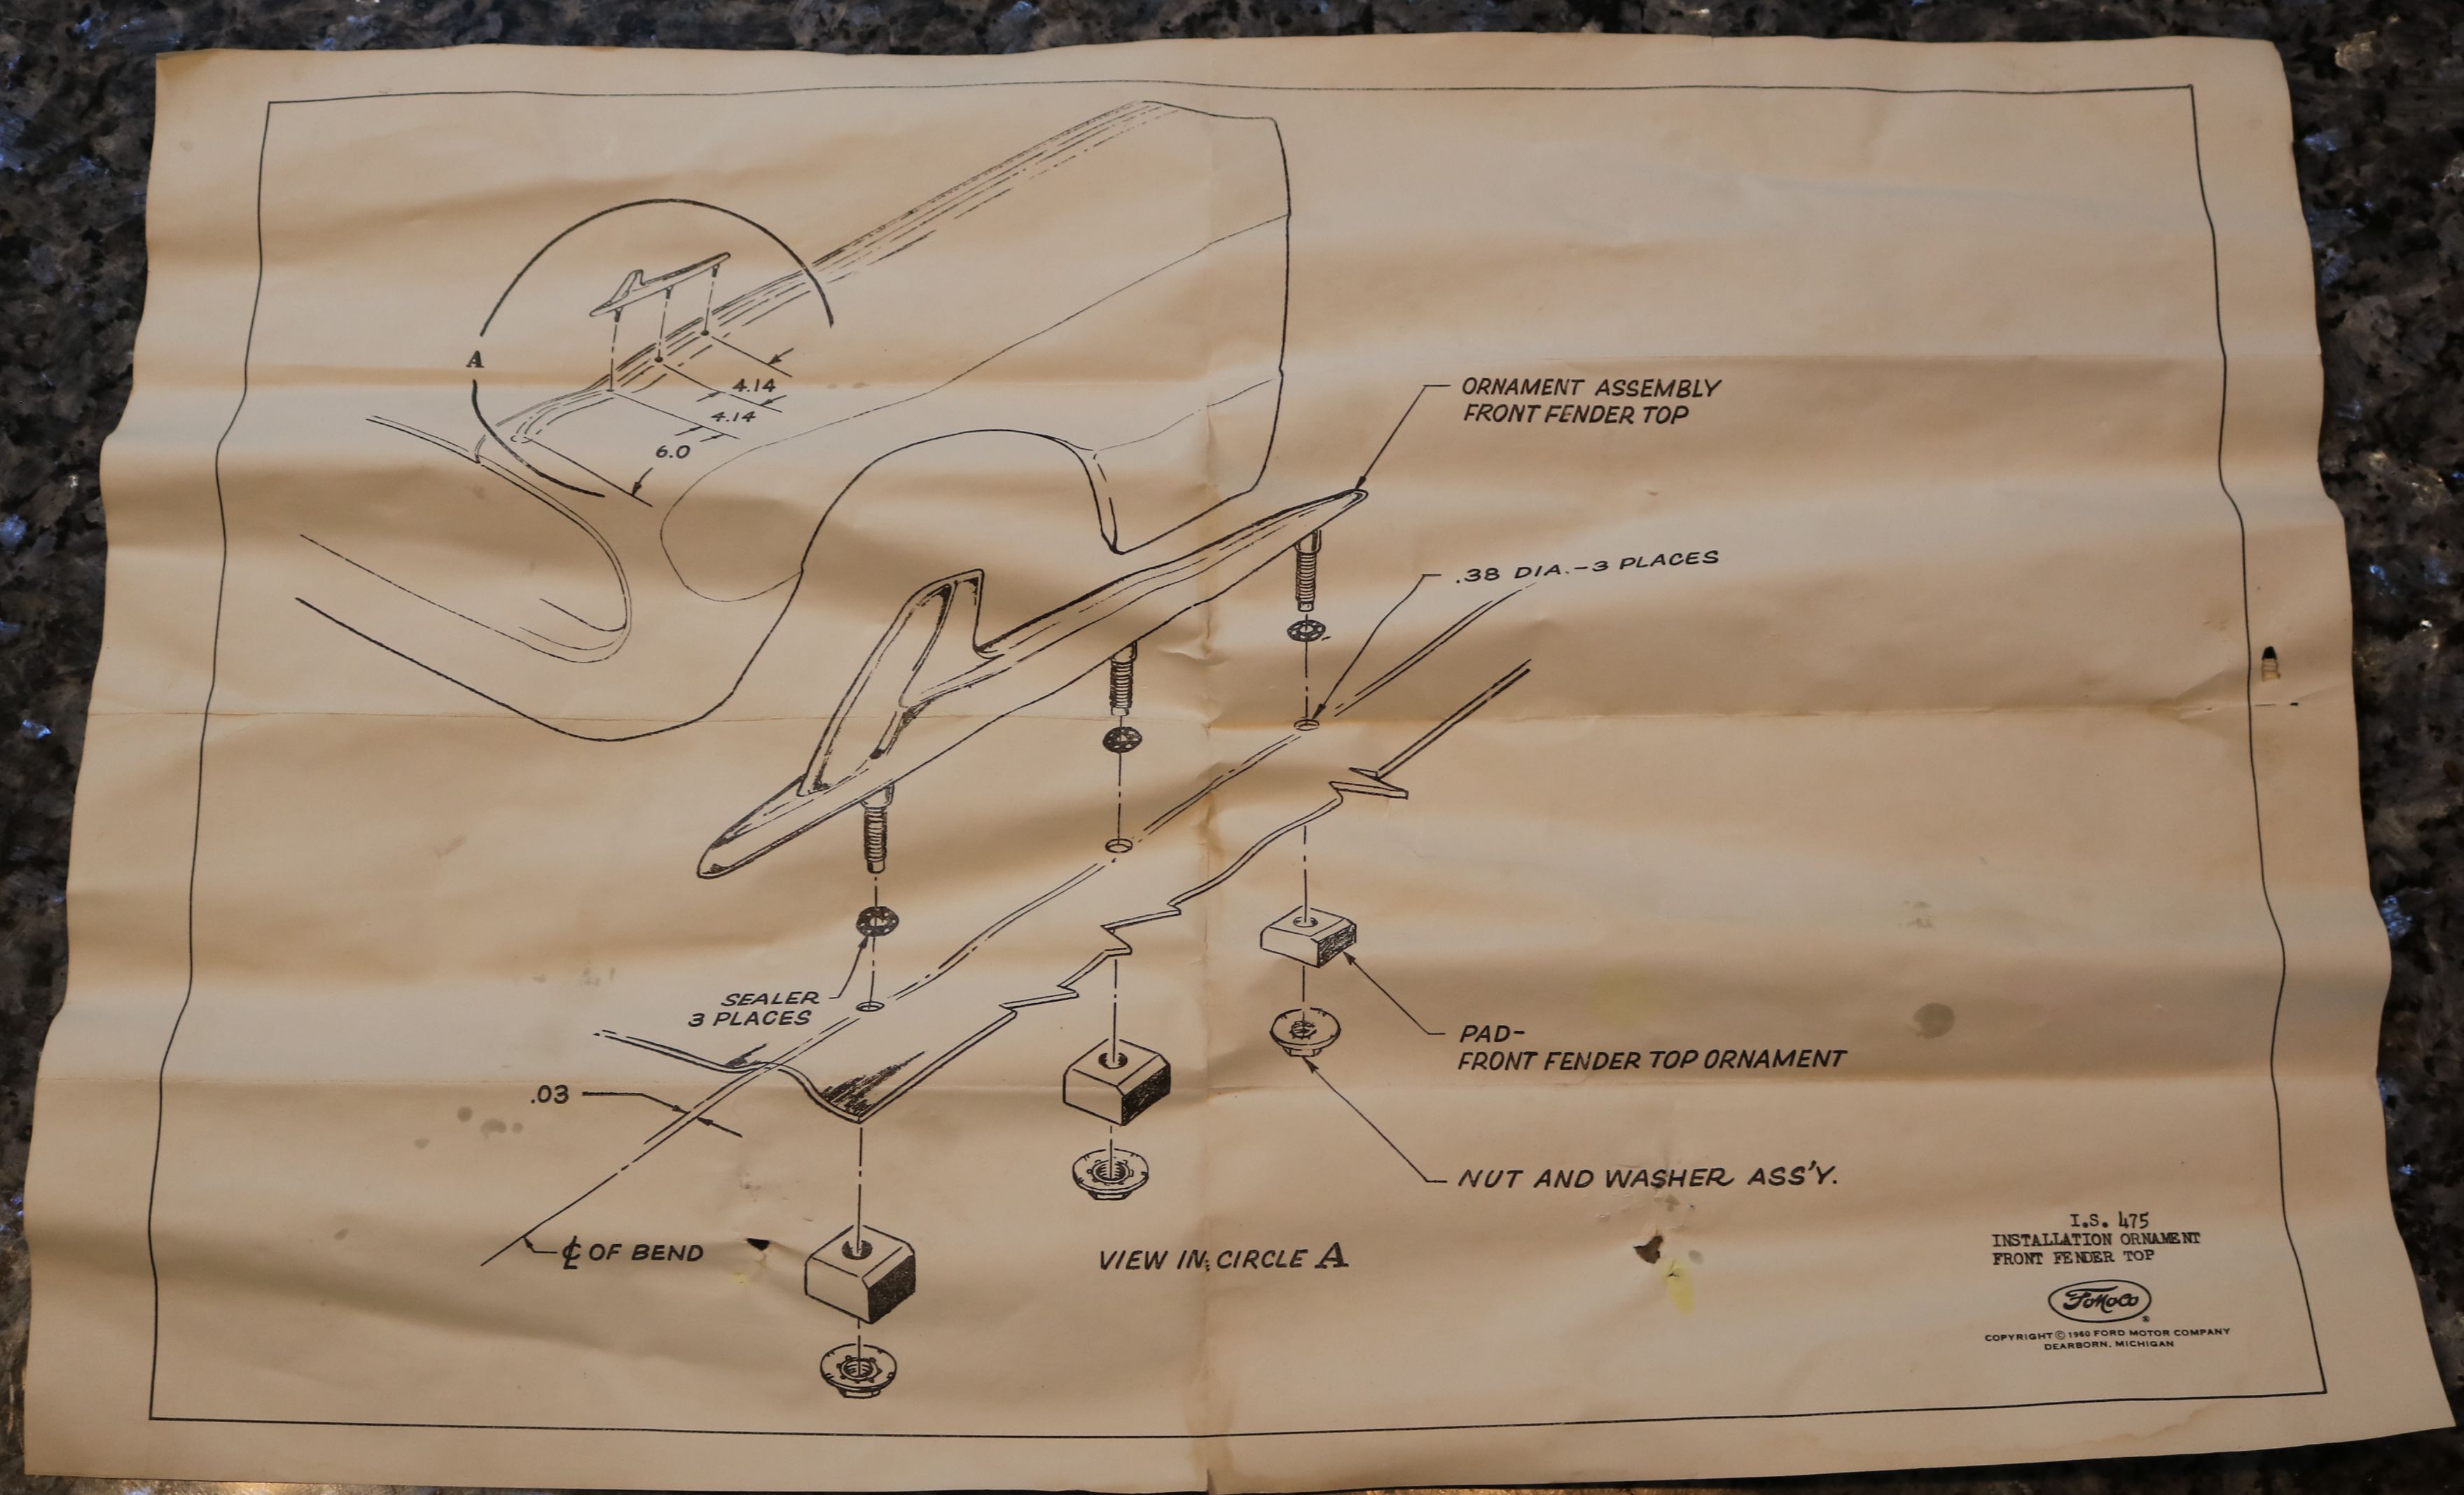
And this is the locator instructions for the fender birds. The critical bit of
information is the measurements in the upper left corner.
|
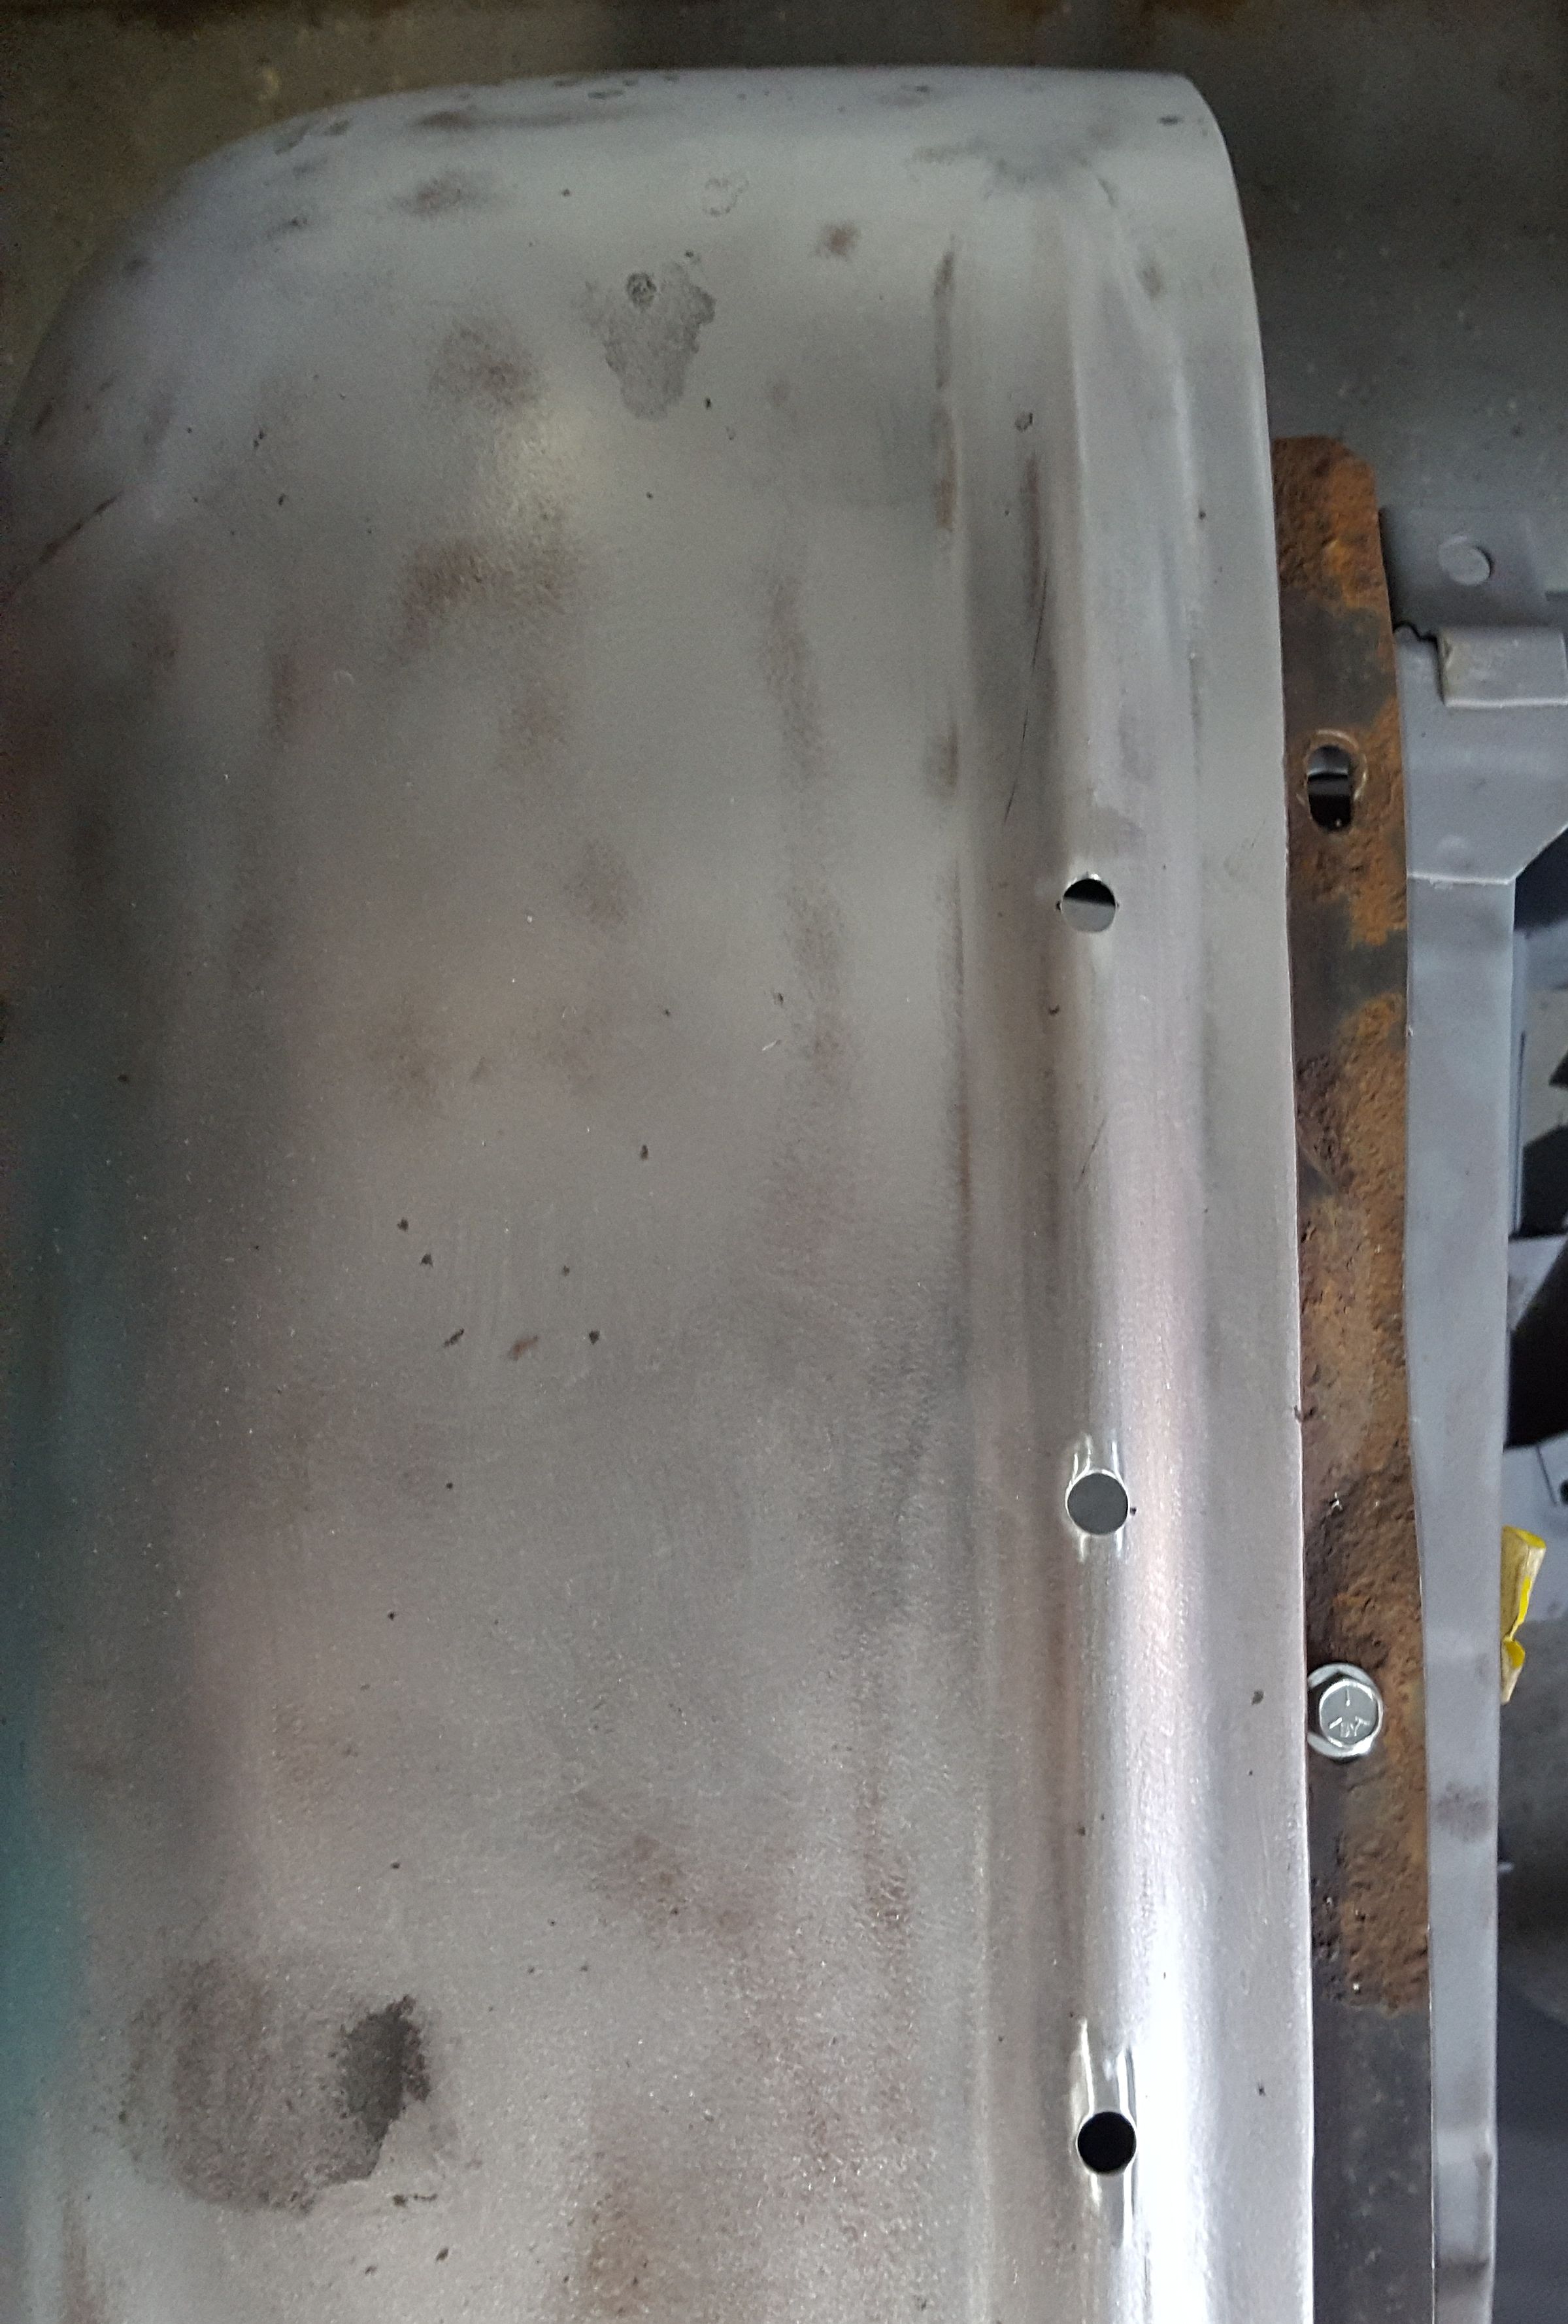
The holes drilles in the donor driver fender.
|
And now the driver bird.
|

The donor fenders were completely stripped and checked for any unnoticed rust.
|

Driver fender ready for epoxy.
|
When I started to body work the passenger front fender, it kept moving on me. We
discussed the problem and then we remembered that there is a filler panel between
the fender and the unibody structure. The panel was located, sandblasted, and
inserted. It definitely stabilized the fender. These are the driver and passenger
filler panels.
|

One of the cleaned up panels.
|

And the other cleaned up panel.
|

This pan of parts is several bumper brackets and other assorted parts that Kurt cleaned up while our son and I worked on the body work.
|

We took time out to spray epoxy primer one evening onto the bare steel fenders,
doors, and hood. The fenders are shown here.
|
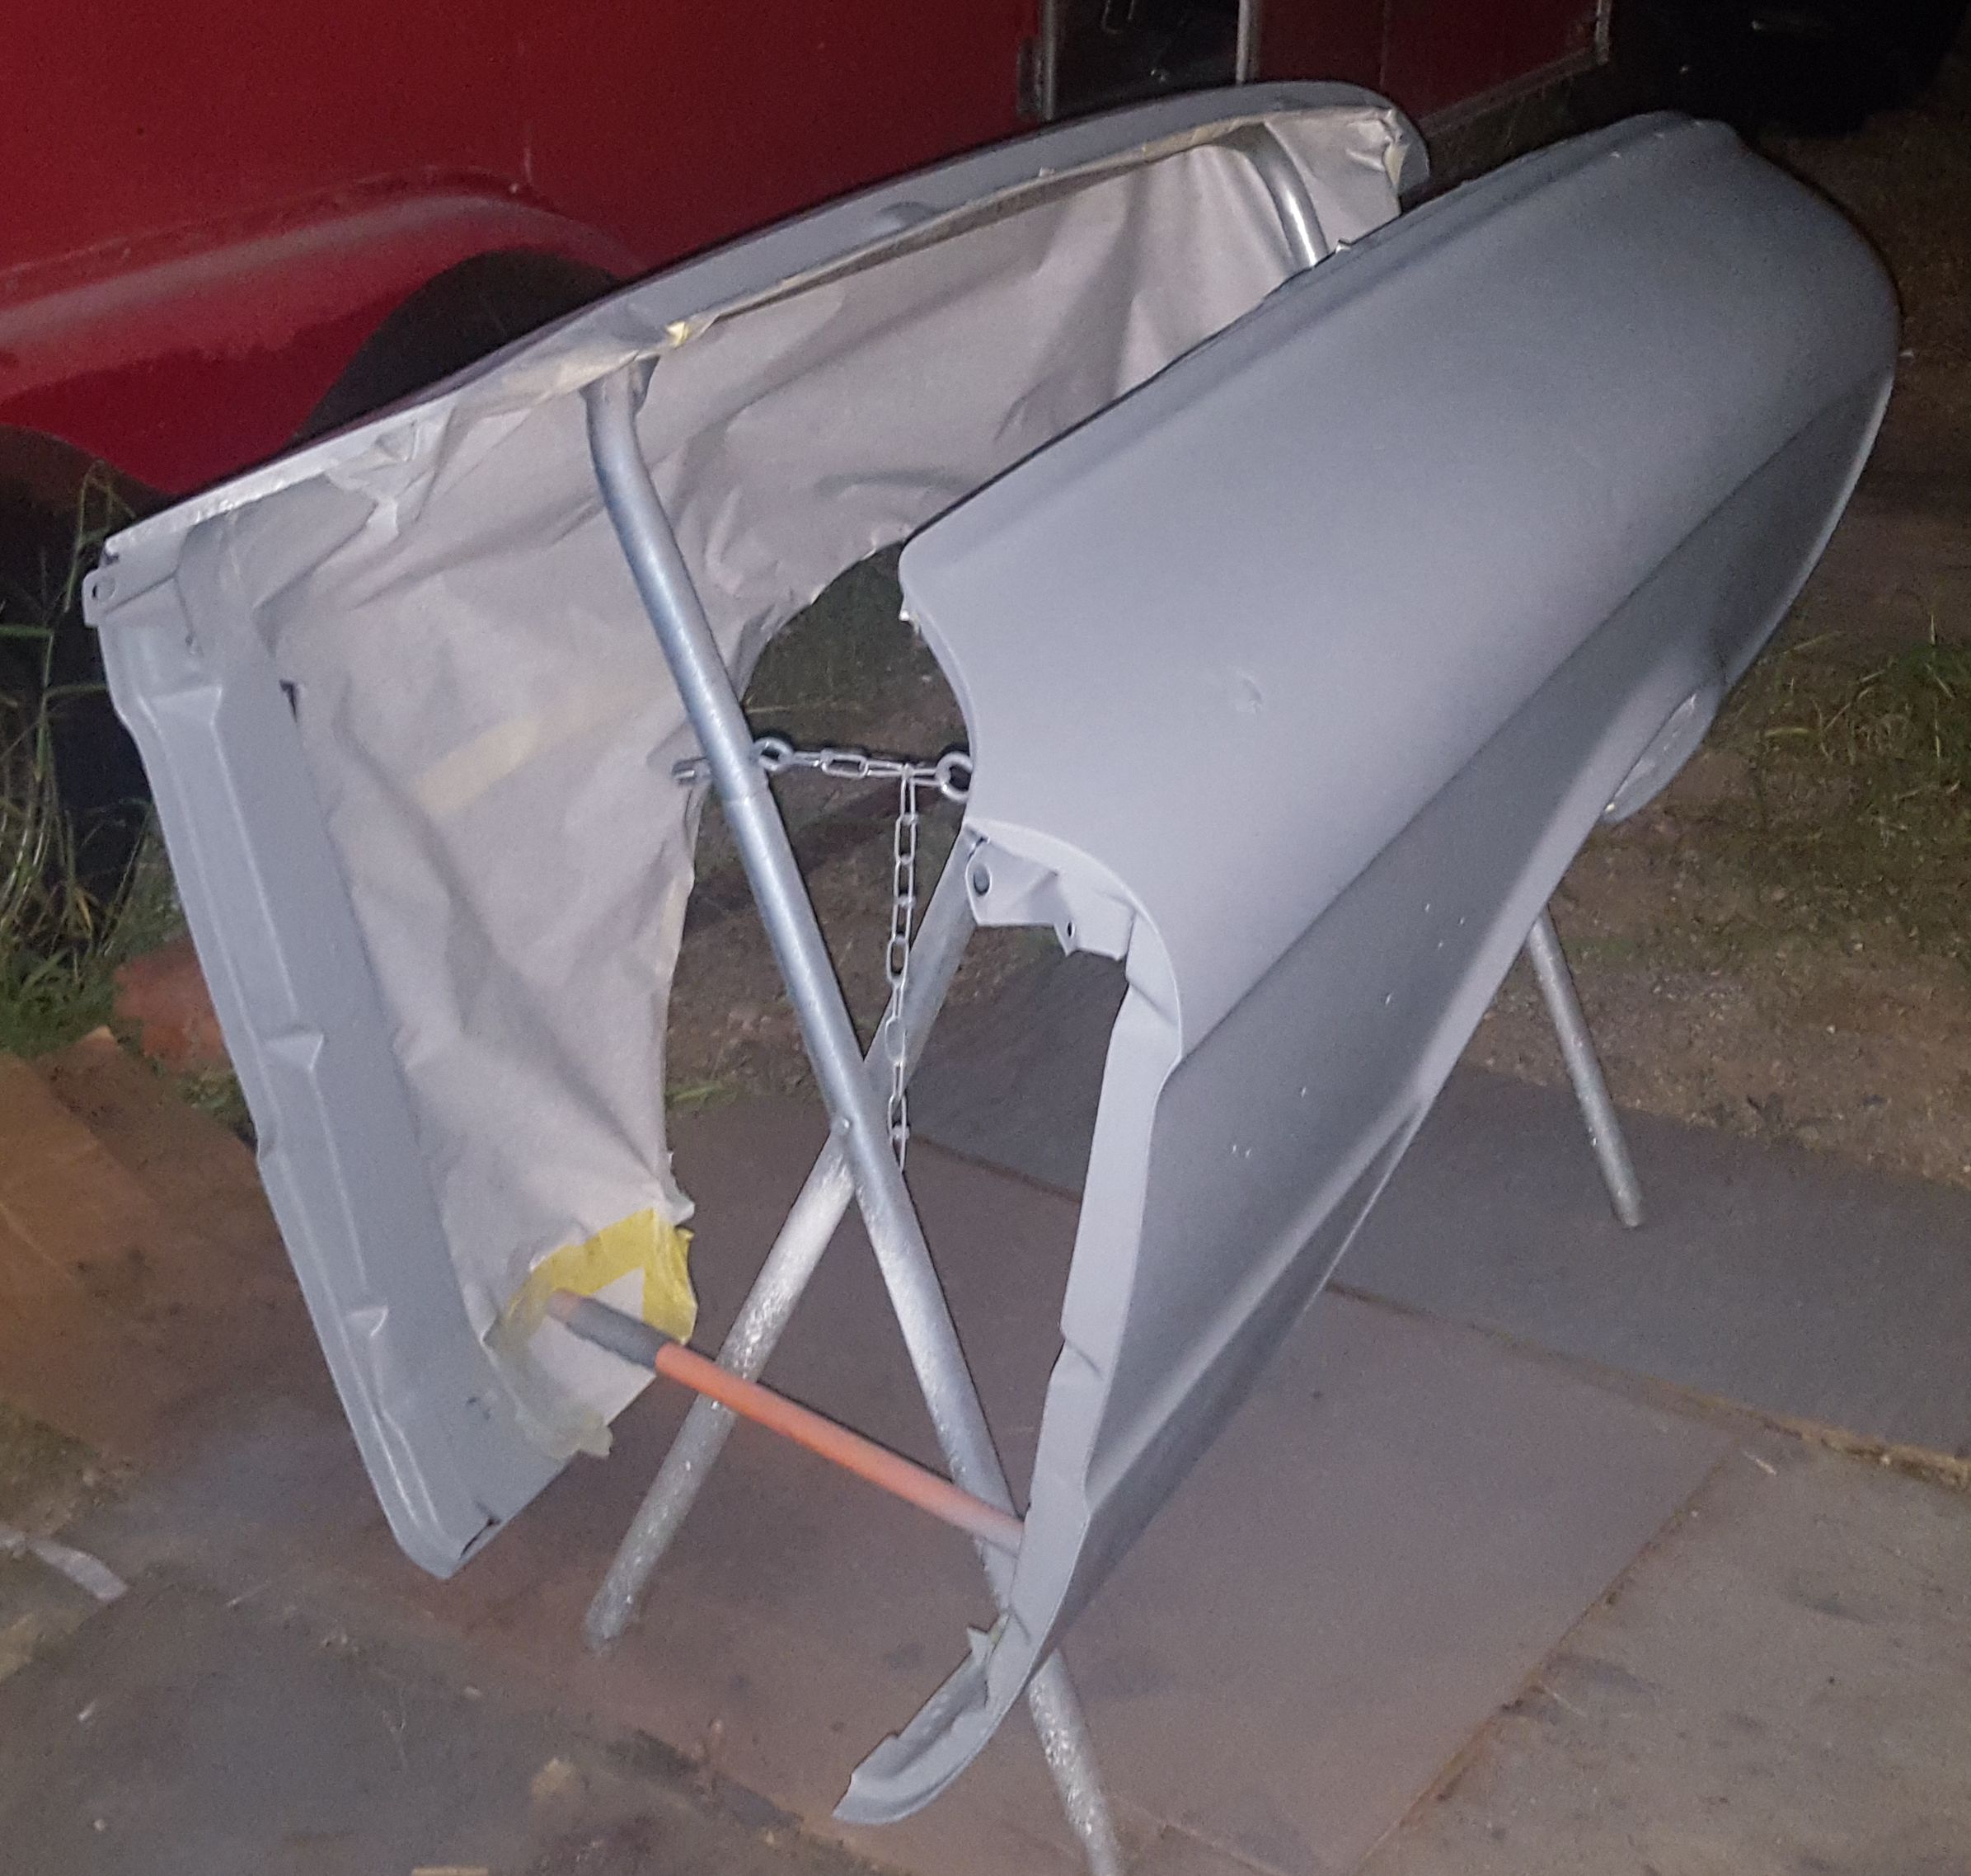
The fenders, with all modifications and repairs done, now in epoxy primer.
|
Radio and Dash Repair
|

Recall that the dash had been cut for an aftermarket radio. Now is a good time
to weld up those holes.
|

Once the first hole was welded, we trial fitted the new radio.
|

Both holes now welded up. Just a touch of filler is needed to smooth this out.
|

Time to go for a spin to work on the passenger side. It barely fits inside the two stalls to turn it.
|

