
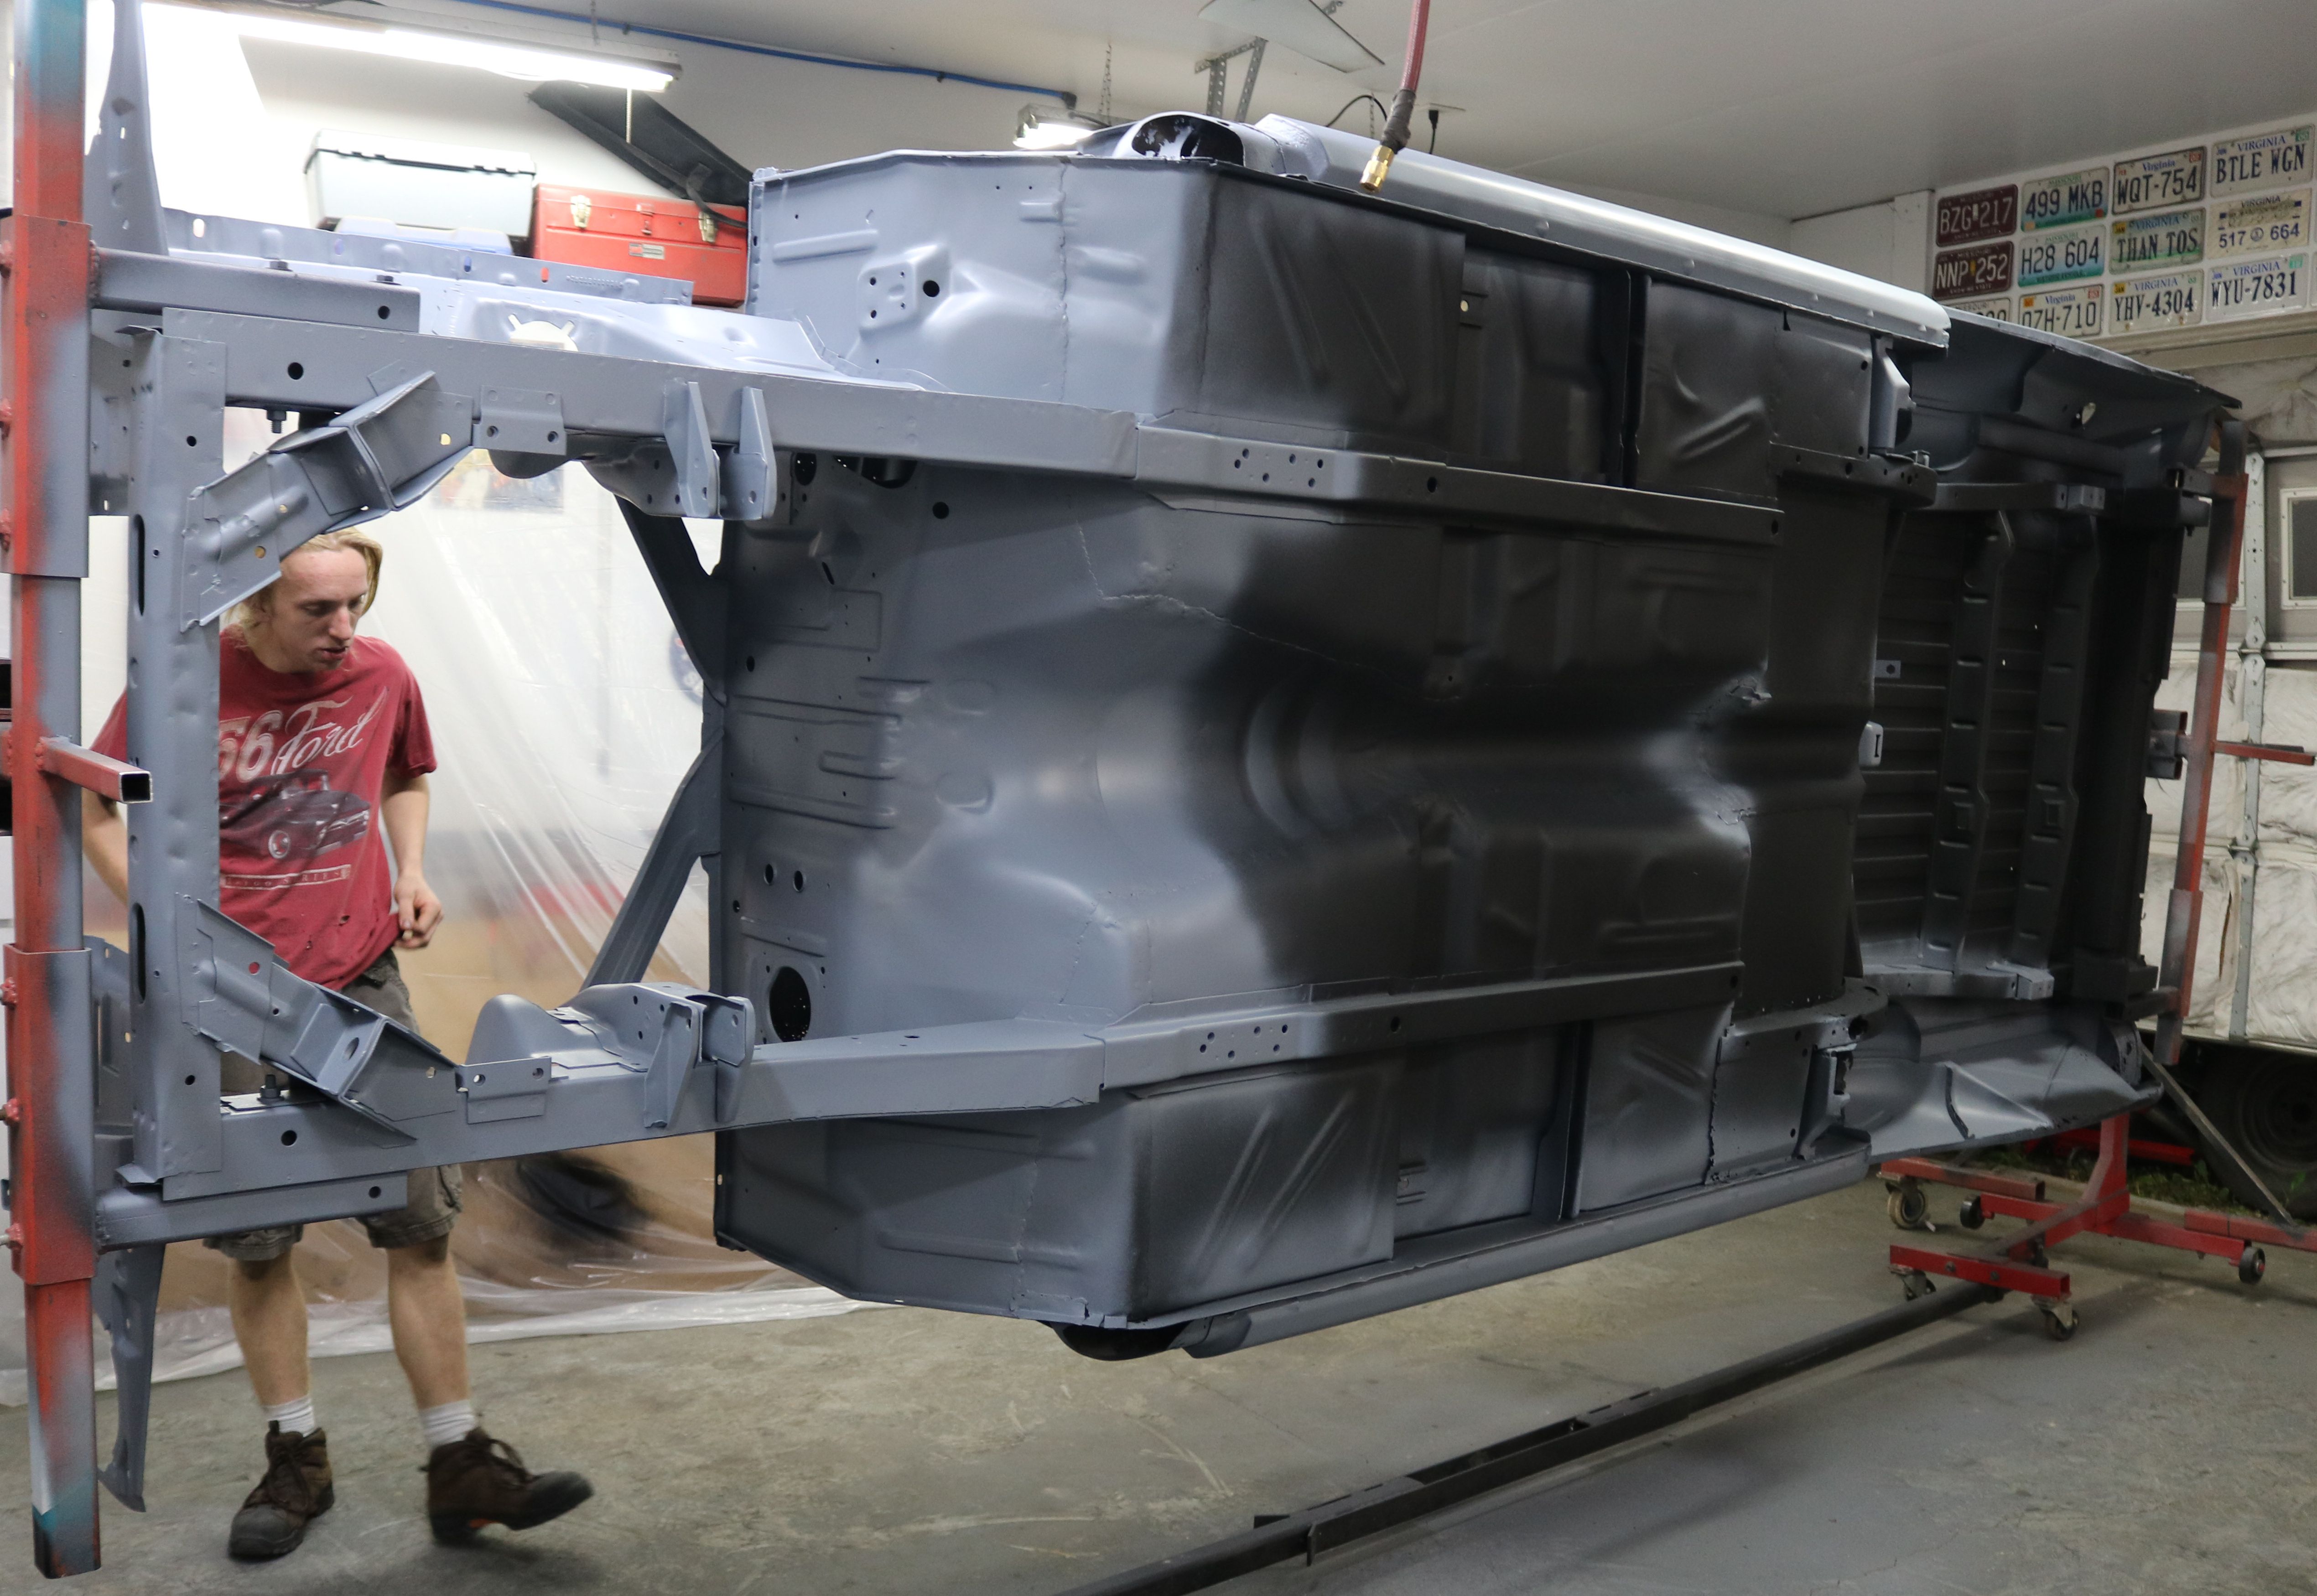
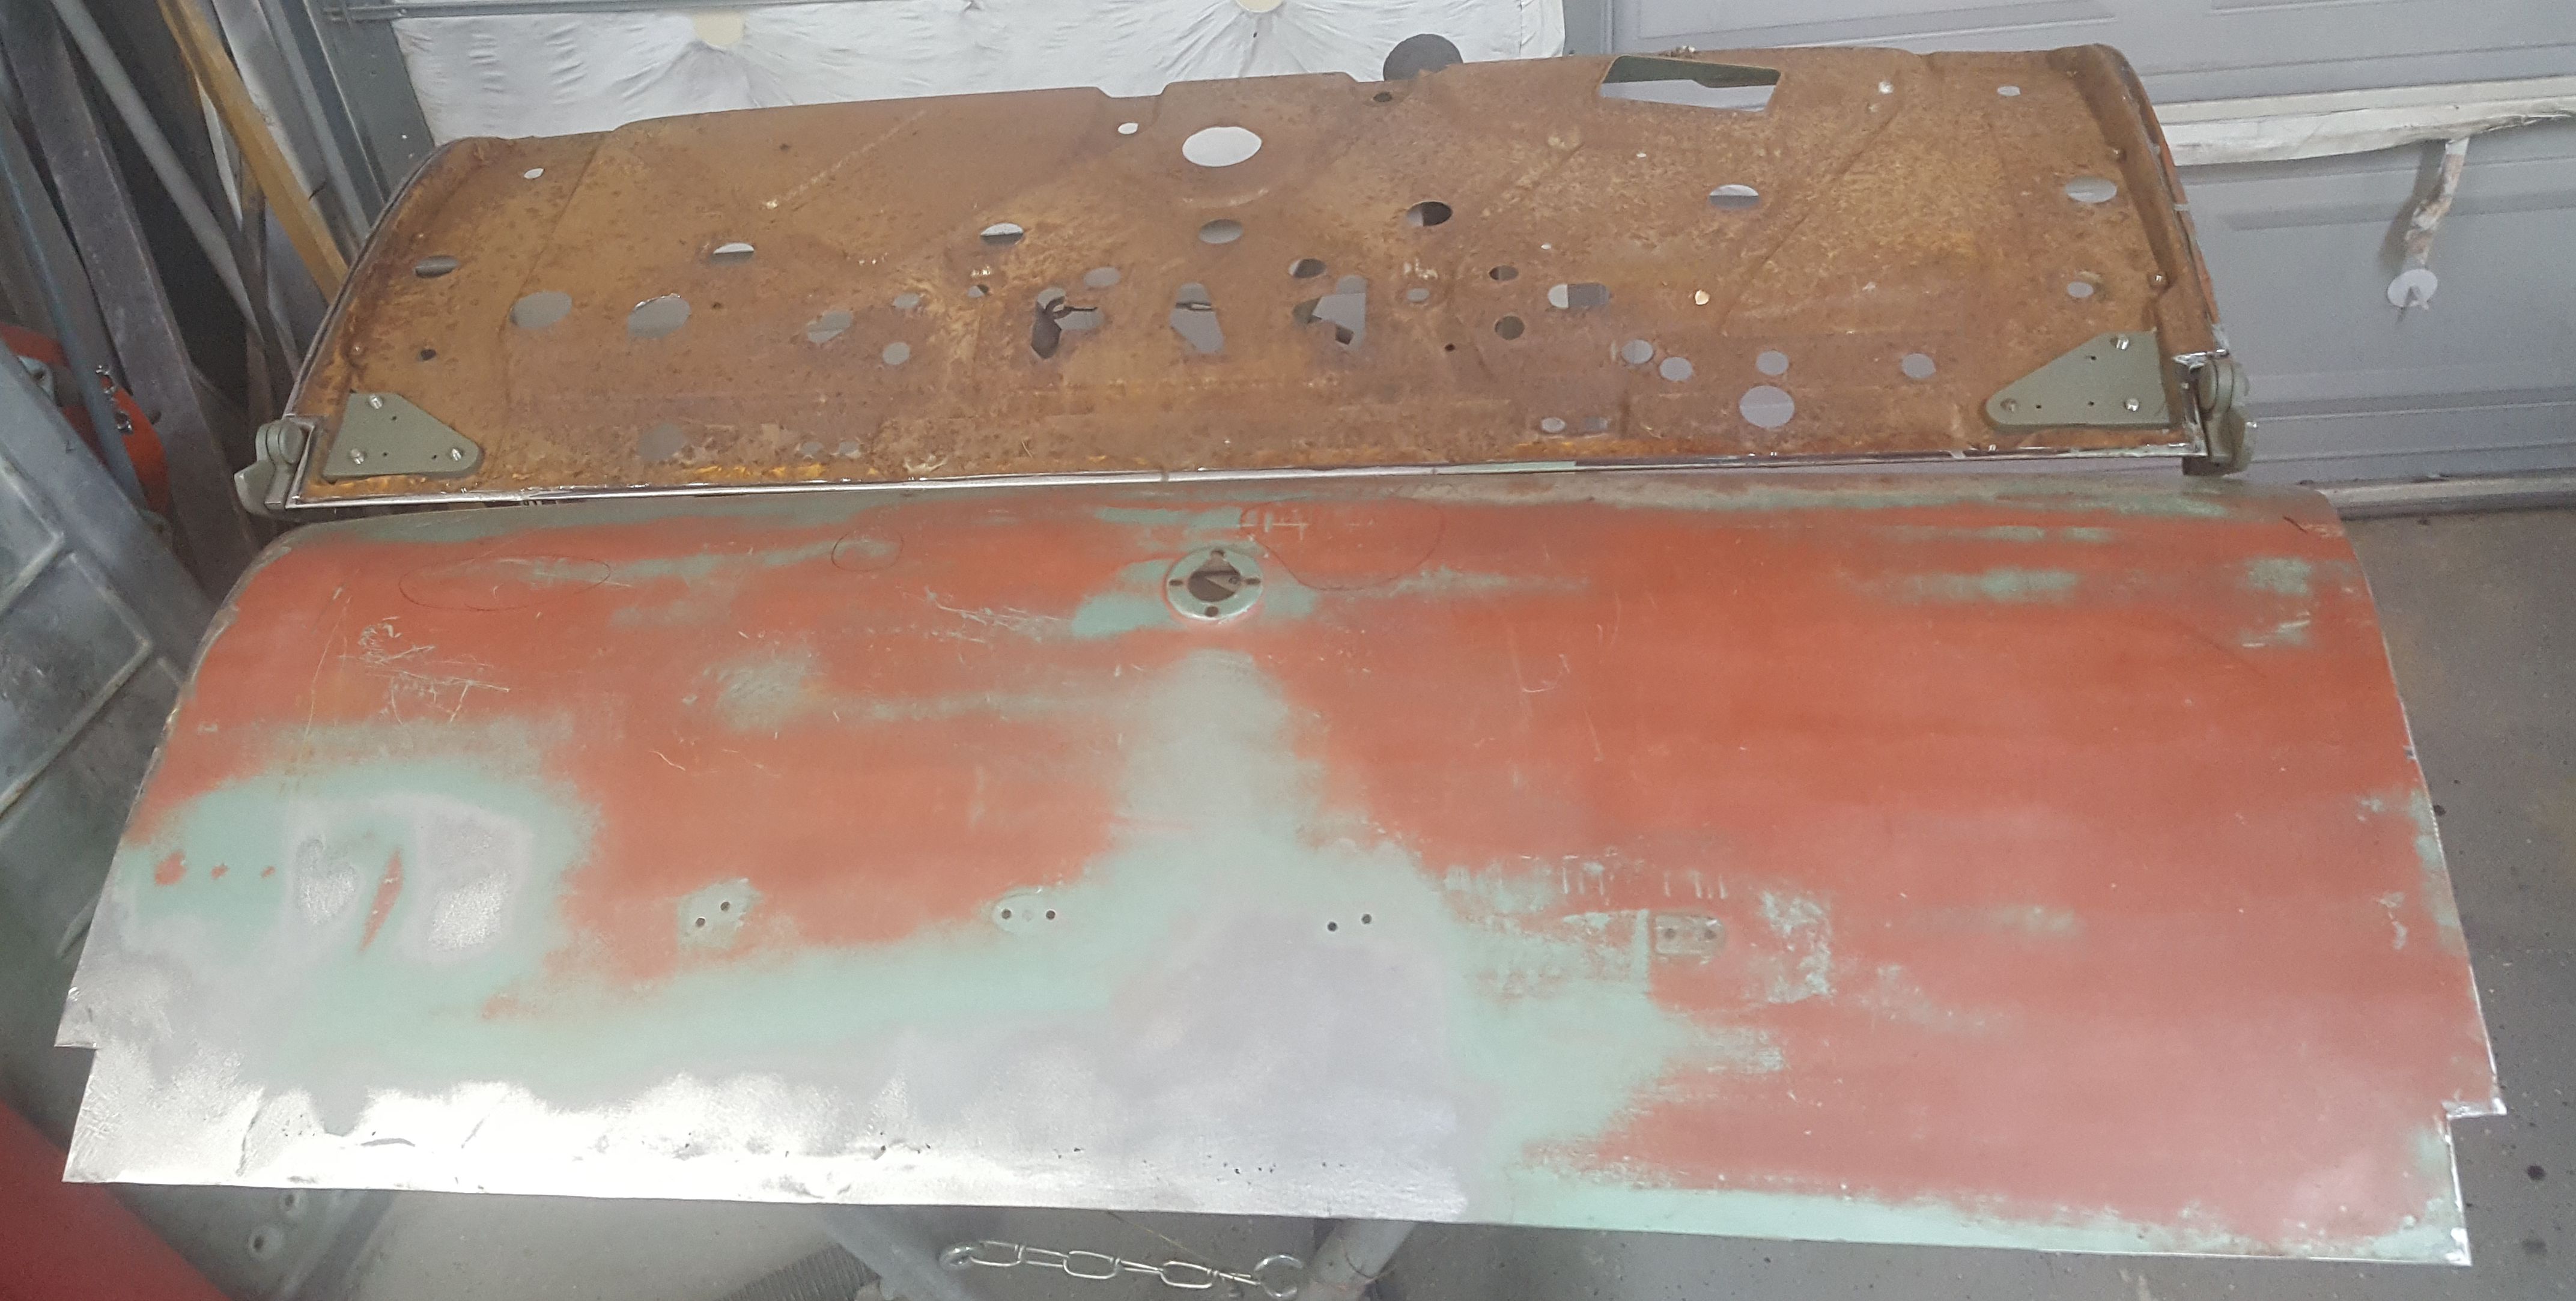
Now that the steel has all been sanded and we are pretty sure that 99% of the sand from the blasting has been removed, it's time for epoxy primer. This is the bottom side of the engine bay.

This oddly shaped piece is the filler panel behind the front bumper. It protected the bottom of the radiator from rocks and other debris, so it has taken some hits through the years.
|
|

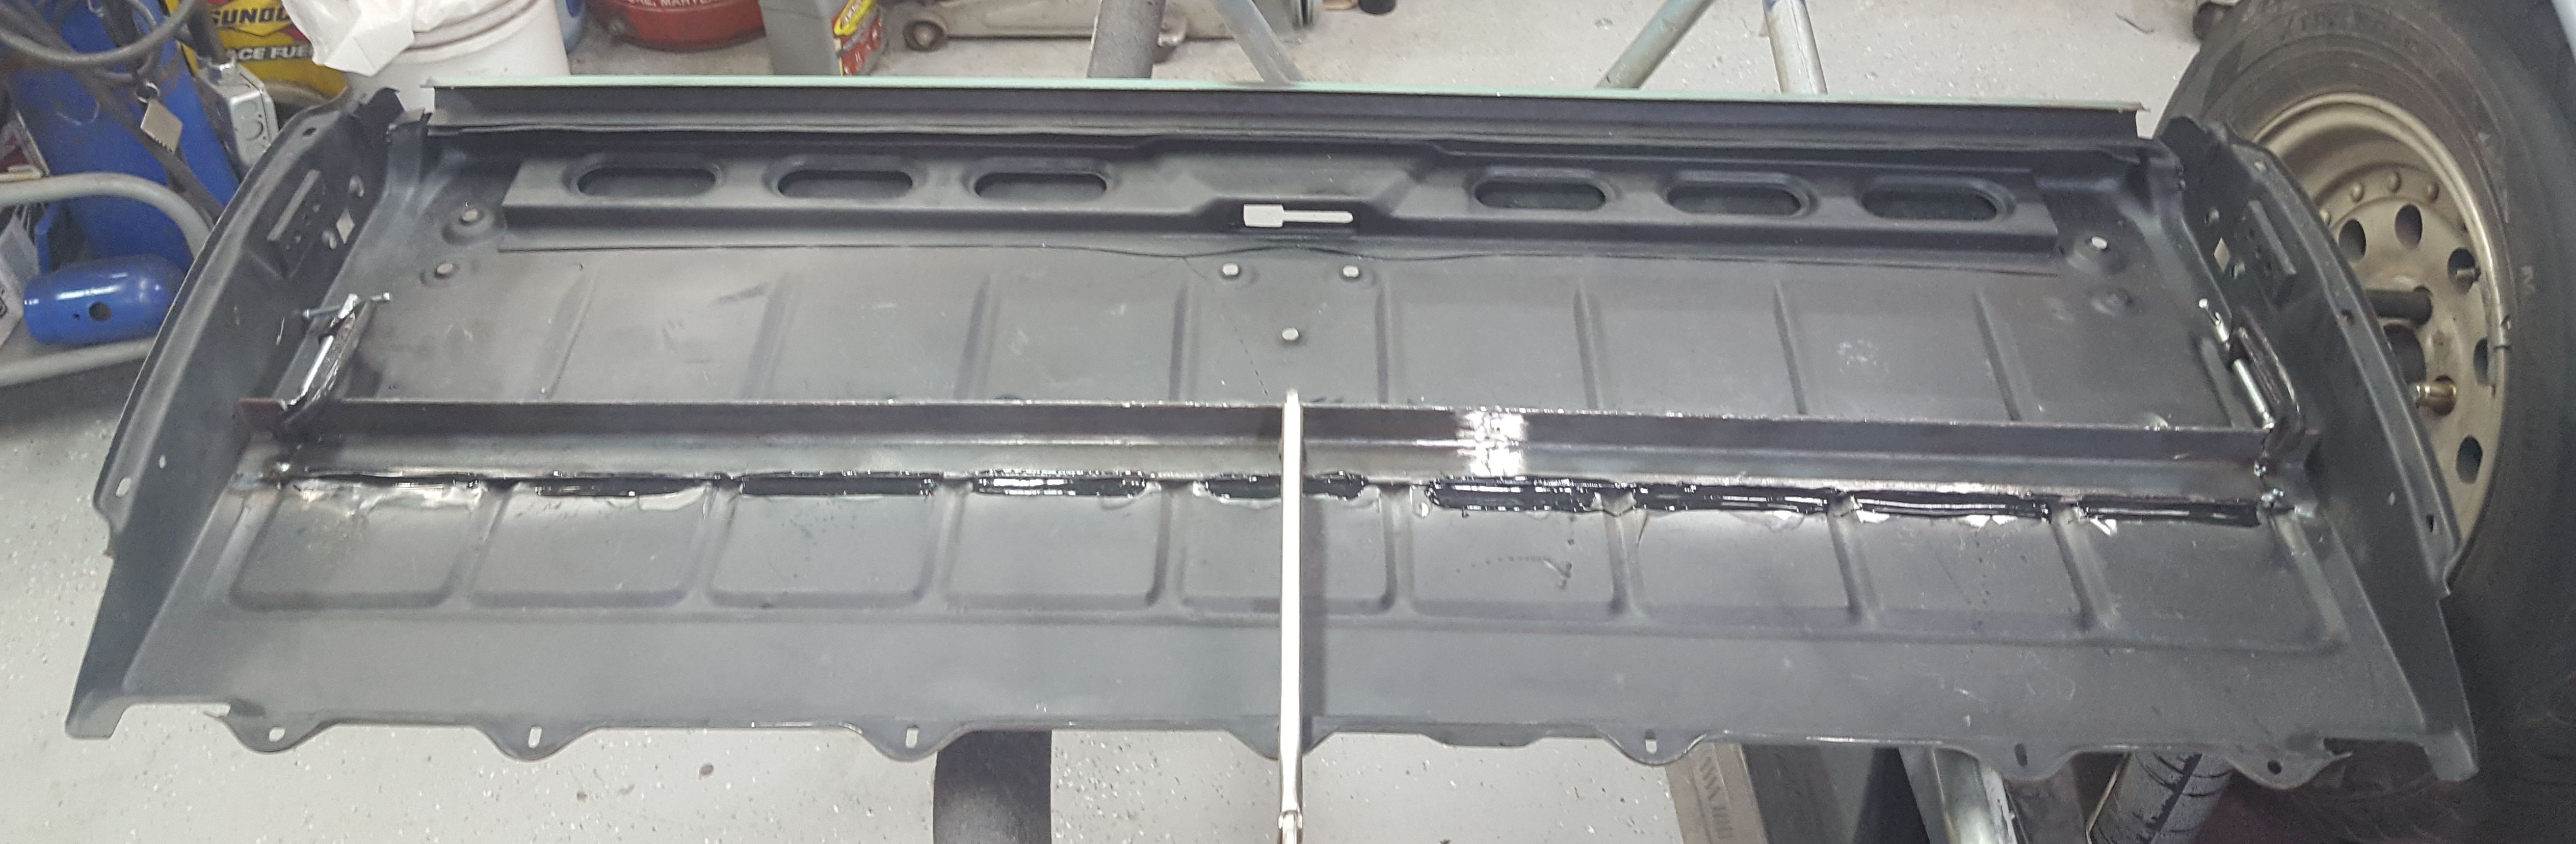
The bottome side of the welded in floor pans. All the seams were welded solid and ground down.
|

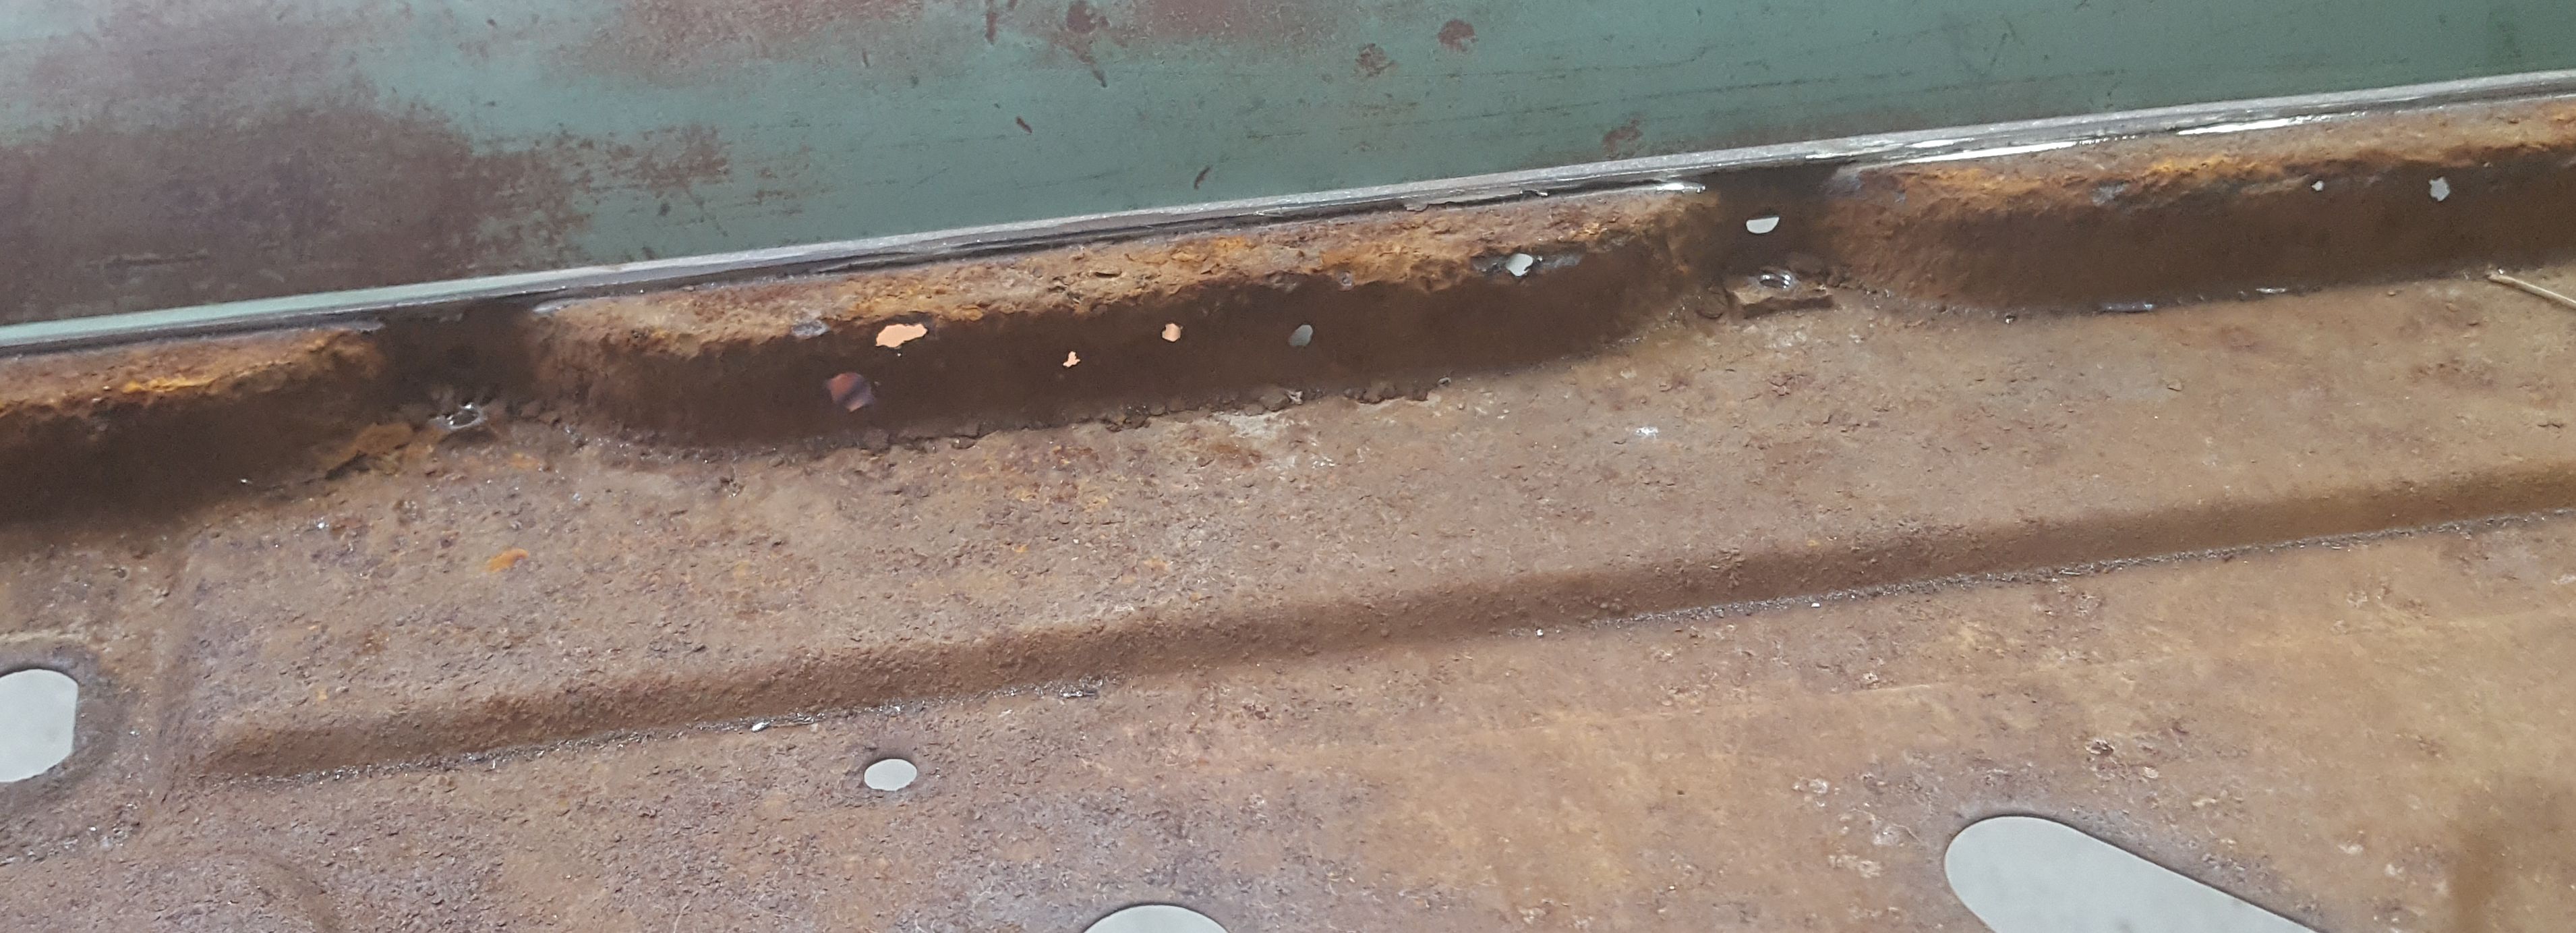
The black areas are the rust encapsulator. We let it seep into the seams where the blasting and the orbital sander could not reach. The daylight really highlights the seam that needs work.
|

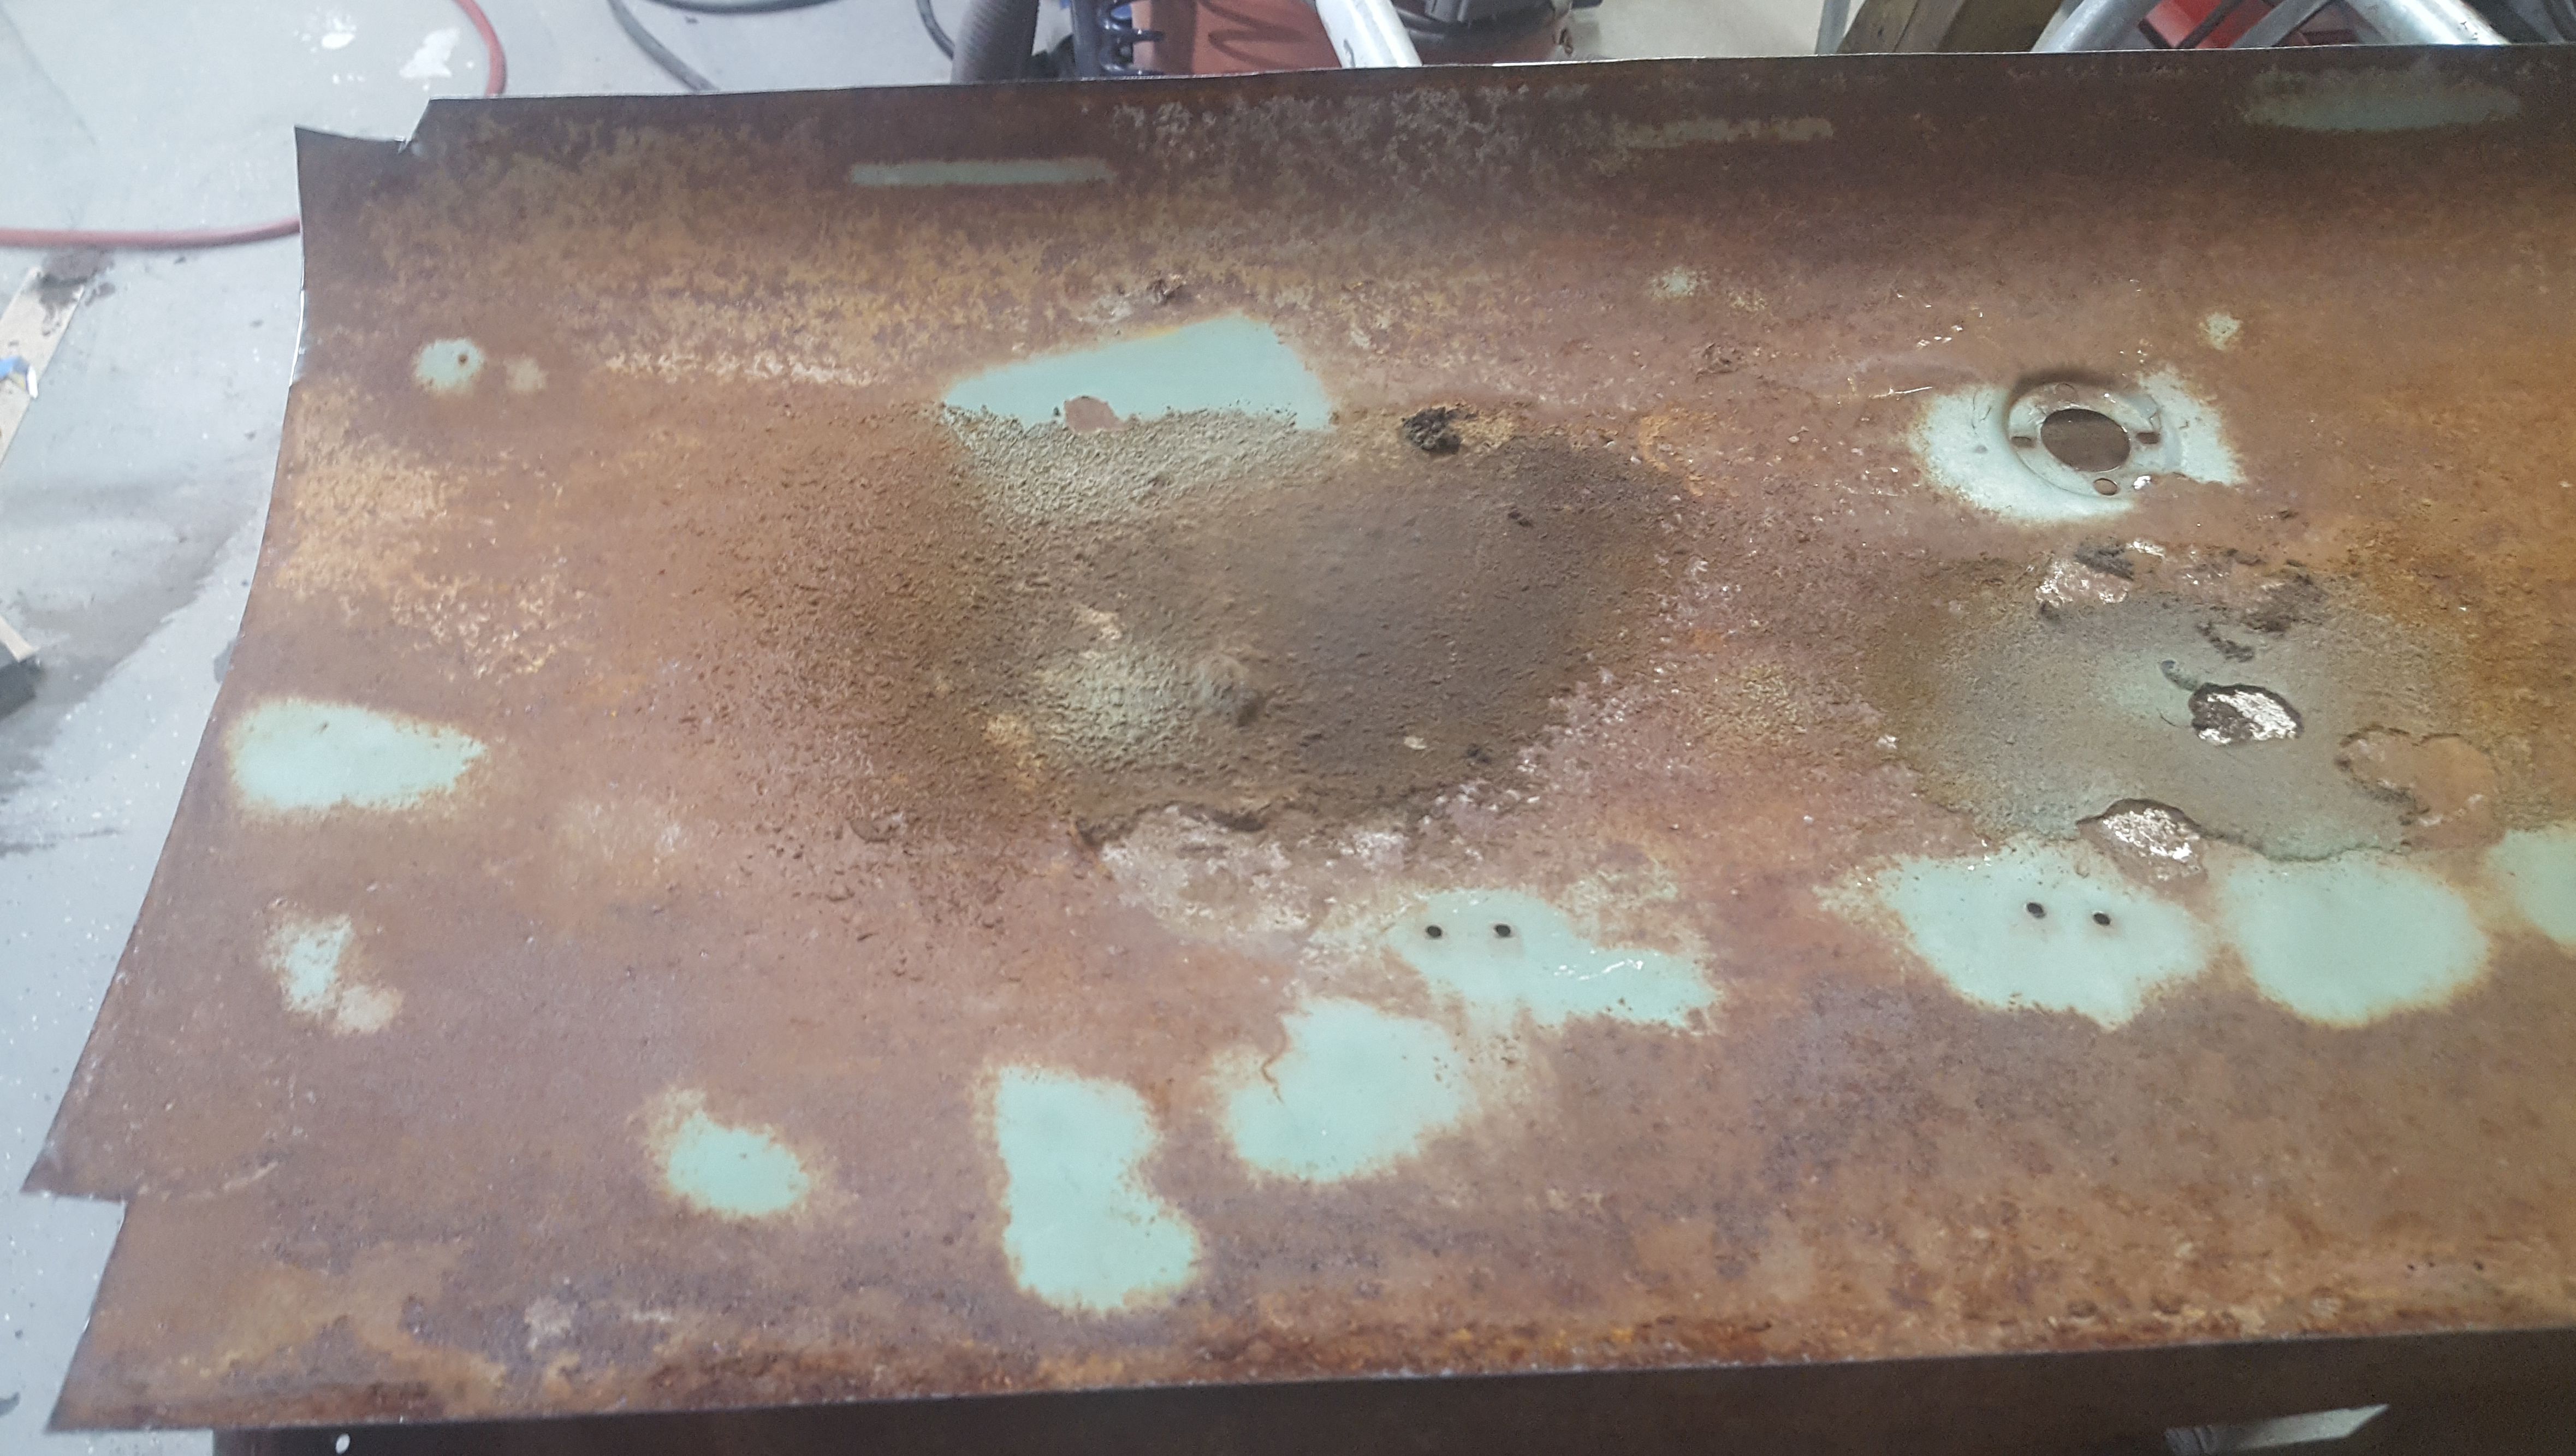
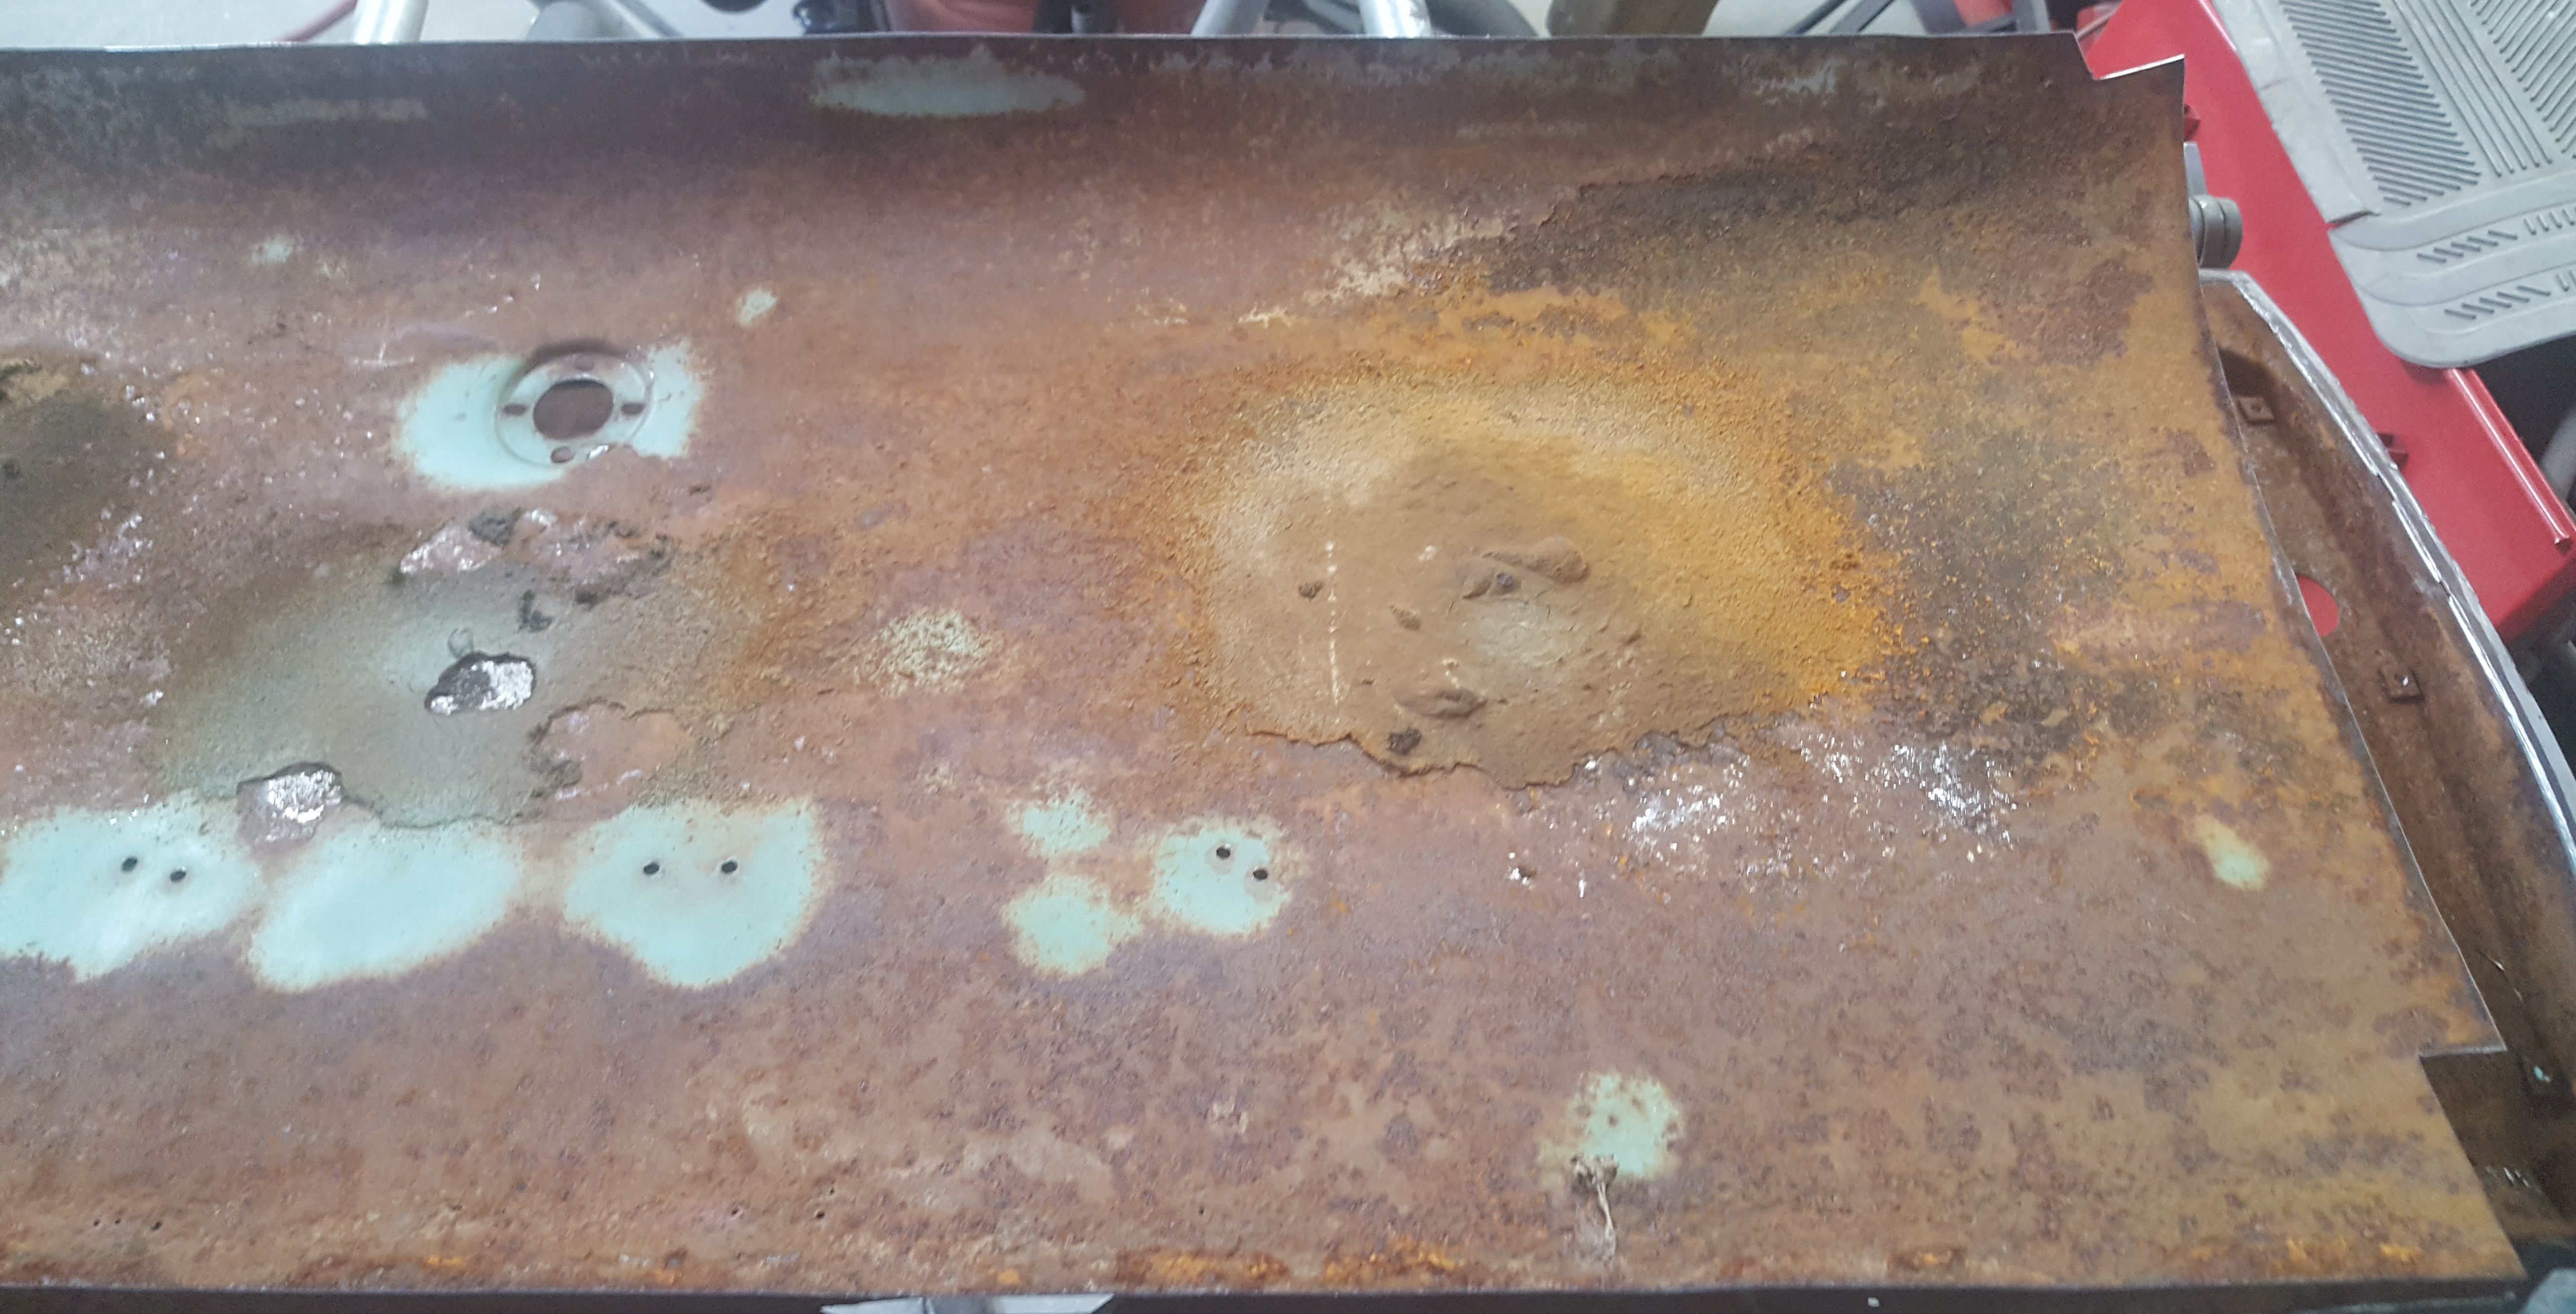
Rust converter (Mars-Hyde) was used on the bed in the deeper pits and seams.
|

Setting up to spray the epoxy.
|

Time for the now professional auto restorer to get to work. Our son went to Ohio Technical College and now has an Associates Degree in Automotive Restoration.
|

We used the left over black epoxy from the Cherokee and when that ran out, we started with the new can of gray.
|

That lower front valance in black epoxy.
|
Inspection time. While we don't necessarily care about runs at this stage, it will be good to see what we need to consider in the later stages.
|

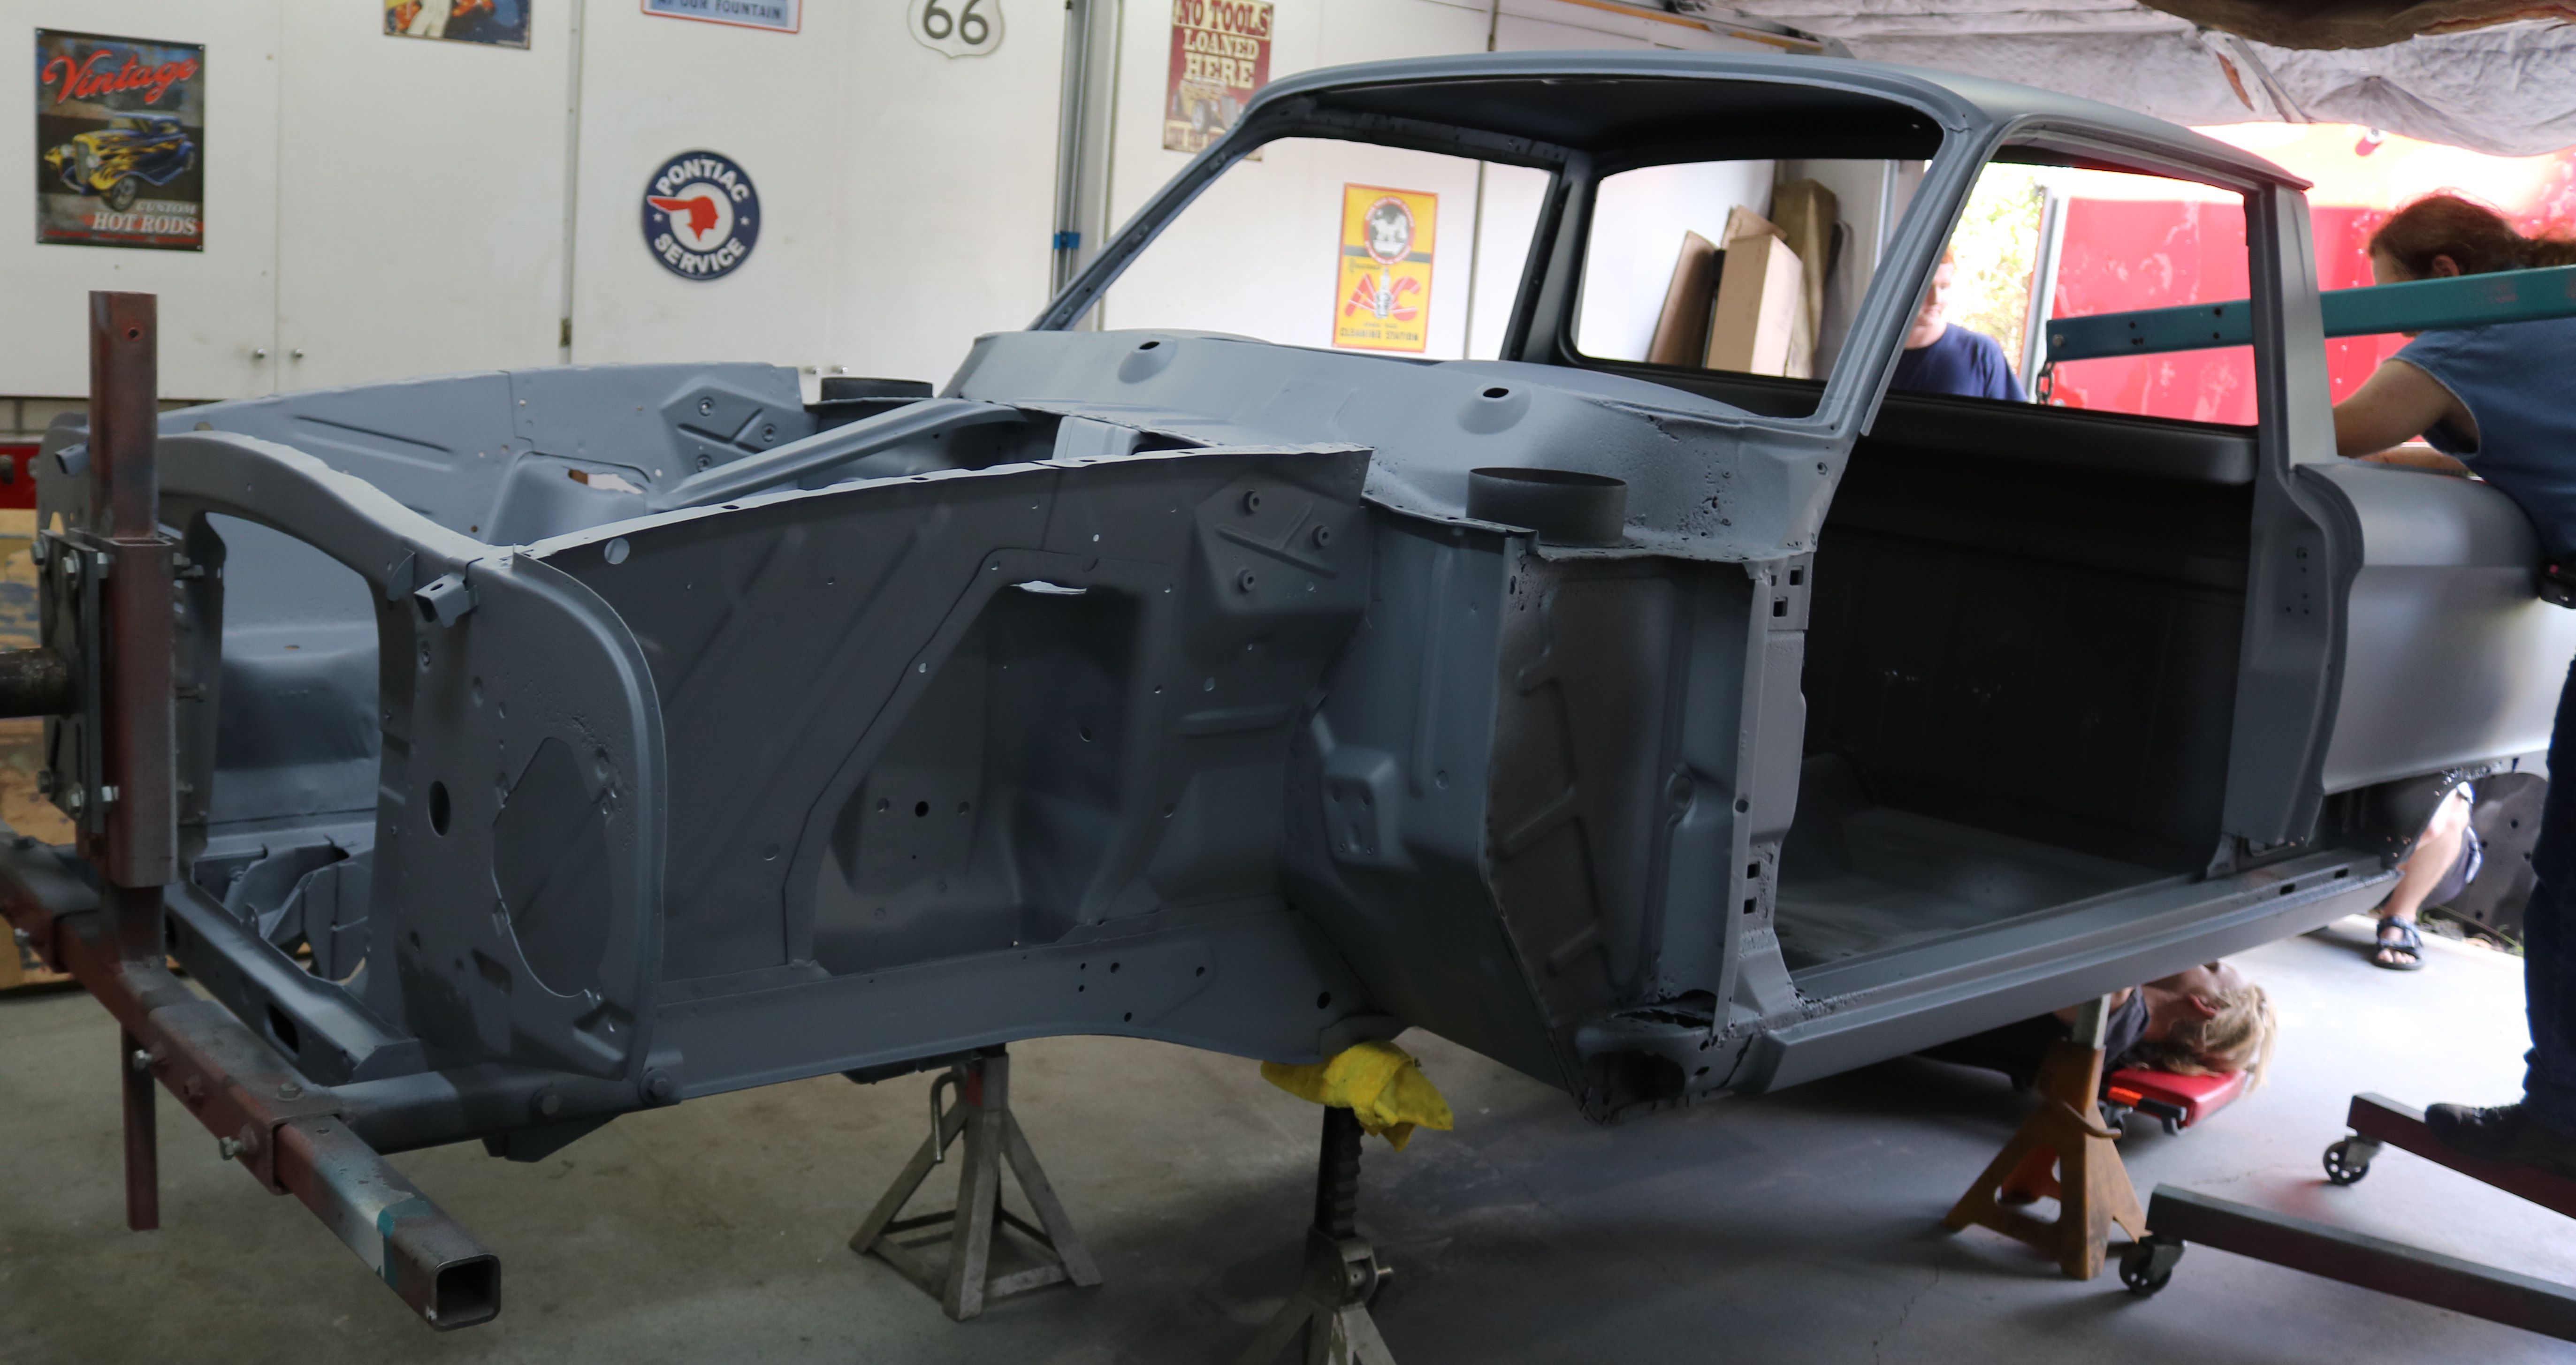
The cowl and roof look good all one color.
|
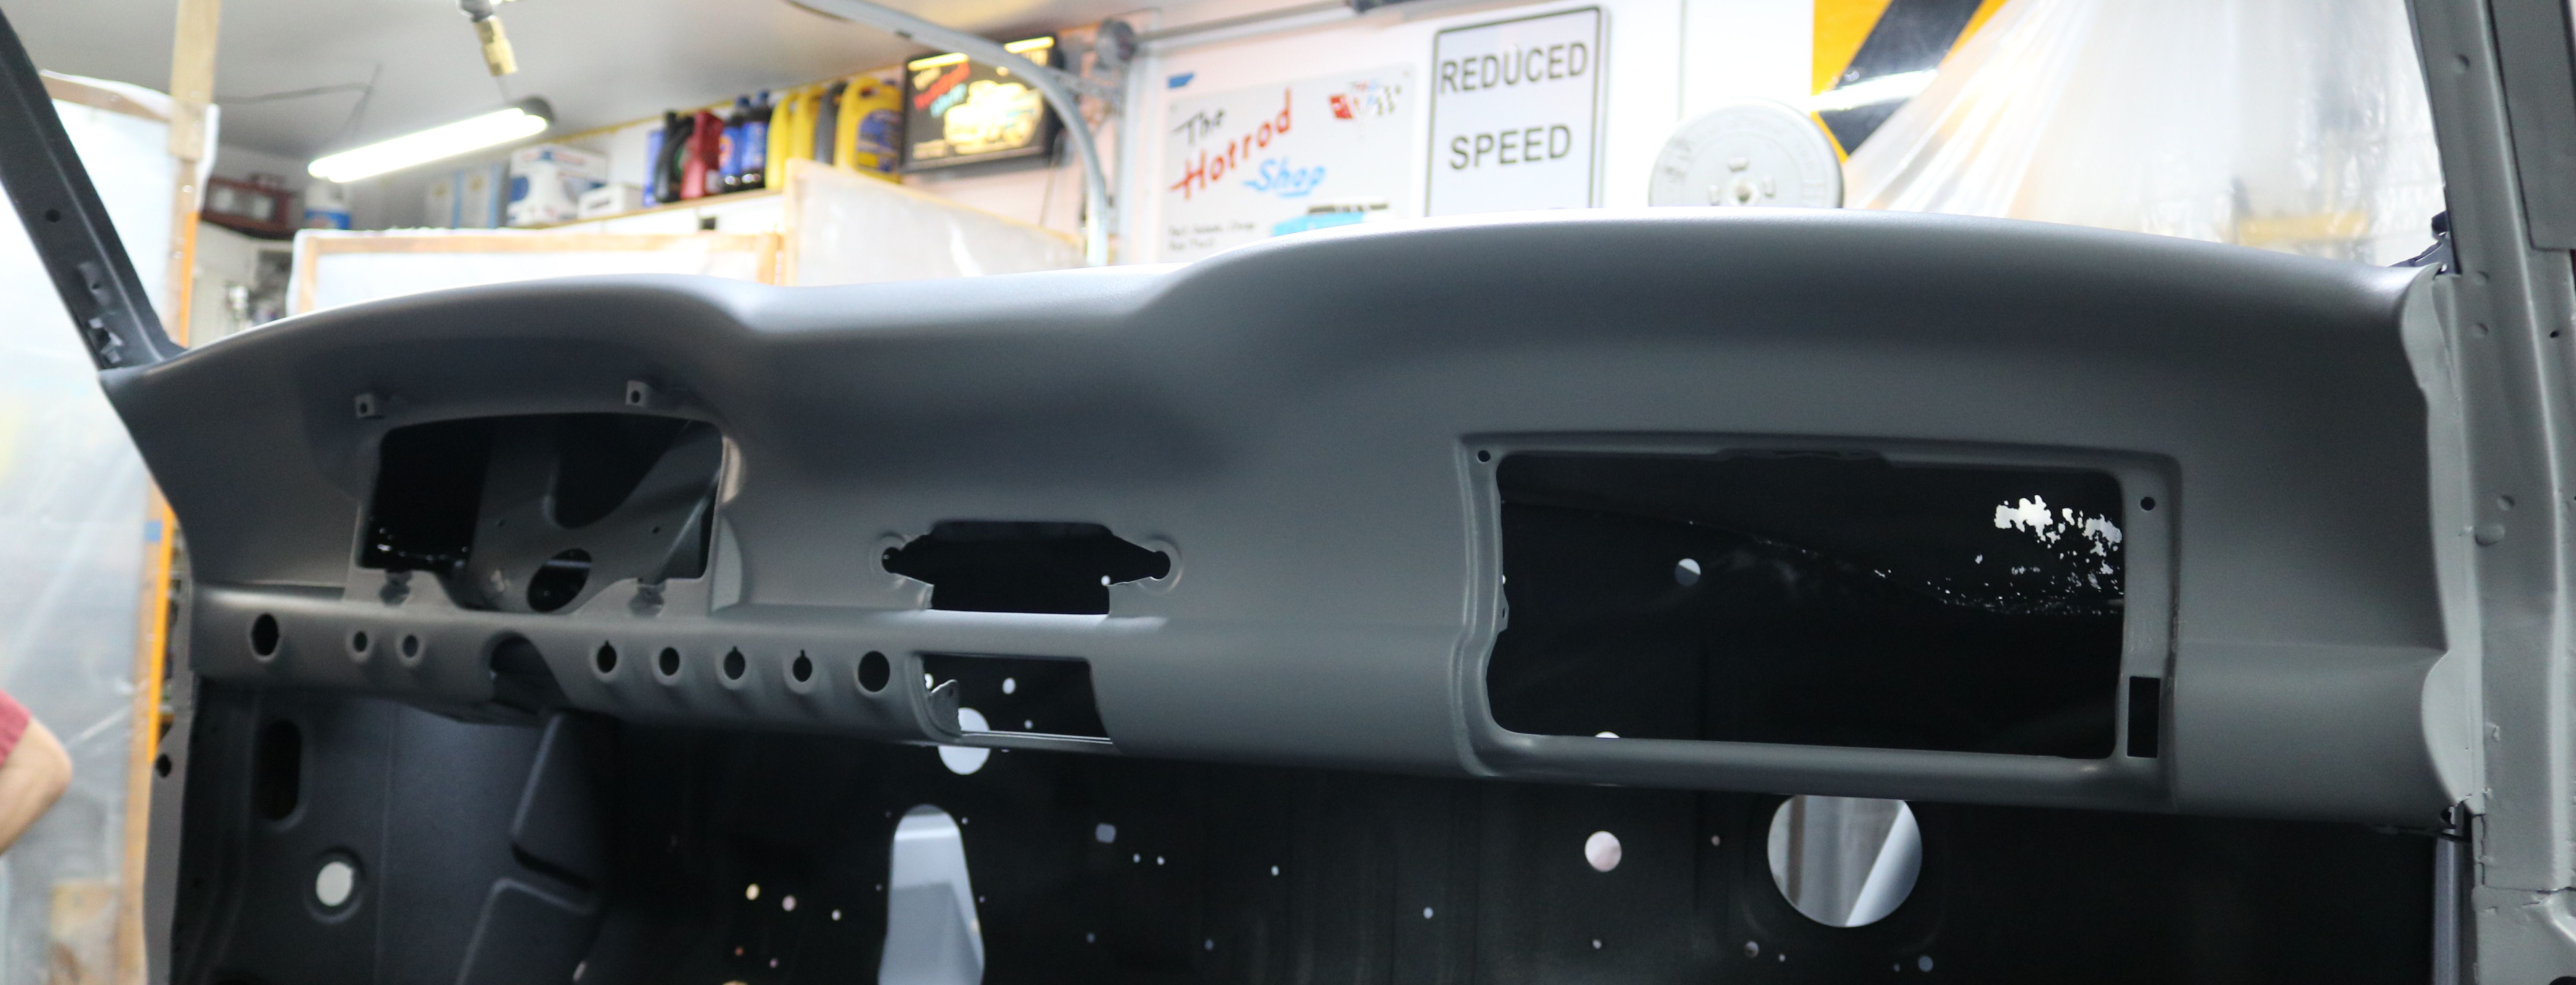
The dash area still needs metal work and you really should not be able to see throught the cowl behind the glove box area.
|

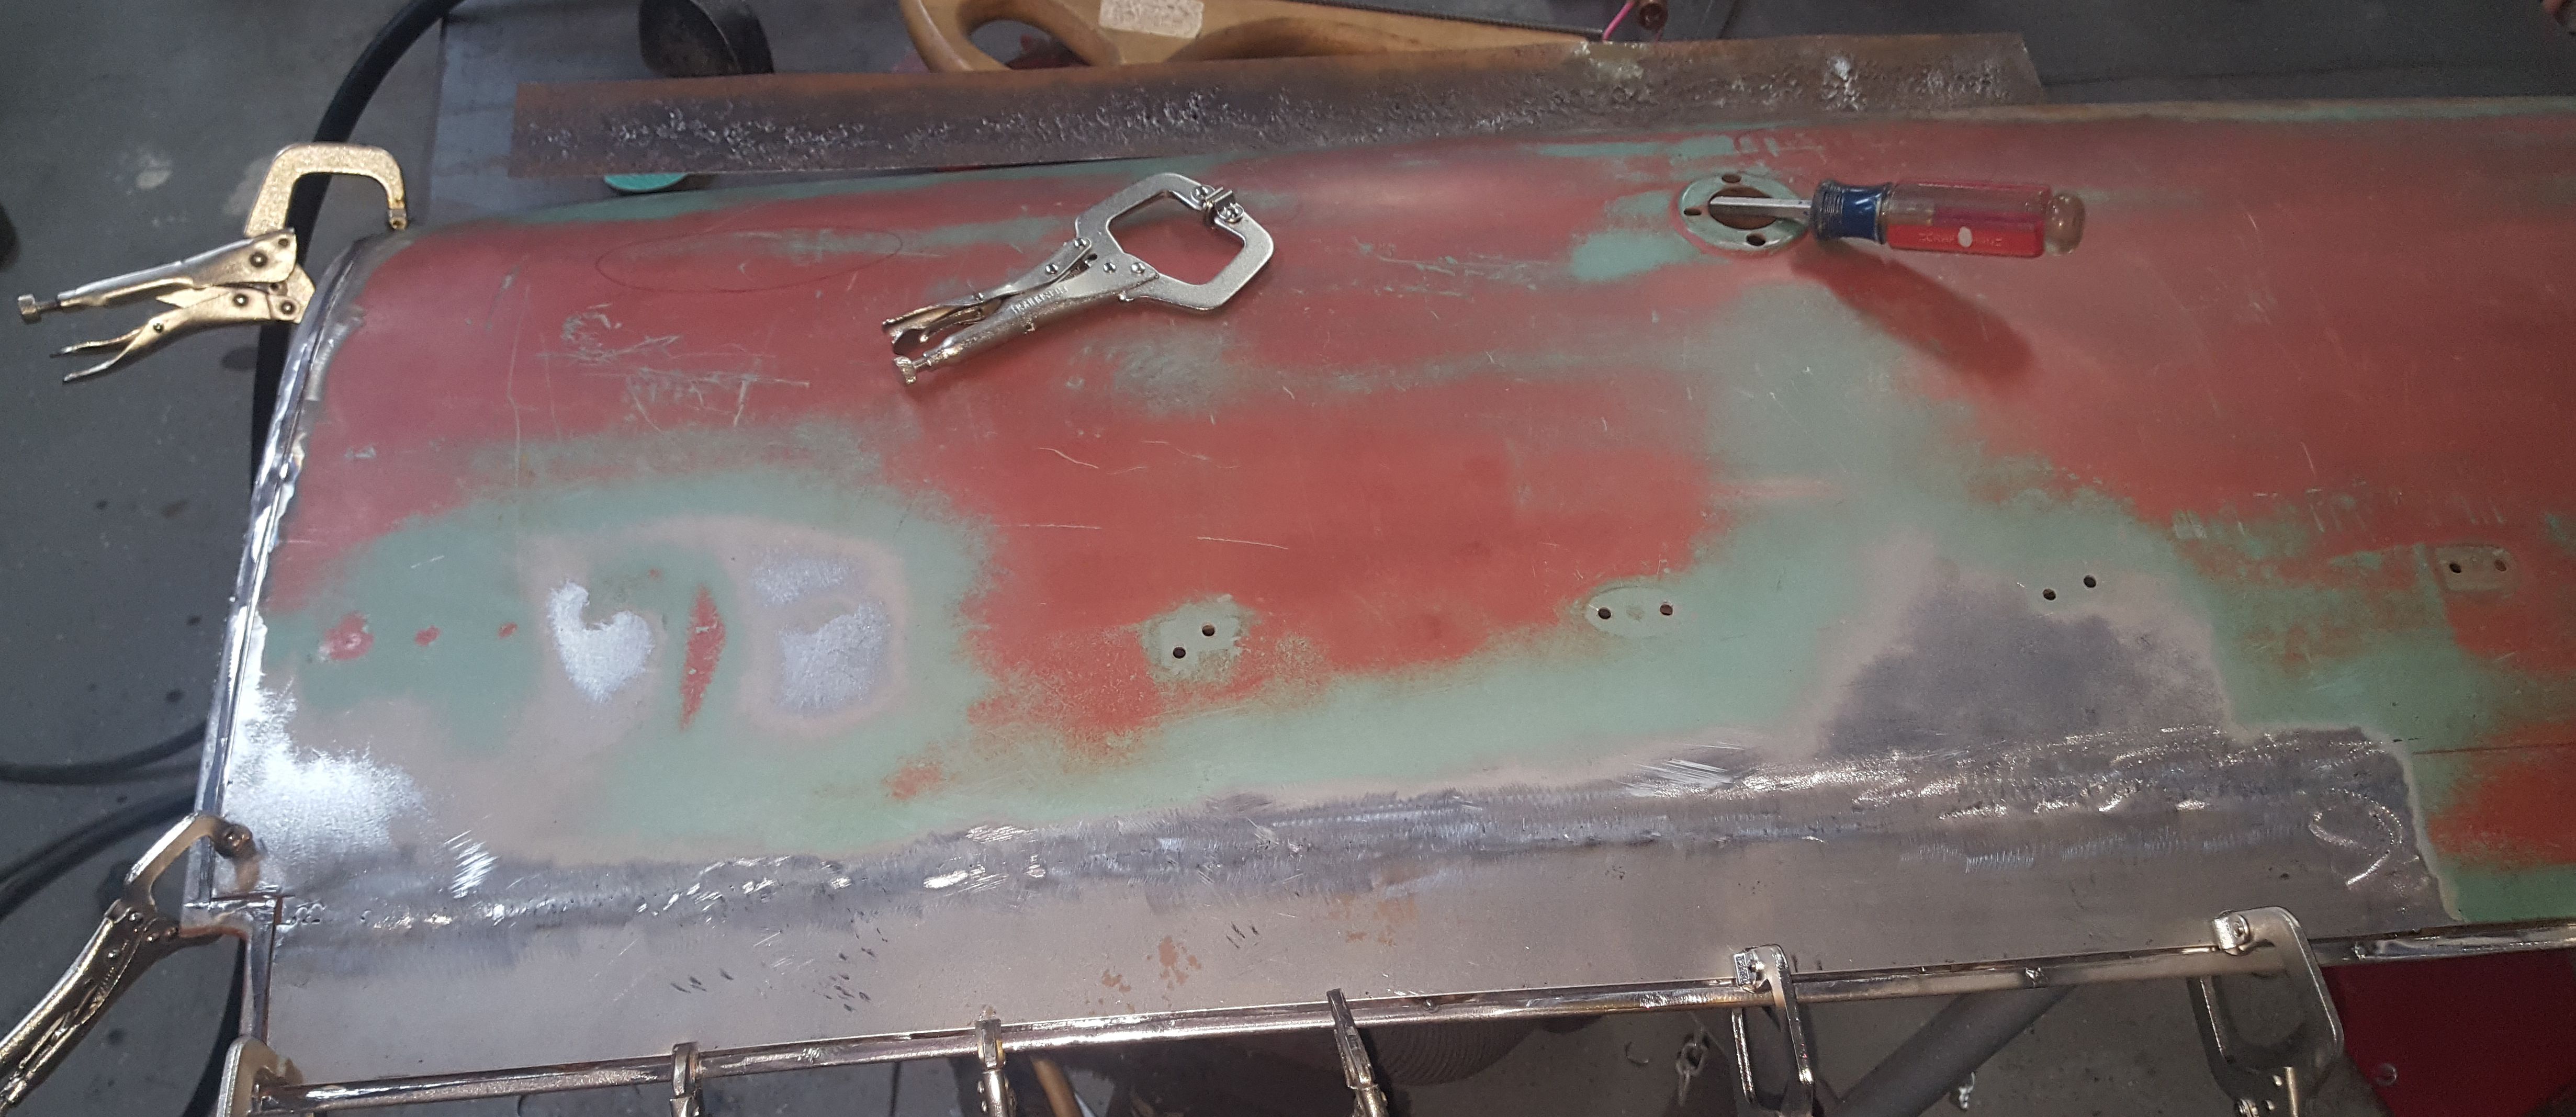
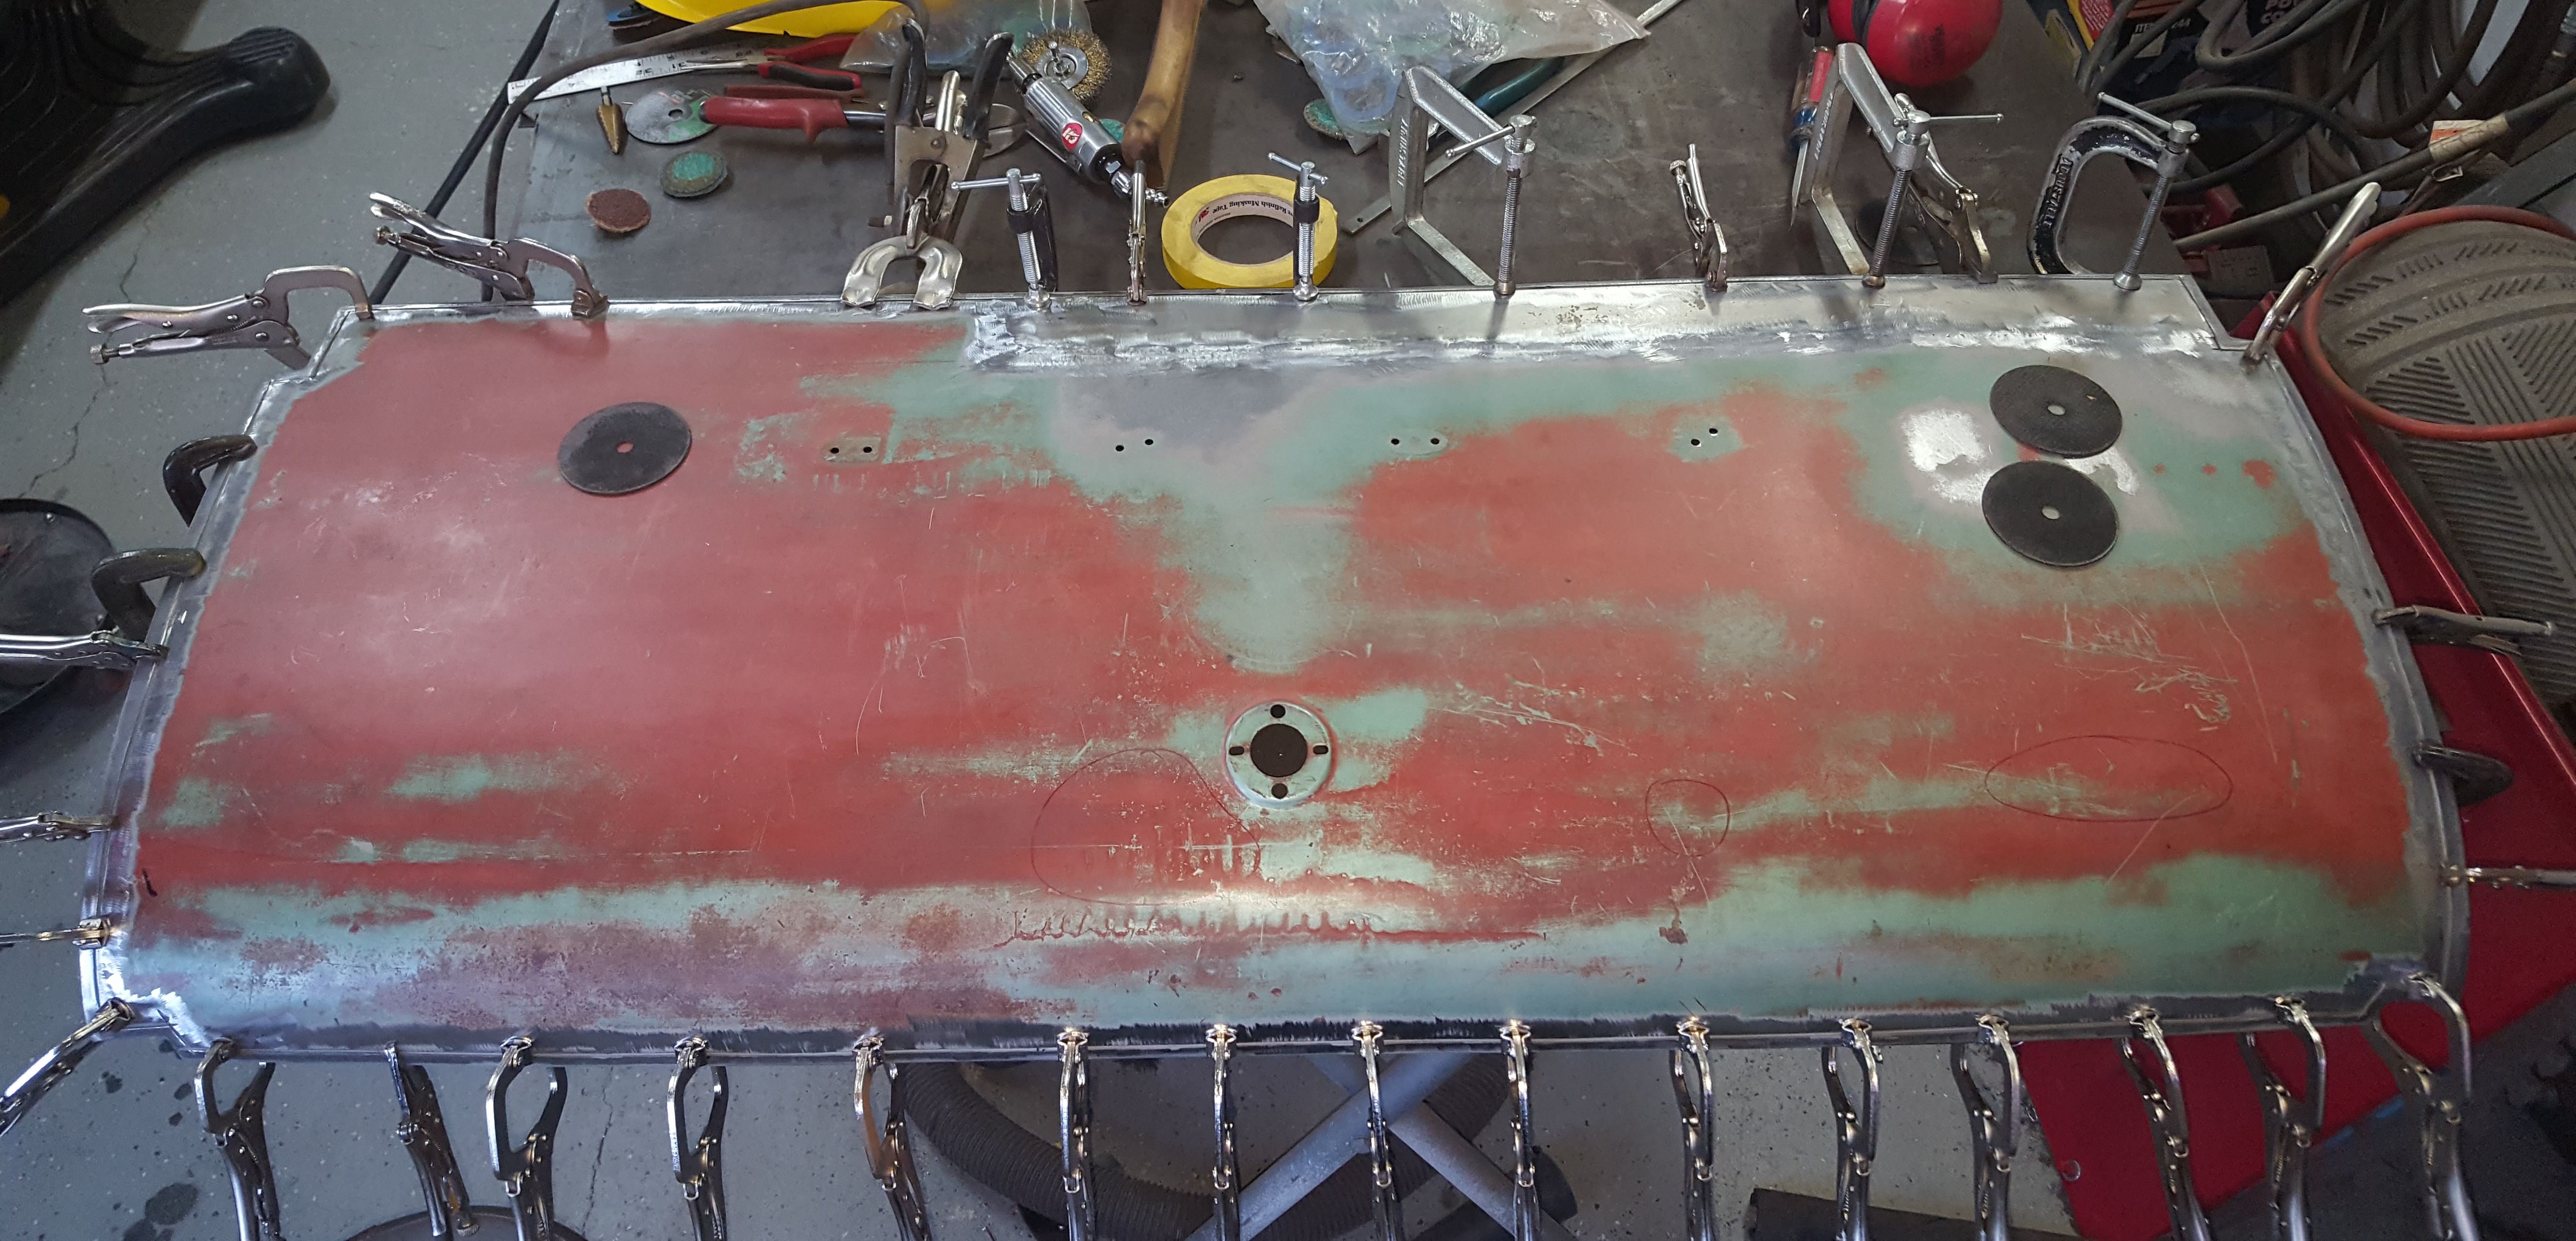
The bed actually looks solid from this angle. We still have the holes in the shock mount area to fix. And a few holes where someone had mounted something.
|
The valance now in gray epoxy. We wanted two coats to give something to body work with.
|

Time to get the body off of the rotisserie and start the many fabrications that are still needed. Dad chose to use the shock mount holes this time, rather than the strap.
|
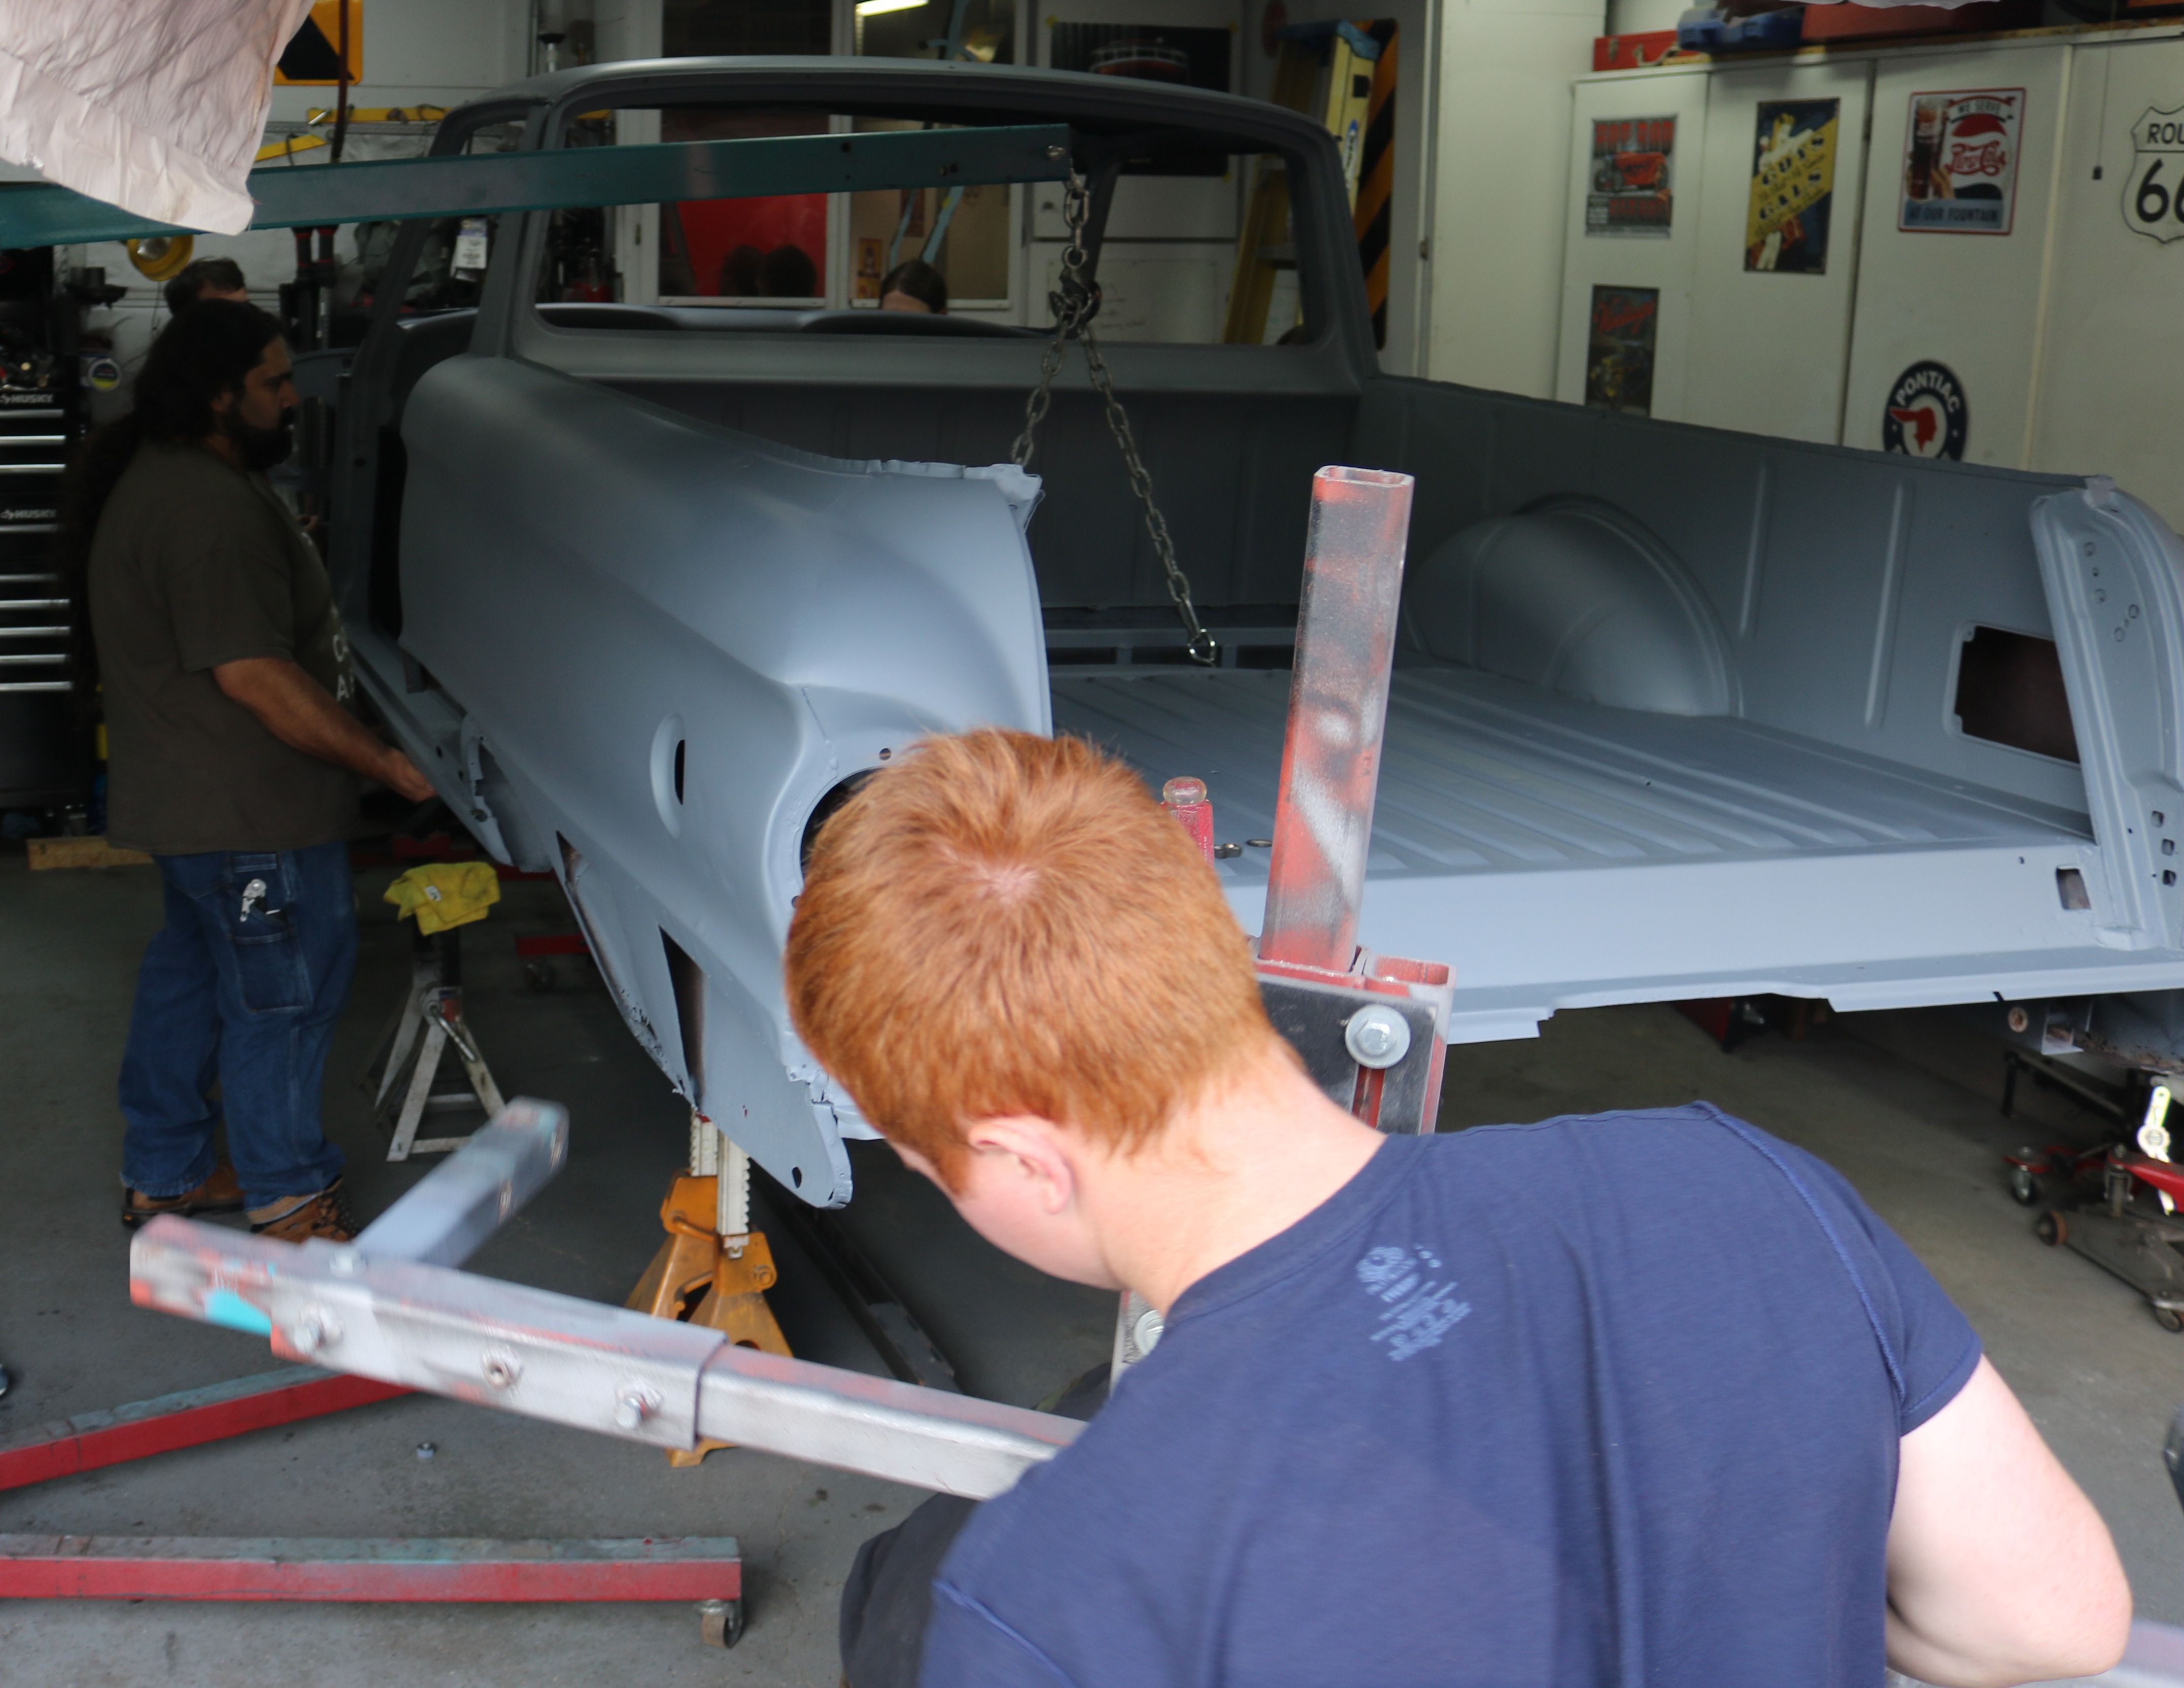
Friends stopped by to help with this process. This always takes several people, at least for us. Most of the time they are also curious and eager to help.
|
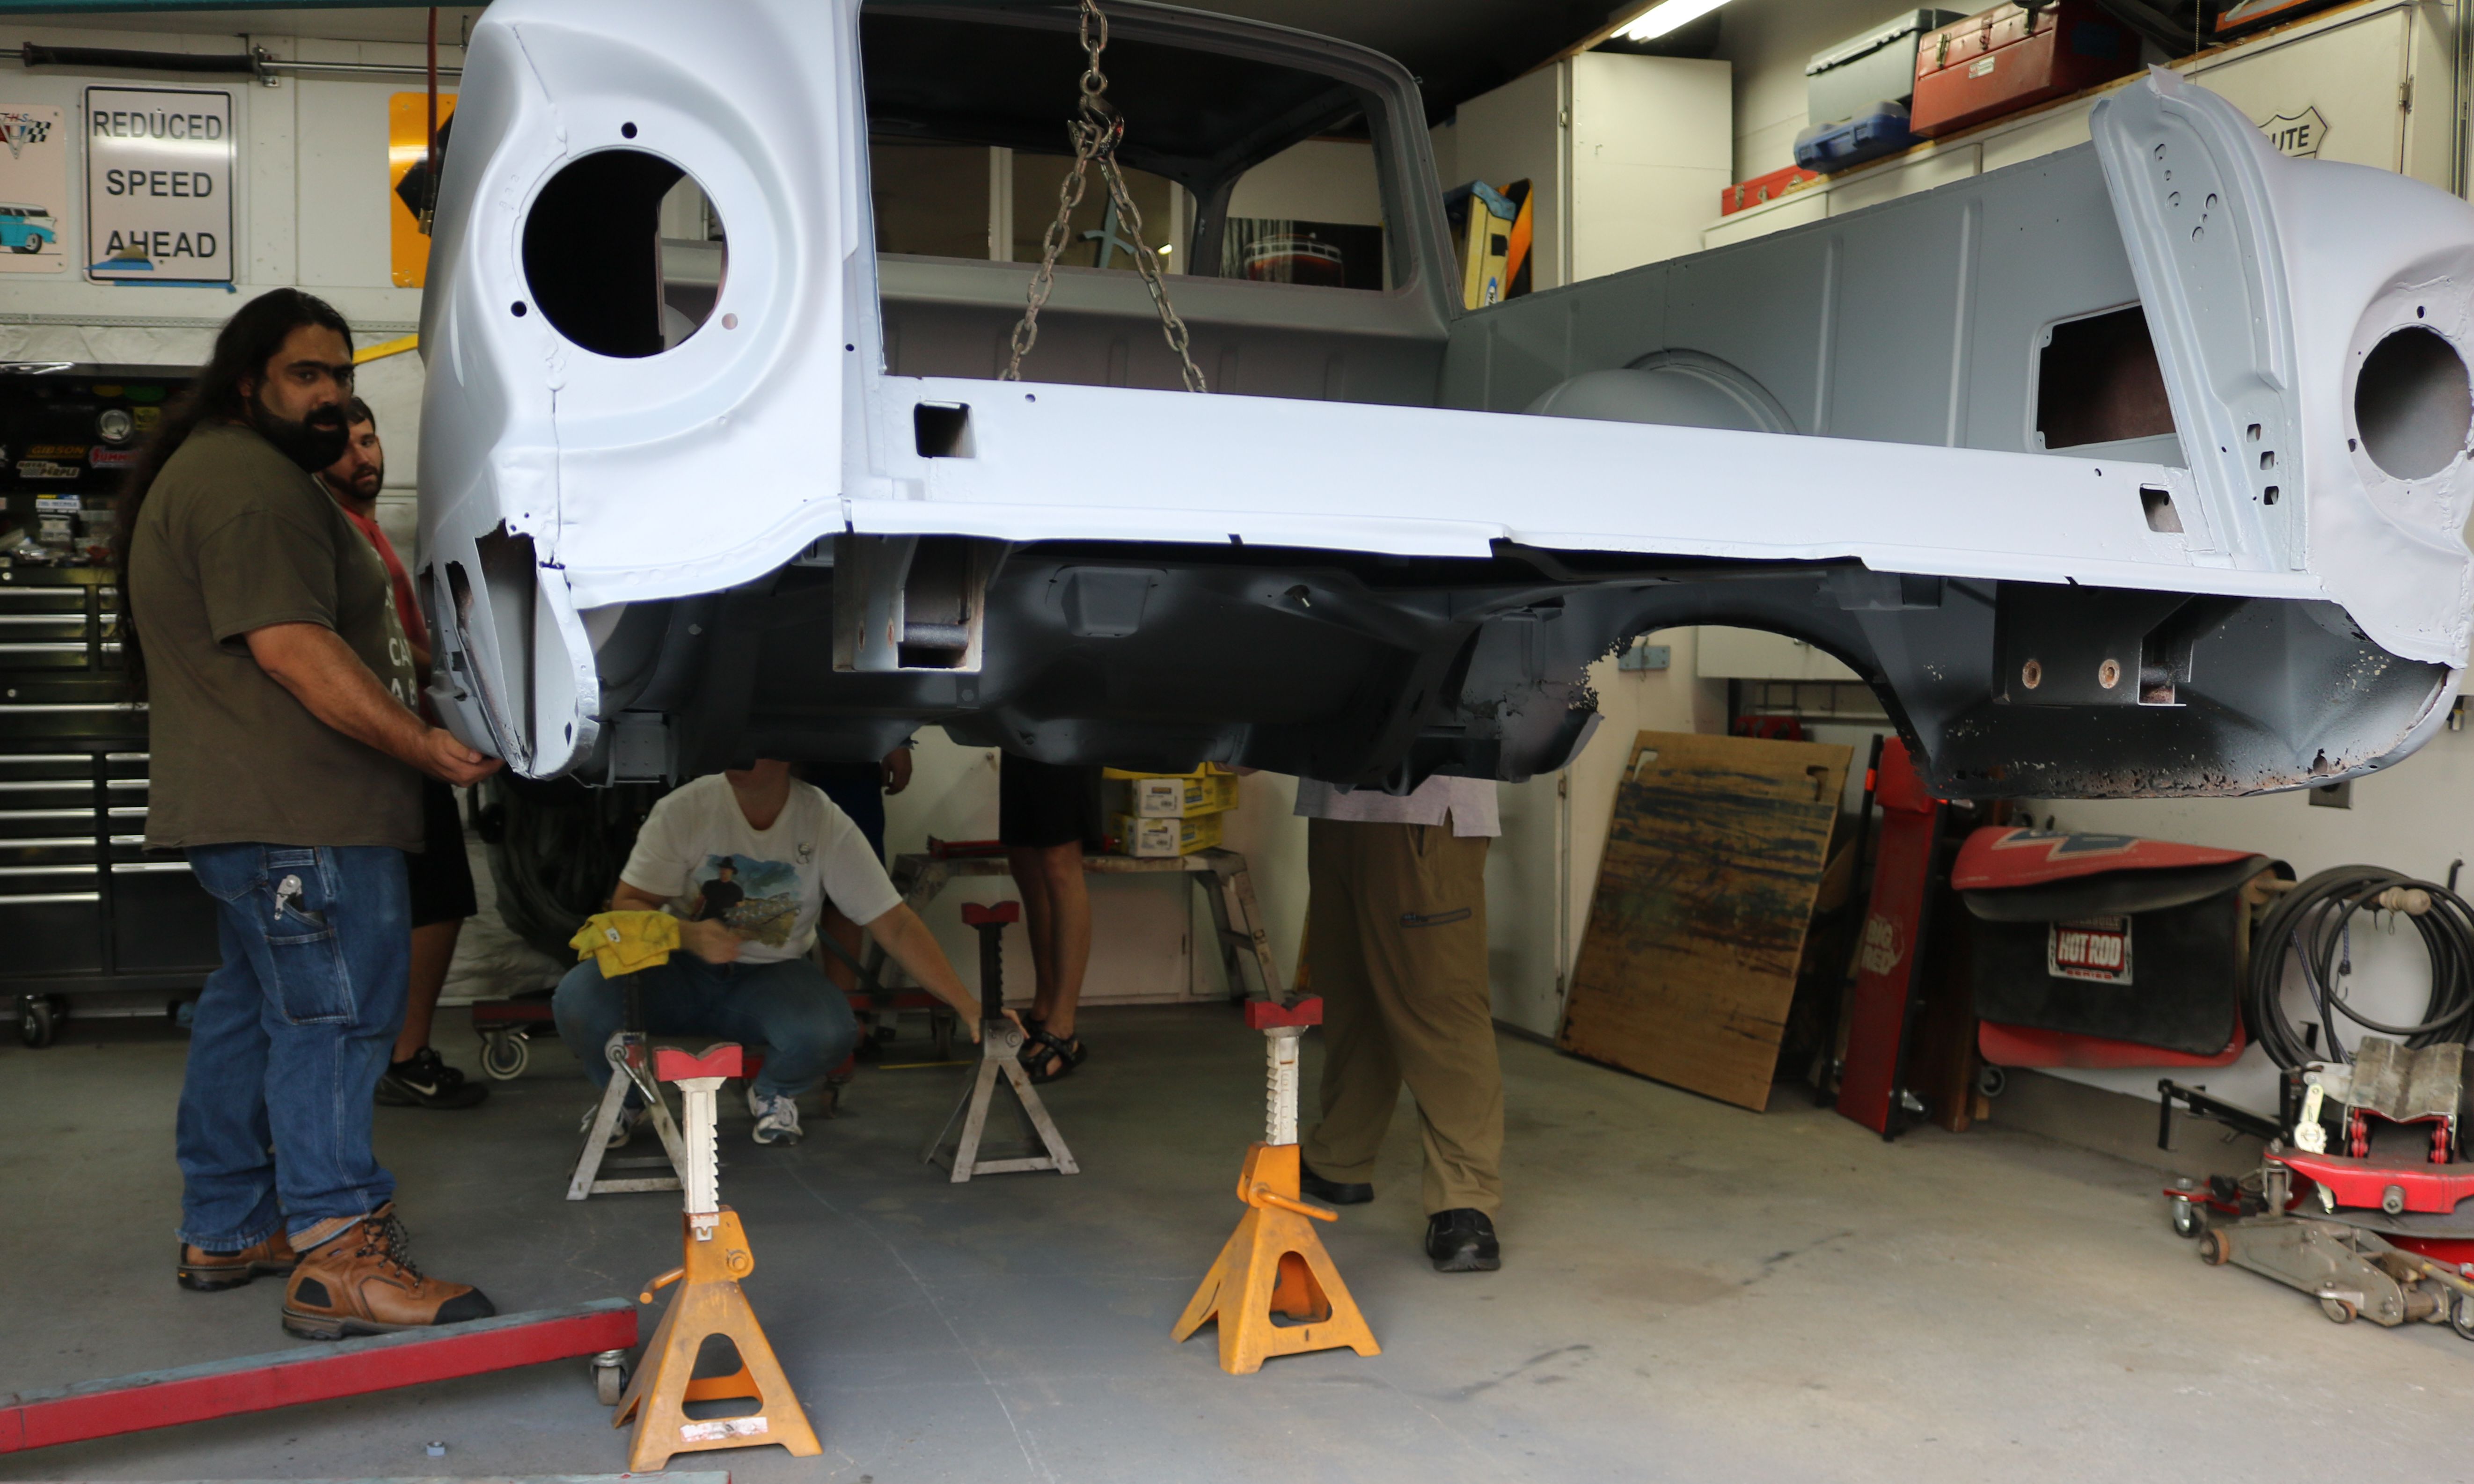
We set it down on jack stands that were set as high as possible. The first fabrication work is to be the suspension, both front and rear.
|
Settled and resting comfortably, so time to remove that chain.
|
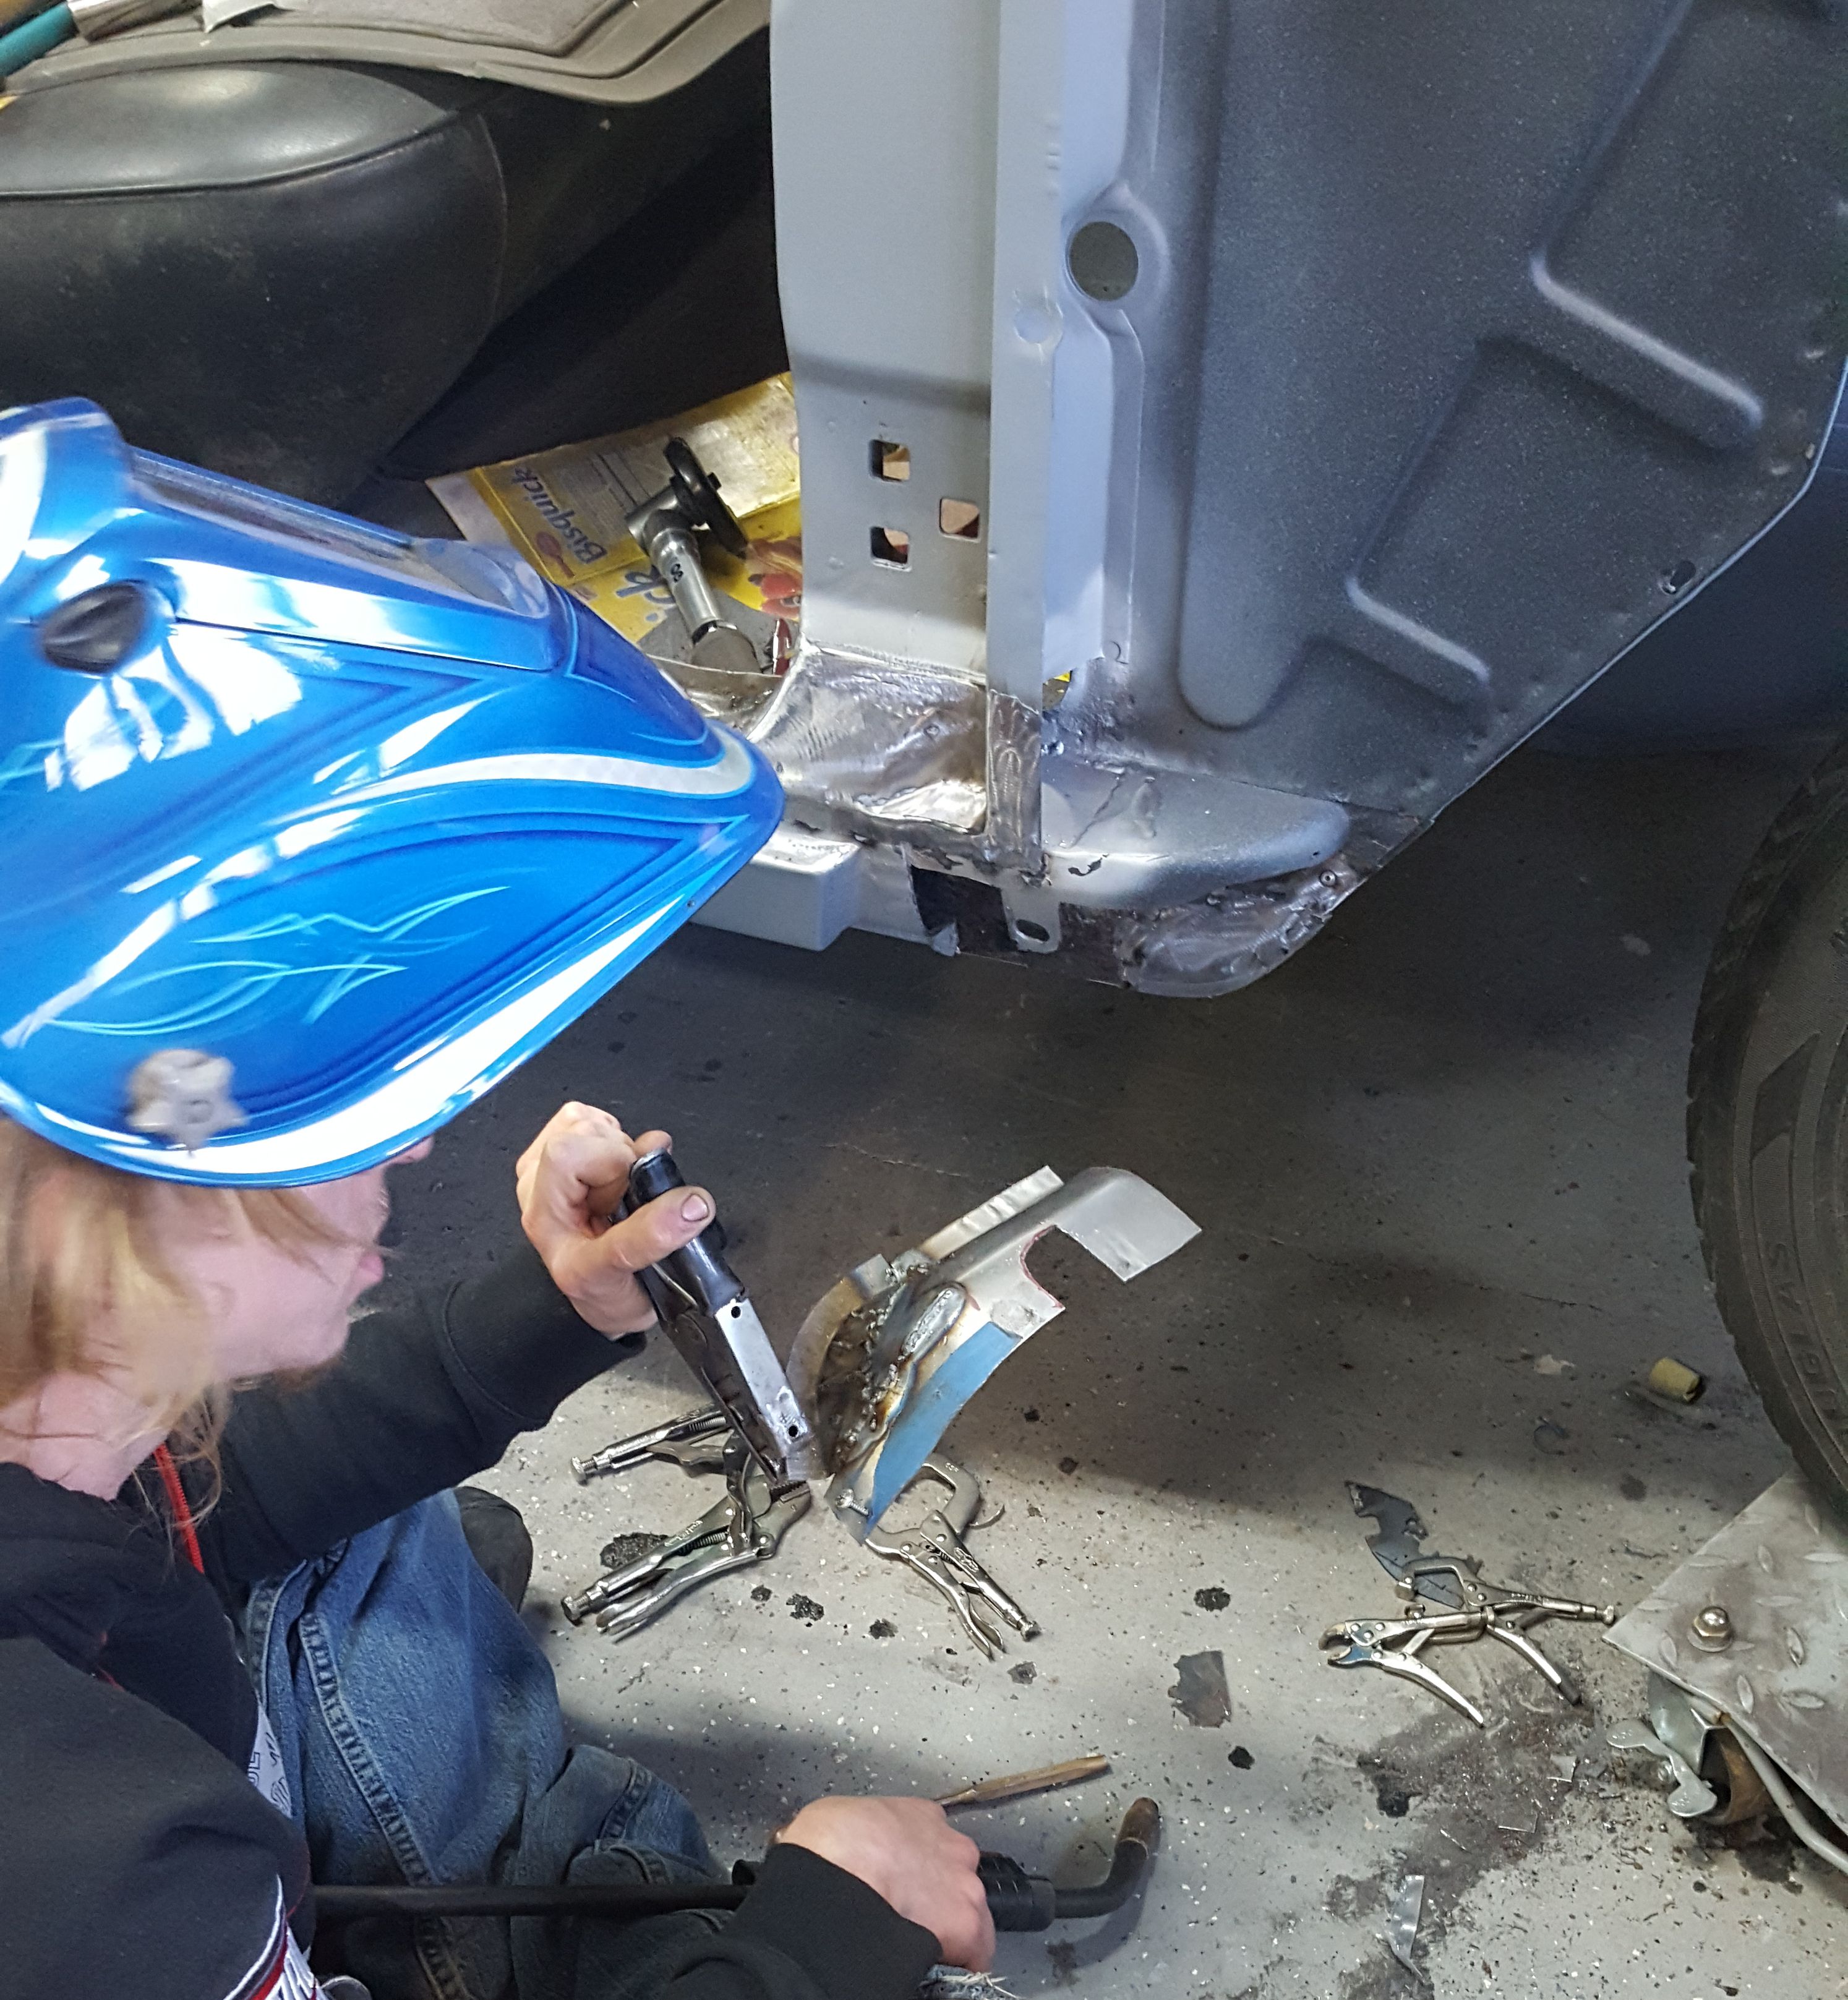
Rocker Panels
|
Ok, the rest of the welding pictures will be out of time sequence. With two
working on the Ranchero every evening and weekend, they had several spots in
progress at the same time. And a couple of areas were started, finished, and
taken apart then redone over the course of several months. So rather than jump
around the car and confuse everyone, I chose to focus on one area to the end
of it's repair.
|

Time to attack the driver side rocker panel. The end was removed and replaced.
|
Because of the complex curves, several pieces were made individually and welded together to form the front rocker corner.
|

While I apologize for the blurriness, this was the best shot of the myriad of pieces that went into the front rocker corner.
|

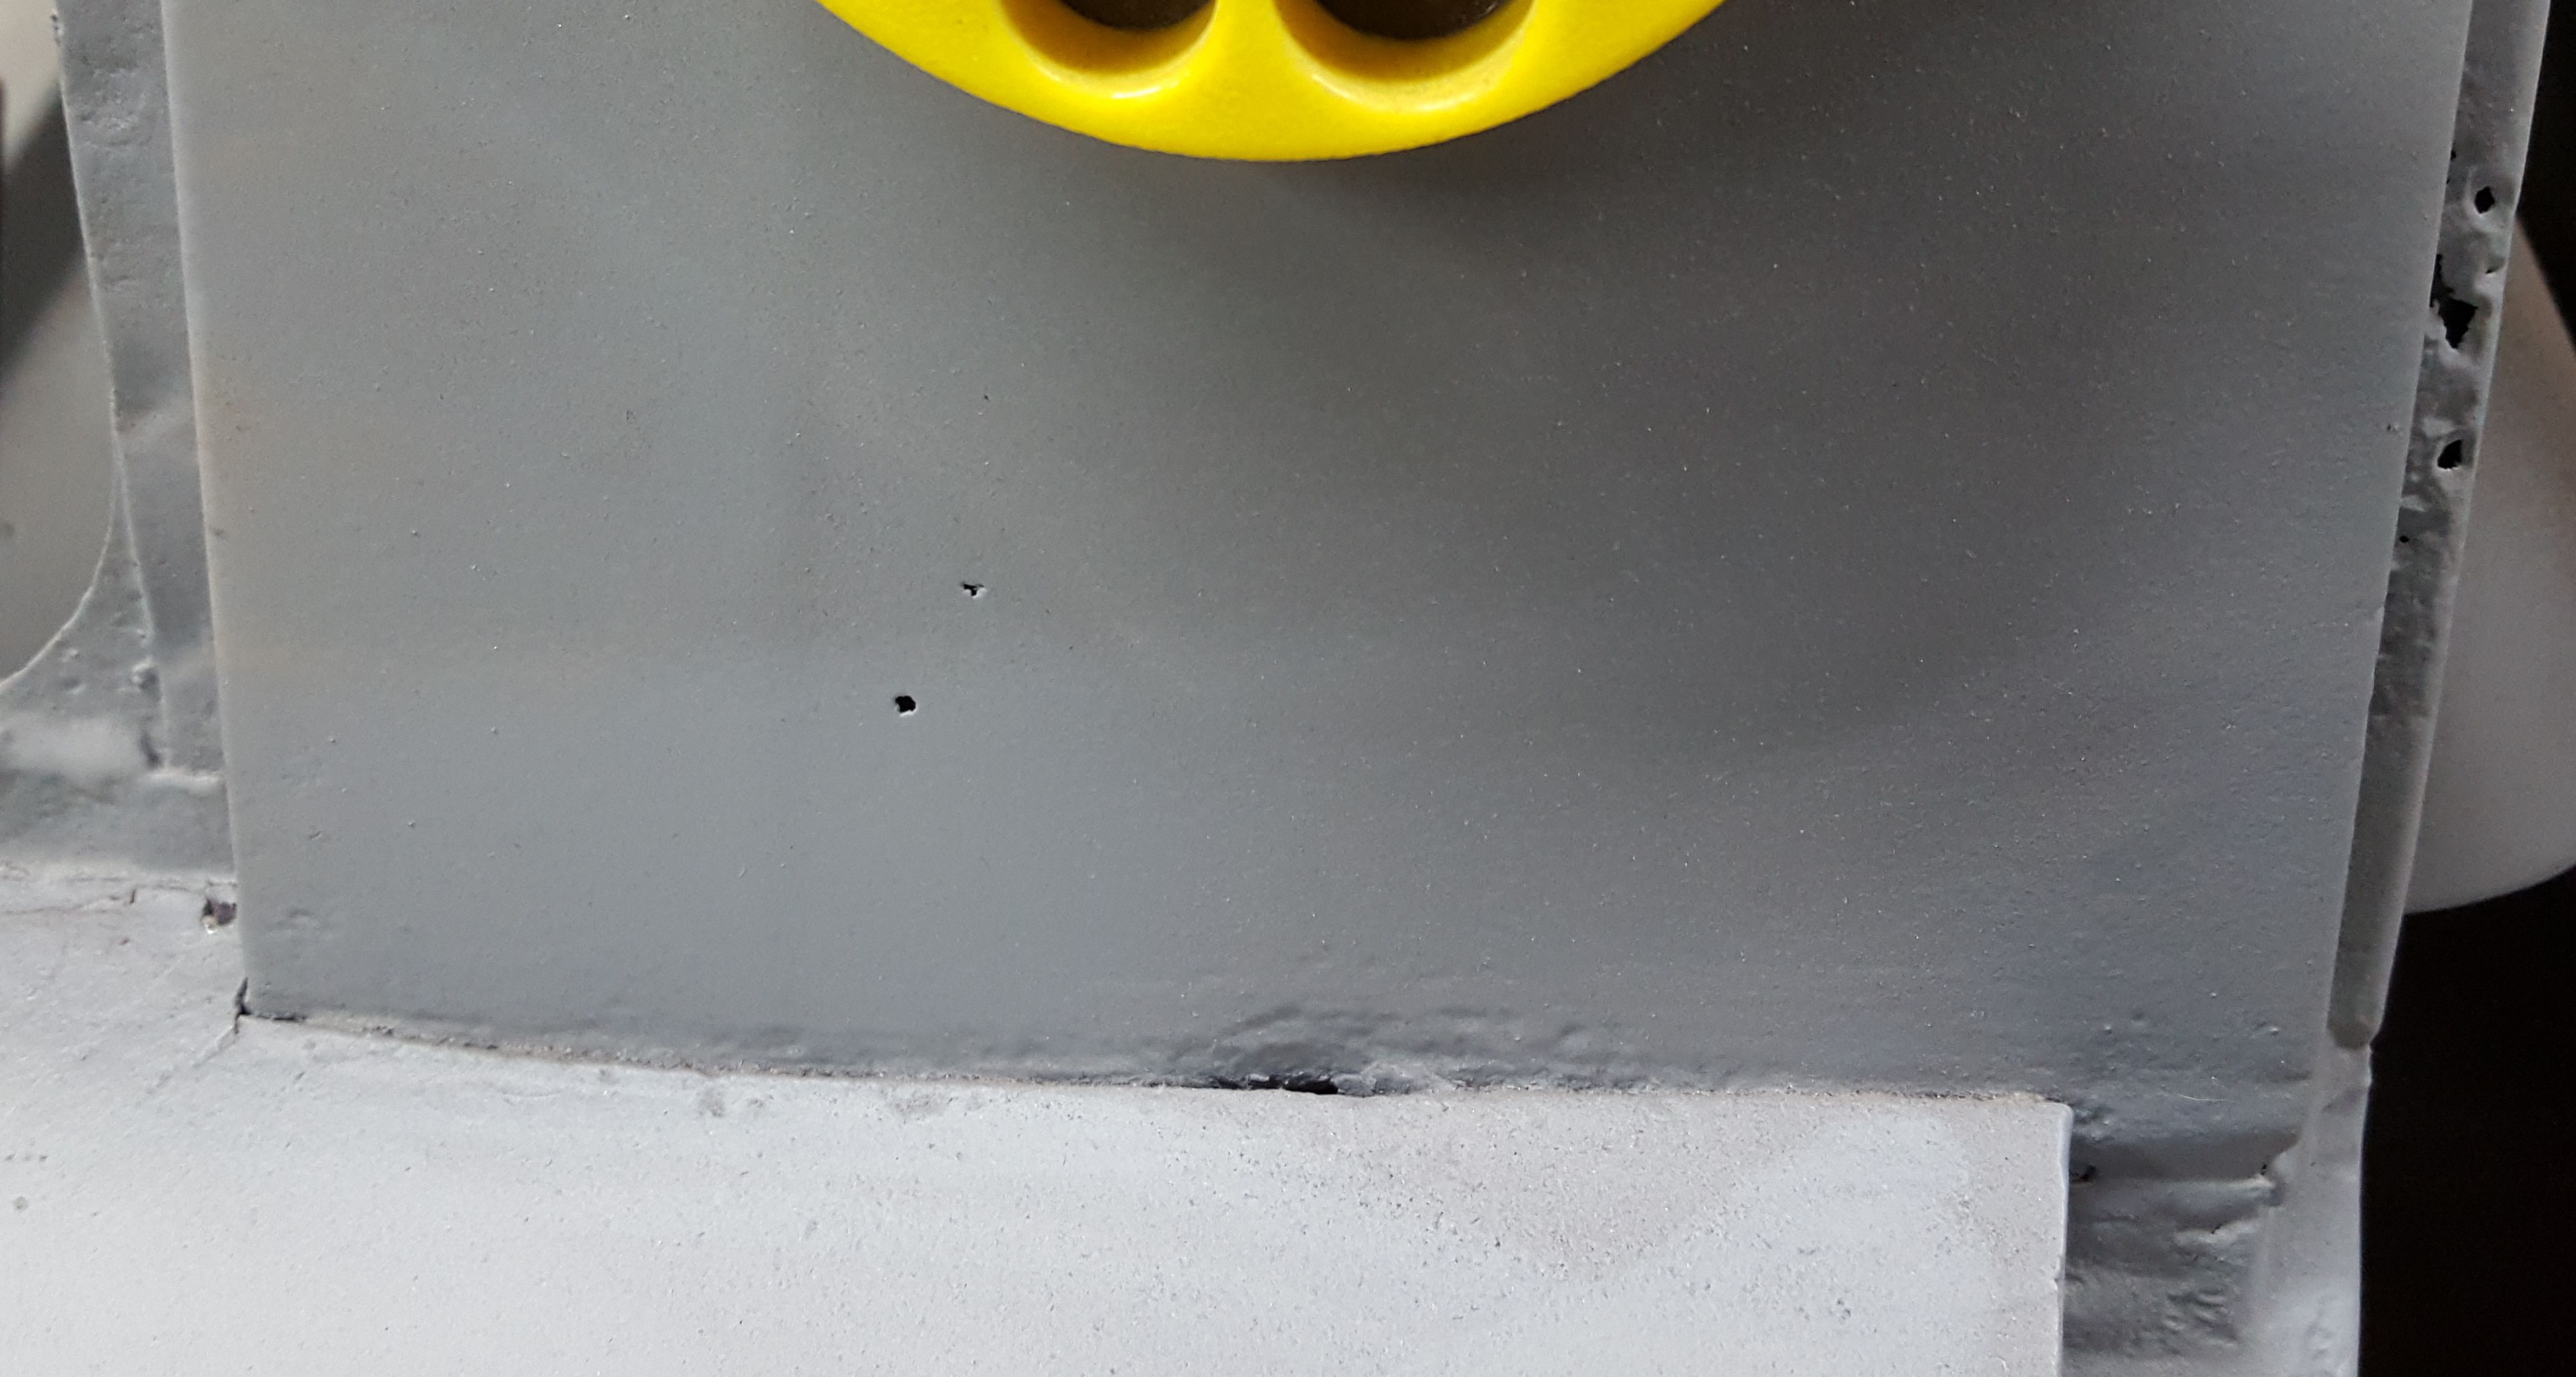
The welds were ground down to give a good surface.
|
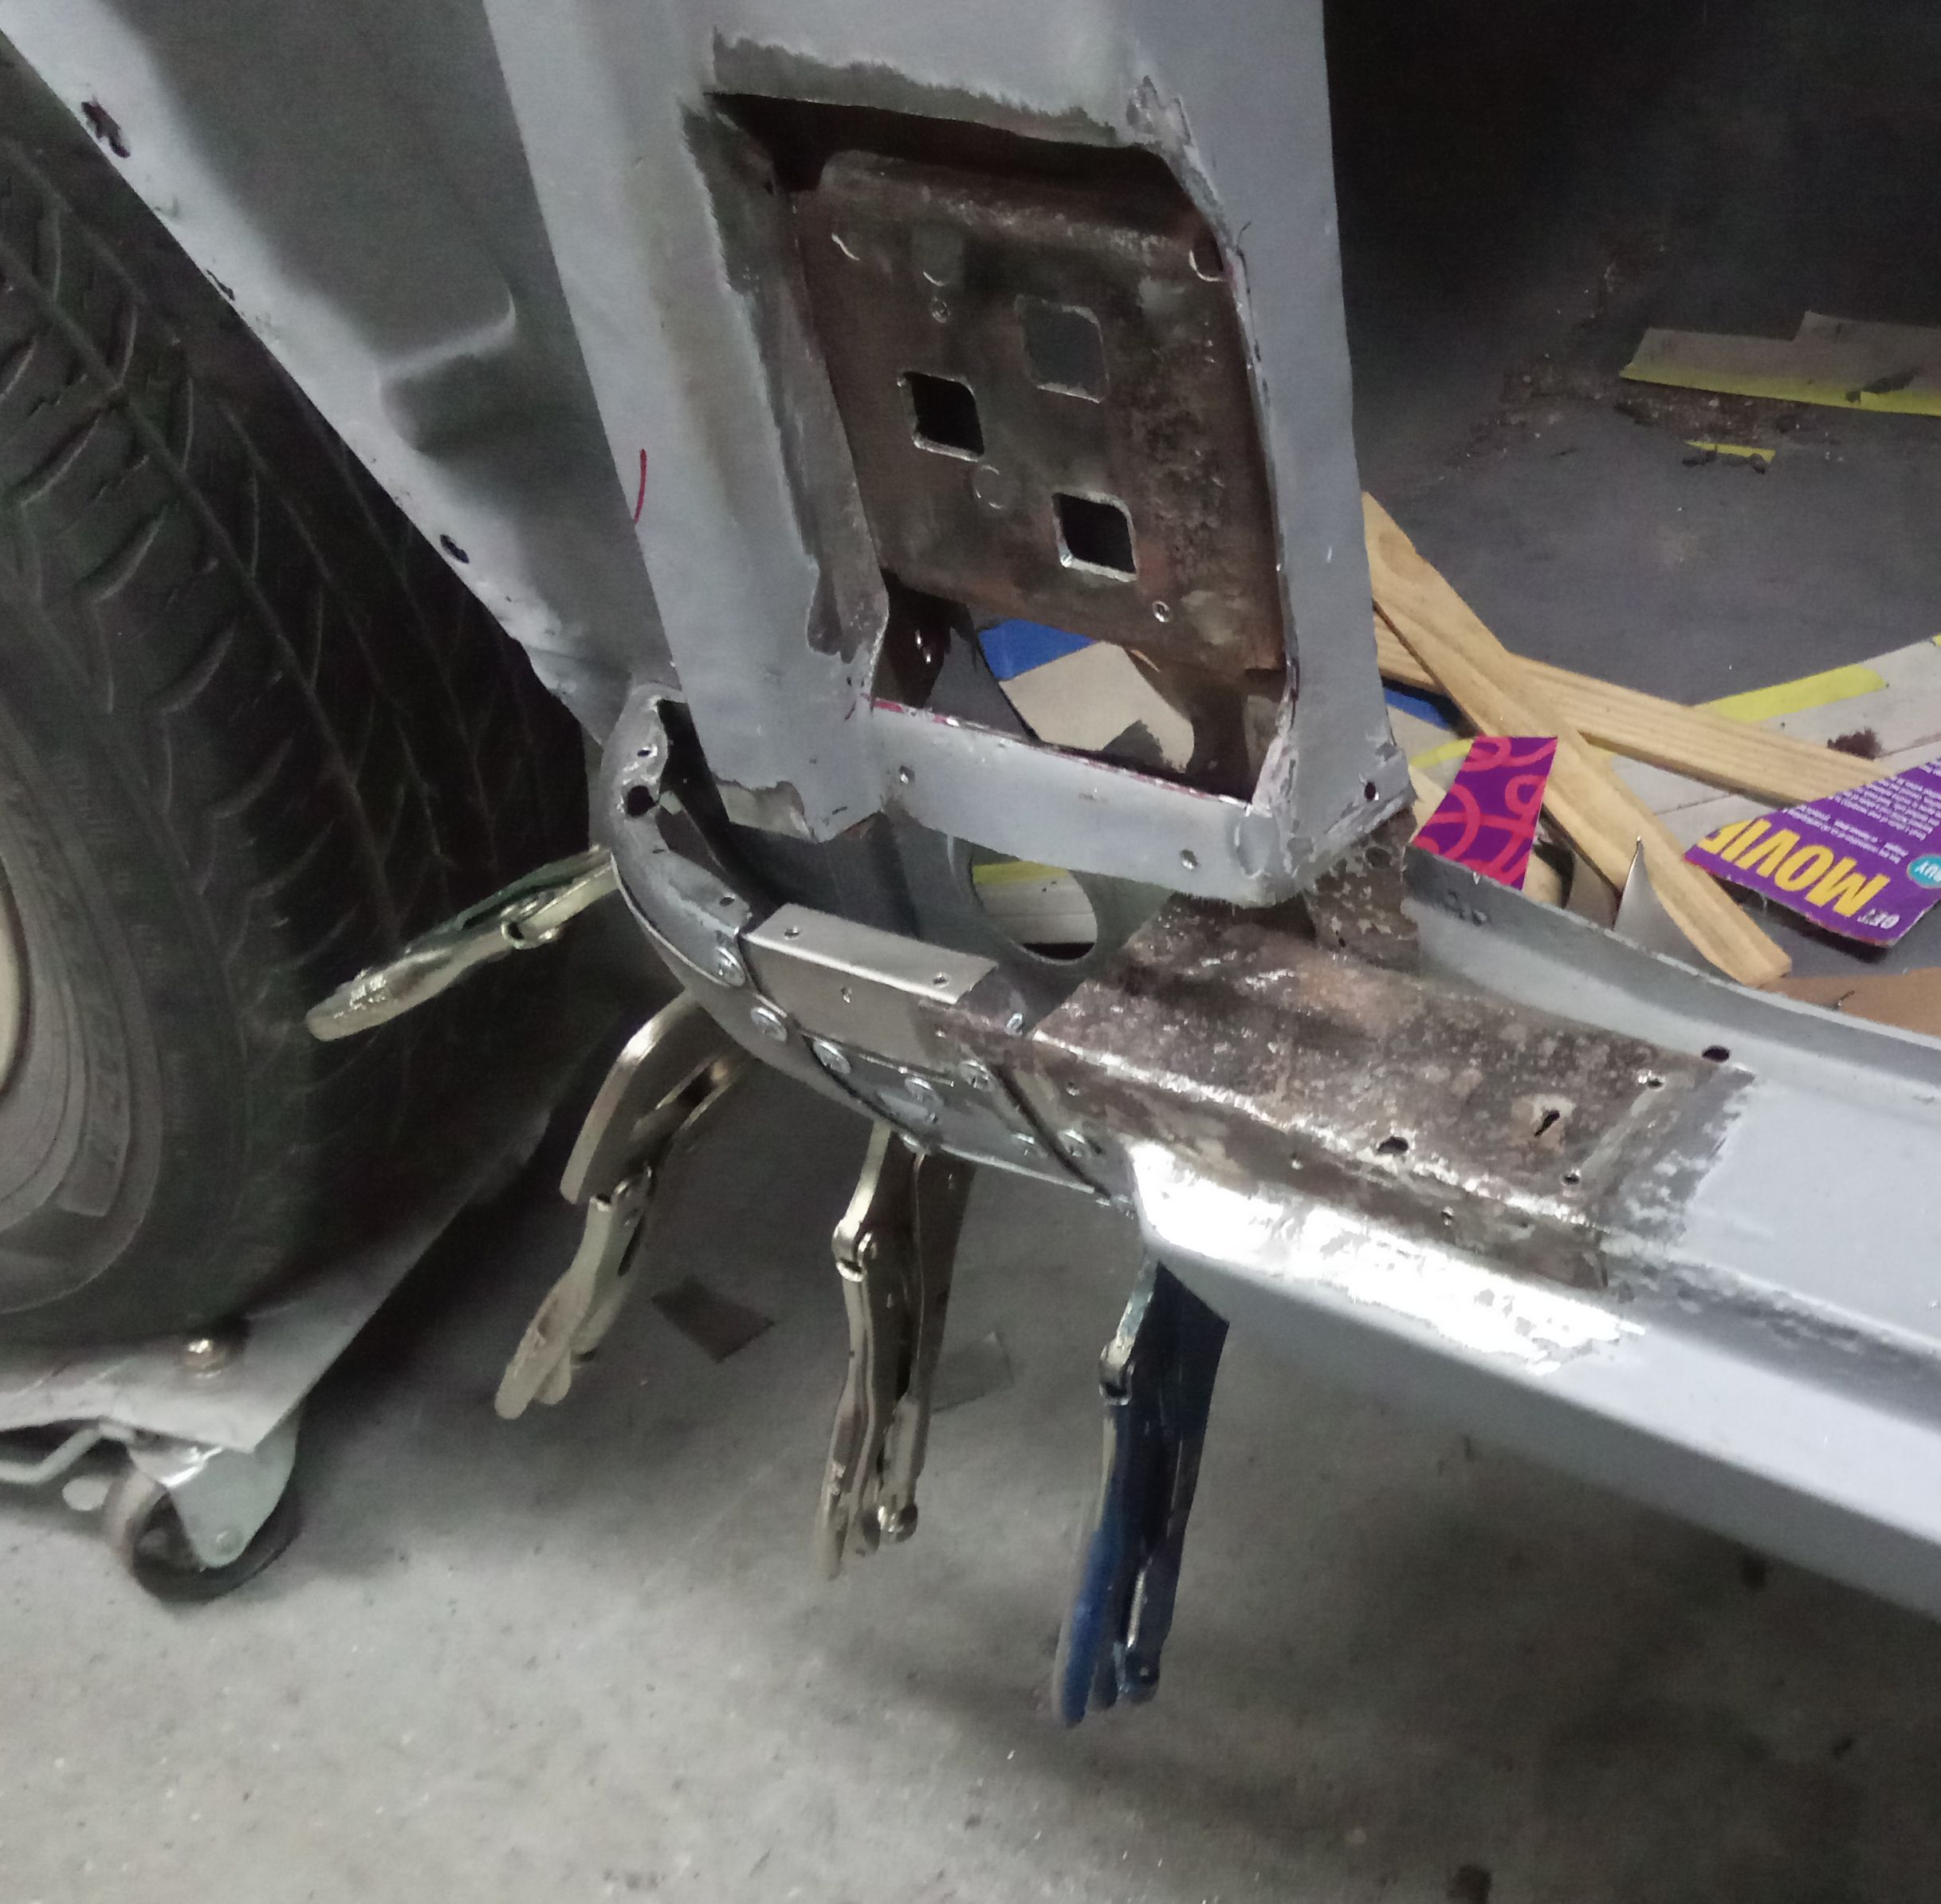
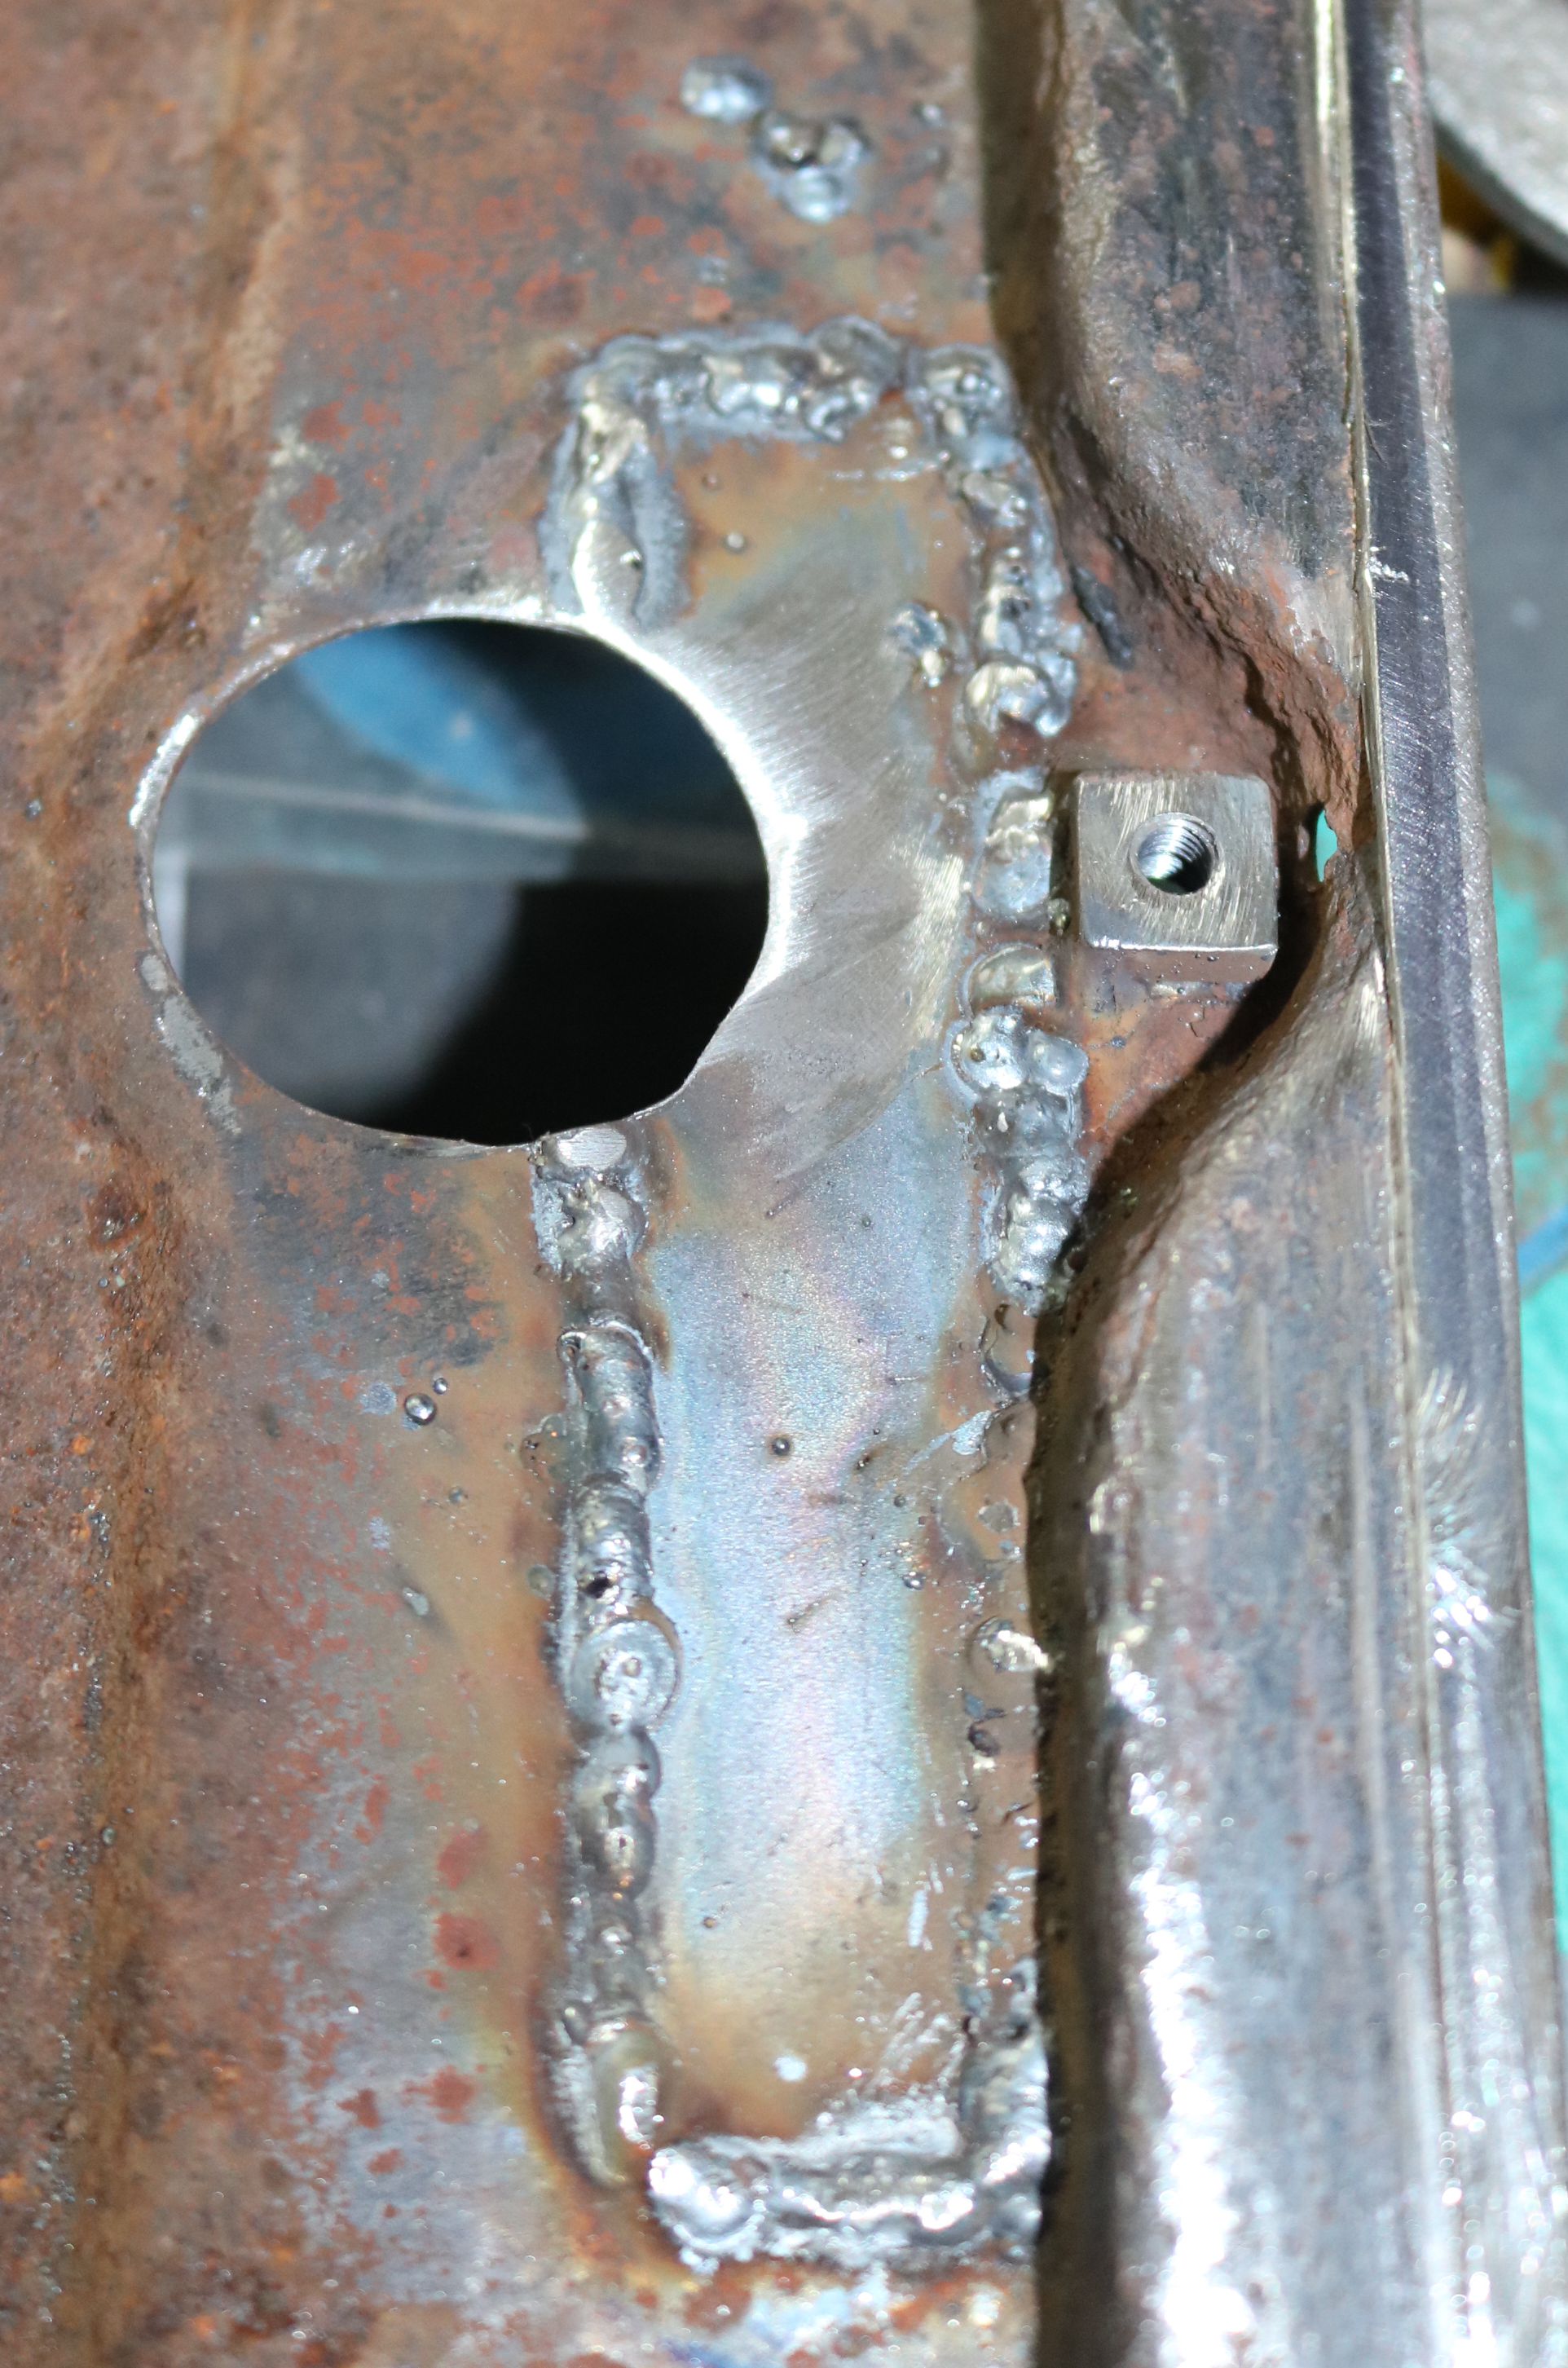
The inside of the A pillar where the door hinge mount is.
|

Fortunately, all of this is behind the front fender. There are still a couple of pieces to weld in, not to mention the door hinge area on the A pillar.
|

The bottom of the A pillar welded and ground down.
|

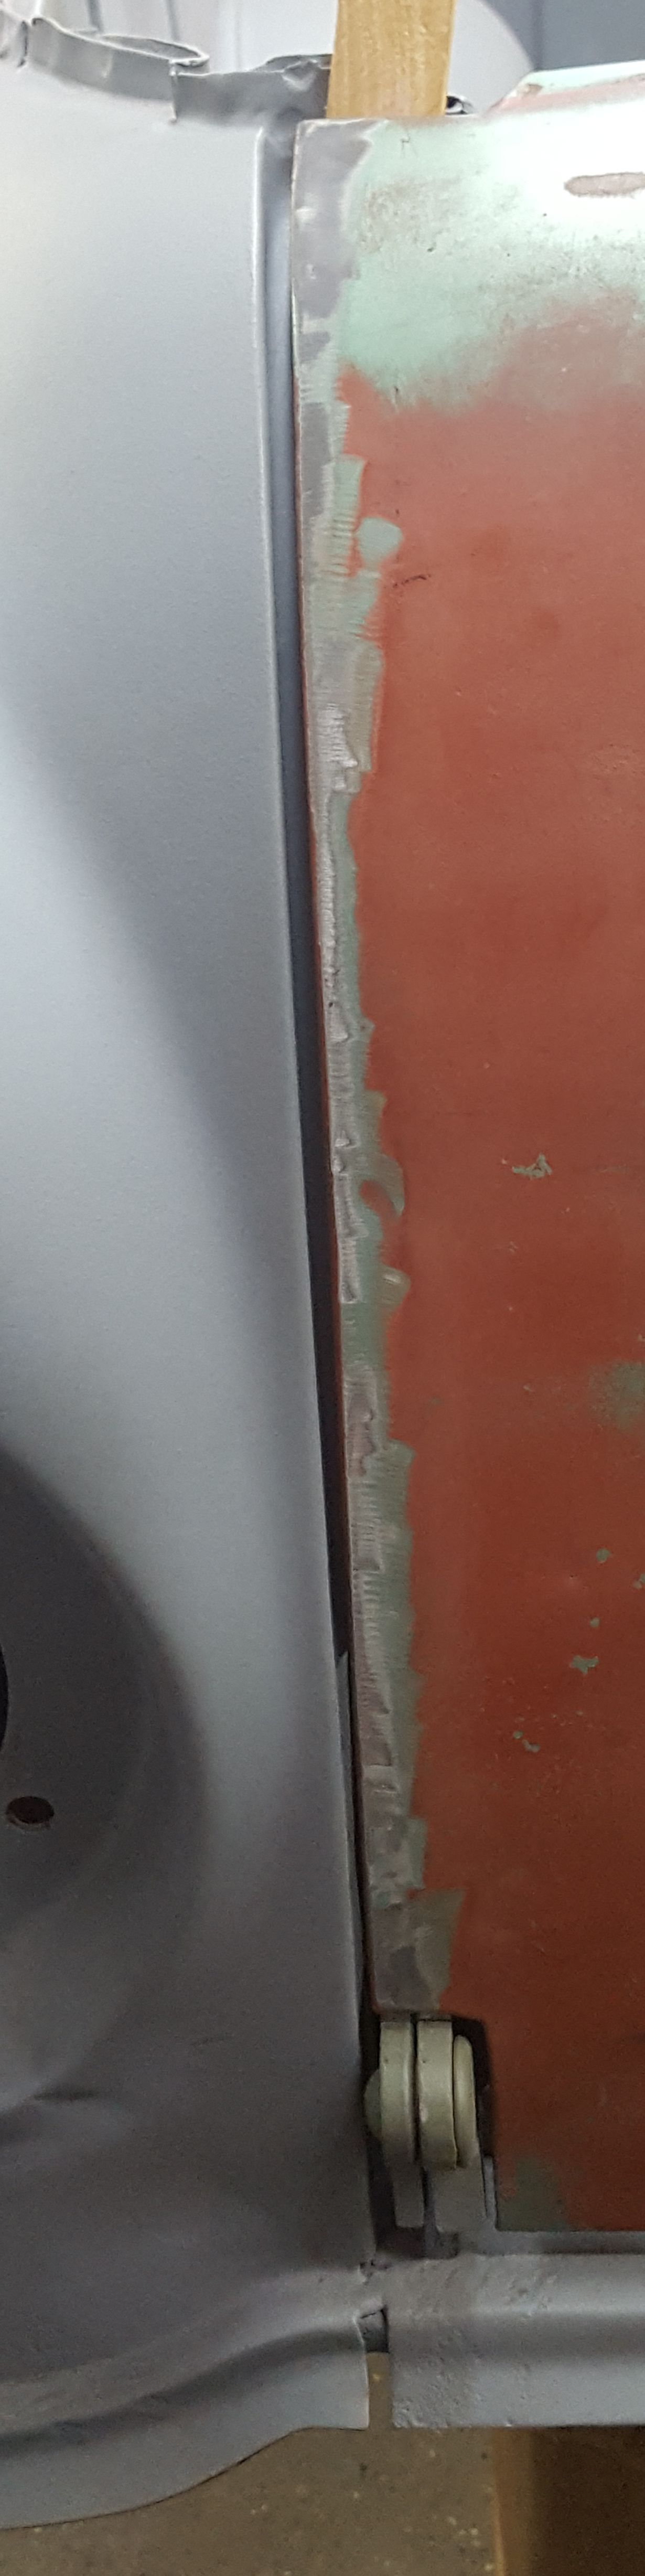
The completed front rocker corner. All of this is hidden behind the front fender.
|

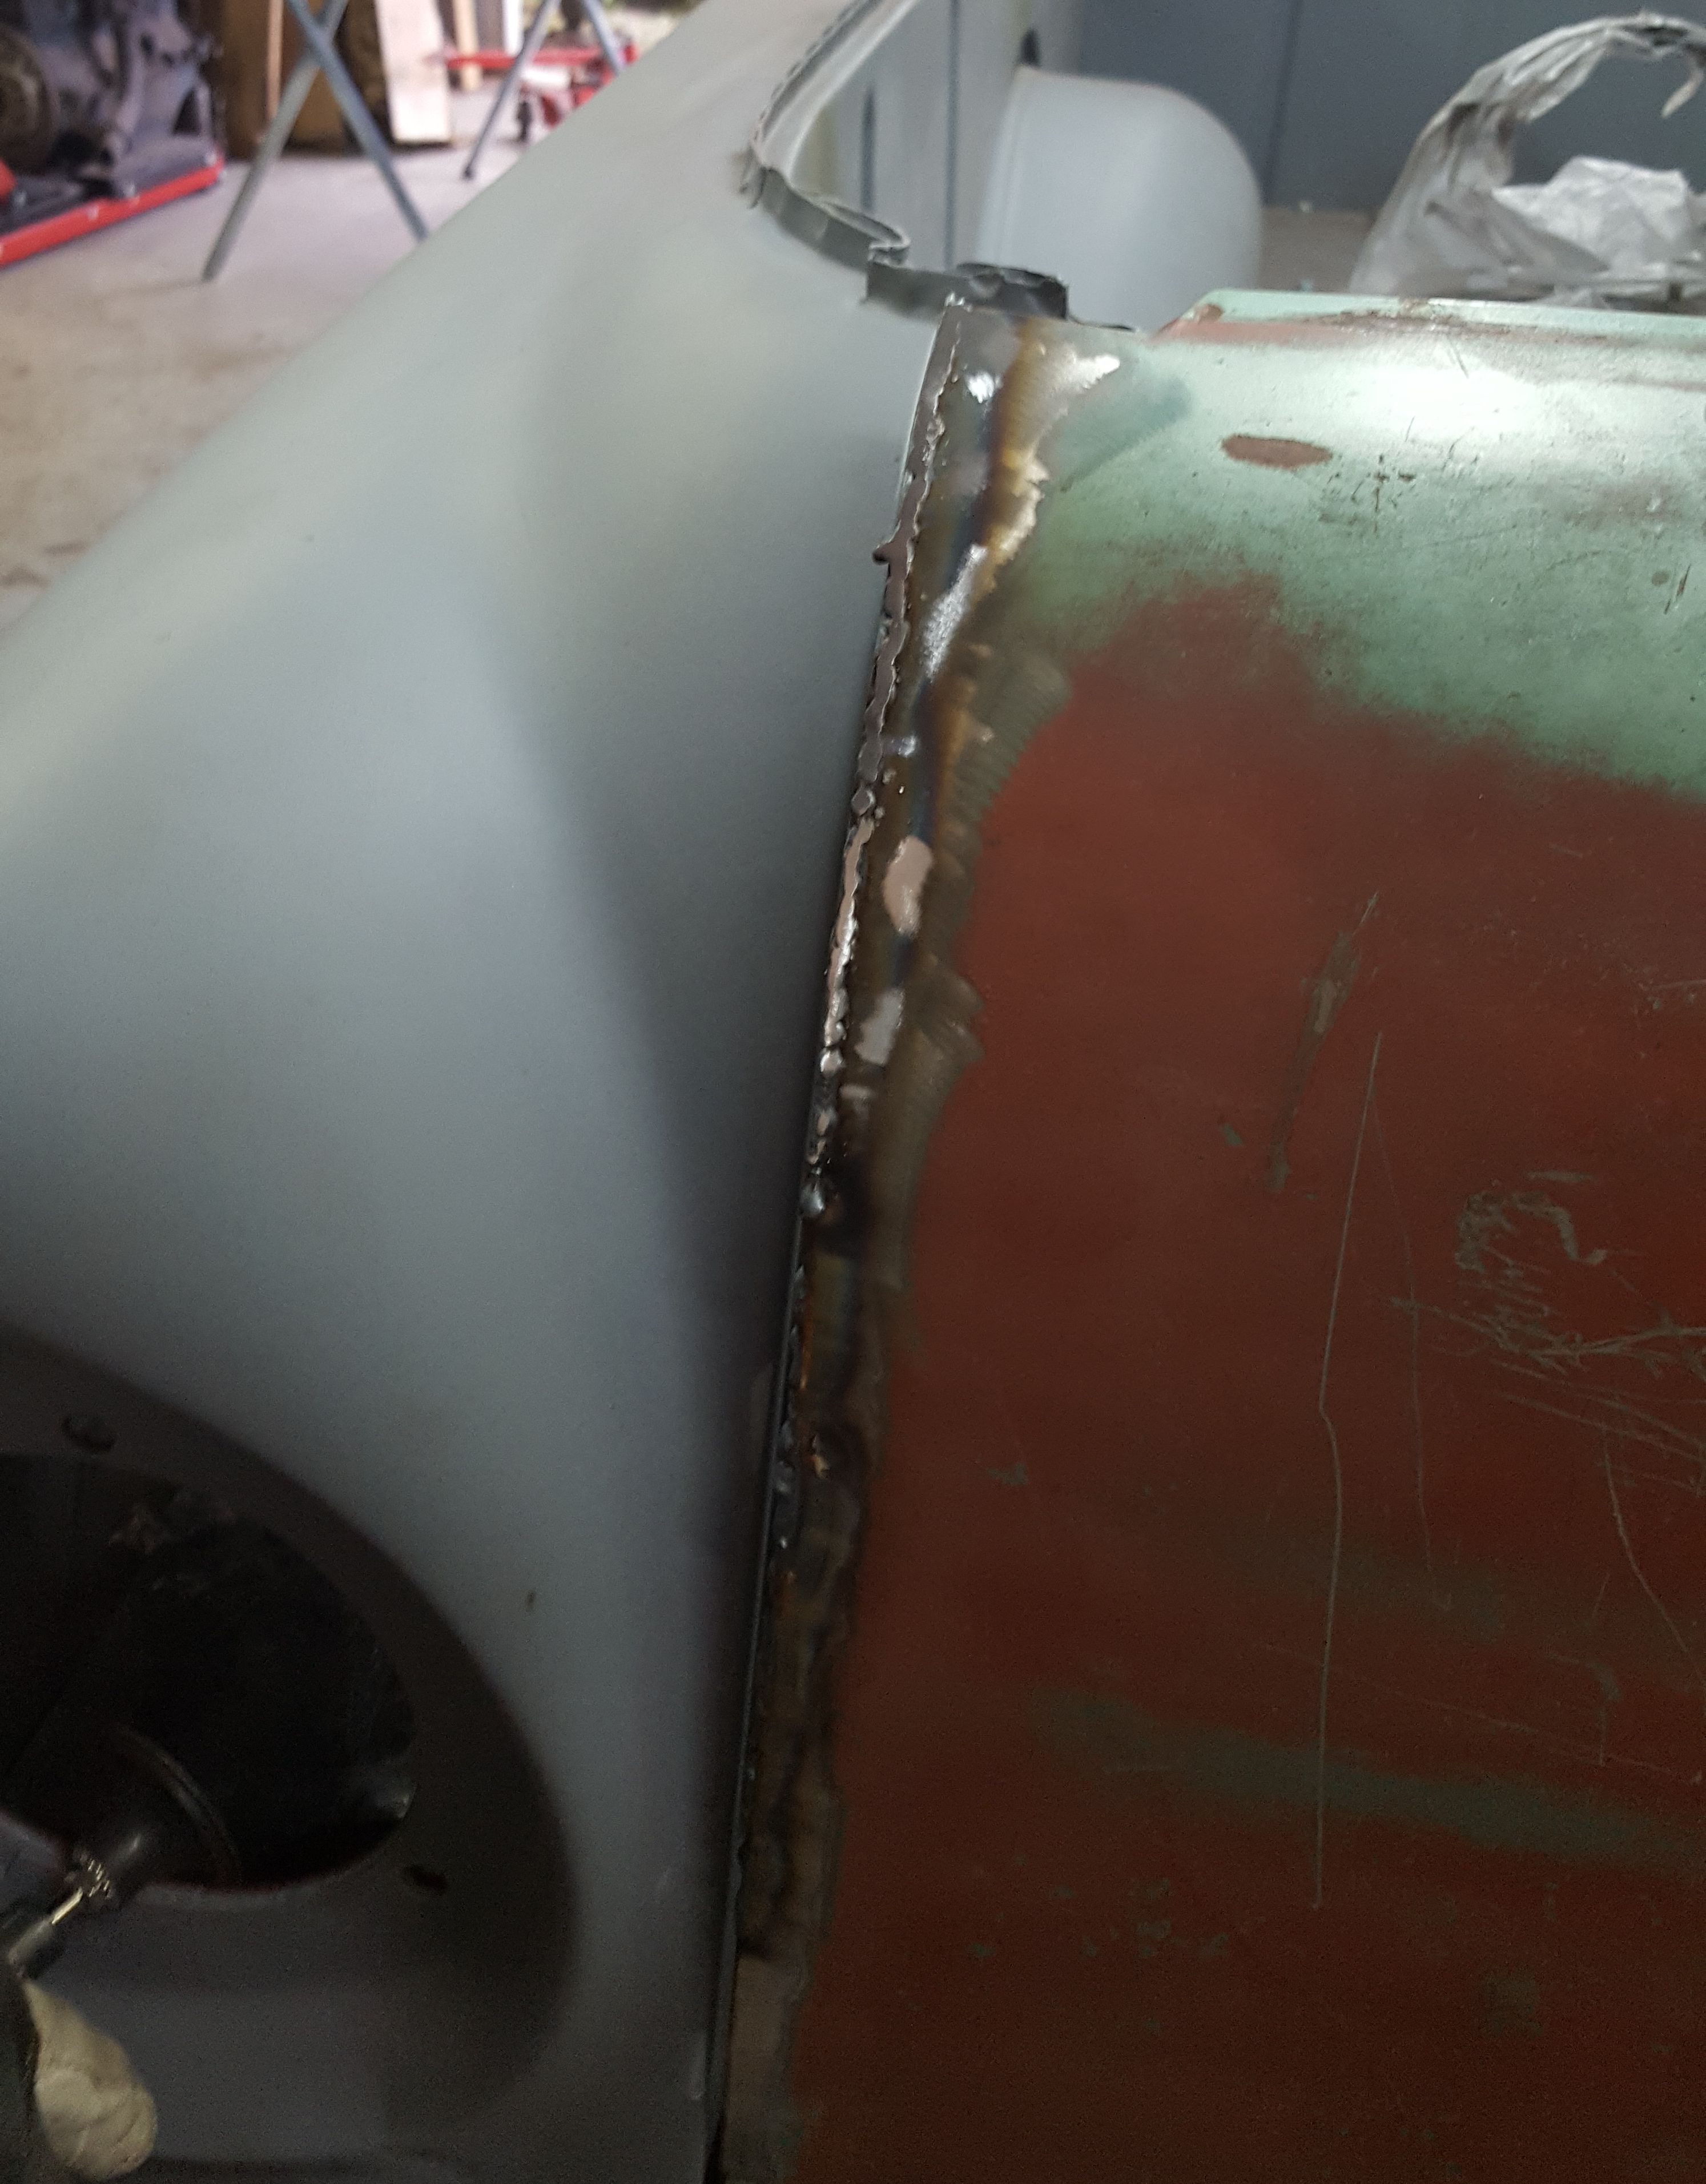
The passenger rocker corner was just as bad as the driver side, but we were able to do it in fewer pieces.
|
Time to finally weld up that passenger front rocker corner.
|

The driver side hinge plate in epoxy primer, ready for body work.
|
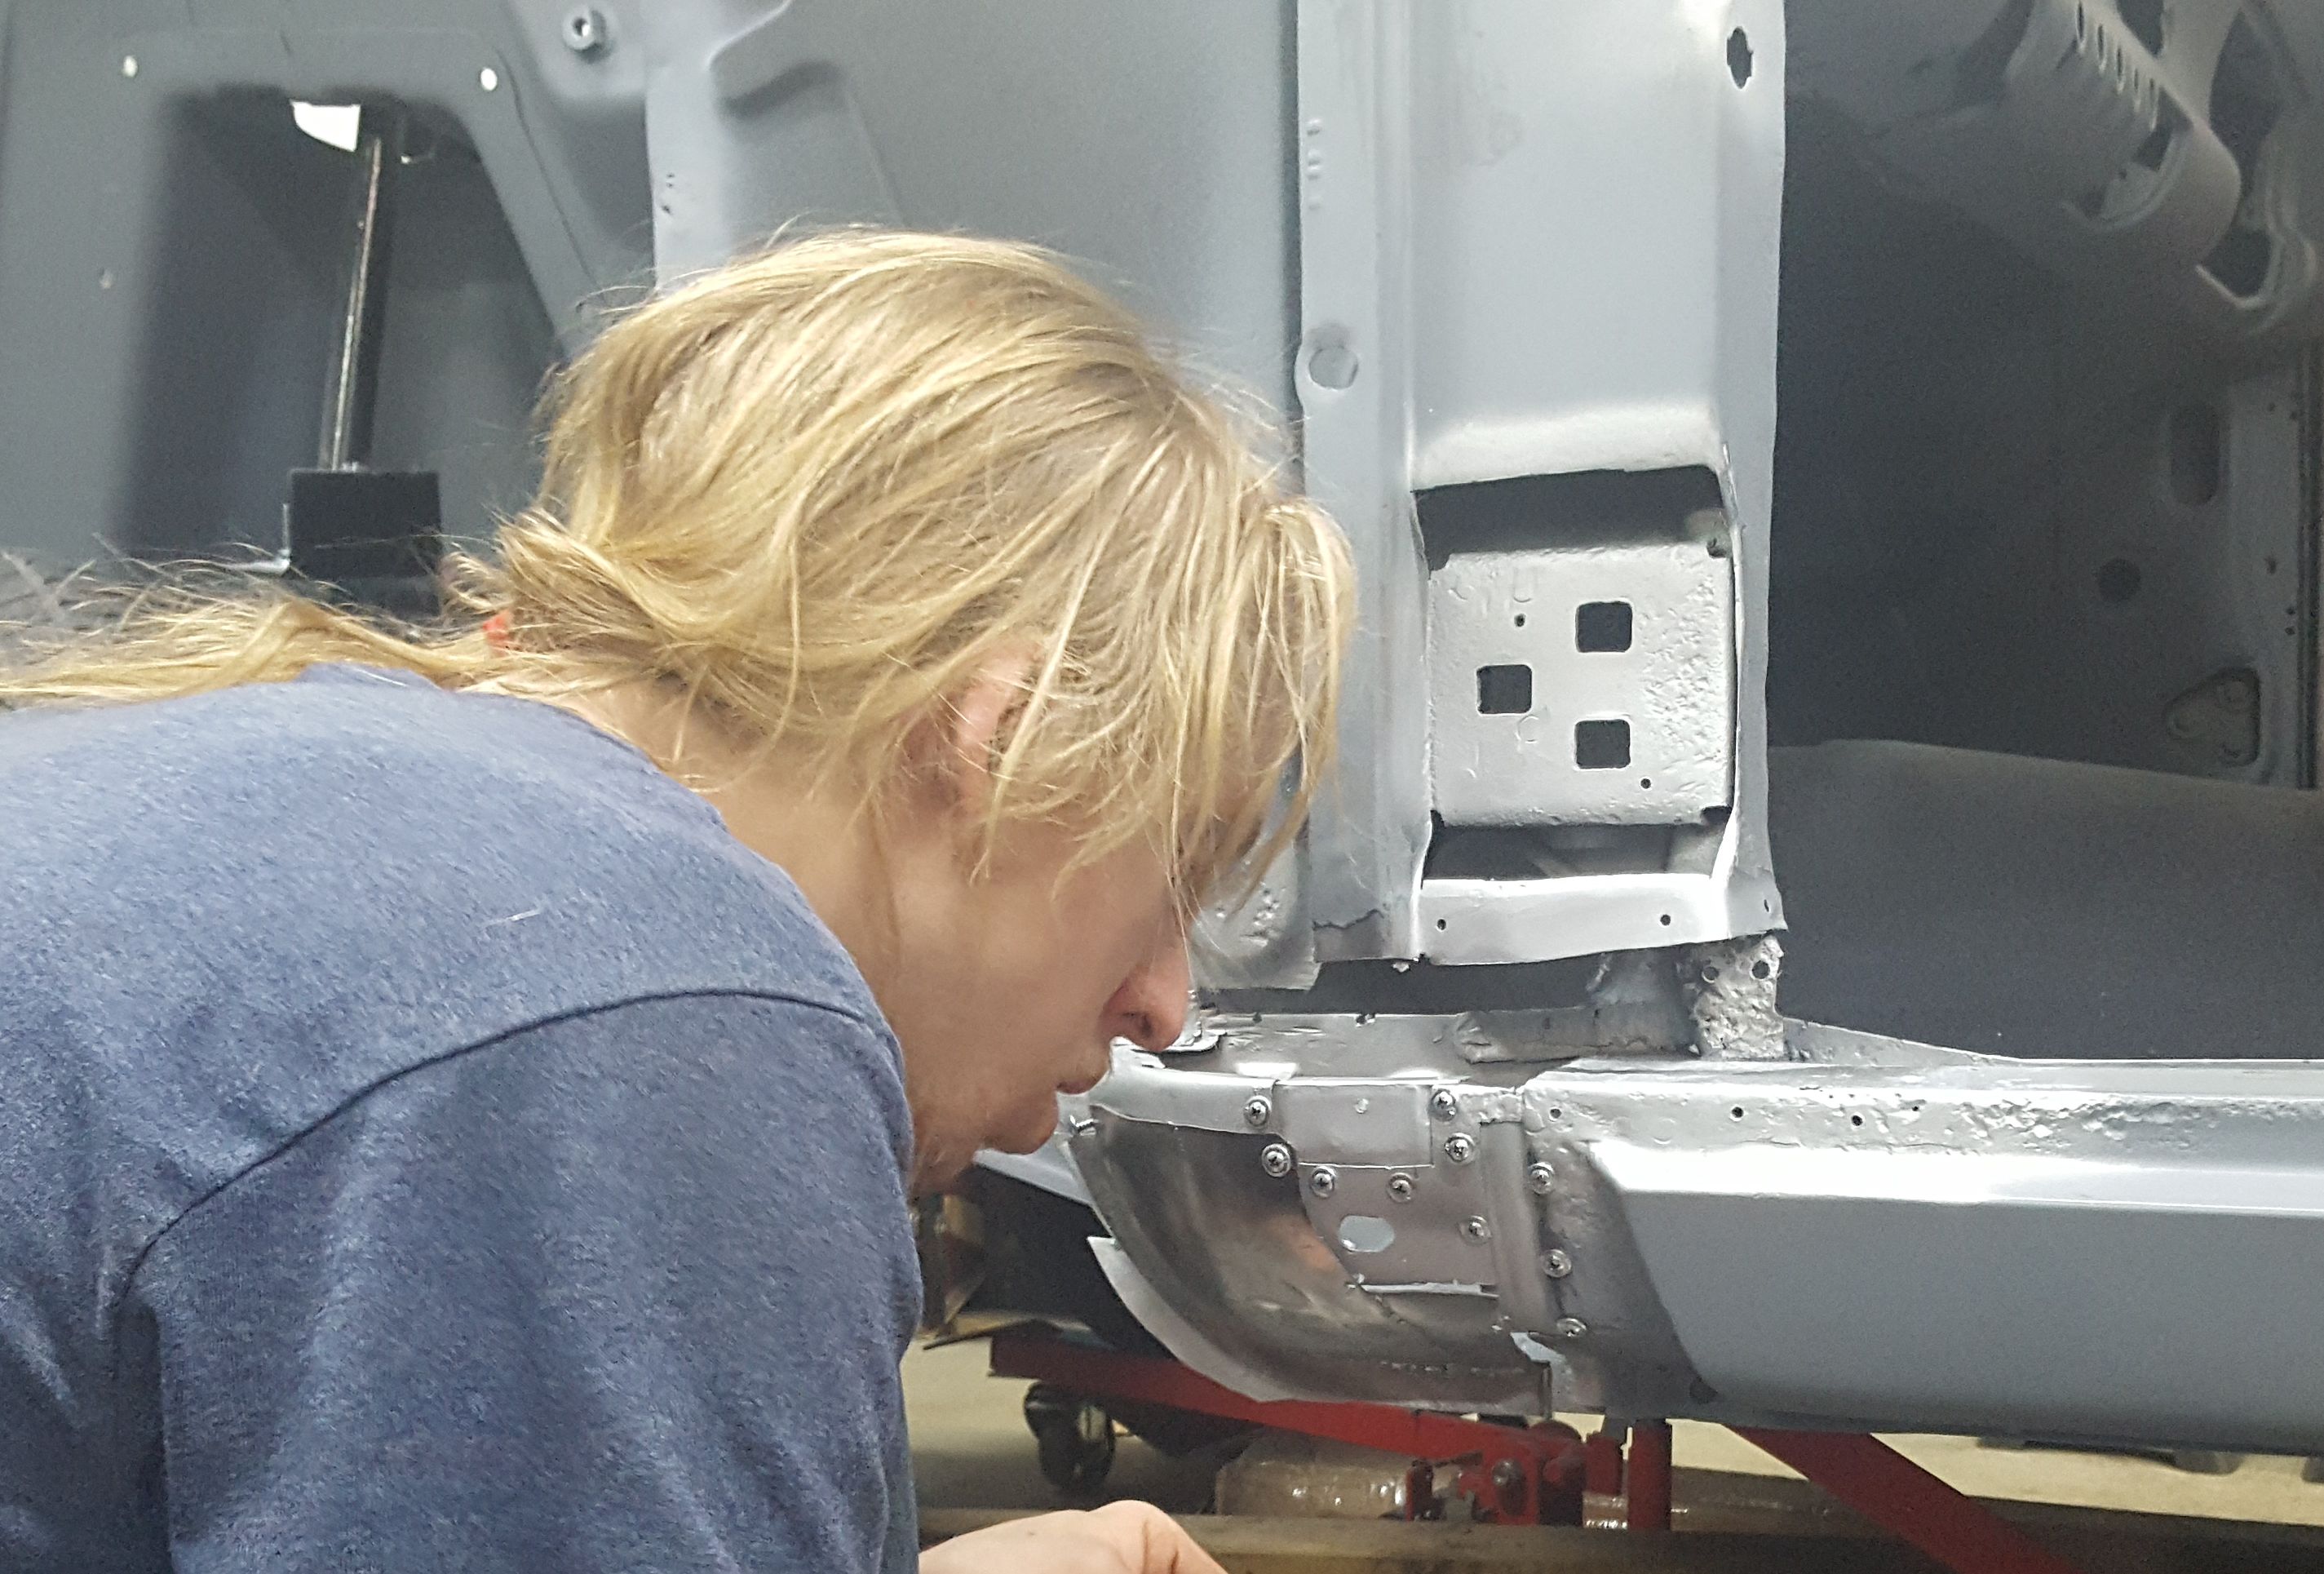
The small rust holes in the passenger B pillar sail panel. Every panel had something to weld up.
|
Tailgate
|

Since Dad had time during the welding process, he cleaned up one of the tailgate latches.
|

Removing years of age and neglect definitely provides some satisfaction.
|

The donor tailgate fits well. It needed minor tweaking on the edges, but that was all.
|

The inside of donor tailgate. Nice and straight.
|

We disassembled the tailgate to get at the rust between the layers.
|

Rust encapsulator works well for these internal areas.
|

The passenger side edge of the tailgate. Note that the fitment is good all the way down.
|
The driver side edge of the tailgate. The fitment isn't as good here. But we can fix this.
|
To fix the edge, metal was welded onto the edge, then the welds were ground down. We still need to file the edge straight.
|

The yellow tape provides a nice straight edge guide for filing down the edge.
|
We wanted to treat inside the shell of the tailgate to prevent further rust. Time to
remove the skin. We chose to remove this the easy way, with a cutoff disk. There
was also rust to repair, so this would provide better access. While we were working
on the tailgate, something inside kept rattling. This would also allow us to remove
whatever was rattling and had caused at least one small outward dent. Yep, some of the
original soundproofing had given way and was loose inside.
|
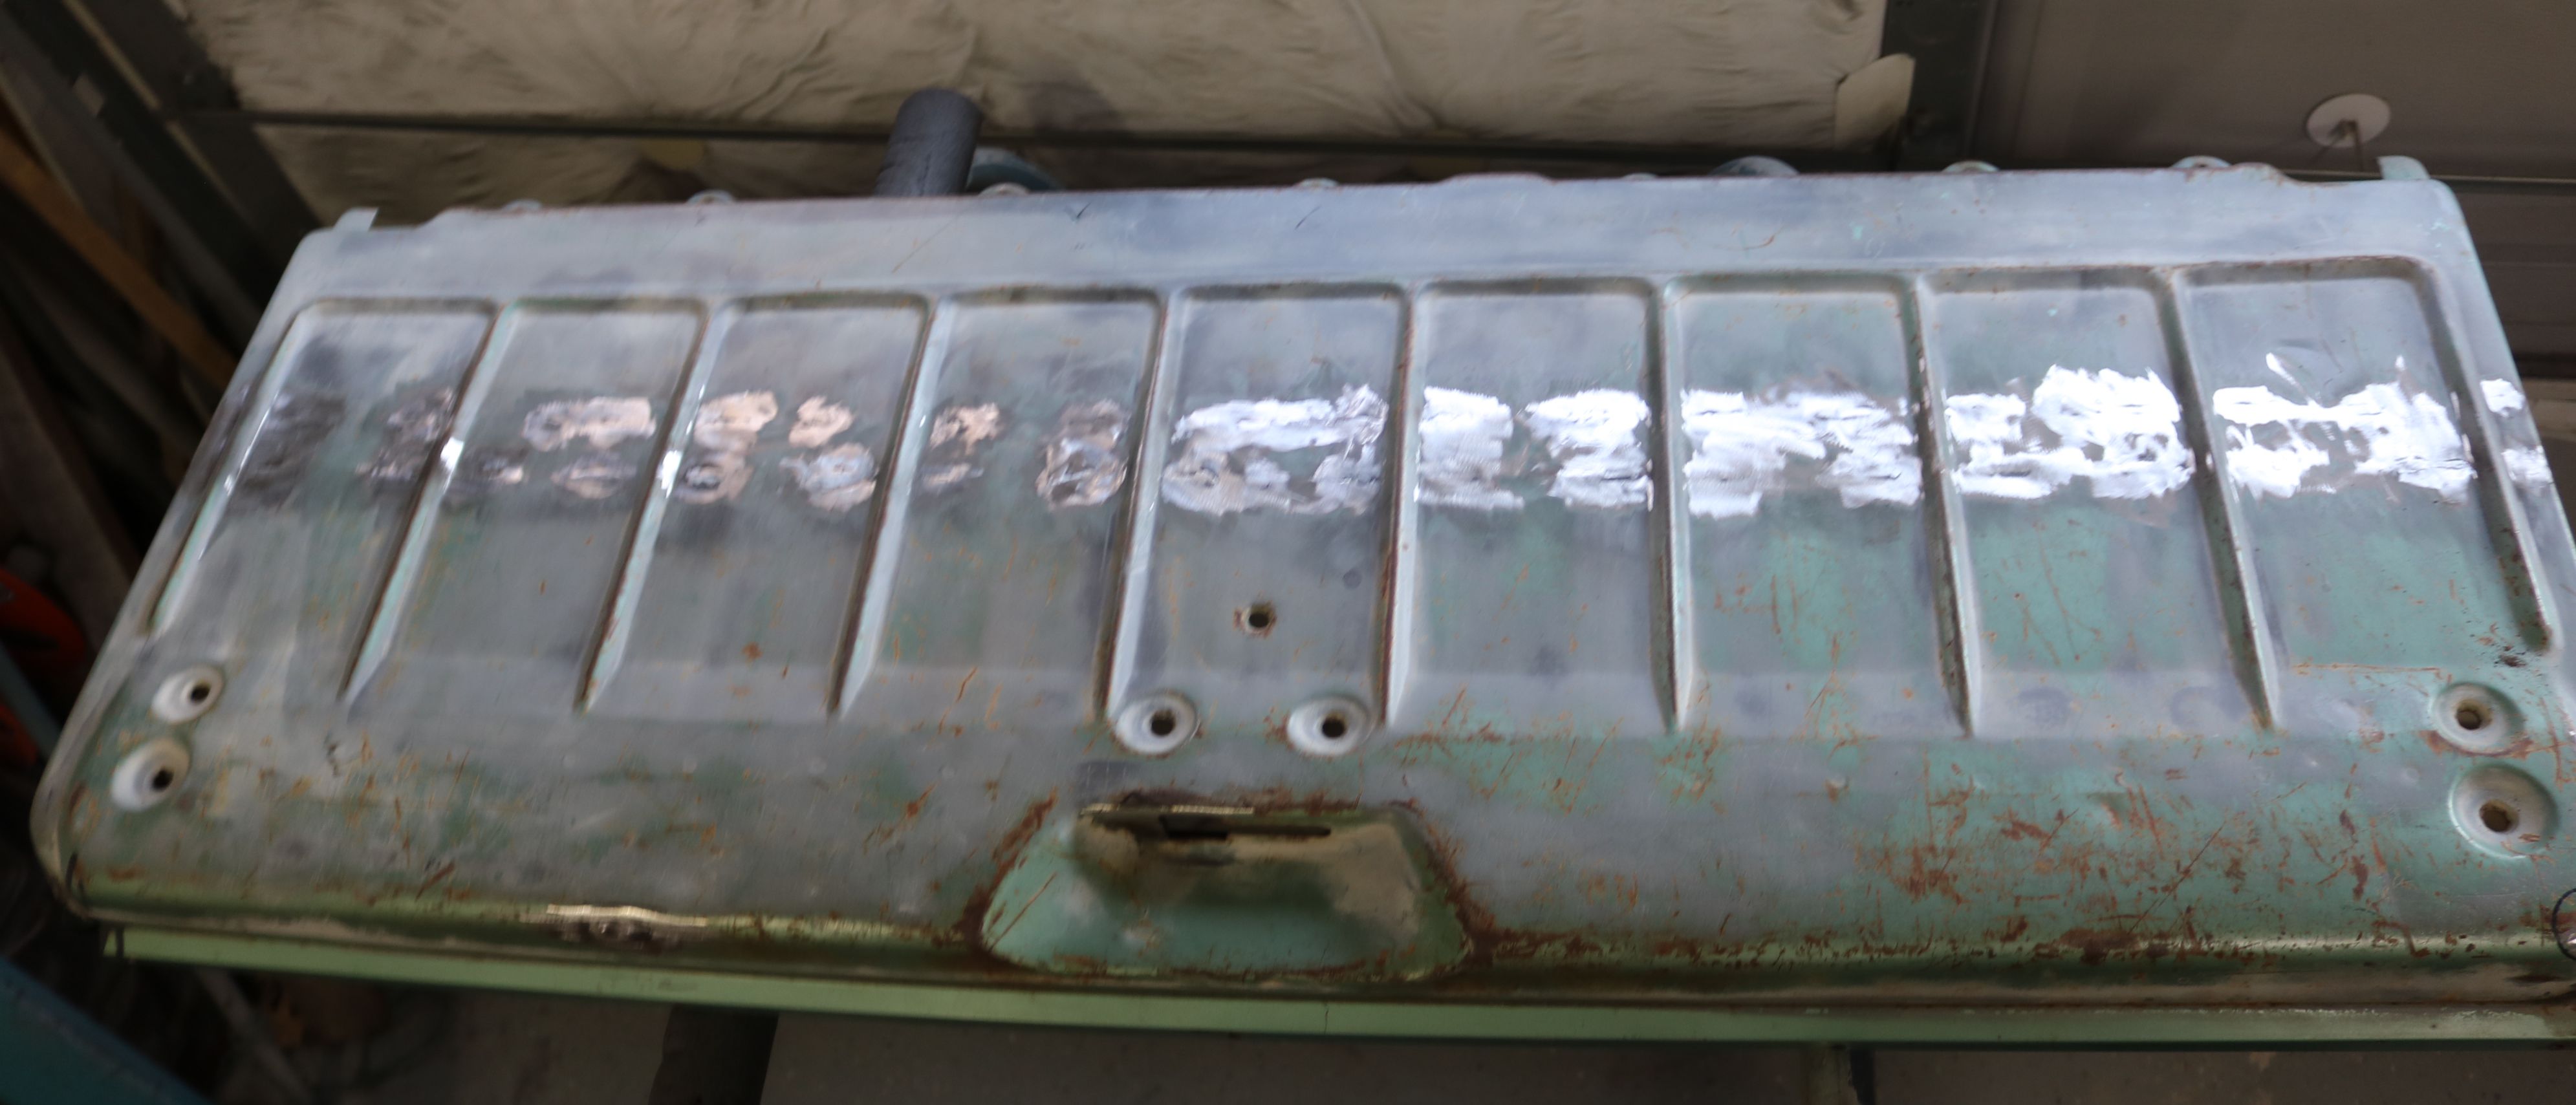
The minor rust along the bottom.
|
What's left of the original soundproofing. The two clean spots are where the
soundproofing gave way and was loose inside.
|
The rest of the soundproofing. Those large chunks make lots of noise when
loose inside.
|

A razor scraper makes quick work of the old soundproofing.
|
The back of the welded patch panel.
|

Time to repair the rest of the rust.
|
New metal welded in and ground down.
|

The inside was treated with rust encapsulator, with weld thru
primer around the edge.
|

The inside of the skin, treated, and ready to weld.
|
Ok, now to weld this back together. The clamps will hold the shape as
the skin is tack welded back on.
|

Working around the tailgate, one spot weld at a time.
|
To reinforce the inner shell of the tailgate from damage caused
by things shifting in the bed, a piece of 1" angle iron was
welded on the inside. Those pictures were lost when my son's
cell phone was stolen. However, something oopsed on the welding
and the individual panels warped. So the bar was removed and
the warpage fixed as much as possible with a hammer and dolly.
A little bit of putty to smooth this out and it will be fine.
|
The 1" square stock was then panel bonded inside the panel to
provide the desired reinforcement. This was one of those
learning moments.
|

