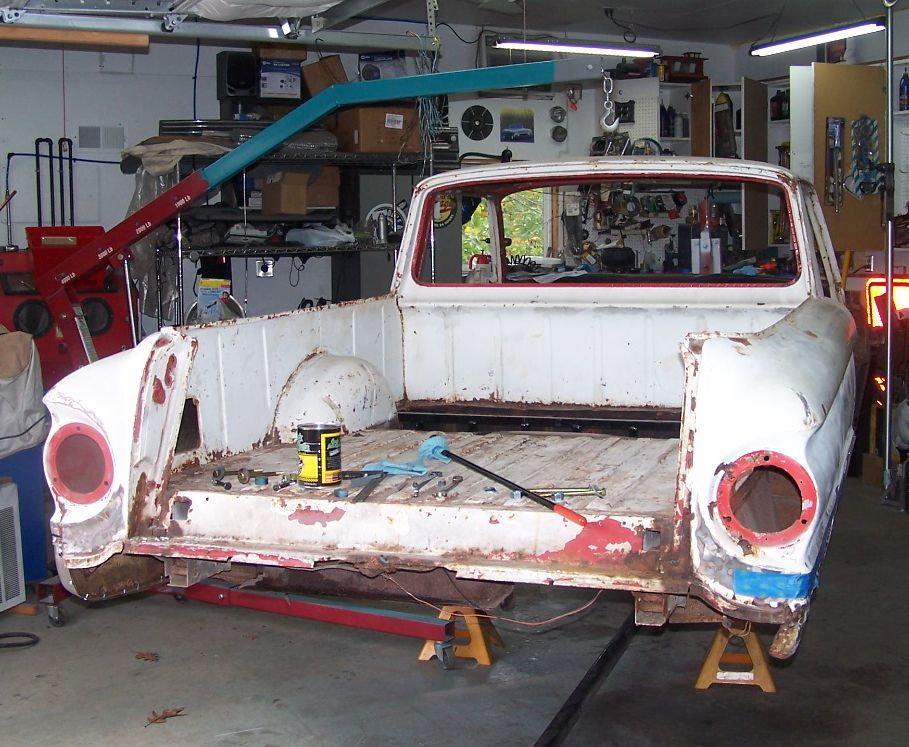
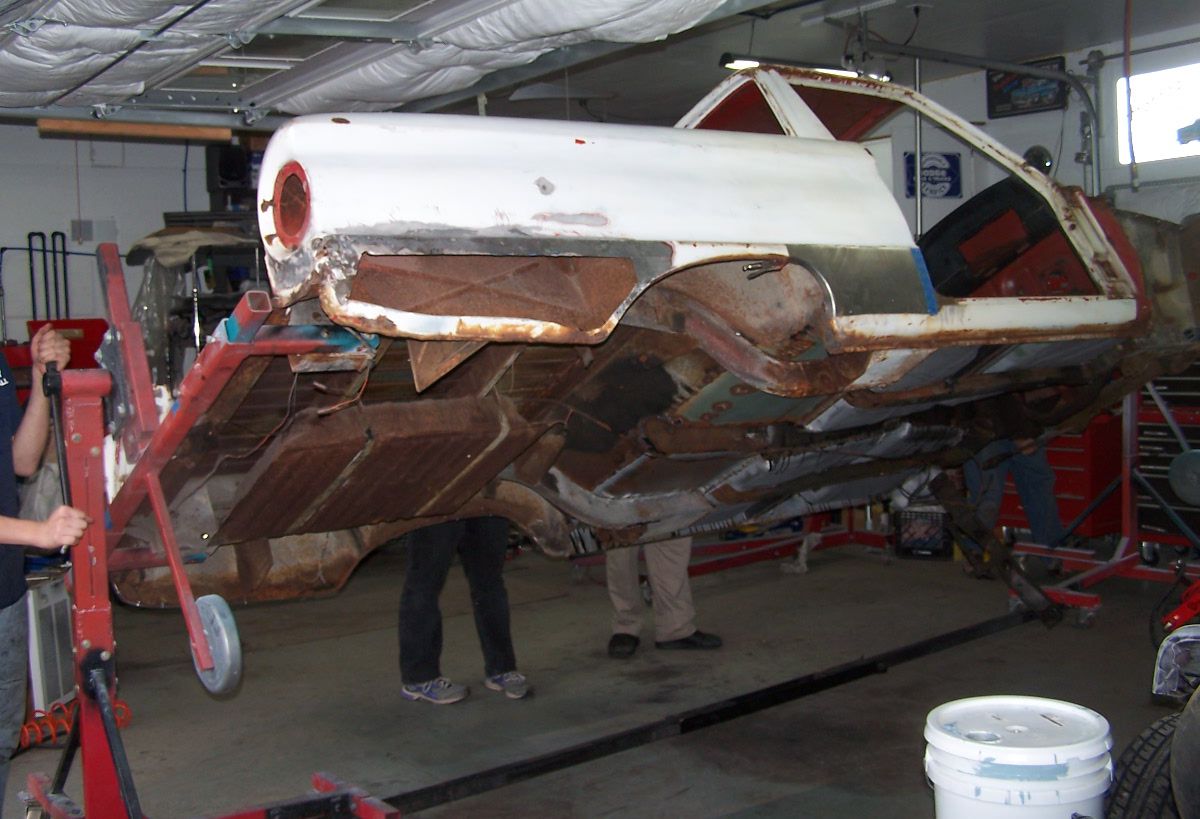
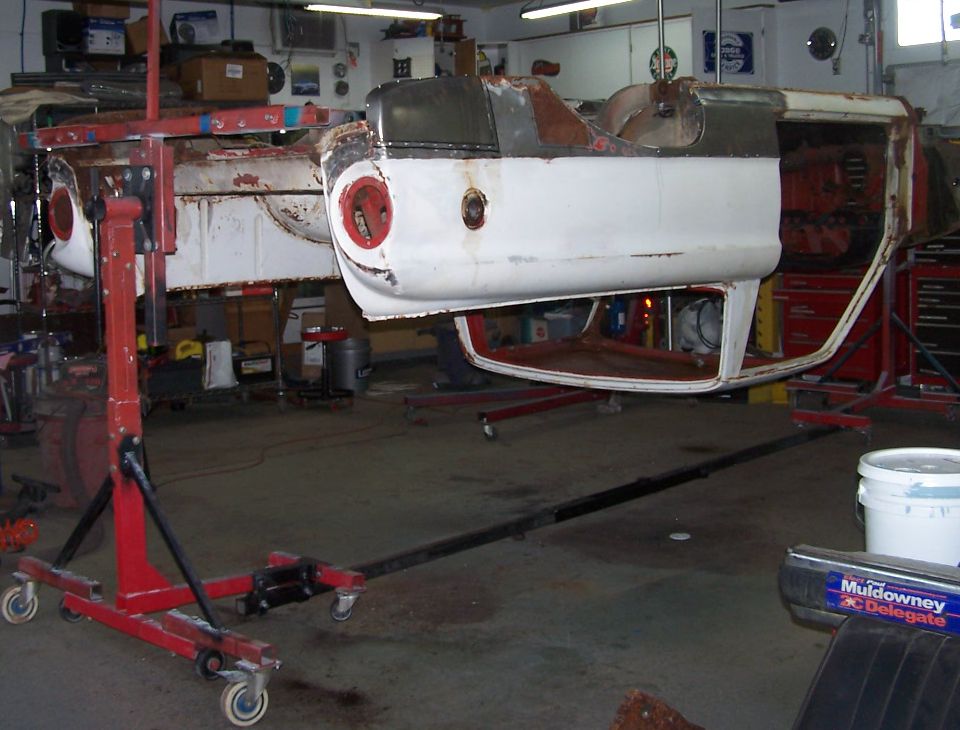
Time to mount the body onto the rotisserie. We discussed the H frame from the Chevy's and ended up not using it.
|
Instead, a strap at the rebuilt and reinforced rear section was used to left the bed area. Humans were used to help lift and stabilize the front engine bay area. We first tried to pick up in the door areas and this threatened to bend the drip rails, so we abandone that idea. How we put the body back on the wheels later is much better than even this strap.
|
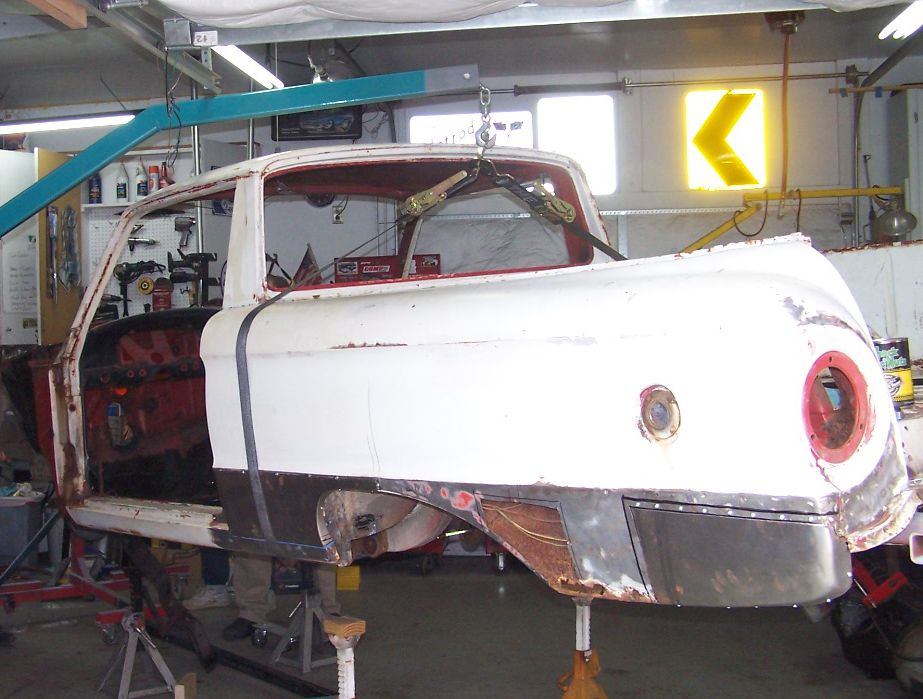
The rotisserie was used as it had been for the Chevy's, with no modifications to the body mount points
|
The only change in the rotisserie setup was to lengthen the long brace that ran from back to front due to the unibody construction. The front suspension mounts are part of the front frame clip which is welded to the main body and where the rotisserie had to be mounted.
|
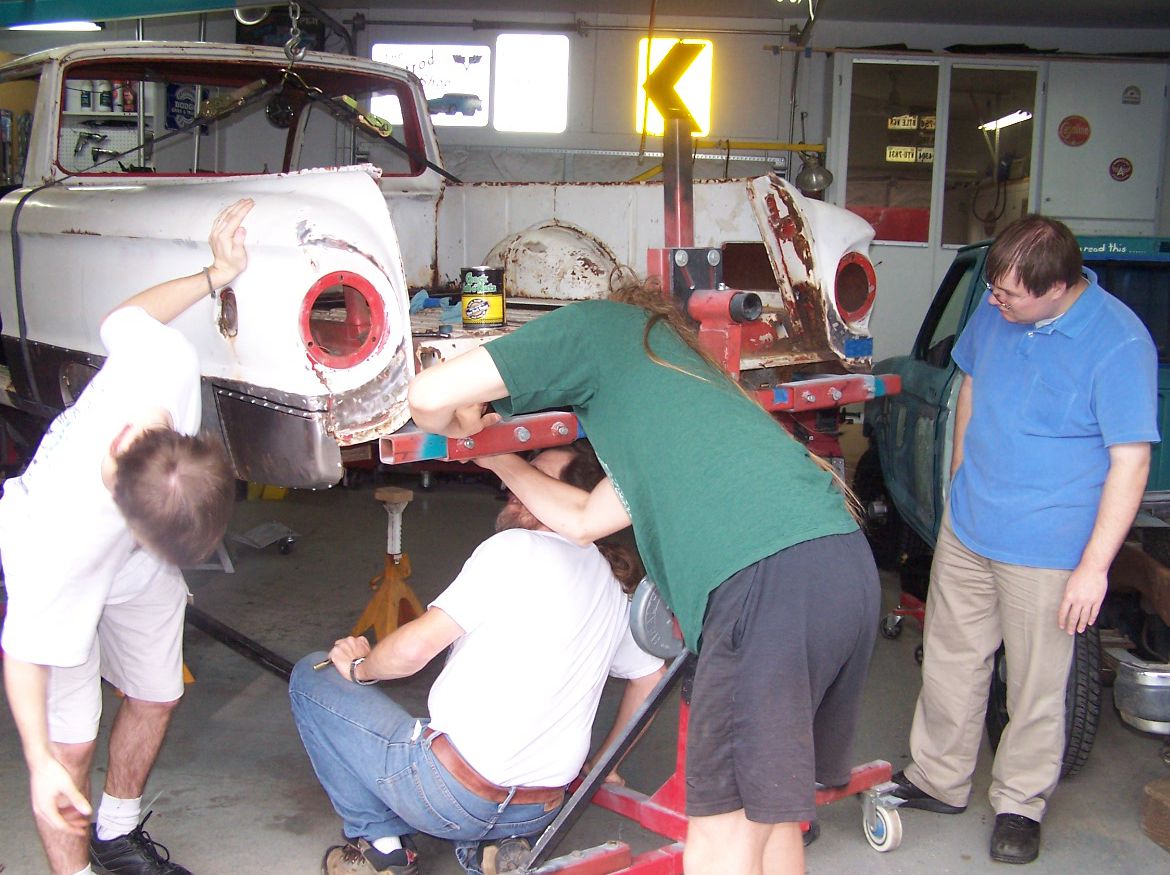
Very carefully, the body was rotated to ensure it cleared both the bottom long brace and the ceiling. It's a good thing too because it did not clear the garage door when the door was open.
|
Once the garage door was closed, we had plenty of overhead room.
|
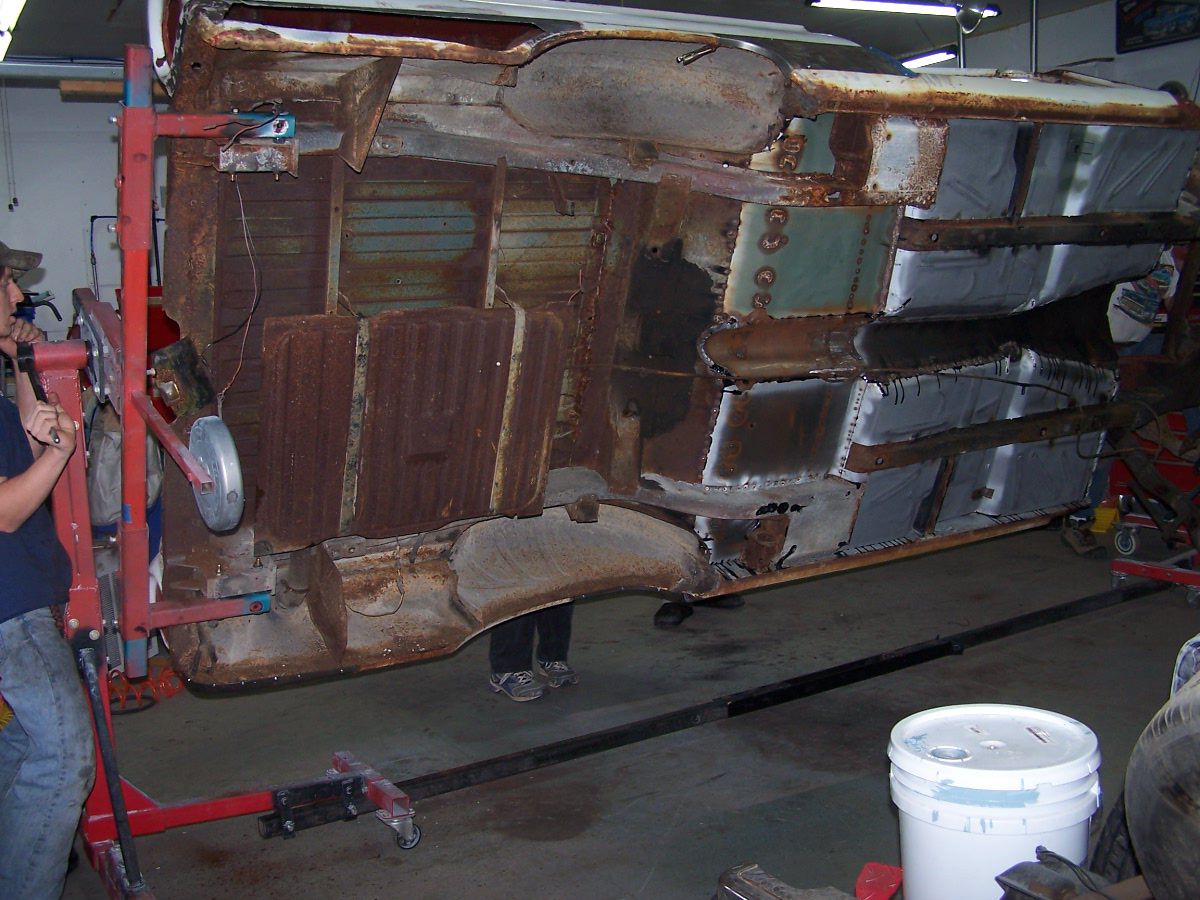
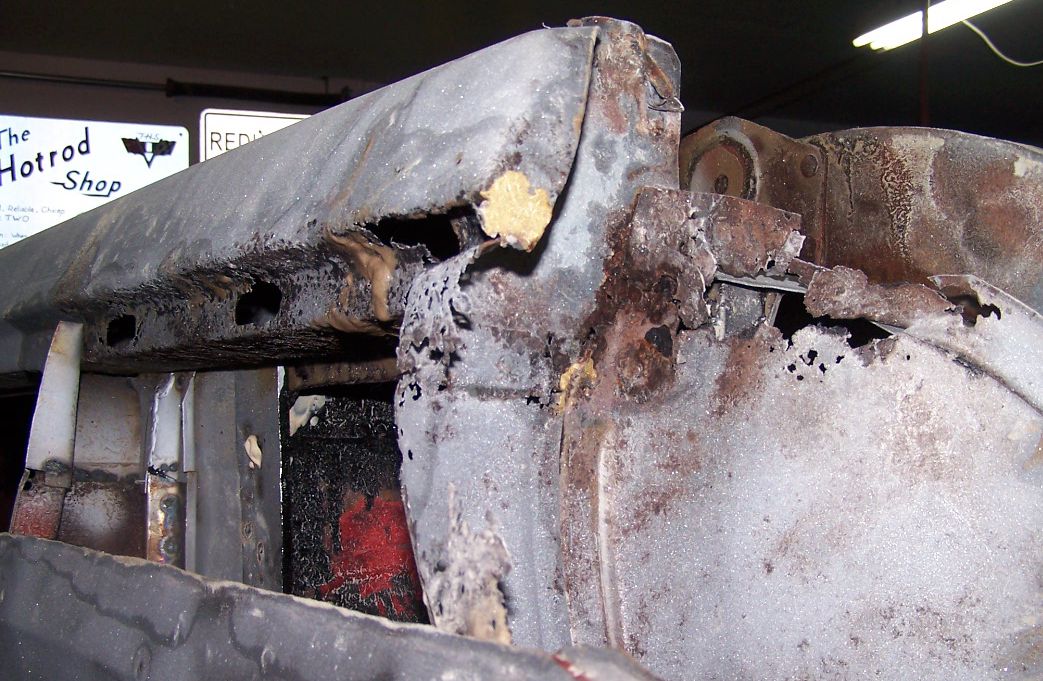
The bed area at the shock mount area. Note the replaced sheet metal for the lower section and the rust that remains on the actual bed section.
|

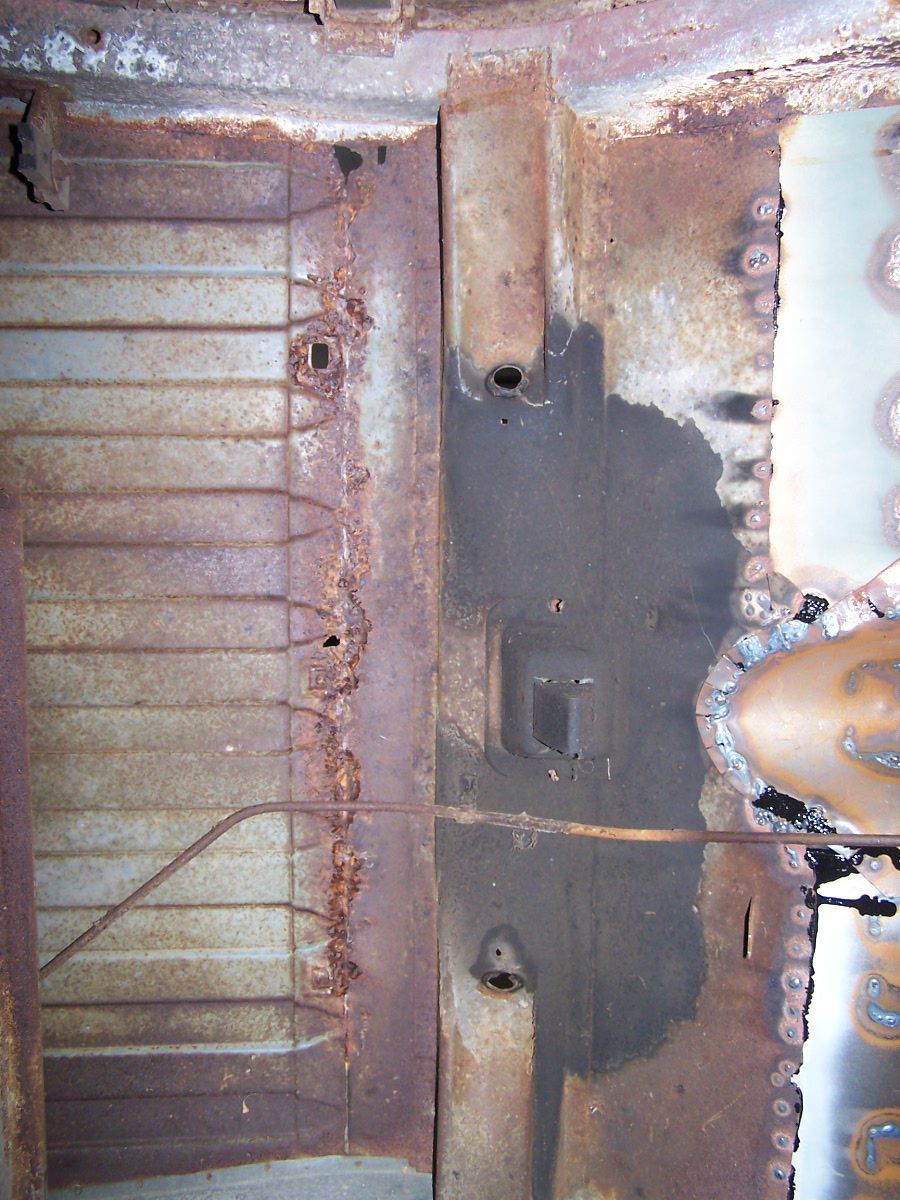
A better picture of the rusted out brace. That will need to be replaced.
|
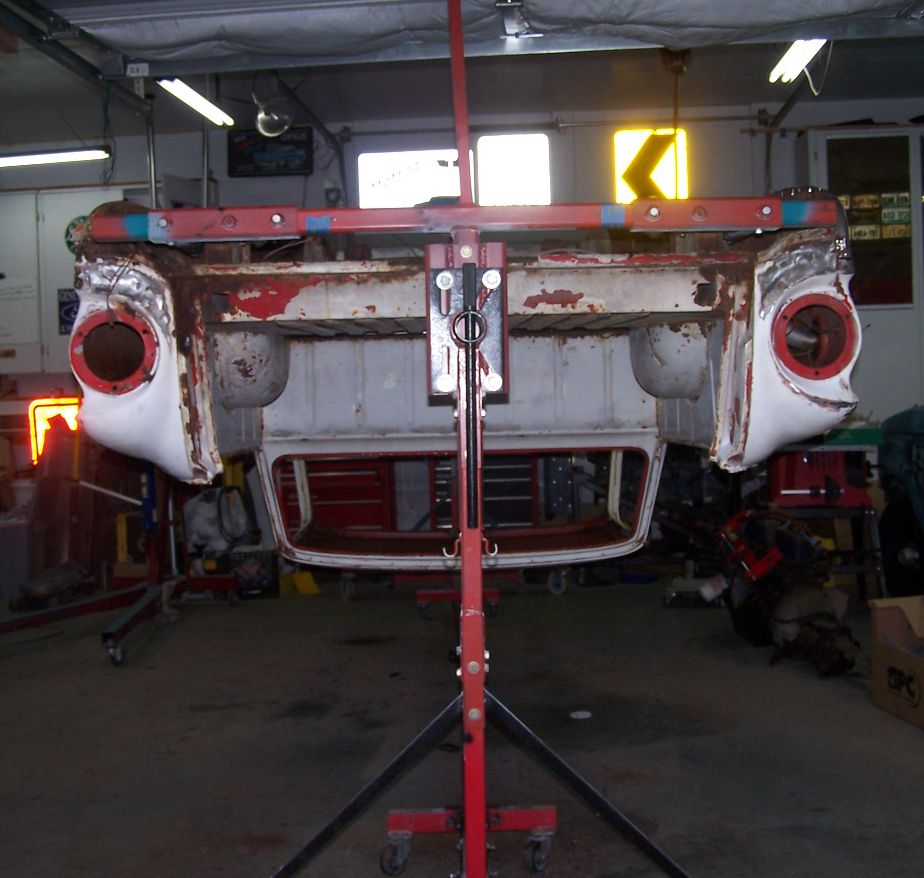
We checked both sides as well, to be sure that we could go all the way around, not just half way.
|
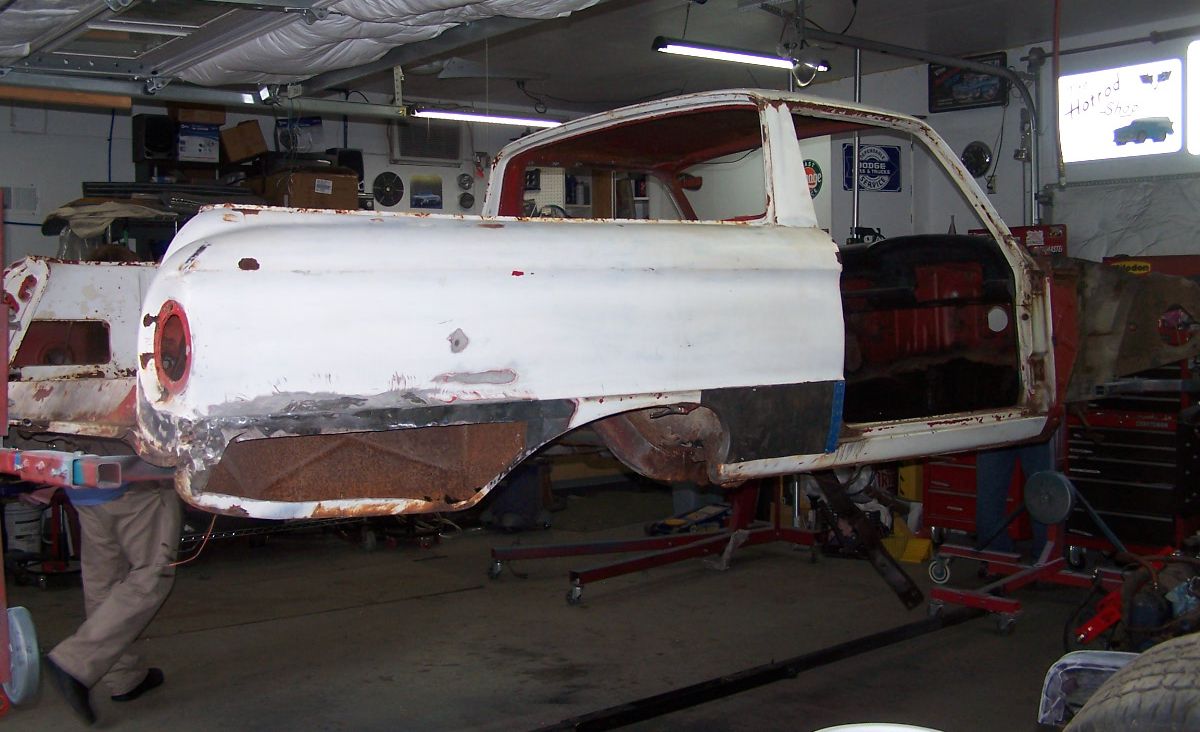
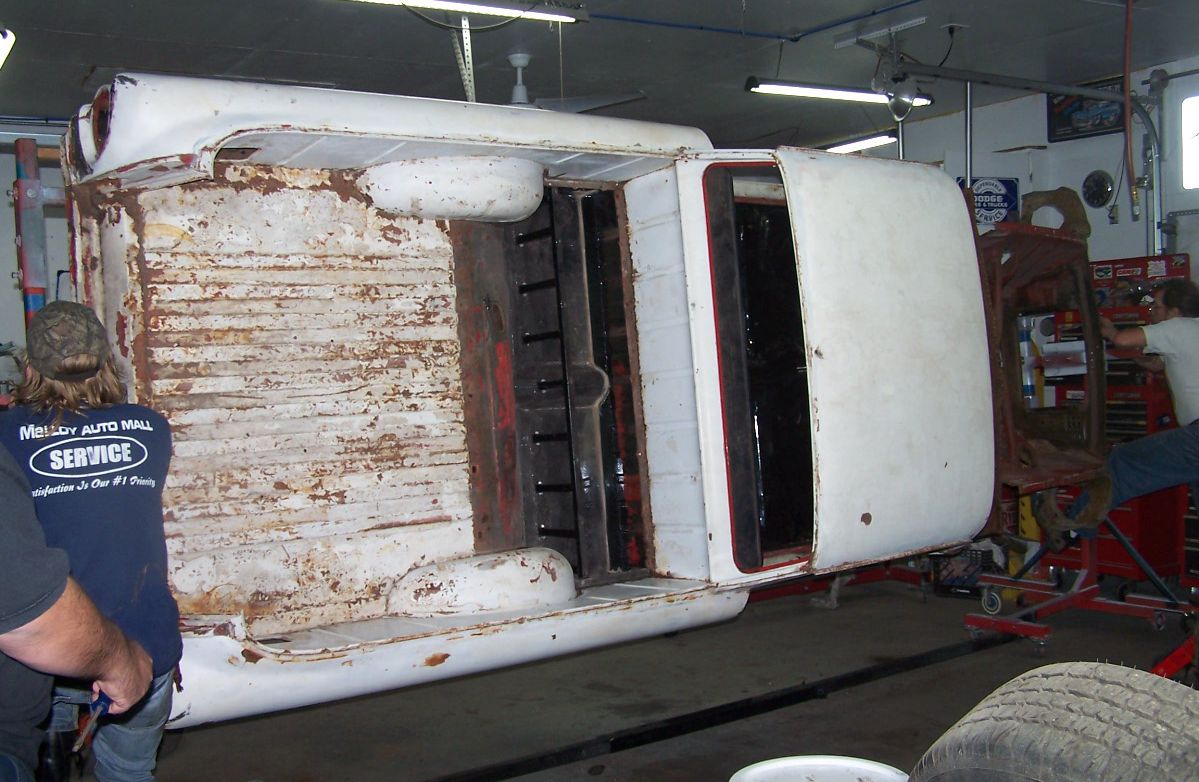
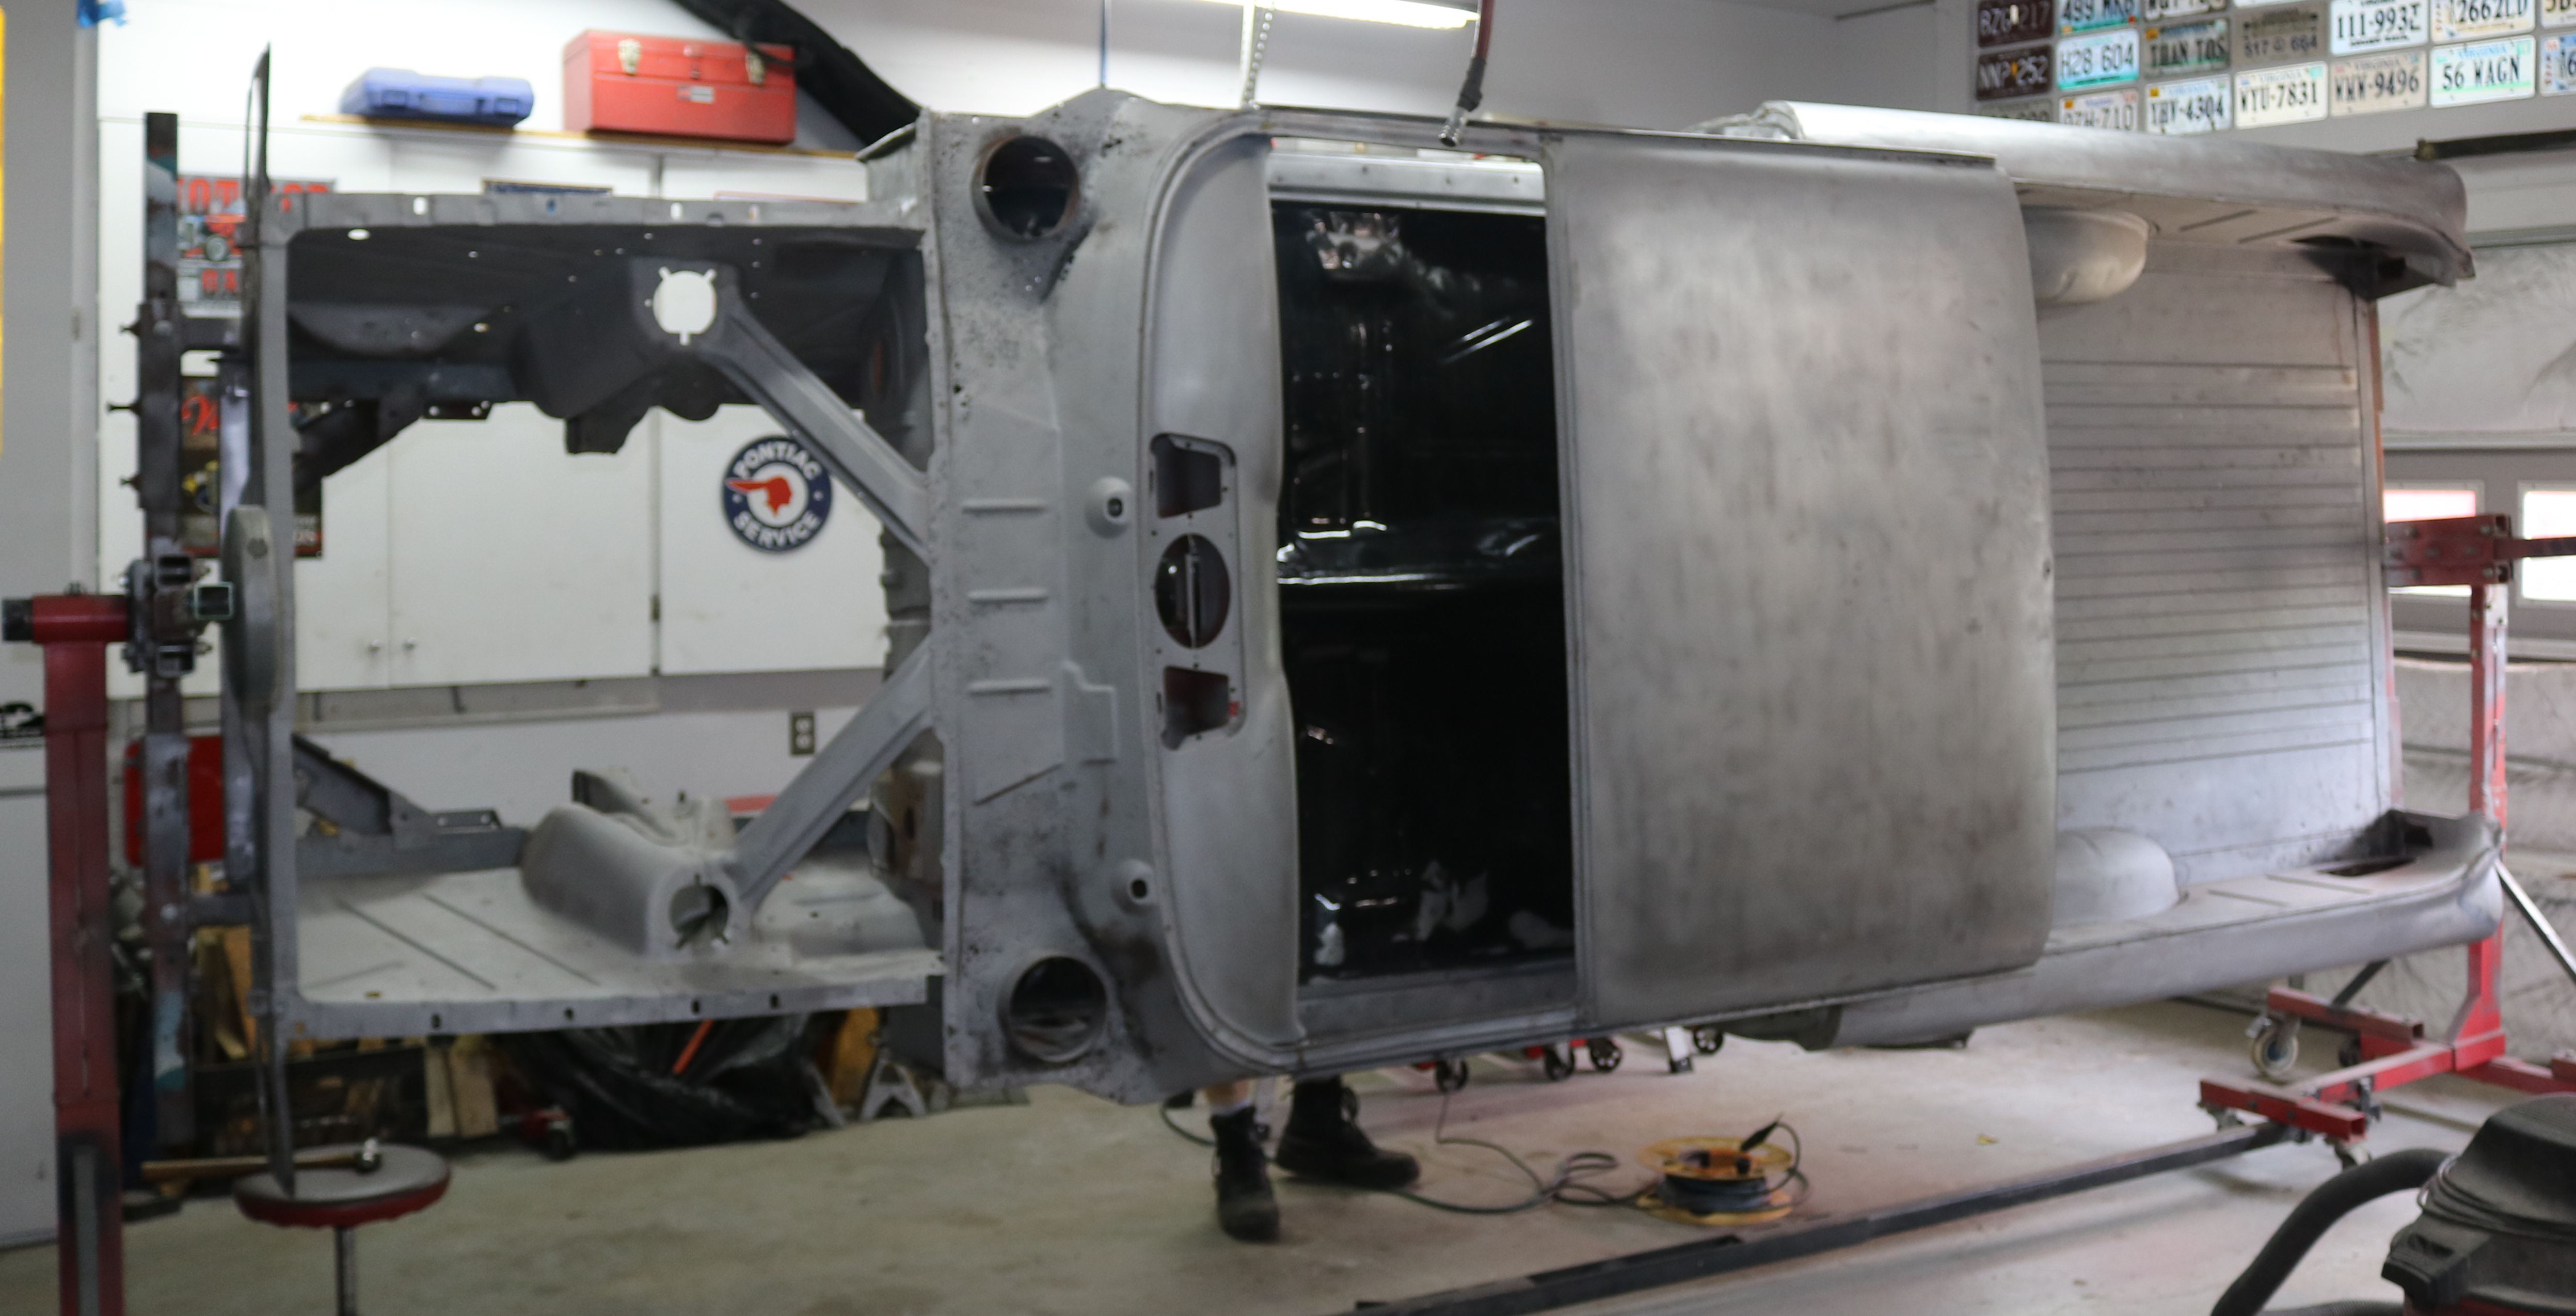
Upside down. This is the only time I hope to see this car in this position.
|
Not a normal view, but one I am getting used to seeing.
|

Ok, now for the next stage in metal prep work. We called a local dustless blasting company to come out and water blast the body and all the panels. It's a very small world sometimes. I'll explain more in a few pictures.
|

This is an interesting process to watch, and a messy job. Sand and an anti-corrosive agent are mixed with water and sent through a high pressure hose at the panel. No heat to cause warpage like sandblasting. Faster than manual removal with a powered sander. And able to get into areas that hand sanding just can't reach.
|

They tackled the rusted bottom side and quickly had it looking shiny.
|

In hindsight, the sand left behind has made a mess out of the driveway by providing a growing ground for weeds. And this gentleman who owned the dustless blaster back in Oct 2014, is my son's boss at the restoration shop where he works in 2019. When my son started there, he mentioned the Ranchero that he was working on and his boss mentioned blasting one a few years back. From there they pieced it together. Small world.
|

He and his helper did a fantastic job on the body, including up inside the fenders and the rocker panels. Surprisingly, the POR15 stood up to the blasting.
|

The bottom side fully cleaned up. They did in hours what it would have taken me weeks with an orbital sander and they did it better.
|

Some of the really thin metal did not survive, but we would have had to cut it out anyway.
|

The rust on the bed floor turned into pinholes, but we expected that.
|

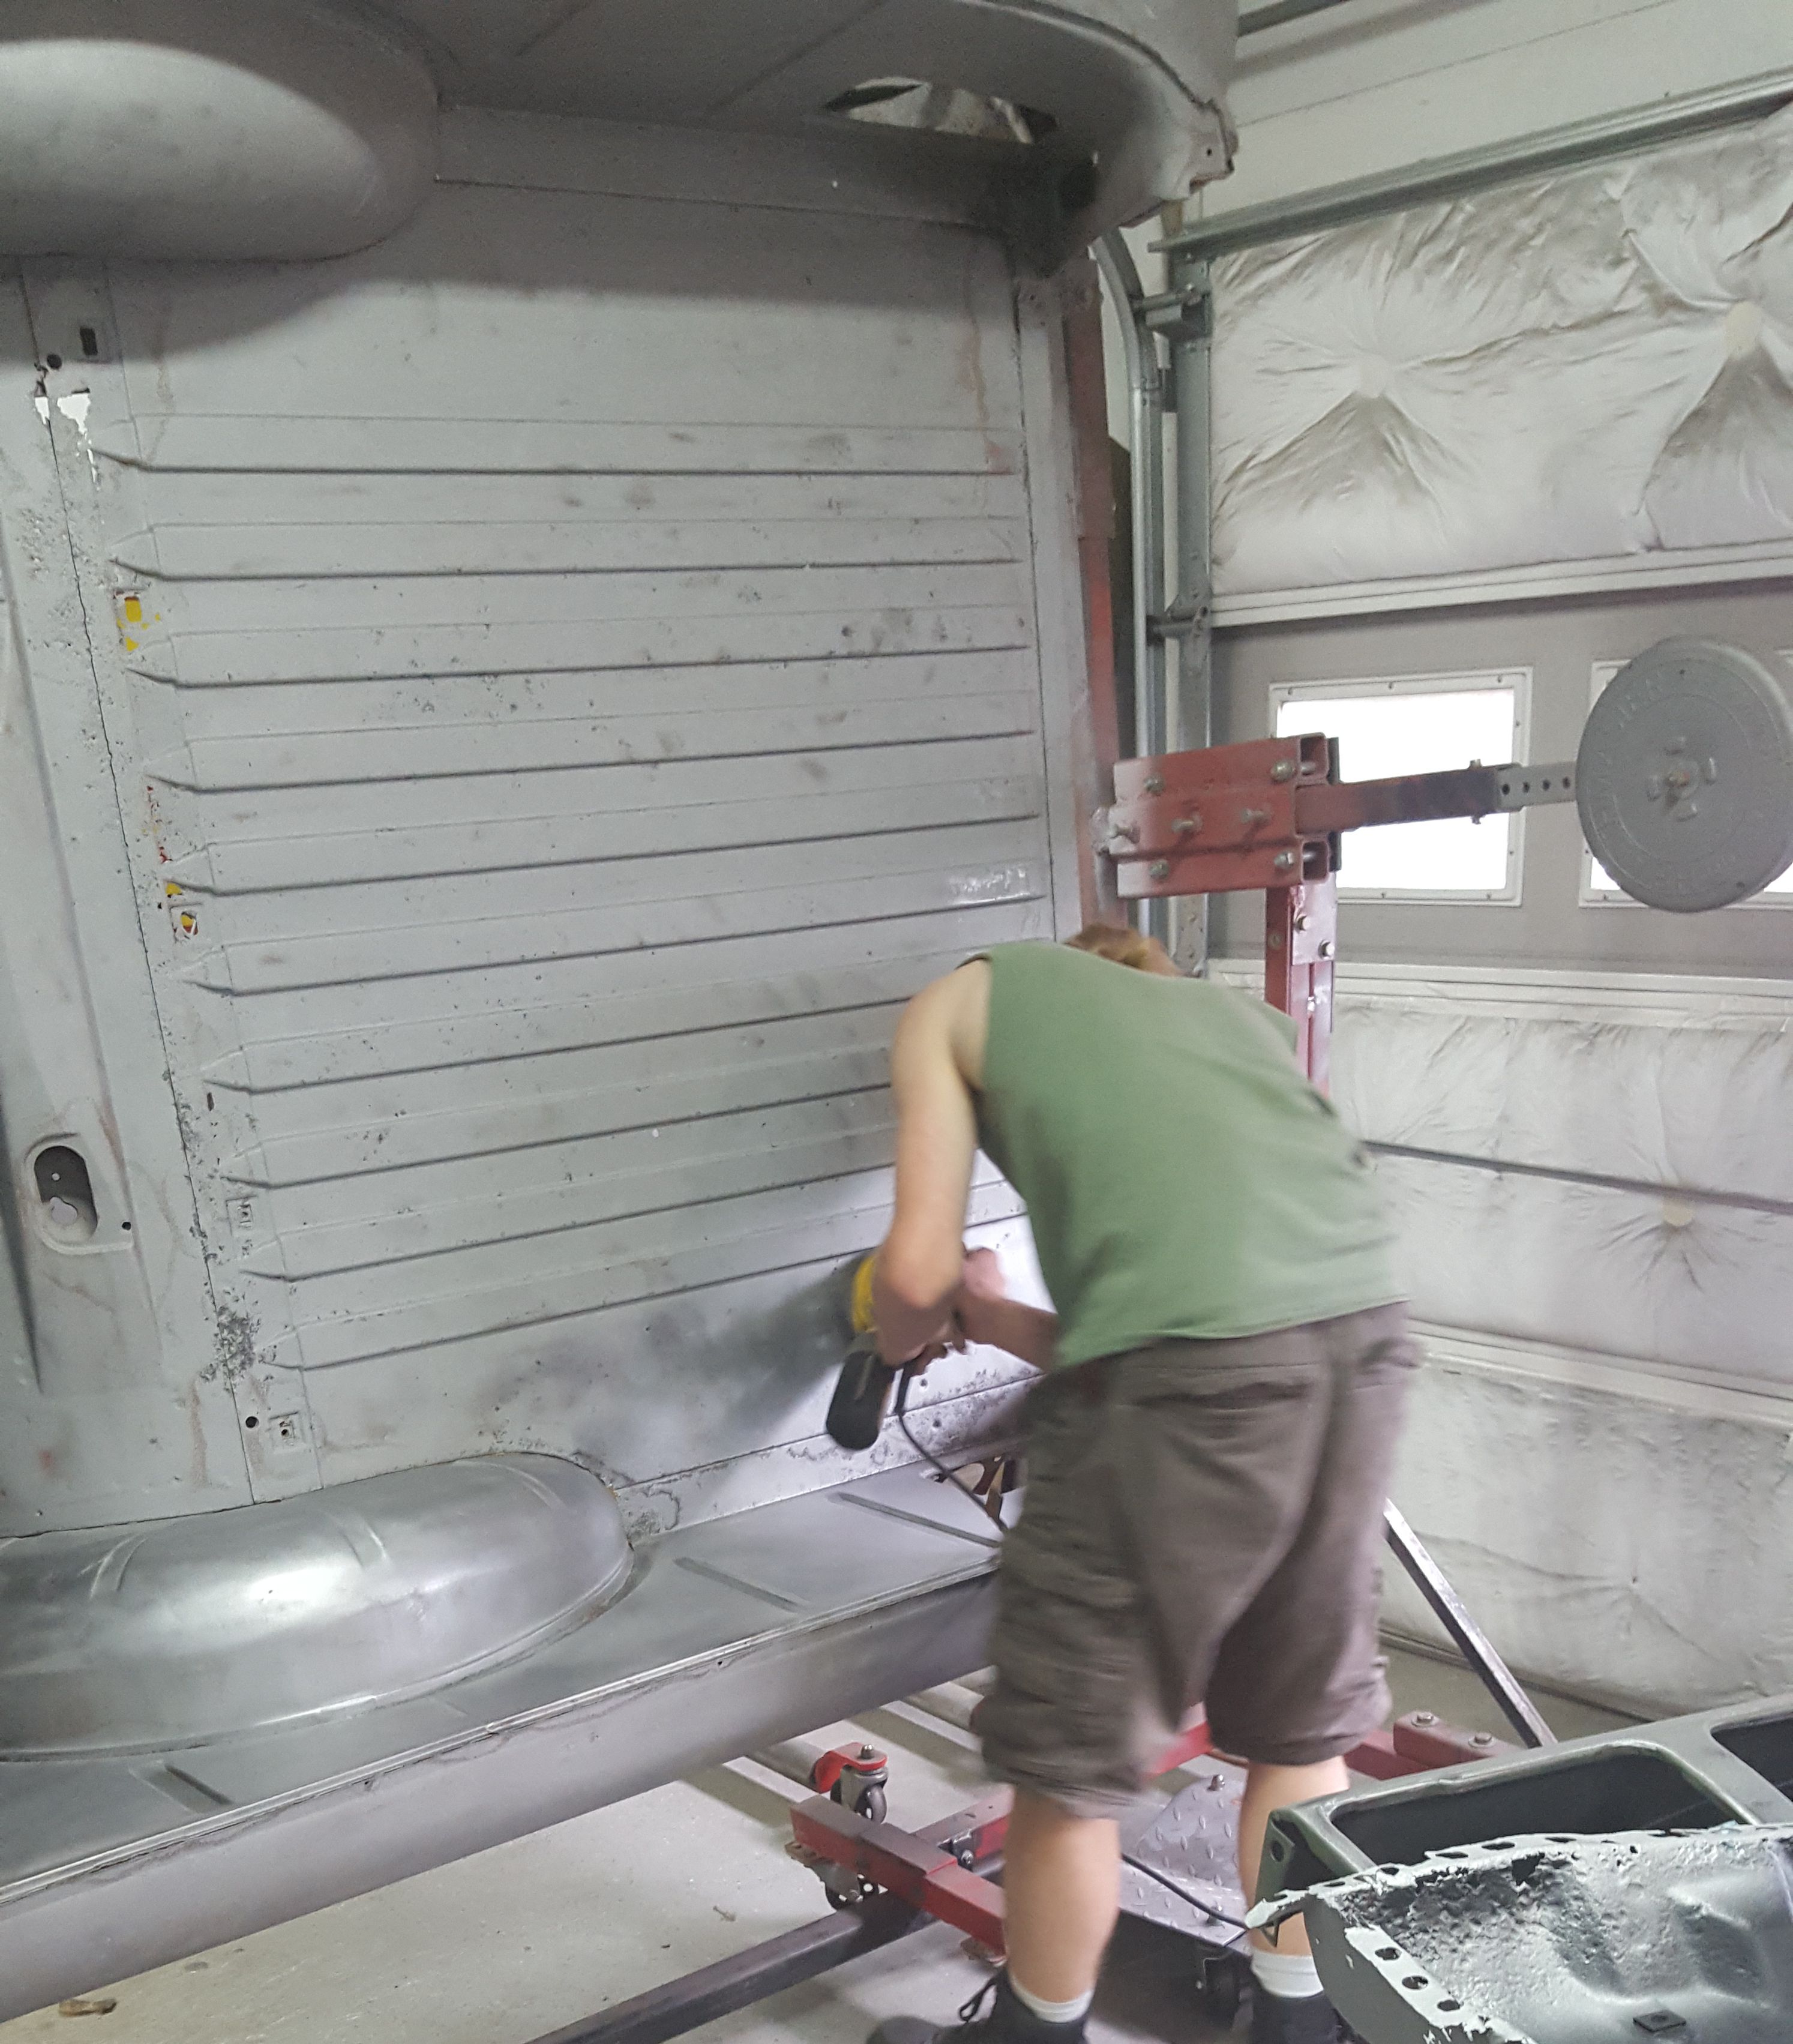
Back inside the garage and time to start the cleanup. While much of the sand was washed away, some remained. There is sand caked in the corners and seams. All of that sand has to be removed. We spent several evenings and weekends removing the sand. There are many pros to the dustless blasting and, like anything, there are a few cons as well. Chalk this up as a major con. The panels cleaned up quickly and easily, as did the exterior sheet metal. It was the inside of the fenders and the rocker panels that gave us the most trouble.
|
A closeup of the sand on the rusty metal.
|
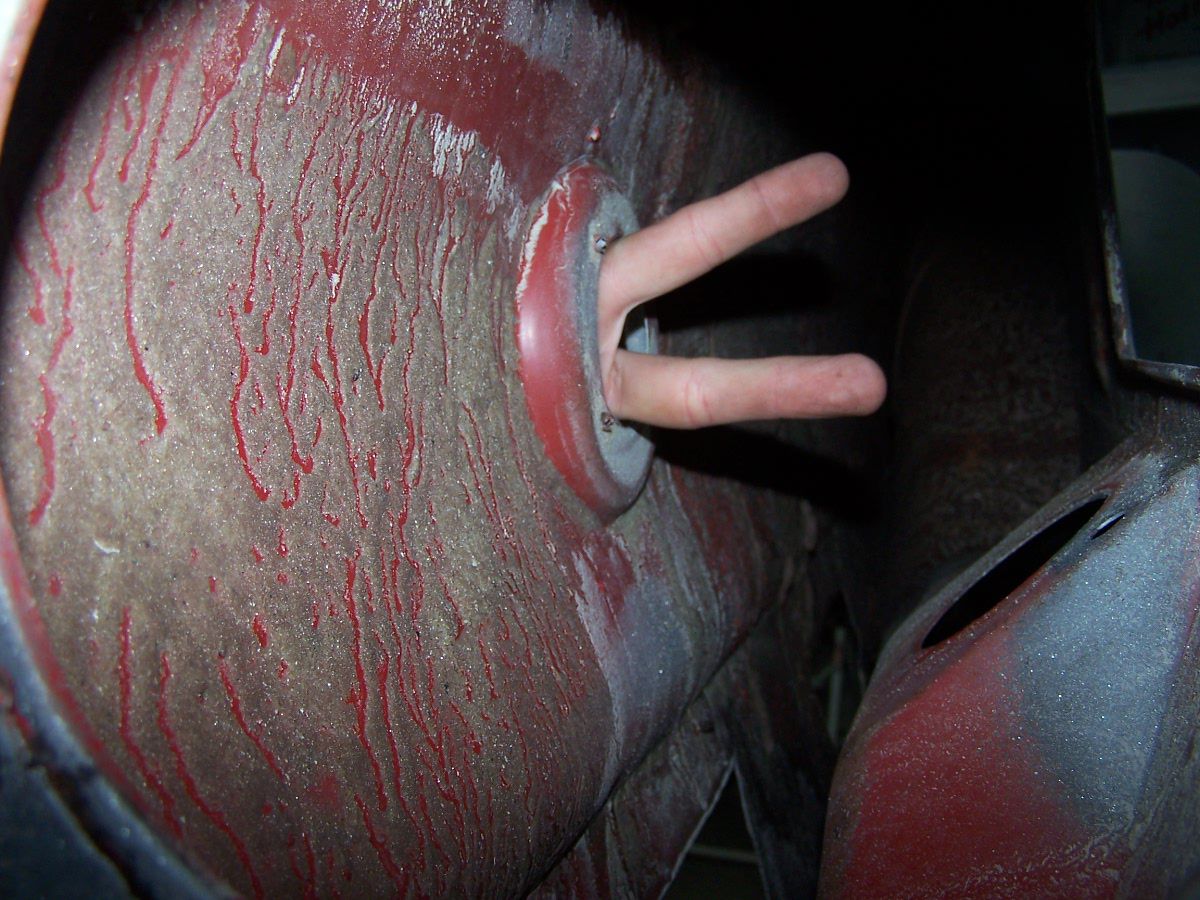
The gas filler hole in the driver rear quarter panel. You can see the sand easily in this shot.
|
Sand cleanup took a long time. As we later started sanding the surface with a powered orbital sander in preparation for spraying on epoxy primer, more sand fell out. Dustless blasting saved us a lot of time on the panels, but time was probably the same on the main body. but the overall effort of the cleanup discouraged us. But even though the car sat in the air conditioned garage for almost 3 years with no paint, the sheet steel did not rust back due to the anti-corrision agent.
2015 became the year of the Cherokee. 2016 was the year of the Bronco. With high school graduation and off to school, work on the Ranchero stalled up significantly.
|

For Christmas 2014, we gave him a pair of NOS front fender birds and the stainless trim for the cab.
|

For Christmas 2015, I found a paintable NOS gas cap. The Ranchero cap is very specific as it is curved to match the contour of the fender. These are hard to come by and expensive when you do find one. The Ranchero gas cap mounts on the rear driver fender. On the Sedan, the gas cap is on the rear filler panel between the taillights like a Mustang.
|

Other than the rear fenders, the body looks pretty good at this point. Still a lot of metal work to do though..
|

The passenger taillight area, upside down. Obviously, this corner was in an accident at some point.
|
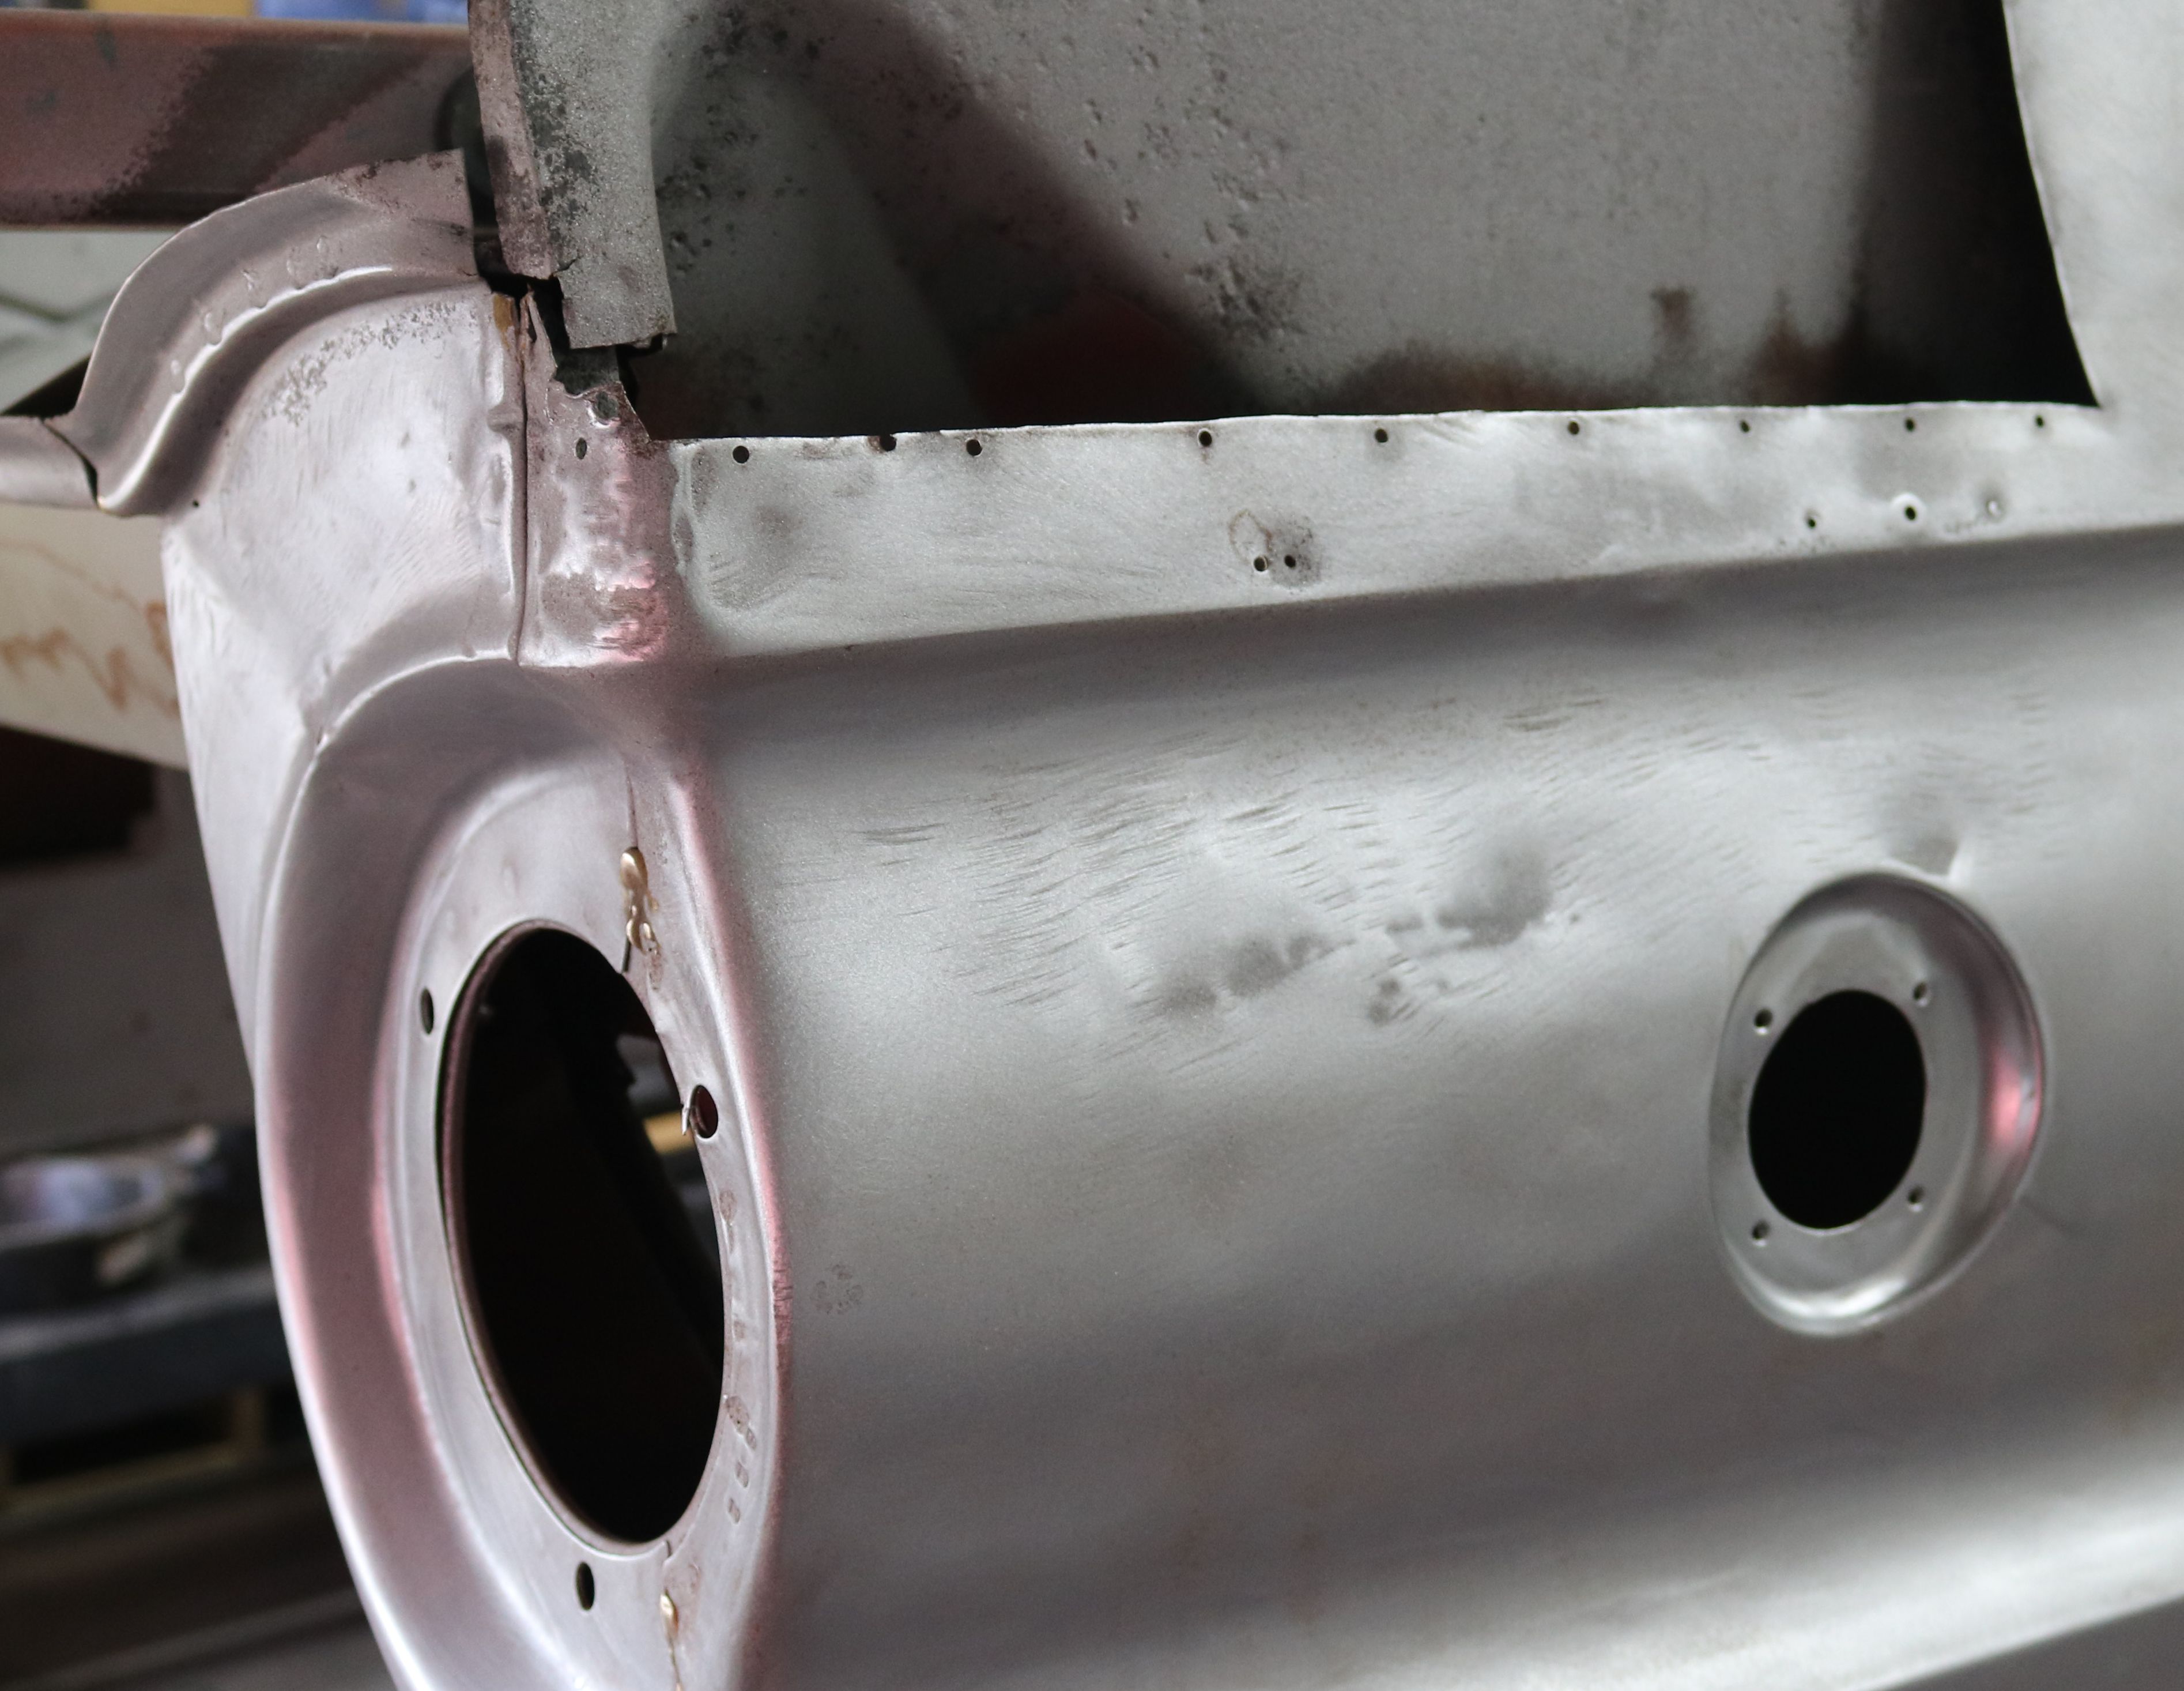
The driver taillight area. The damage is only to the sheet metal on the fender on this side. The hole on the fender is for the gas cap.
|

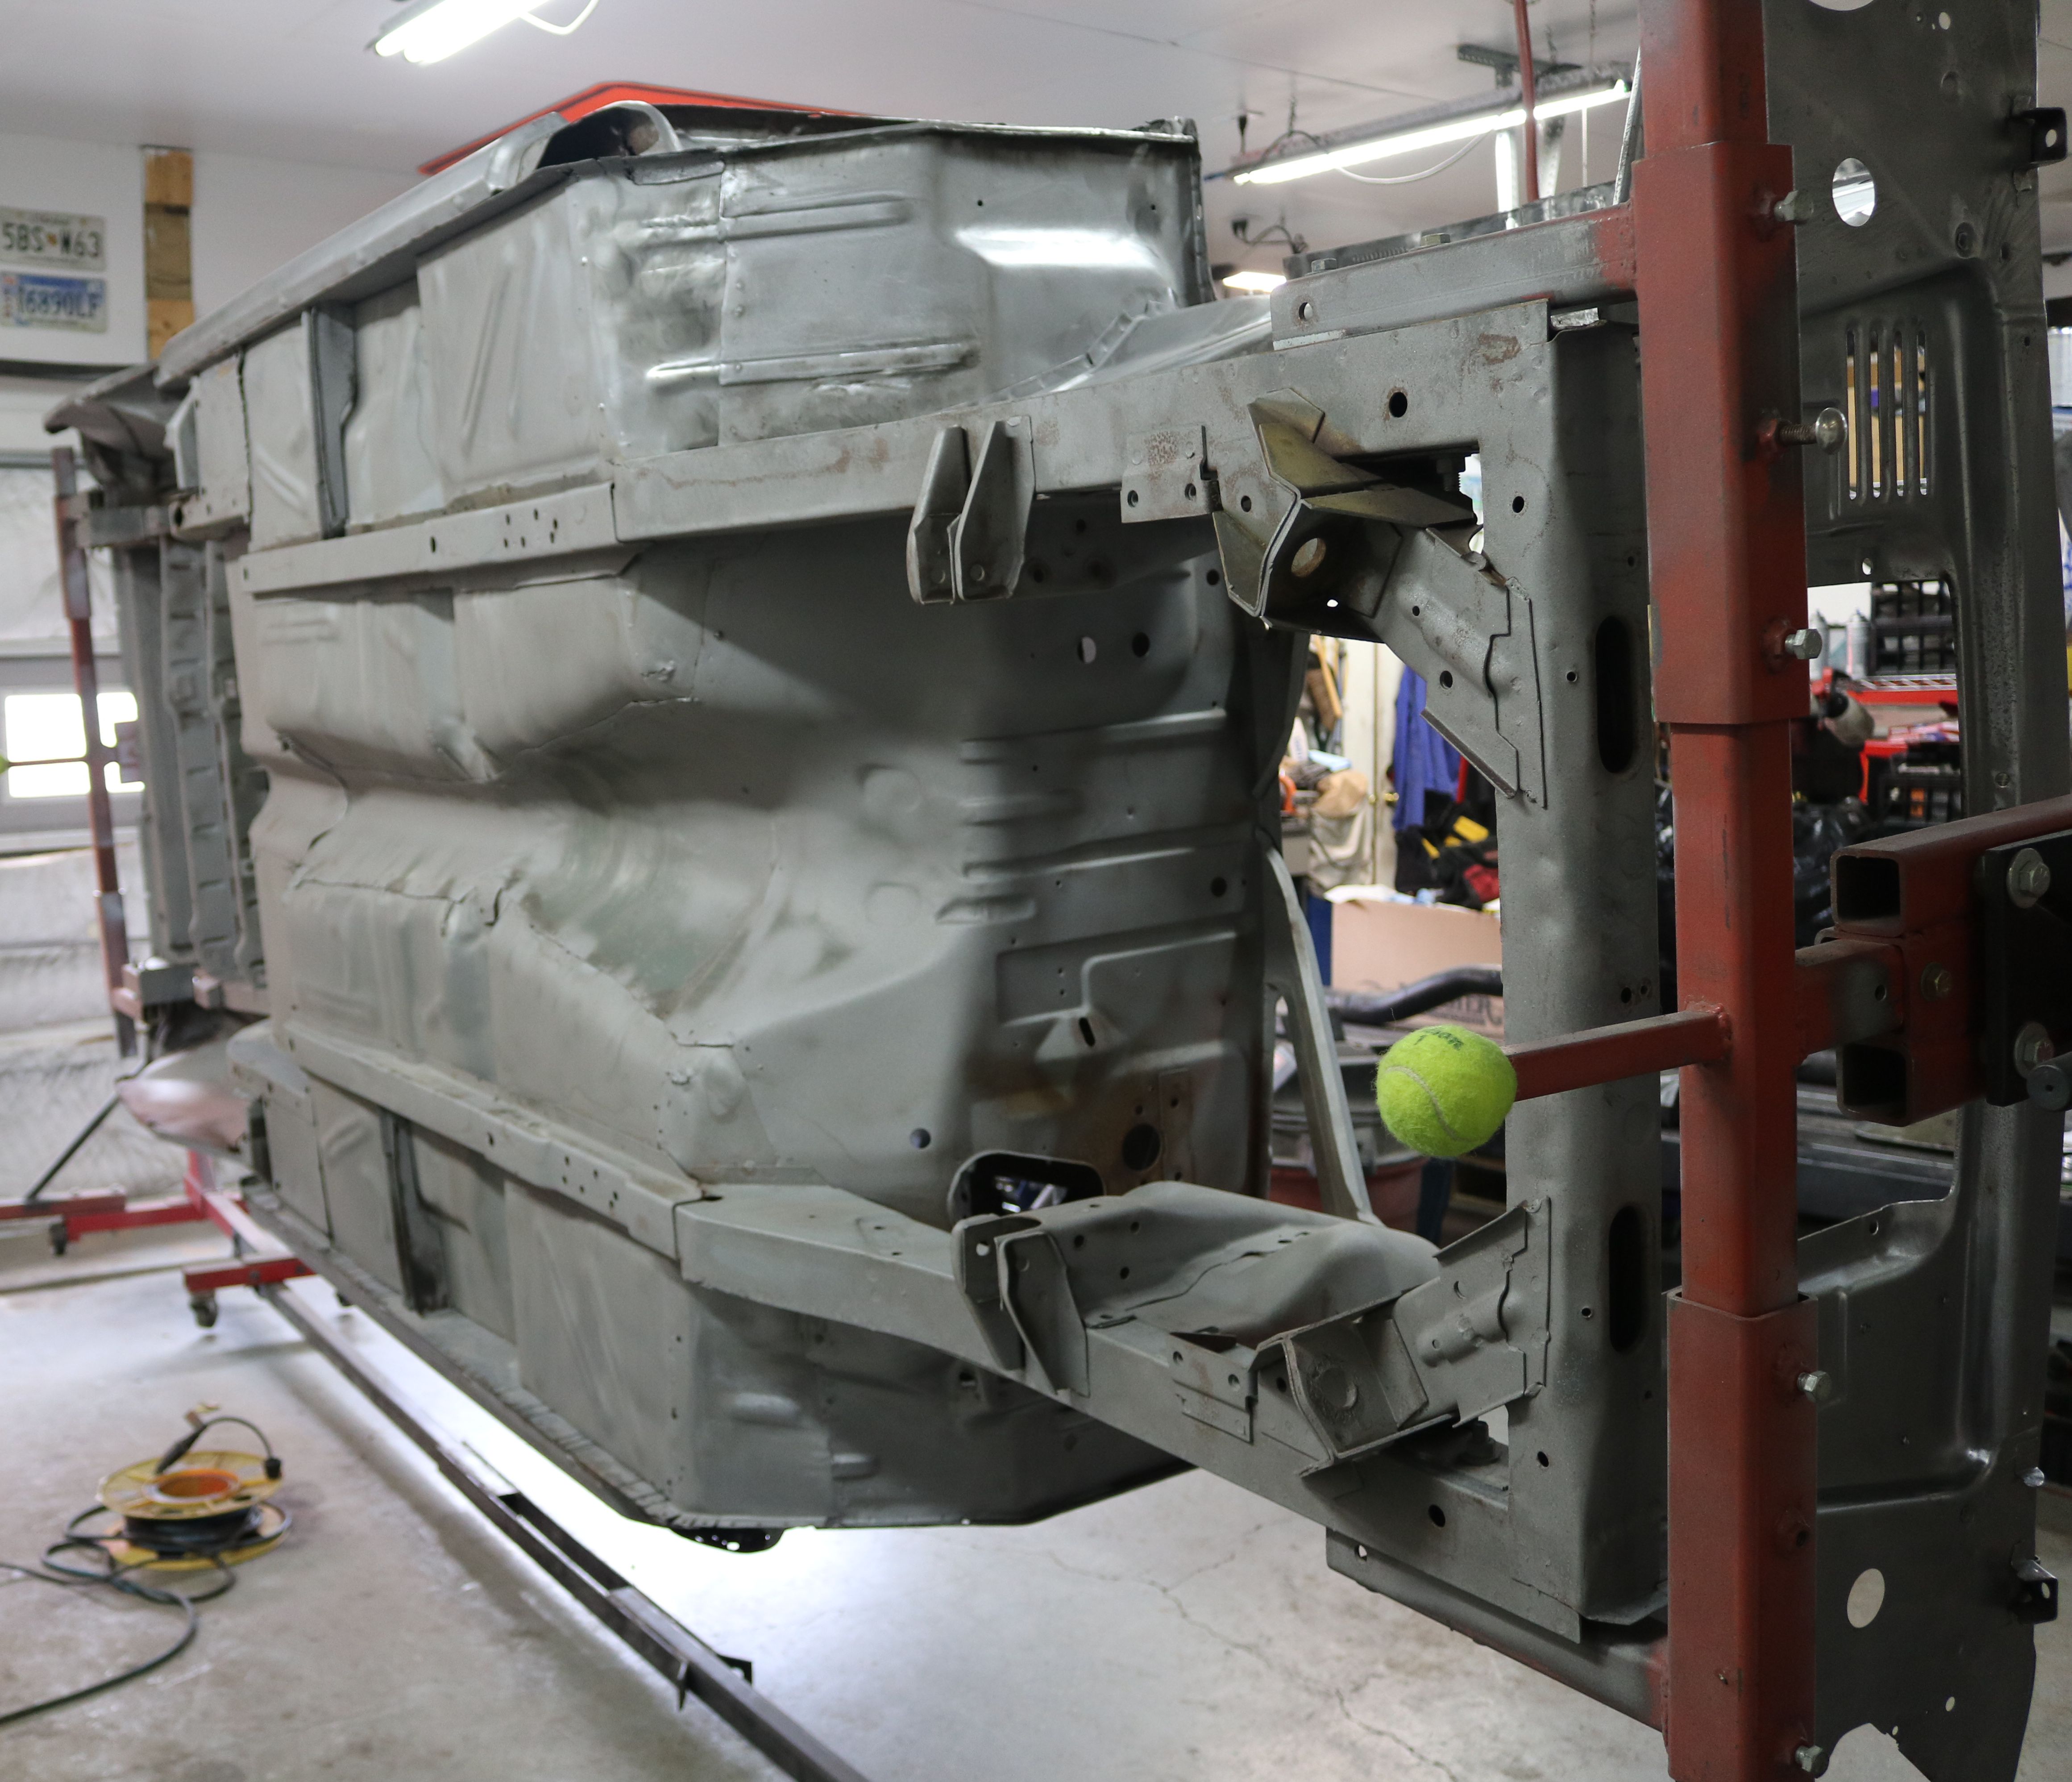
The engine bay is solid, except for one small spot under the battery tray.
|
Thank goodness for the solid floor pans, but the missing cowl needs a bit of work.
|
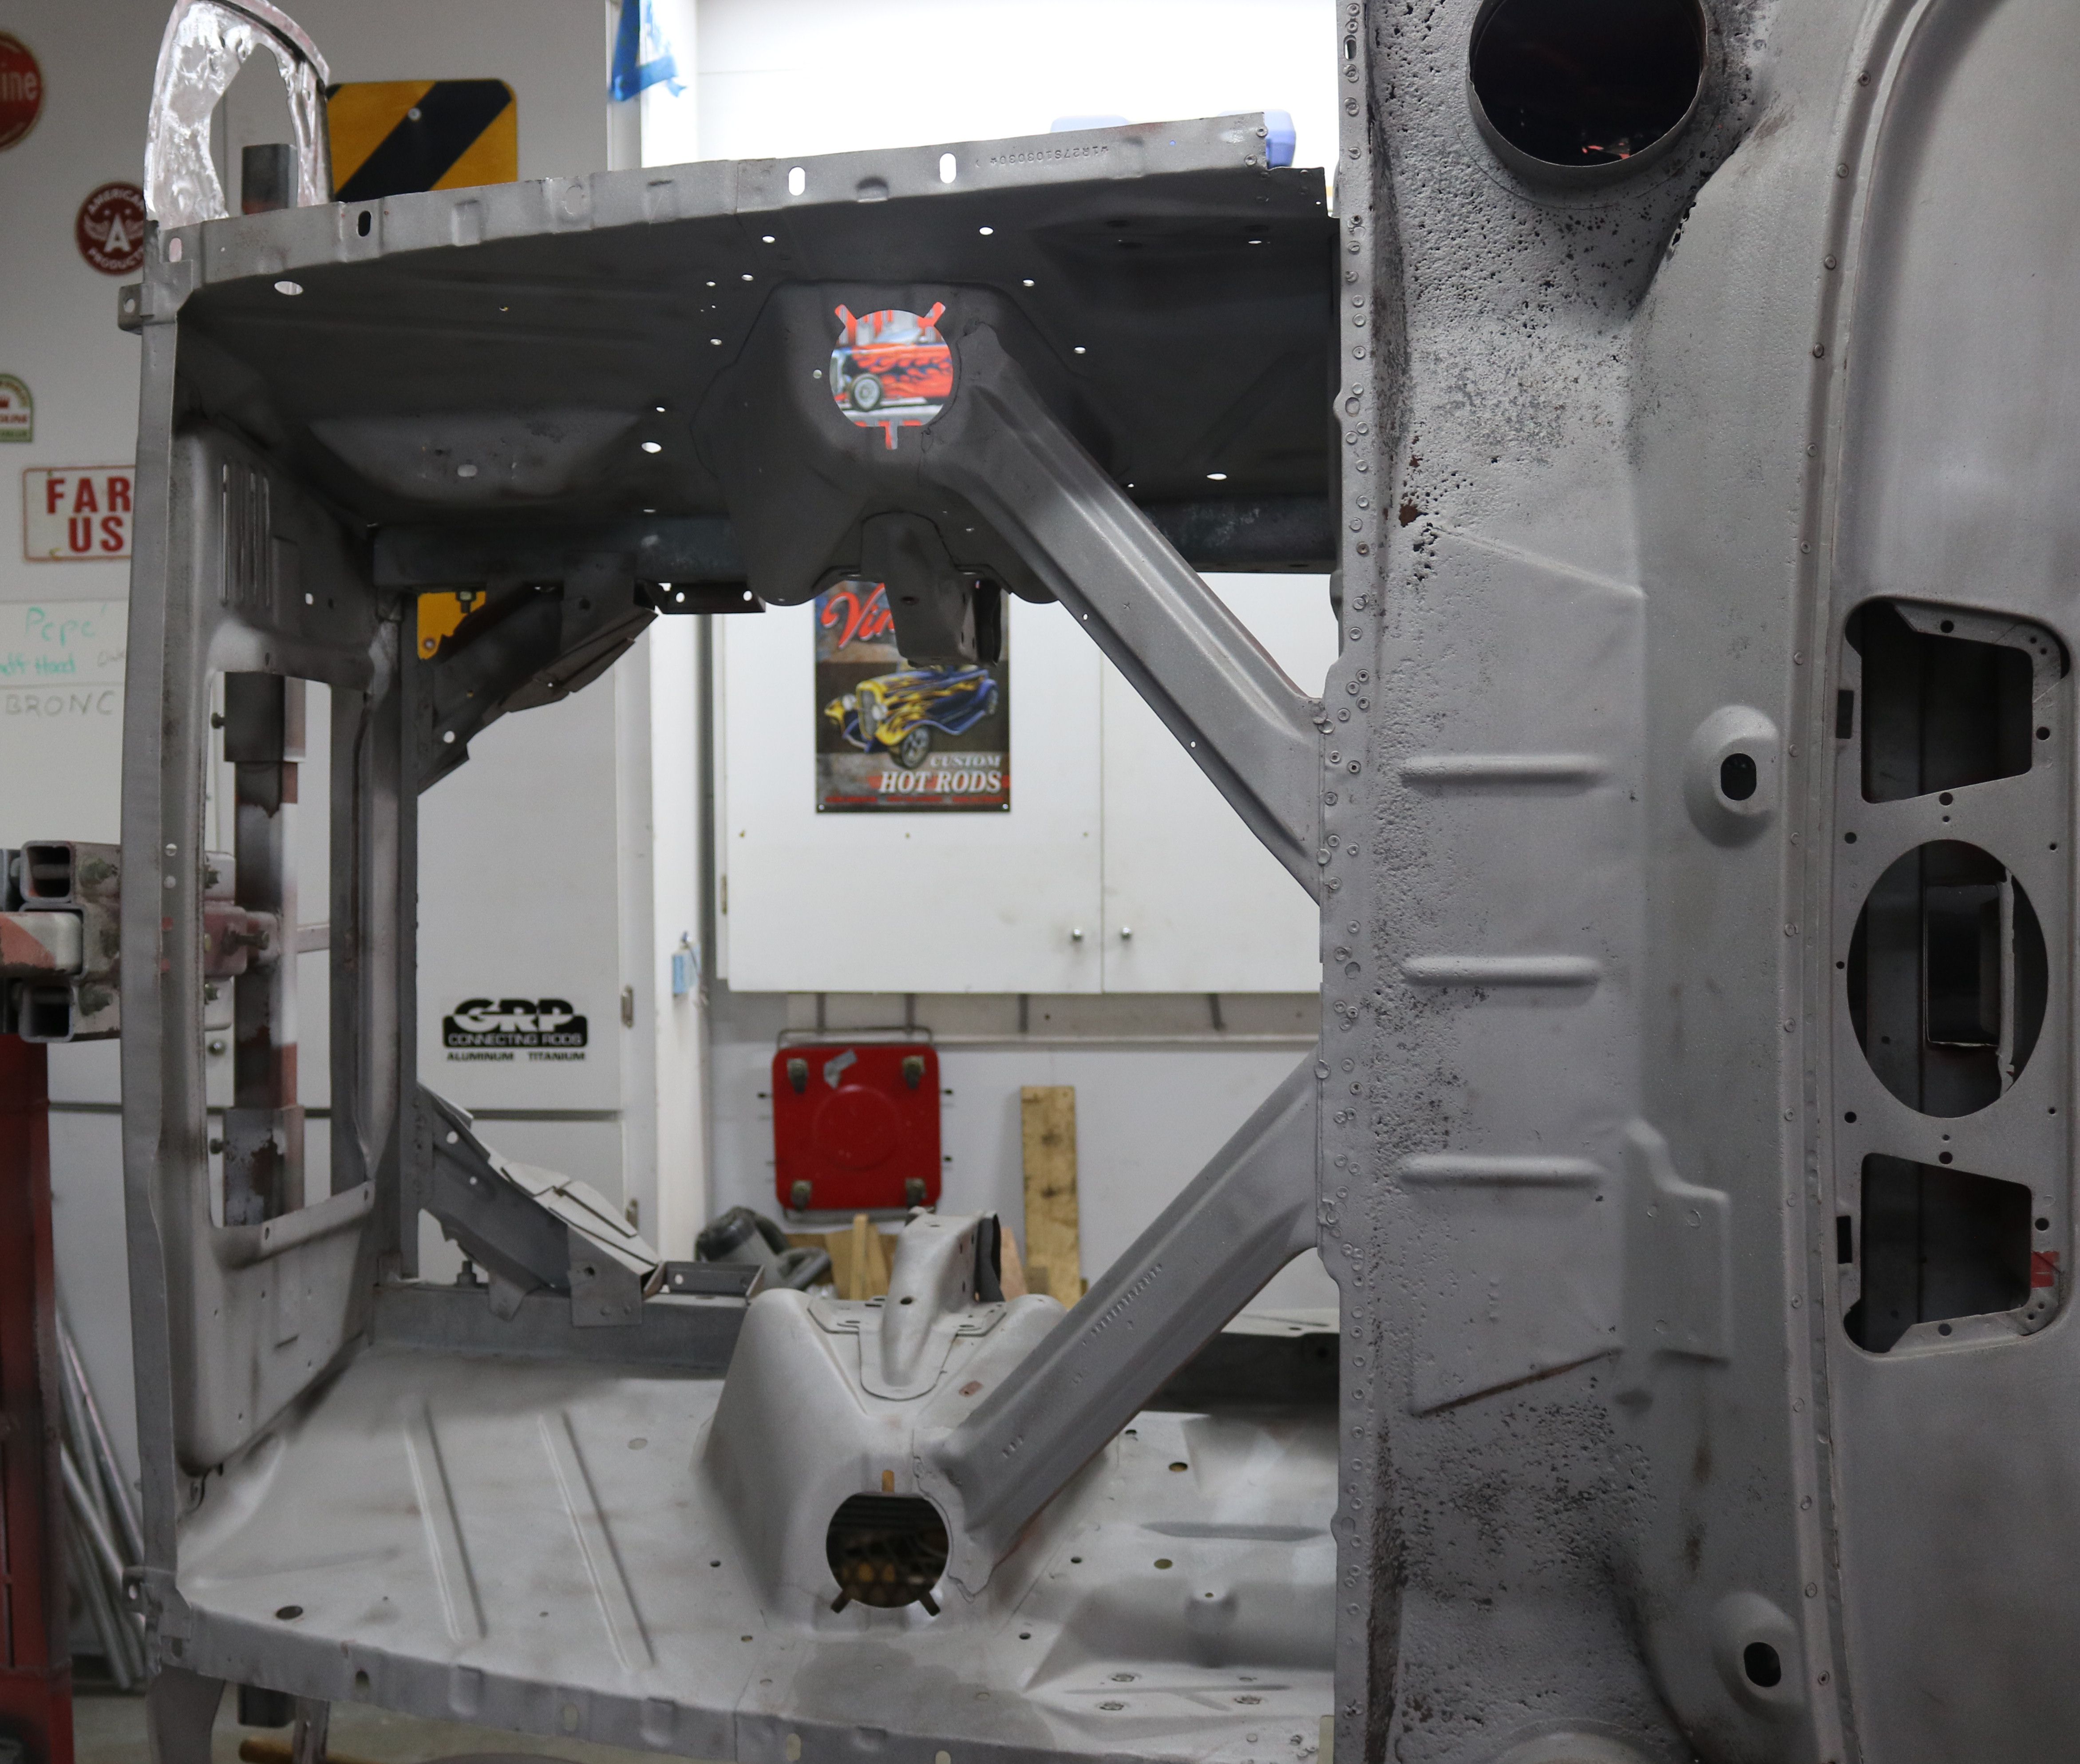
A close up of the engine bay and cowl section. There is the rust in the cowl and some pitting under the battery tray, but that is all. The shock towers were straight, indicating all previous accidents did not crumple the front end.
|
The roof shows some damage as well, besides the incorrectly repaired CB antannae hole.
|
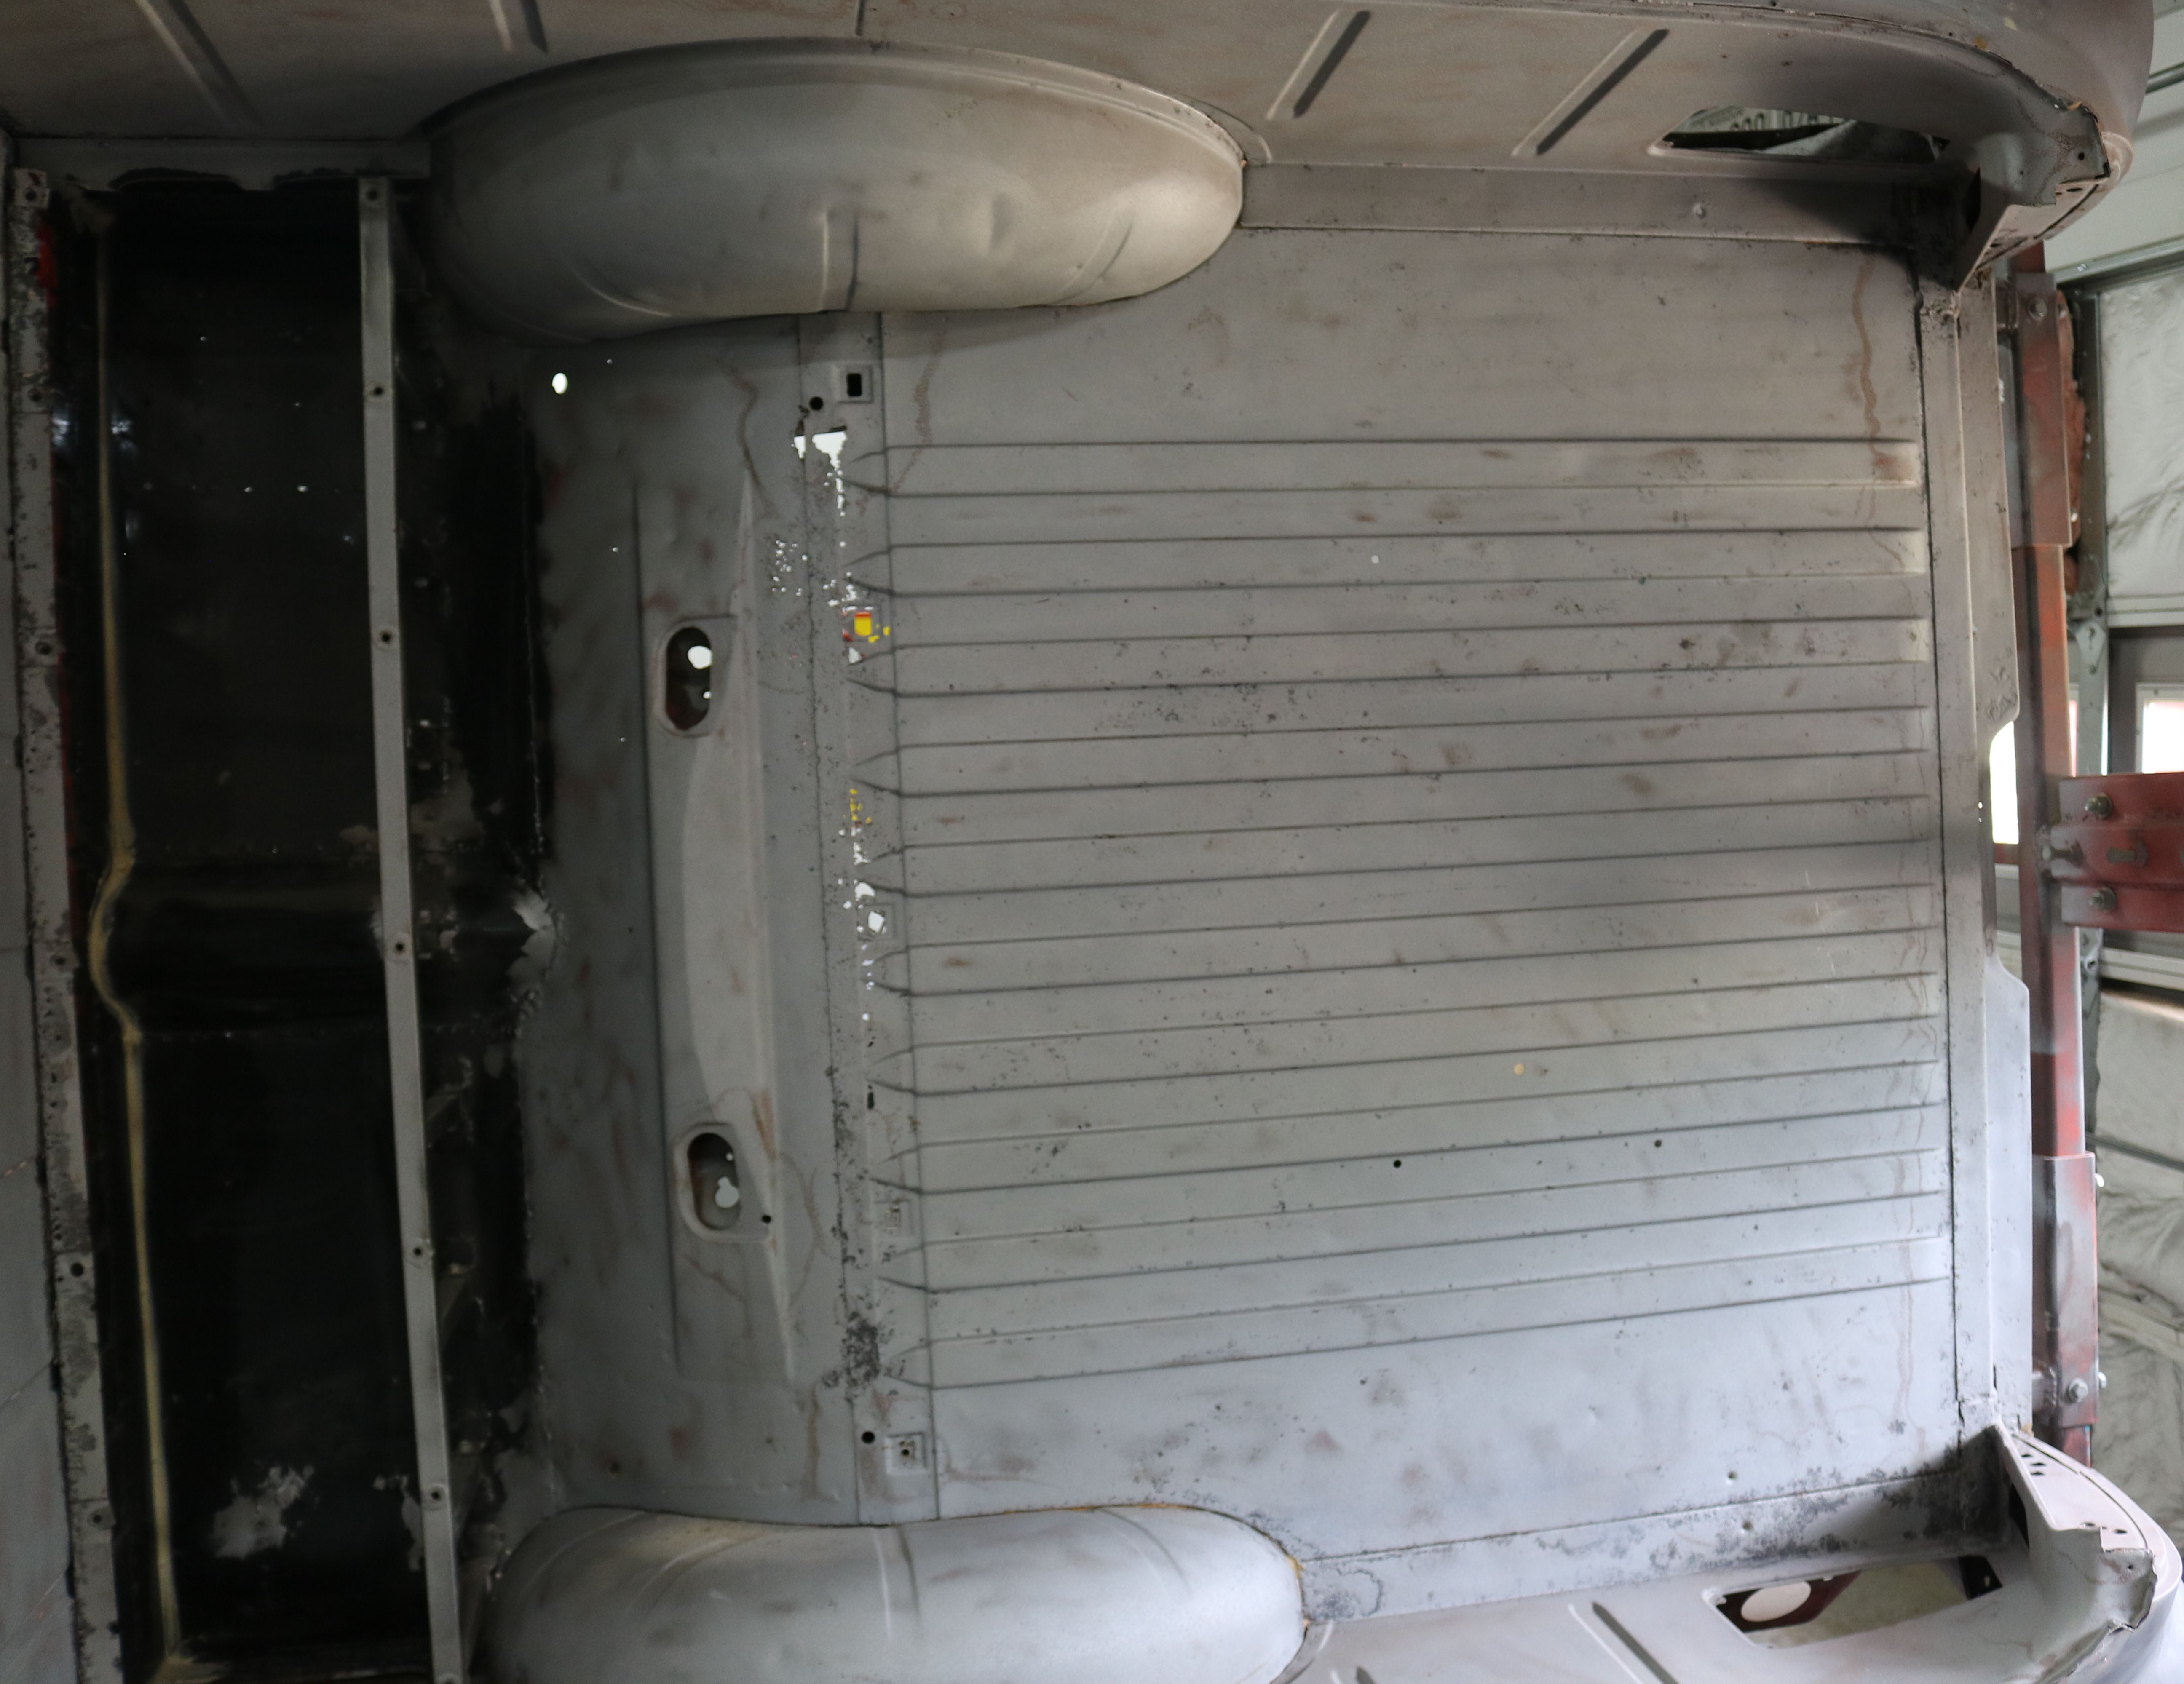
The bed floor is in remarkably good shape oveall, just the seam between the floor and the shock mount area needs major work. Surprisingly, the shock mount area is intact. This seam is the back of the removable bed floor that allows access to the shock mounts.
|

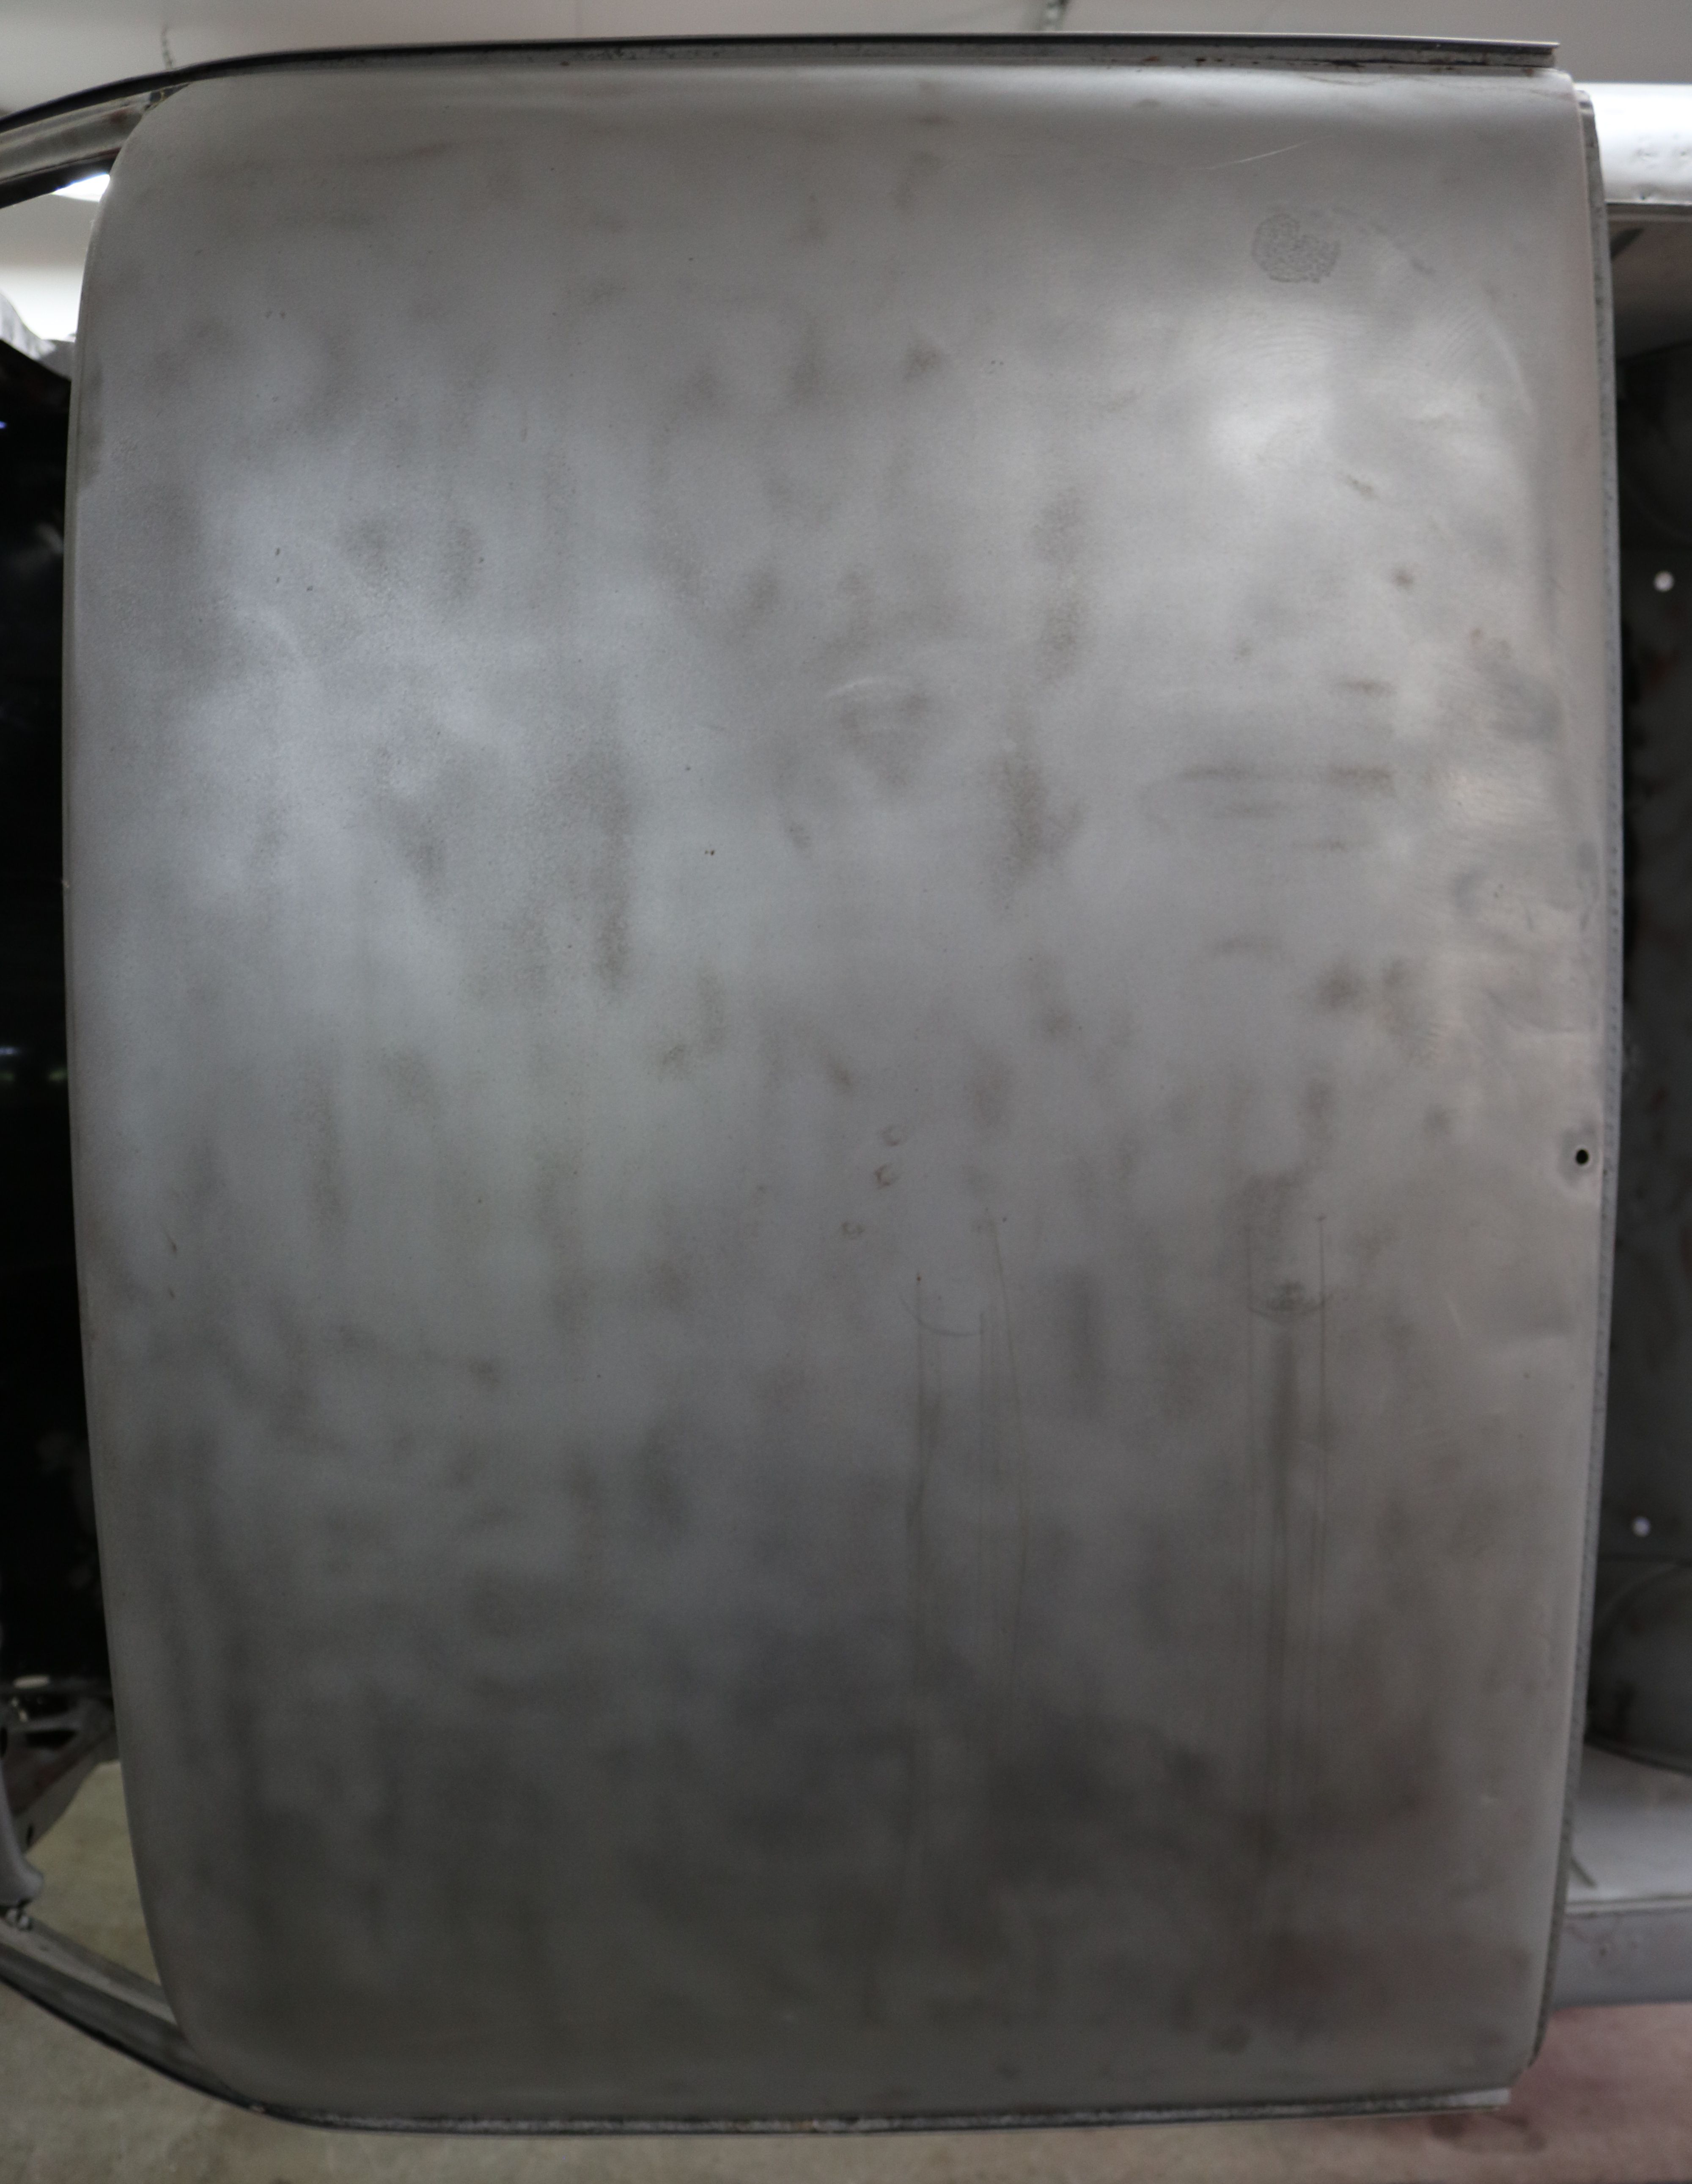
Since the doors were off, I took the time to sand the interior of the passenger door.
|
In the final stages of sanding the metal for the epoxy.
|
Even the bottom side doesn't look that bad, since the floor pans were already replaced.
|

