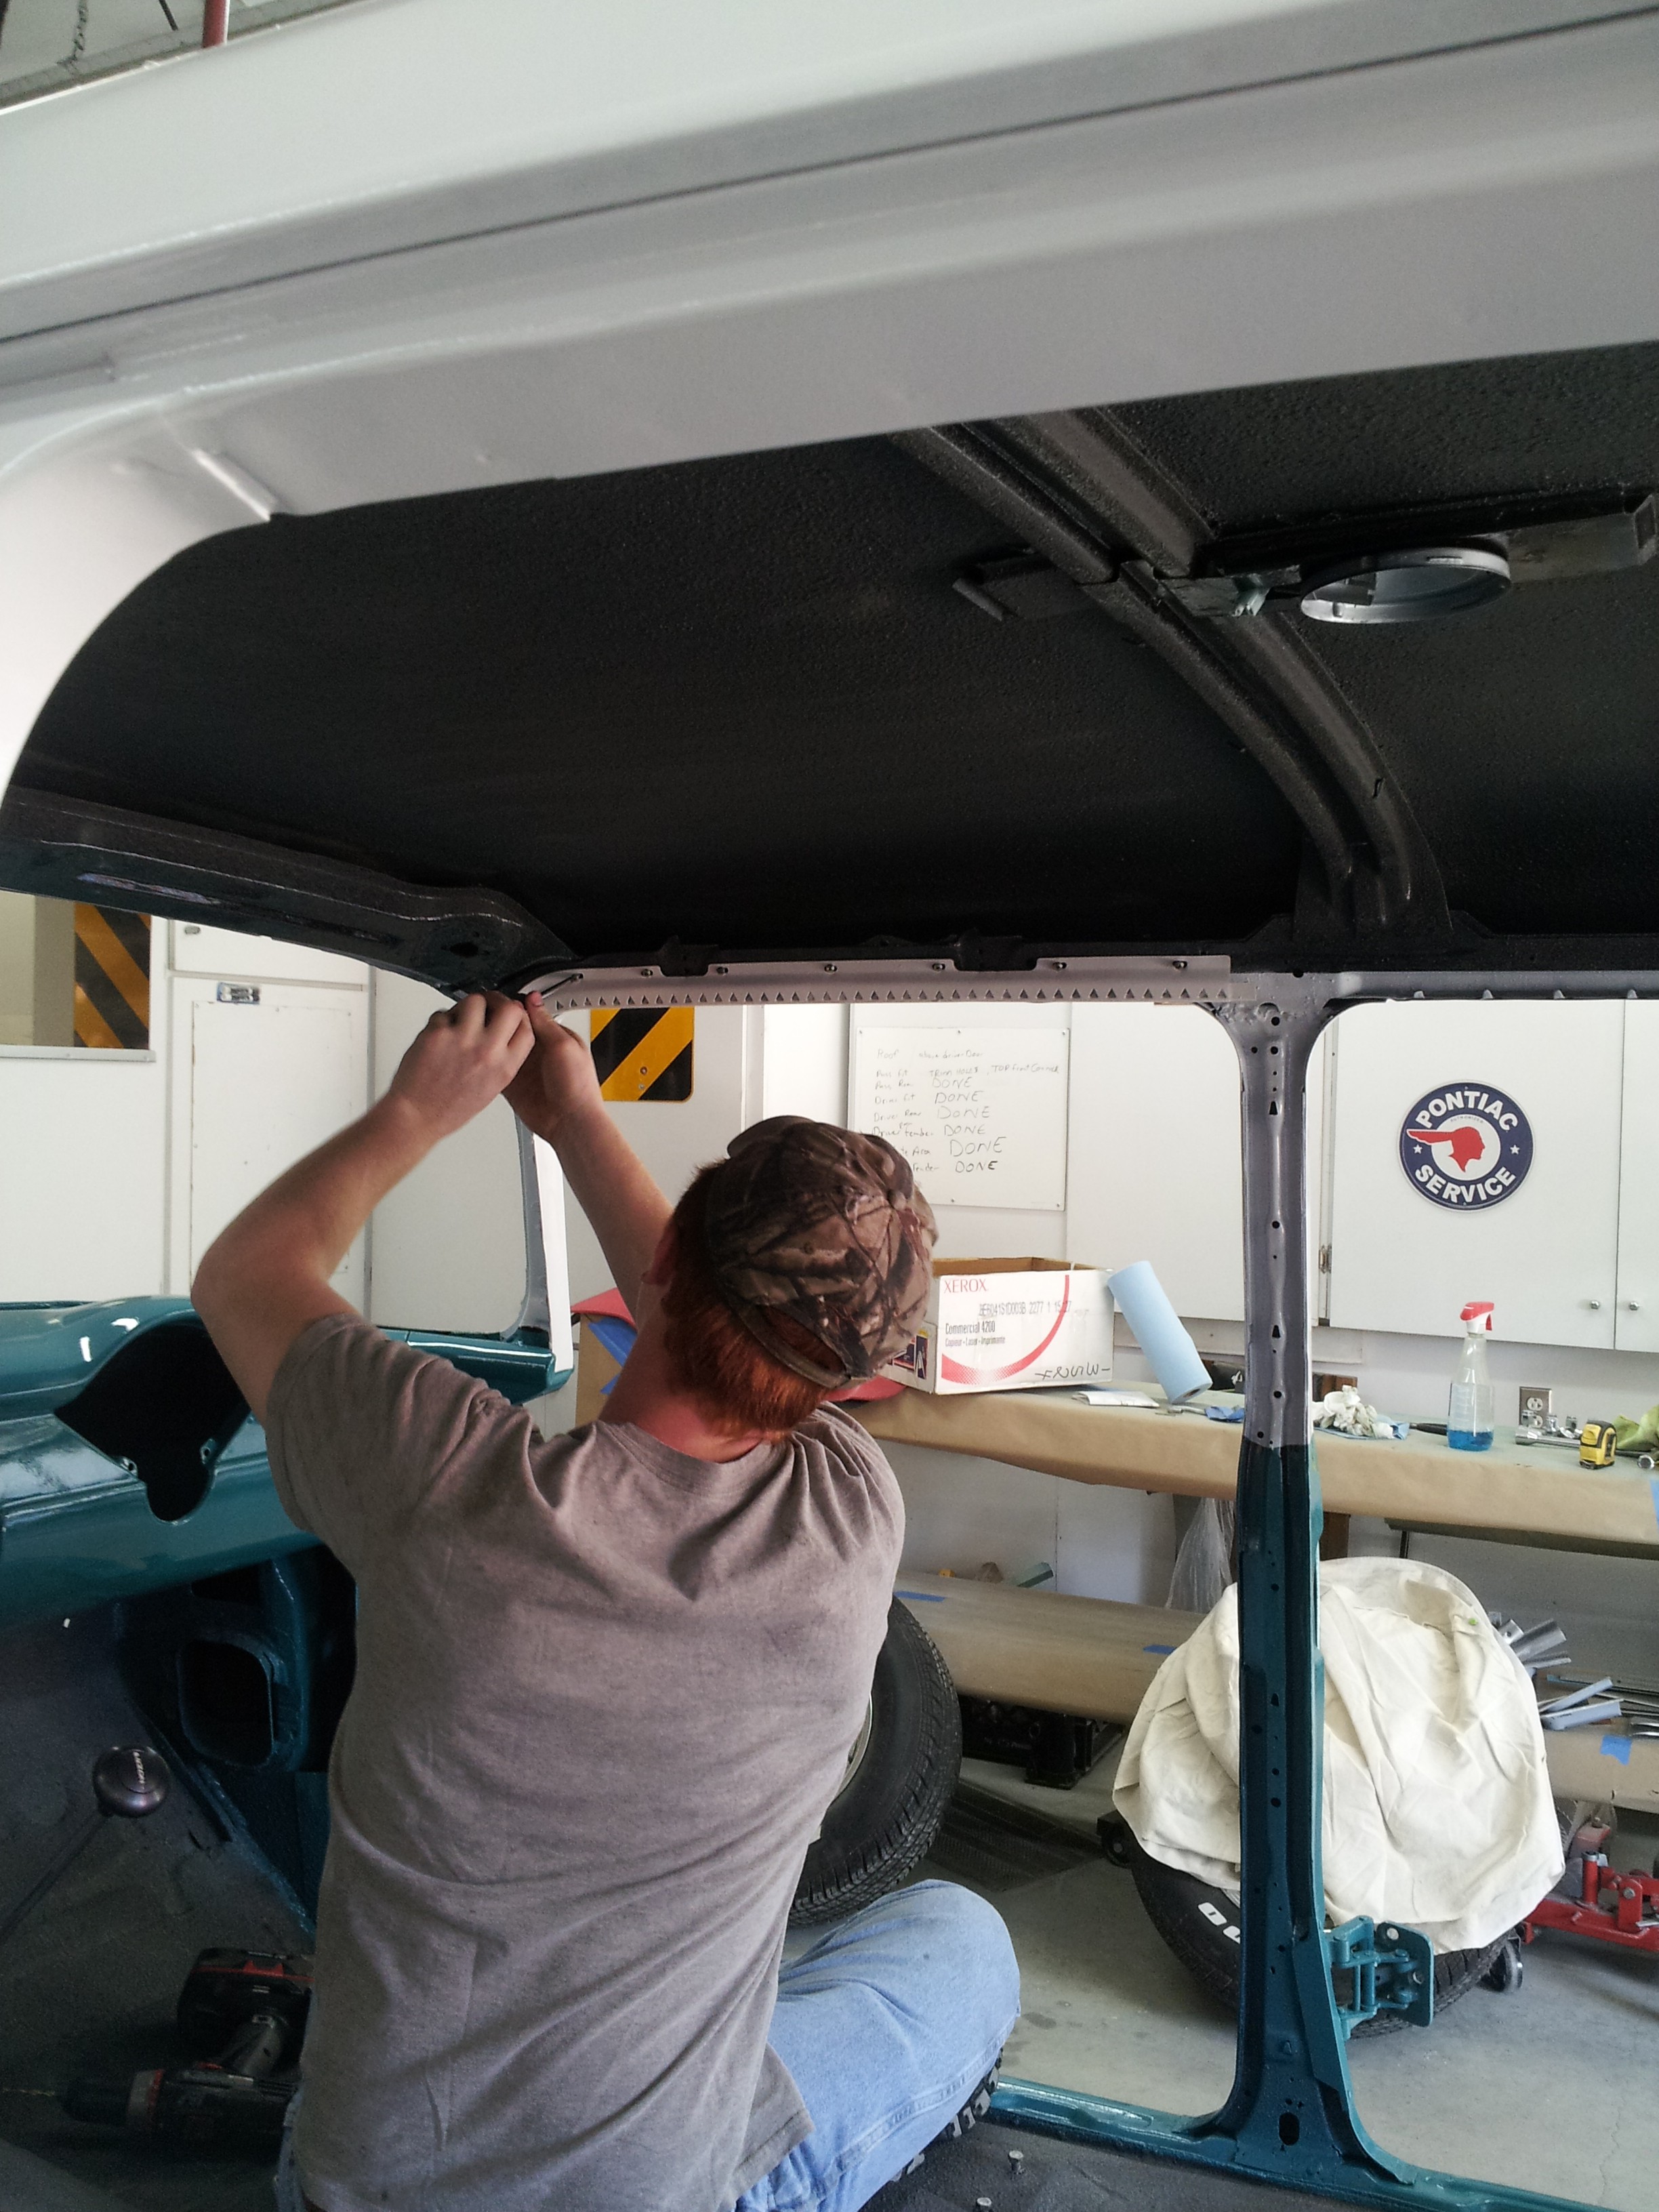
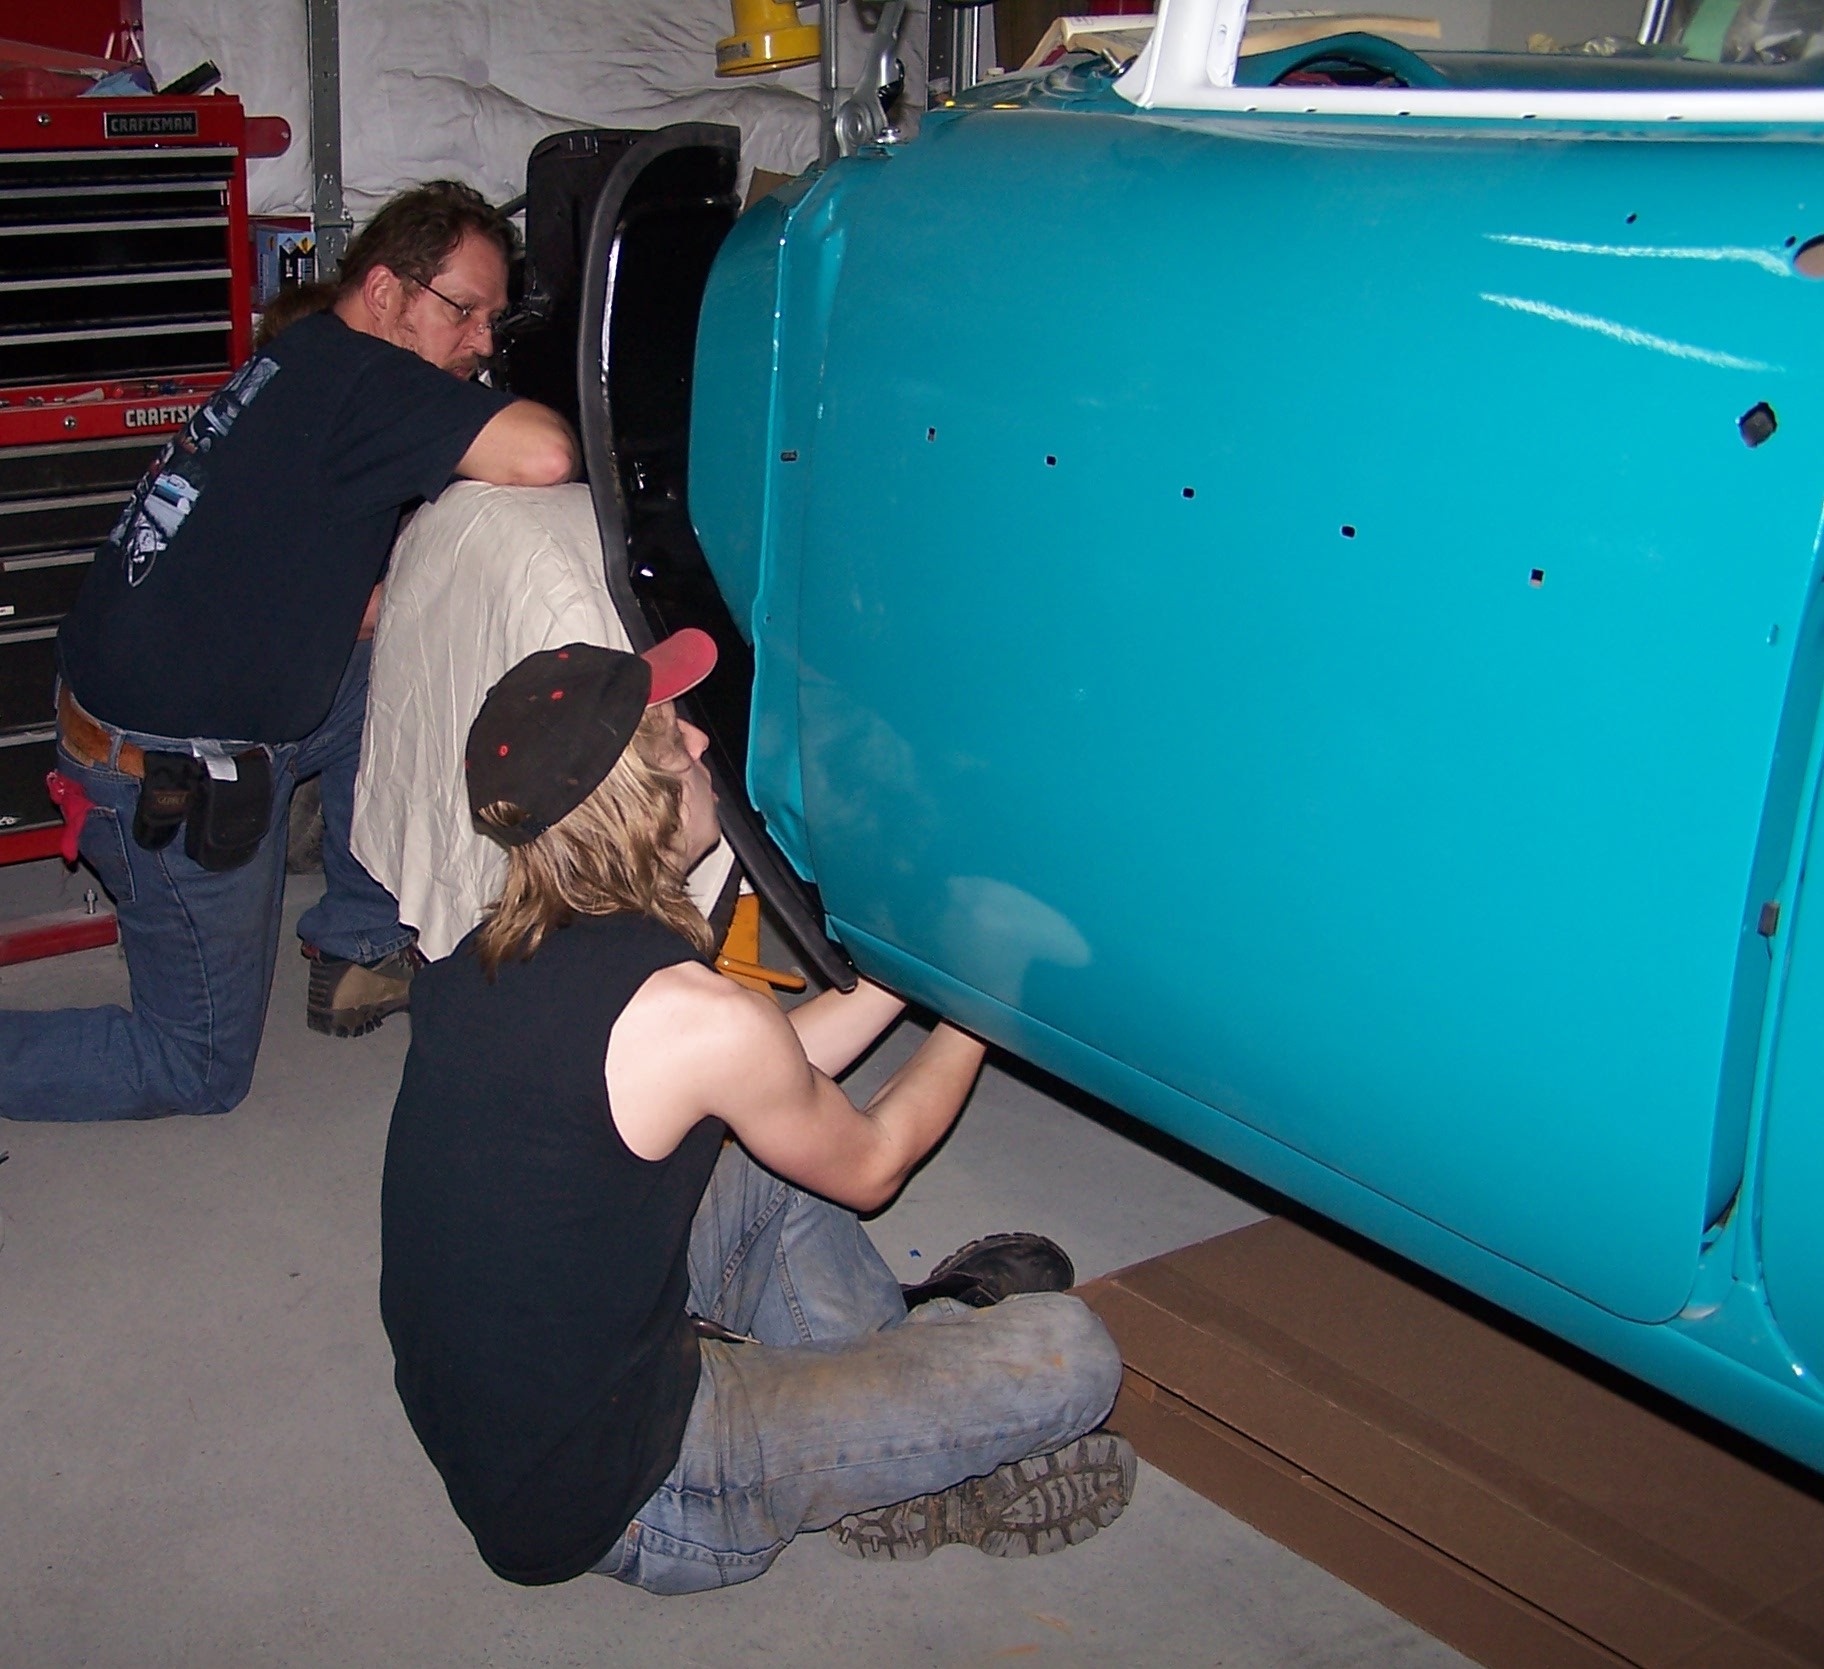
A friend of our son helped with the reinstallation of the headliner retainer strips.
|
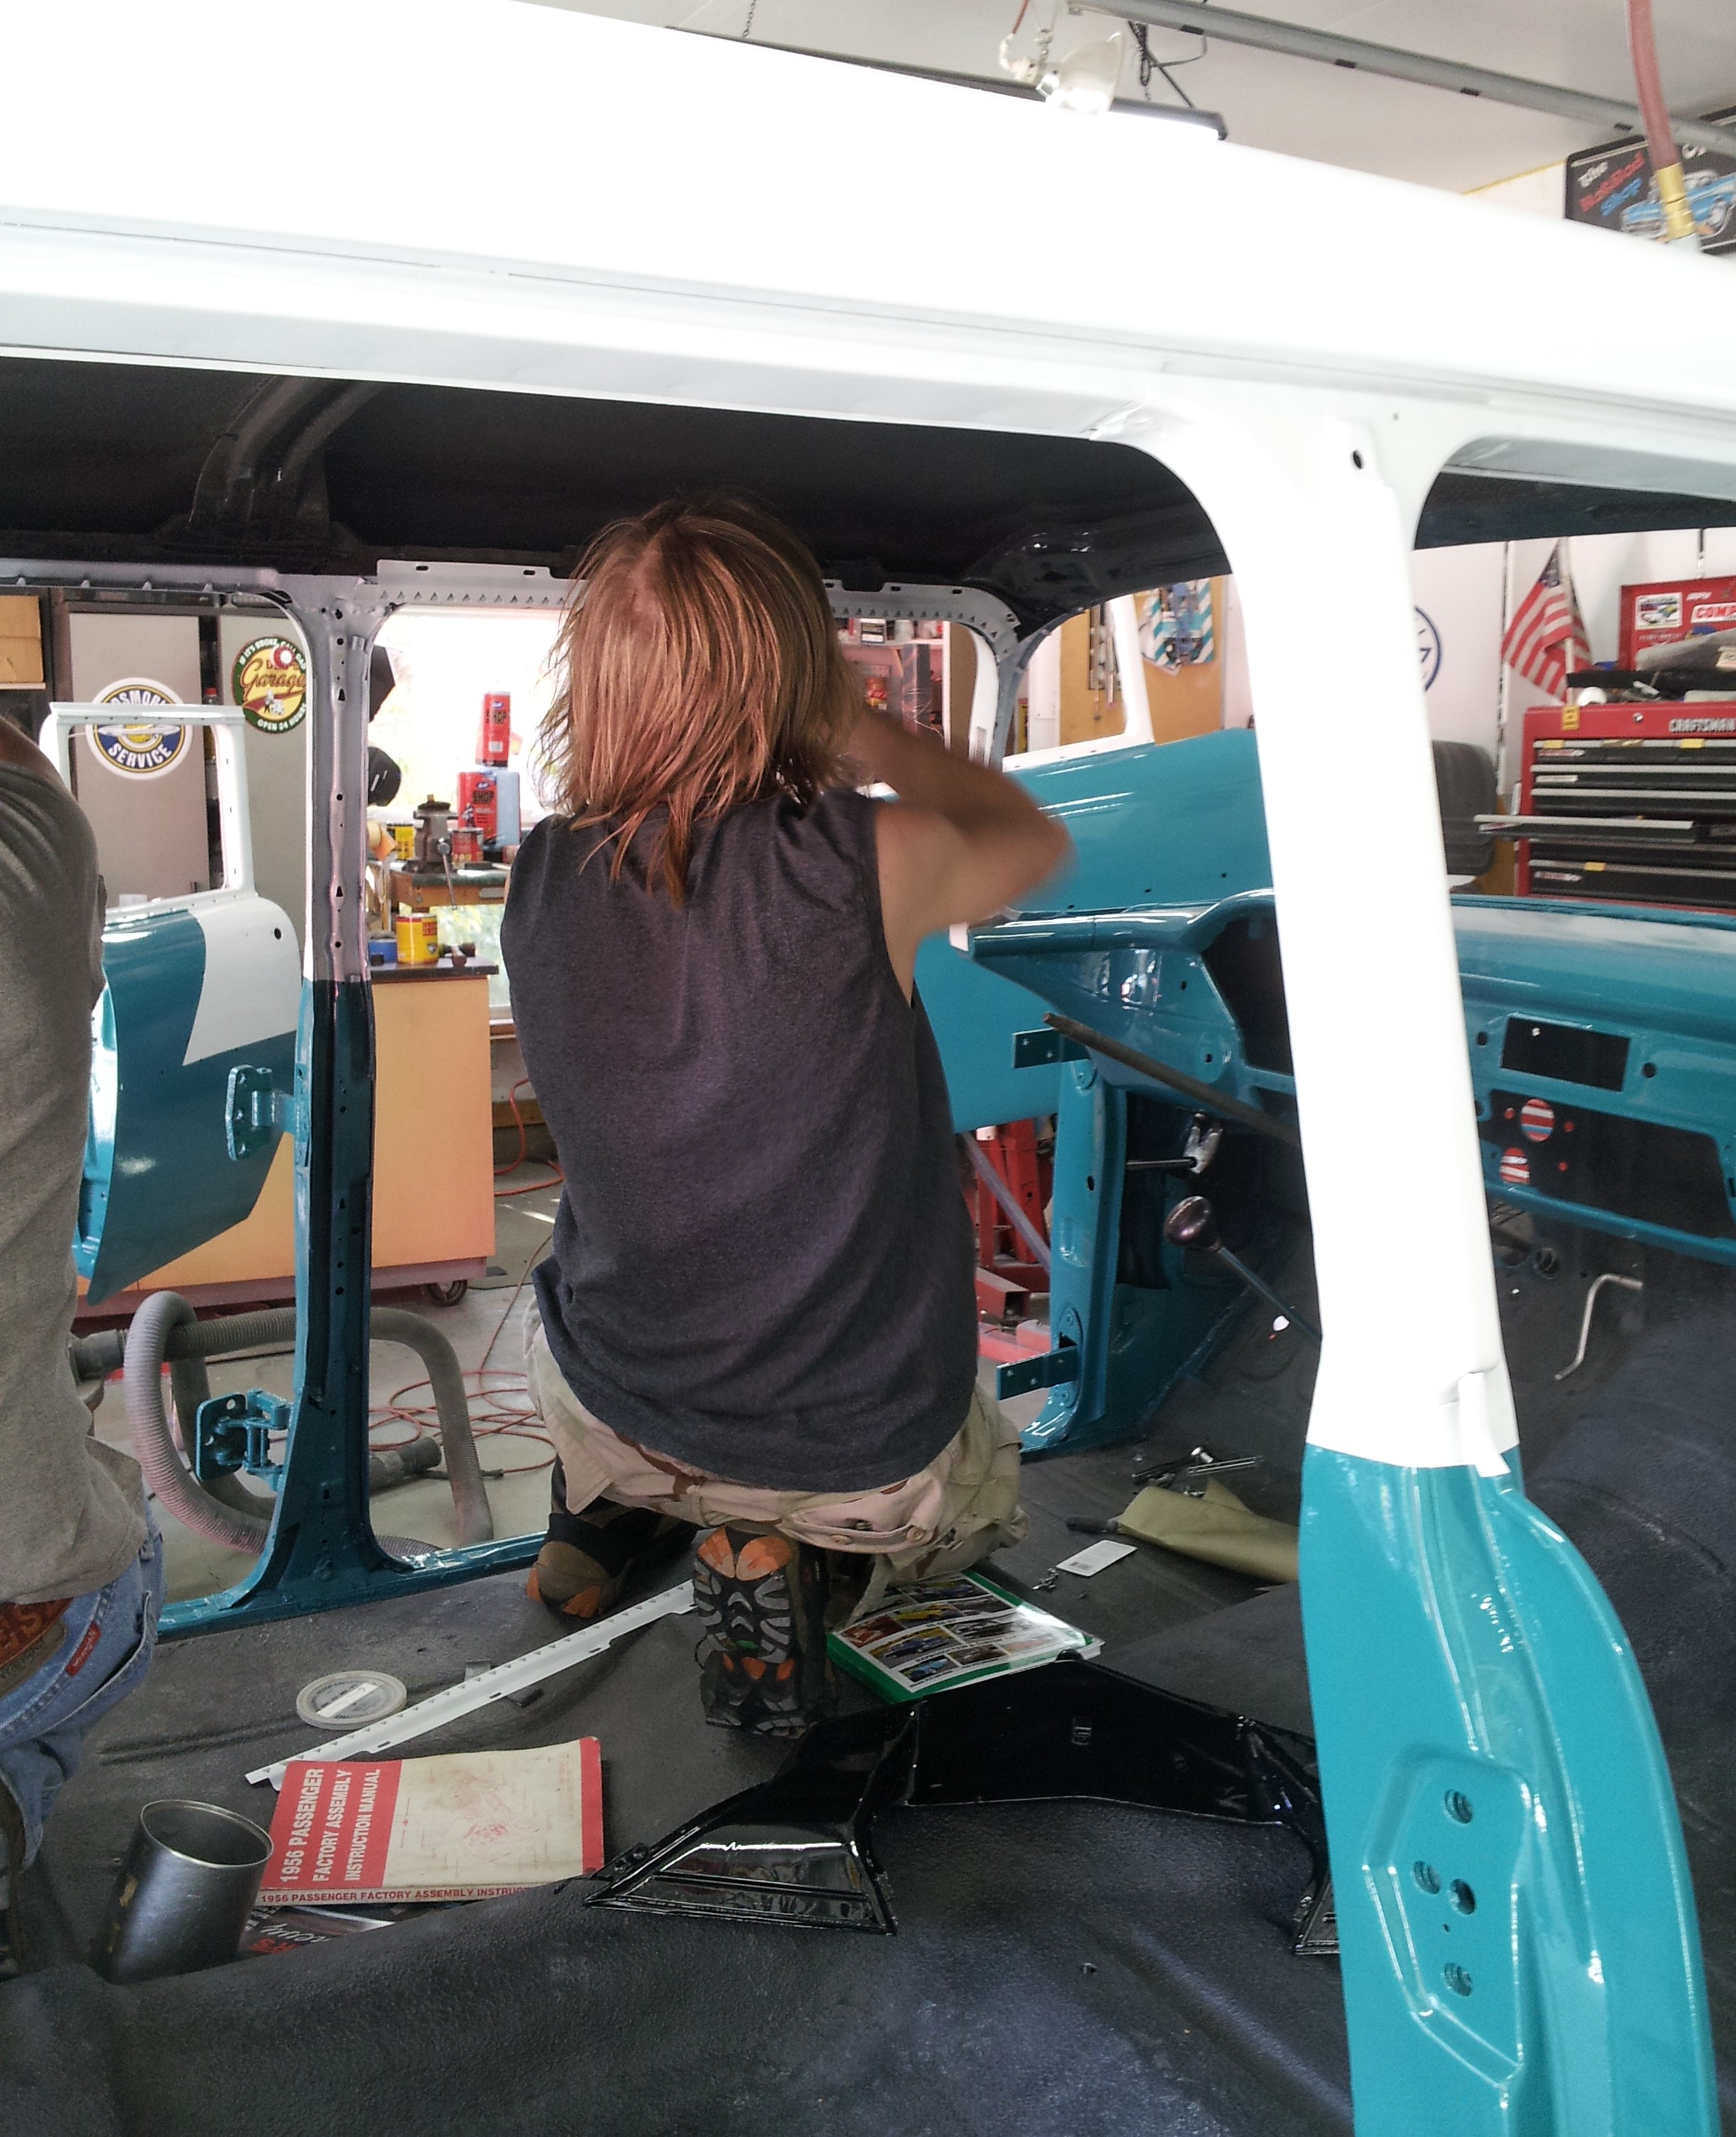
Our son did the driver side headliner retainer strips while his friend worked on the passenger side.
|
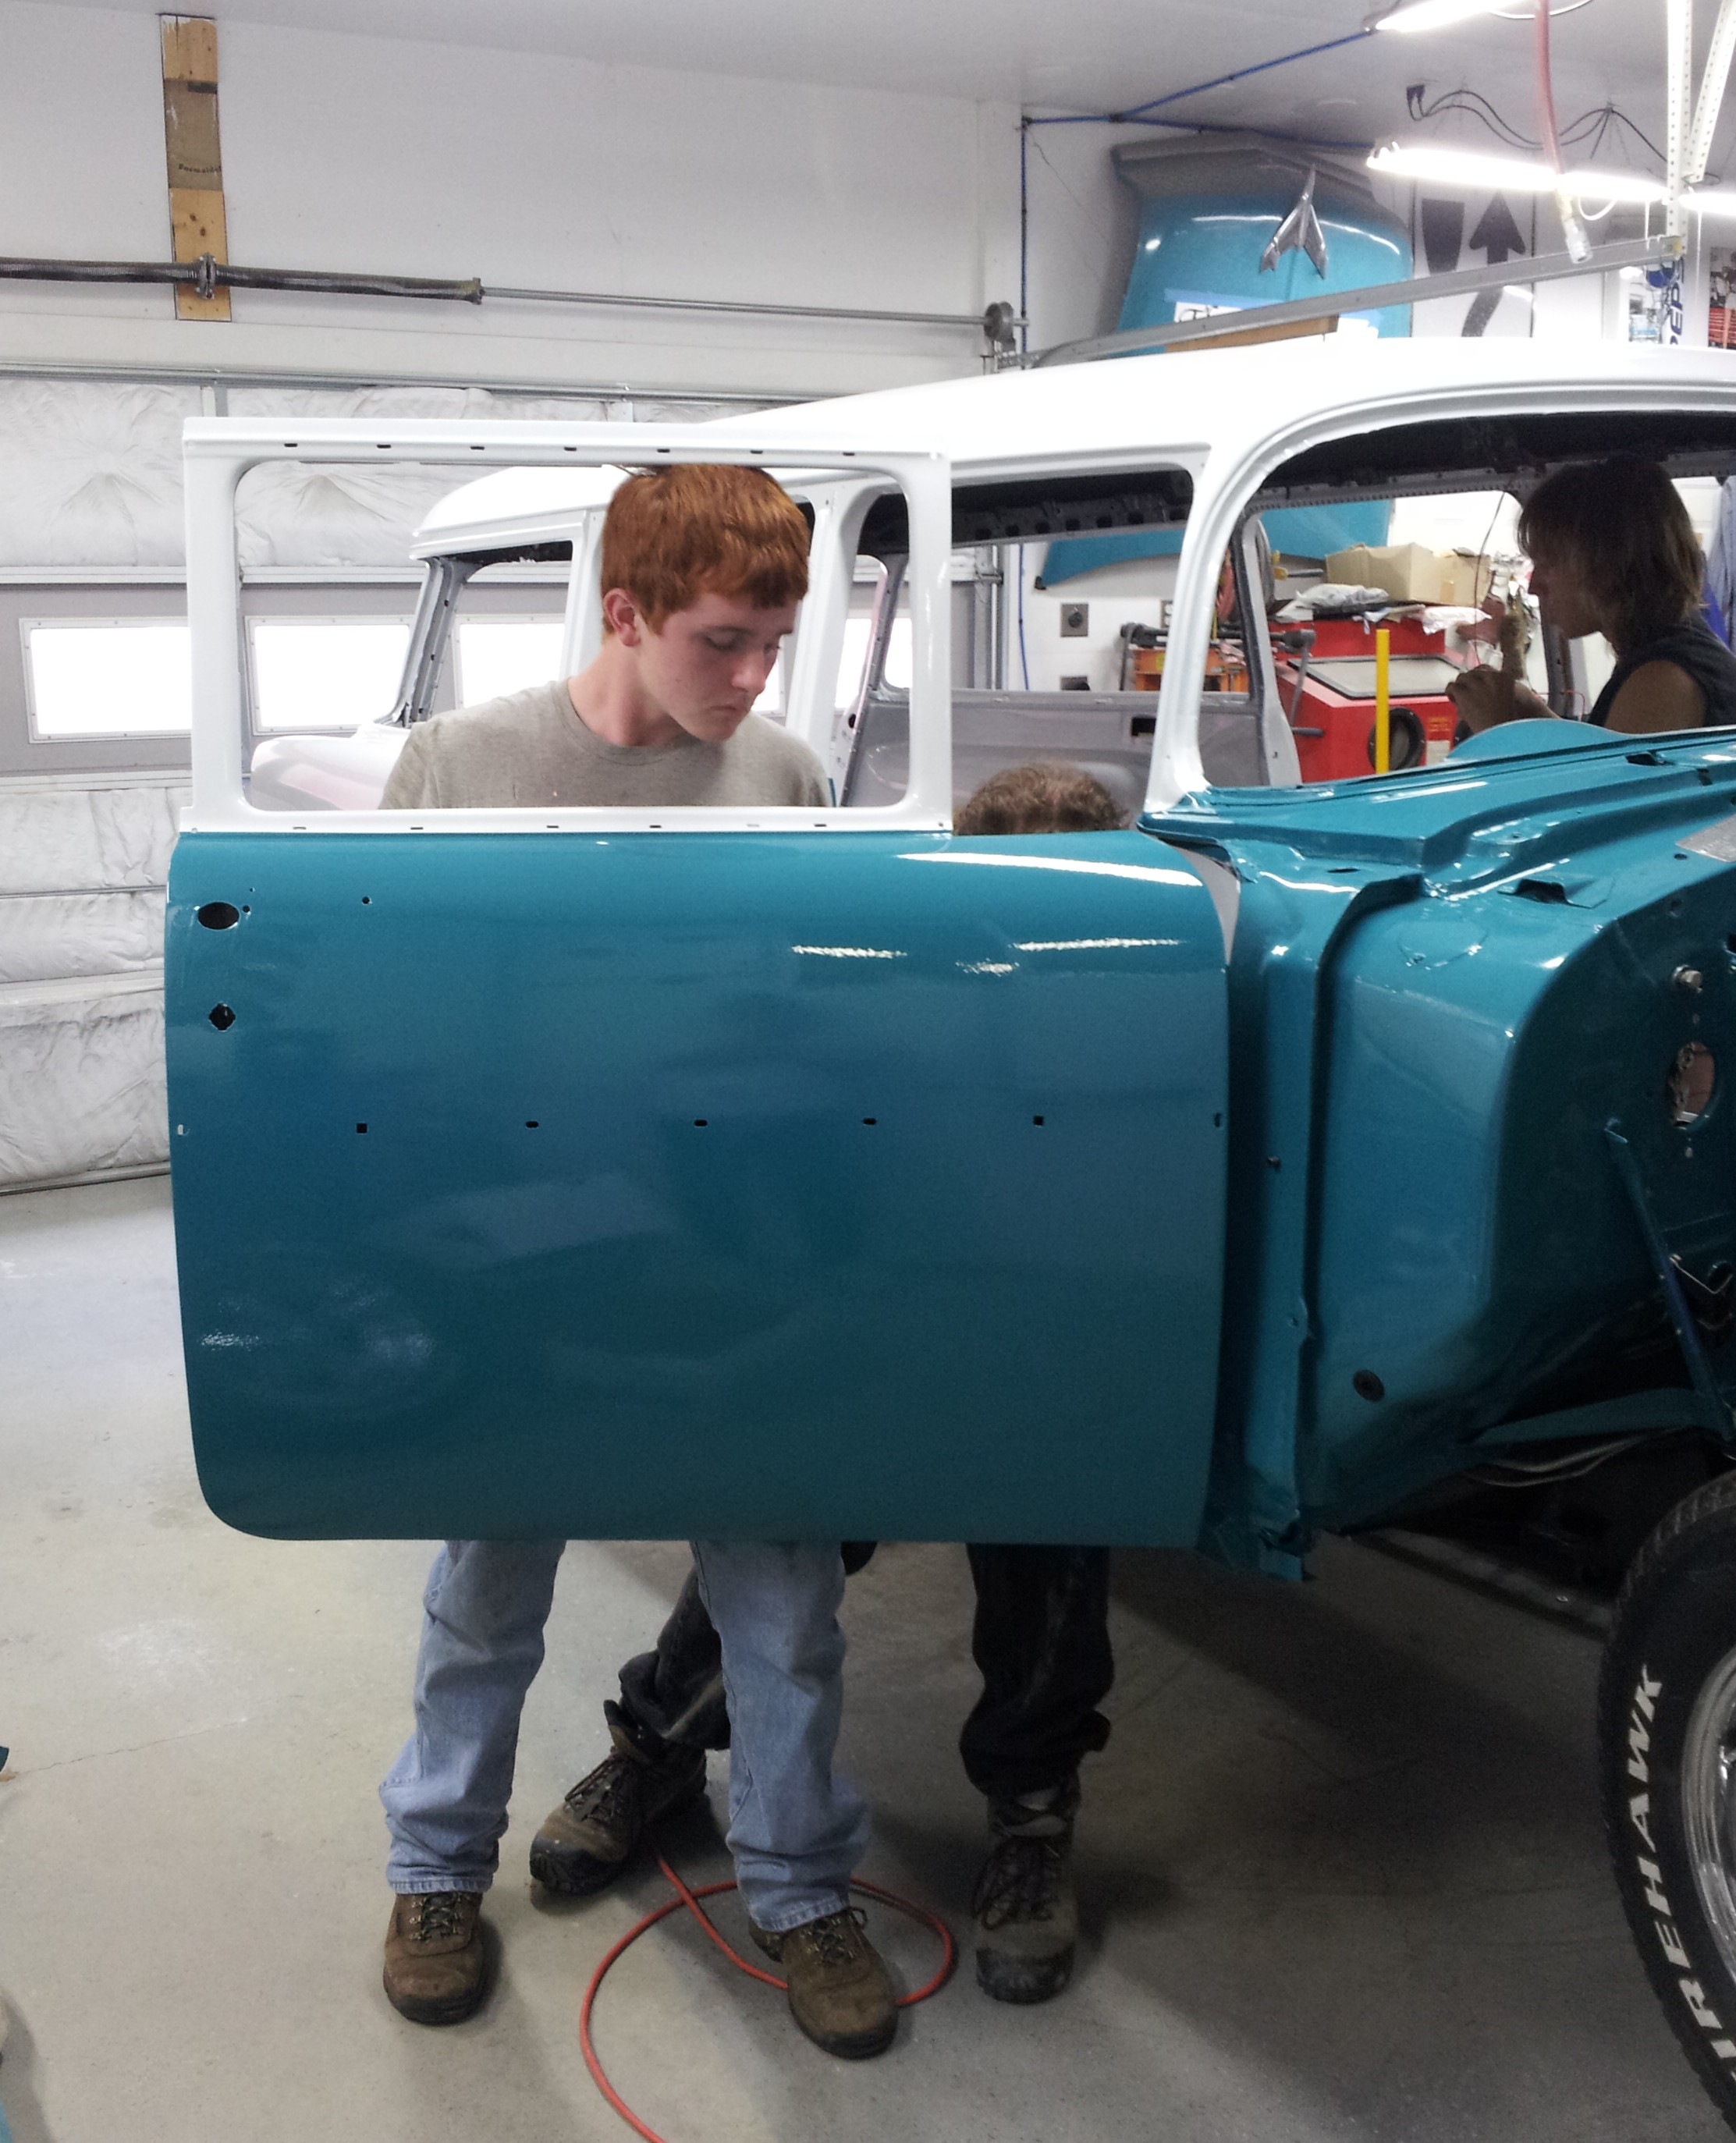
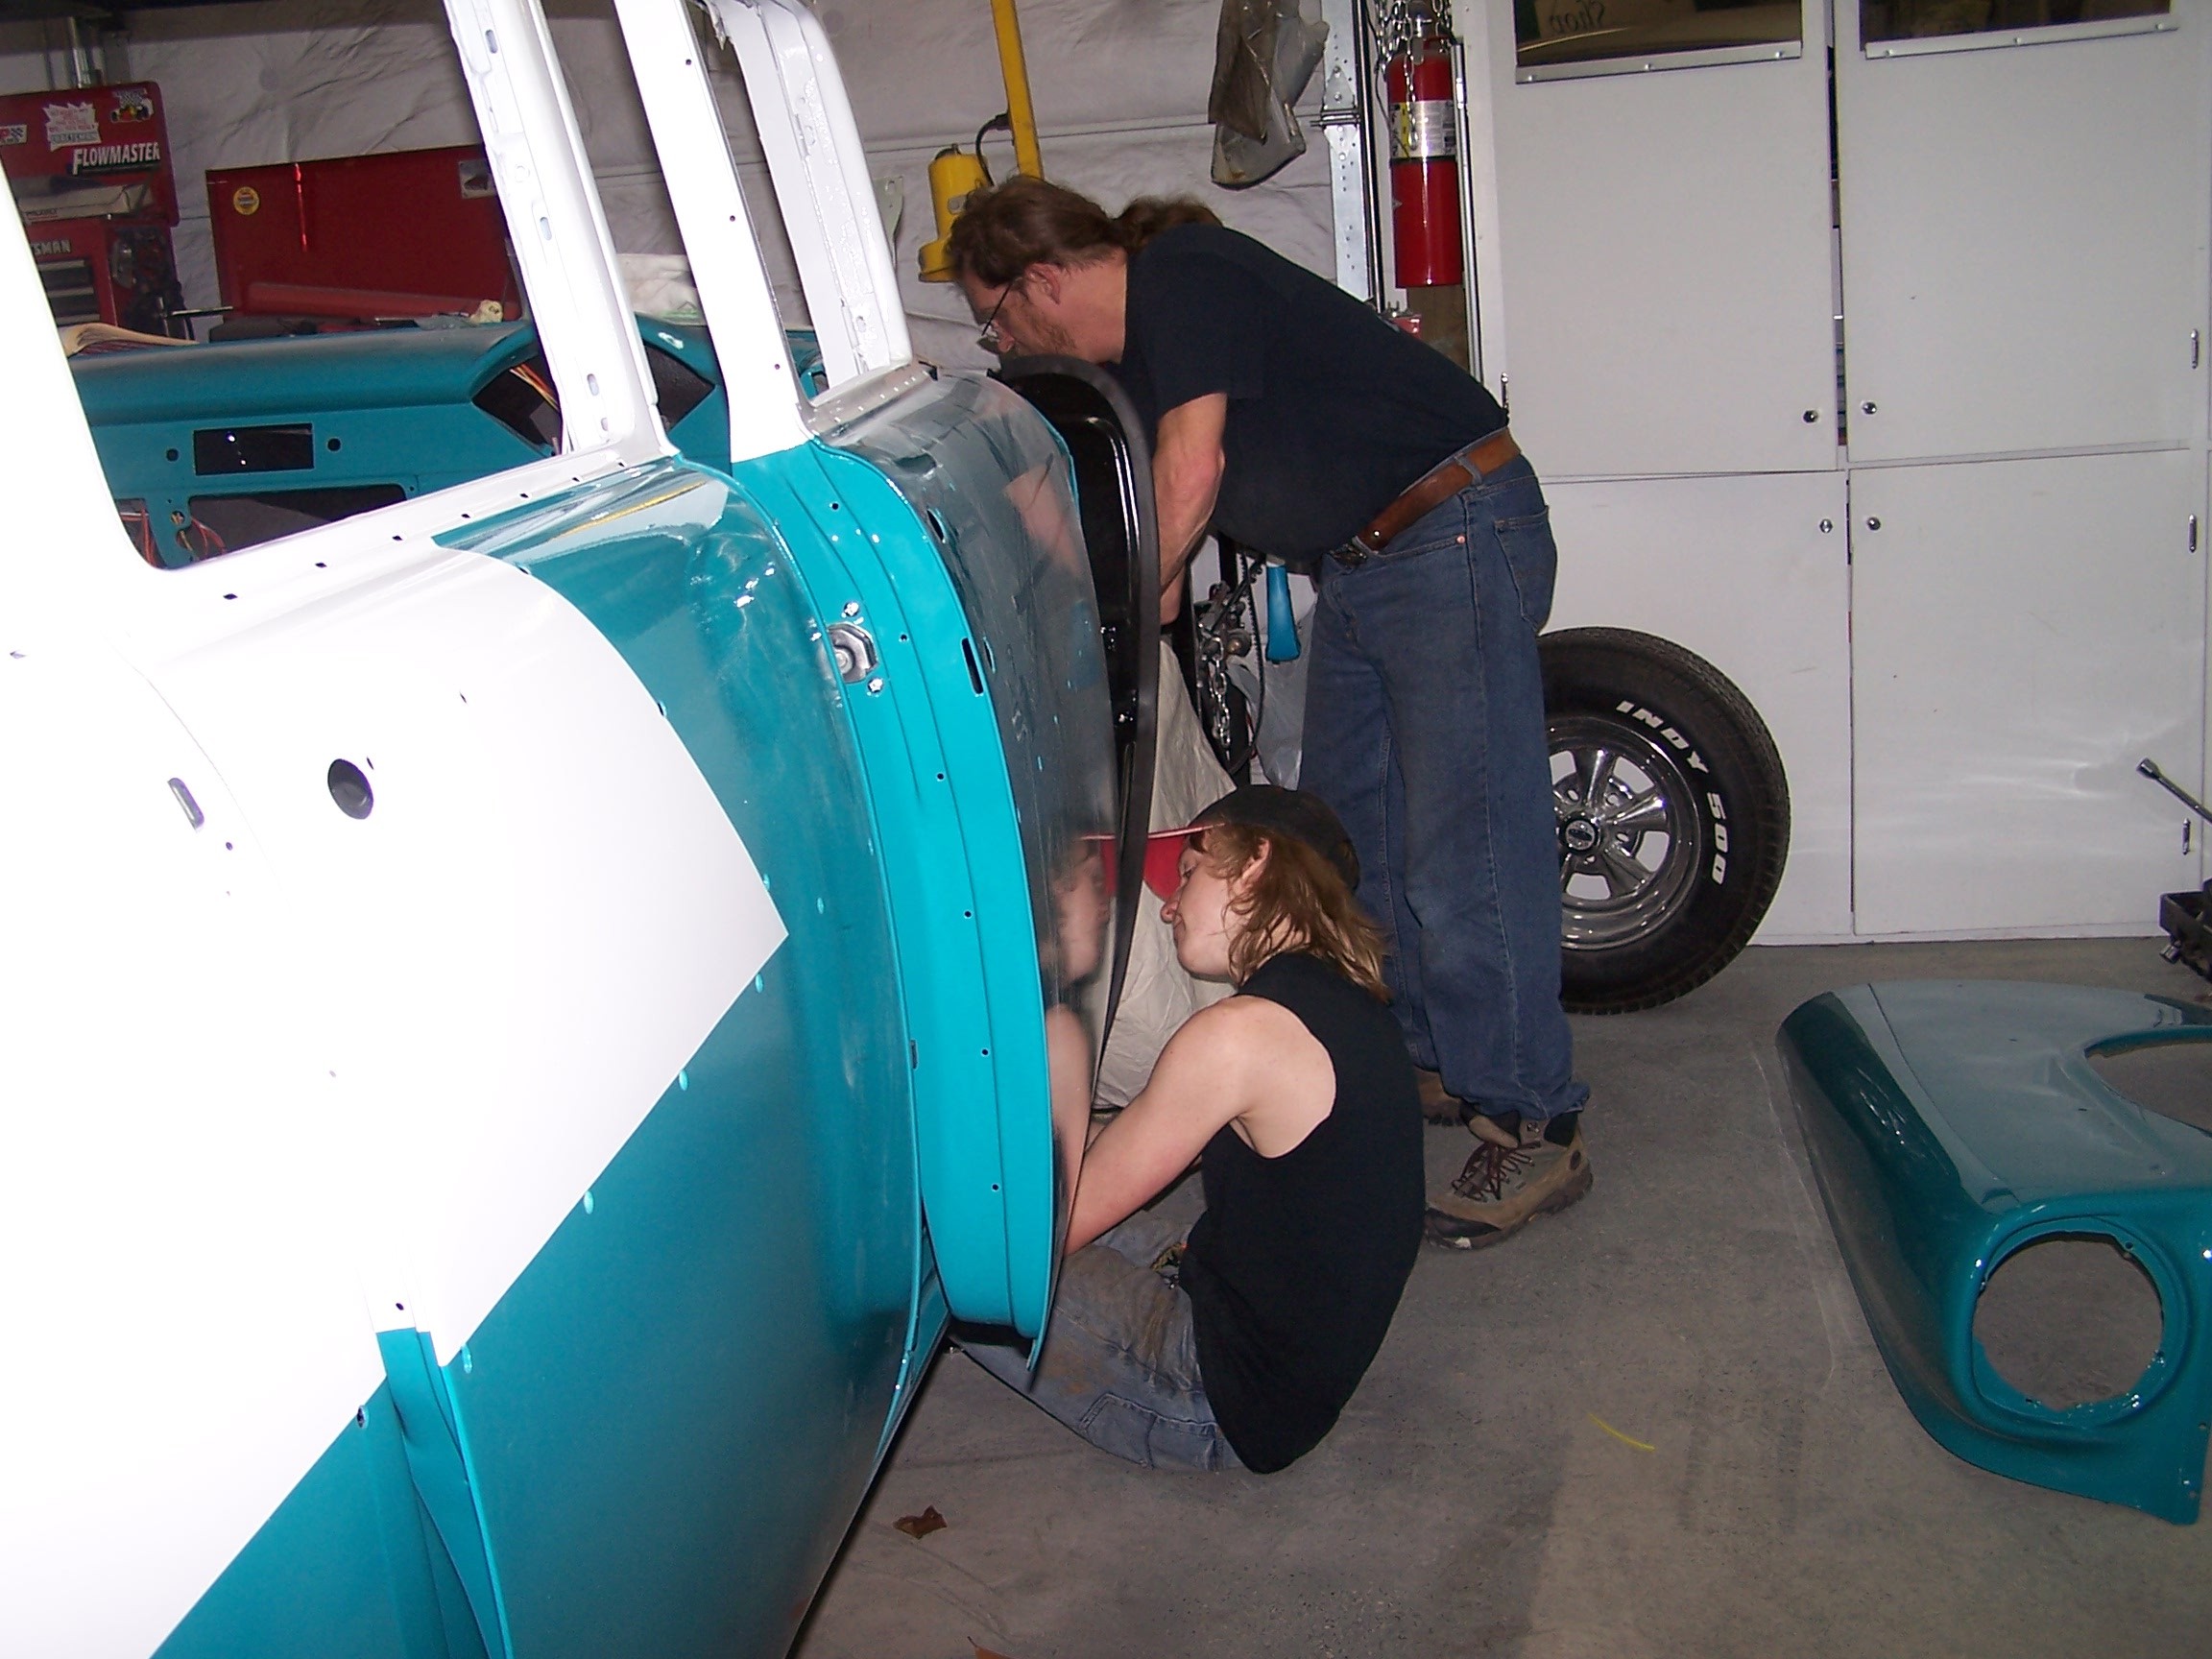
A friend helps rehang the passenger front door.
|
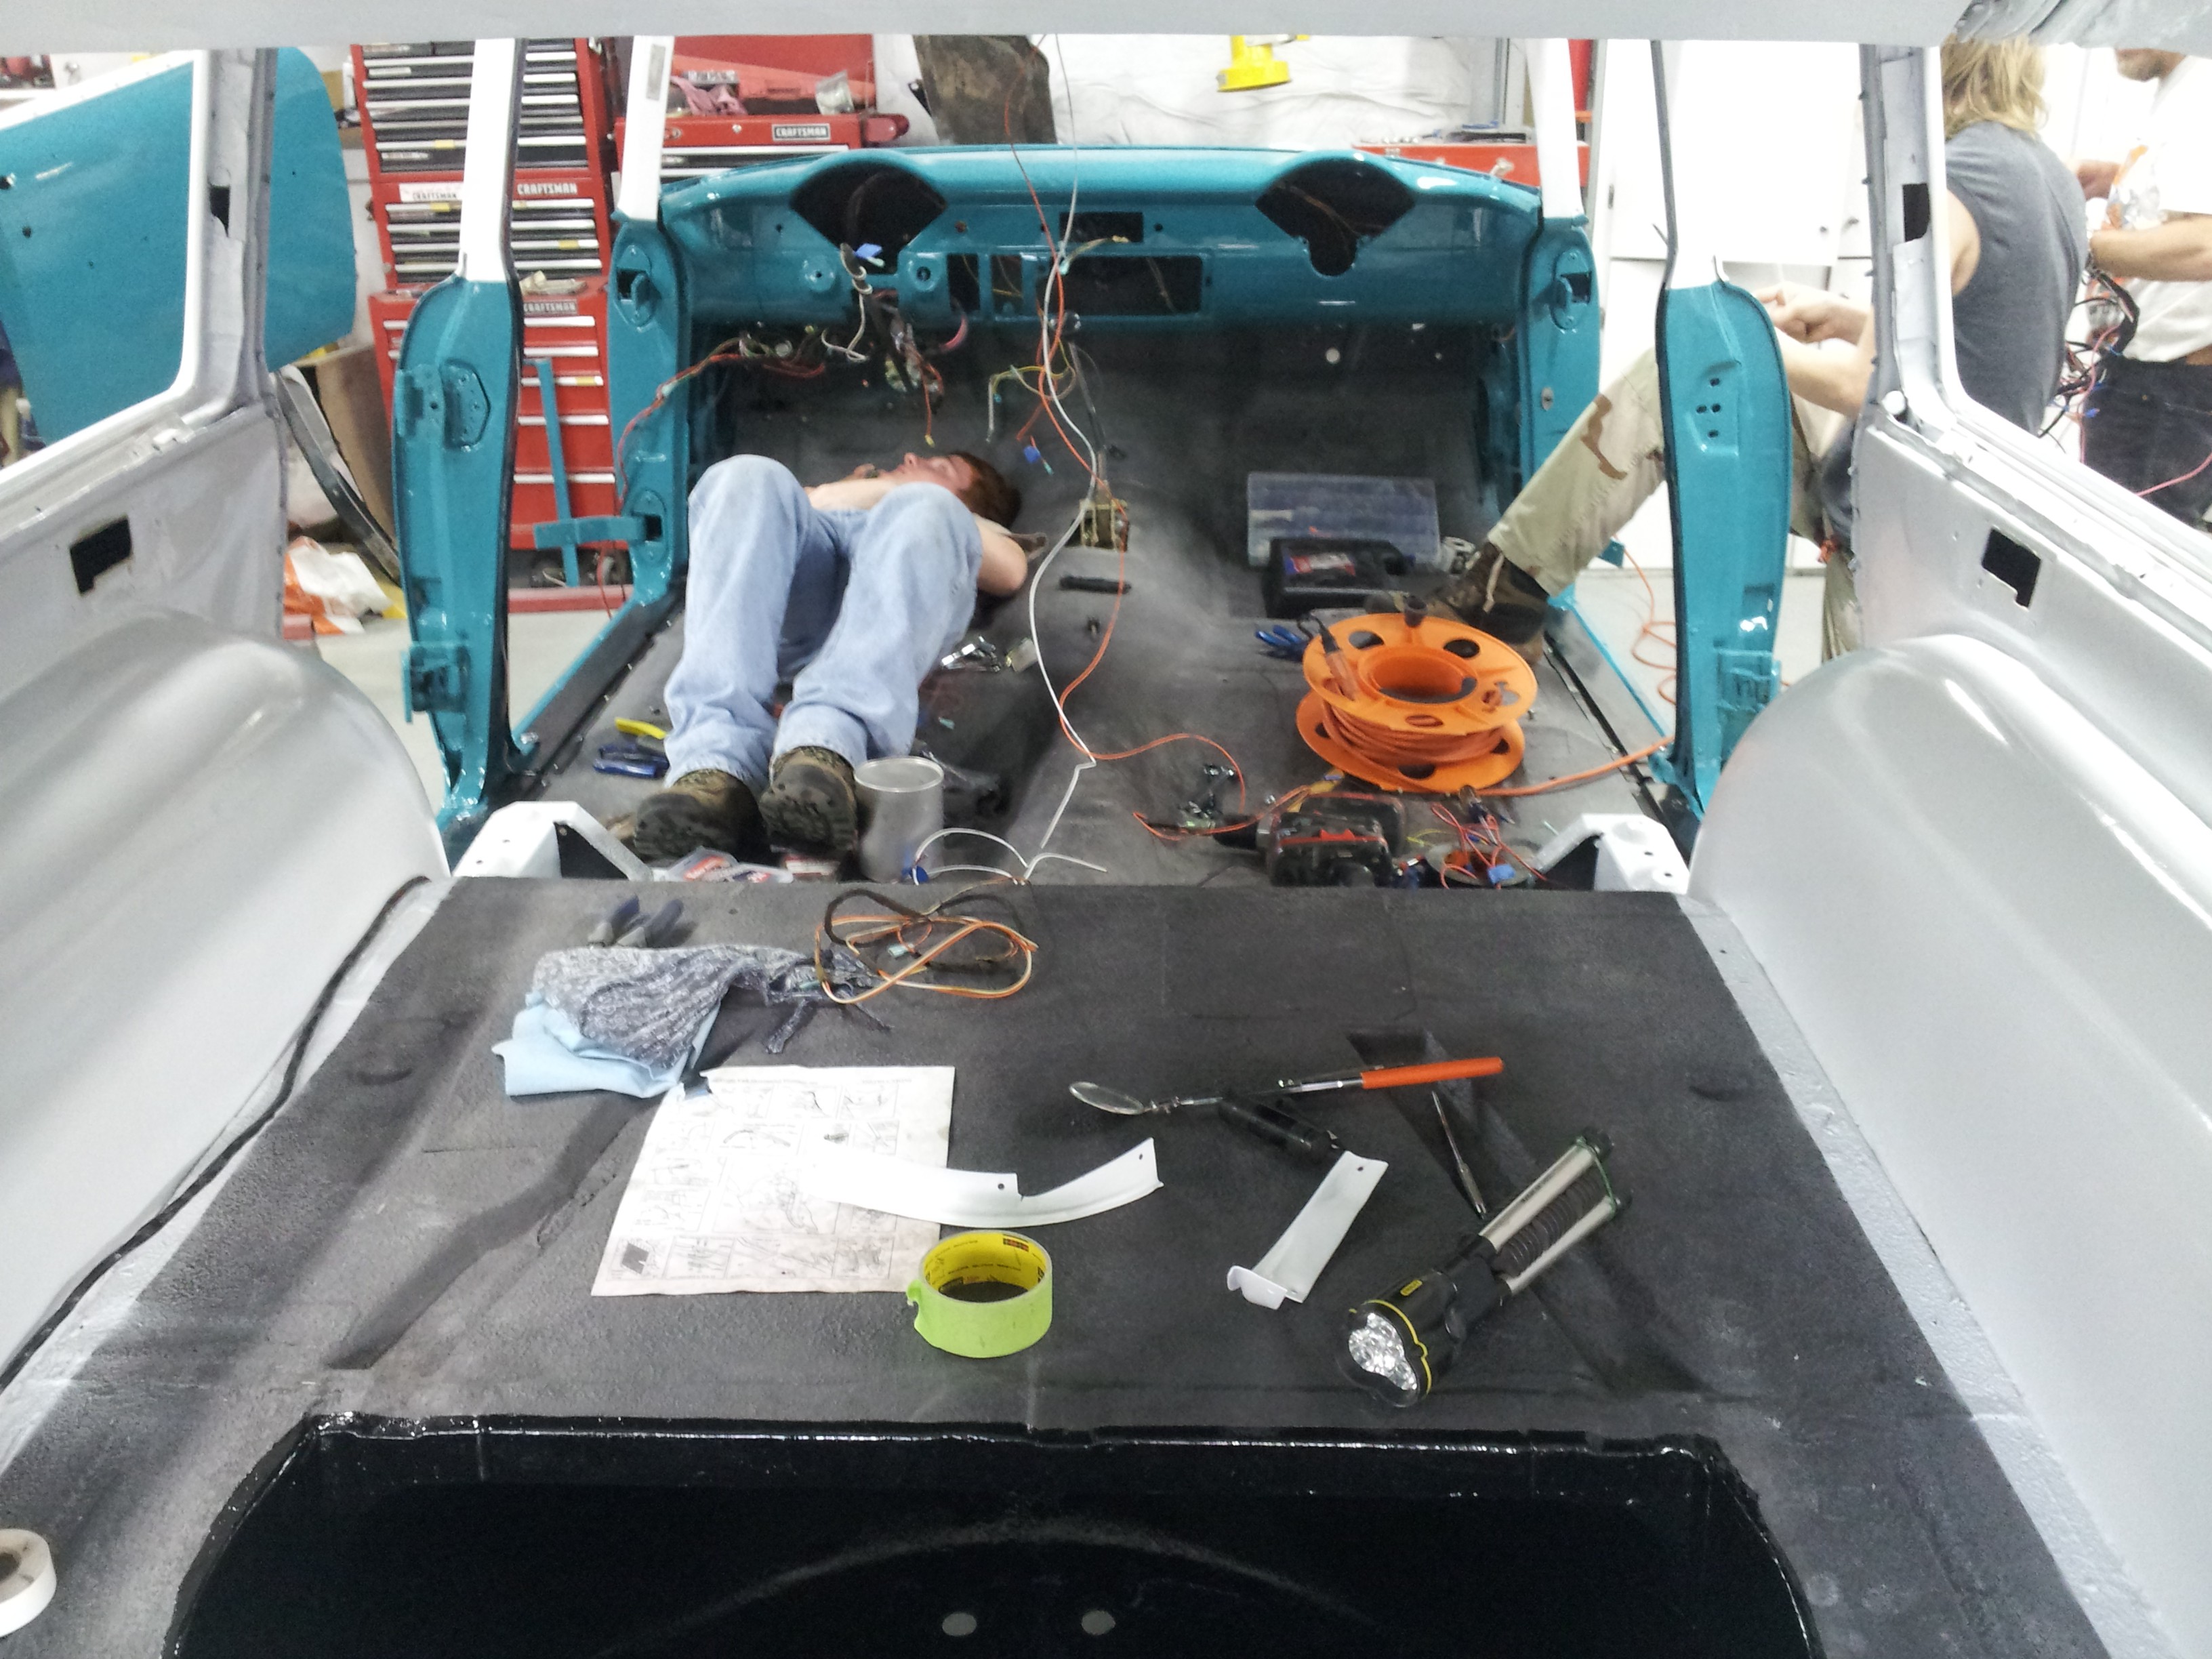
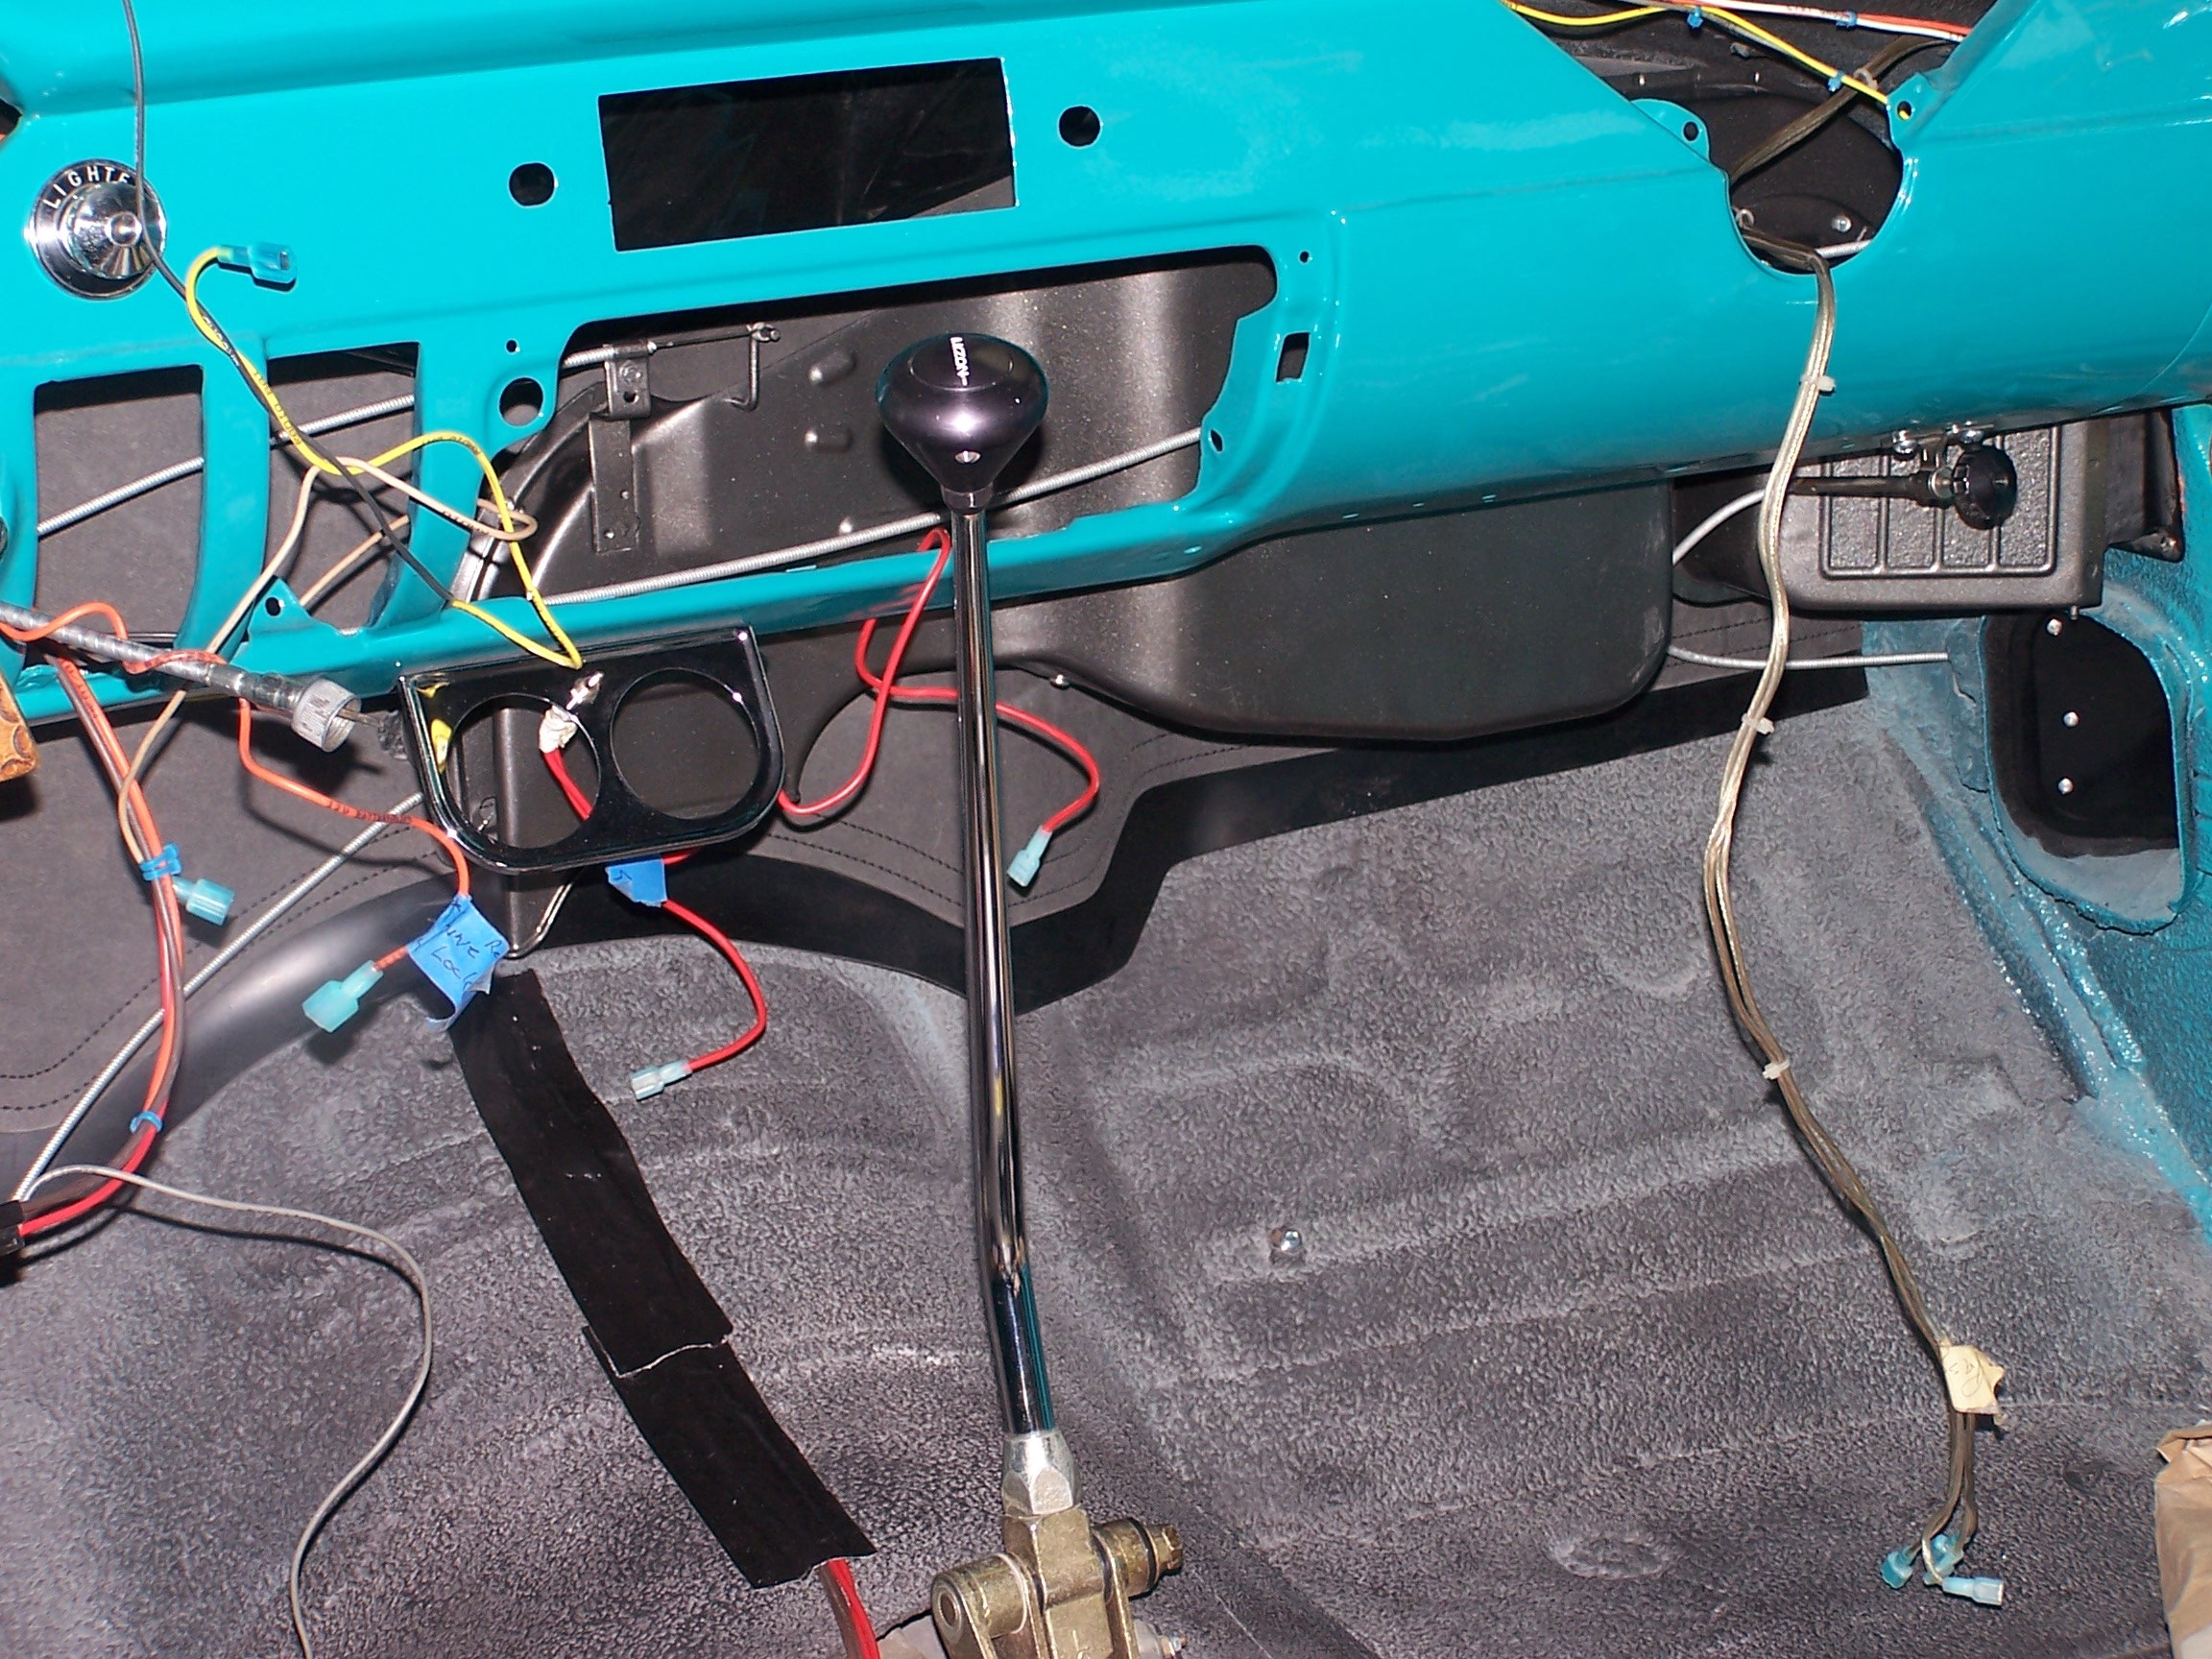
The dash wiring harness was the first of the wiring harnesses to get started on.
|
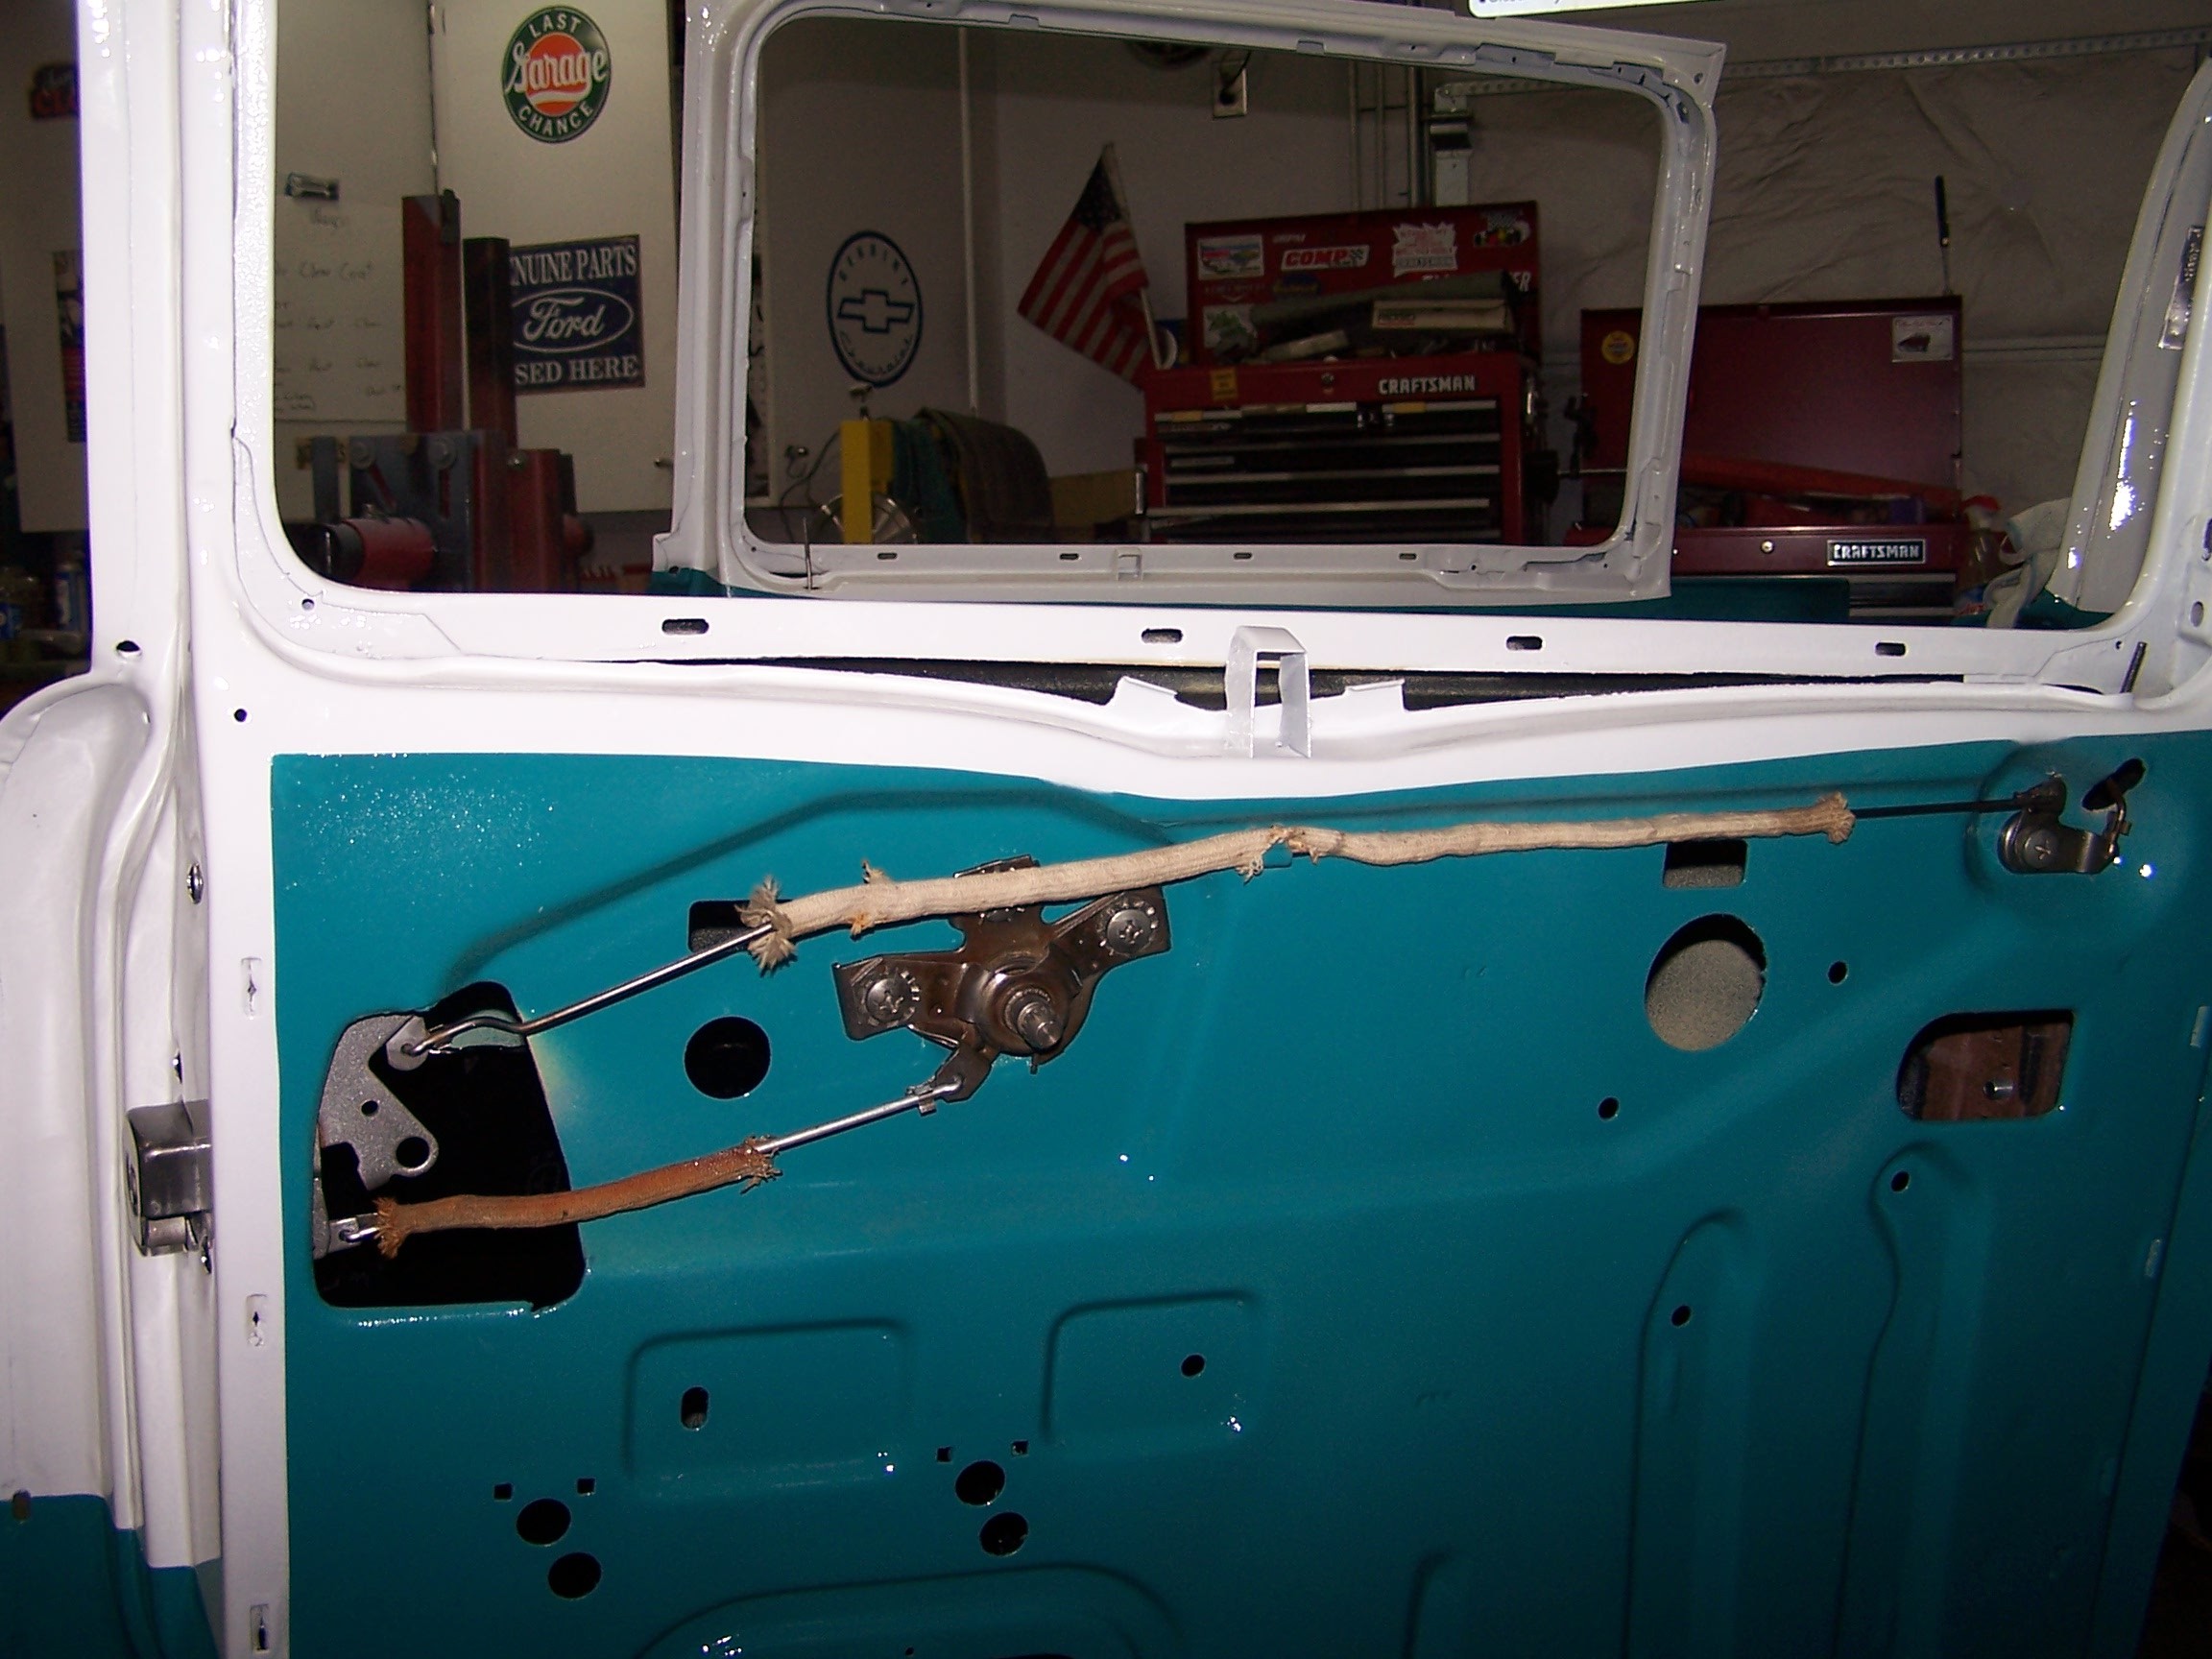
The driver door was rehung and the latch attached to allow for alignment to the body.
|
The rear driver door was rehung and the latch attached.
|
The passenger rear door was rehung as well.
|

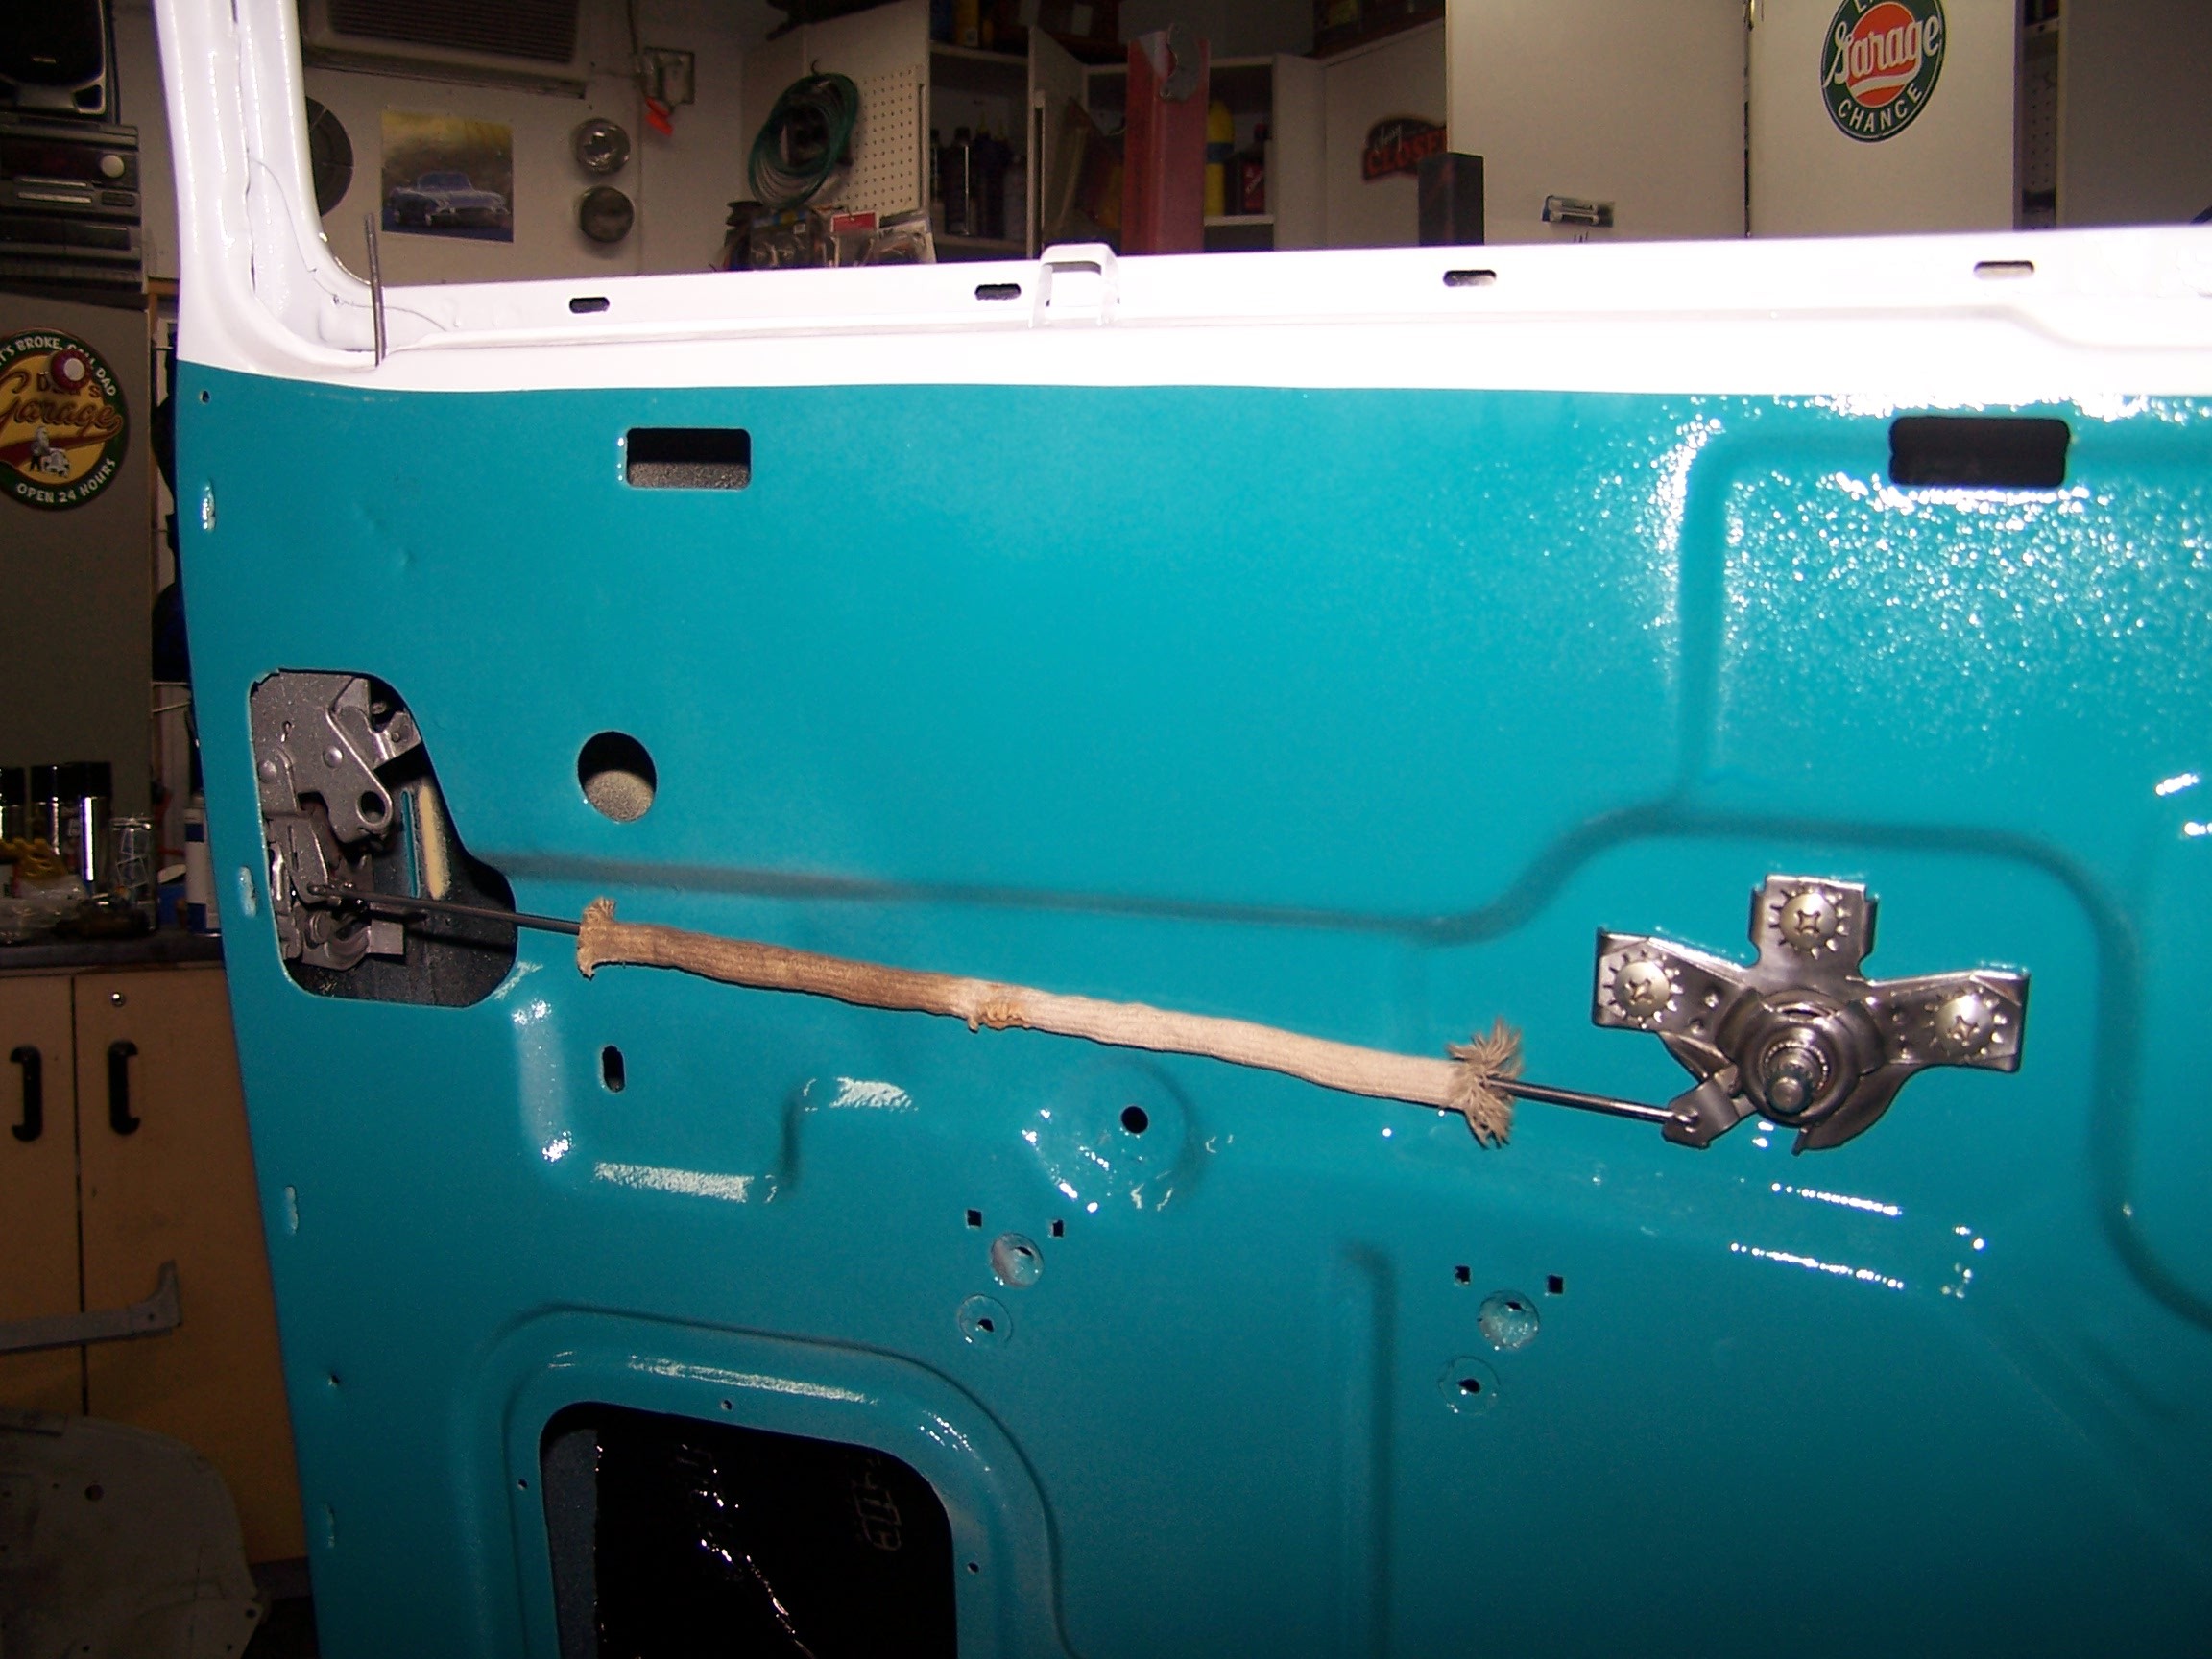
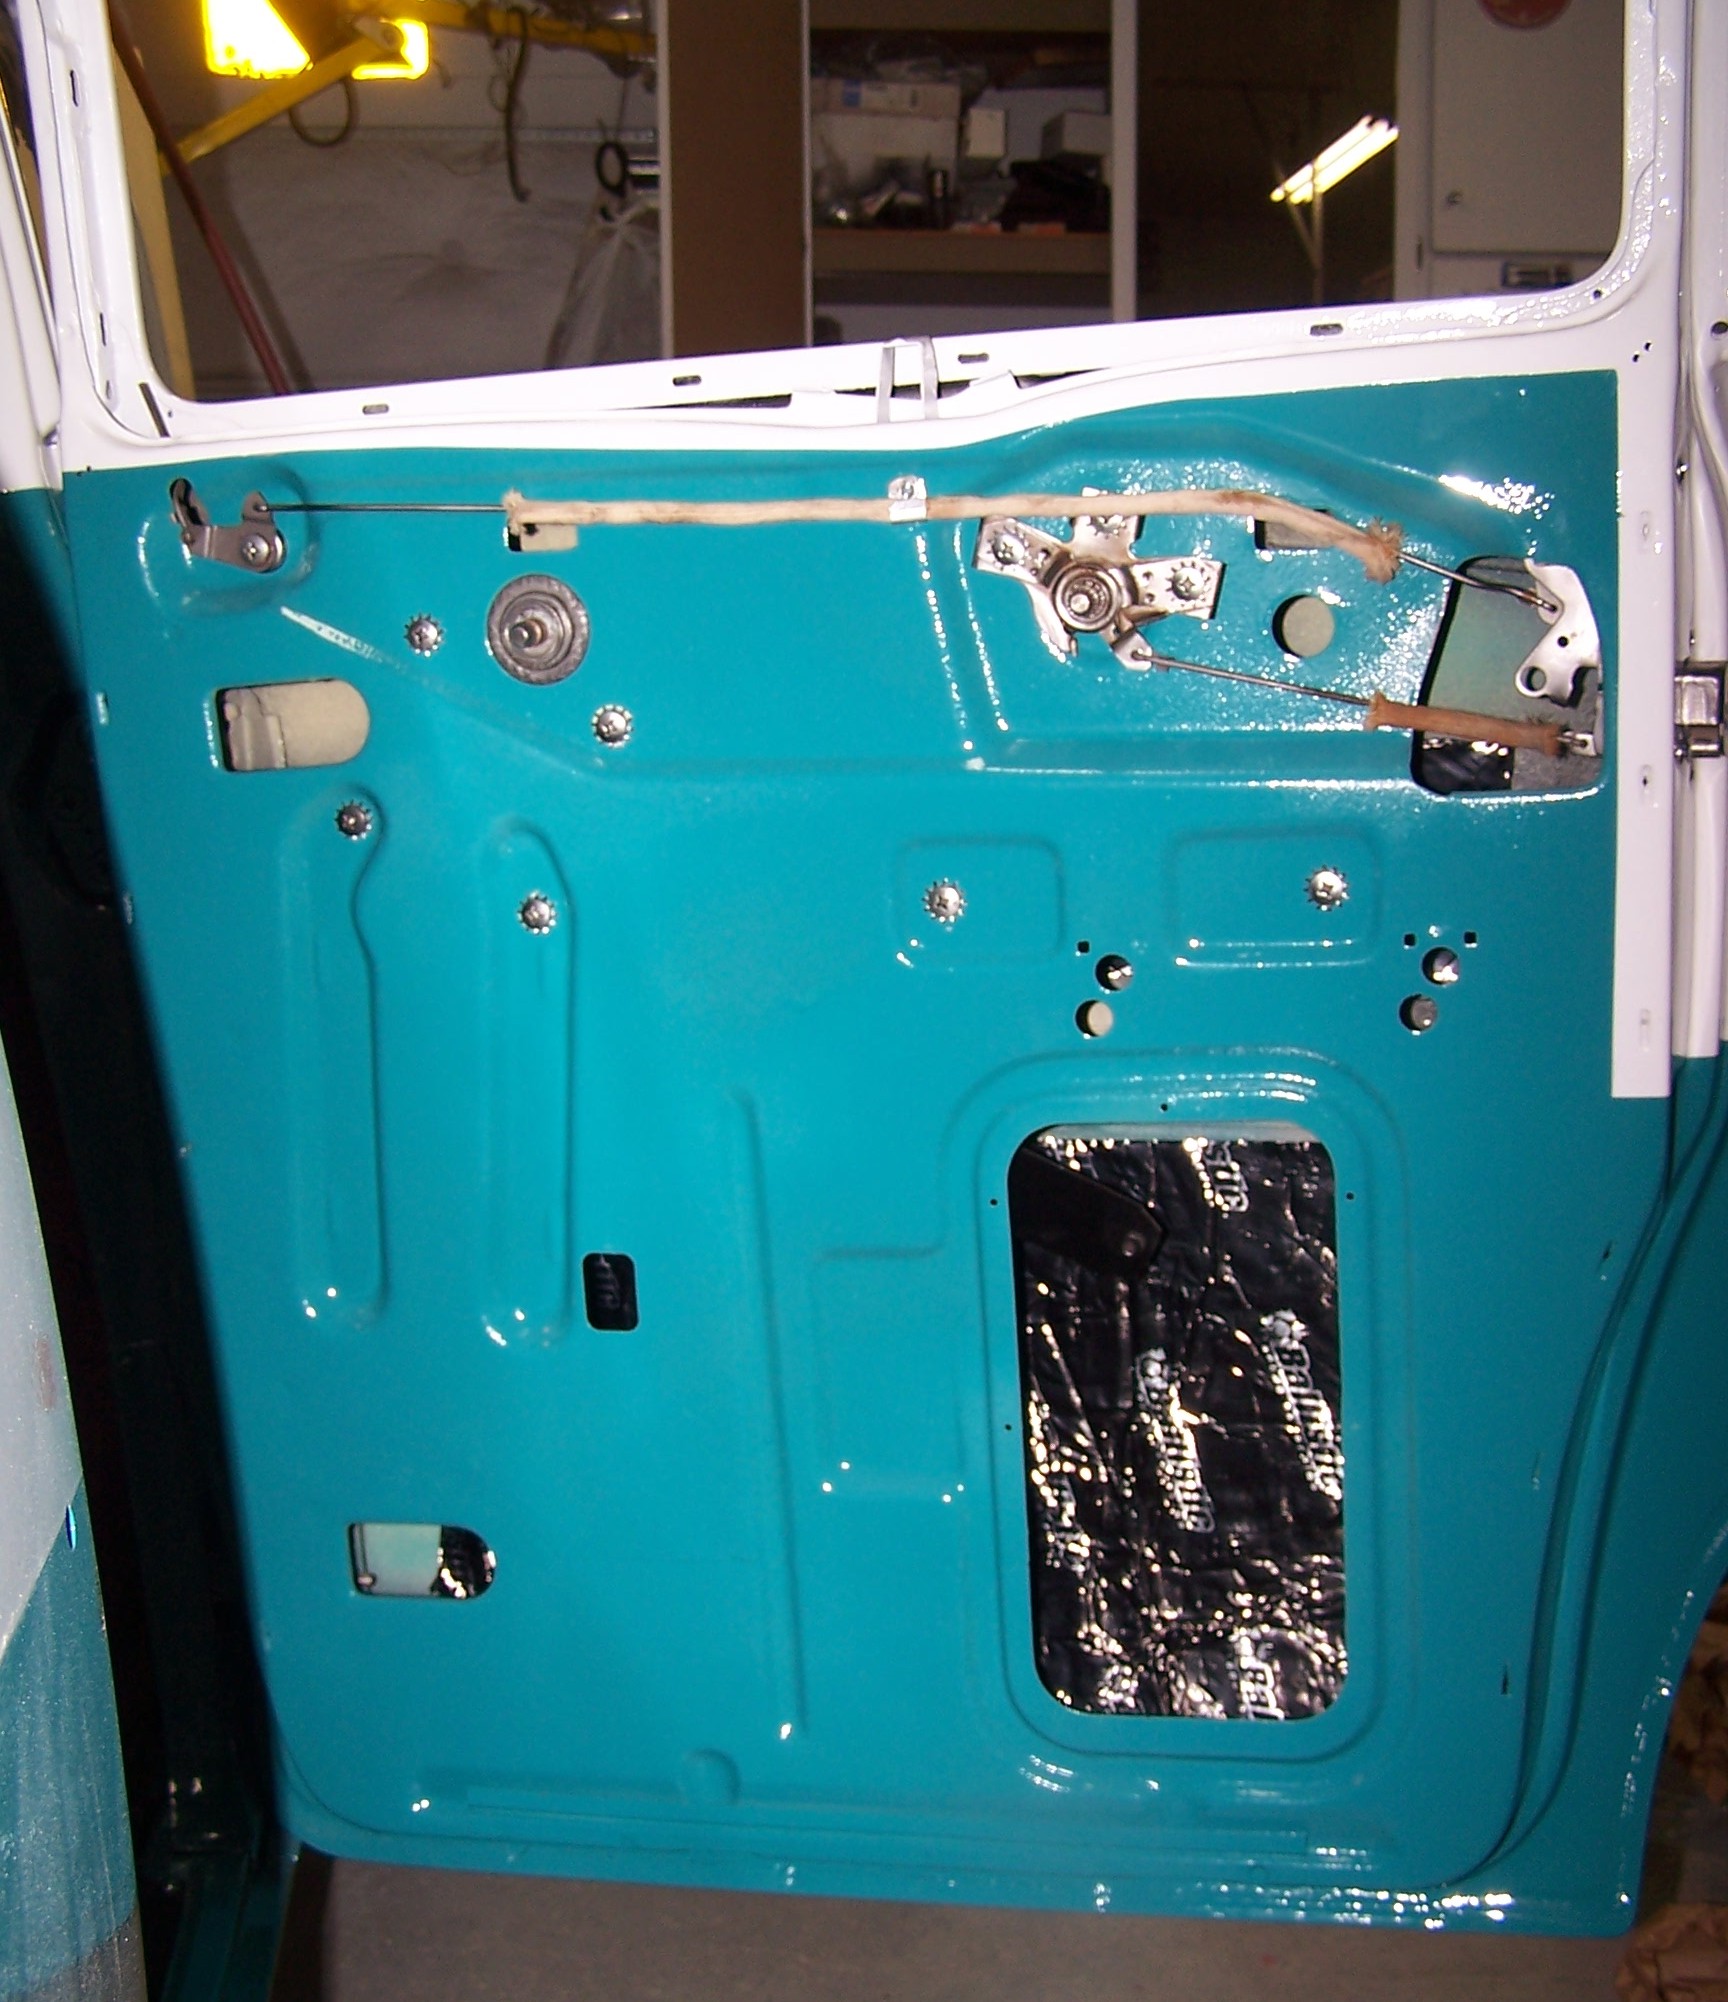
The passenger front door rehung. The soundproofing was added to all 4 doors to help cut the noise while driving.
|
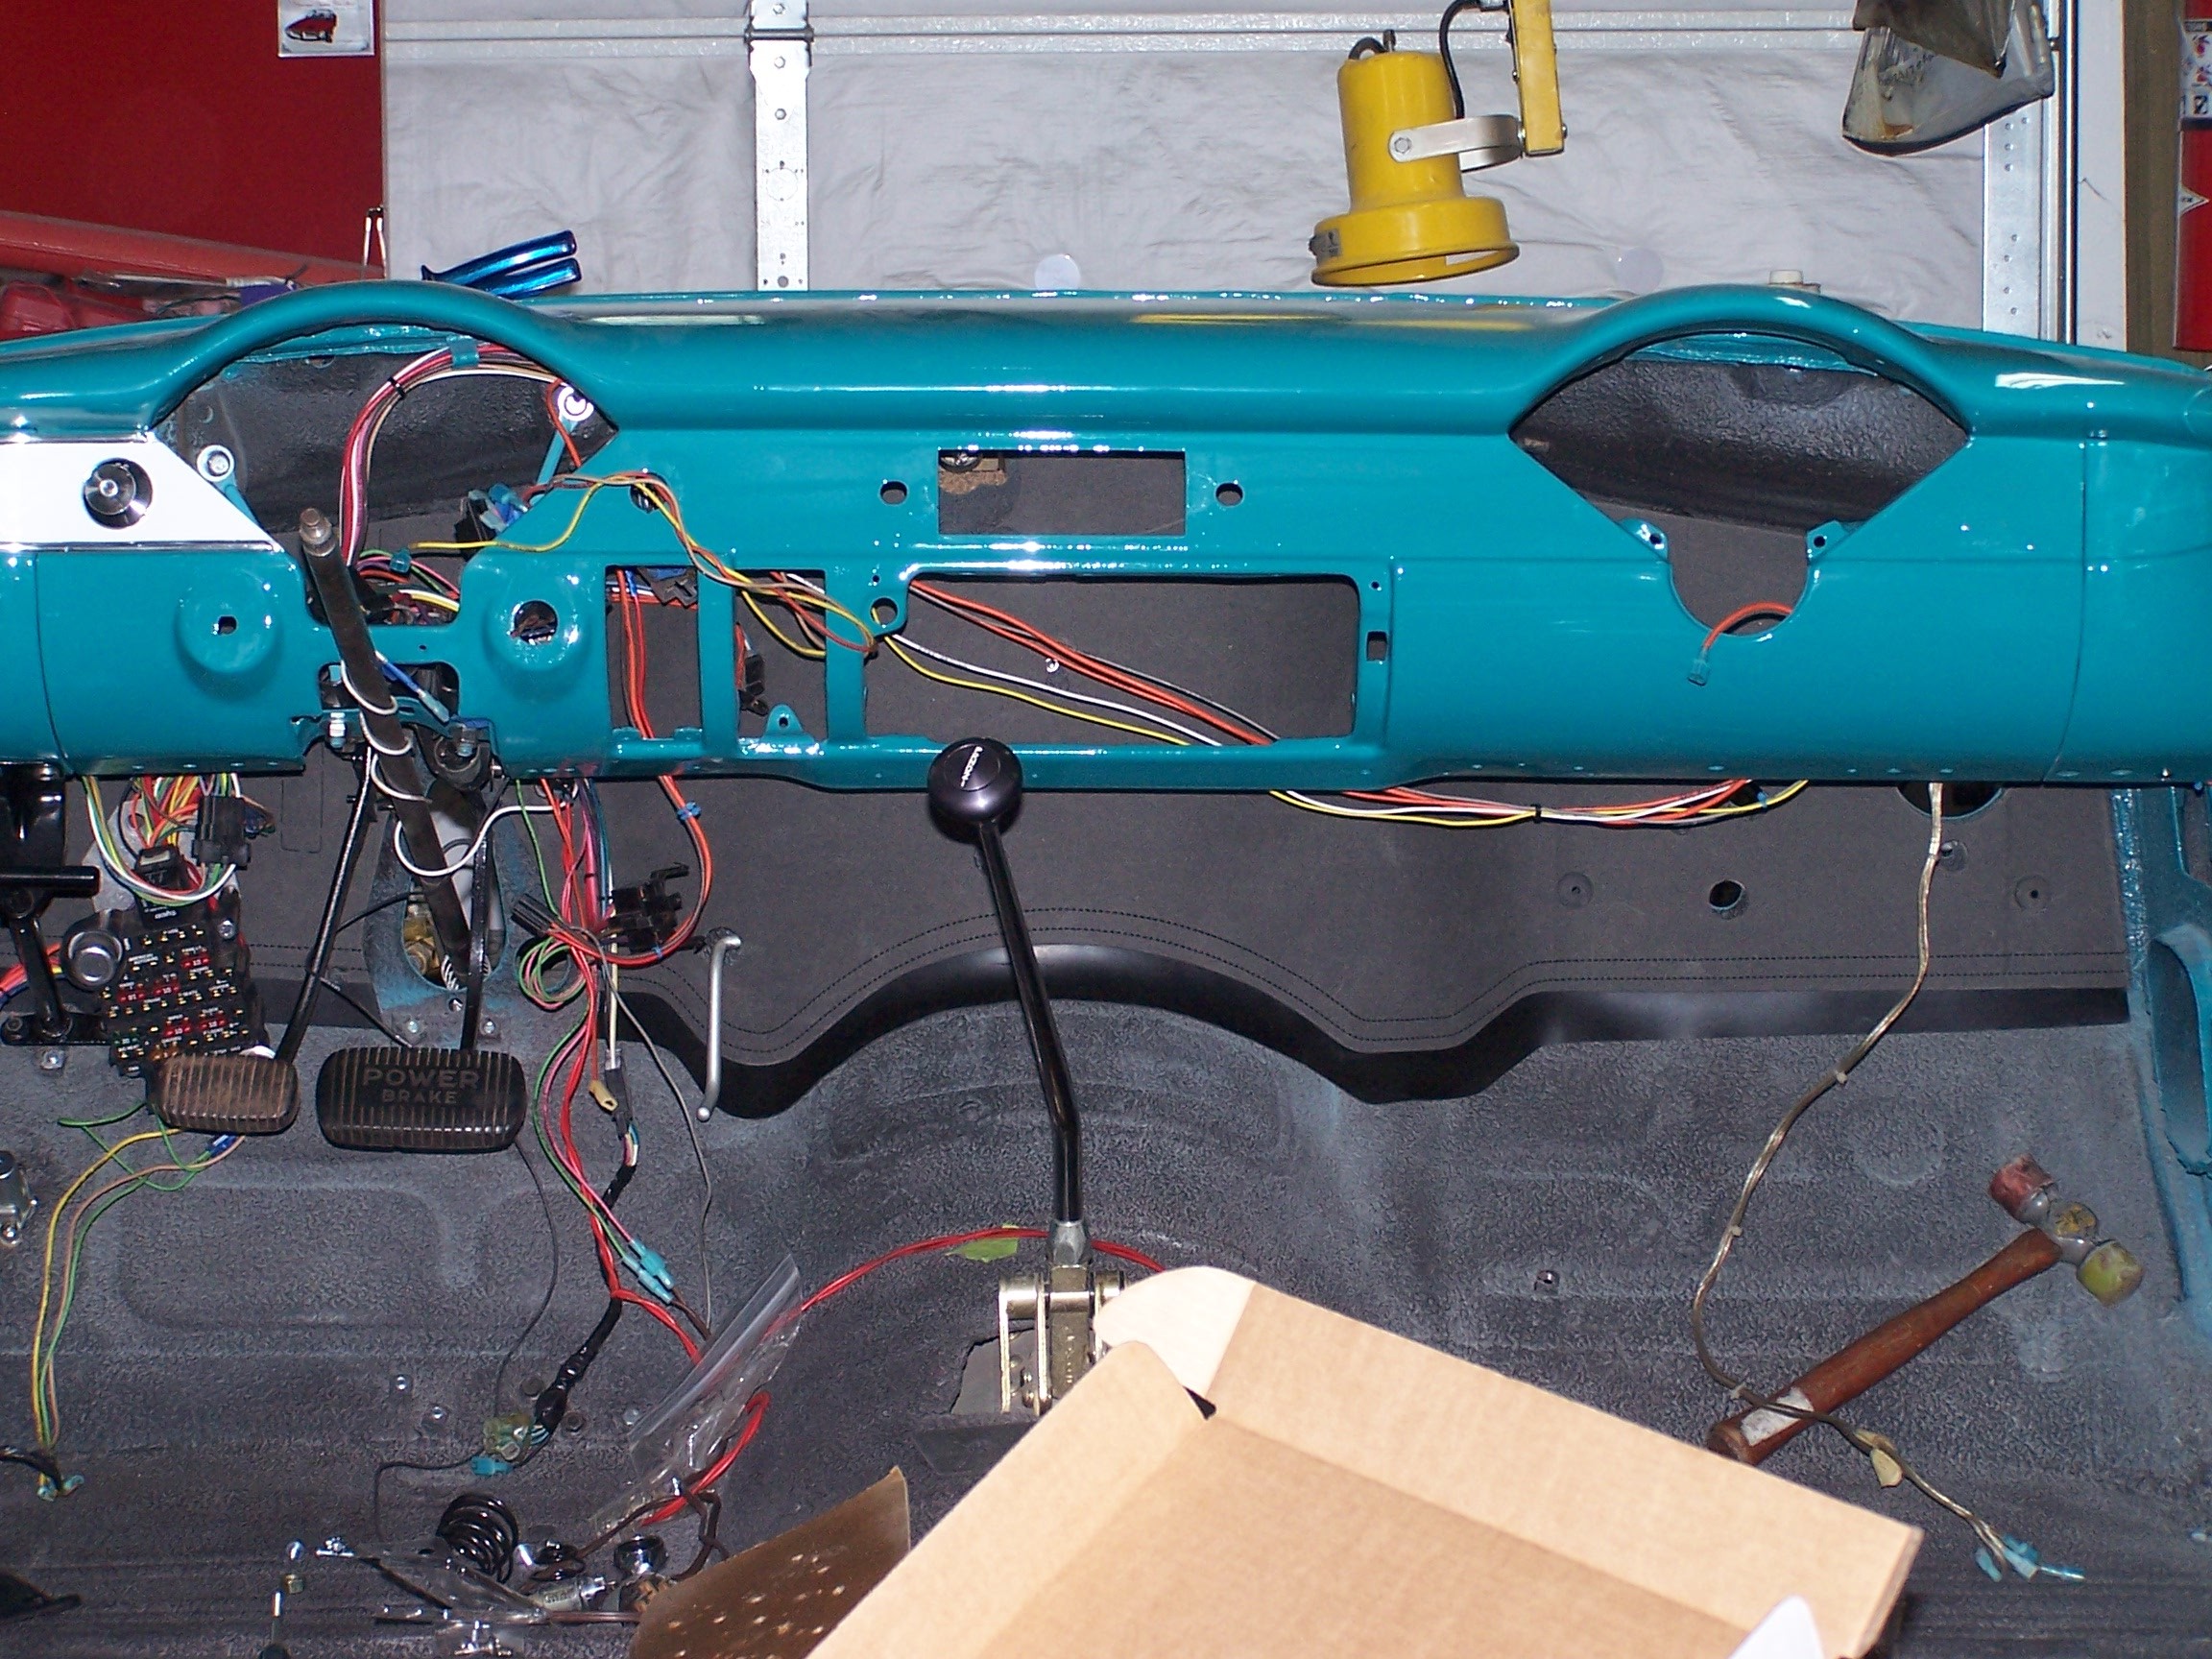
The wiring harness was put in and the wires ran.
|
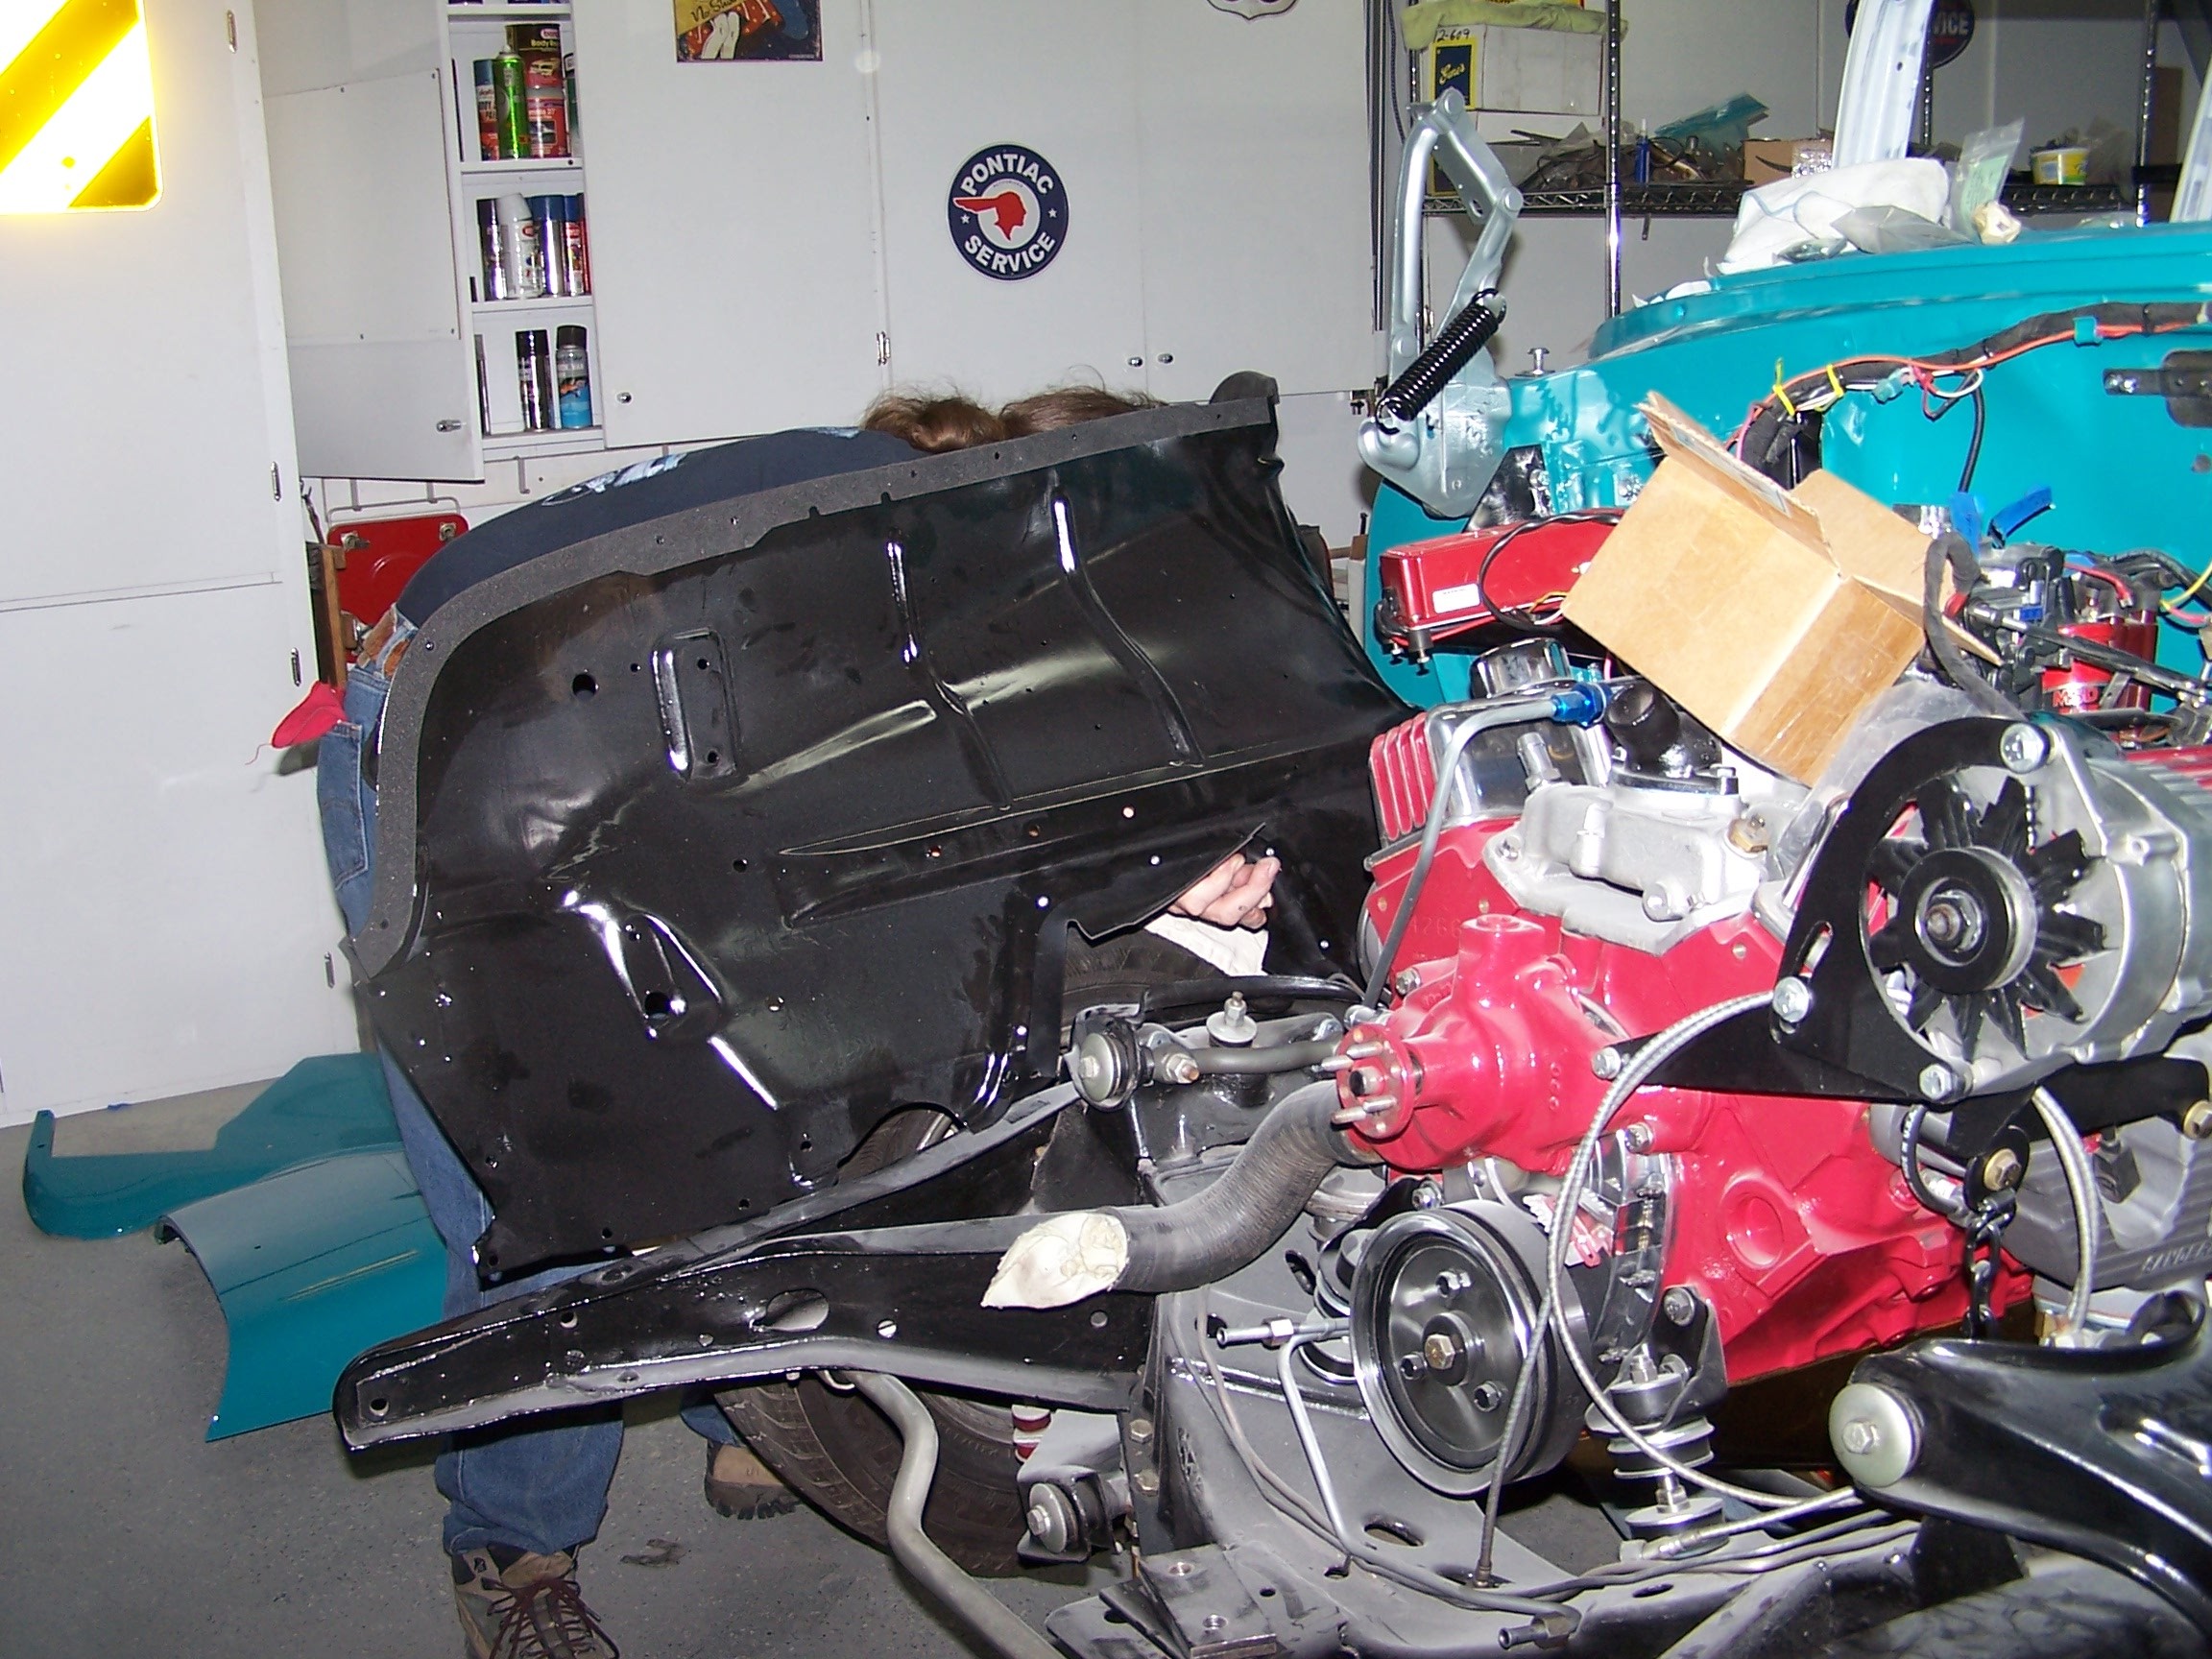
The inner front fender wells were then rehung, after being coated with POR15 and Chassis black.
|
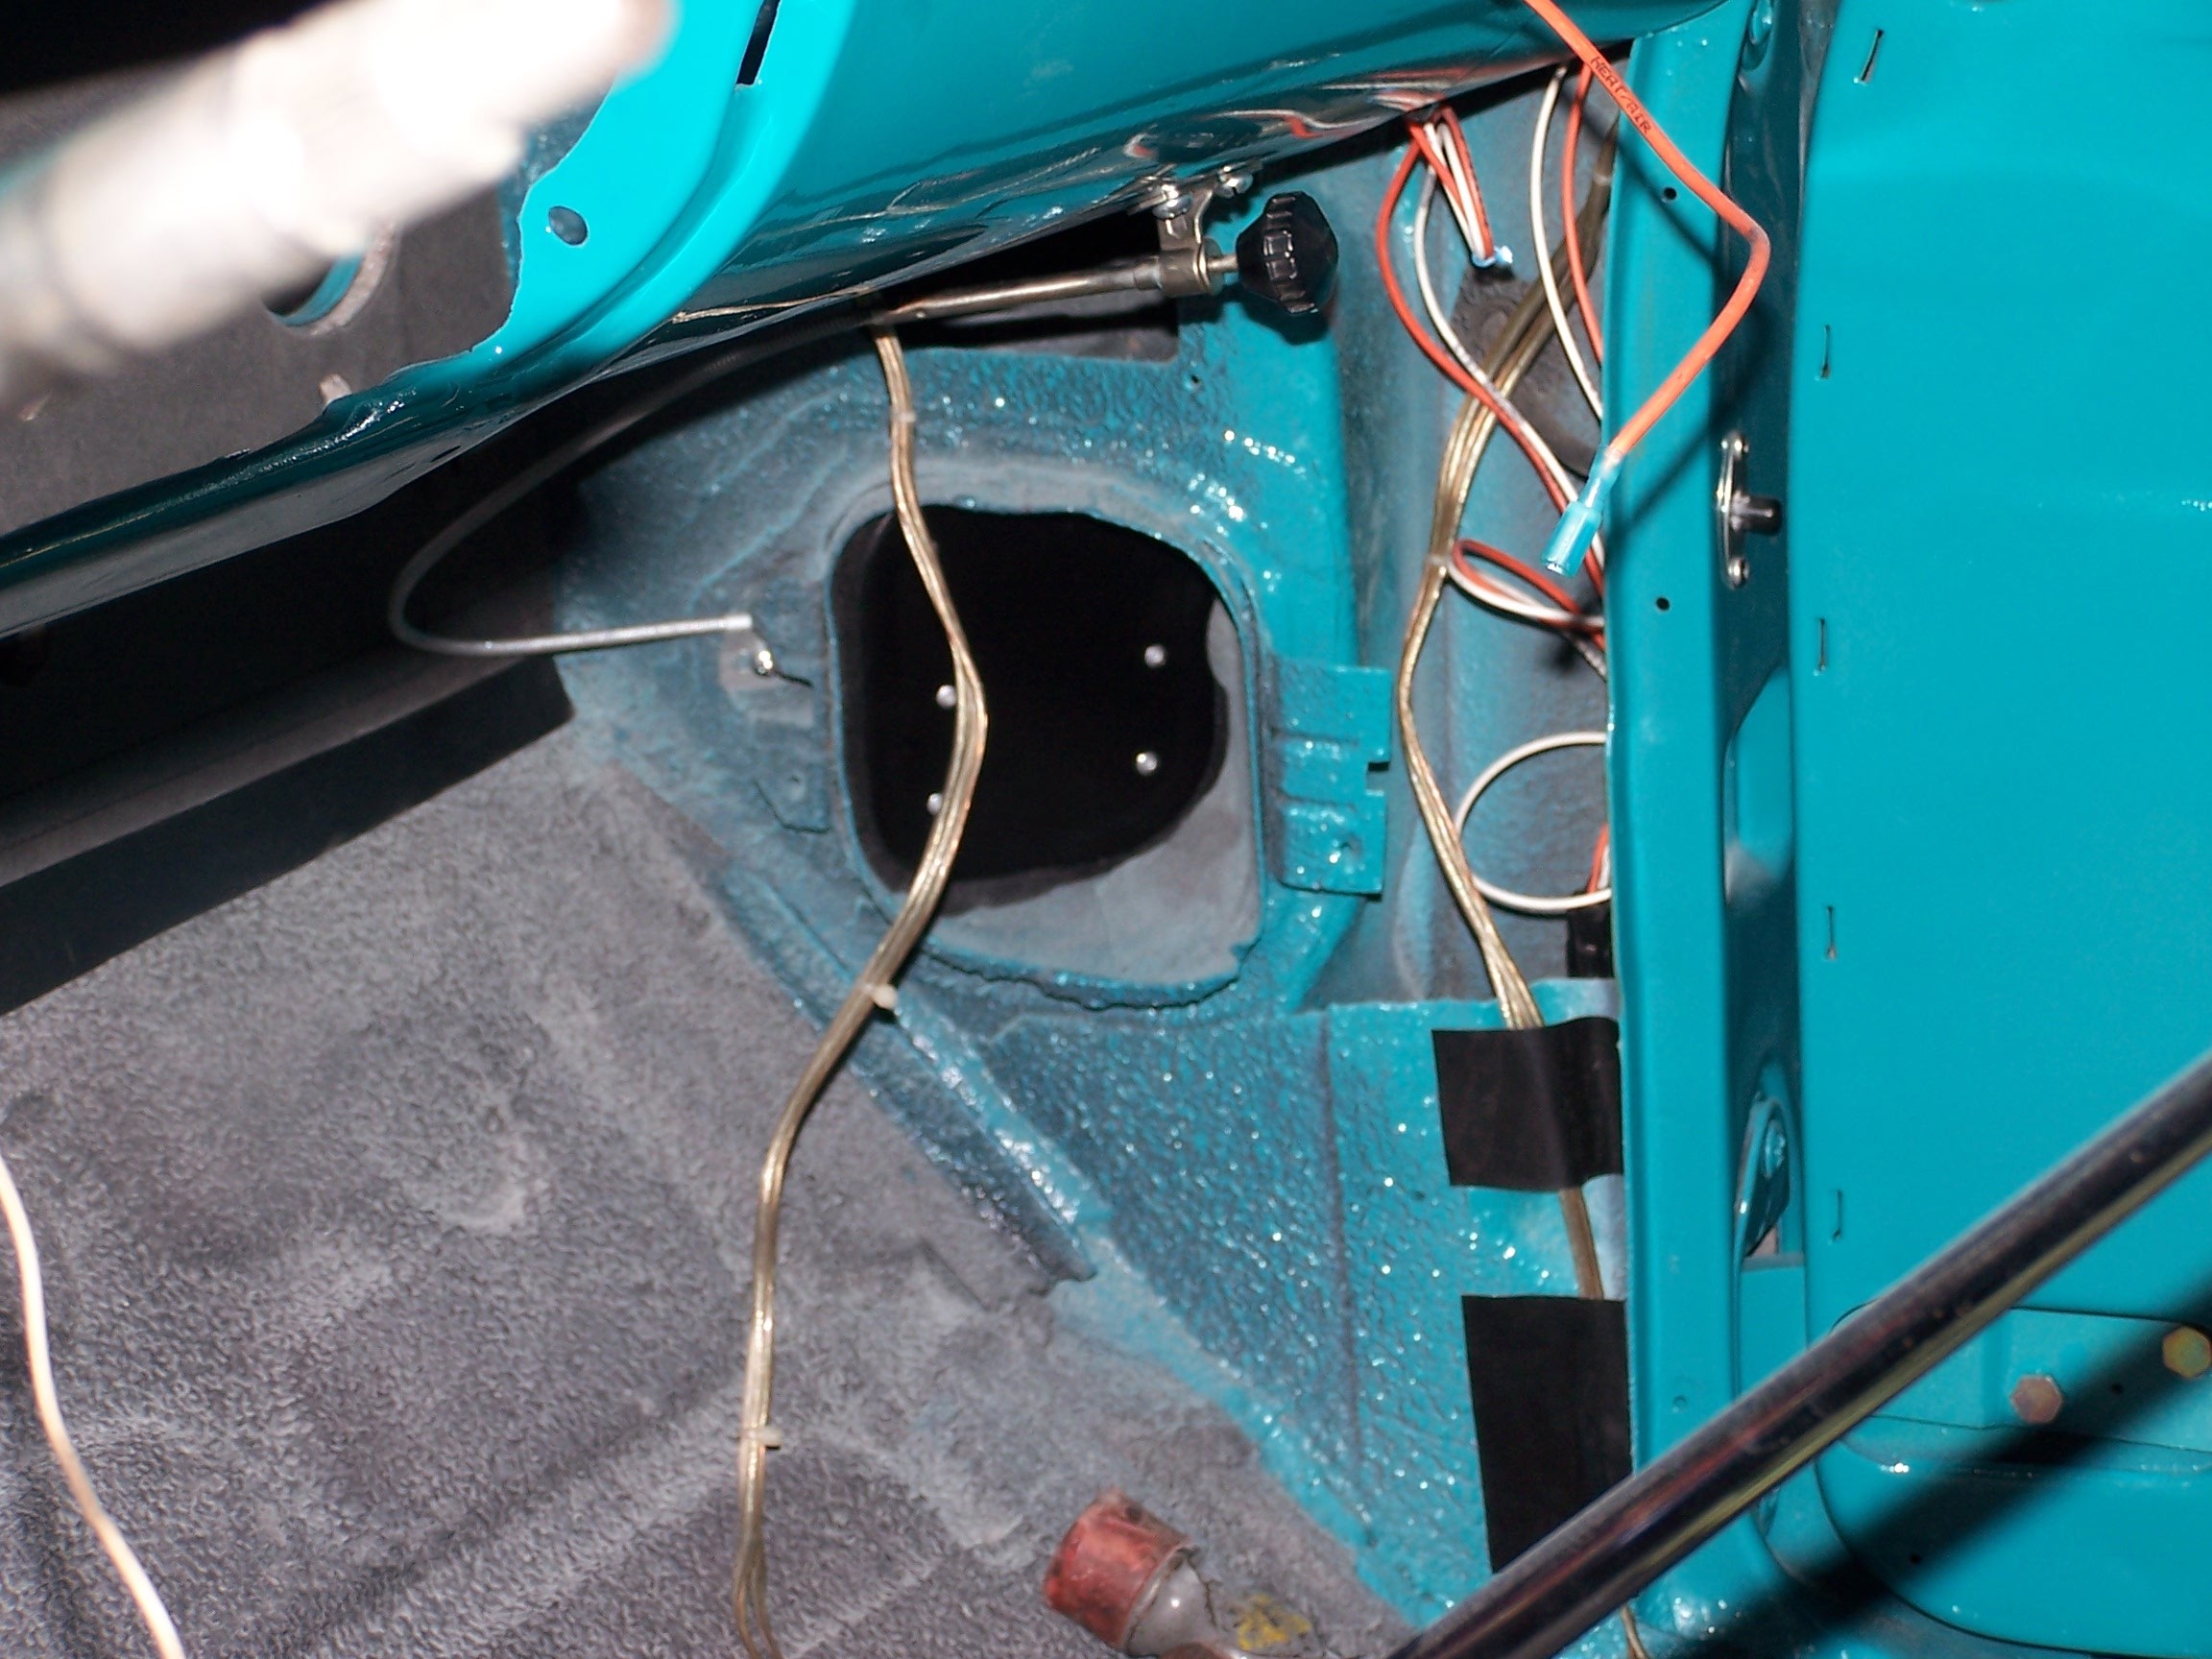
The airvents were reinstalled. There is a gasket around the vent to help seal out the air, but no one produces these. East Coast Chevy said they used a heavy felt. We didn't have a heavy felt, so we came up with a different idea. We had some scrap lightweight cheap automotive black carpet from our daughter's '89 Ford Ranger, so we used that. Worked like a charm.
|
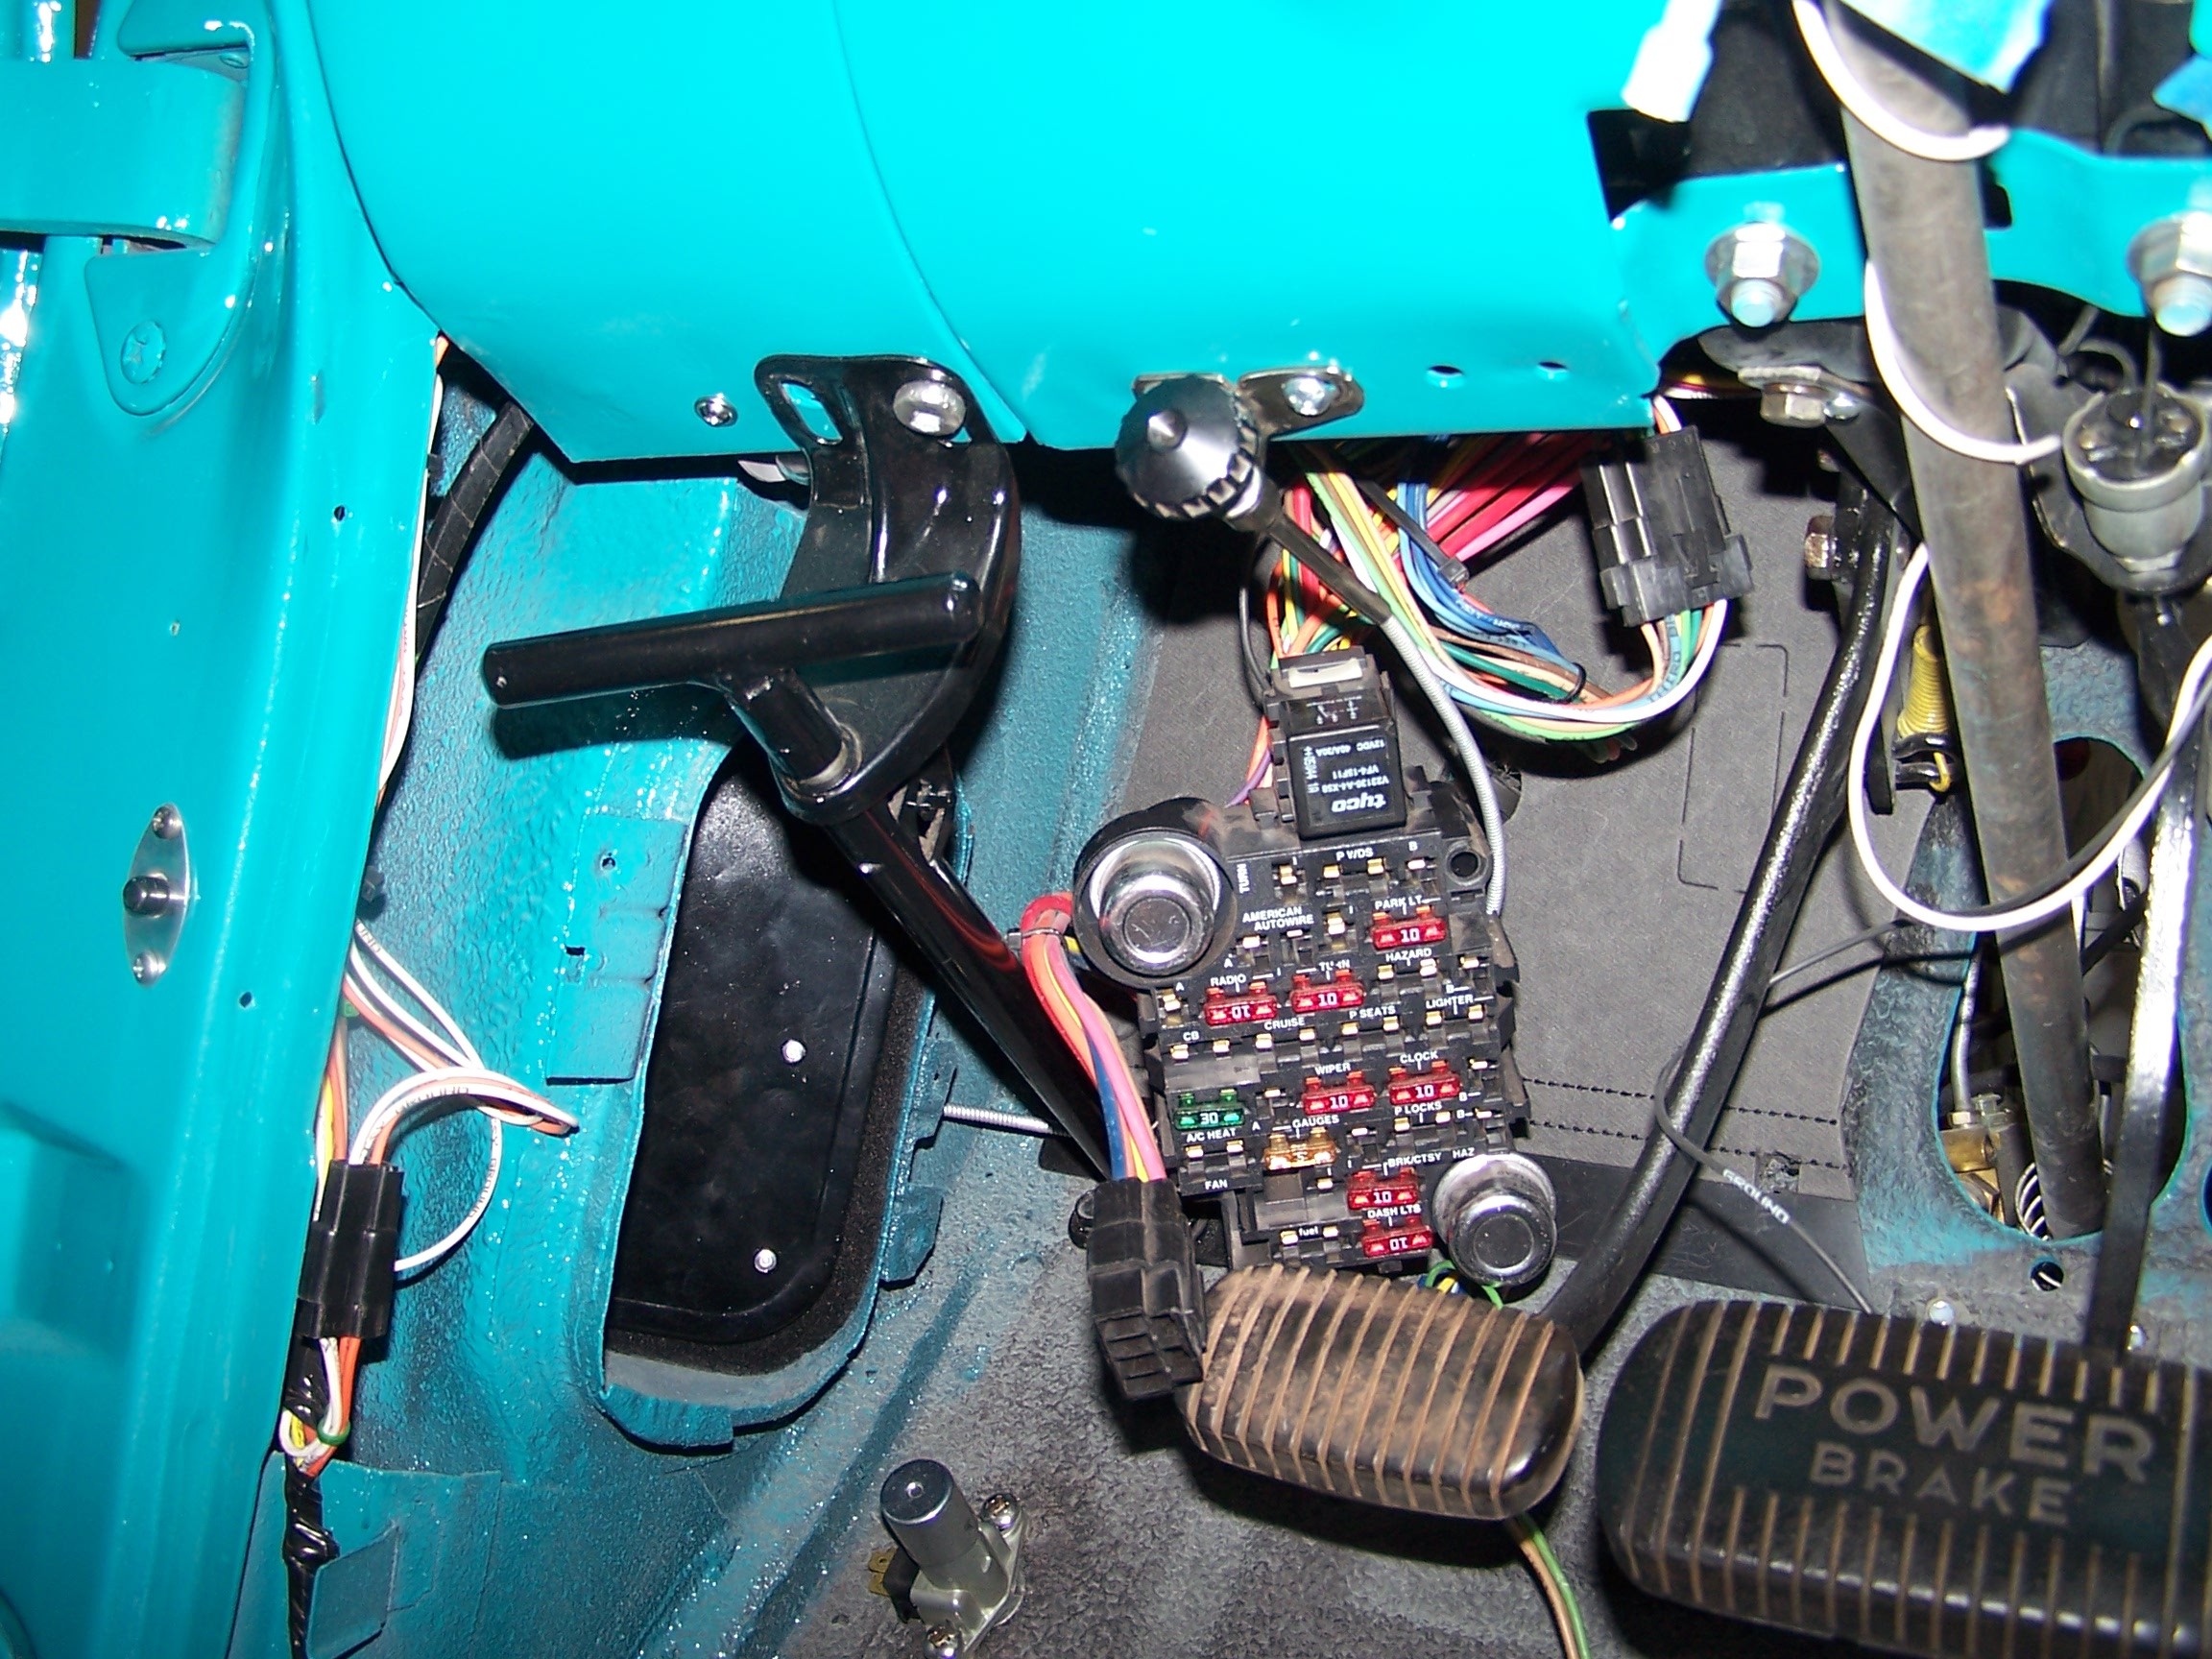
The driver vent was reinstalled, using the new "gasket" material. The fuse panel is by Autowire.
|
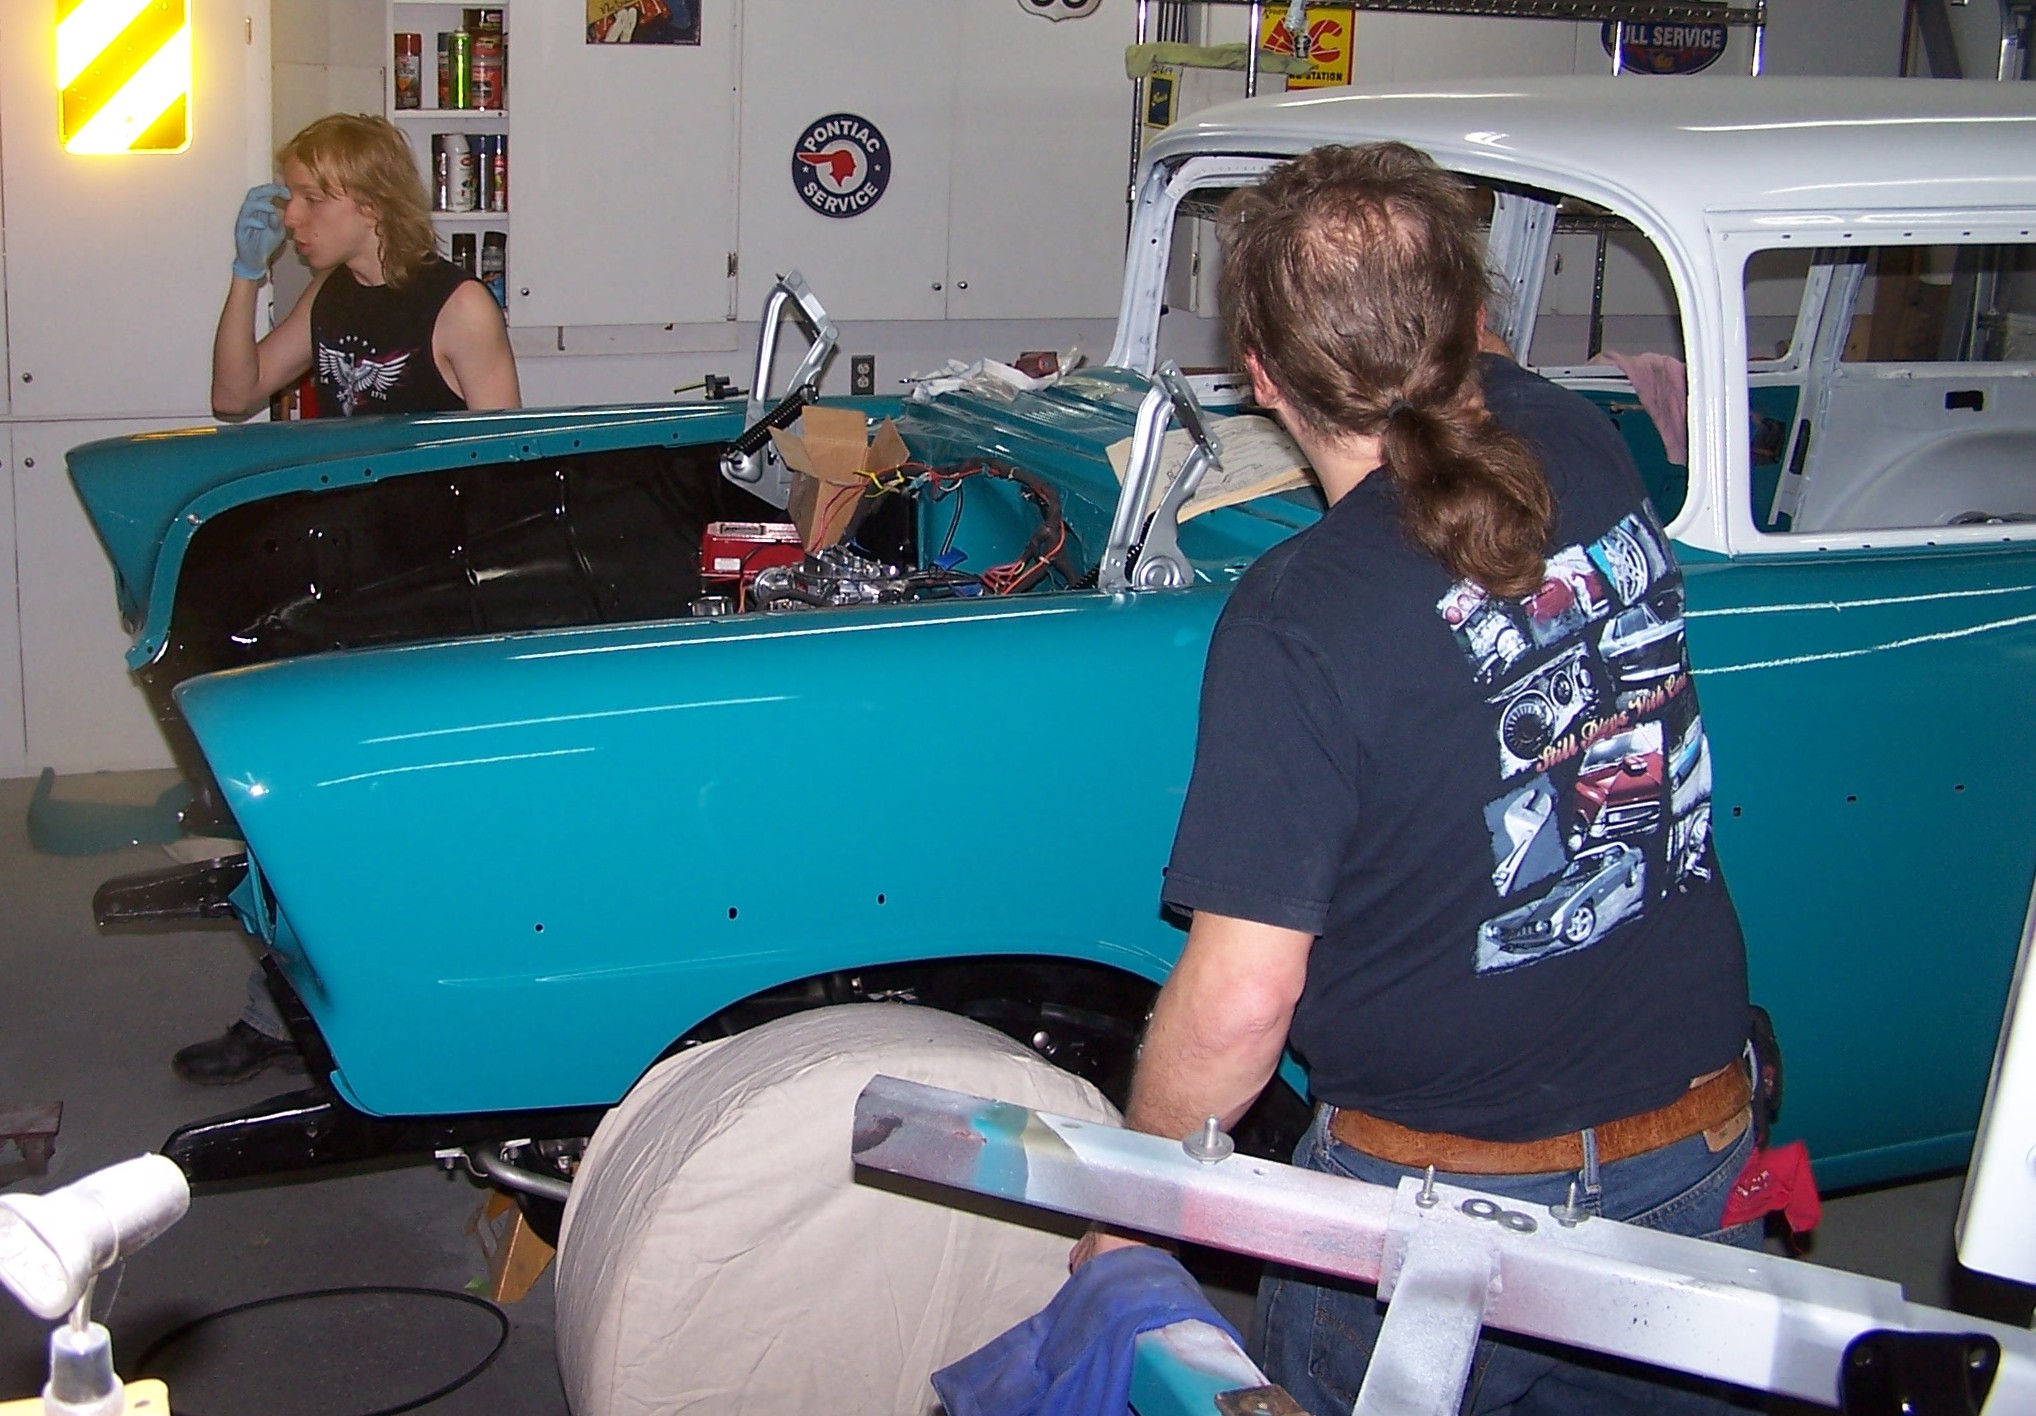
The inner fender seals were installed, then the inner fenders.
|
You don't realize how much time has passed until you recognize the blonde helper as the same little blonde at age 4 installing the radiator hose. I feel old now!
|
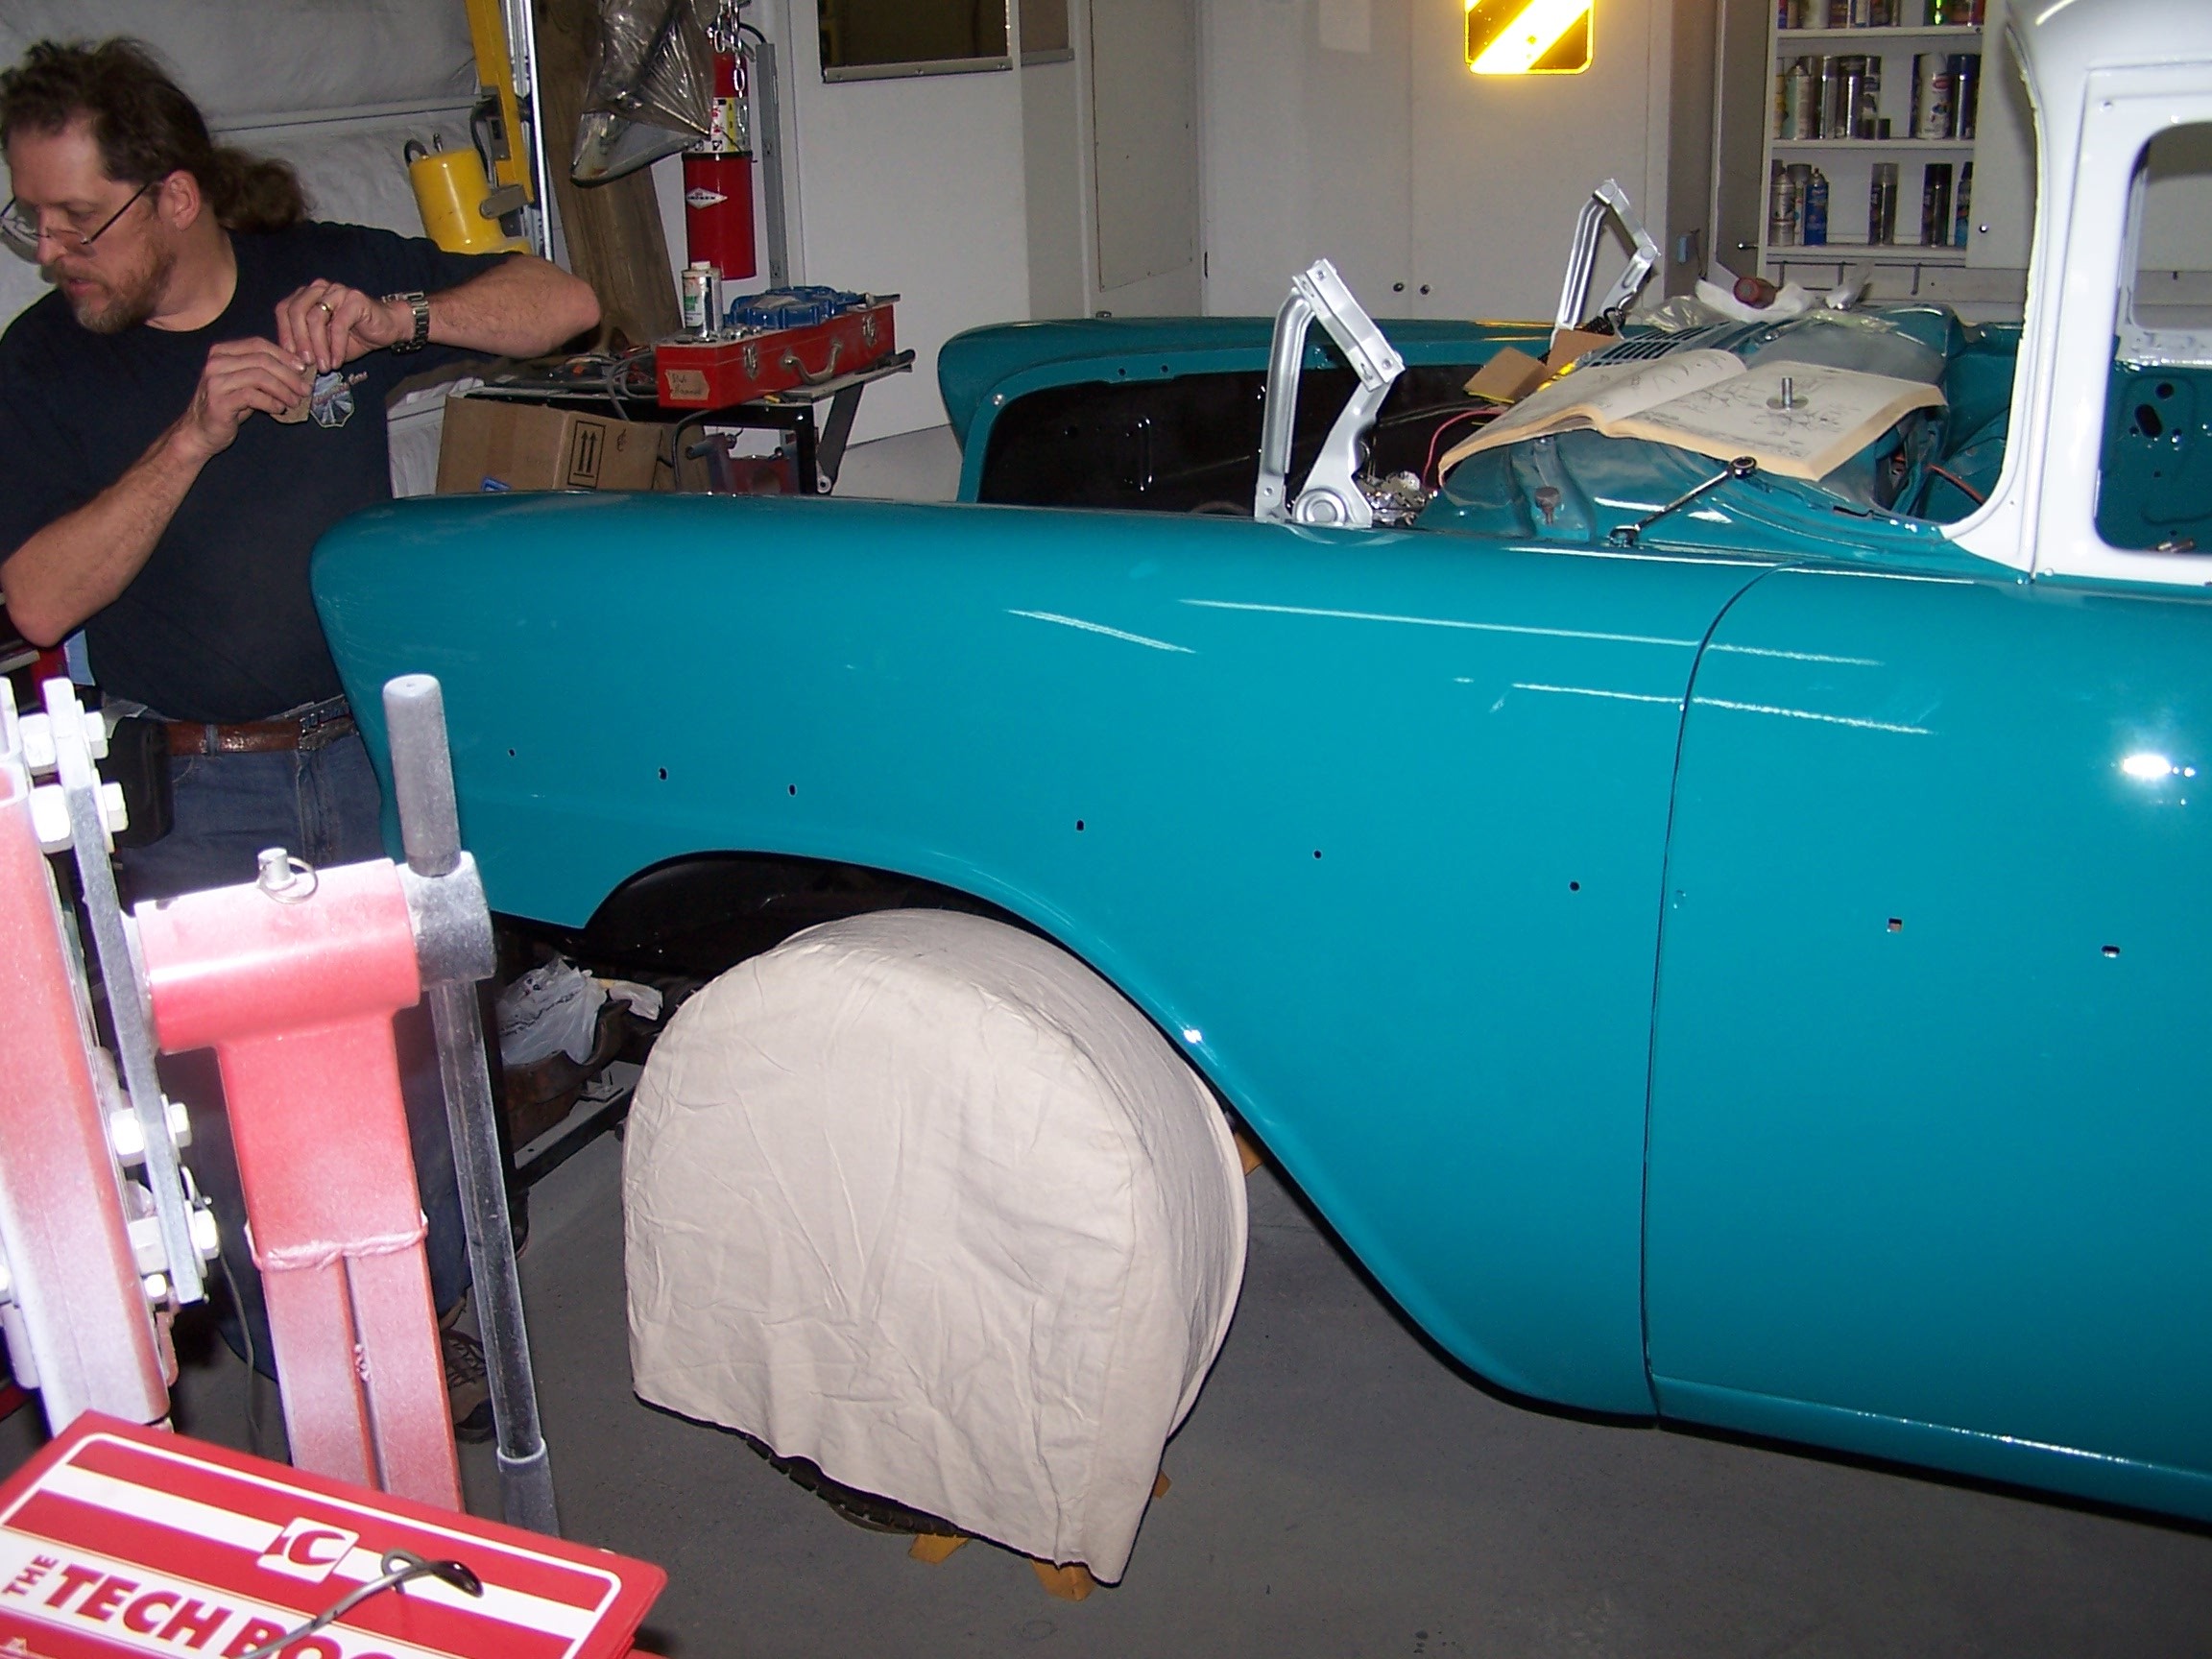
The car is starting to look like a real car again.
|
The hood hinges were reinstalled to help with the realignment of the entire front end.
|
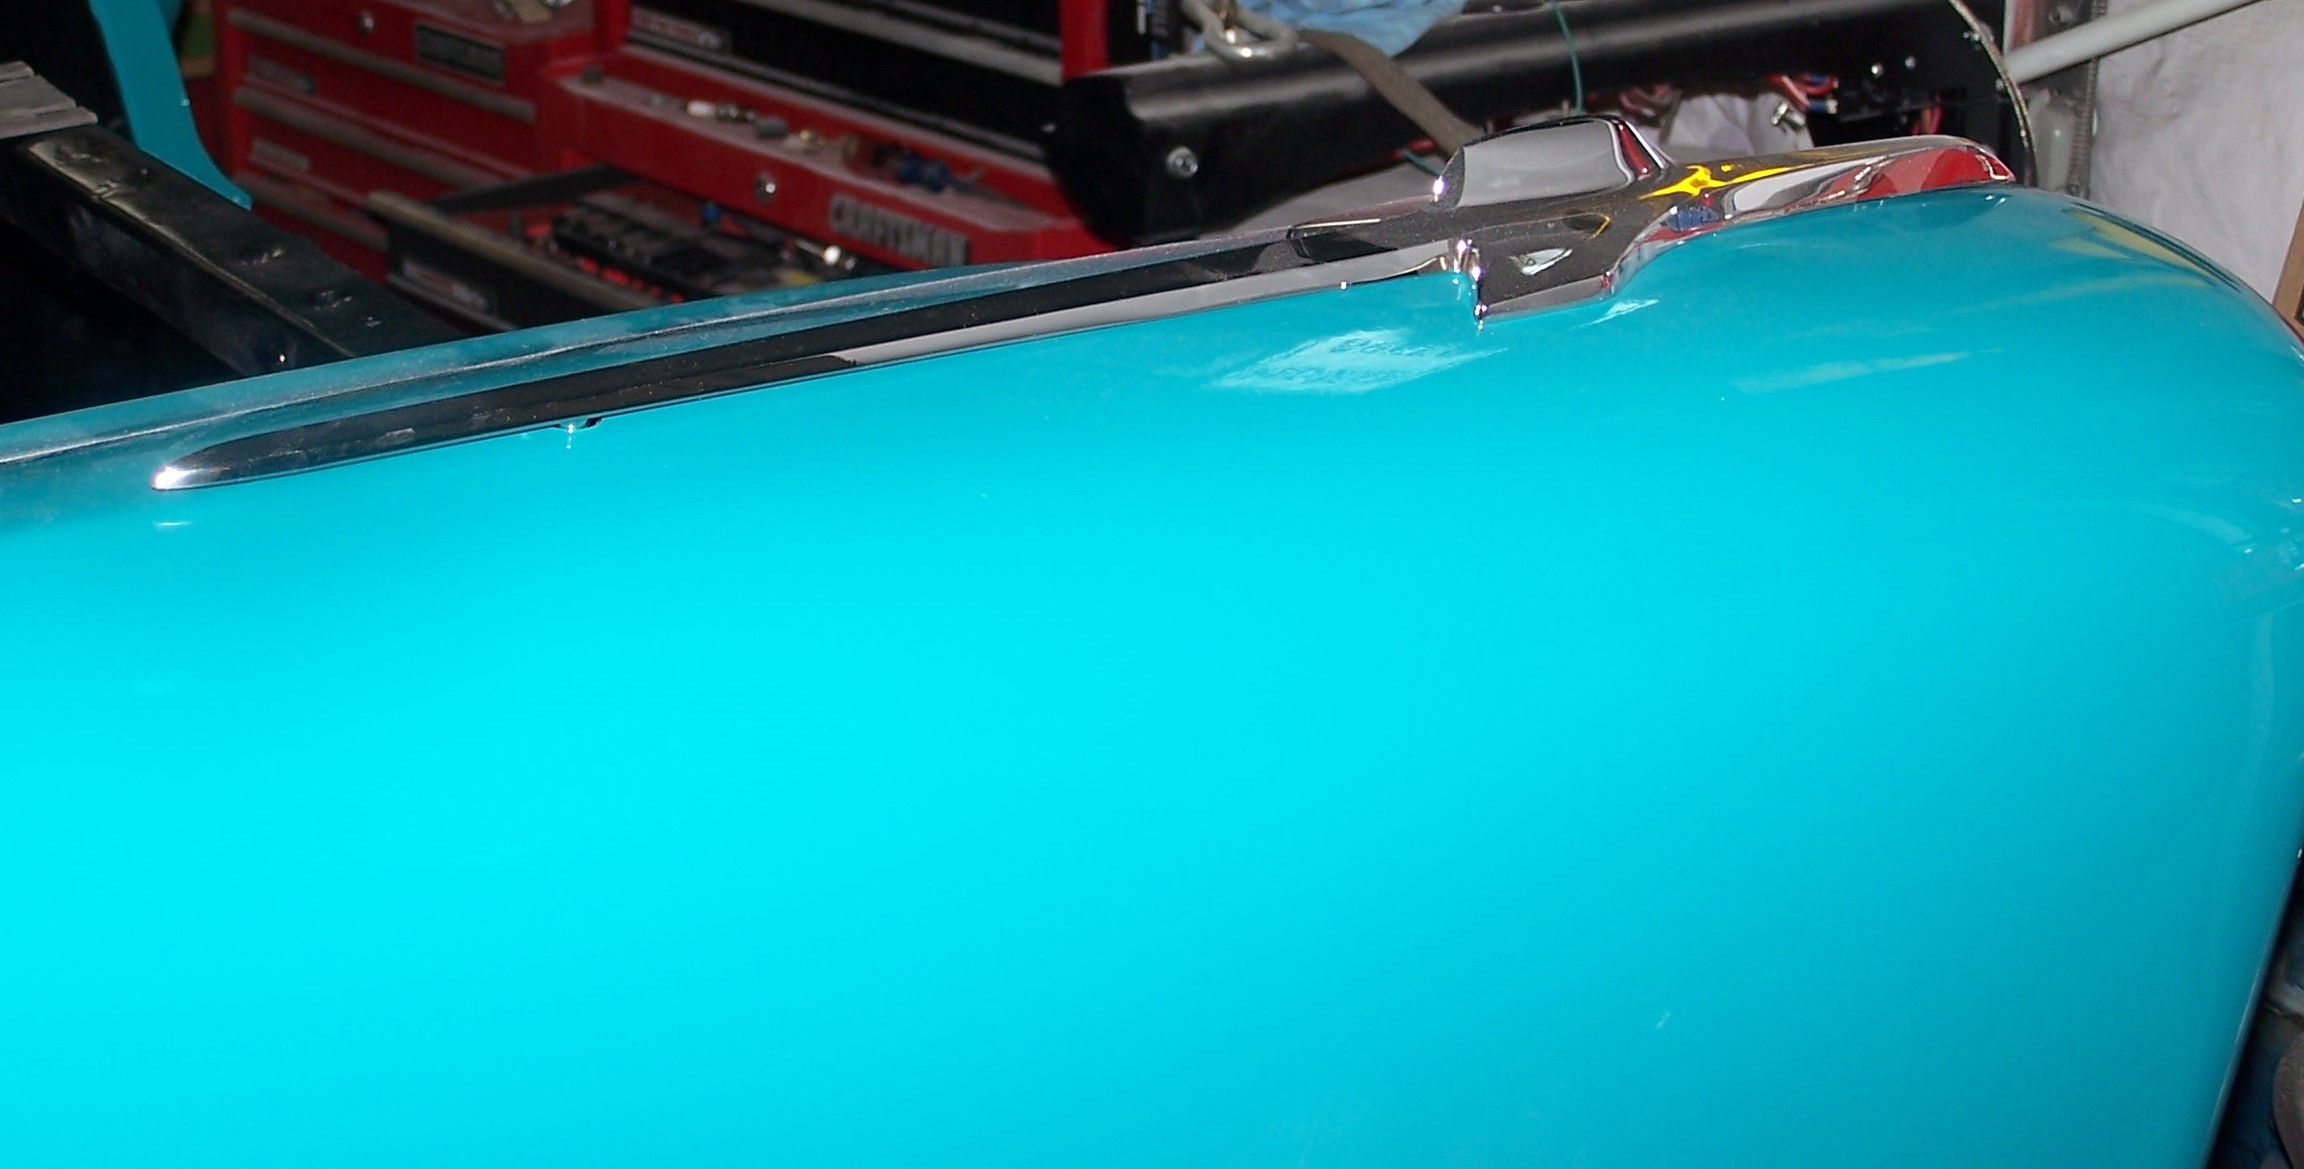
Kurt had to try out some of the new jewelry against the turquoise. Looking sharp!
|
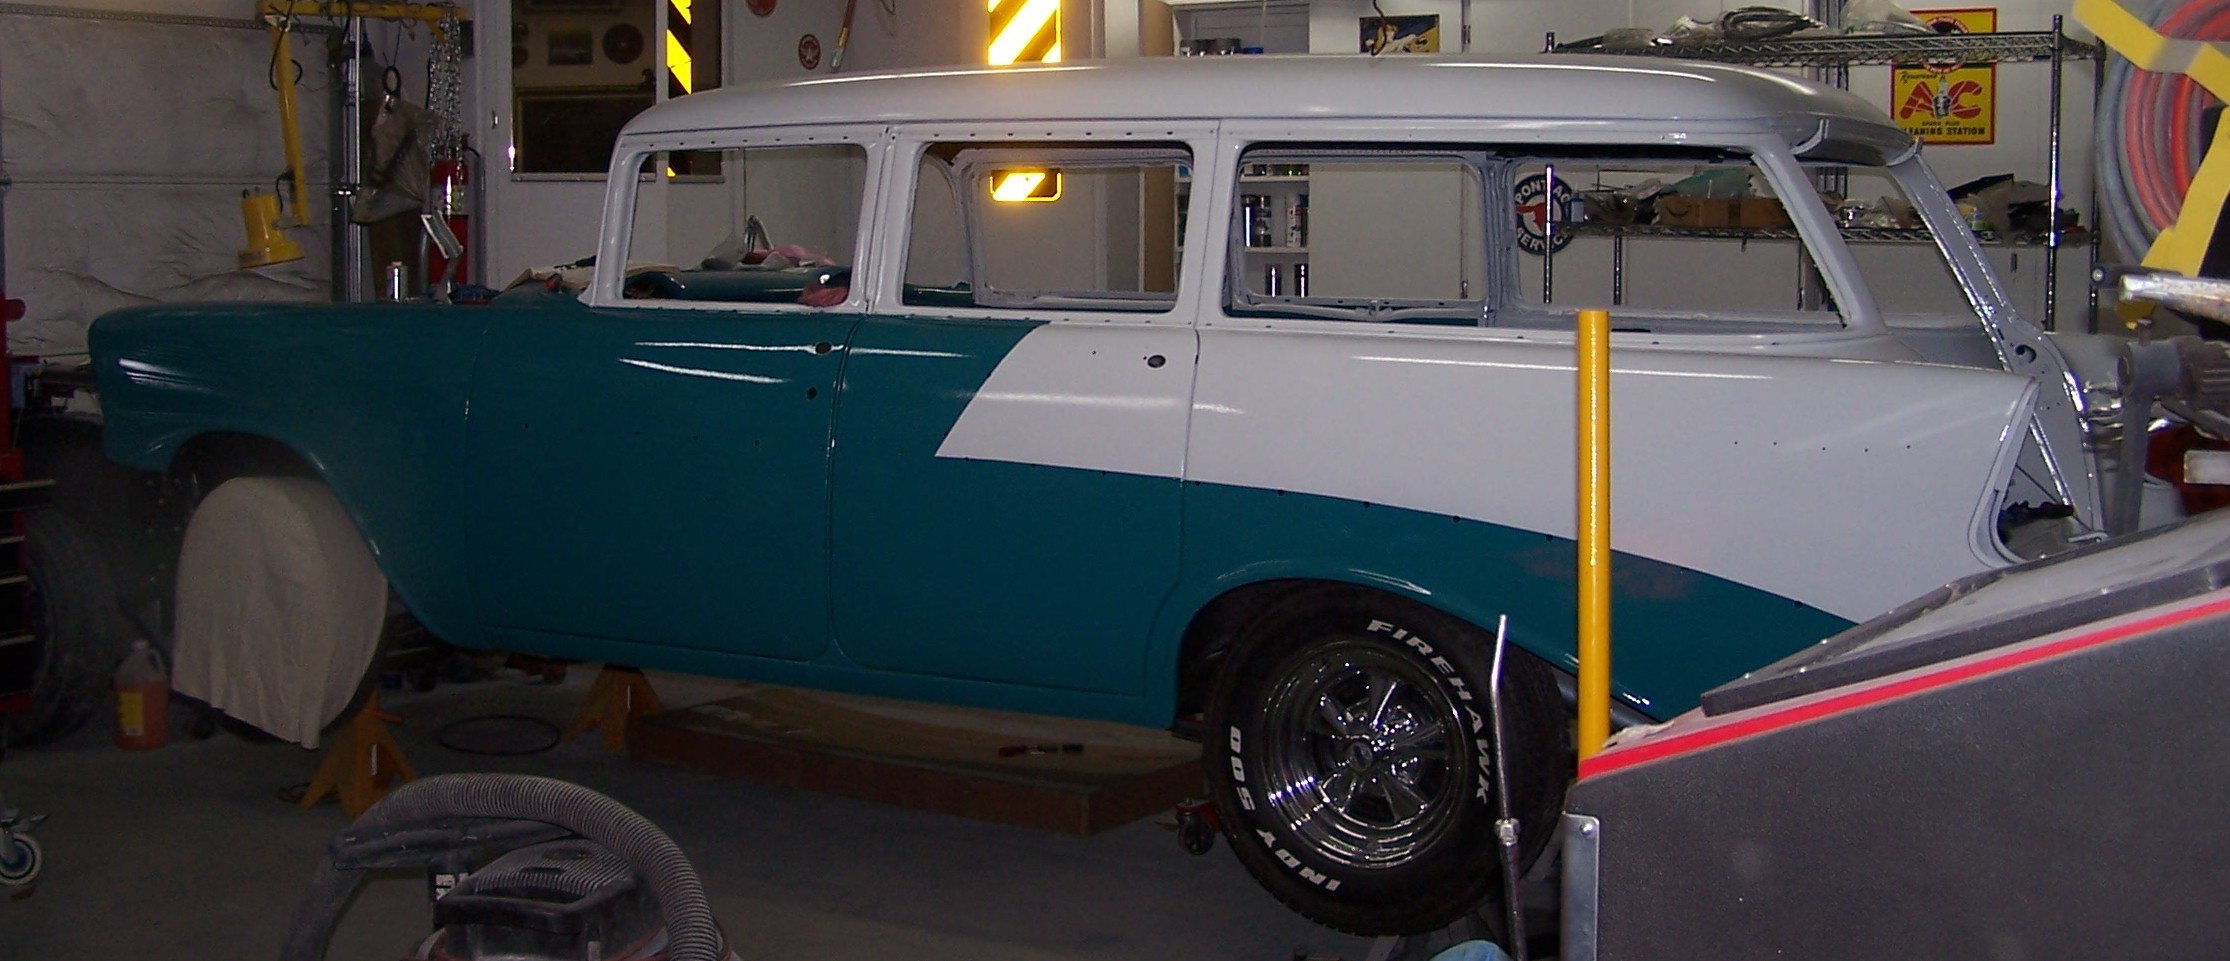
You would almost think the car is complete now, but it still missing a few things.
|
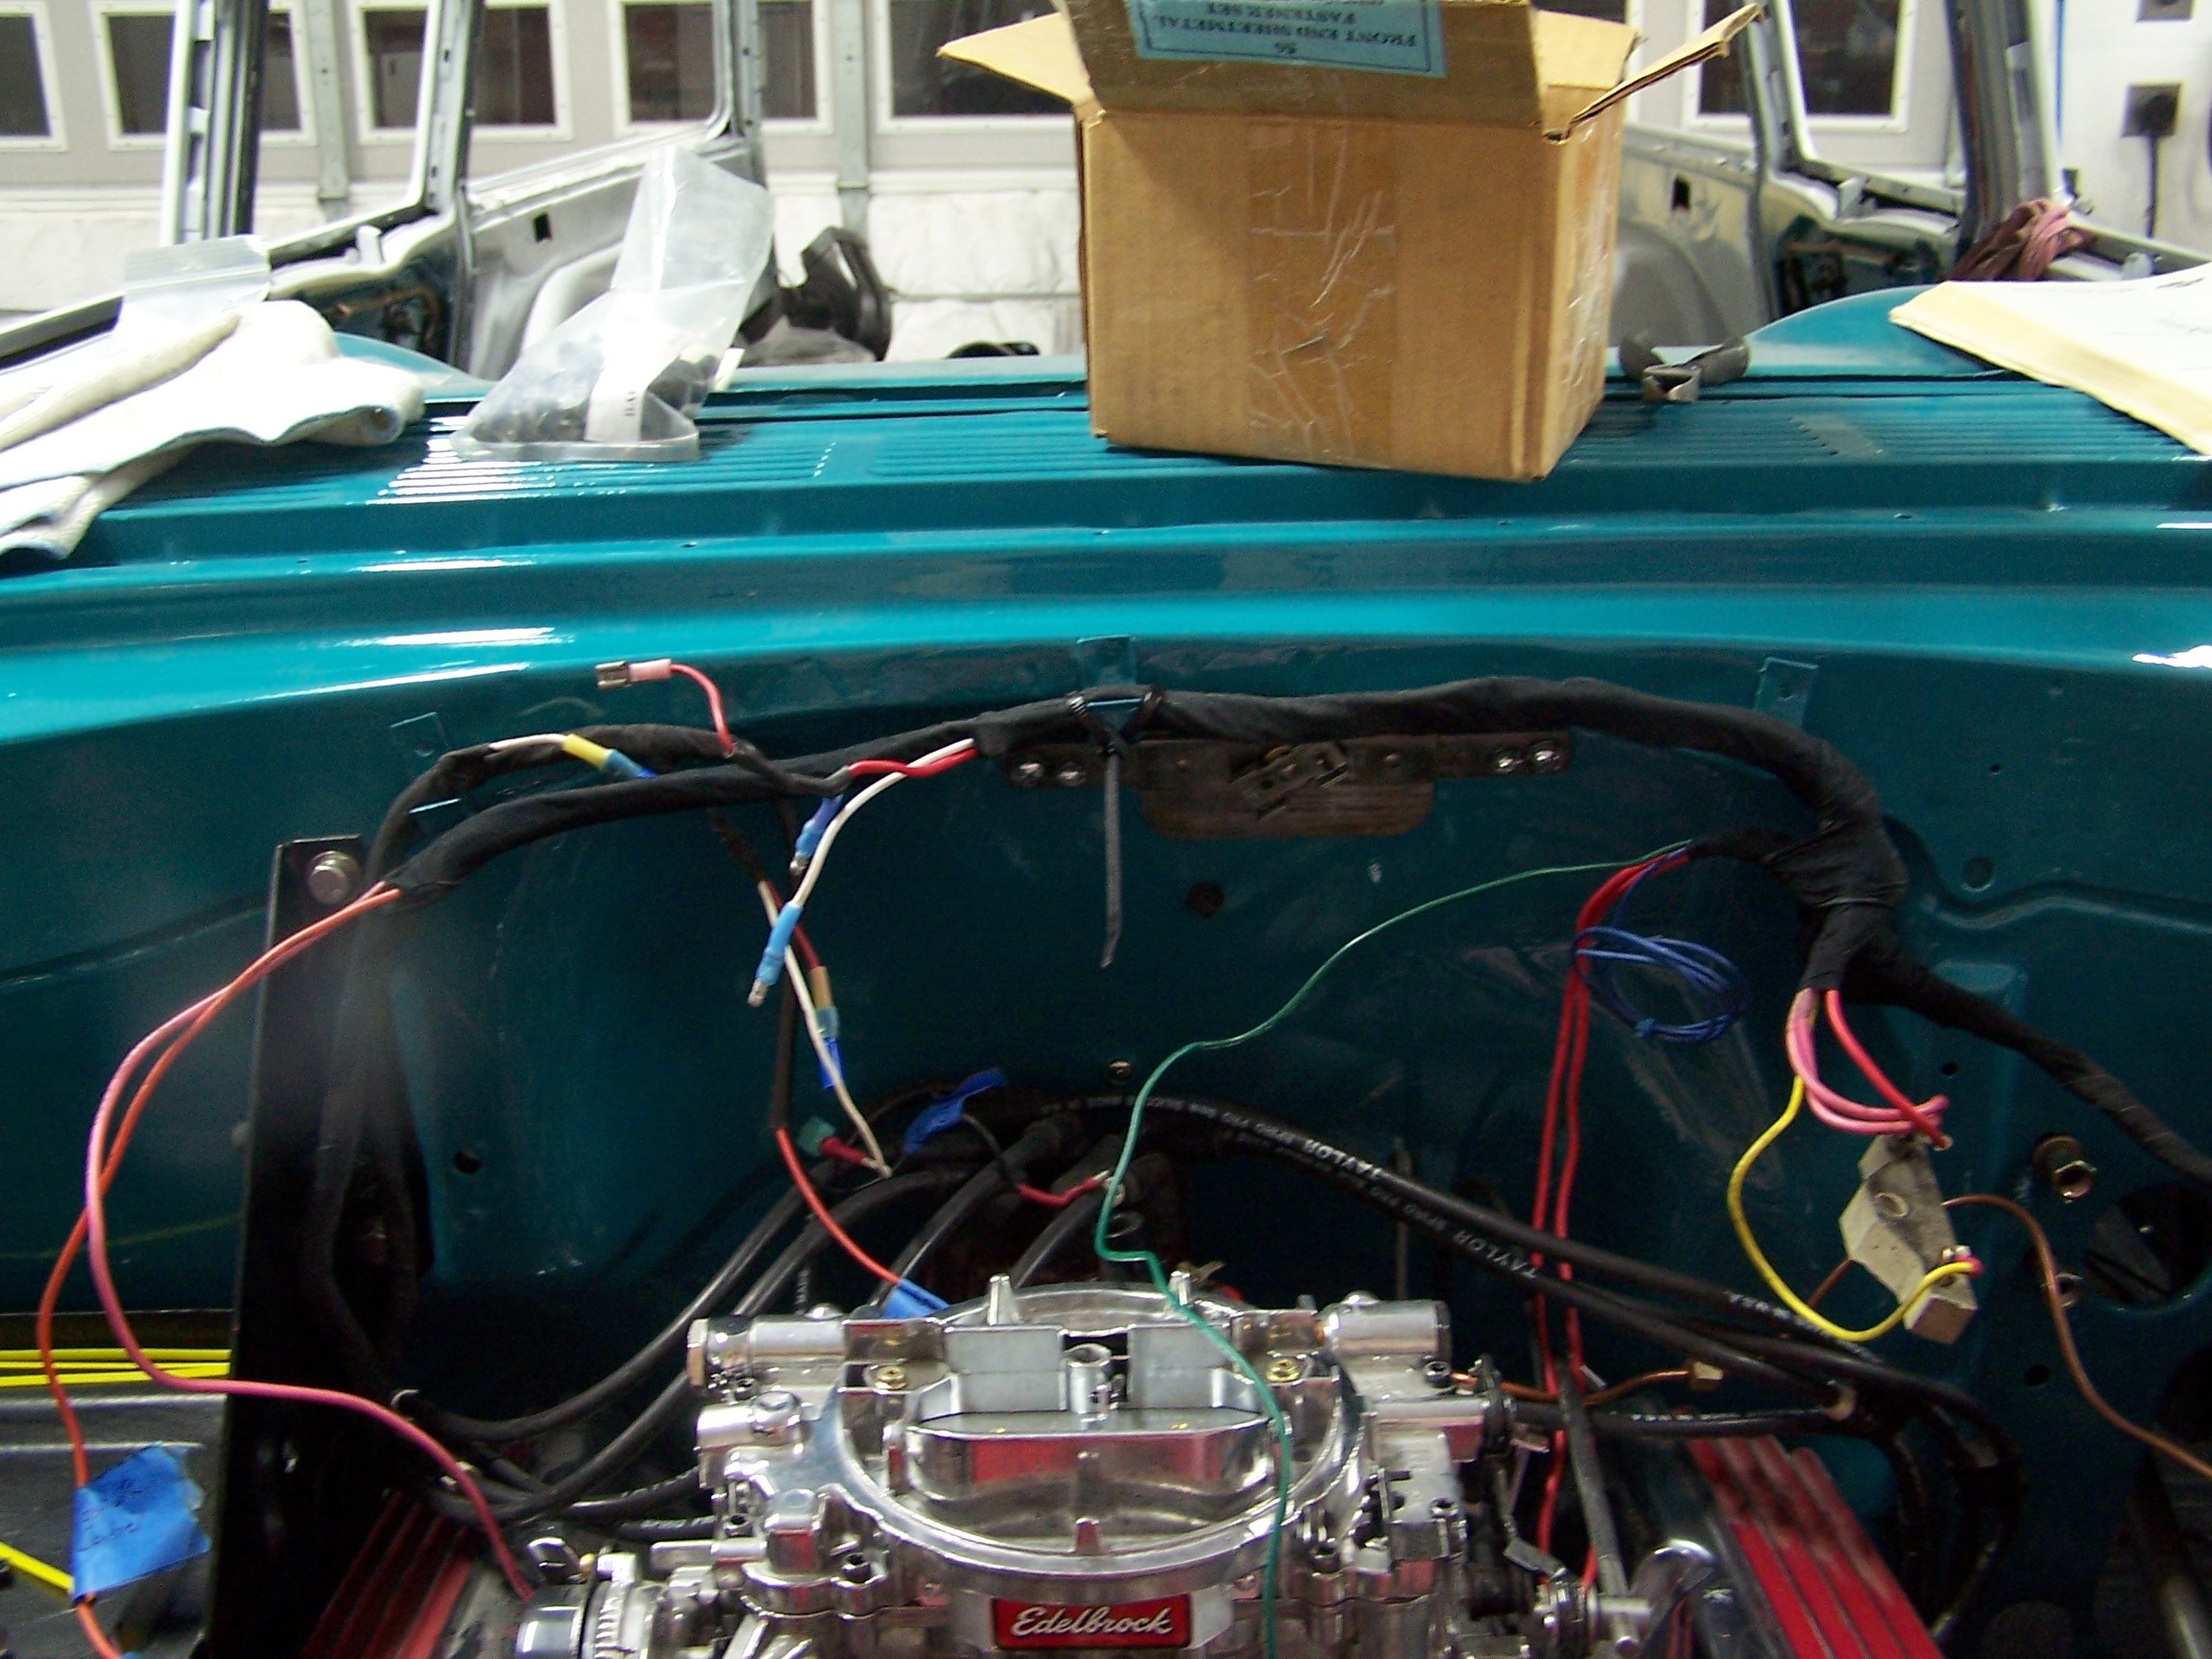
The engine harness was reinstalled.
|
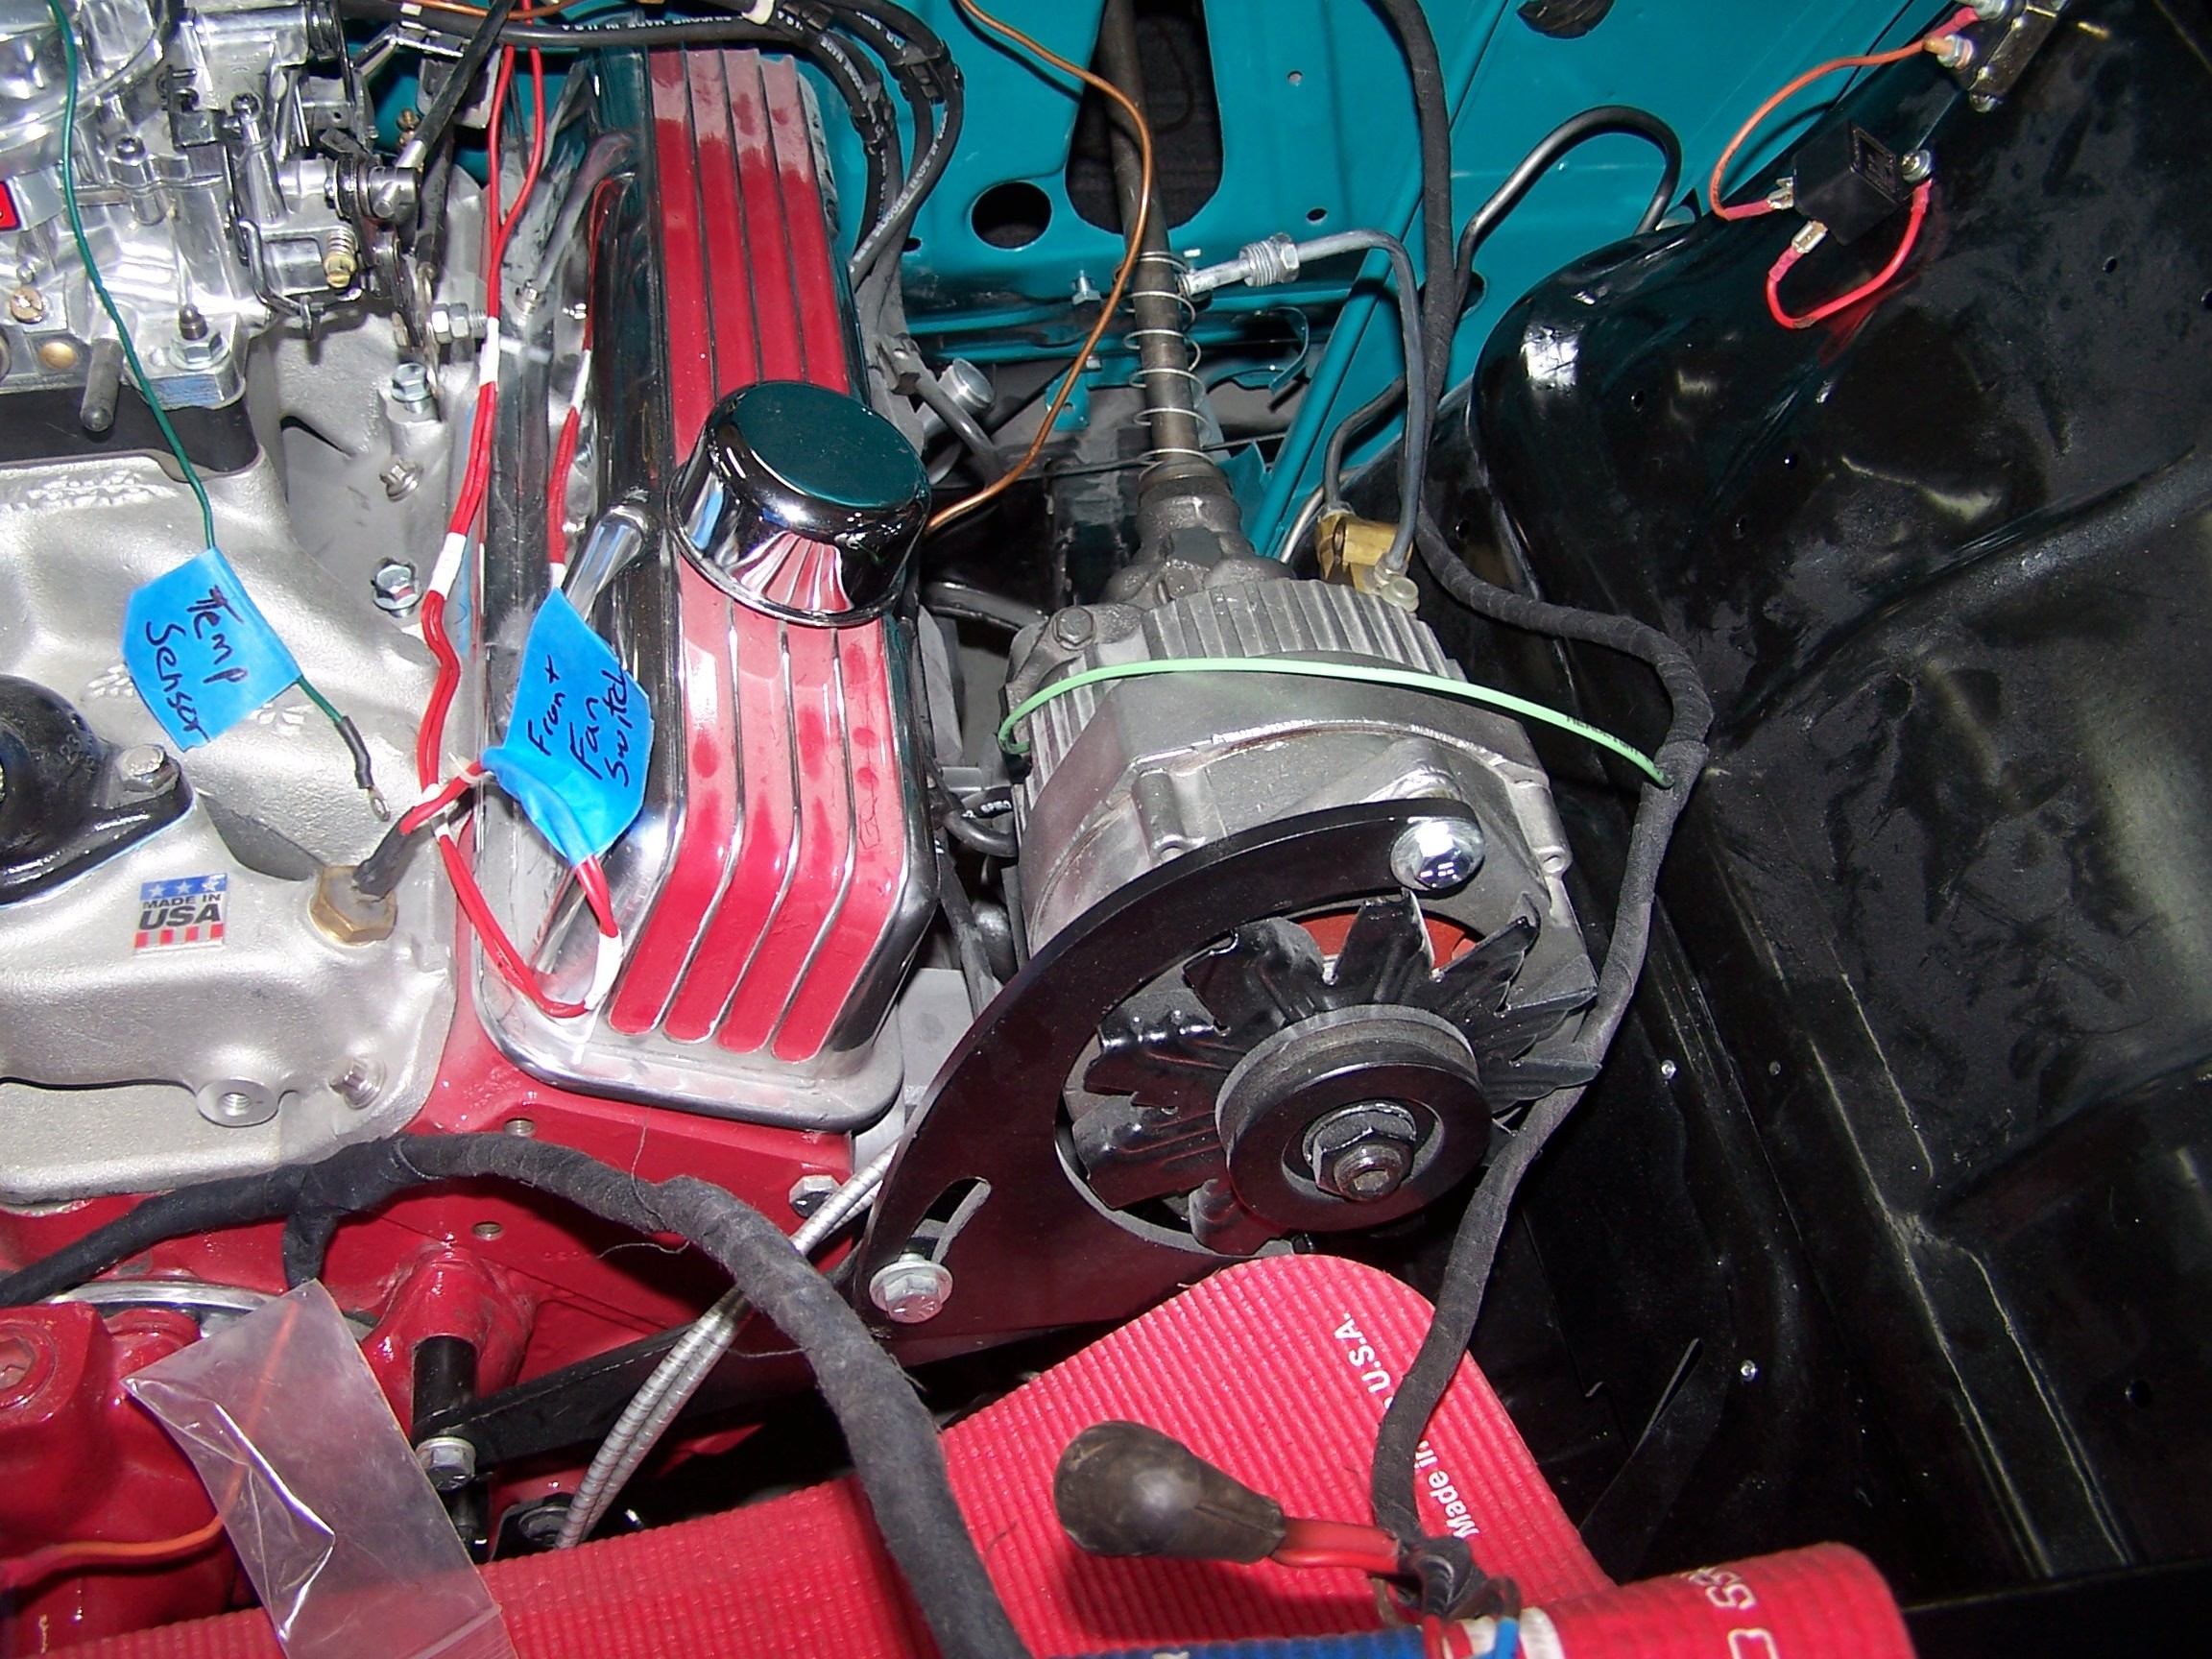
The altenator was reinstalled, in preparation for fan blade installation.
|
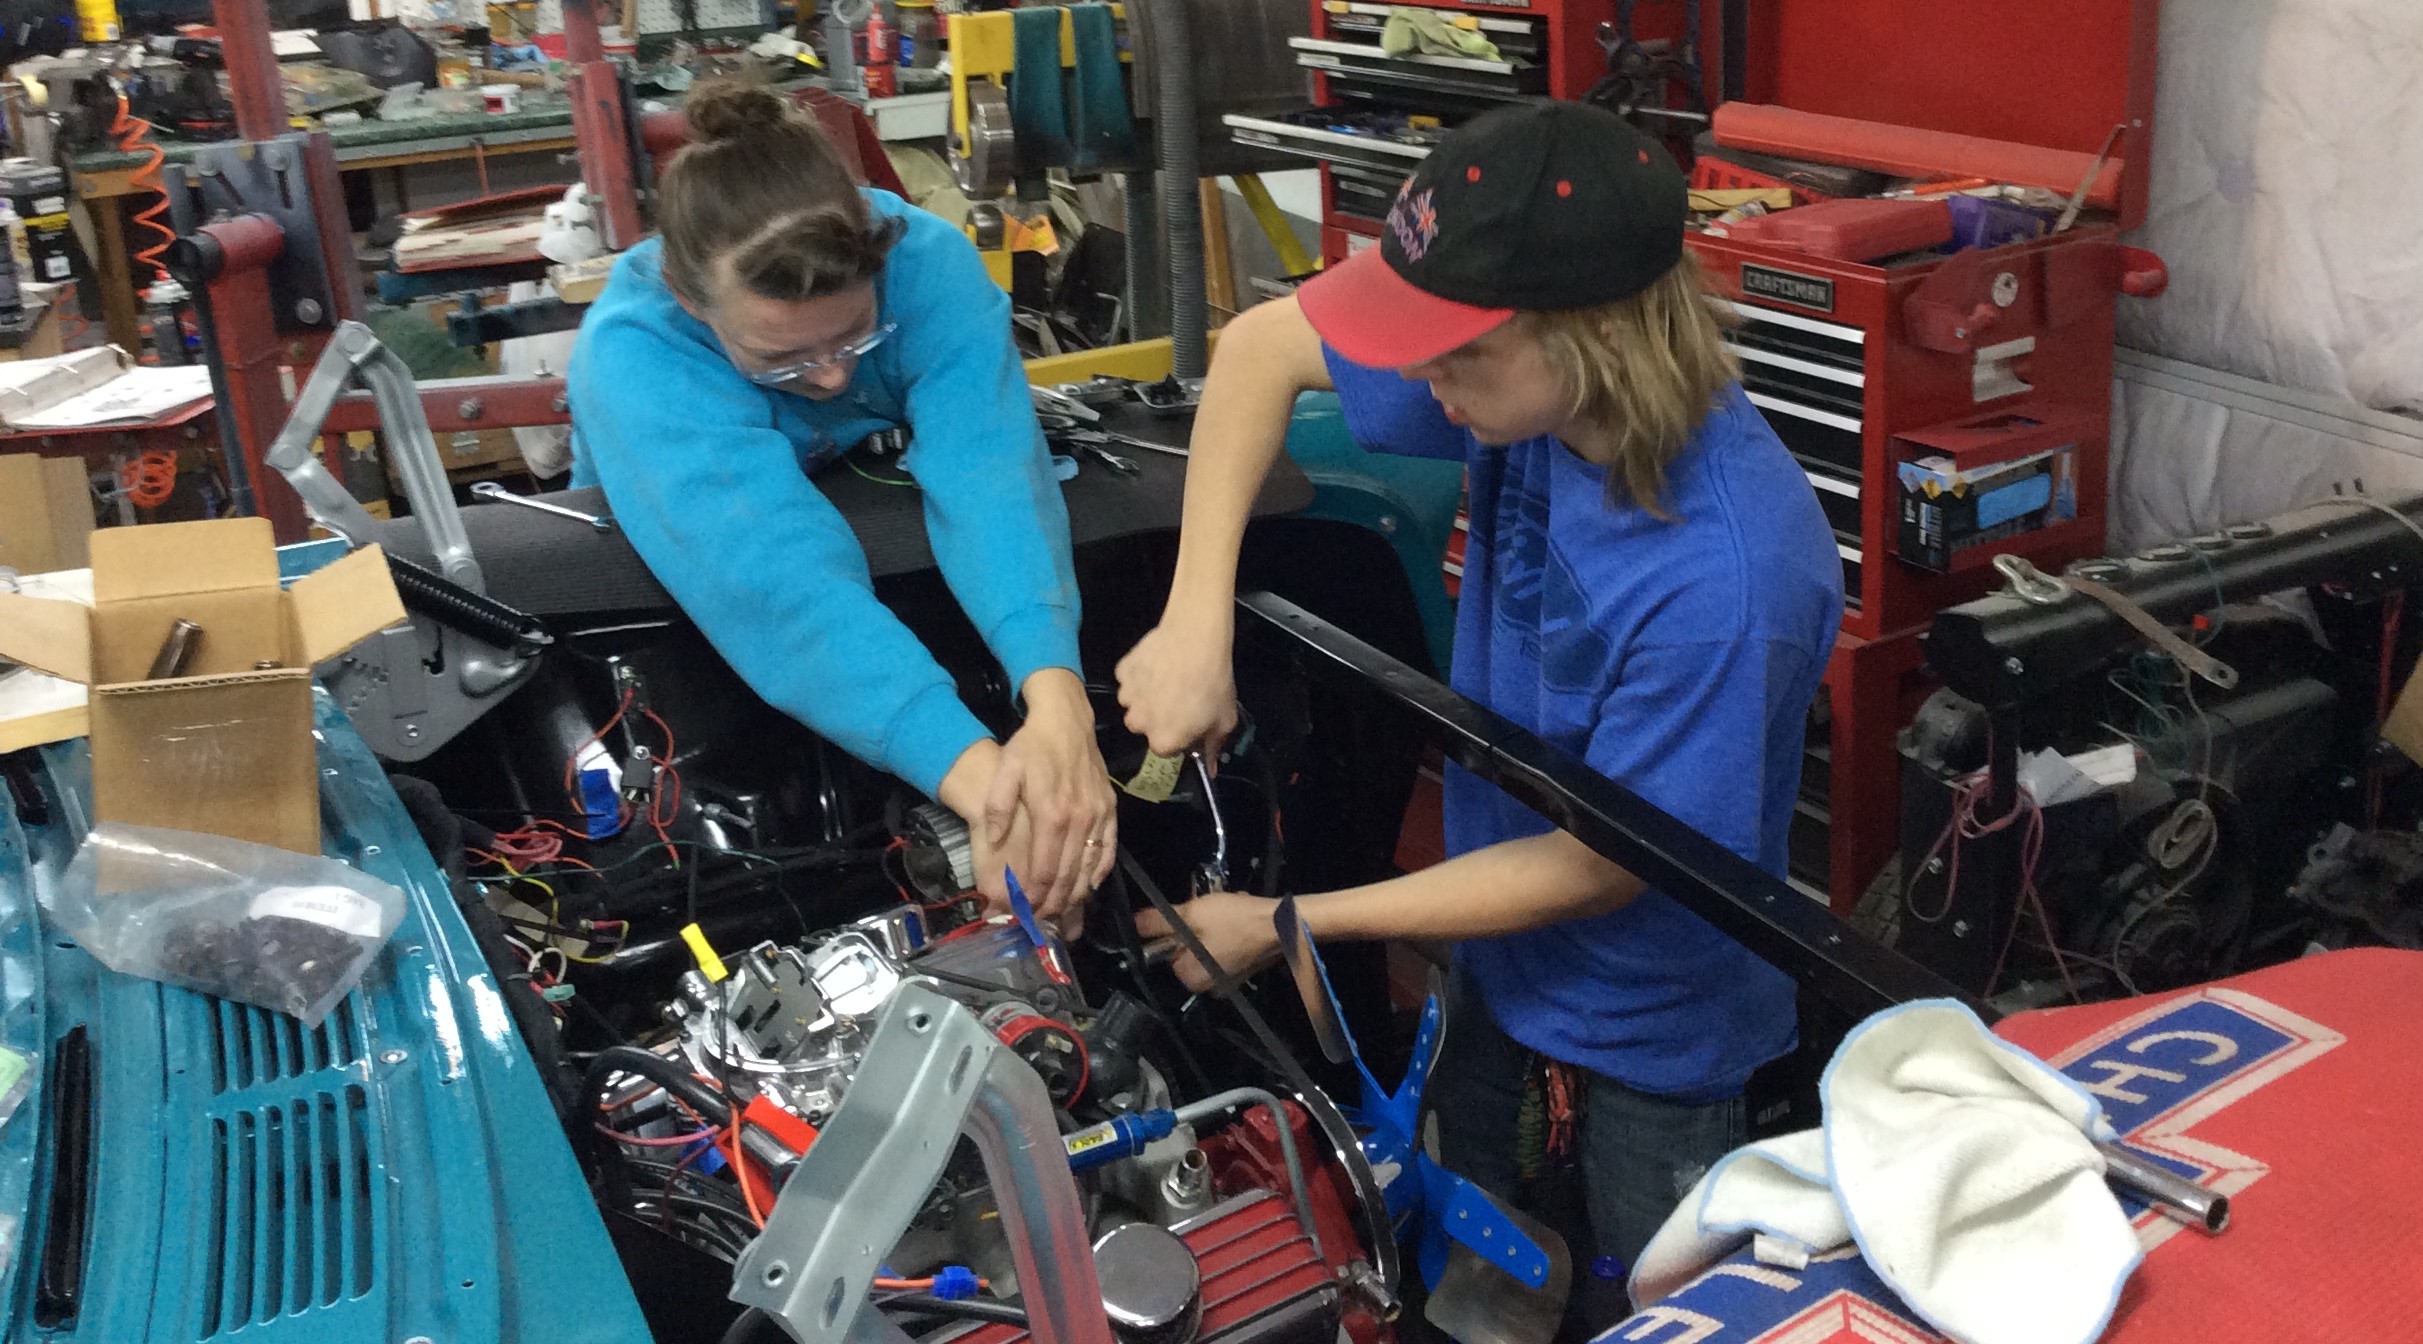
The help tightens up the altenator.
|
The heater box and blower are reinstalled.
|
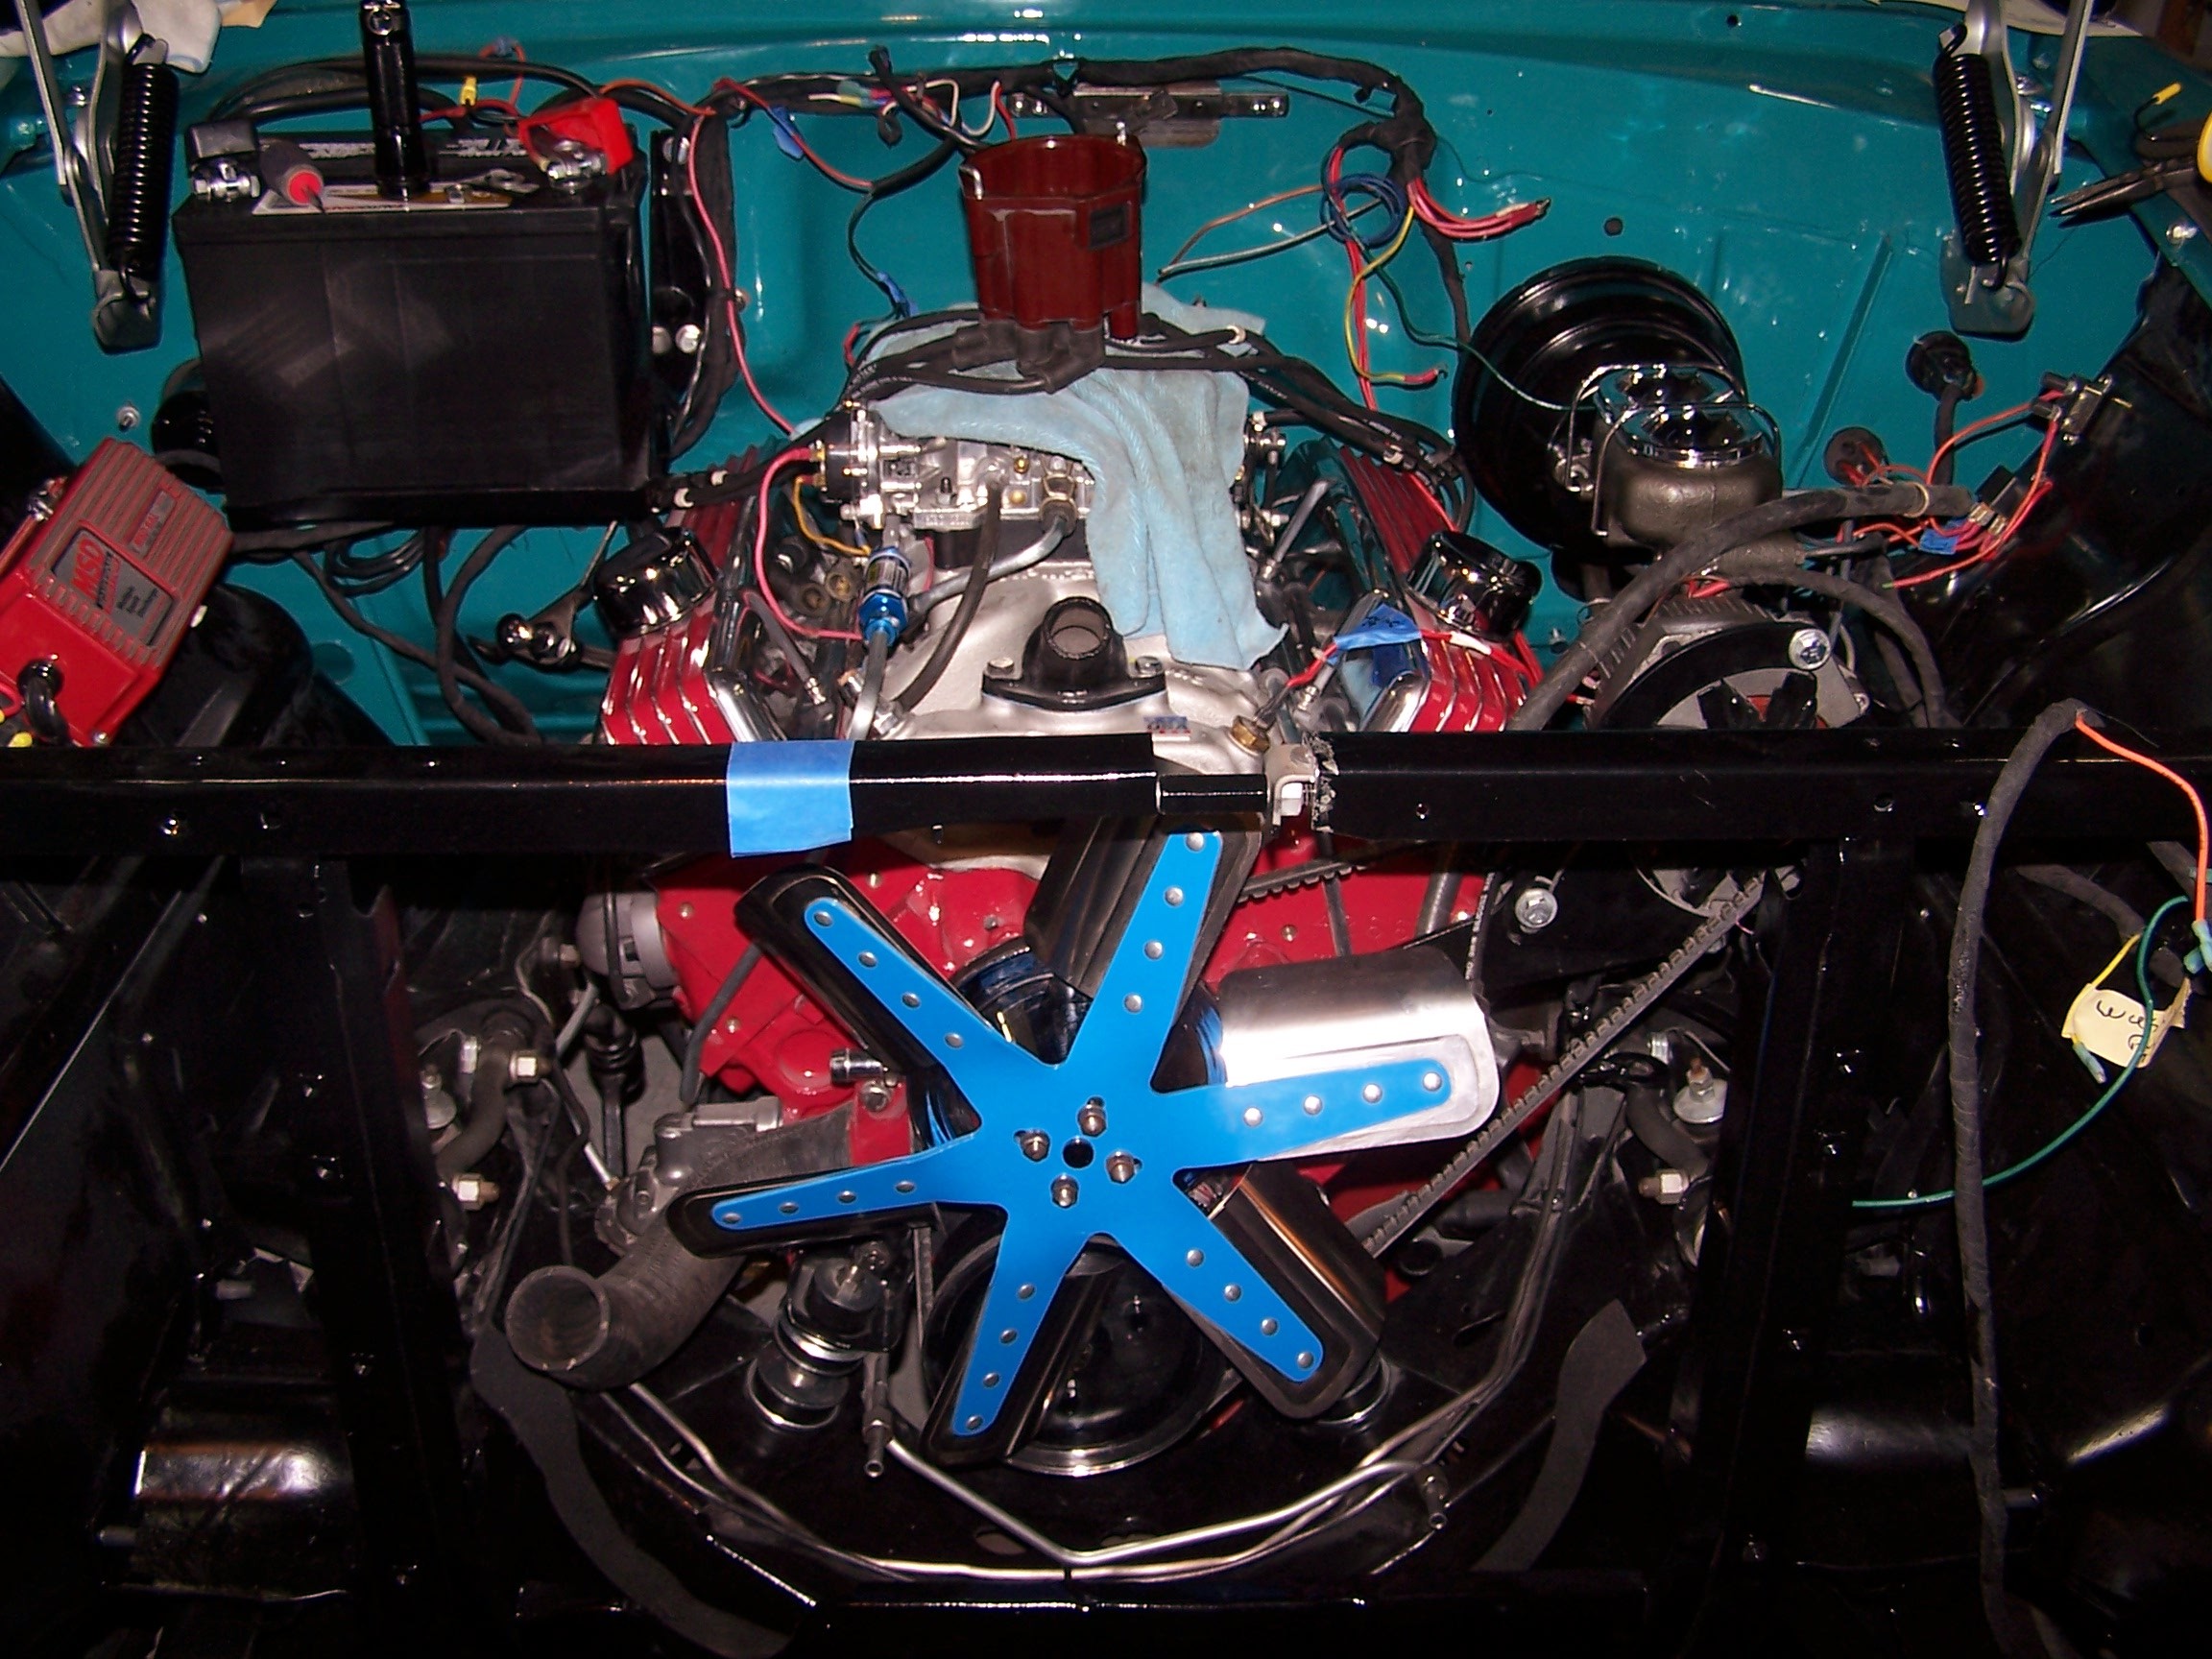
The engine bay is almost complete.
|
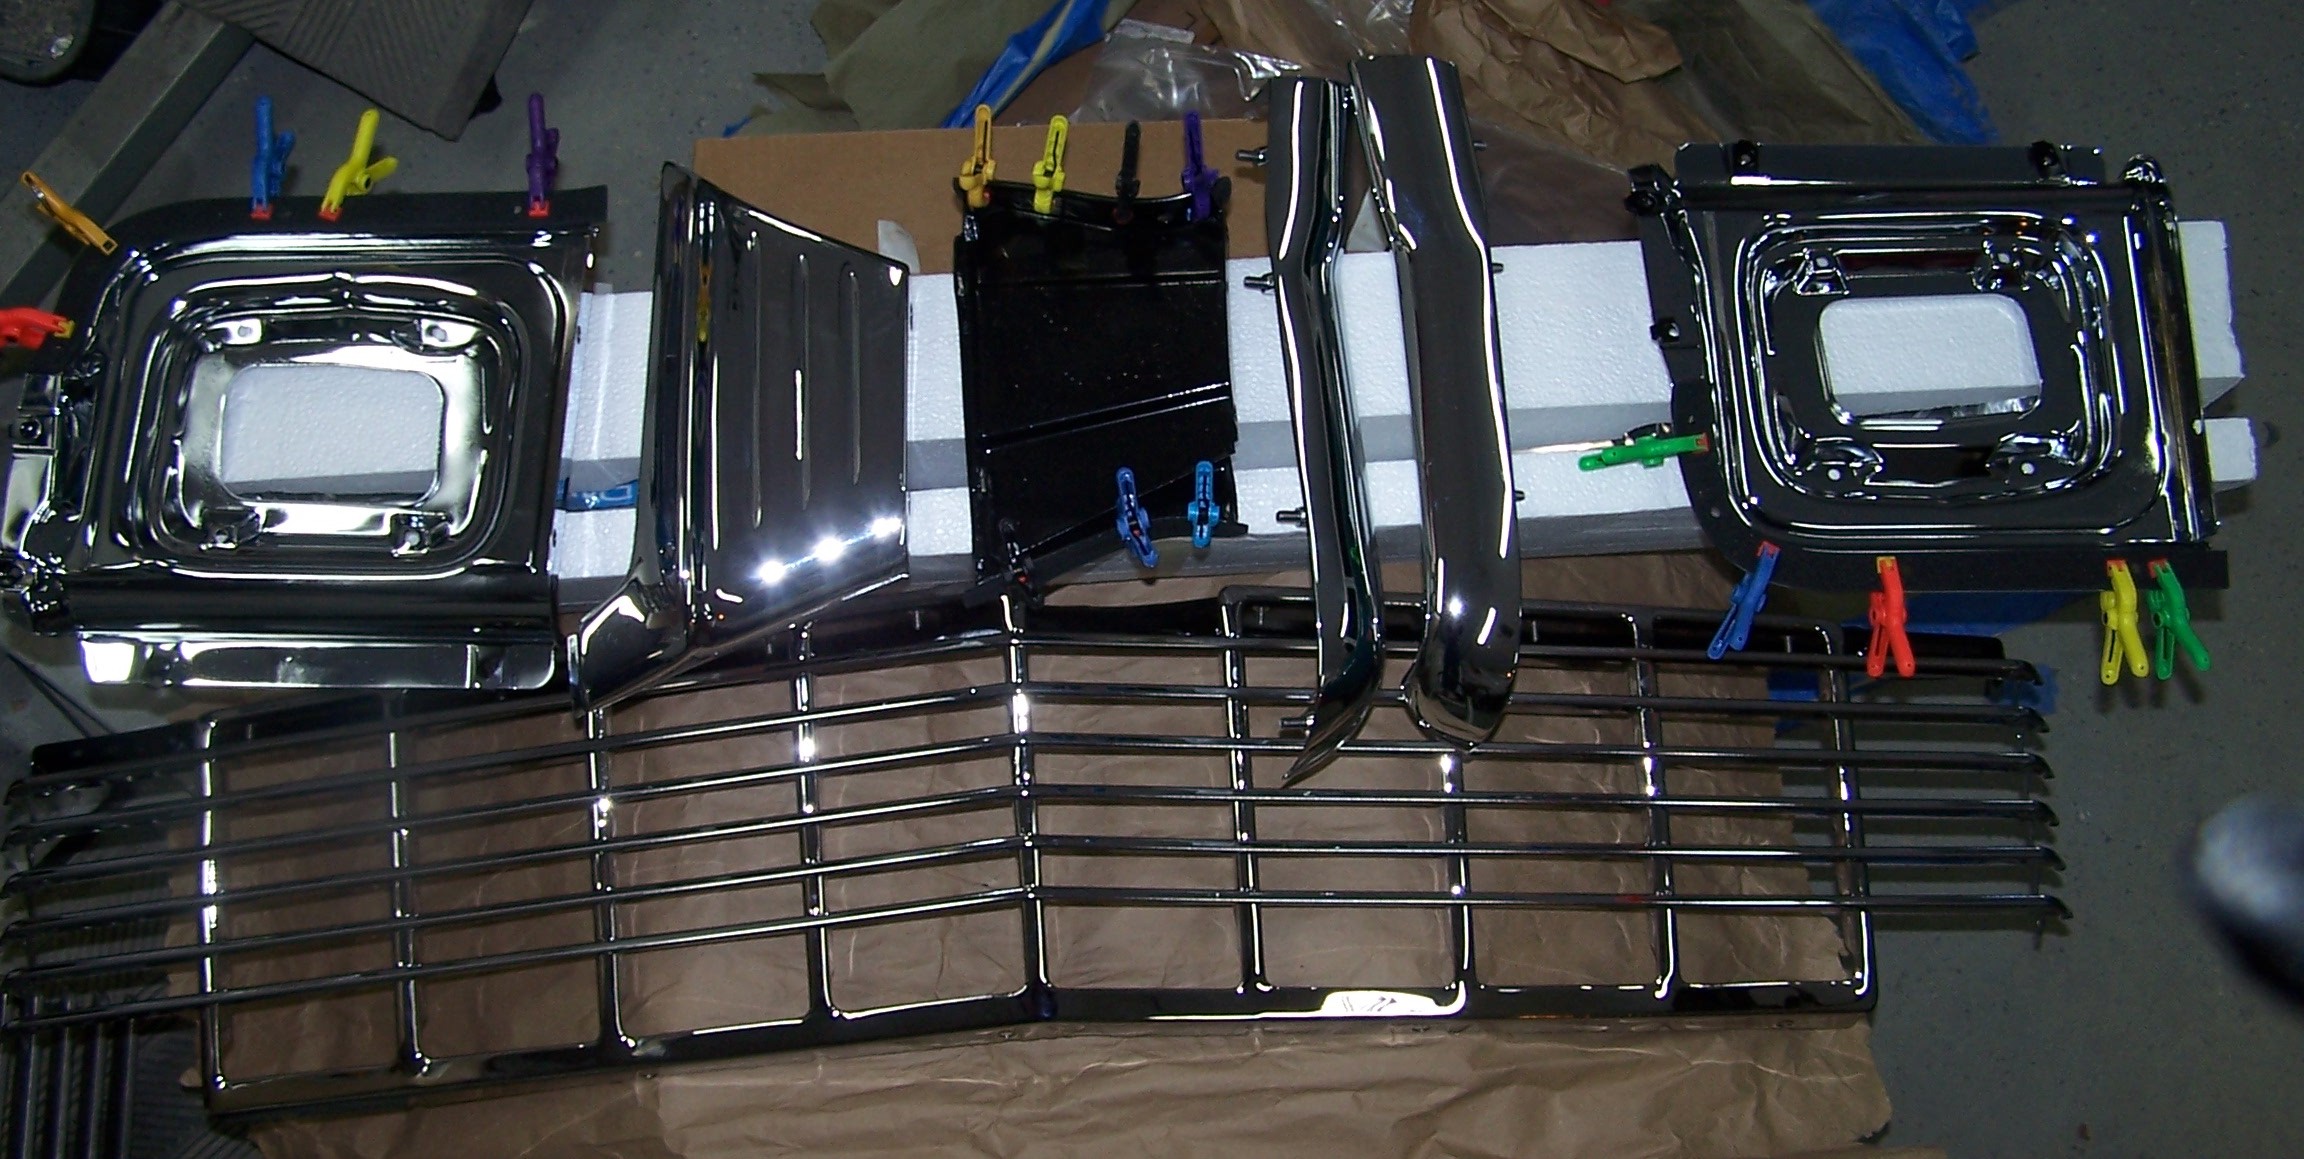
Front end jewelry prepped and awaiting installation.
|
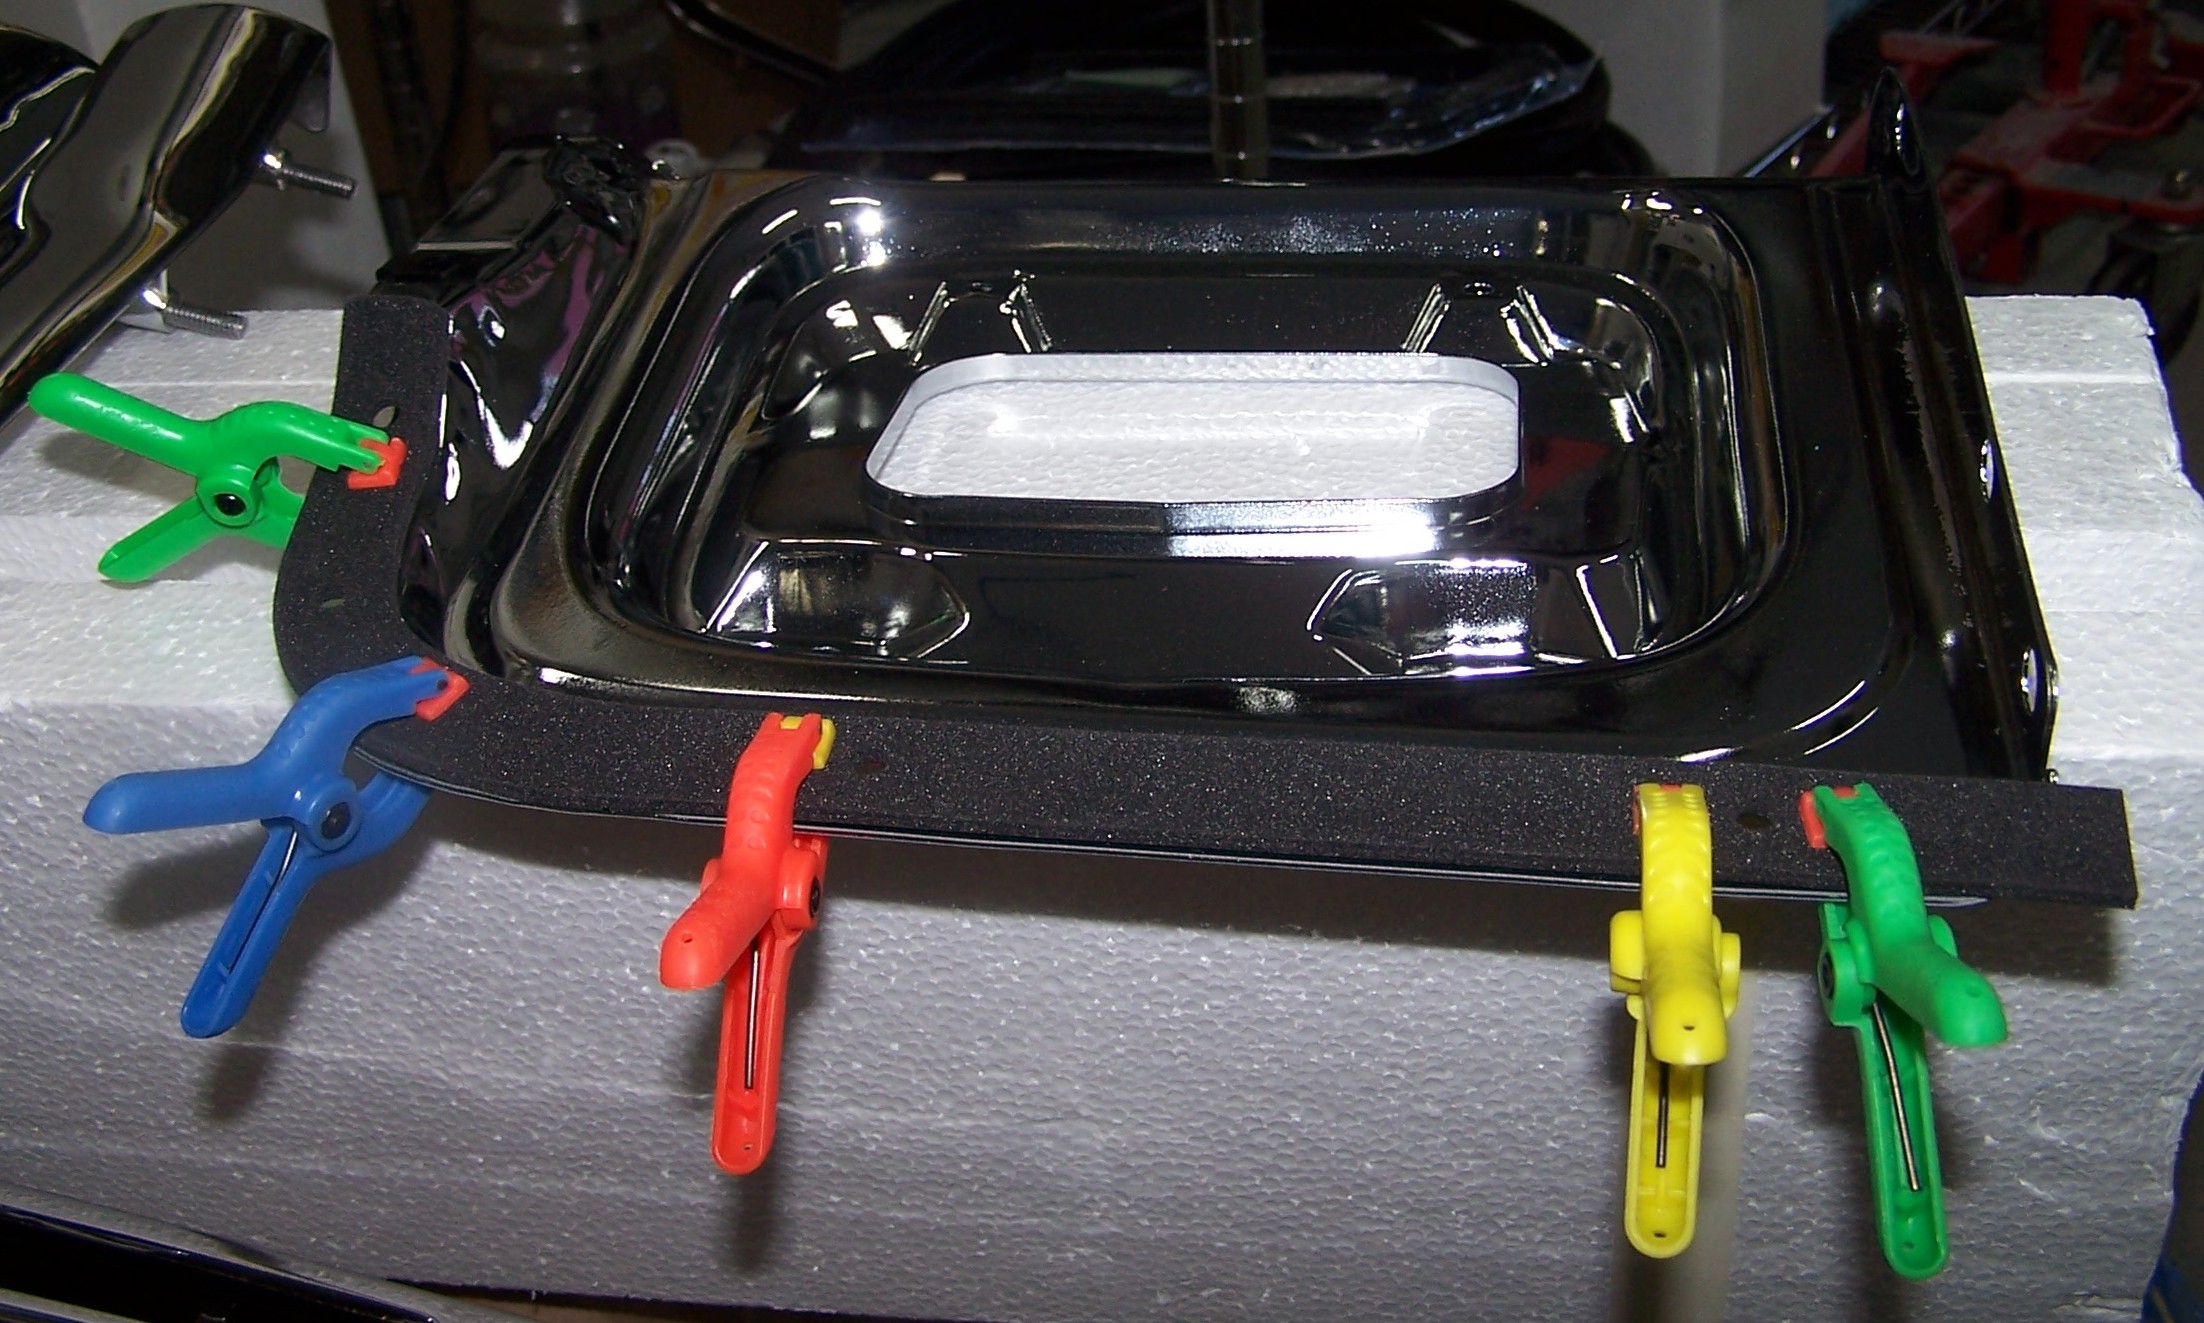
The anti-squeek gasket was secured to the headlight backing plate with adhesive.
|
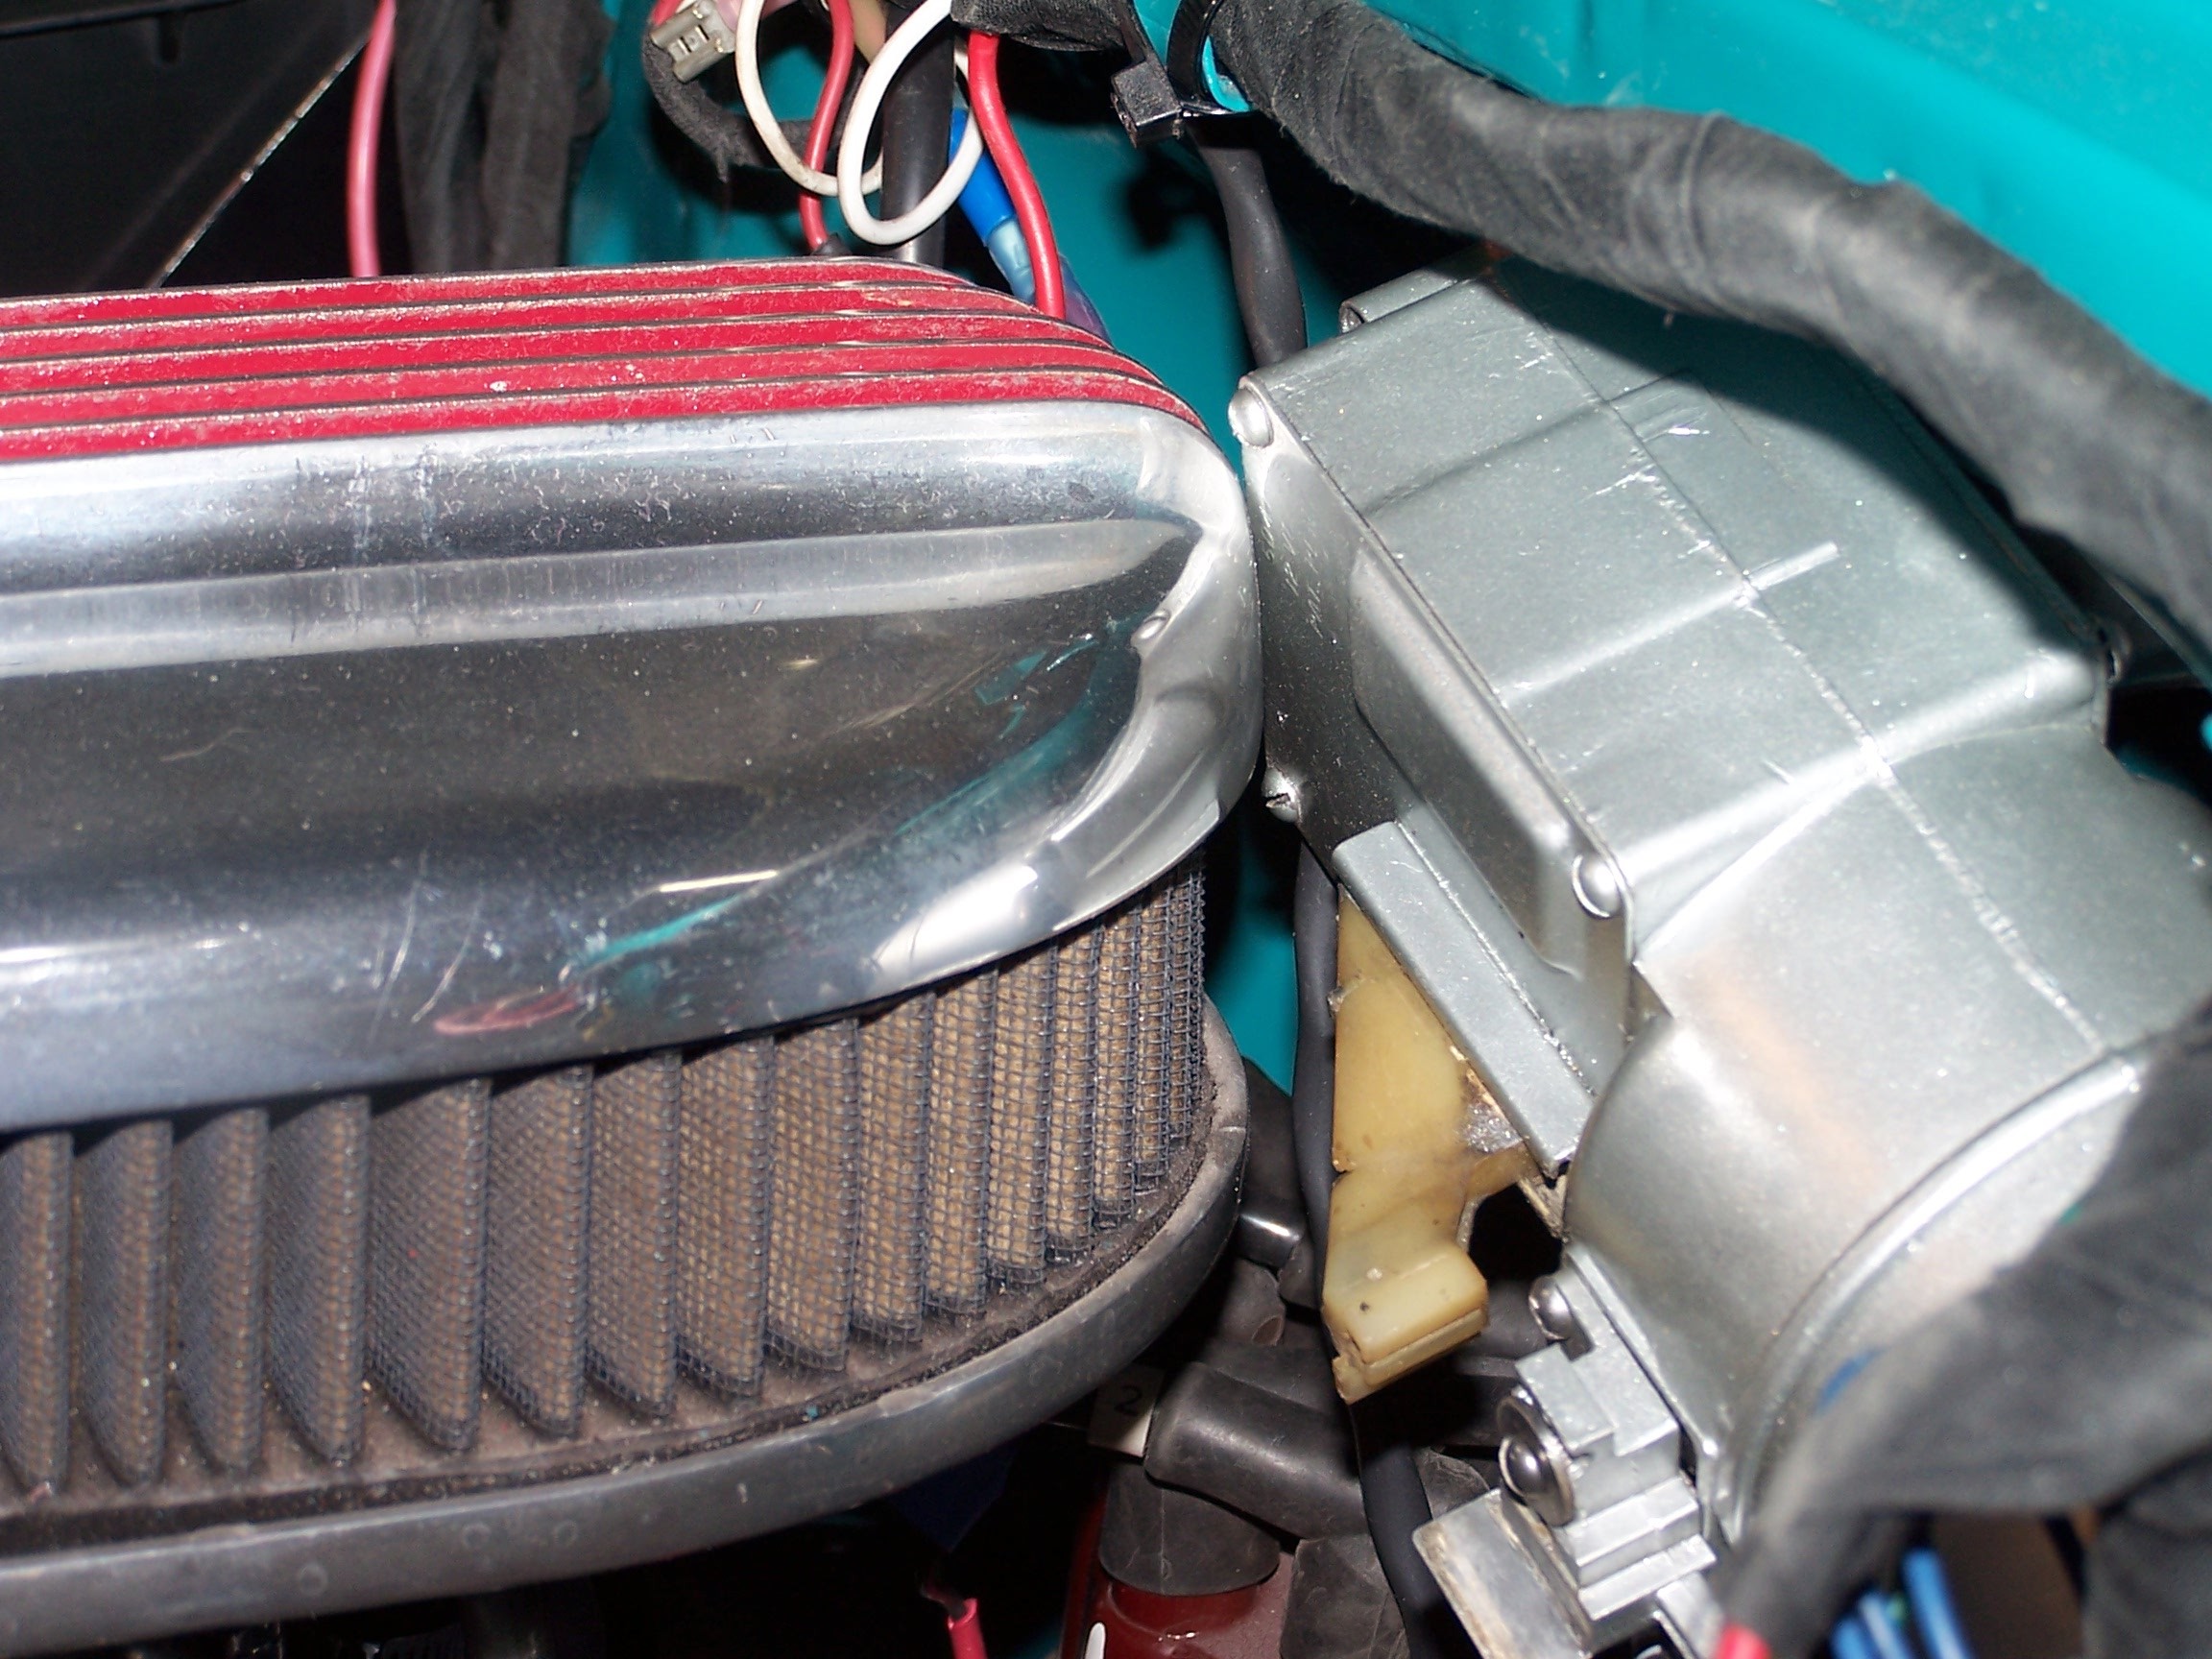
The eletric wiper motor was installed, only to find a clearance problem with the air cleaner due to the taller intake manifold. Easy solution - Raingear wiper system. So out came the original electric wiper motor.
|
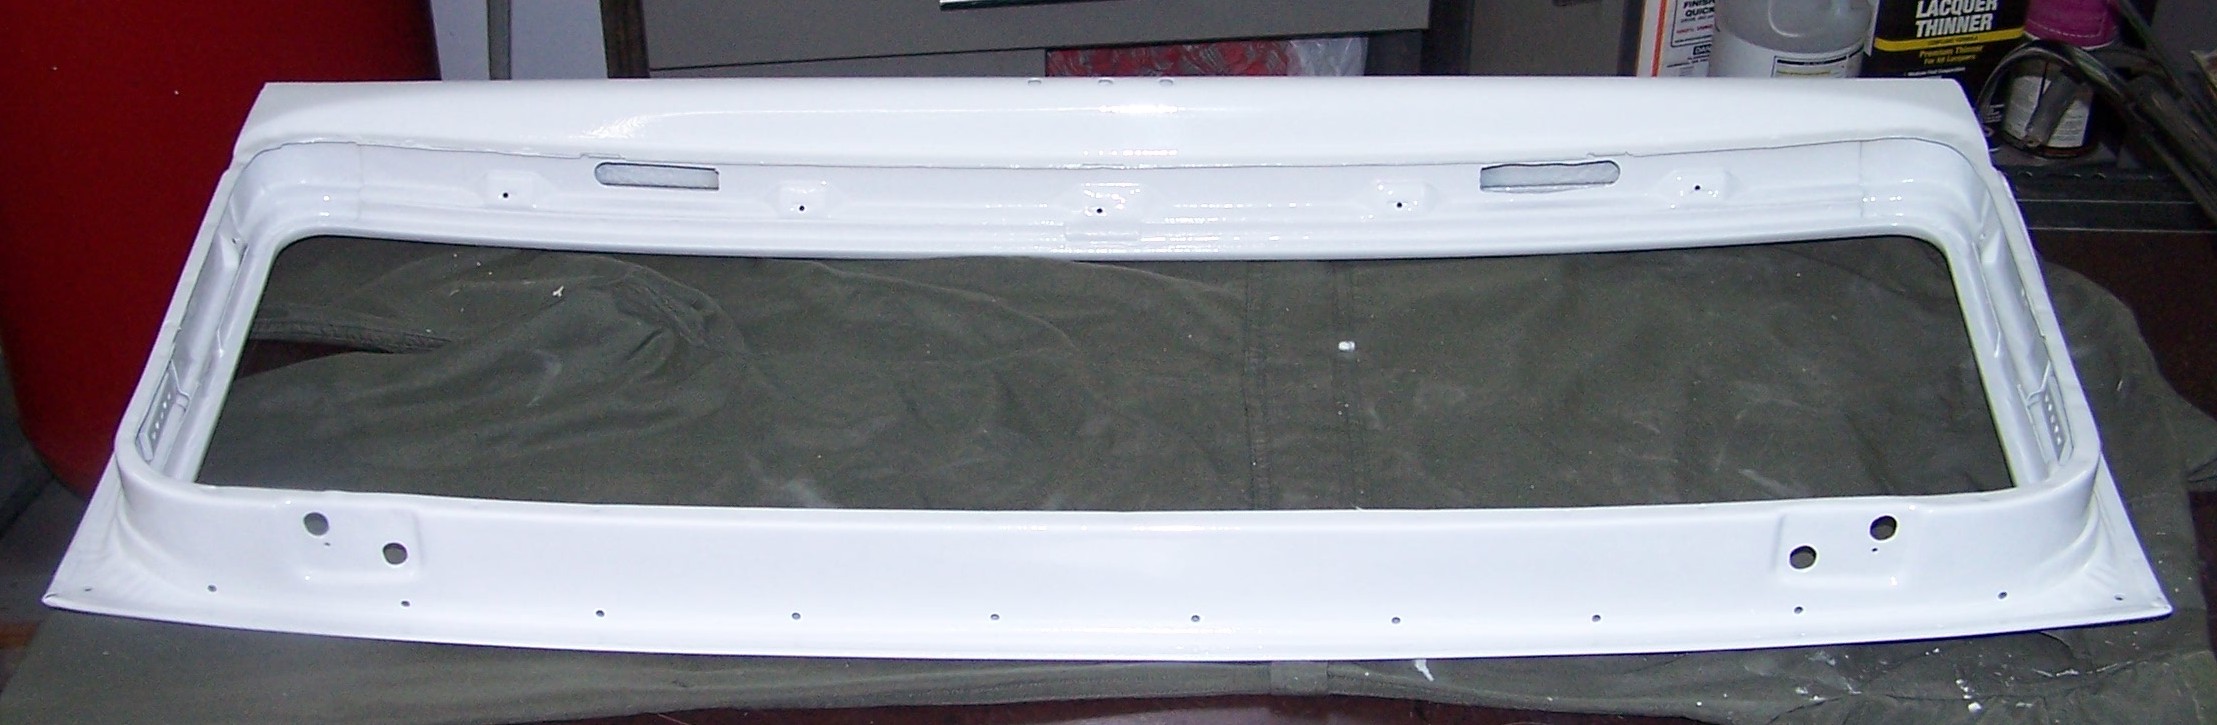
One buffed tailgate ready for installation.
|
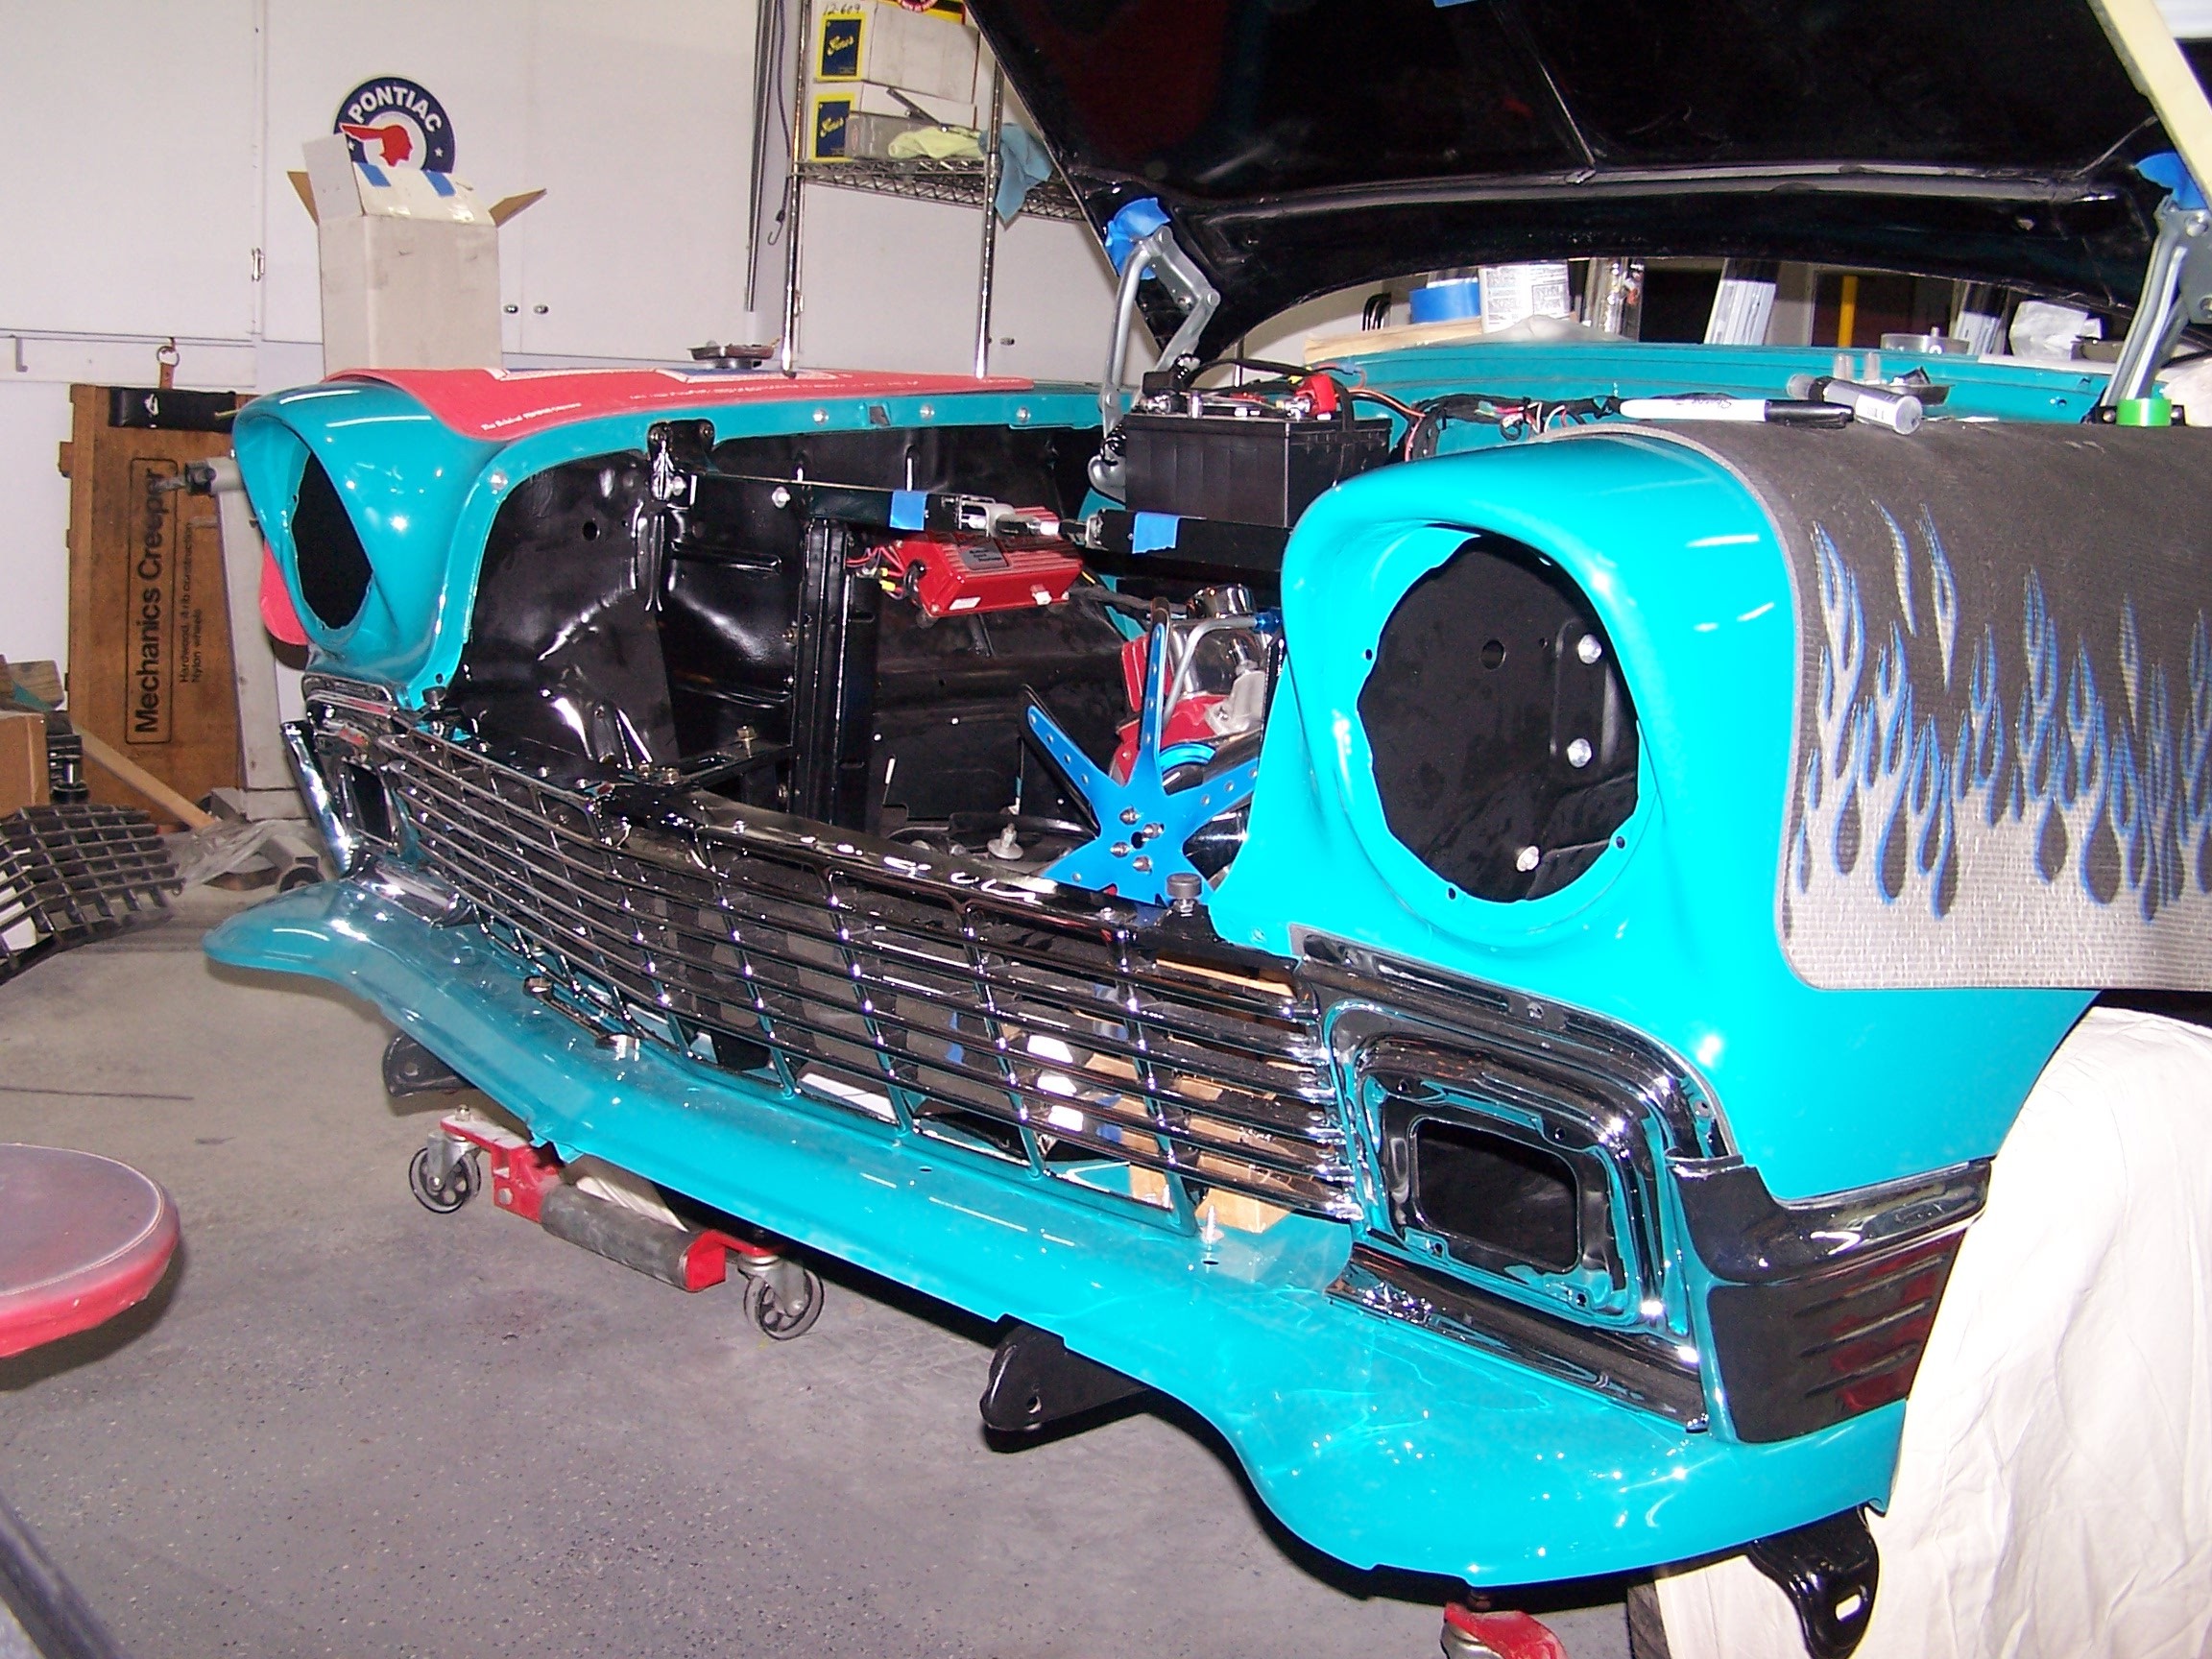
The grill and other front end jewelry were installed and the front end alignment completed.
|

The wagon is starting to look like a complete car again.
|
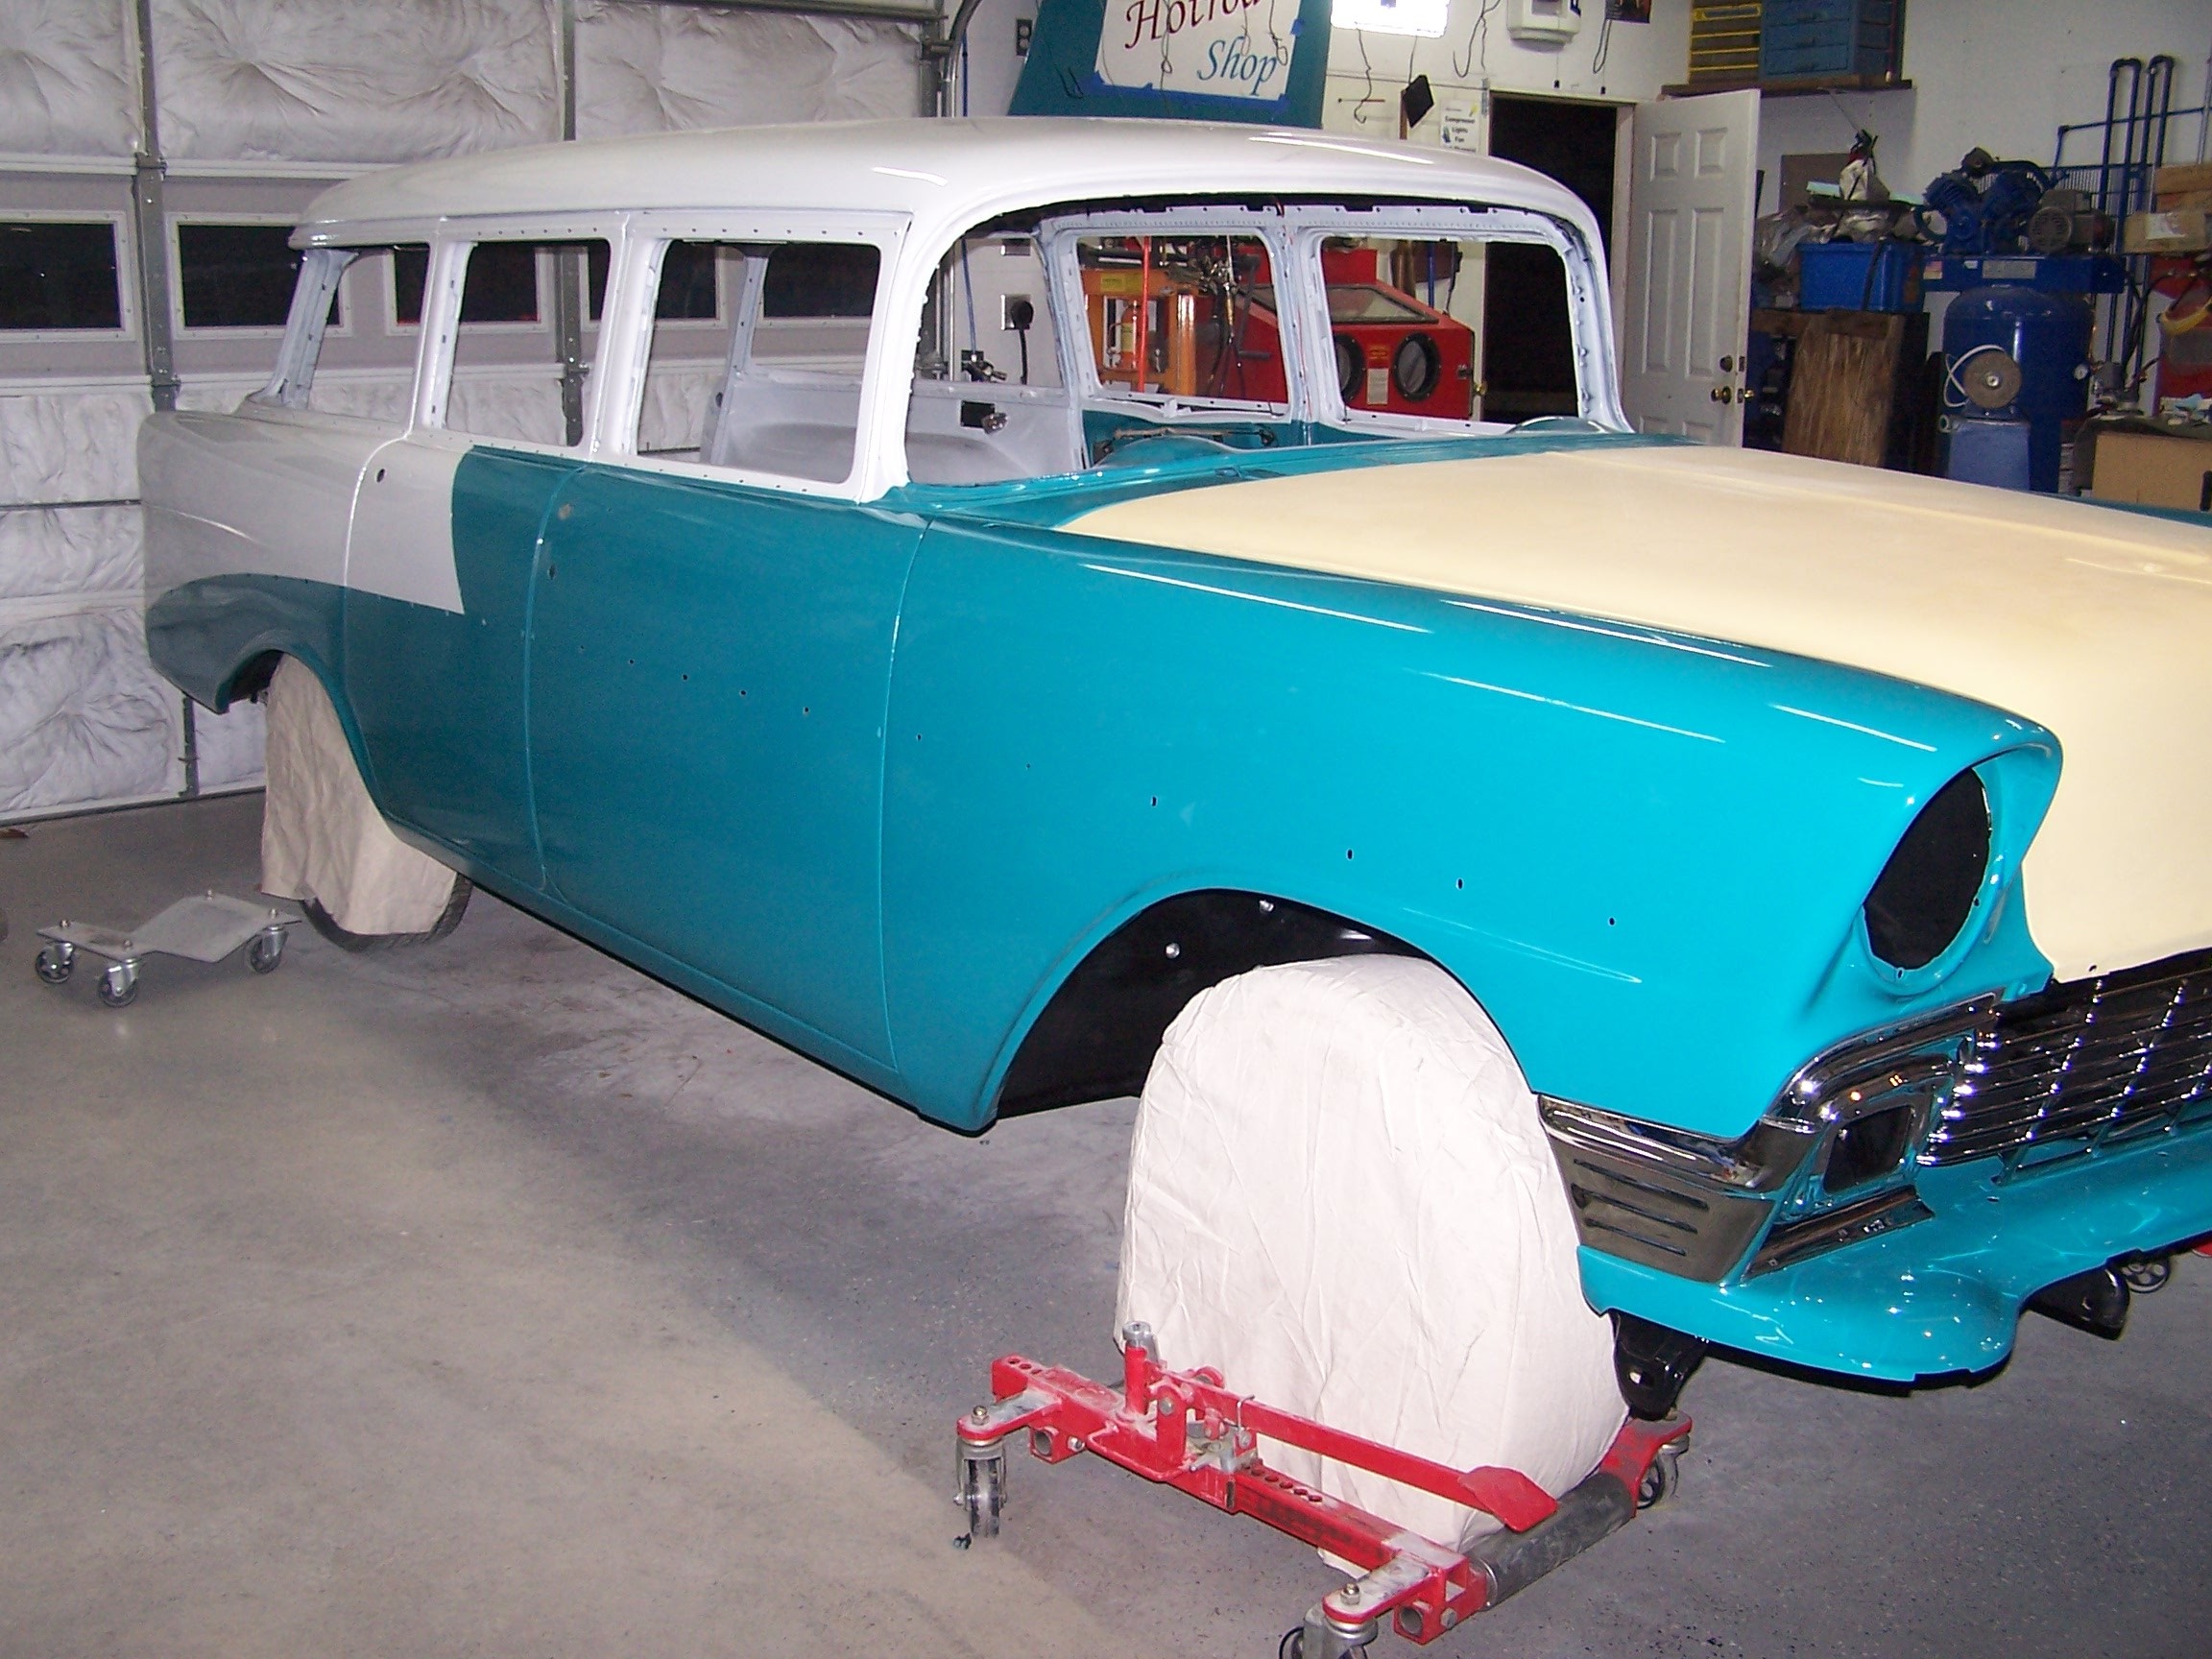
Remember we ran out of time on the body work on the hood before the weather was too cold to spray paint. But at least the hood is all one color and if we needed to tweak anyting for alignment, we wouldn't be damaging a completed hood. Even with the buff colored hood, the wagon looks great.
|


