
Time to install the radiator overflow tube, required by most drag strips.
|

Filling the radiator to check for leaks.
|

Time to take care of the orange peel in the paint. Stage 1 on the driver door.
|

Closeup of Stage 1. Kurt avoided the edges to reduce the risk of burn through.
|

Stage 1 on the passenger front fender. Color sanding is a messy process that makes the paint job ugly for a time, but worth the effort in the end.
|

Stage 2 on the passenger front fender. The shine is starting to come back.
|

Buffing time. Its a messy process, slinging the buffing compound everywhere. The engine and hood hinges were masked off to prevent additional cleanup..
|

After buffing the driver front fender the shine is back and the paint much smoother.
|

After Stage 3 and before buffing, the shine is about 4-5" deep.
|

After buffing, the shine is much deeper, about 10-11" .
|

The whole car completely buffed.
|

The fender birds were the first external jewelry to be put onto the buffed paint..
|
Every panel was buffed, except for the hood which was still in filler and the roof. The roof is too dry and needs to be sanded and recleared completely. Kurt did have a couple of sand thru spots where touch up will be needed.
At this point, reassembly can really begin. We began finishing pieces and bolting them on. The Wagon began to come alive again..
|

The side stainless was located and restoration started on it. All pieces were checked, metal worked, sanded, and buffed back to a shine. That process took bits of time over the next several weeks. With over 50 individual pieces, it wasn't surprising..
|

Our Christmas present finally started being installed - all the glass minus the windshield because it was still good from when we did it a few years back..
|
The glass was trial fitted first, then gooed into place per the instructions. The clips to hold it in were the scariest part as they had to be snapped into place, against the glass.
|

Lift gate glass fully installed. And yes, it is tinted gray..
|

The door handles were installed next as we were tired of having to reach in and manually trigger the lever.
|

The parking lights were installed, as were the headlights.
|

The curved rear glass was actually easier than anticipated. However, when the goo says a "generous" bead, we over did it and spent the next hour or so cleaning up goo that had been squeezed out after the clips were installed.
|

The completely installed glass. The blue tape helped to keep the rubber in place during installation.
|

Before and after on the wing vents. A big difference!
|

To install the door glass, first we had to bend the channels to fit.
|

A spray can was just about the correct diameter for the curves at the top of the door frame.
|

After the first corner was bent, the channel was partially installed and the second corner marked for a good fit for each door.
|

Back to the can to bend the second corner.
|

And another trial fit just to be sure. One down, three more to go.
|

To install the glass into the door channels, you have to install the rubber on the glass, then hammer the channel down over the rubber. And make sure you get it right the first time because removing the channel afterwards is not fun. Hammering on glass - what were they thinking when they designed this.
|

Two front door windows waiting on window channels..
|

The jewelry for the tailgate was very pitted, so Kurt decided on stainless as replacements from Madmooks. These were an excellent fit..
|

Somehow we lost one of the originals, so Kurt built a new one. Of course we found the original a few days later.
|

The old piece and the new stainless. It's obvious which is prettier.
|

The center caps for the Crager Mag wheels was given a custom touch.
|

The center cap looks great and helps to pull everything together.
|

The "Chevrolet" logo was installed on the rear fenders.
|

The window rollers had seized up during storage. We had to wait for them to come in before we could install the glass. Between a drill and a punch, we were able to get the old rollers out.
|

One roller replaced and one stubborn roller to go for this door.
|

Once the rollers were finished, the door glass went in very quickly.
|

The passenger side glass. Now, on to the windshield.
|

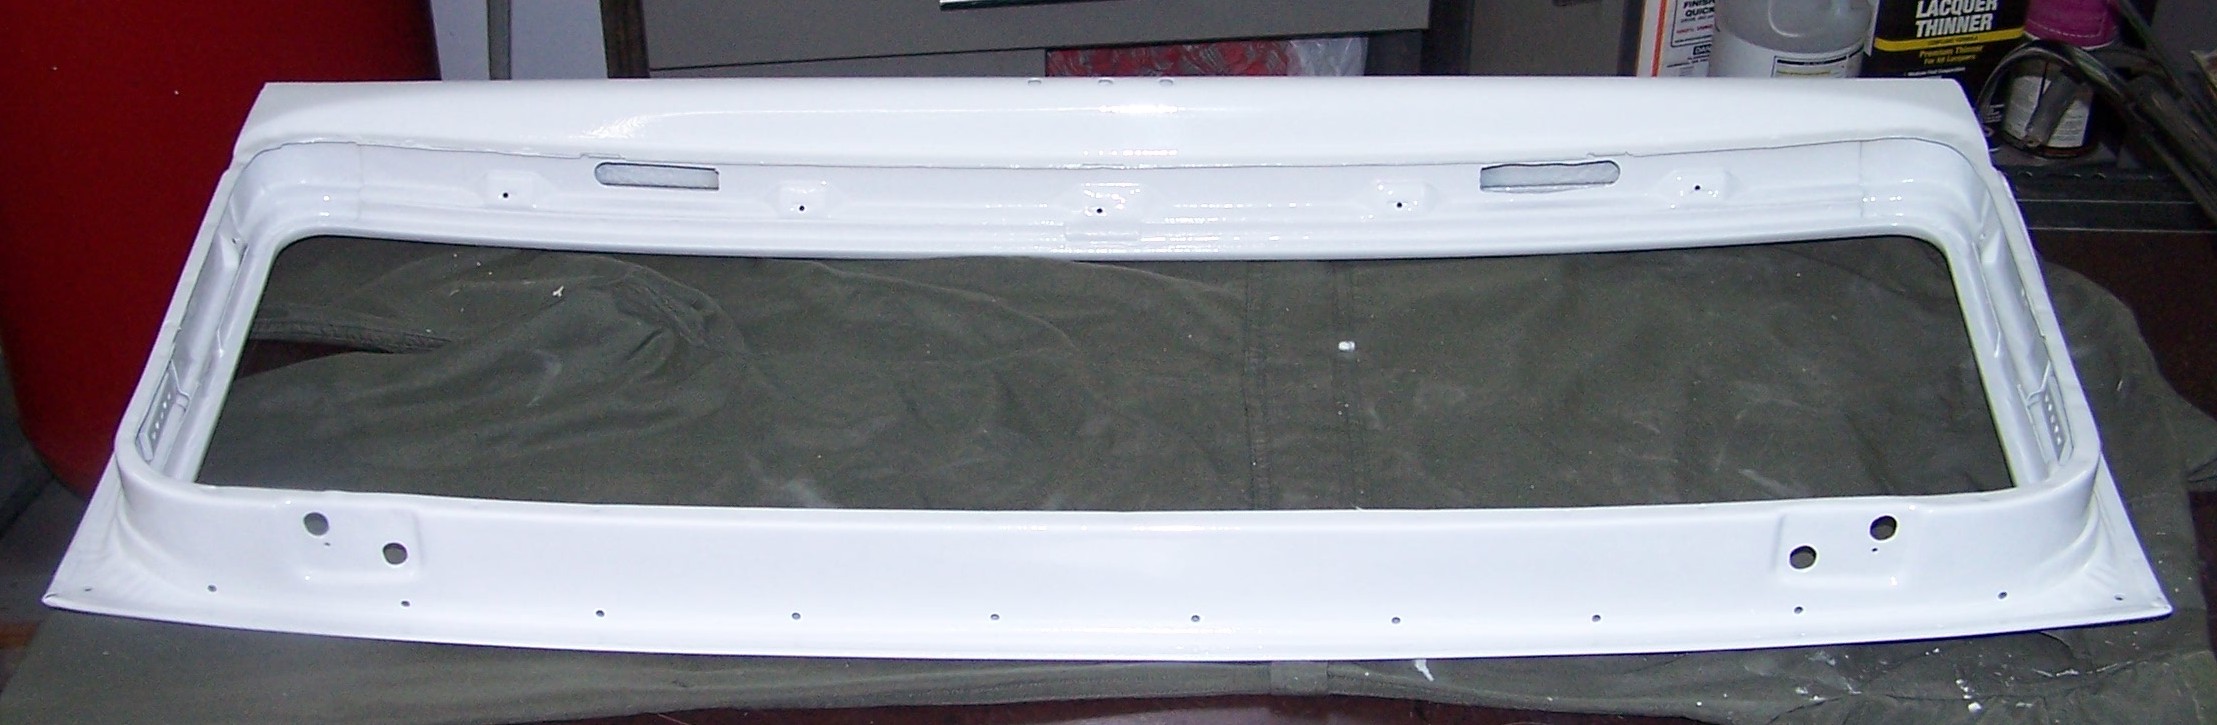
So windshield installation is oh so much fun. First install the rubber on the glass. Now remember, the slot for the stainless has to be centered across the top and the stainless installed to the glass prior to the glass being installed in the car.
|

Then put a piece of sturdy rope into the body seam channel. The rope helps to get the rubber over the body seam. This is a must when installing a tri-5 windshield.
|

Since we were sick of cleaning up the stringy, messy goo, we tried the 3M Strip Calk. That is much so easier to work with.
|

And so less messy. The guy at the paint shop called it dum-dum.
|

The windshield was set into place, bottom edge first, then stood up.
|

The rope helped ease the rubber over the body seam and no messy hands this time from the goo. We did have a couple of stuck areas around the airvents and on the sides but it went in fairly easily.
|

After much slapping the glass into place, the windshield was in. These two stainless pieces are the only ones done at this time.
|


