Another view of the hood, half cut.
|

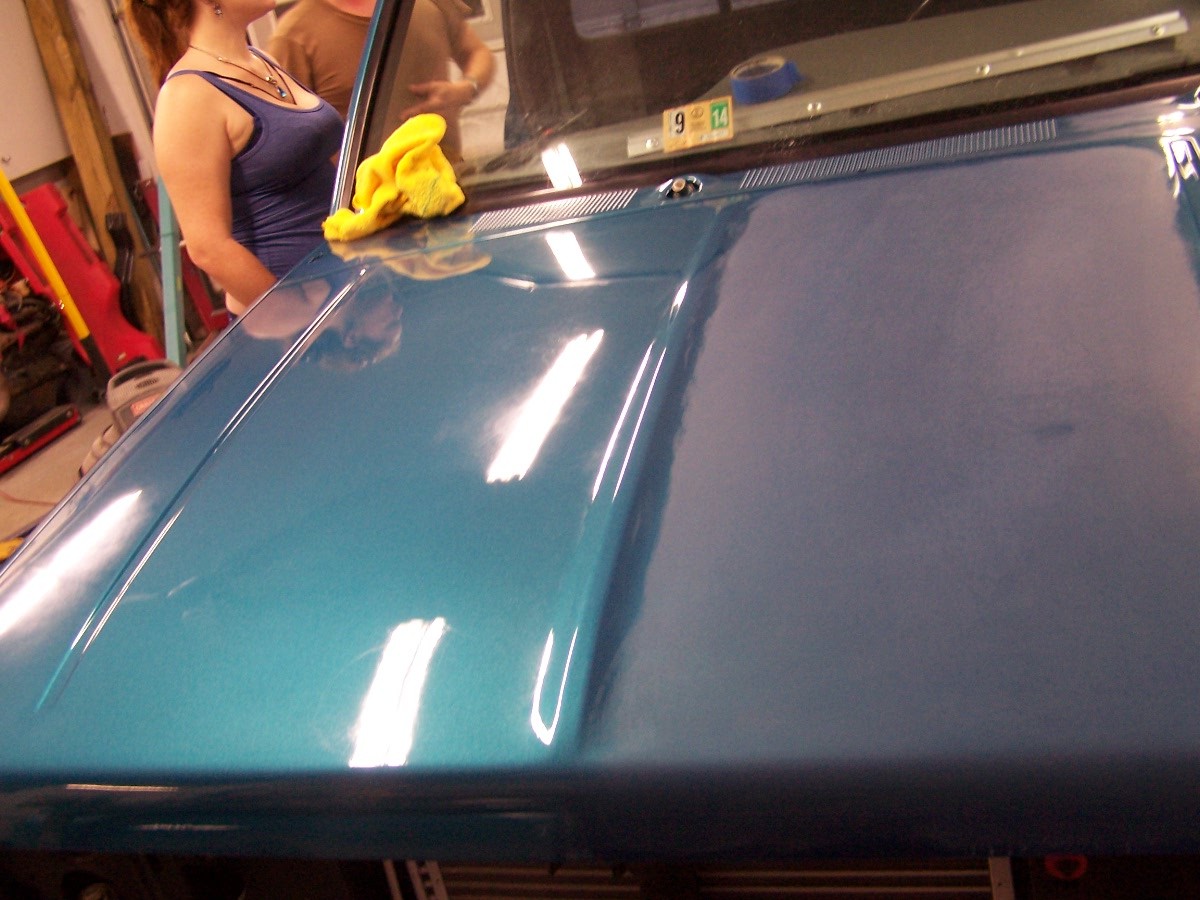
And now the hood, half buffed back to a deep shine.
|
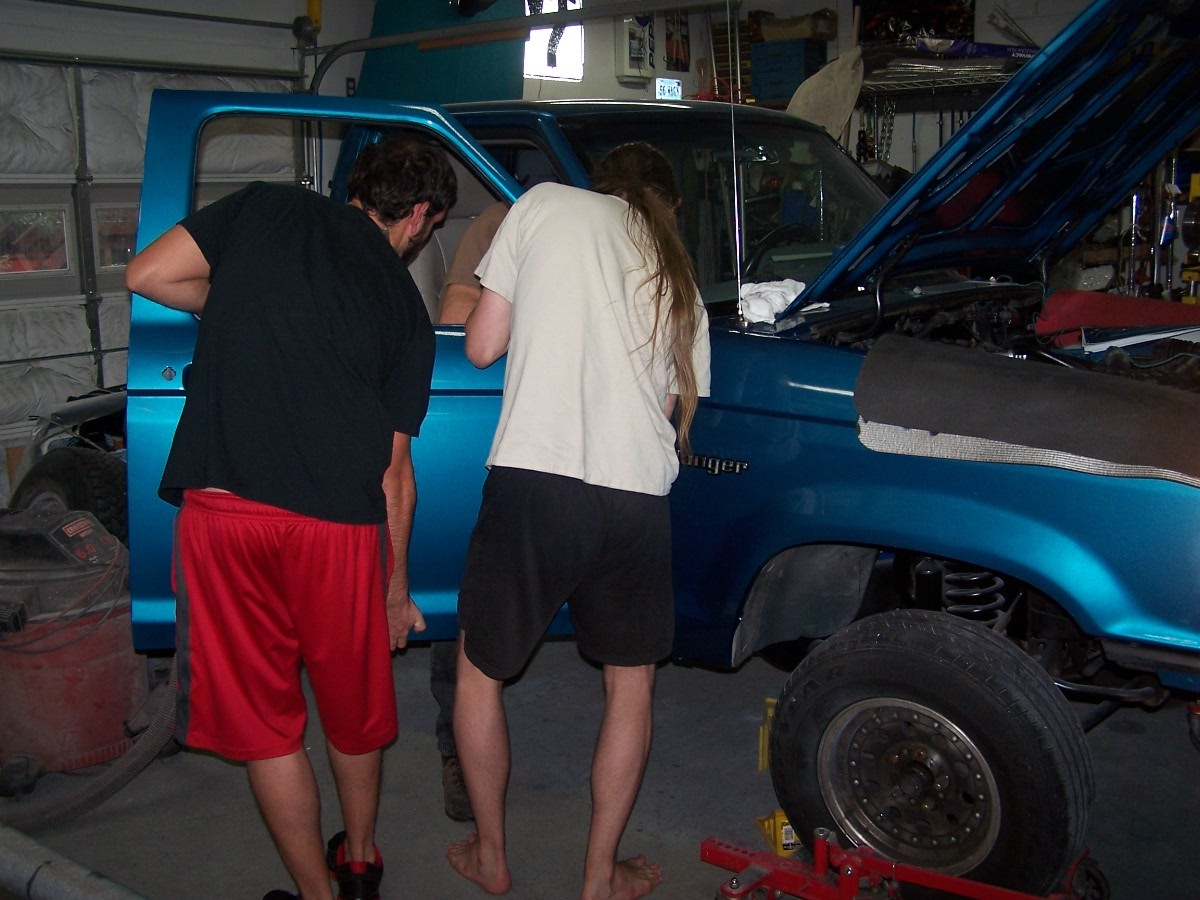
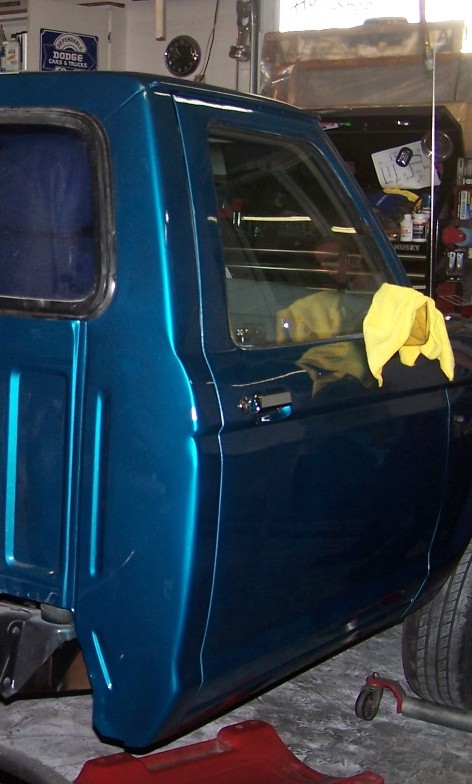
The doors were mounted prior to buffing.
|
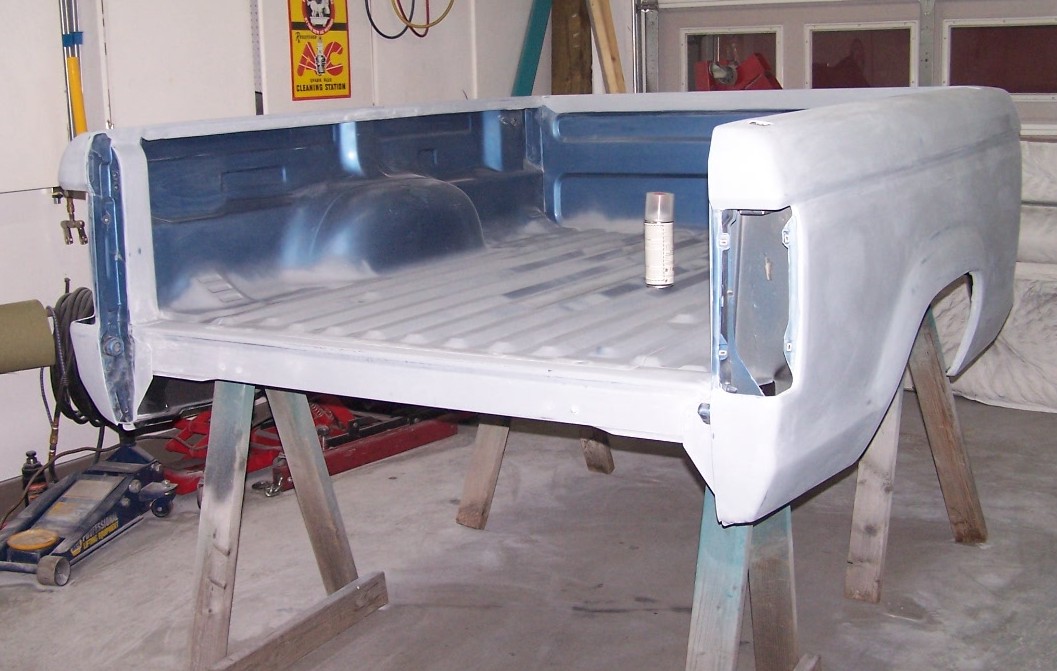
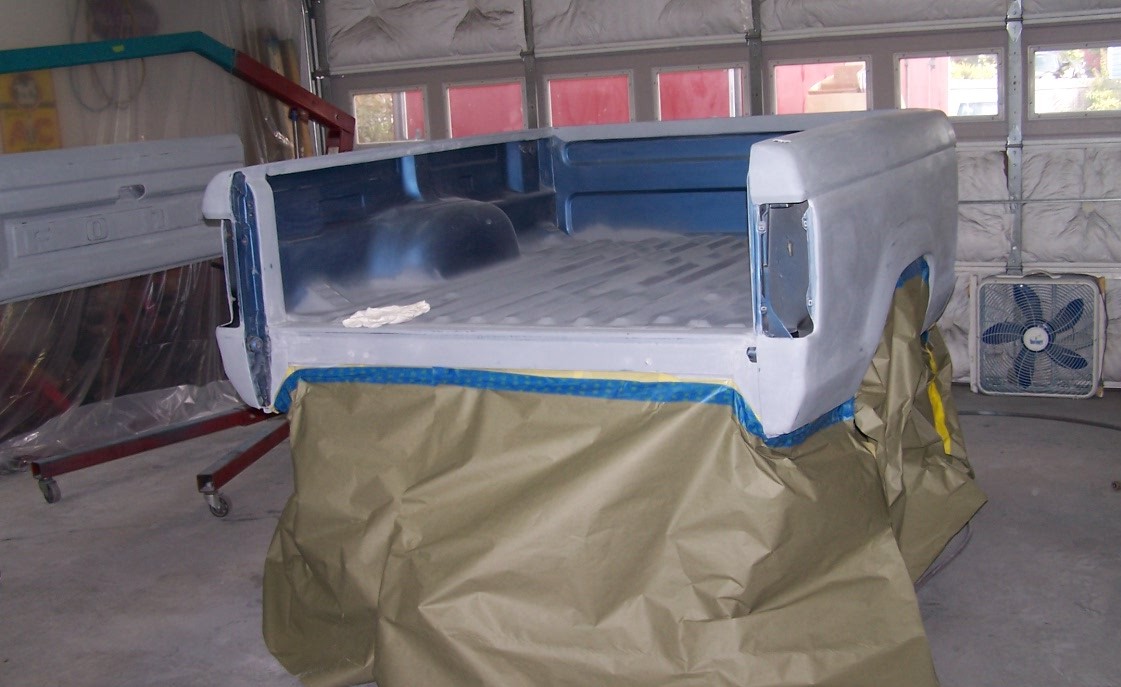
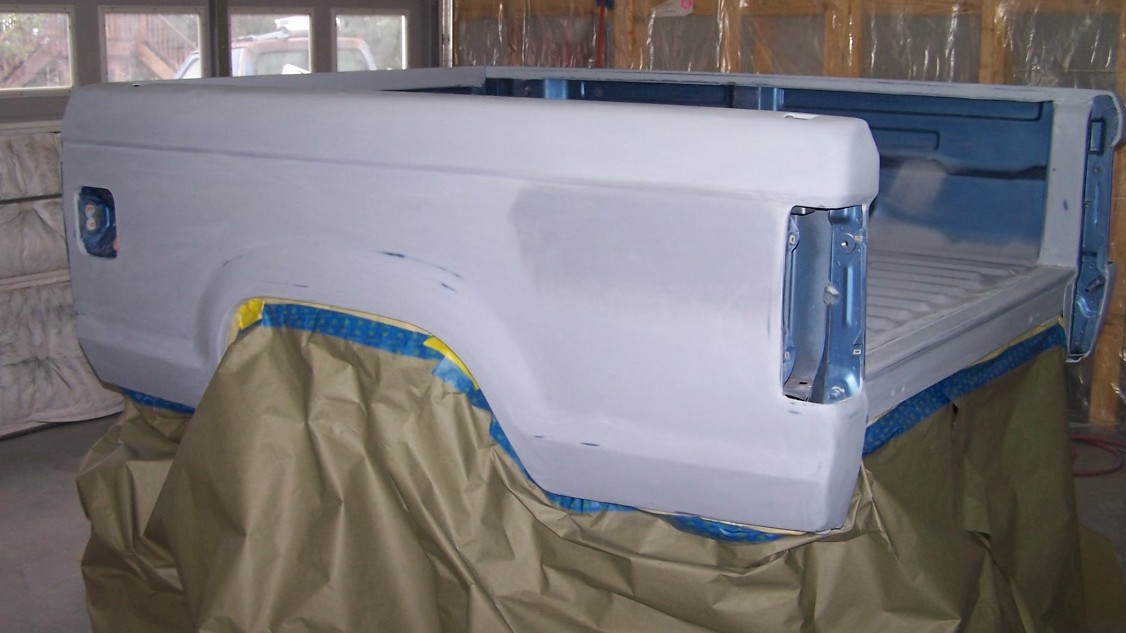
The doner bed was prepped for the primer filler.
|
Dad decided to spray the primer outside since we could sand any trash out and Pepe would be safe in the garage.
|
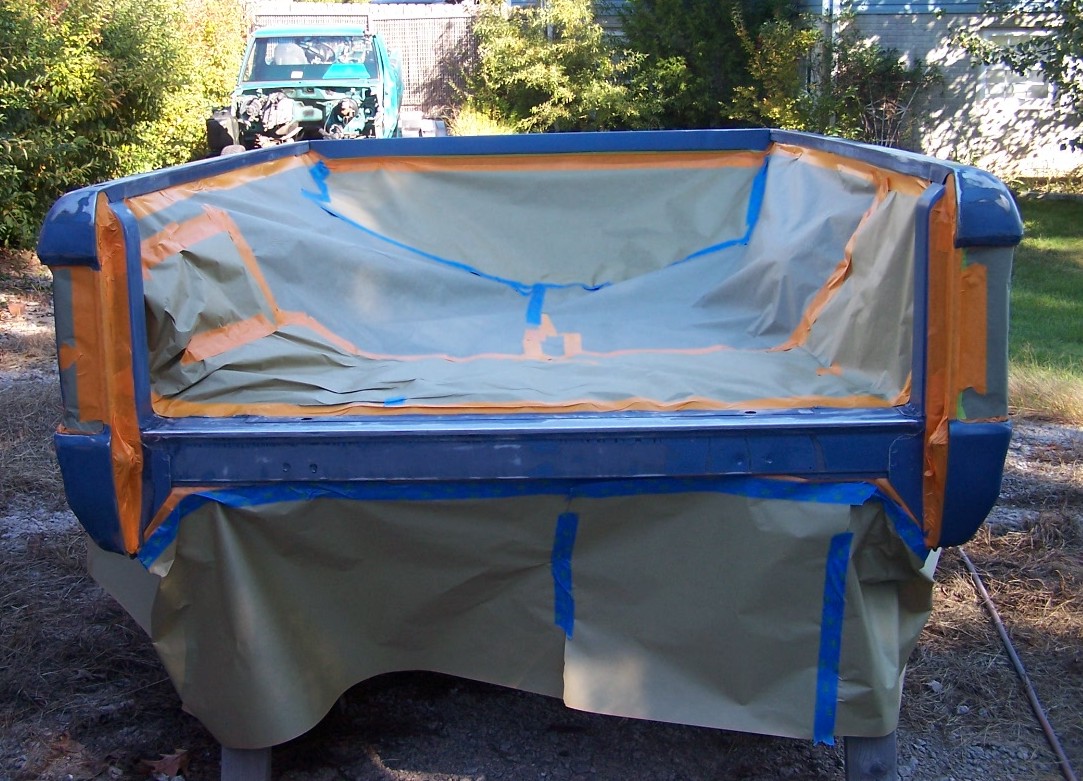
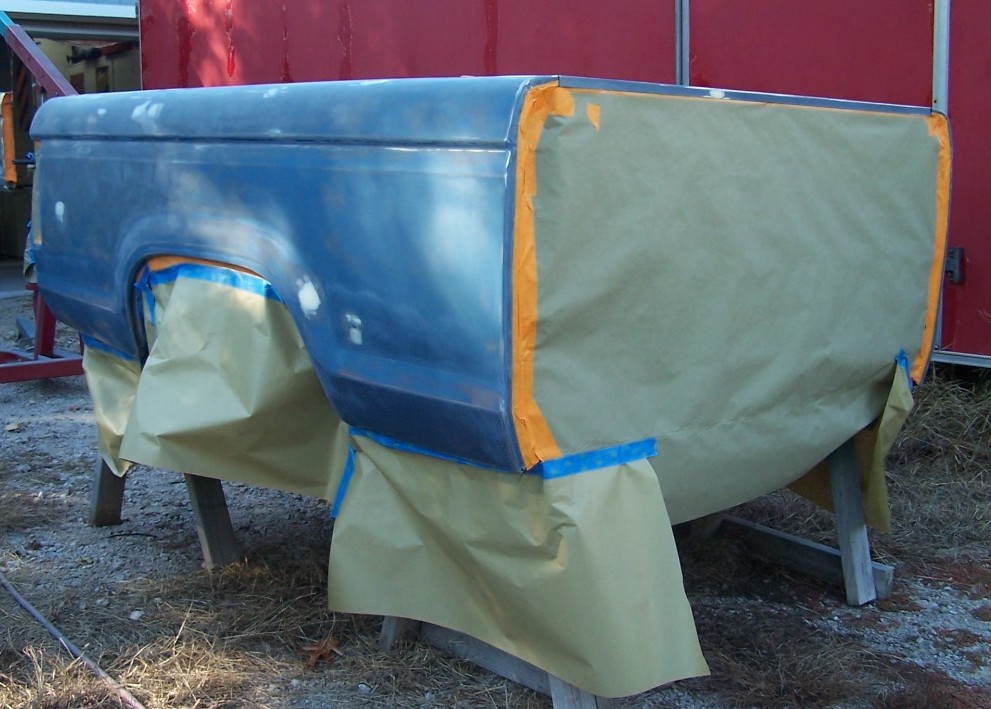
We taped the bed off to spray everything except the inside of the bed.
|
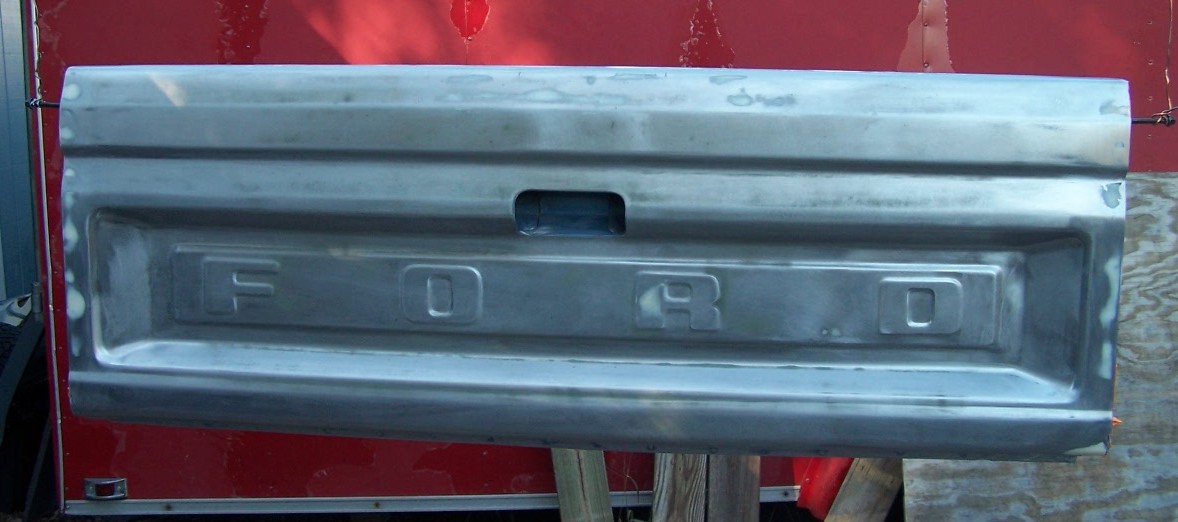
The tailgate was finally prepped for spraying and hung on the engine hoist.
|
The doner bed in the primer filler.
|
The inside of the bed was given a coat of 2K primer to seal it. The intent was to spray a bedliner in the bed later, so this was just to promote adhesion.
|
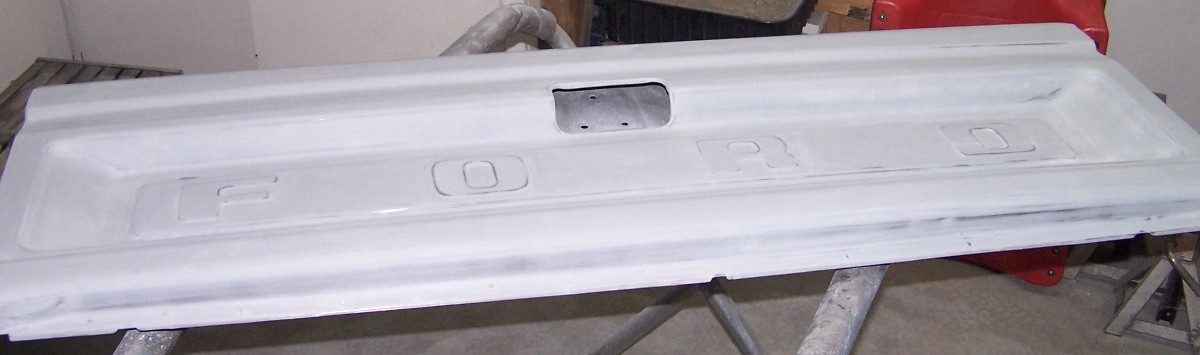
The tailgate was sanded carefully but even then we had a few sand thru spots again on the letters.
|
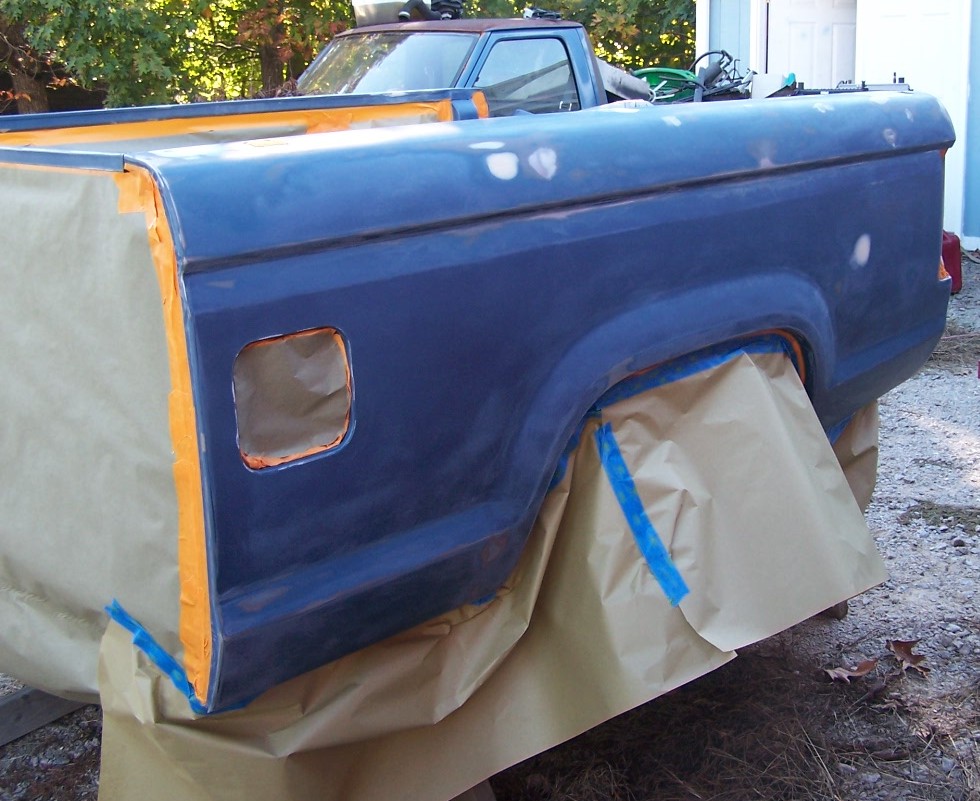
The bed was taped off for the final seal coat, color and clear.
|
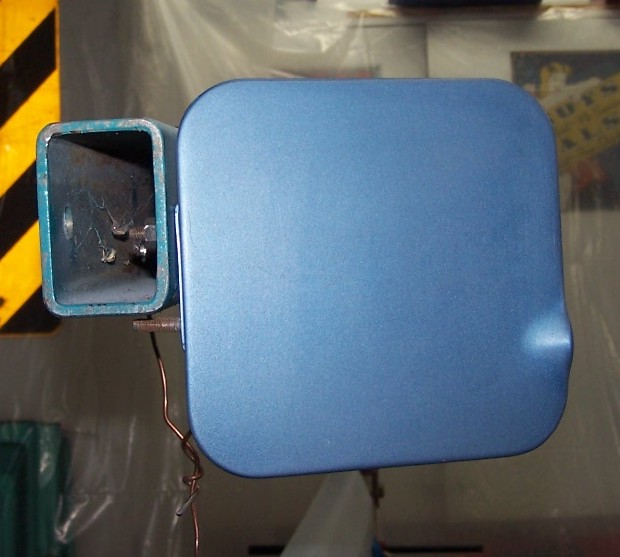
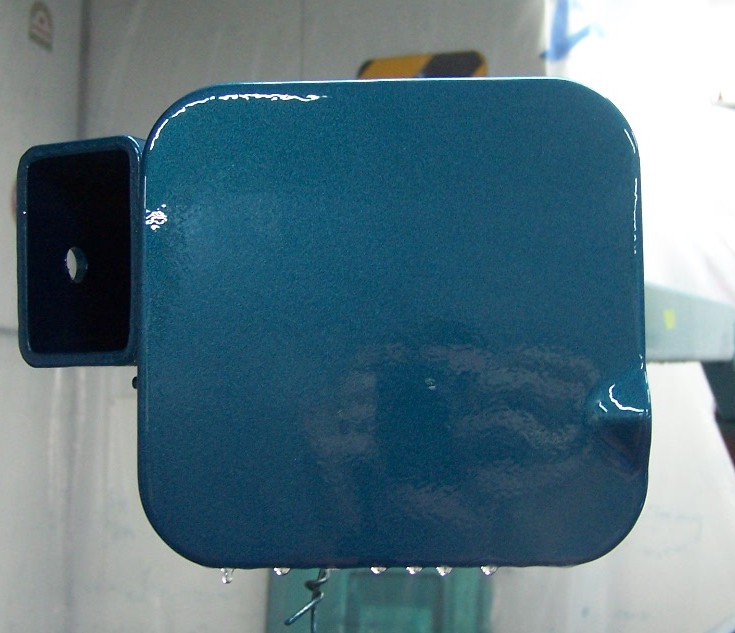
The gas door was scuffed and prepped for spraying.
|
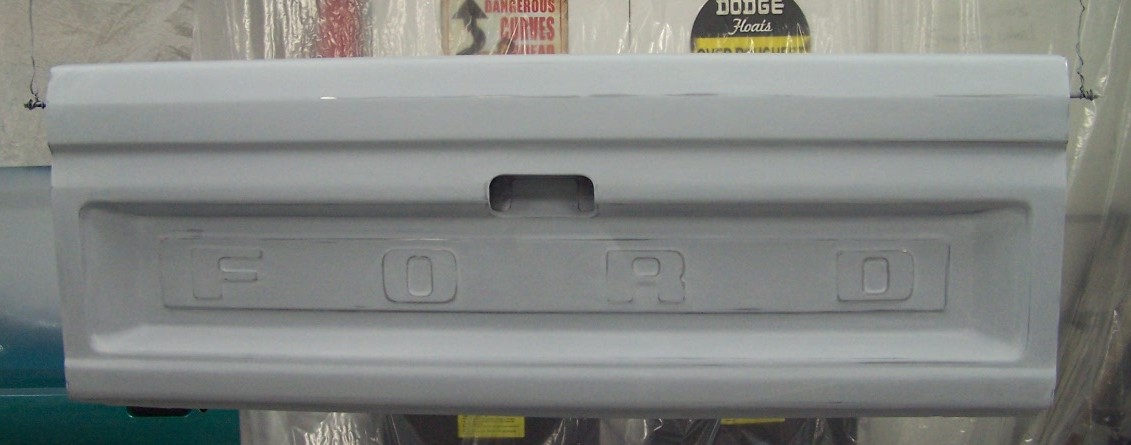
The tailgate ready for the sealcoat.
|
While preppeing the bed for the sealcoat, we found one minor shallow dent that we wanted to quickly take care of.
|
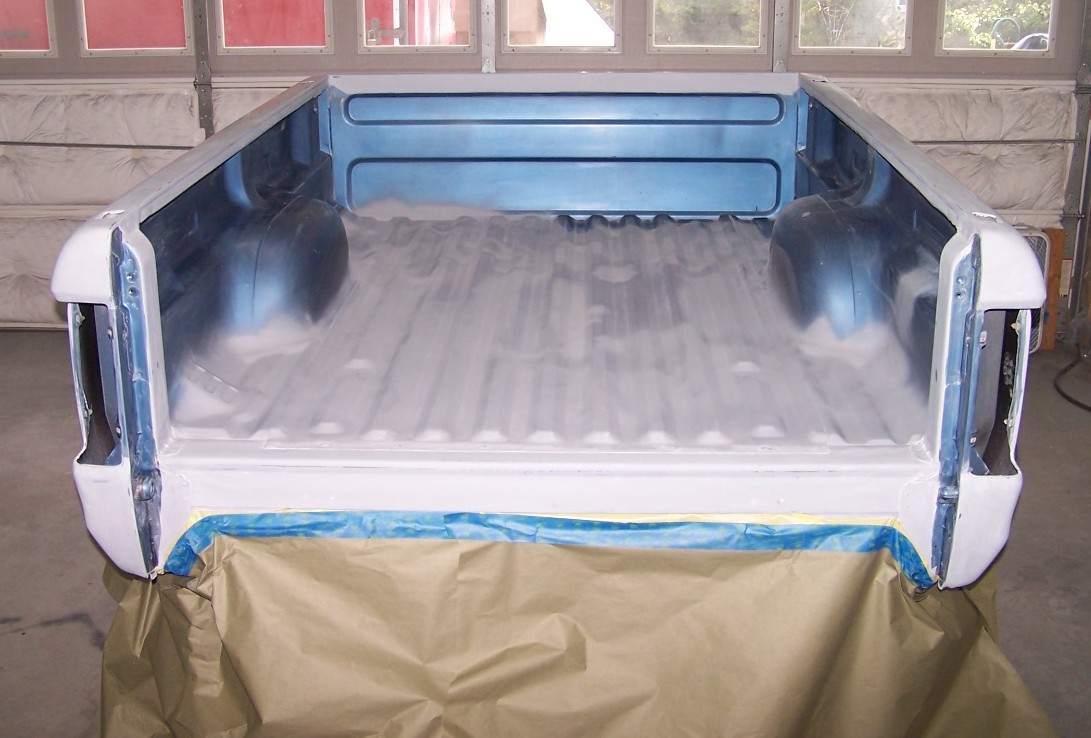
The inside of the bed prepped for color.
|
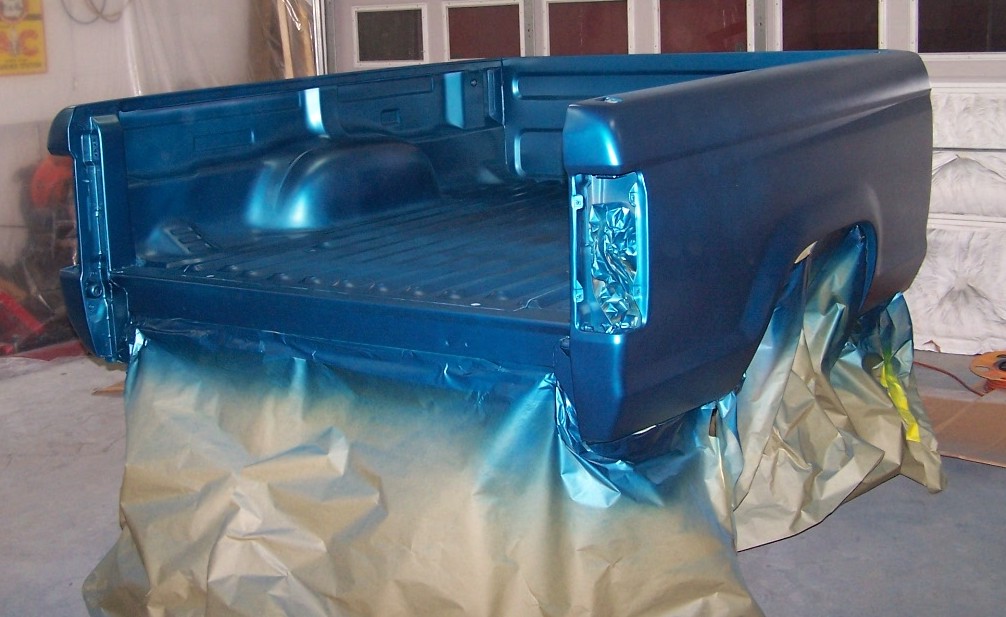
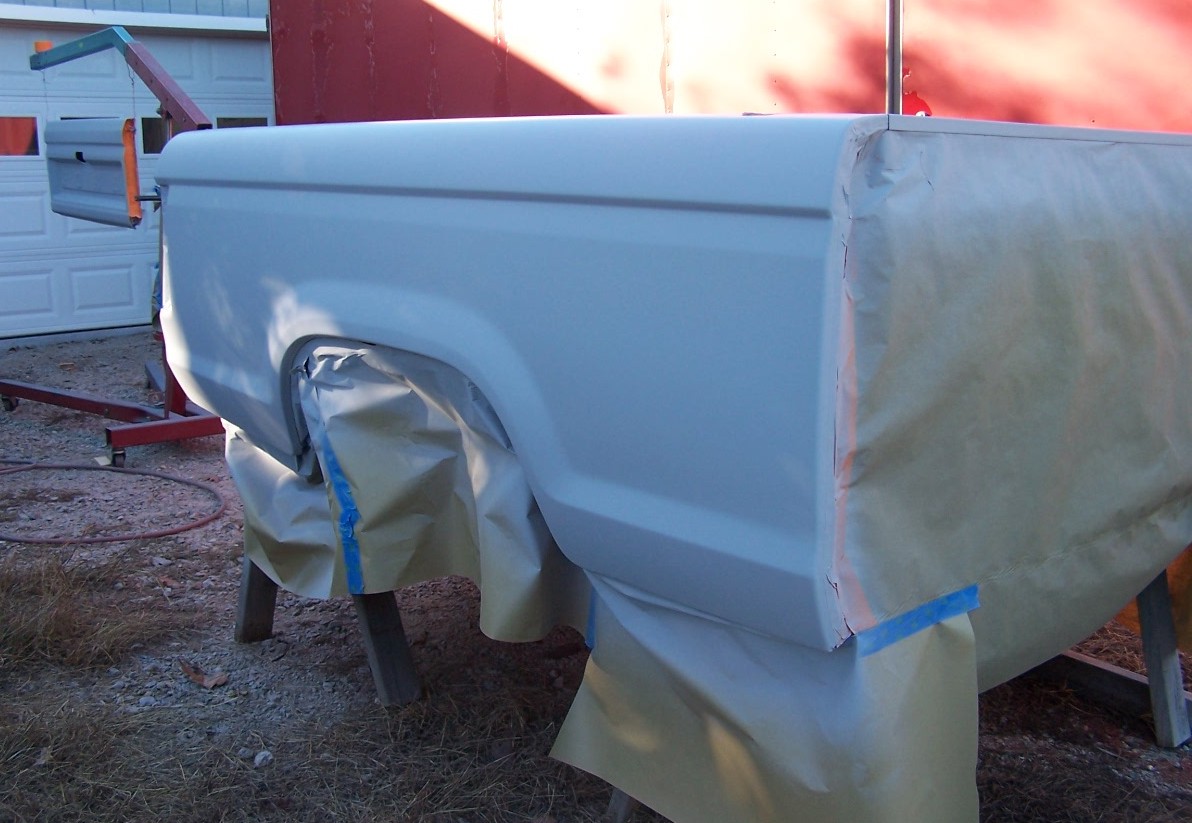
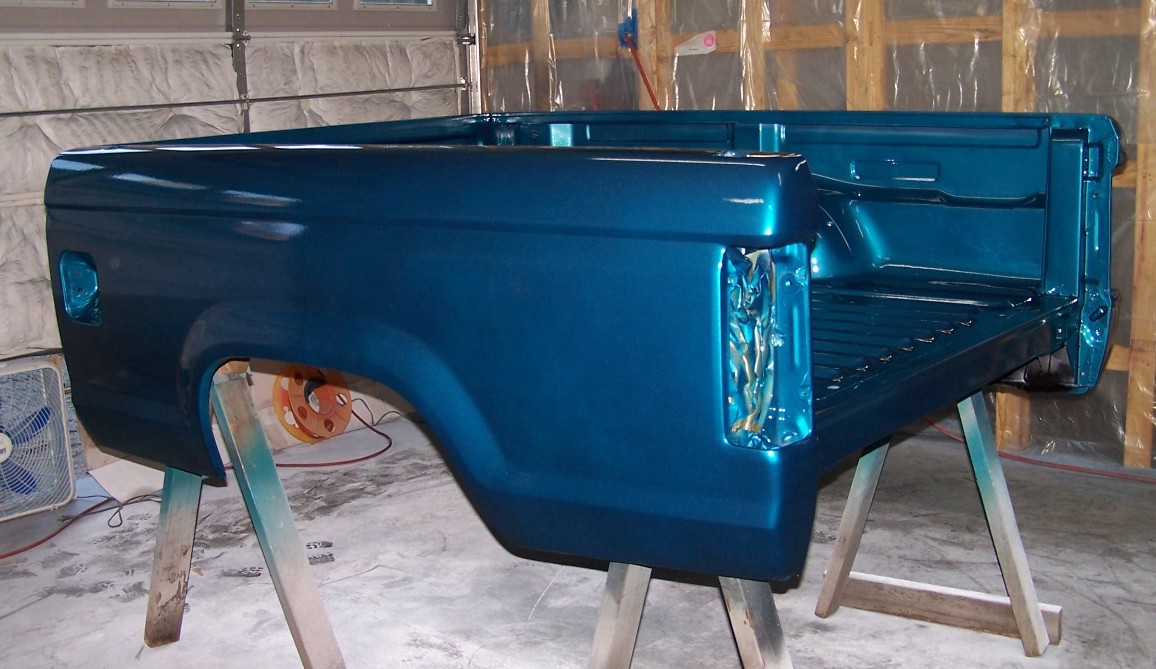
The bed, just in color.
|
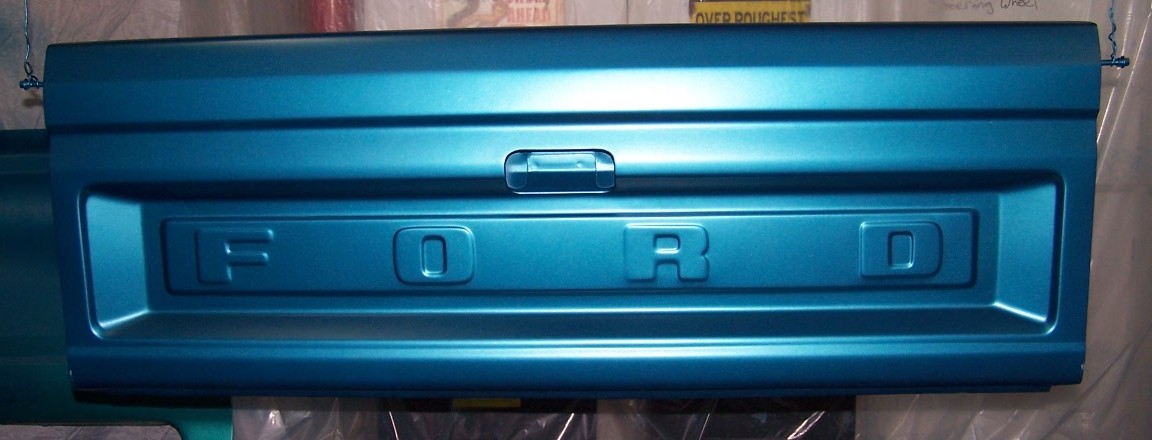
The tailgate in color.
|
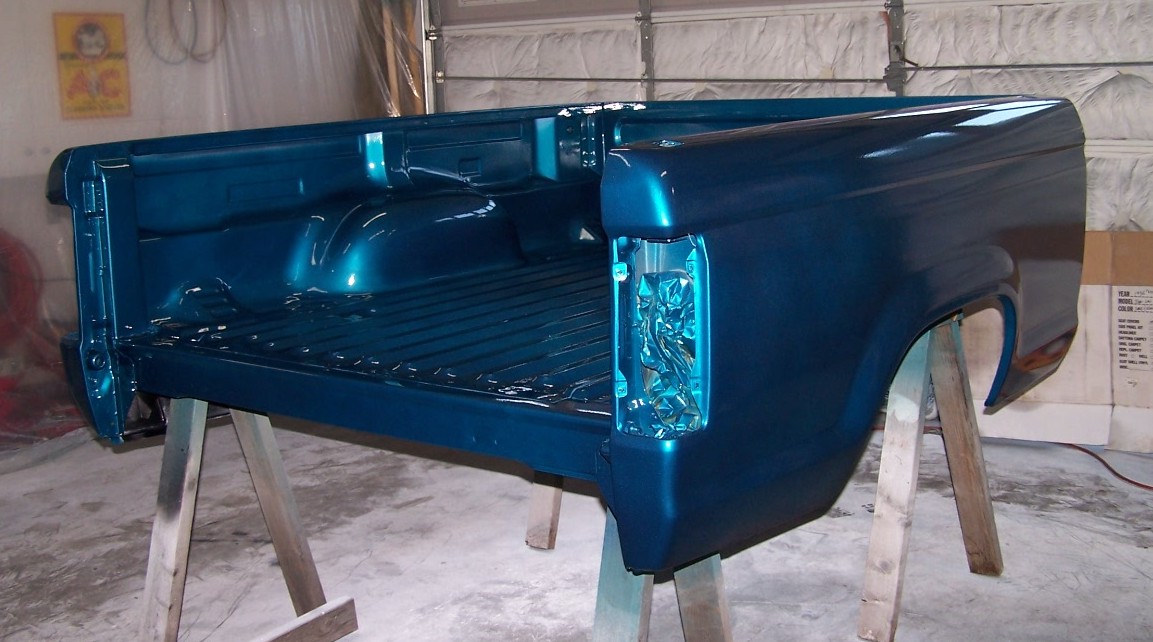
The bed in clear. Even the inside came out great. Dad readjusted the gun and there is almost no orange peel.
|
We did have one run. We used a trick of continuing to add clear to move the run to the bottom of the panel. Worked like a charm.
|
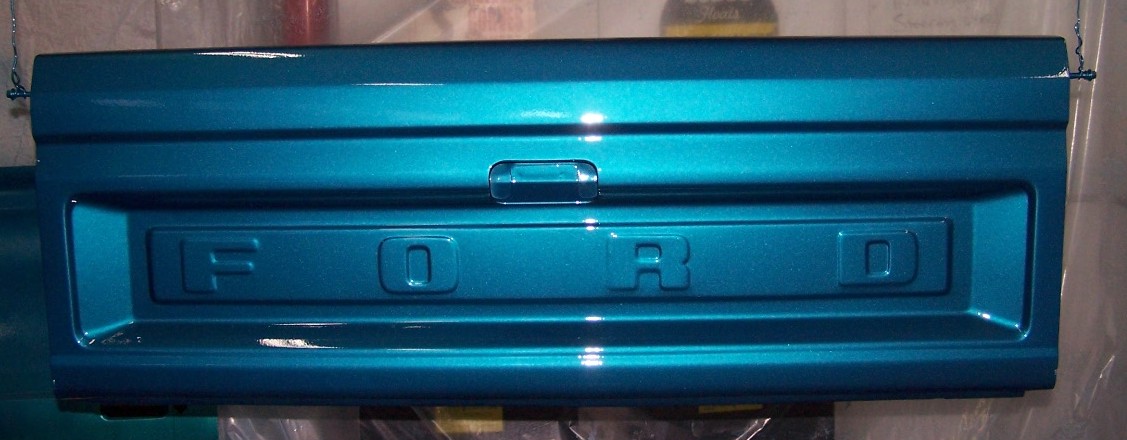
The tailgate in clear.
|
Untaped and looking great, but too tender to handle to put the bed back onto the frame.
|
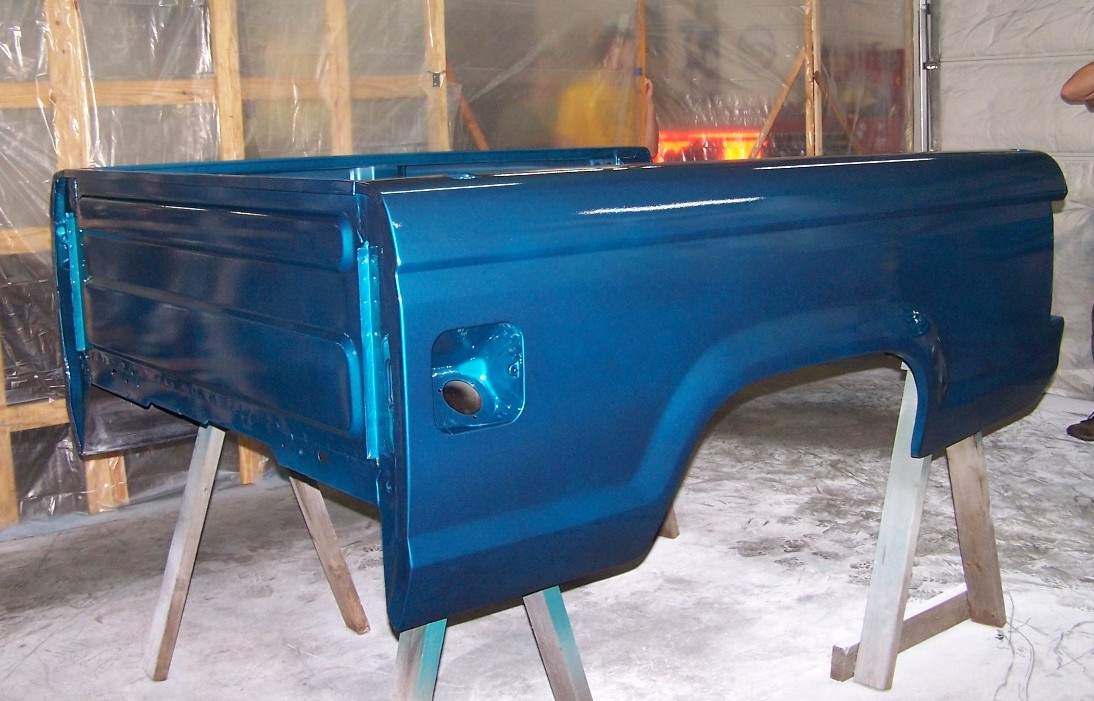
We'll let the bed sit for a few days before we put it on the frame..
|
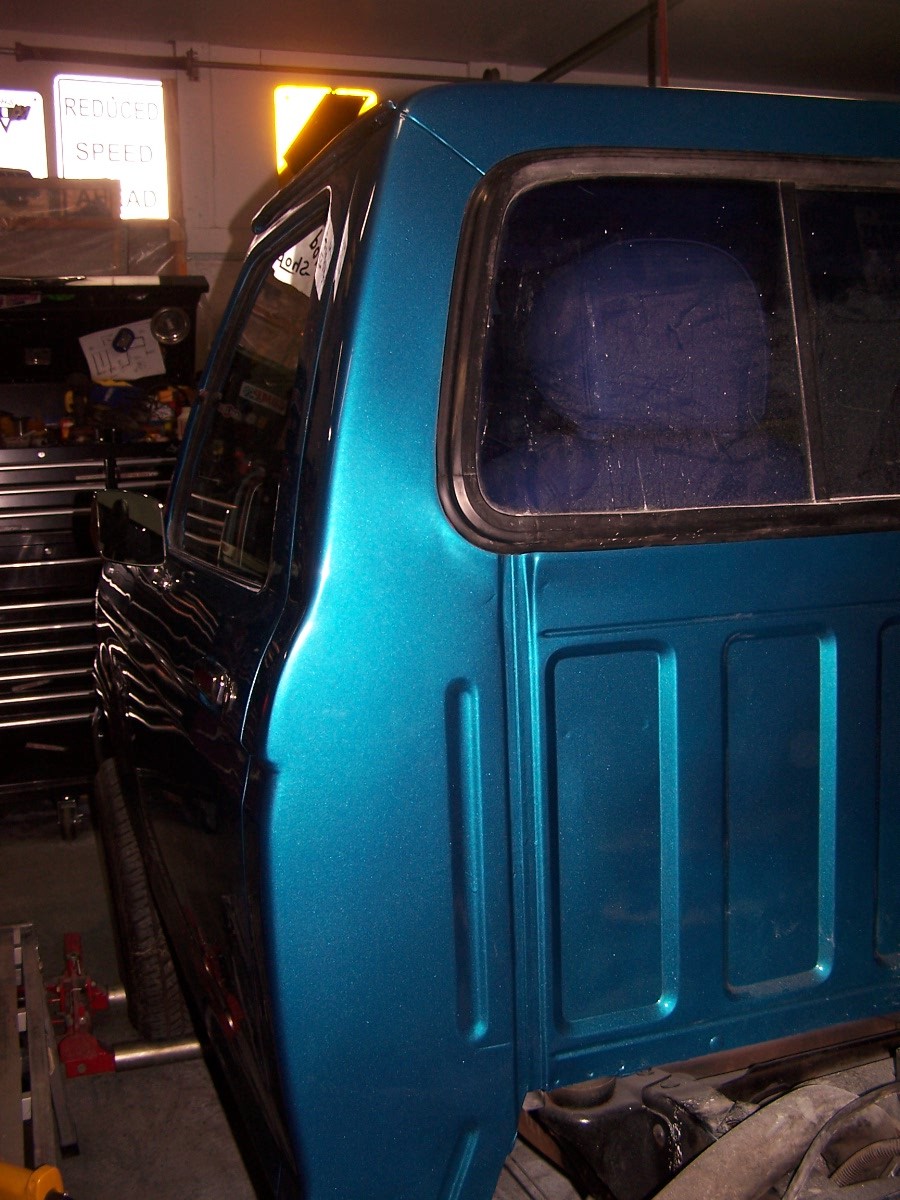
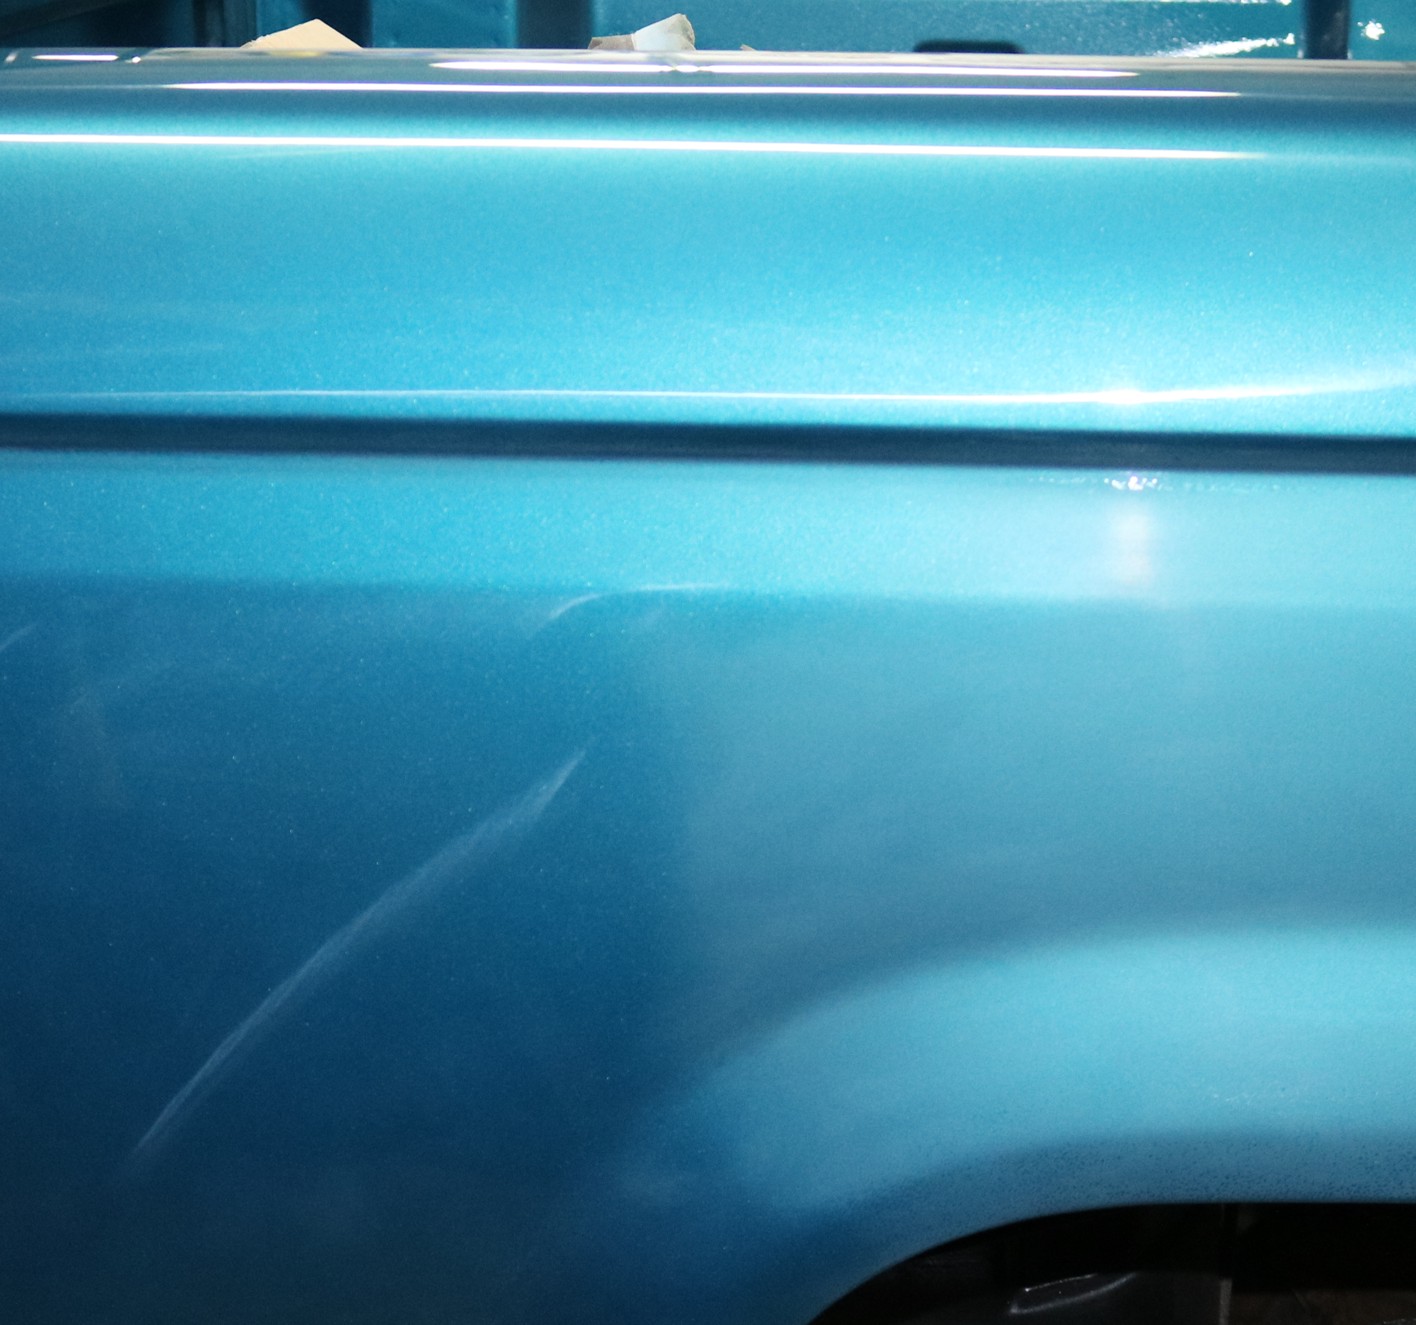
The back of the cab all buffed out.
|
The pssenger side back of the cab. The reflections are looking good.
|
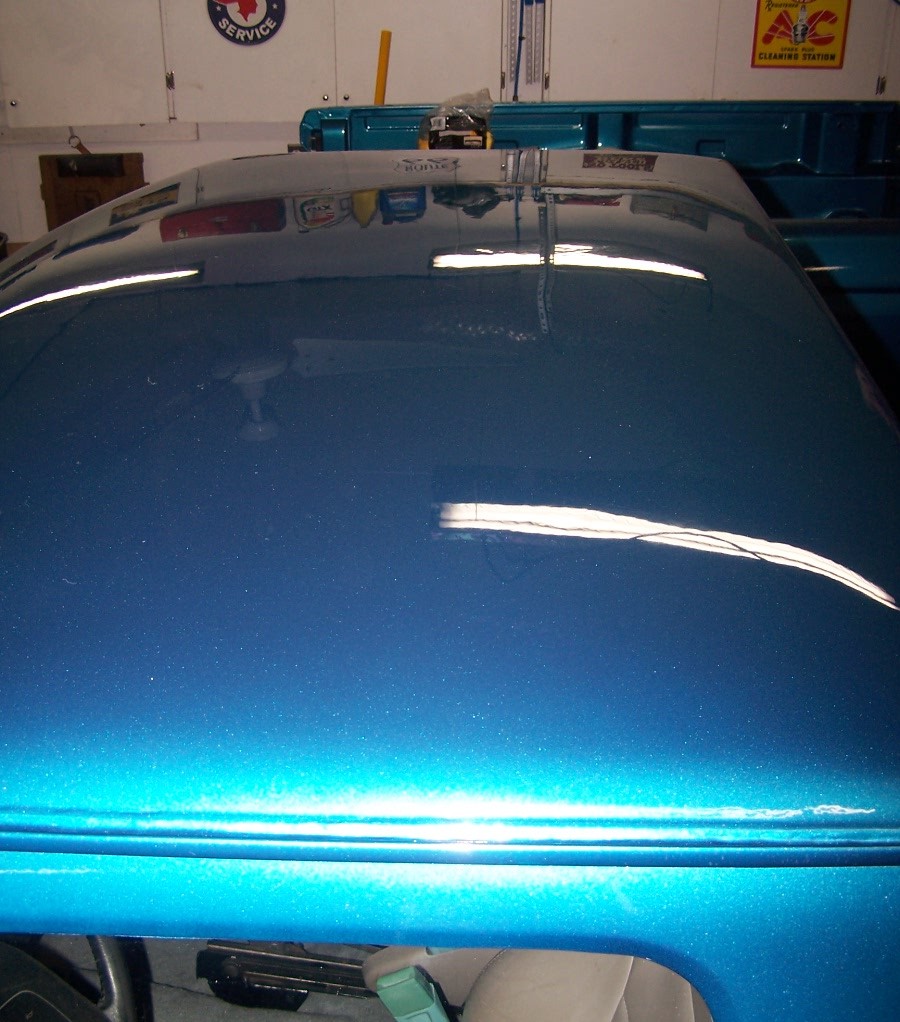
The roof is very smooth with just a little orange peel that easily buffed out.
|
The dull area is the cut area on the rear driver fender.
|
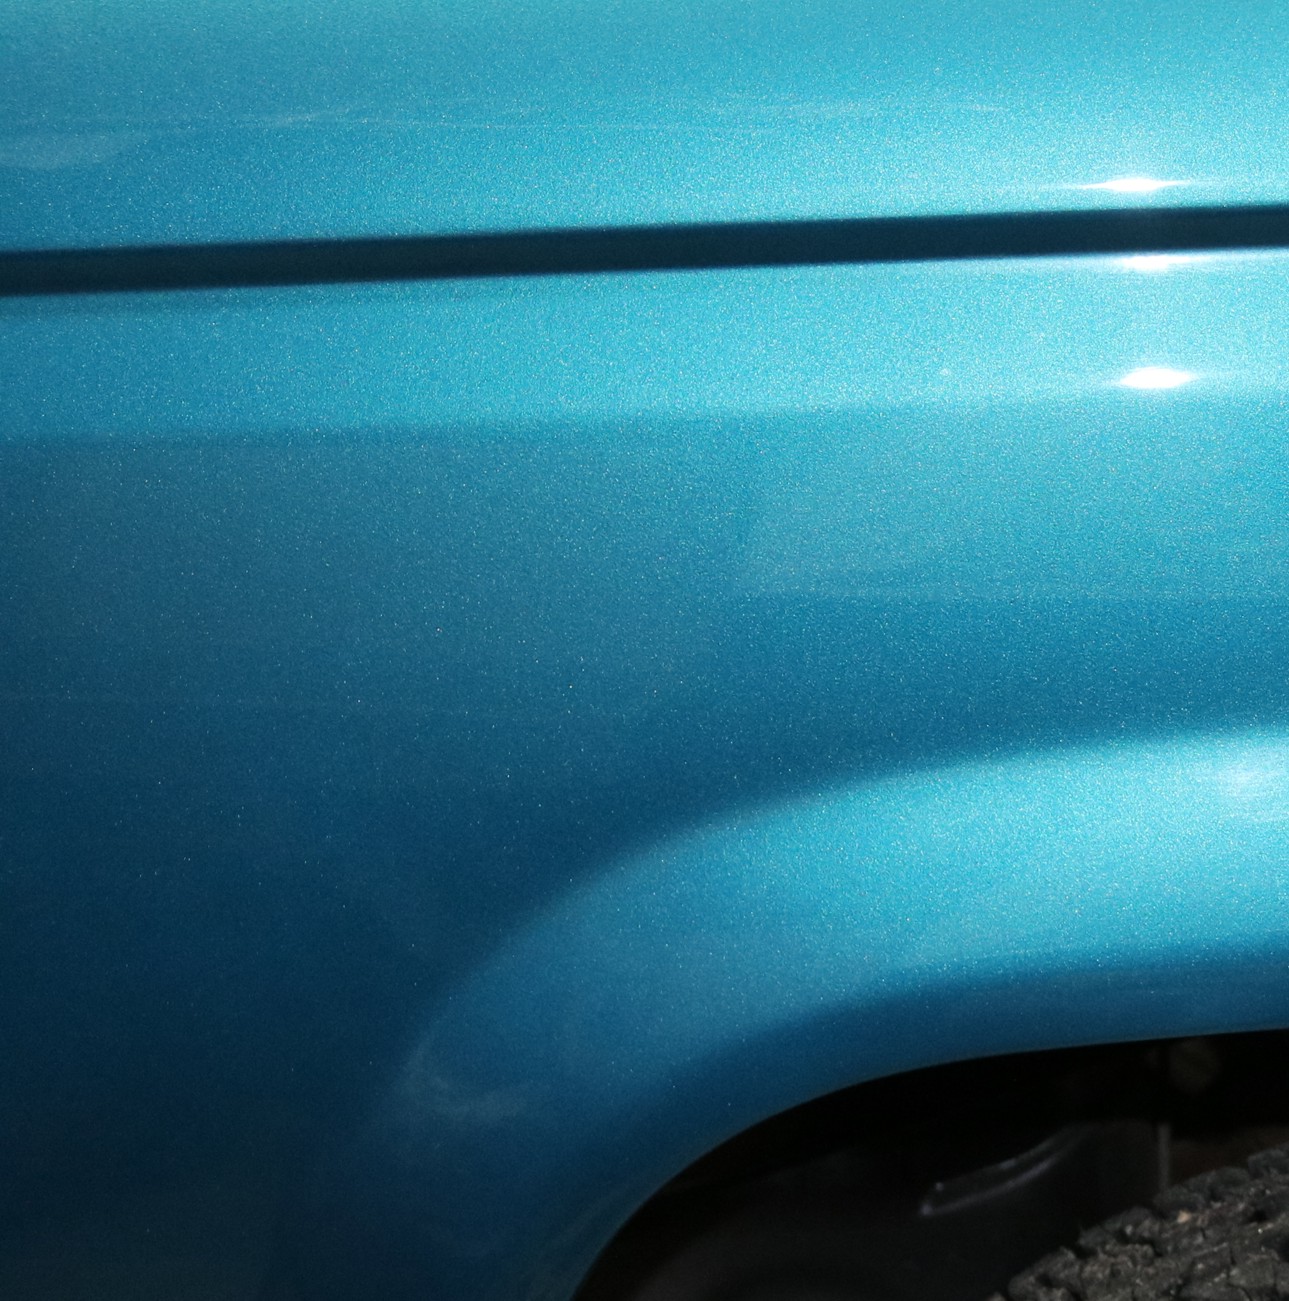
The finished buffed out driver rear fender.
|
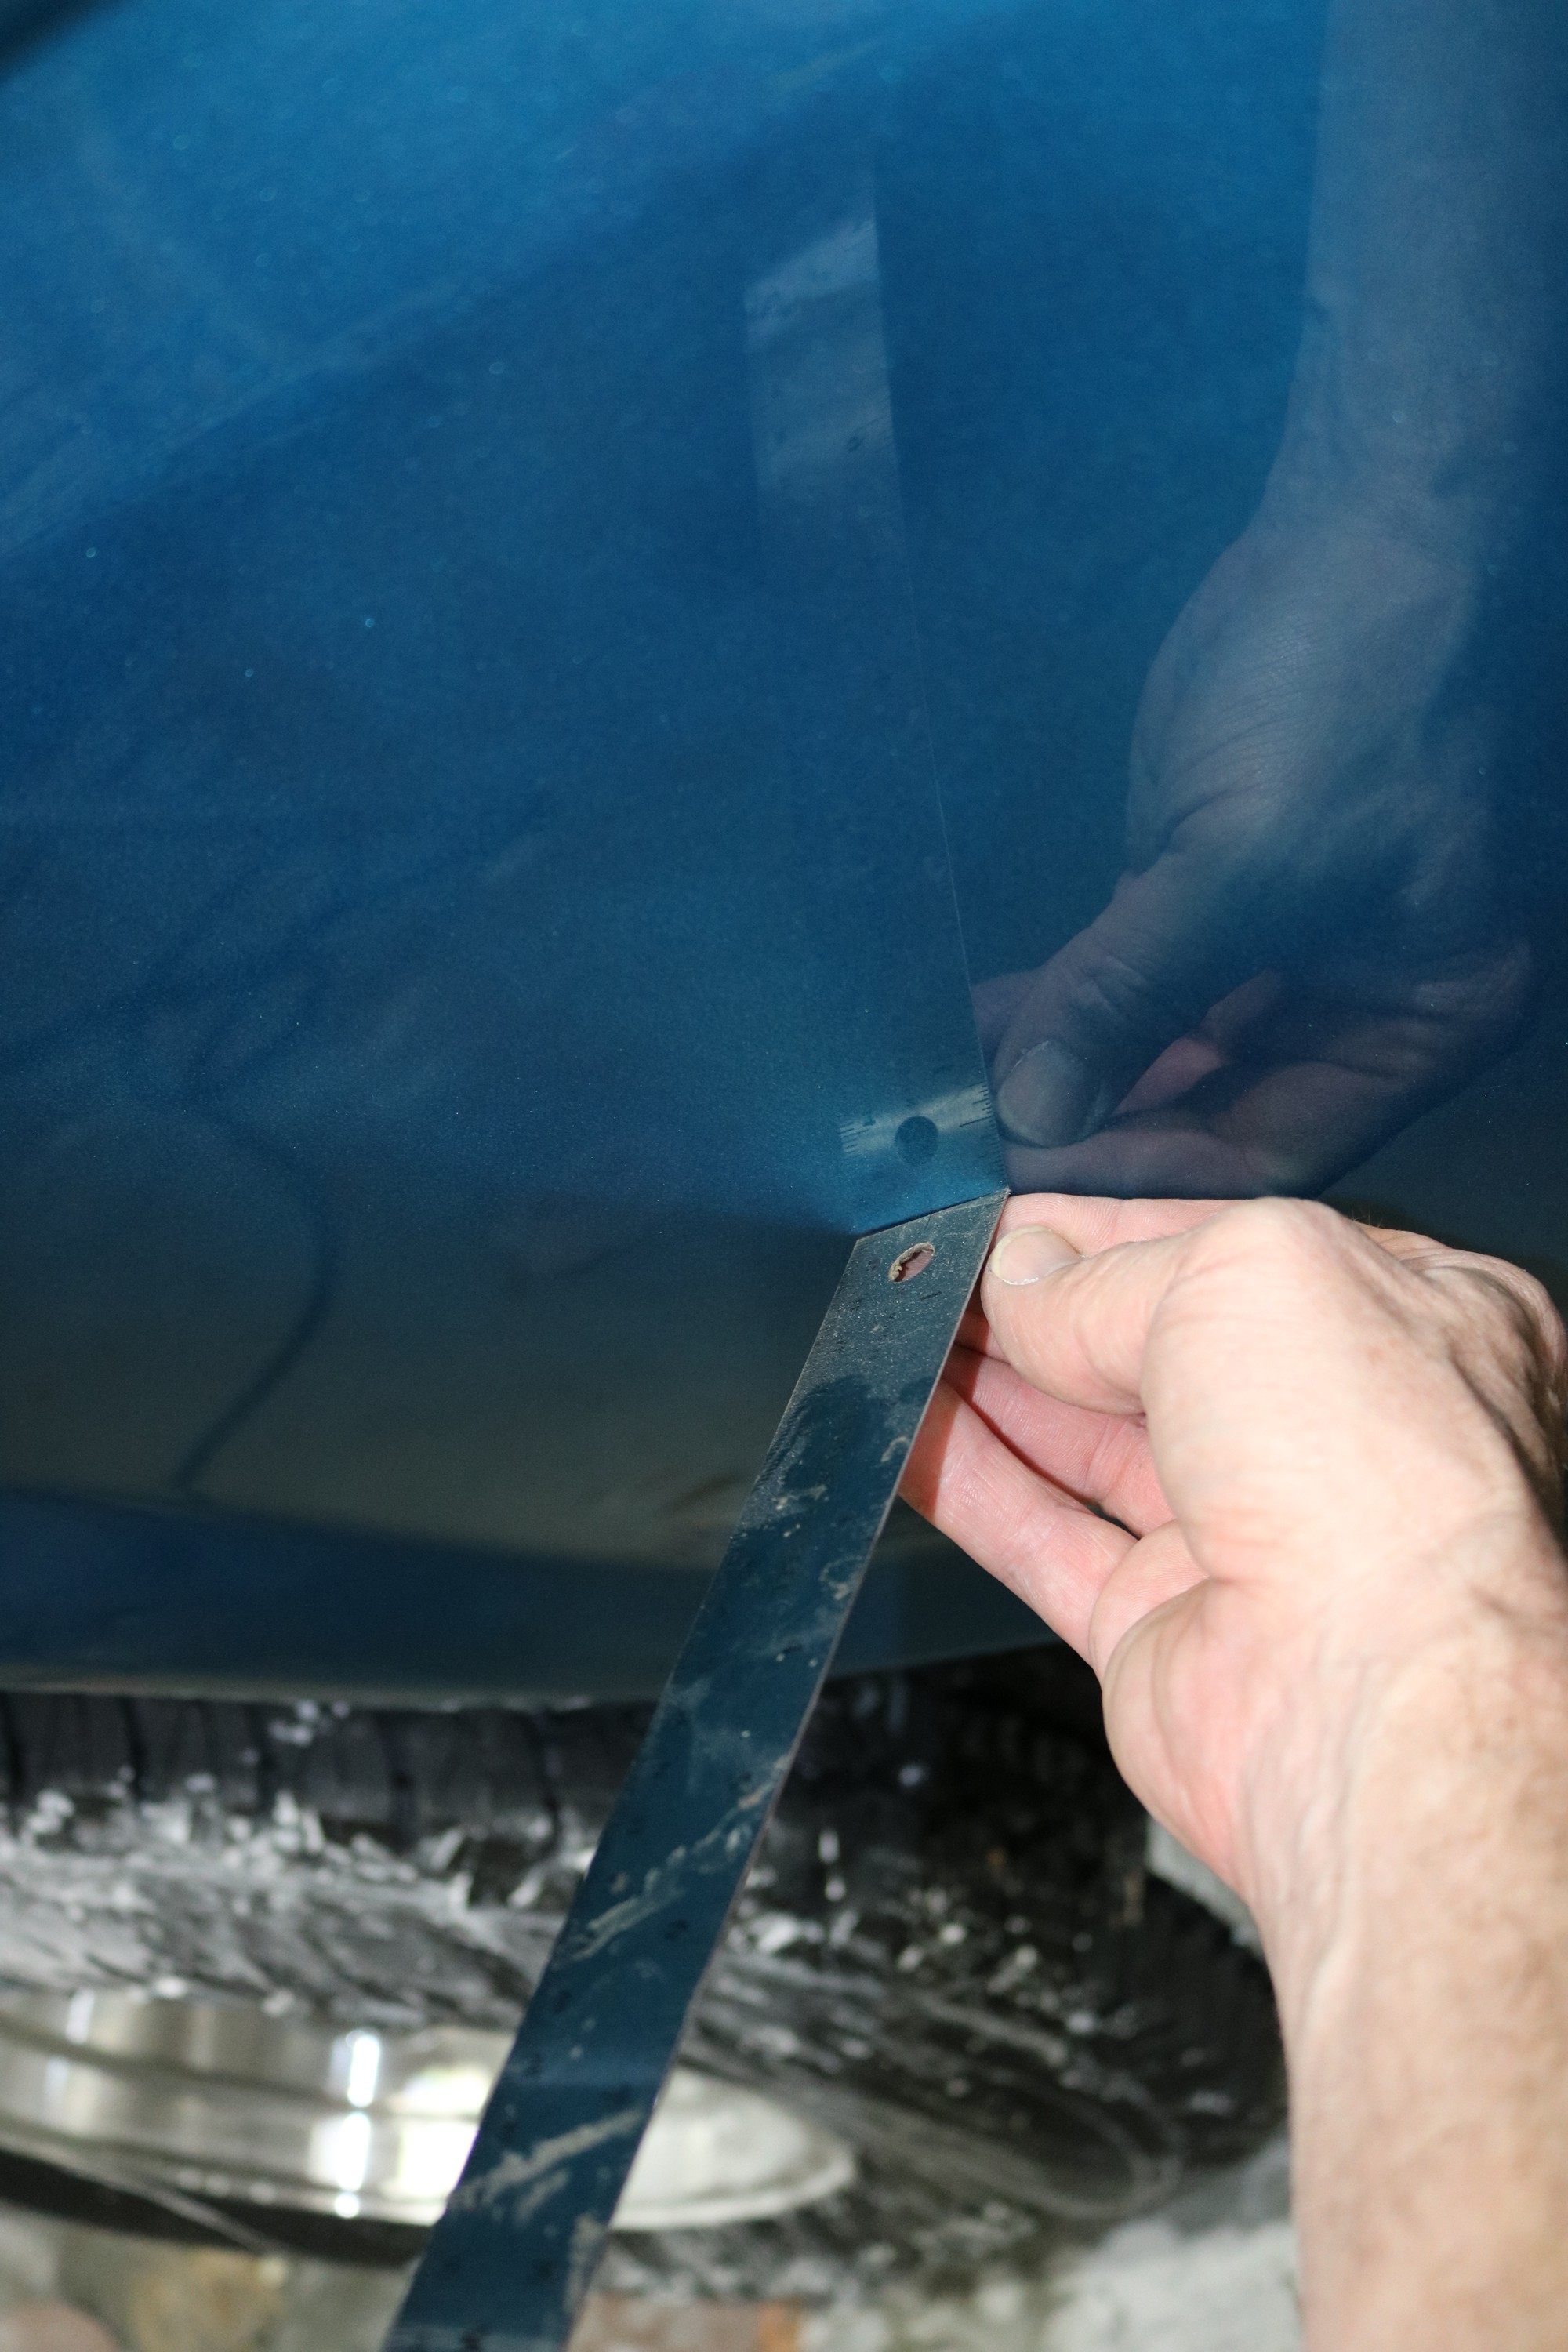
The ruler shows the depth of the shine - clearly readable to almost the 6" mark.
|


