
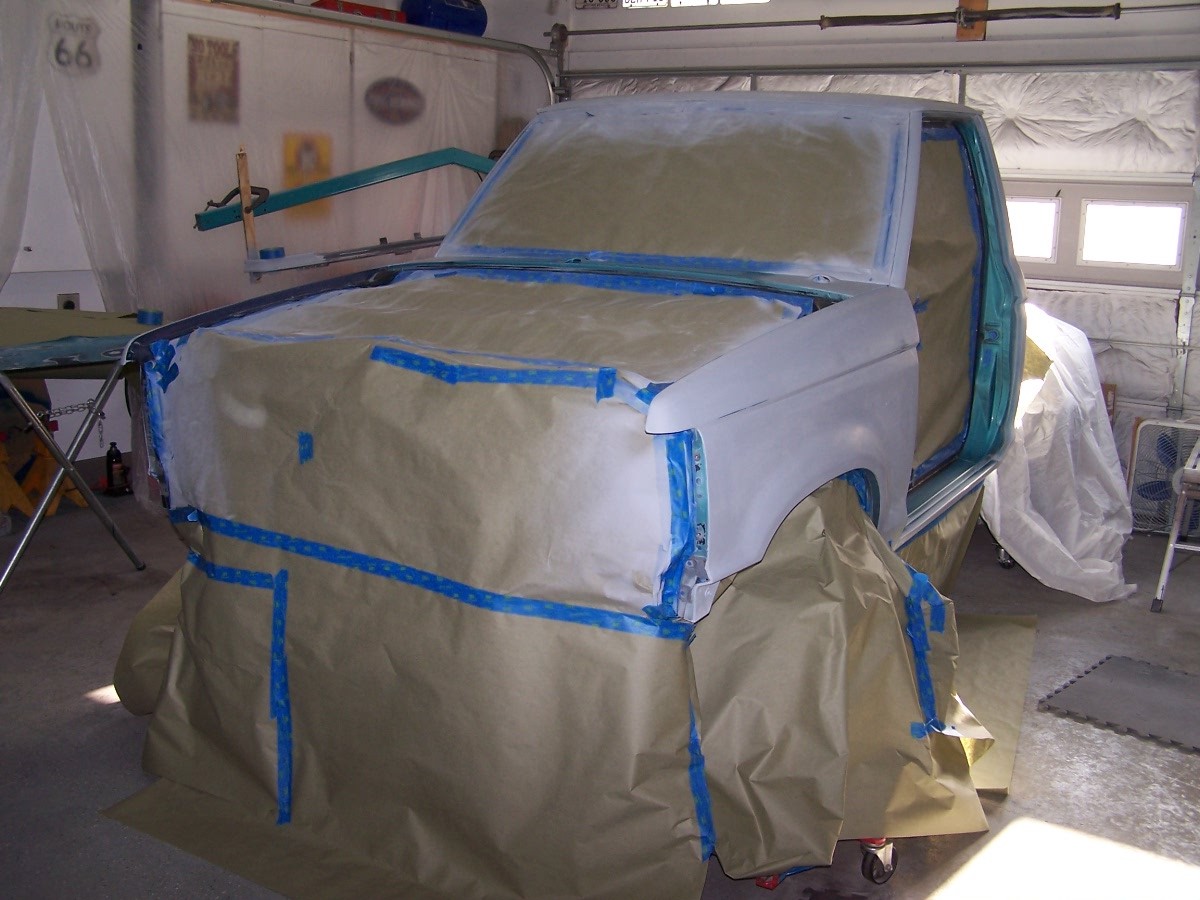
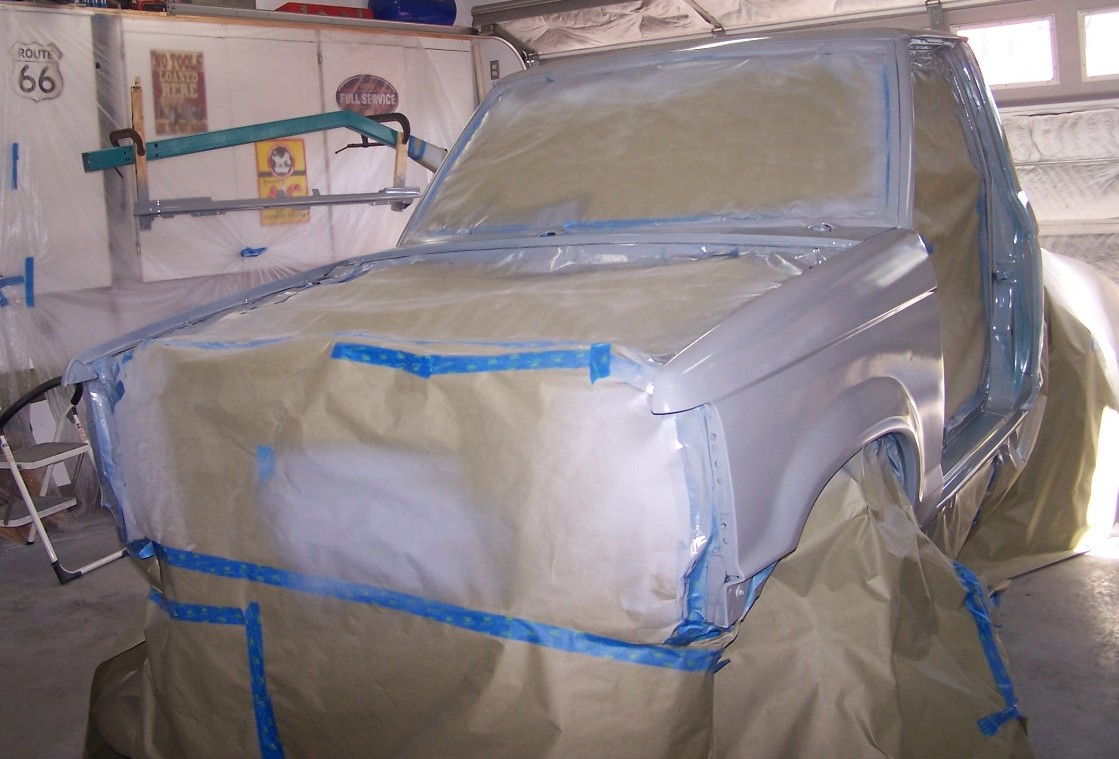
We taped off everything that we didn't want to spray the fill primer on. There were several bare metal spots that had to be covered as well as the final smoothing and scratch fill to do.
|

Since we were changing the color, the interior was taped off as well to prevent overspray when we did the door jambs.
|
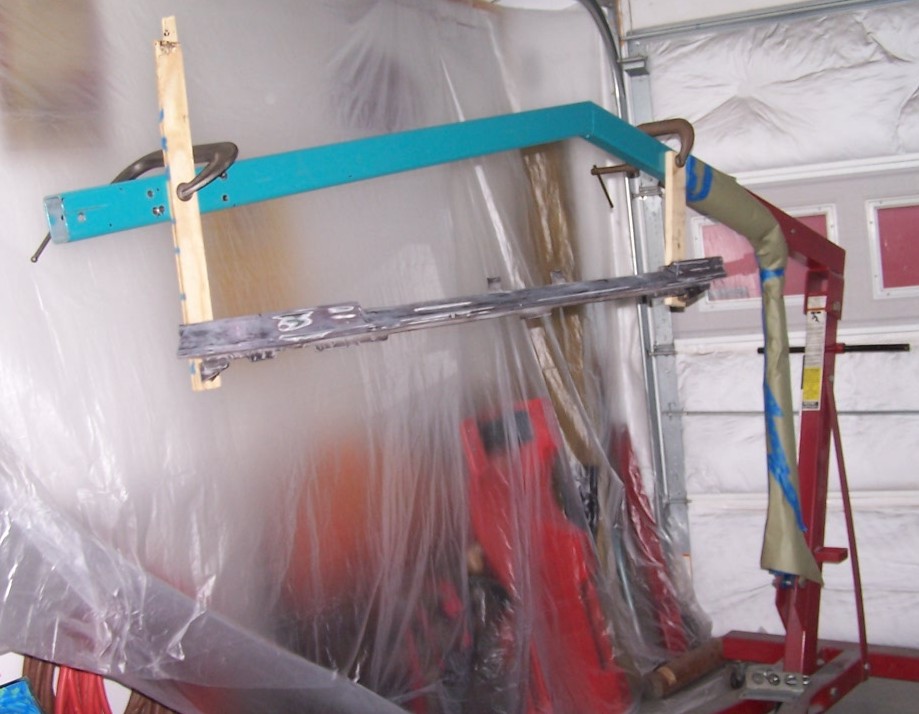
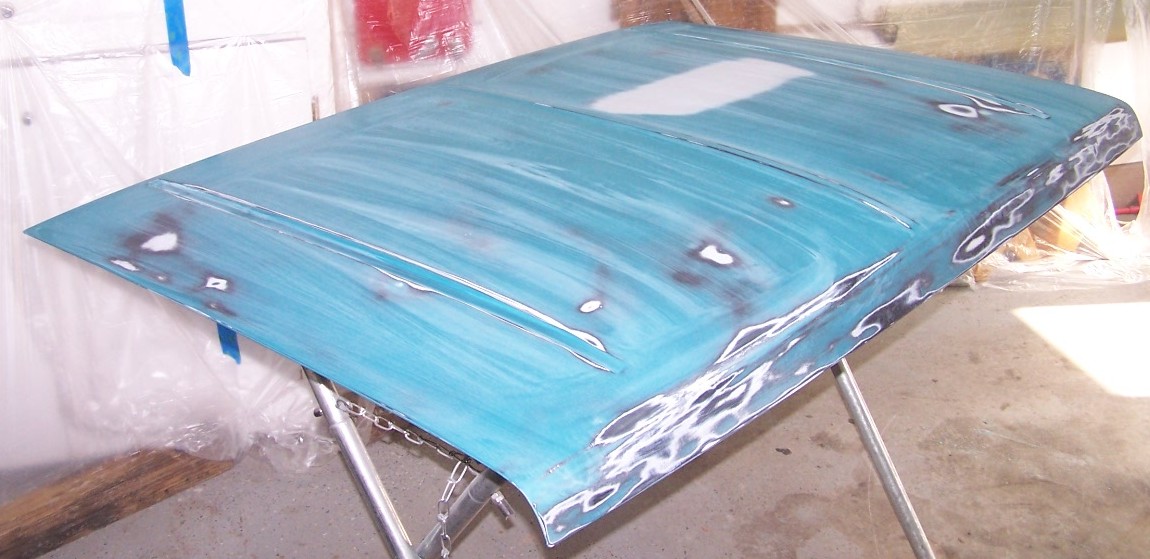
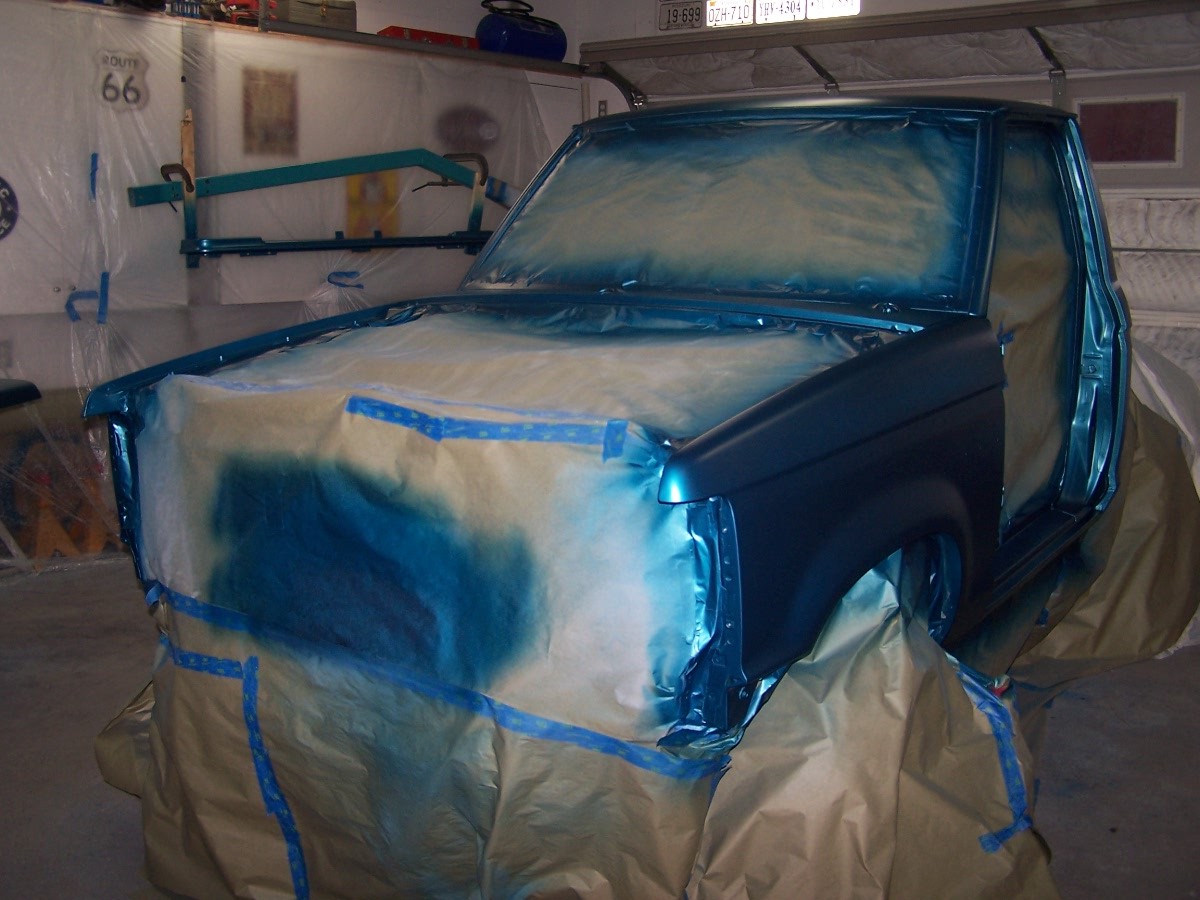
The filler panel was mounted as it would be on the truck, since the metallic had to be sprayed at the angle that the piece would normally be in.
|
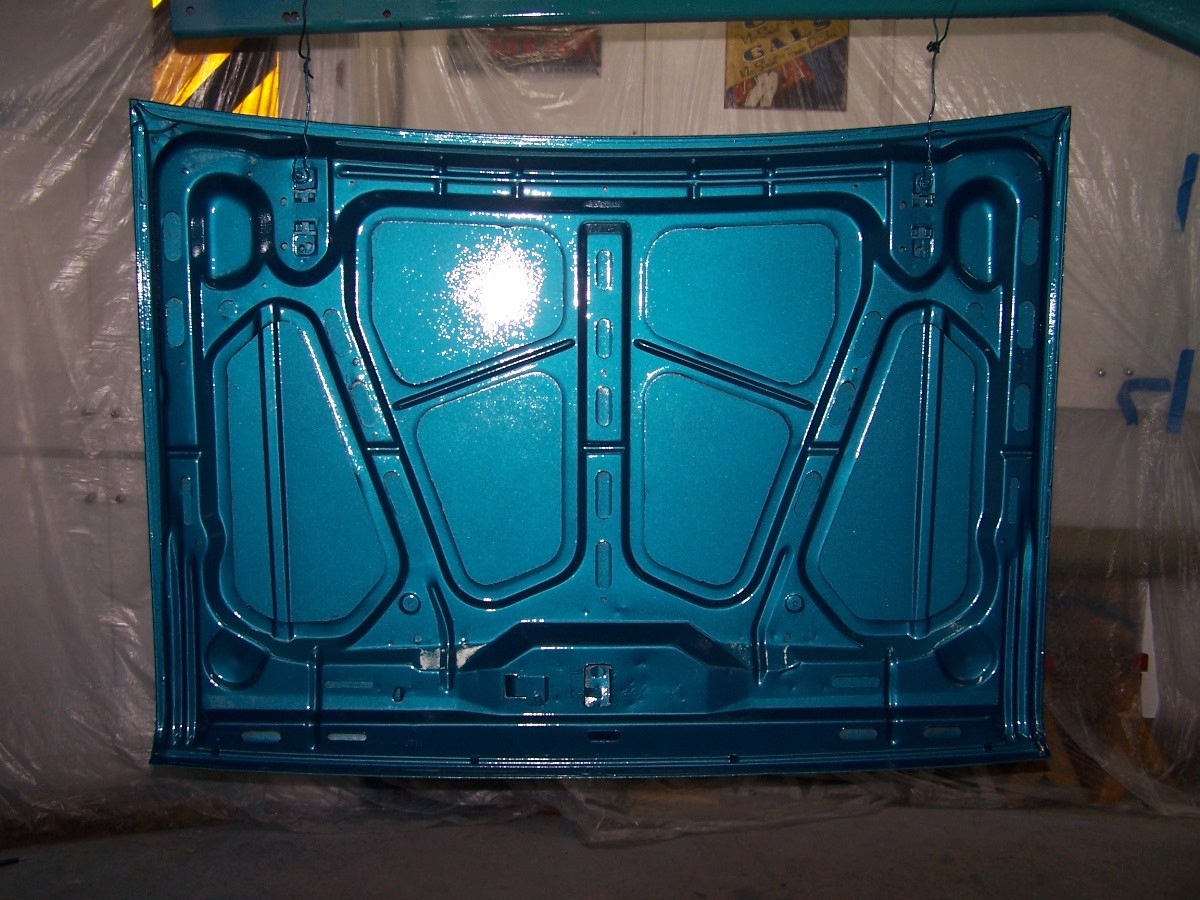
The hood was taped of as well. There was a small area of rust on the front inside edge of the hood, and we wanted the fill primer to help smooth it out after grinding it away.
|
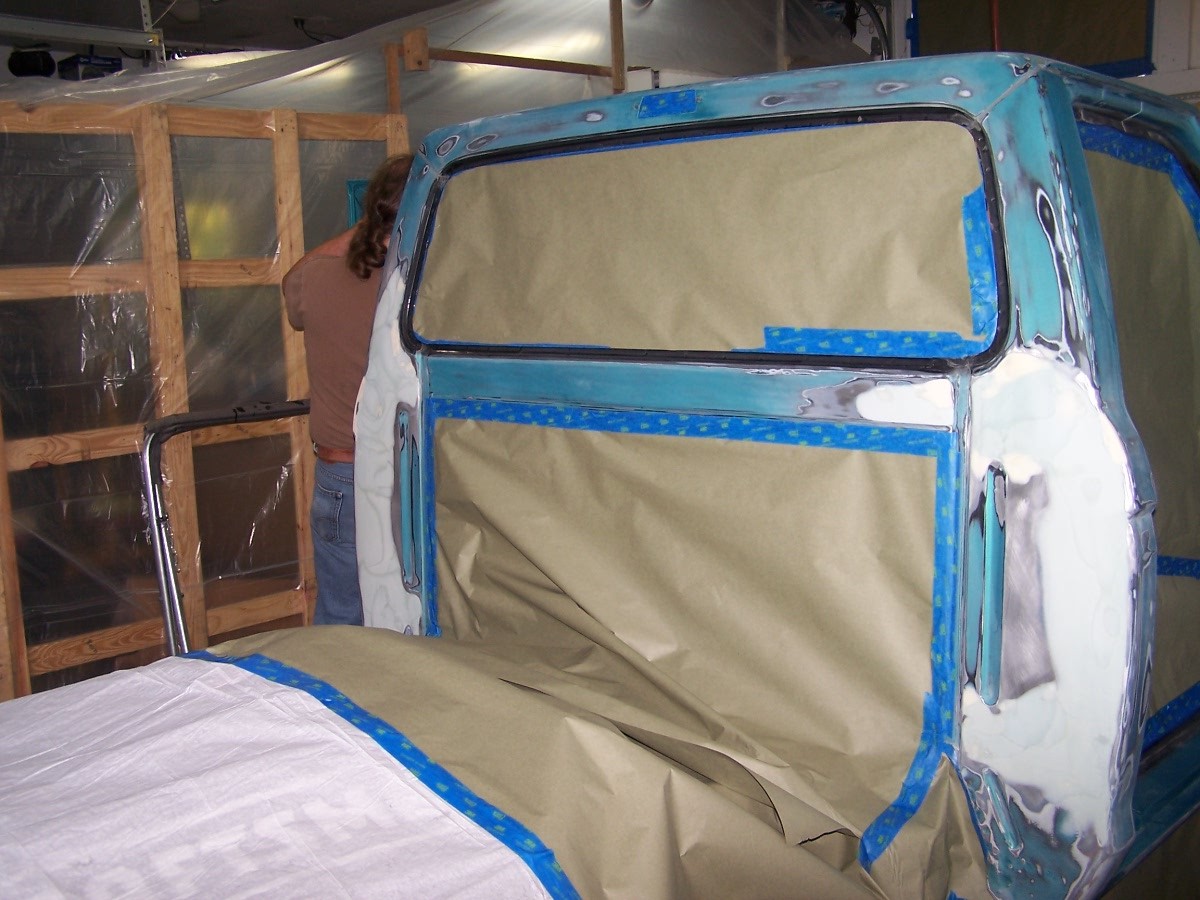
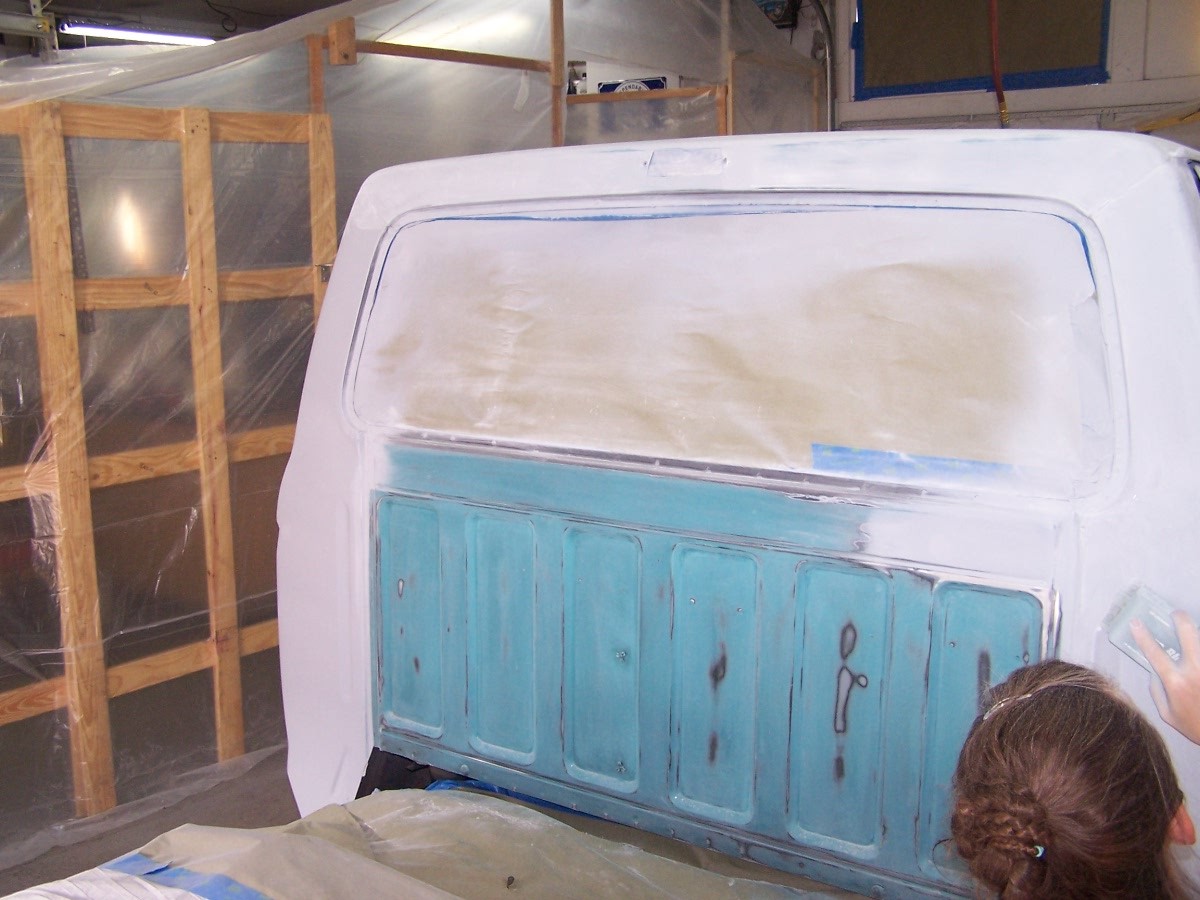
The ribbed section on the back of the cab was taped off as we didn't want to have to sand all those edges again.
|
Pepe in the light gray primer filler. Time to sand again.
|
We blocked out the primer filler to ensure a level, smooth surface.
|
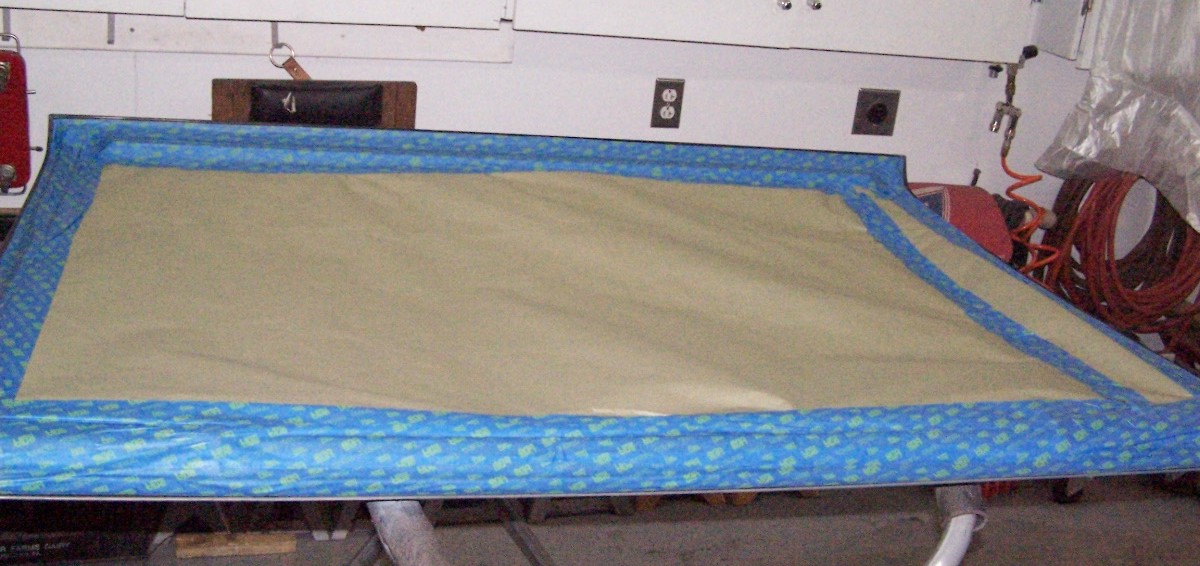
Taped aff again for the sealer and color.
|
We decided to spray the top of the hood first.
|
The seal coat was sprayed first to ensure good adhesion.
|
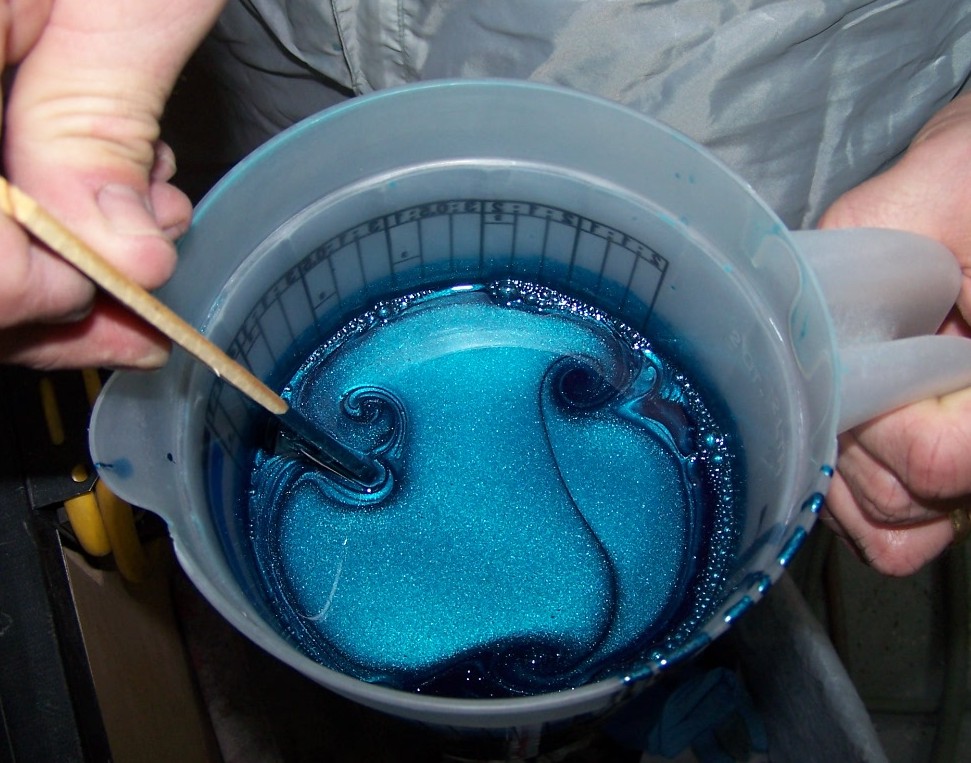
Here's the new color, Peacock Blue metallic from a late model Nissan.
|
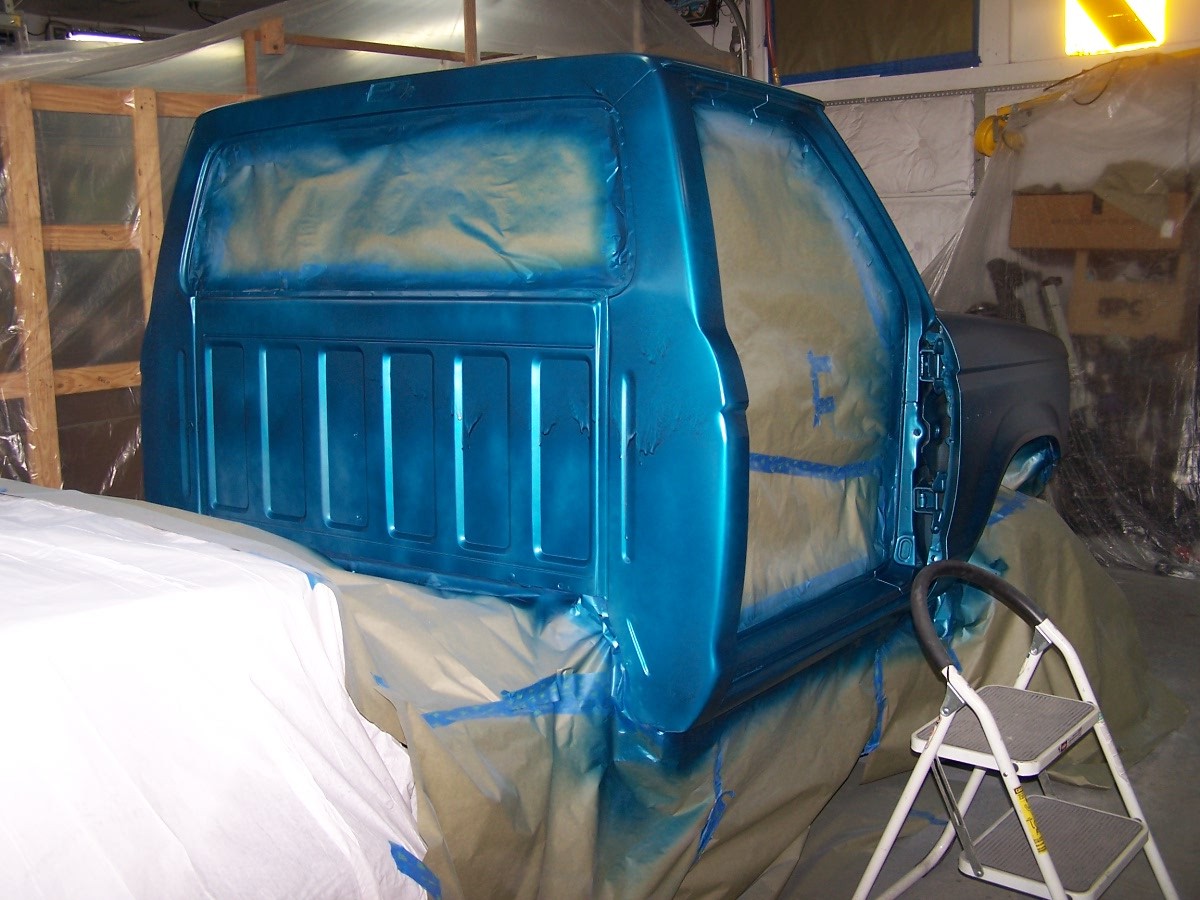
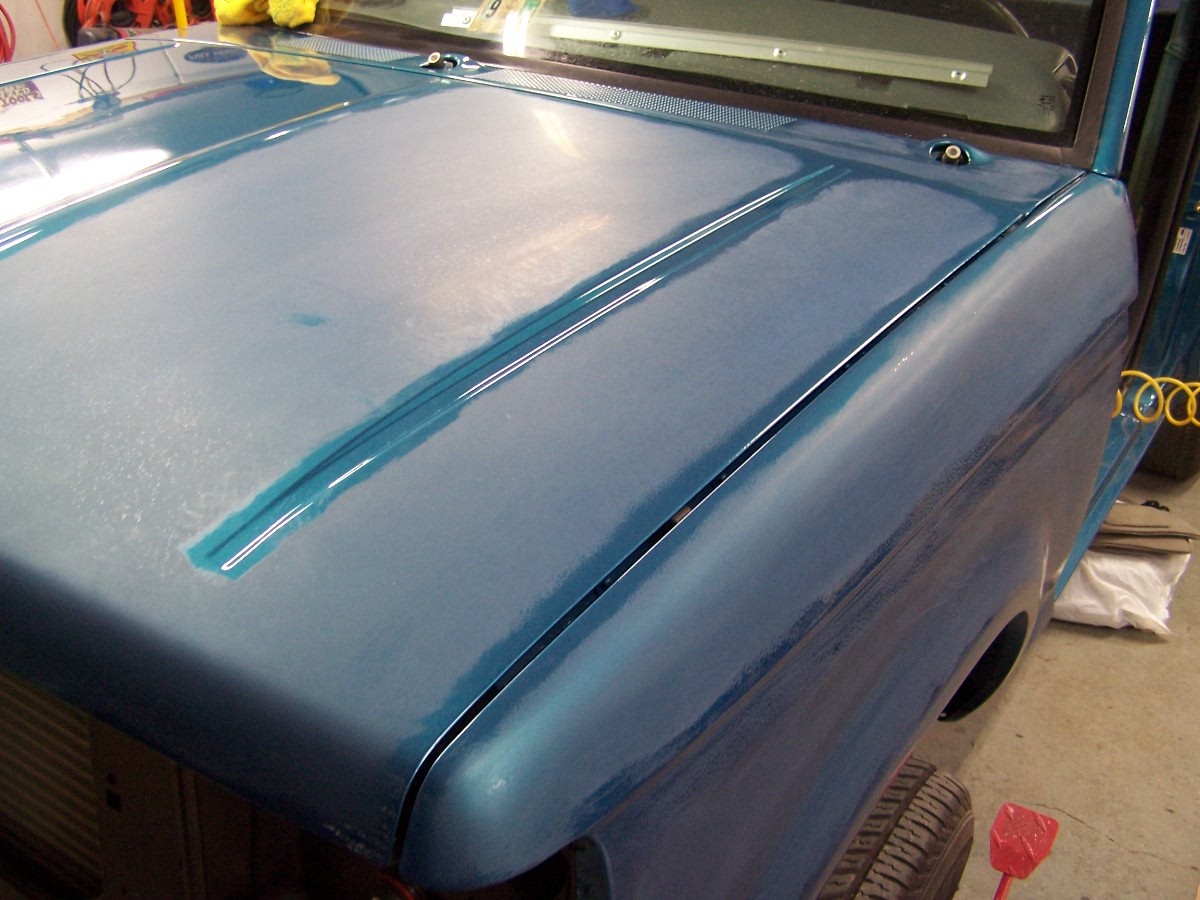
A single coat of the color was sprayed but Dad misconfigured the gun. We now had runs to deal with. Fortunately this is a base coat paint, so we can sand and respray.
|
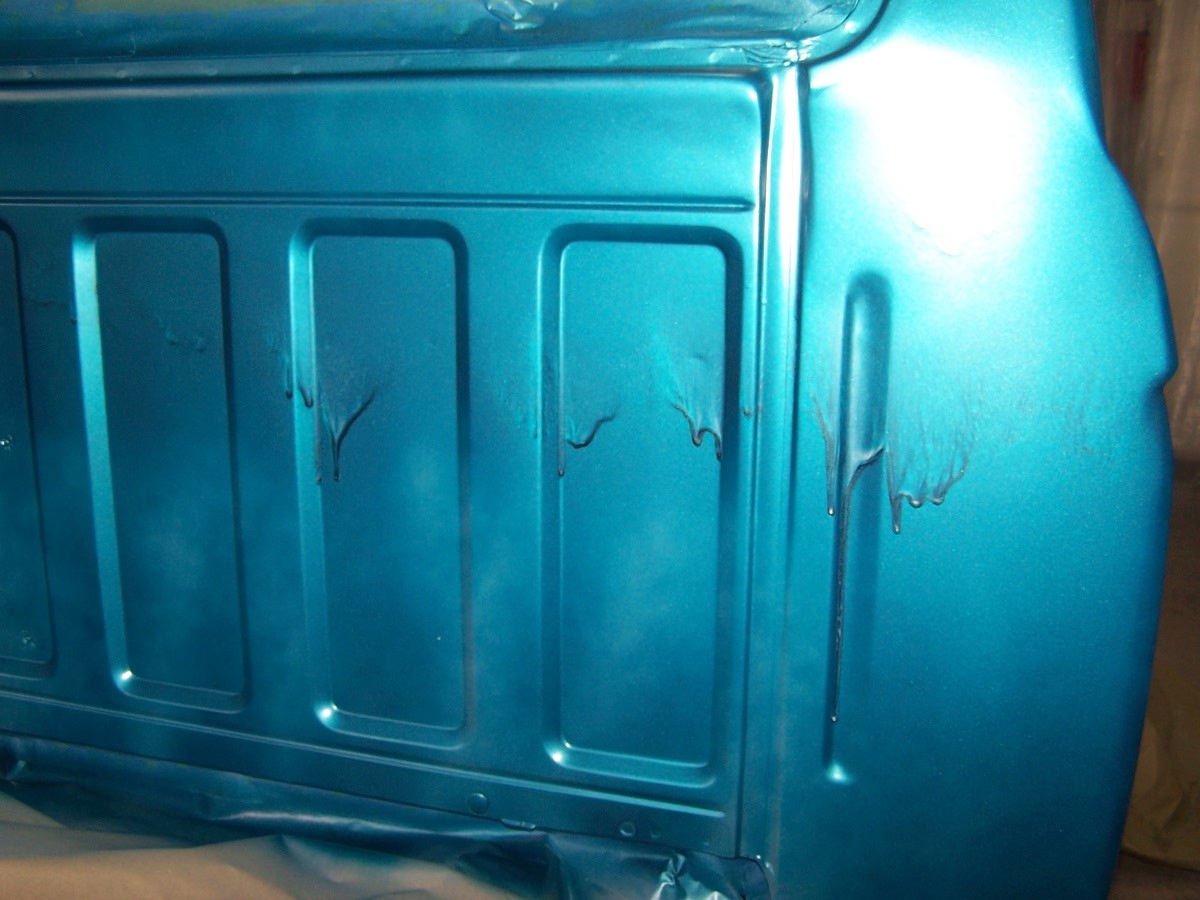
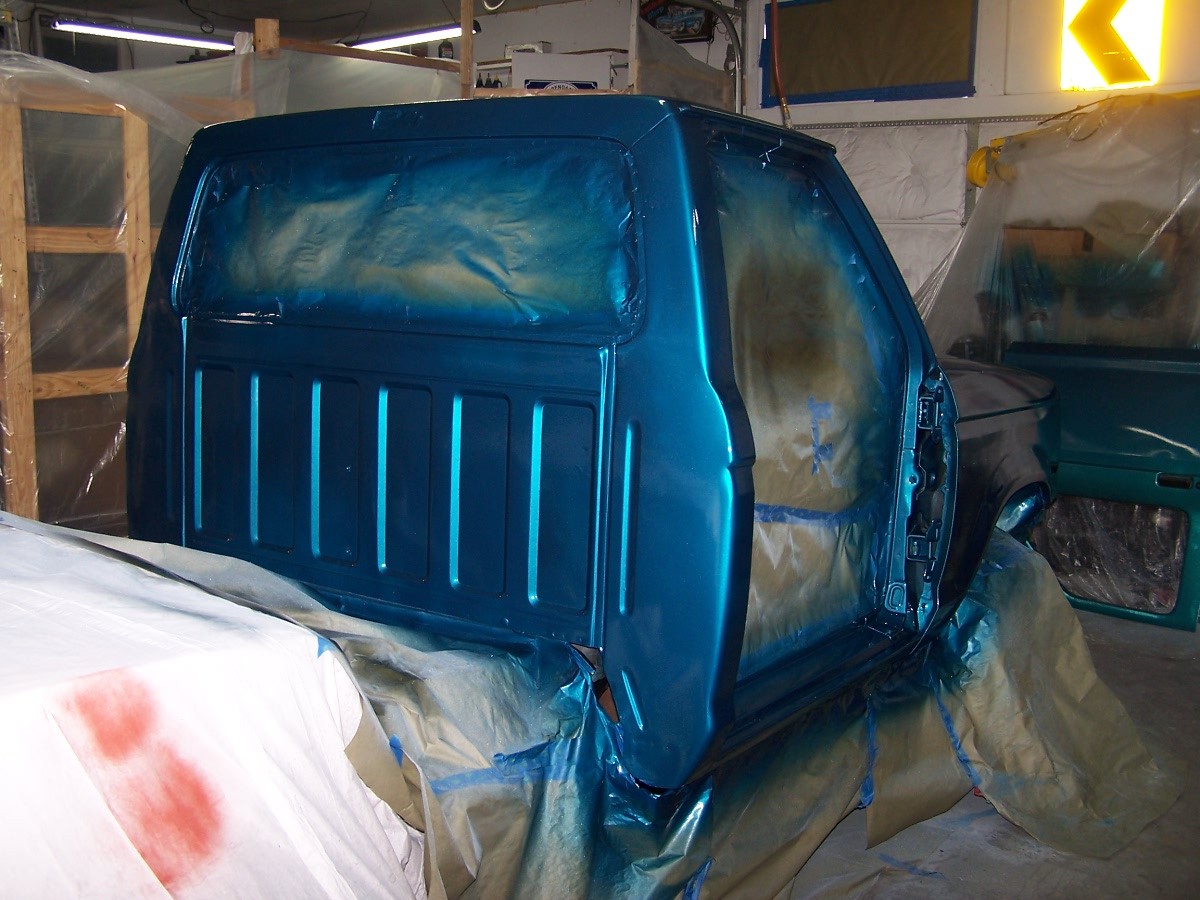
The large run on the back of the cab.
|

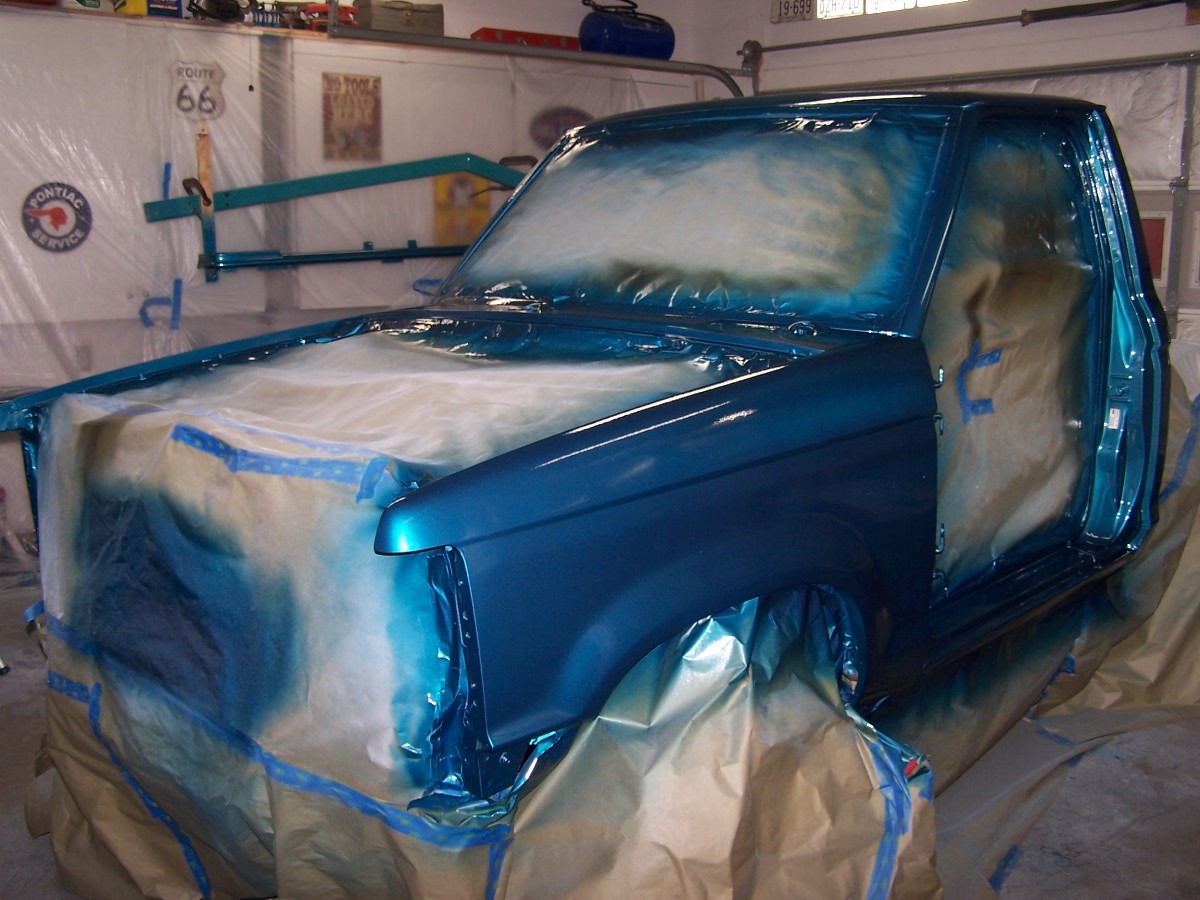
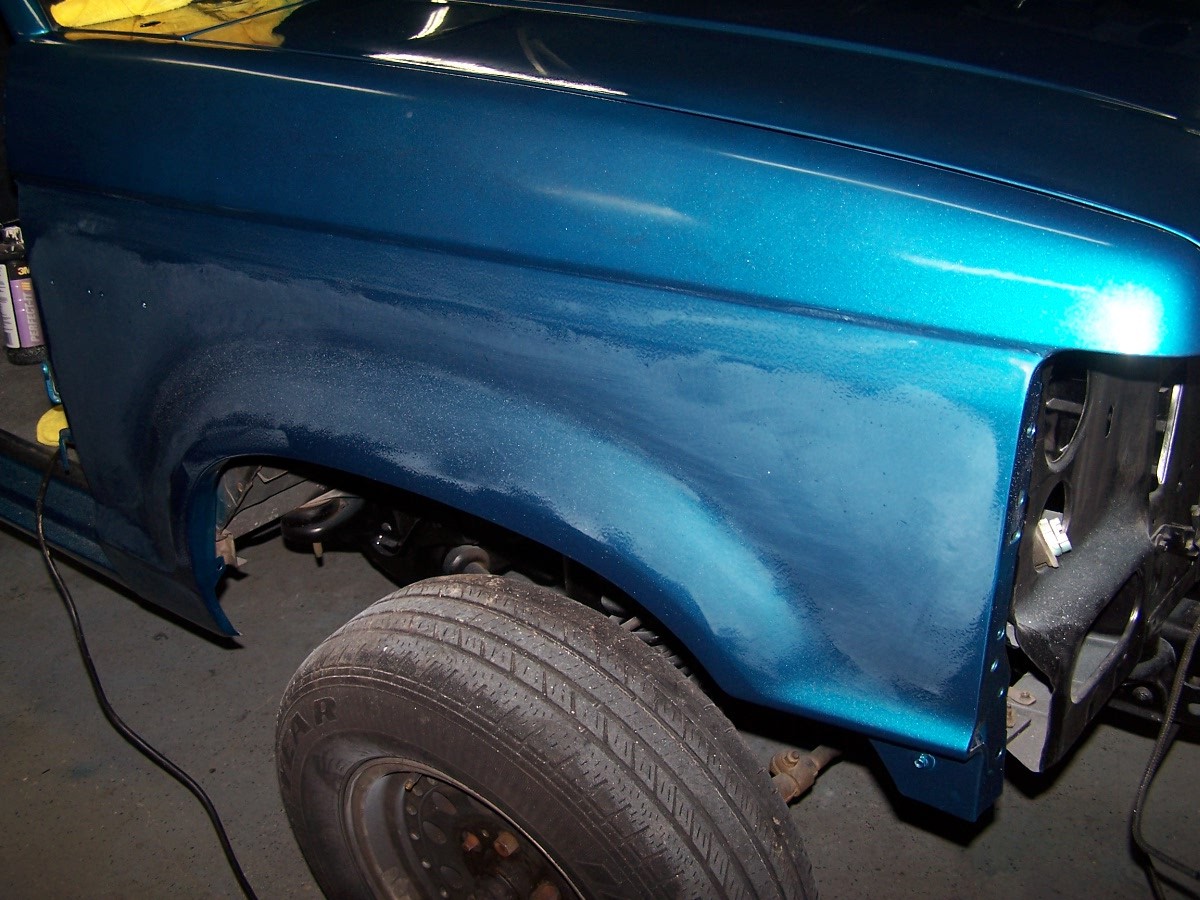
Another sizeable run in the passenger front fender.
|
He accidently bumped the fresh paint on the rocker panel with the air hose, so we can fix that as well.
|
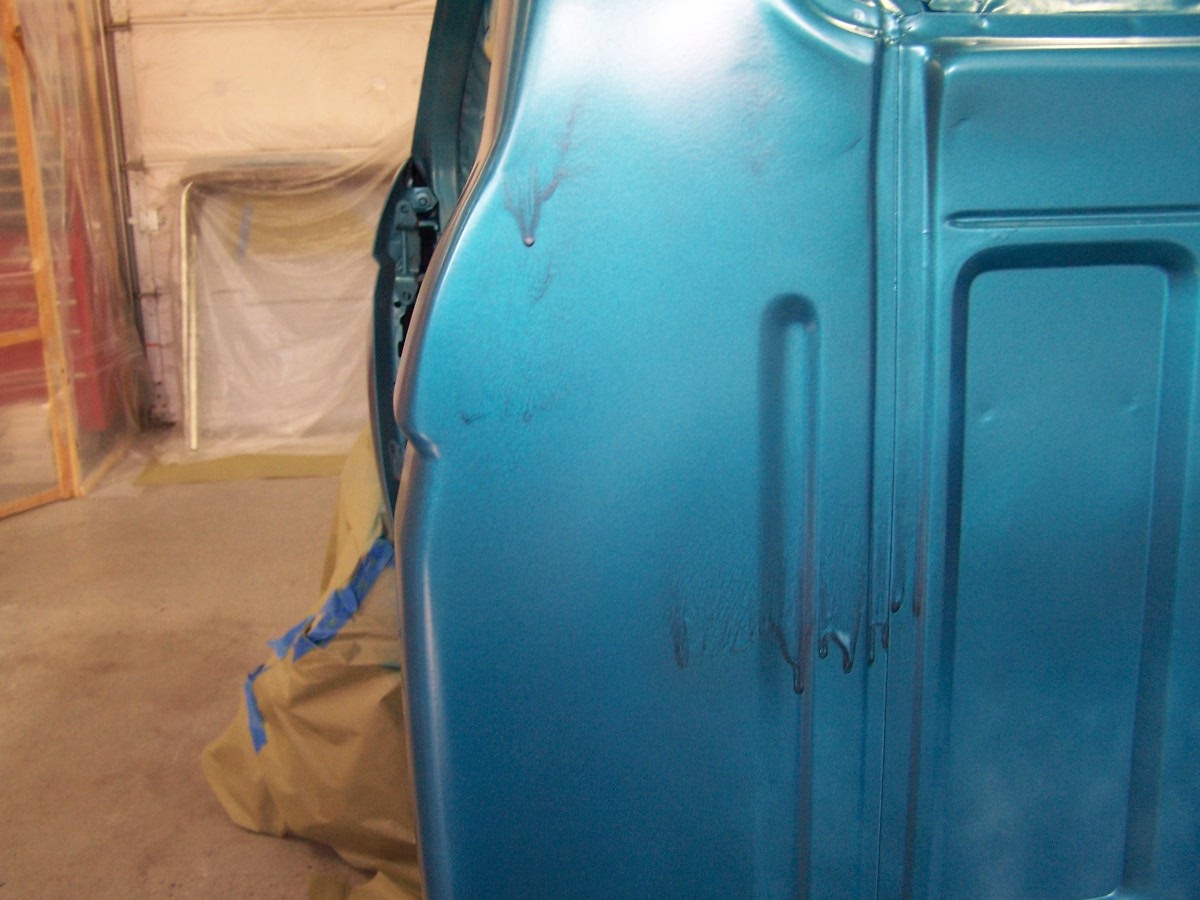
Another run on the back of the cab on the driver side.
|
The runs were all sanded out and the gun was recalibrated. The color looks great even without the clear coat.
|
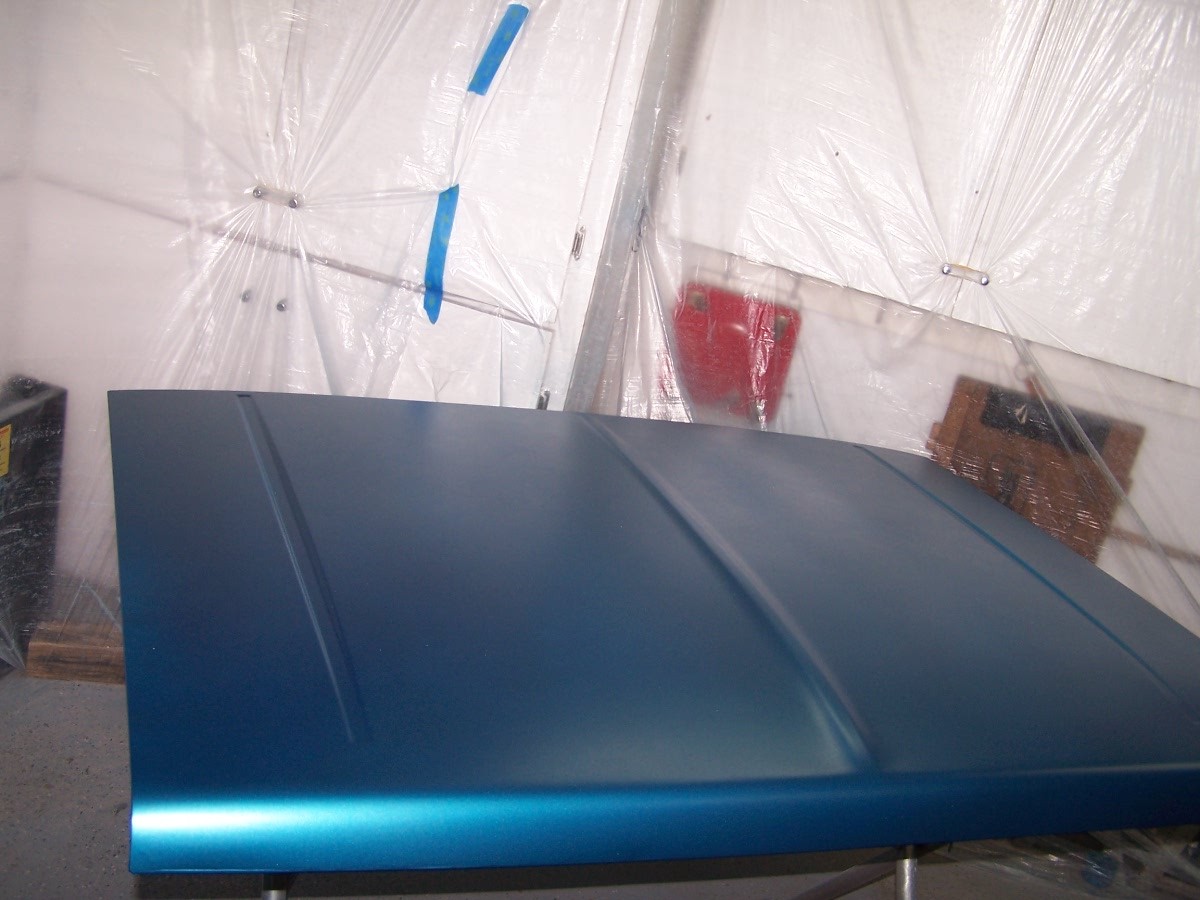
The hood came out great with just a couple of dirt specs.
|
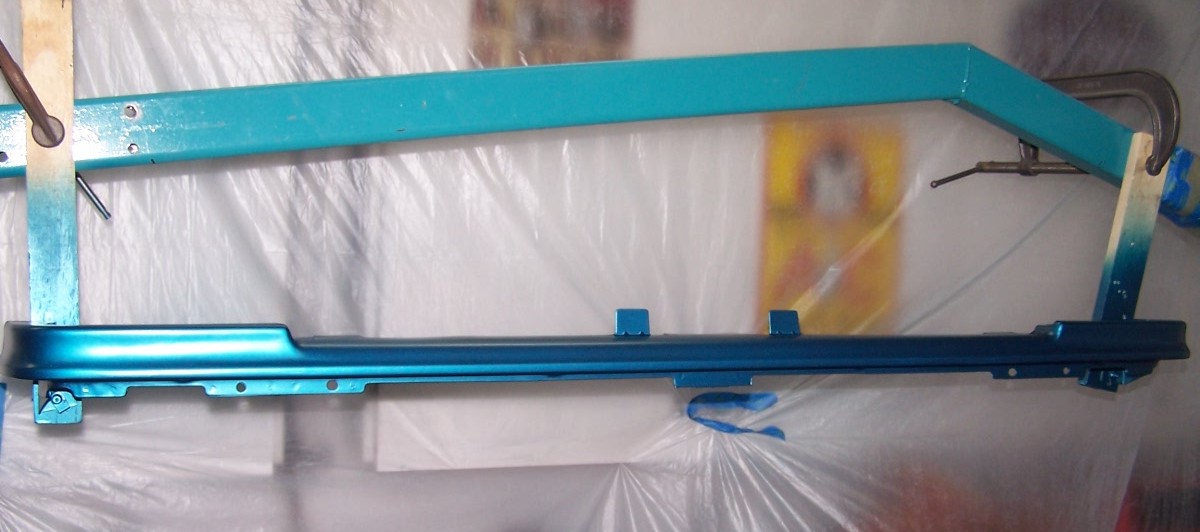
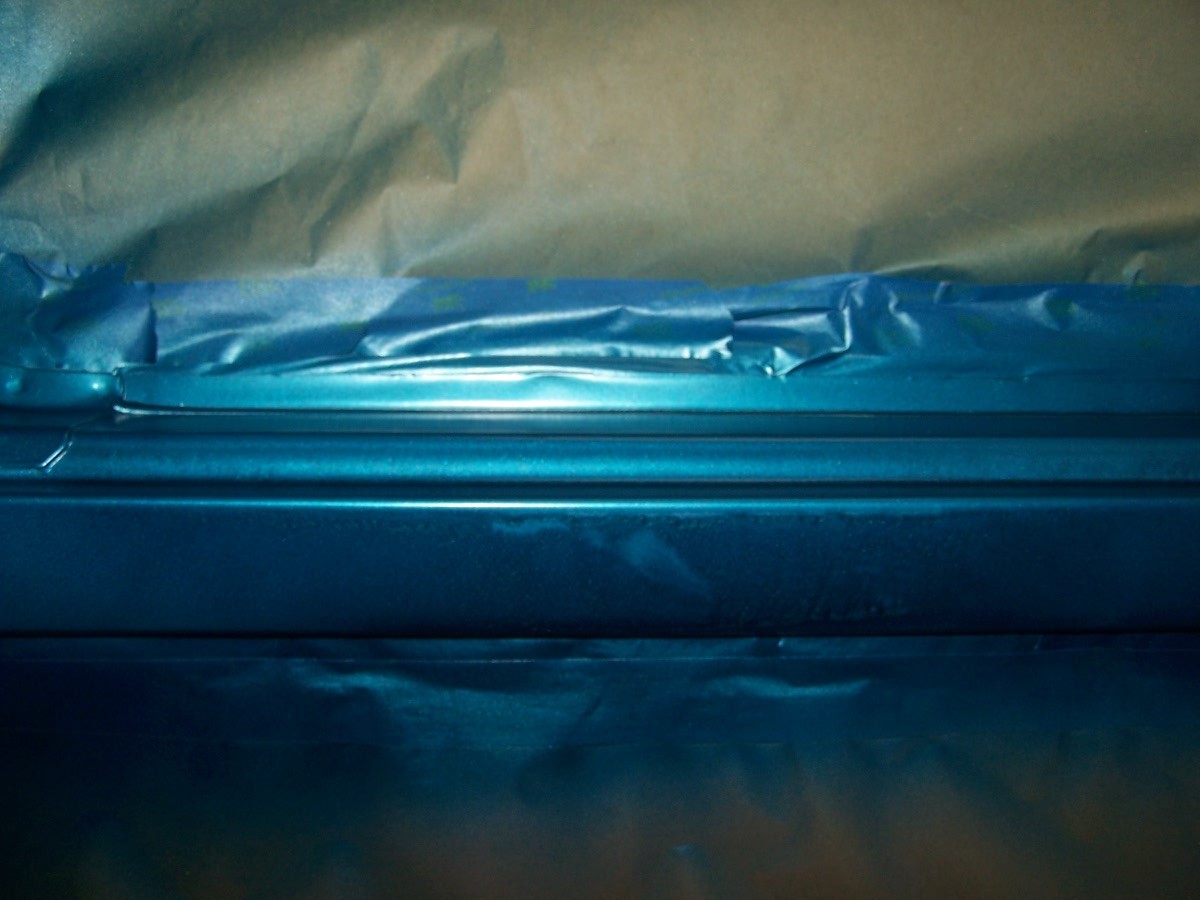
The filler bar even had a small run that we sanded out.
|
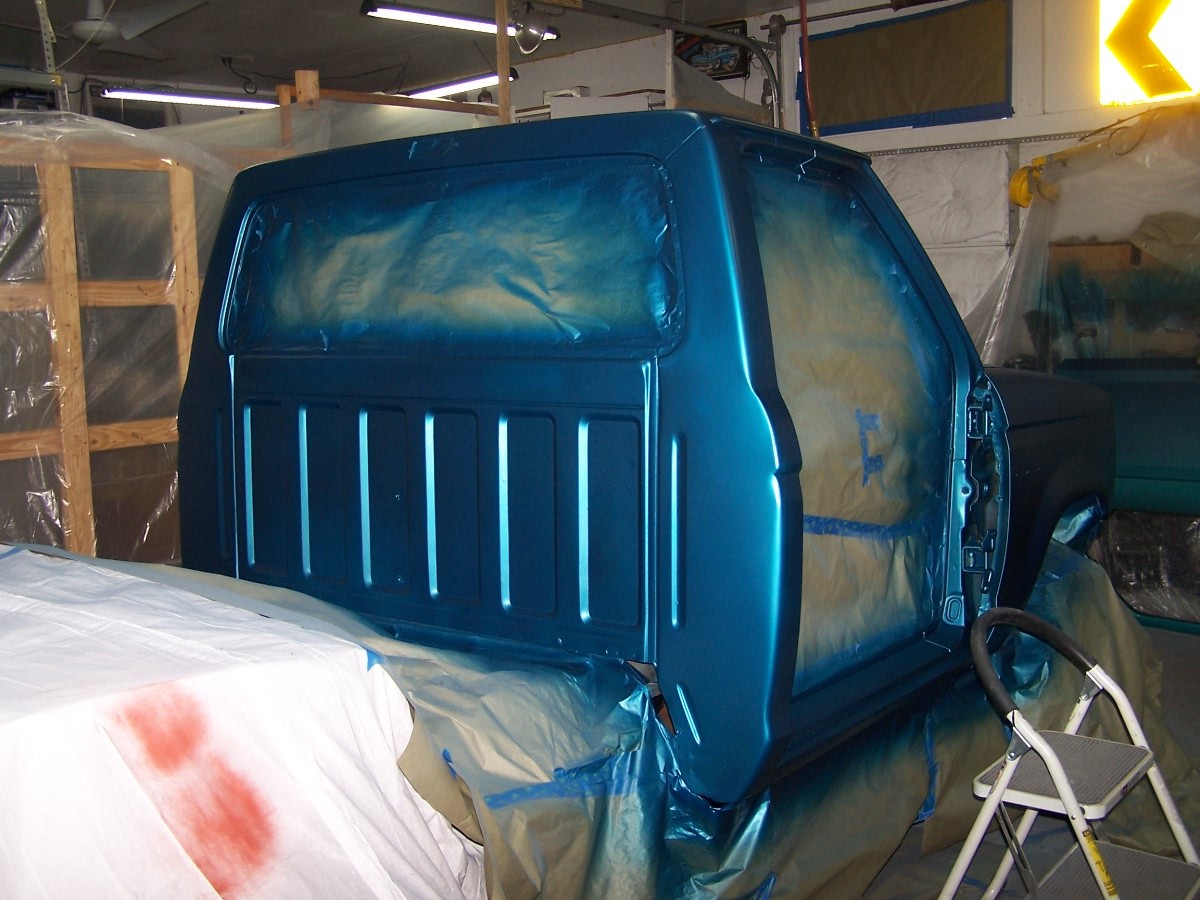
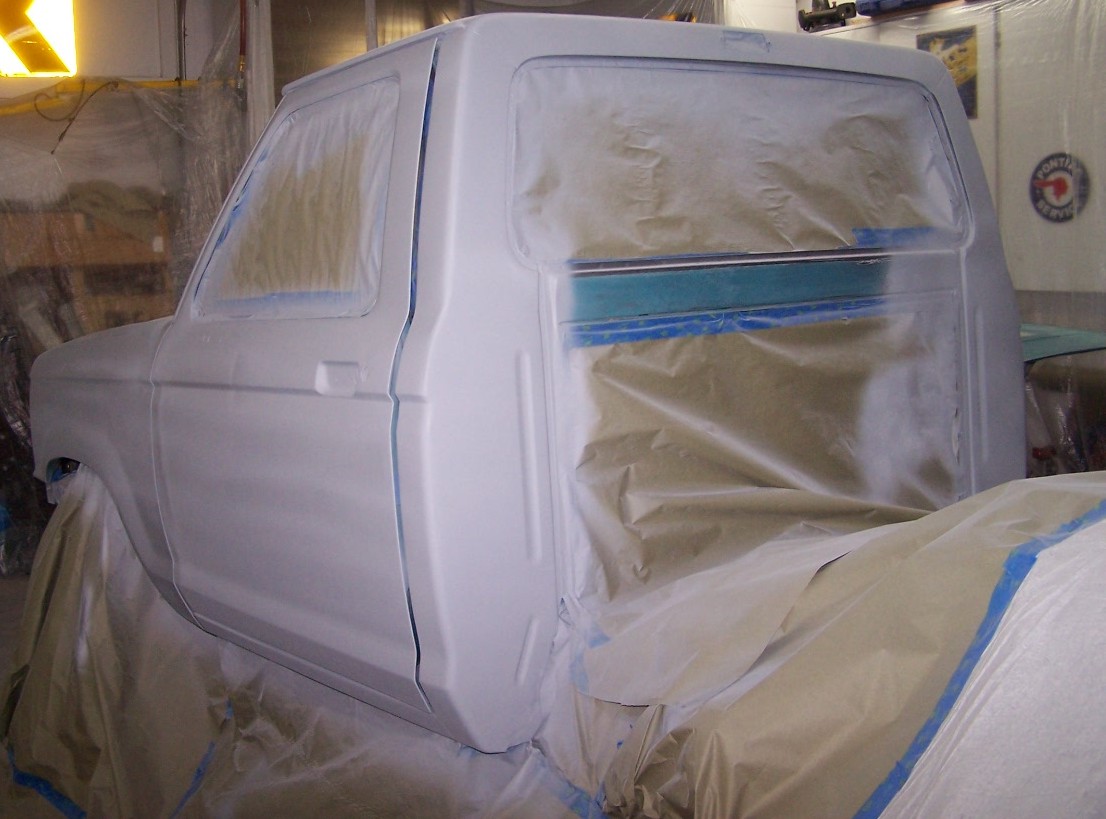
The back of the cab, without runs and dents.
|
The clear coat was sprayed and the color really popped.
|
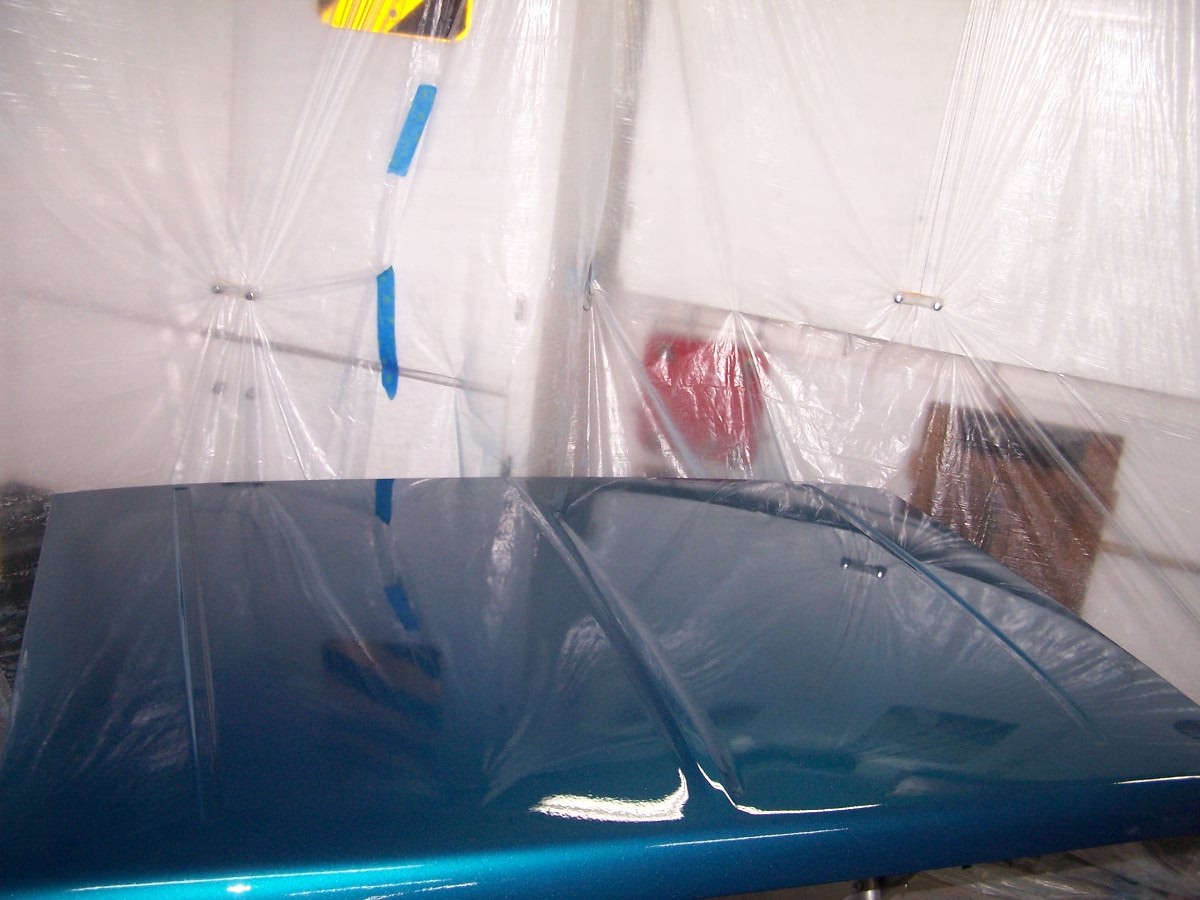
The hood has a deep shine with just a bit of orange peel.
|
The back of the cab, now in clear coat.
|
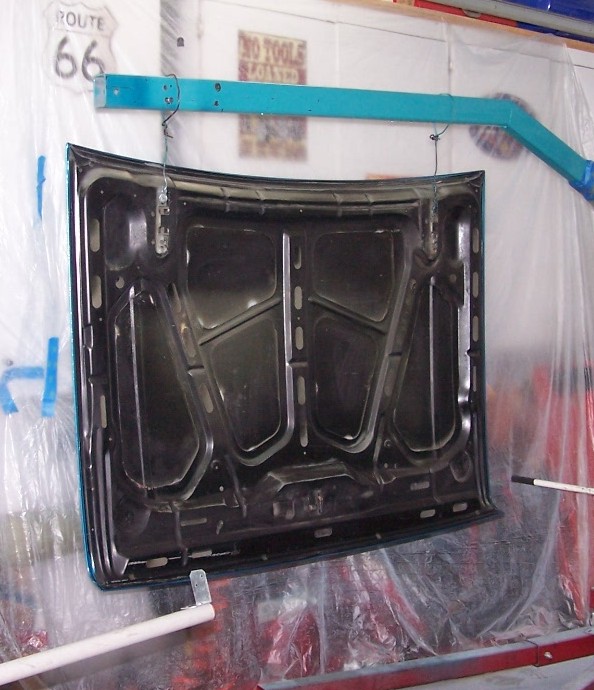
To spray the underside of the hood, it was hung, as it ould be in that upright position when open, which is when you would see this.
|
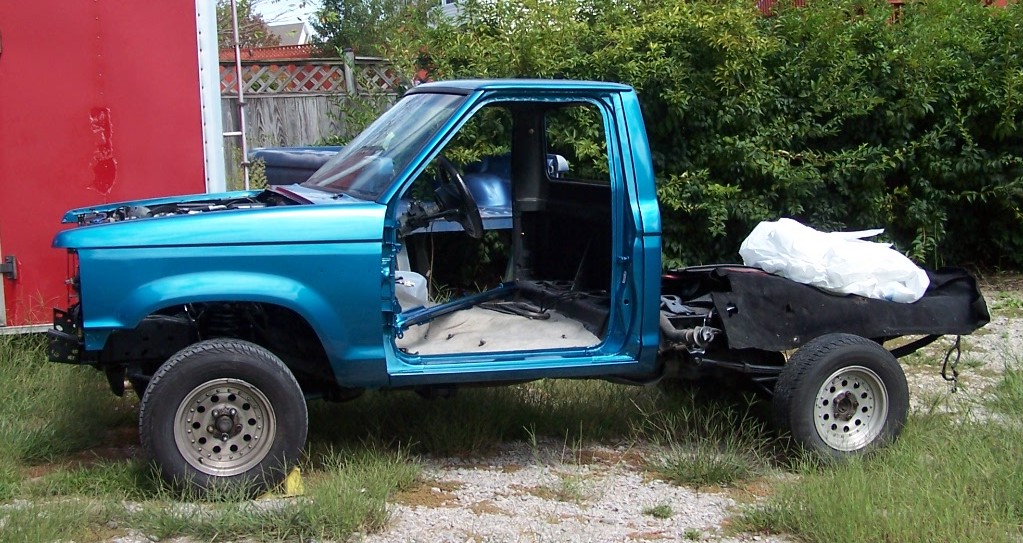
After several months, Pepe was outside, this time so that we could spray the doors and hood without risk to the main body. The color really popped in the sunlight.
|
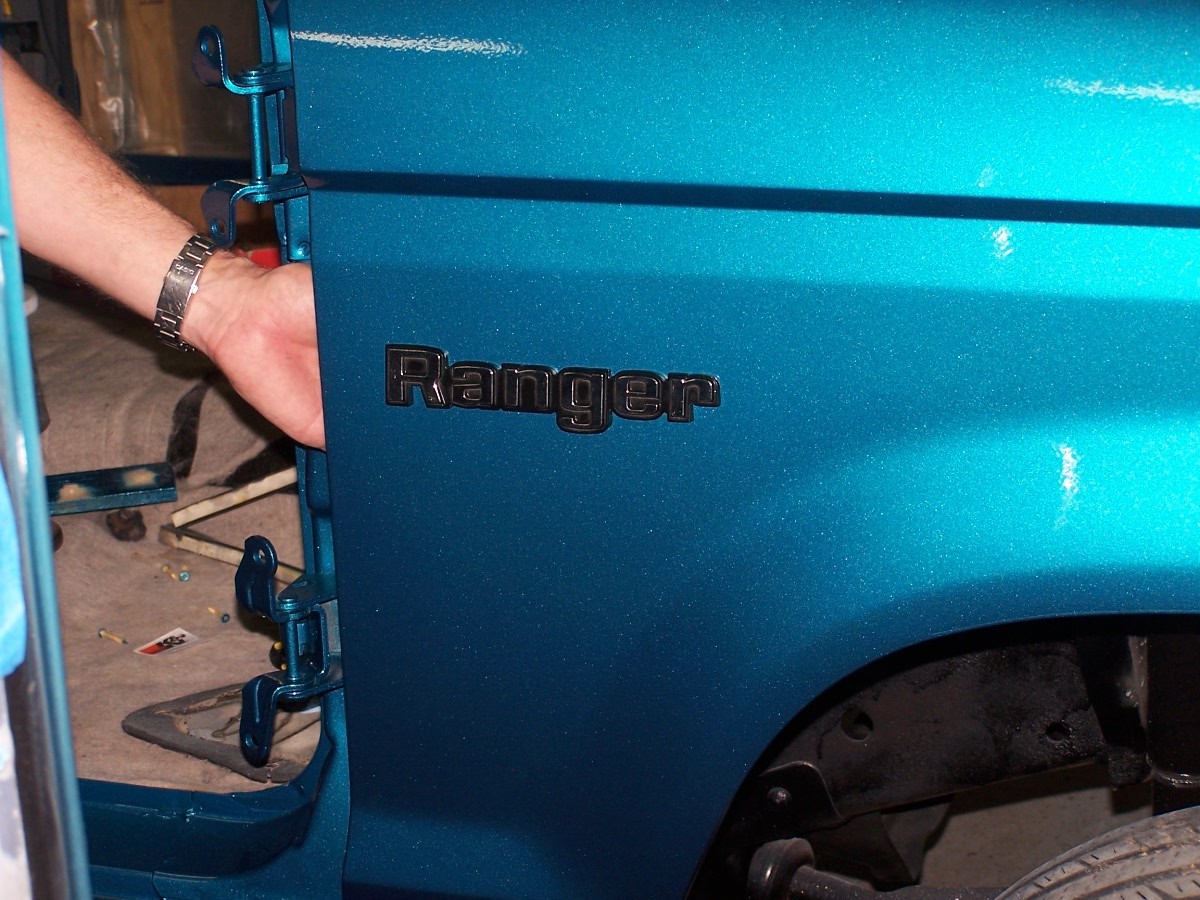
The new Ranger emblem was for a '79 full size Ranger. But we like it better than the stylized one that should be on the '89.
|
The doors were another problem. They needed to be mounted vertically to spray the metallic, however, to spray the jams the doors had to remain off the body. This was a problem.
|
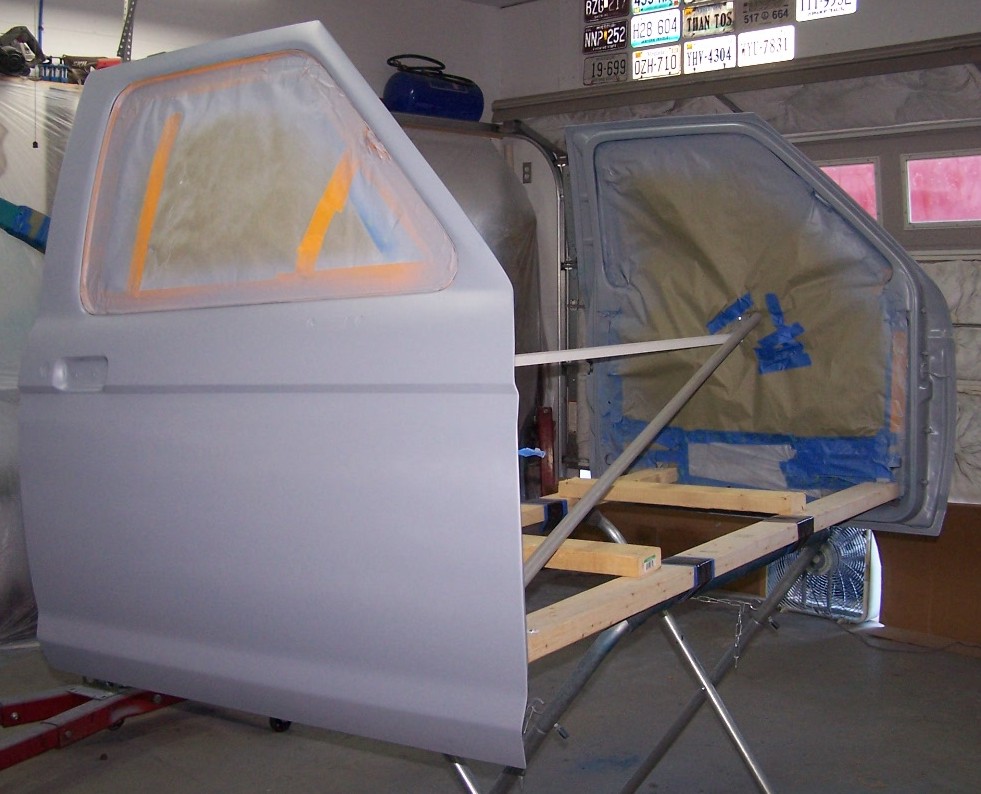
Our solution to the door problem was to build a framework to mount the doors on and use the body dollies to support the framework.
|
The hood with color and clear on the underside.
|
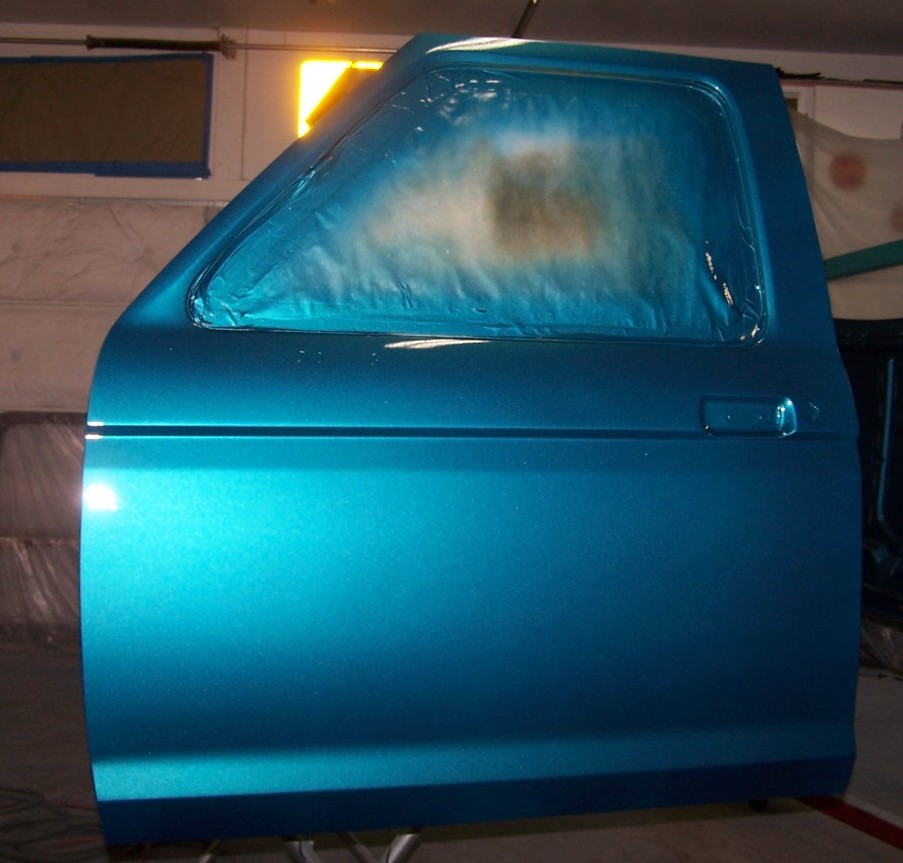
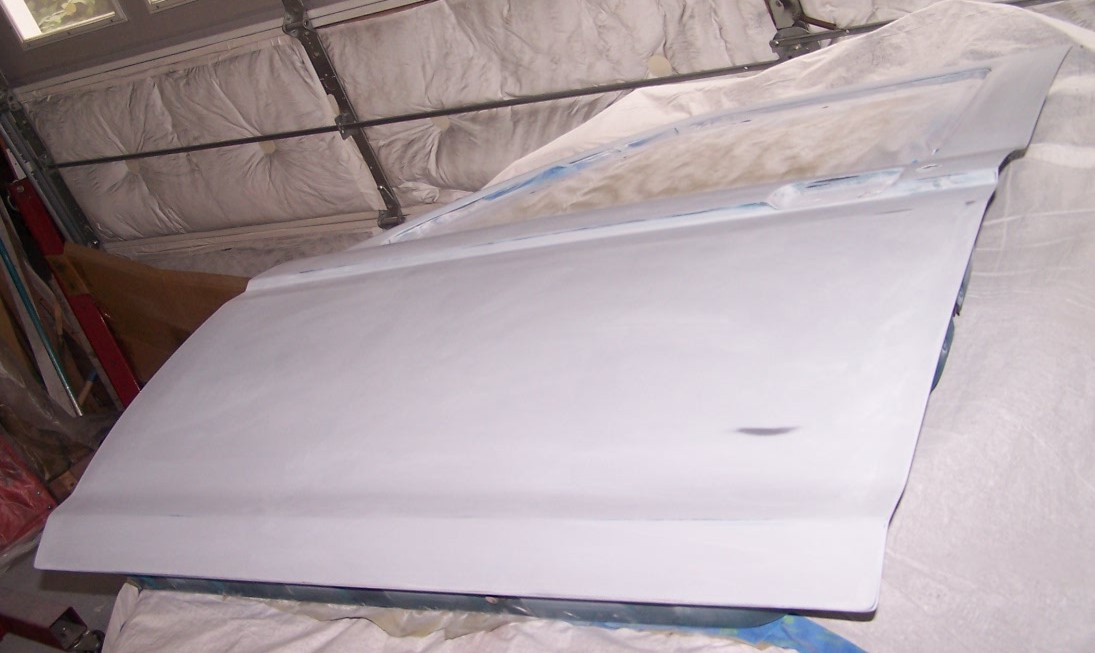
The driver door in color and clear, still some orange peel.
|
Dad cut and buffed the orange peel to give a really deep shine.
|
A picture of the hood half cut, ready for buffing. The other half is the uncut paint.
|


