
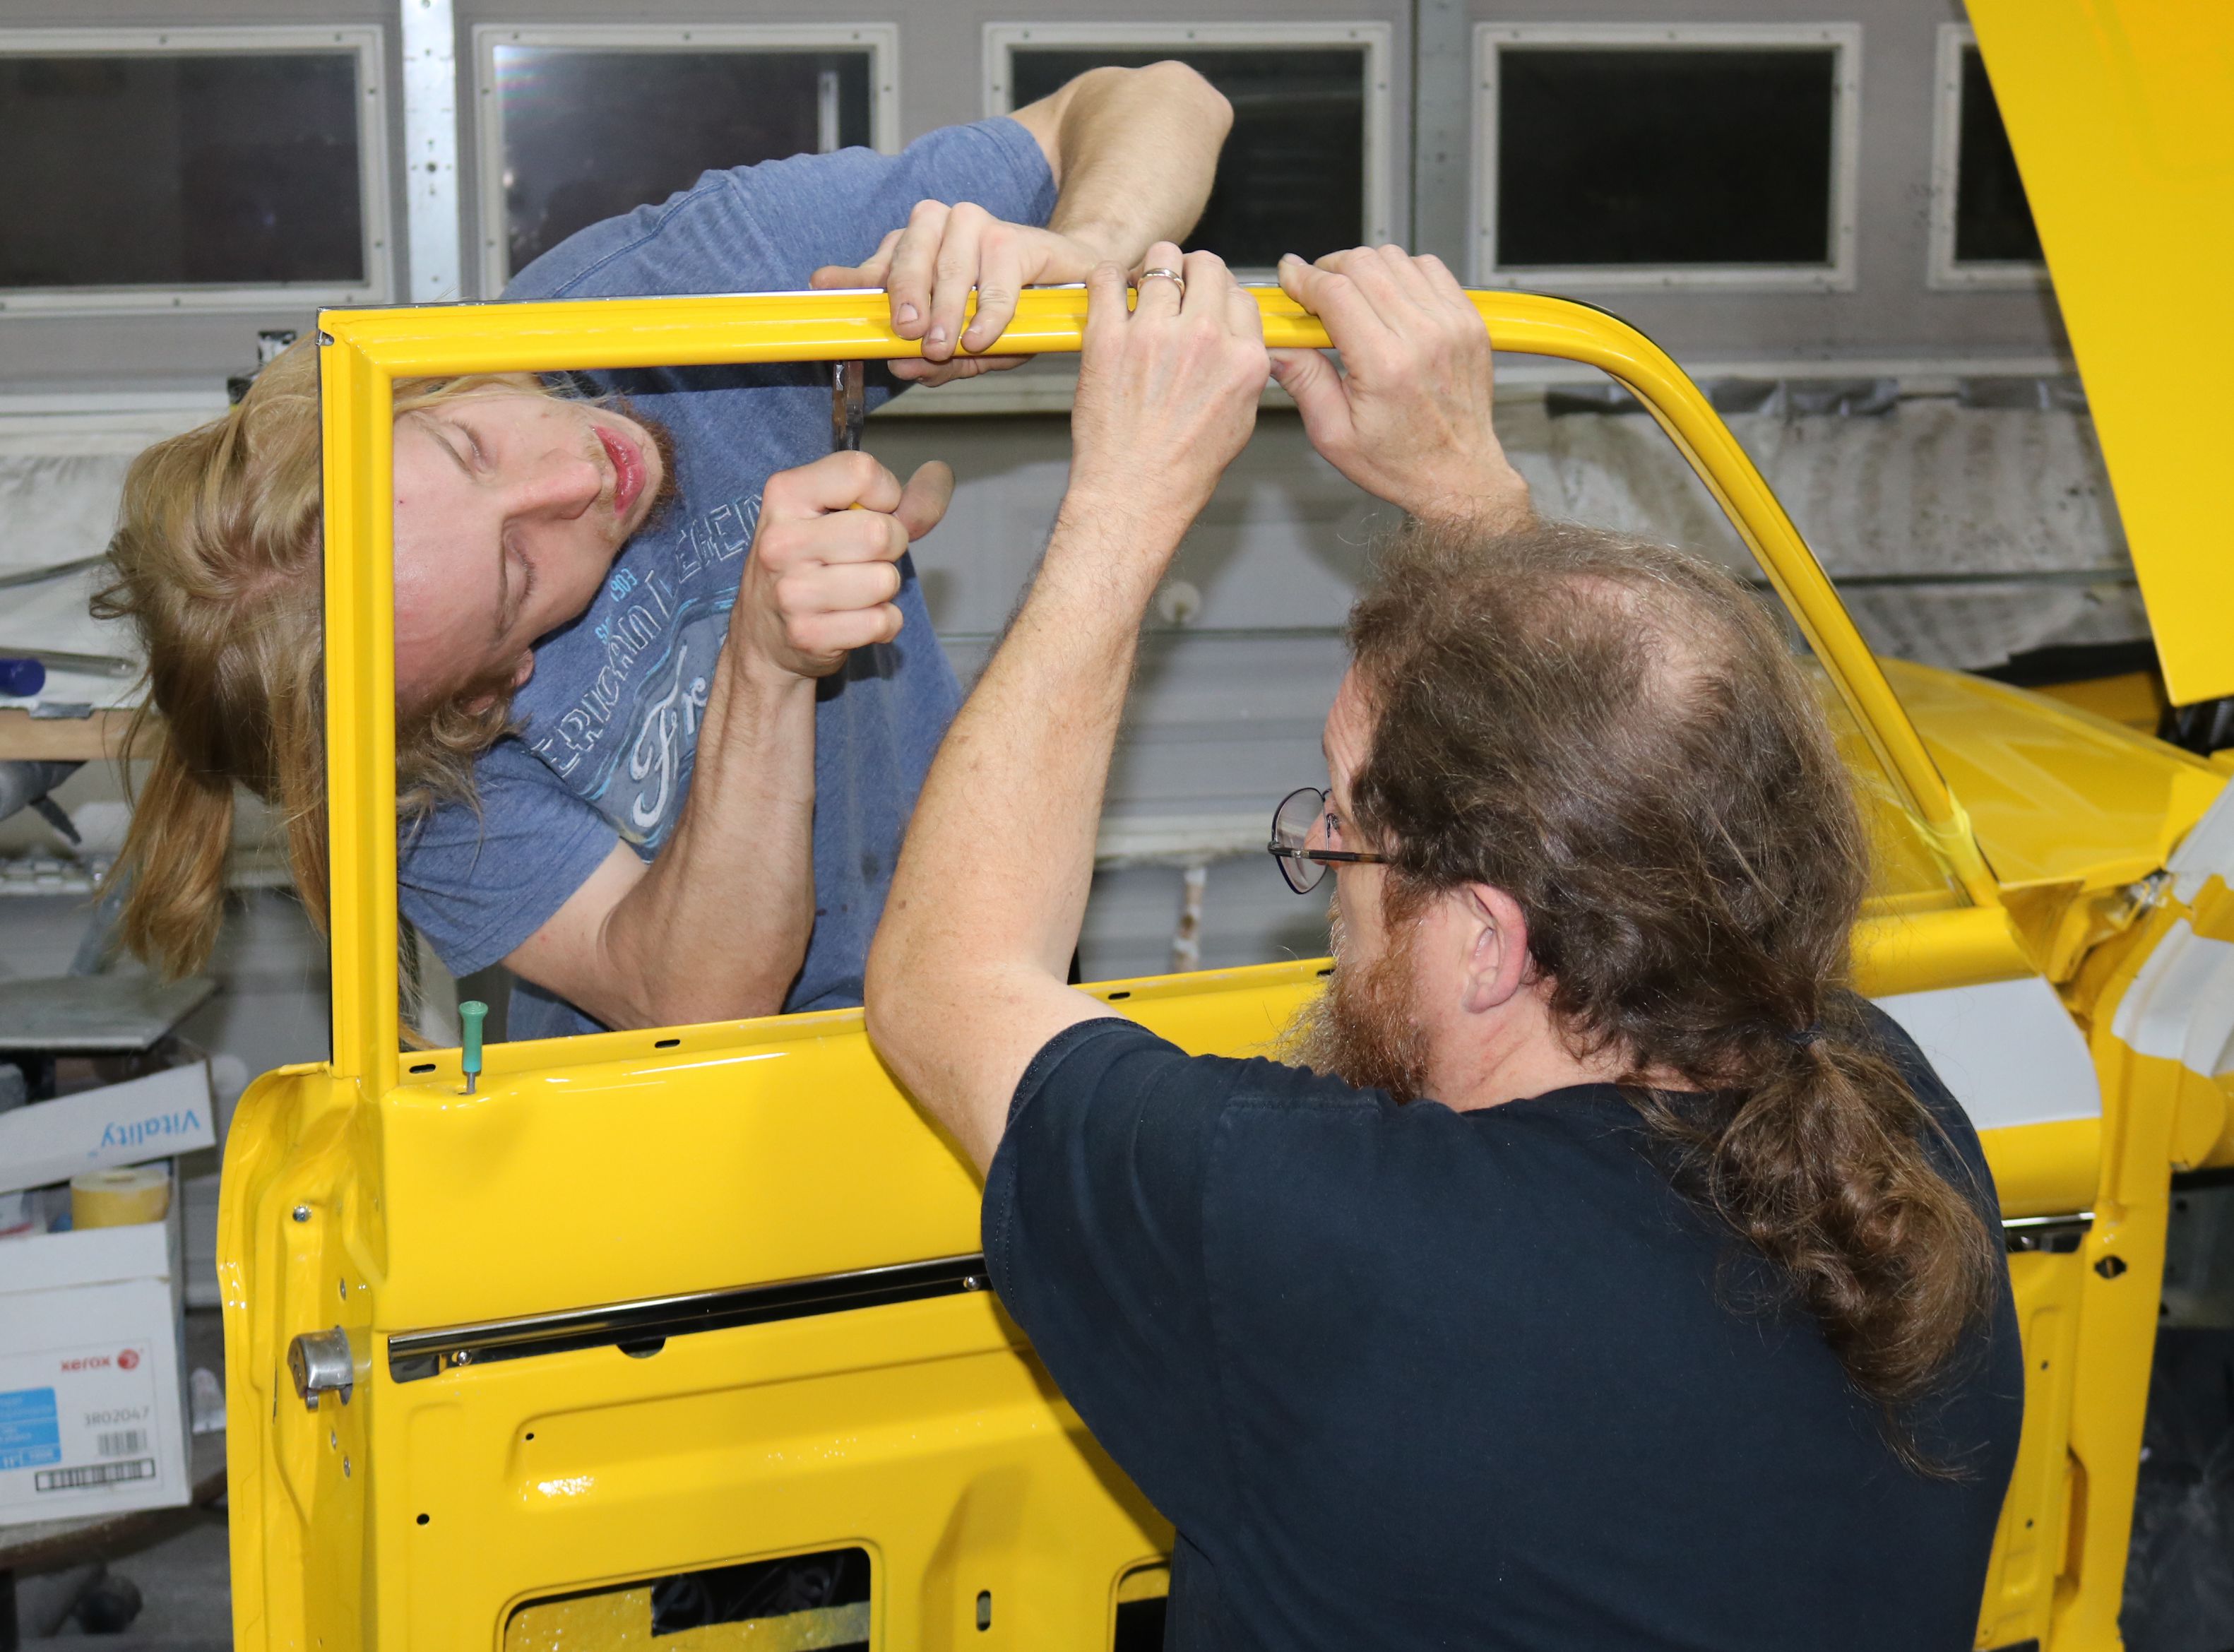
First, we need to hange the doors. This is a three person job, even with the pre-drilled alignment holes. These doors are heavy even without the glass.

One door done, one to go.

Door number two installed. Next up, the fenders to make sure all the body panels line up down the body lines and the door gaps are correct before we install the latches.

Before we can install the fenders, we had to remove the yellow overspray. But it was not coming off in all areas, possibly due to clear overspray

And freshen up the paint inside the fenders.

And just when we thought we were done sanding, time to cut and buff the paint to a high shine. The drivers side of the cowl was sanded to 1500 grit, waiting on the buffer.

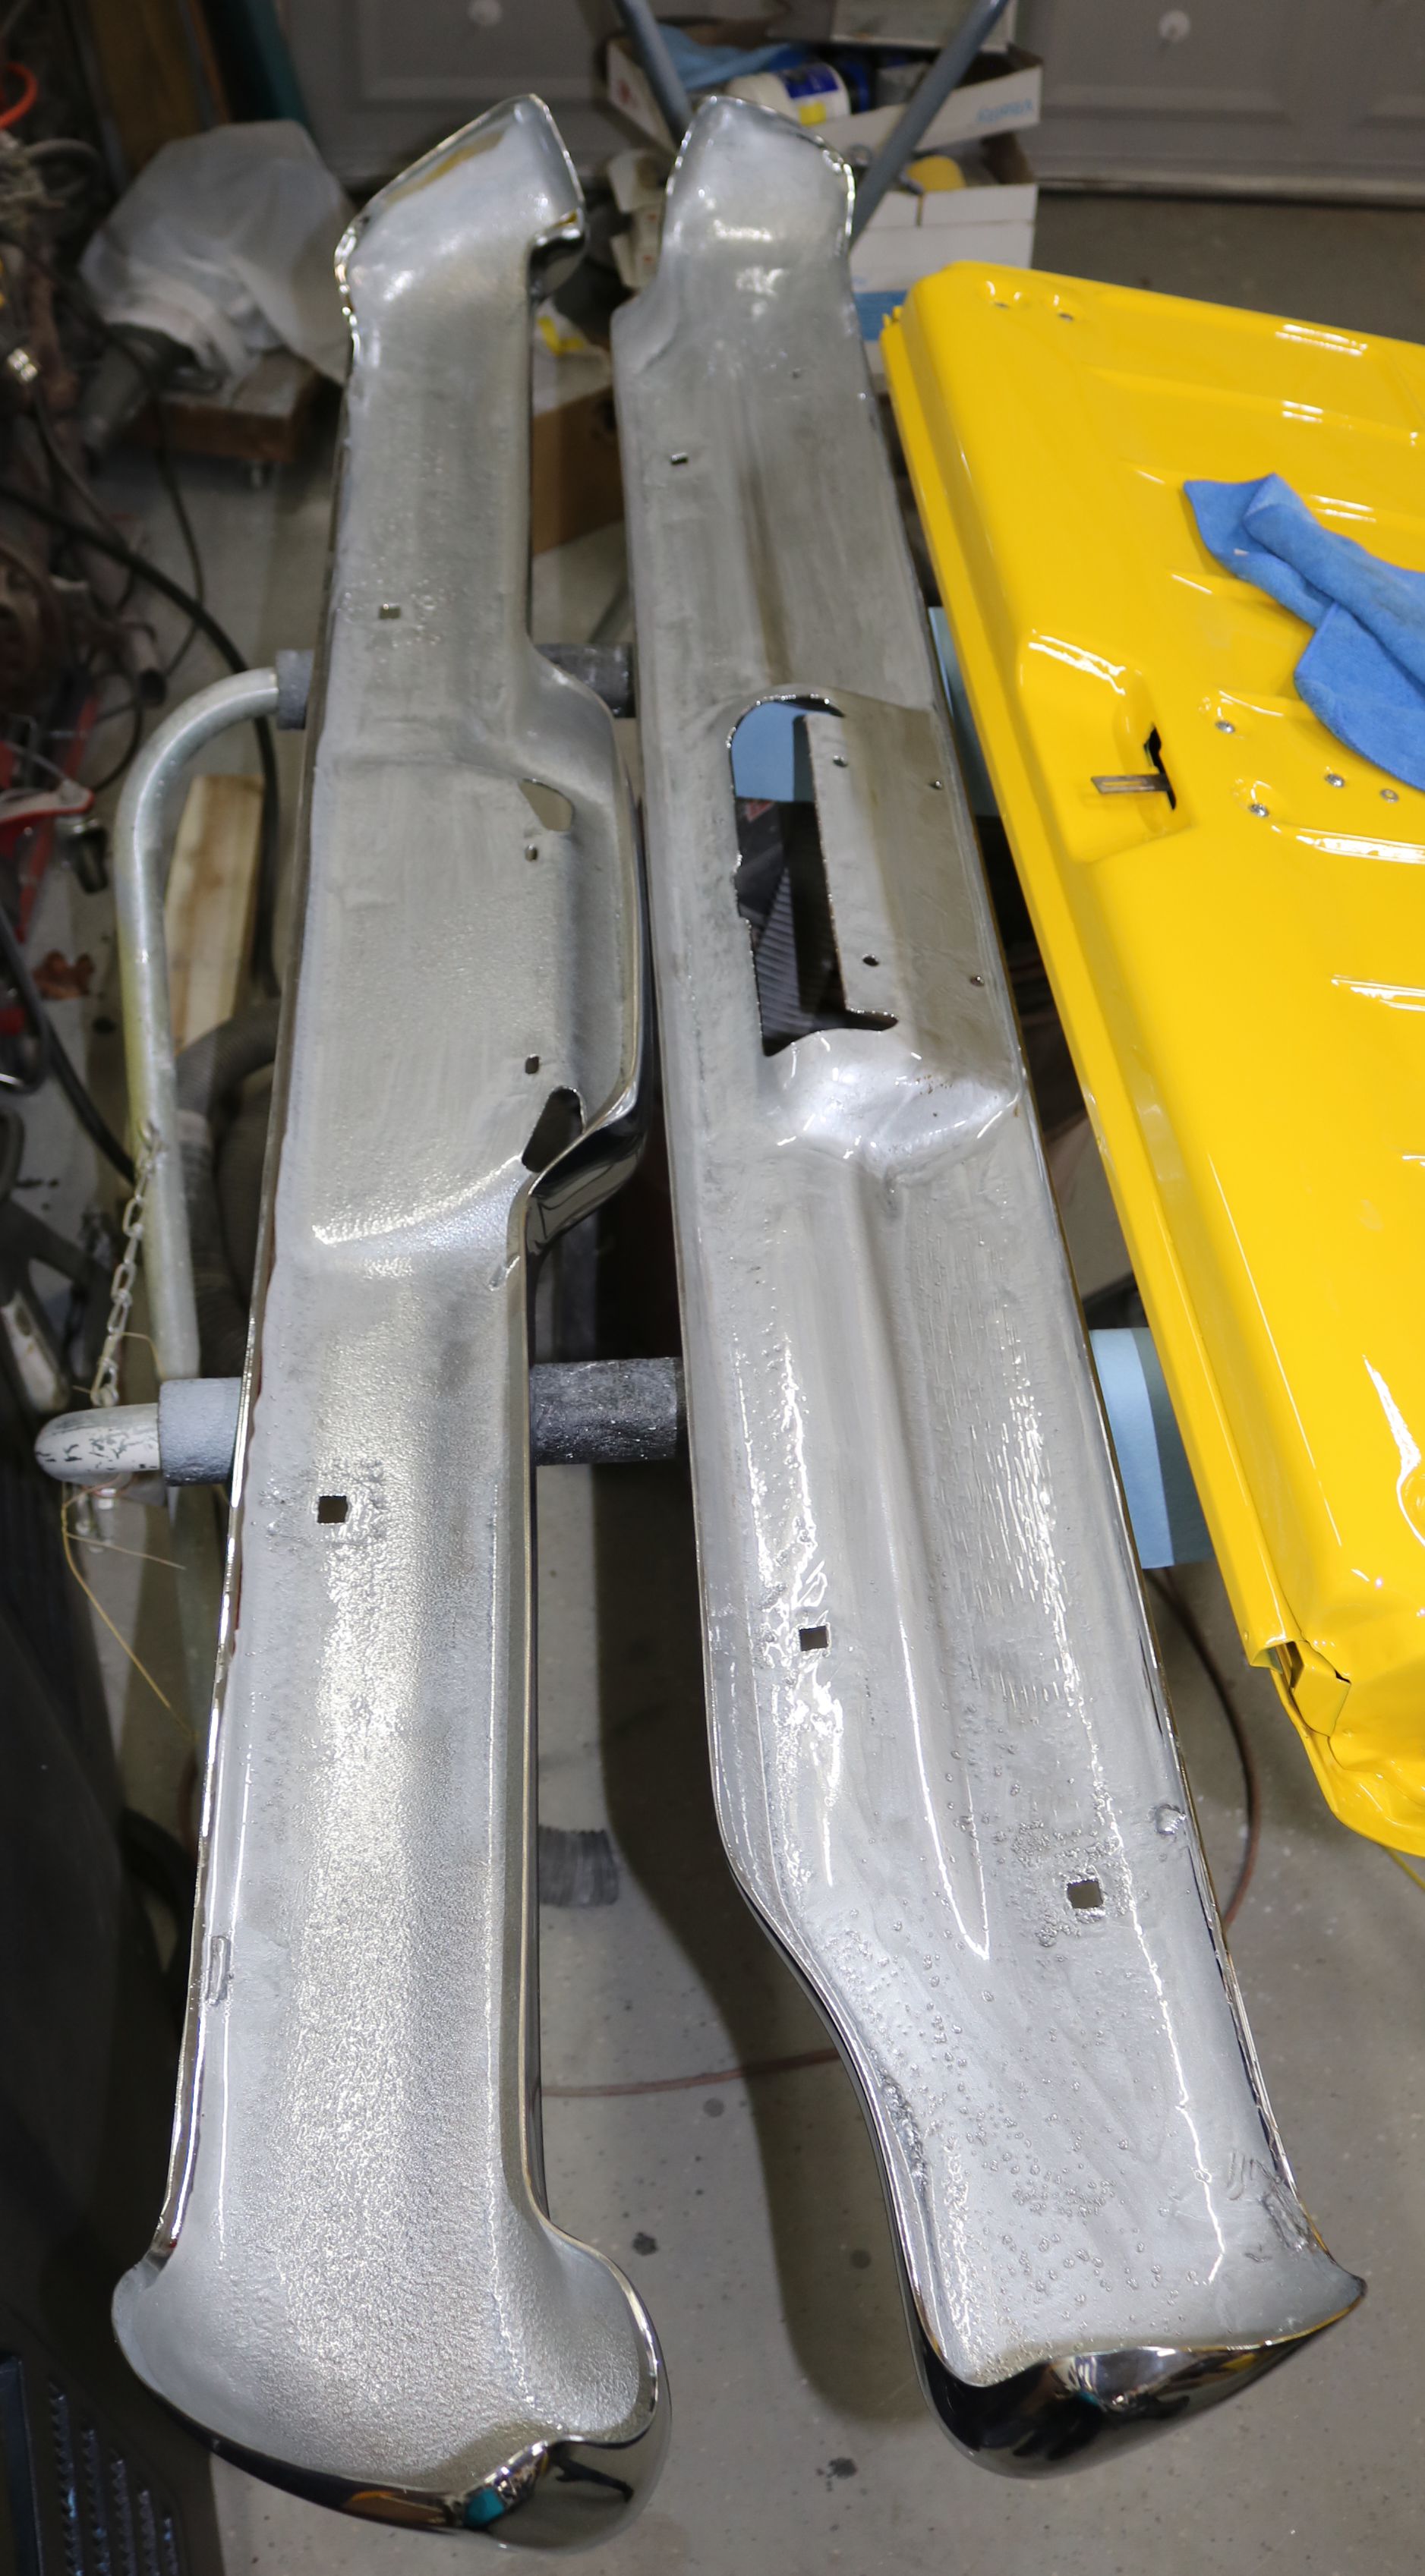
Dad finished up the stainless trim for the bed .

More wet sanding to finish the rest of the cowl section and the top of the dash before the windshield goes in.

There is a rubber gasket between the radiator support and the inside of the front fenders. Yep, you guessed it, more stainless wire replaced the staples.

The passenger side back together and looking sharp. Time to align the door and the front fender to the rear quarter panel to get the body lines straight and the gaps correct.

And now the driver side is together. Of course we will probably have to realign the doors once the glass goes in just due to the weight.
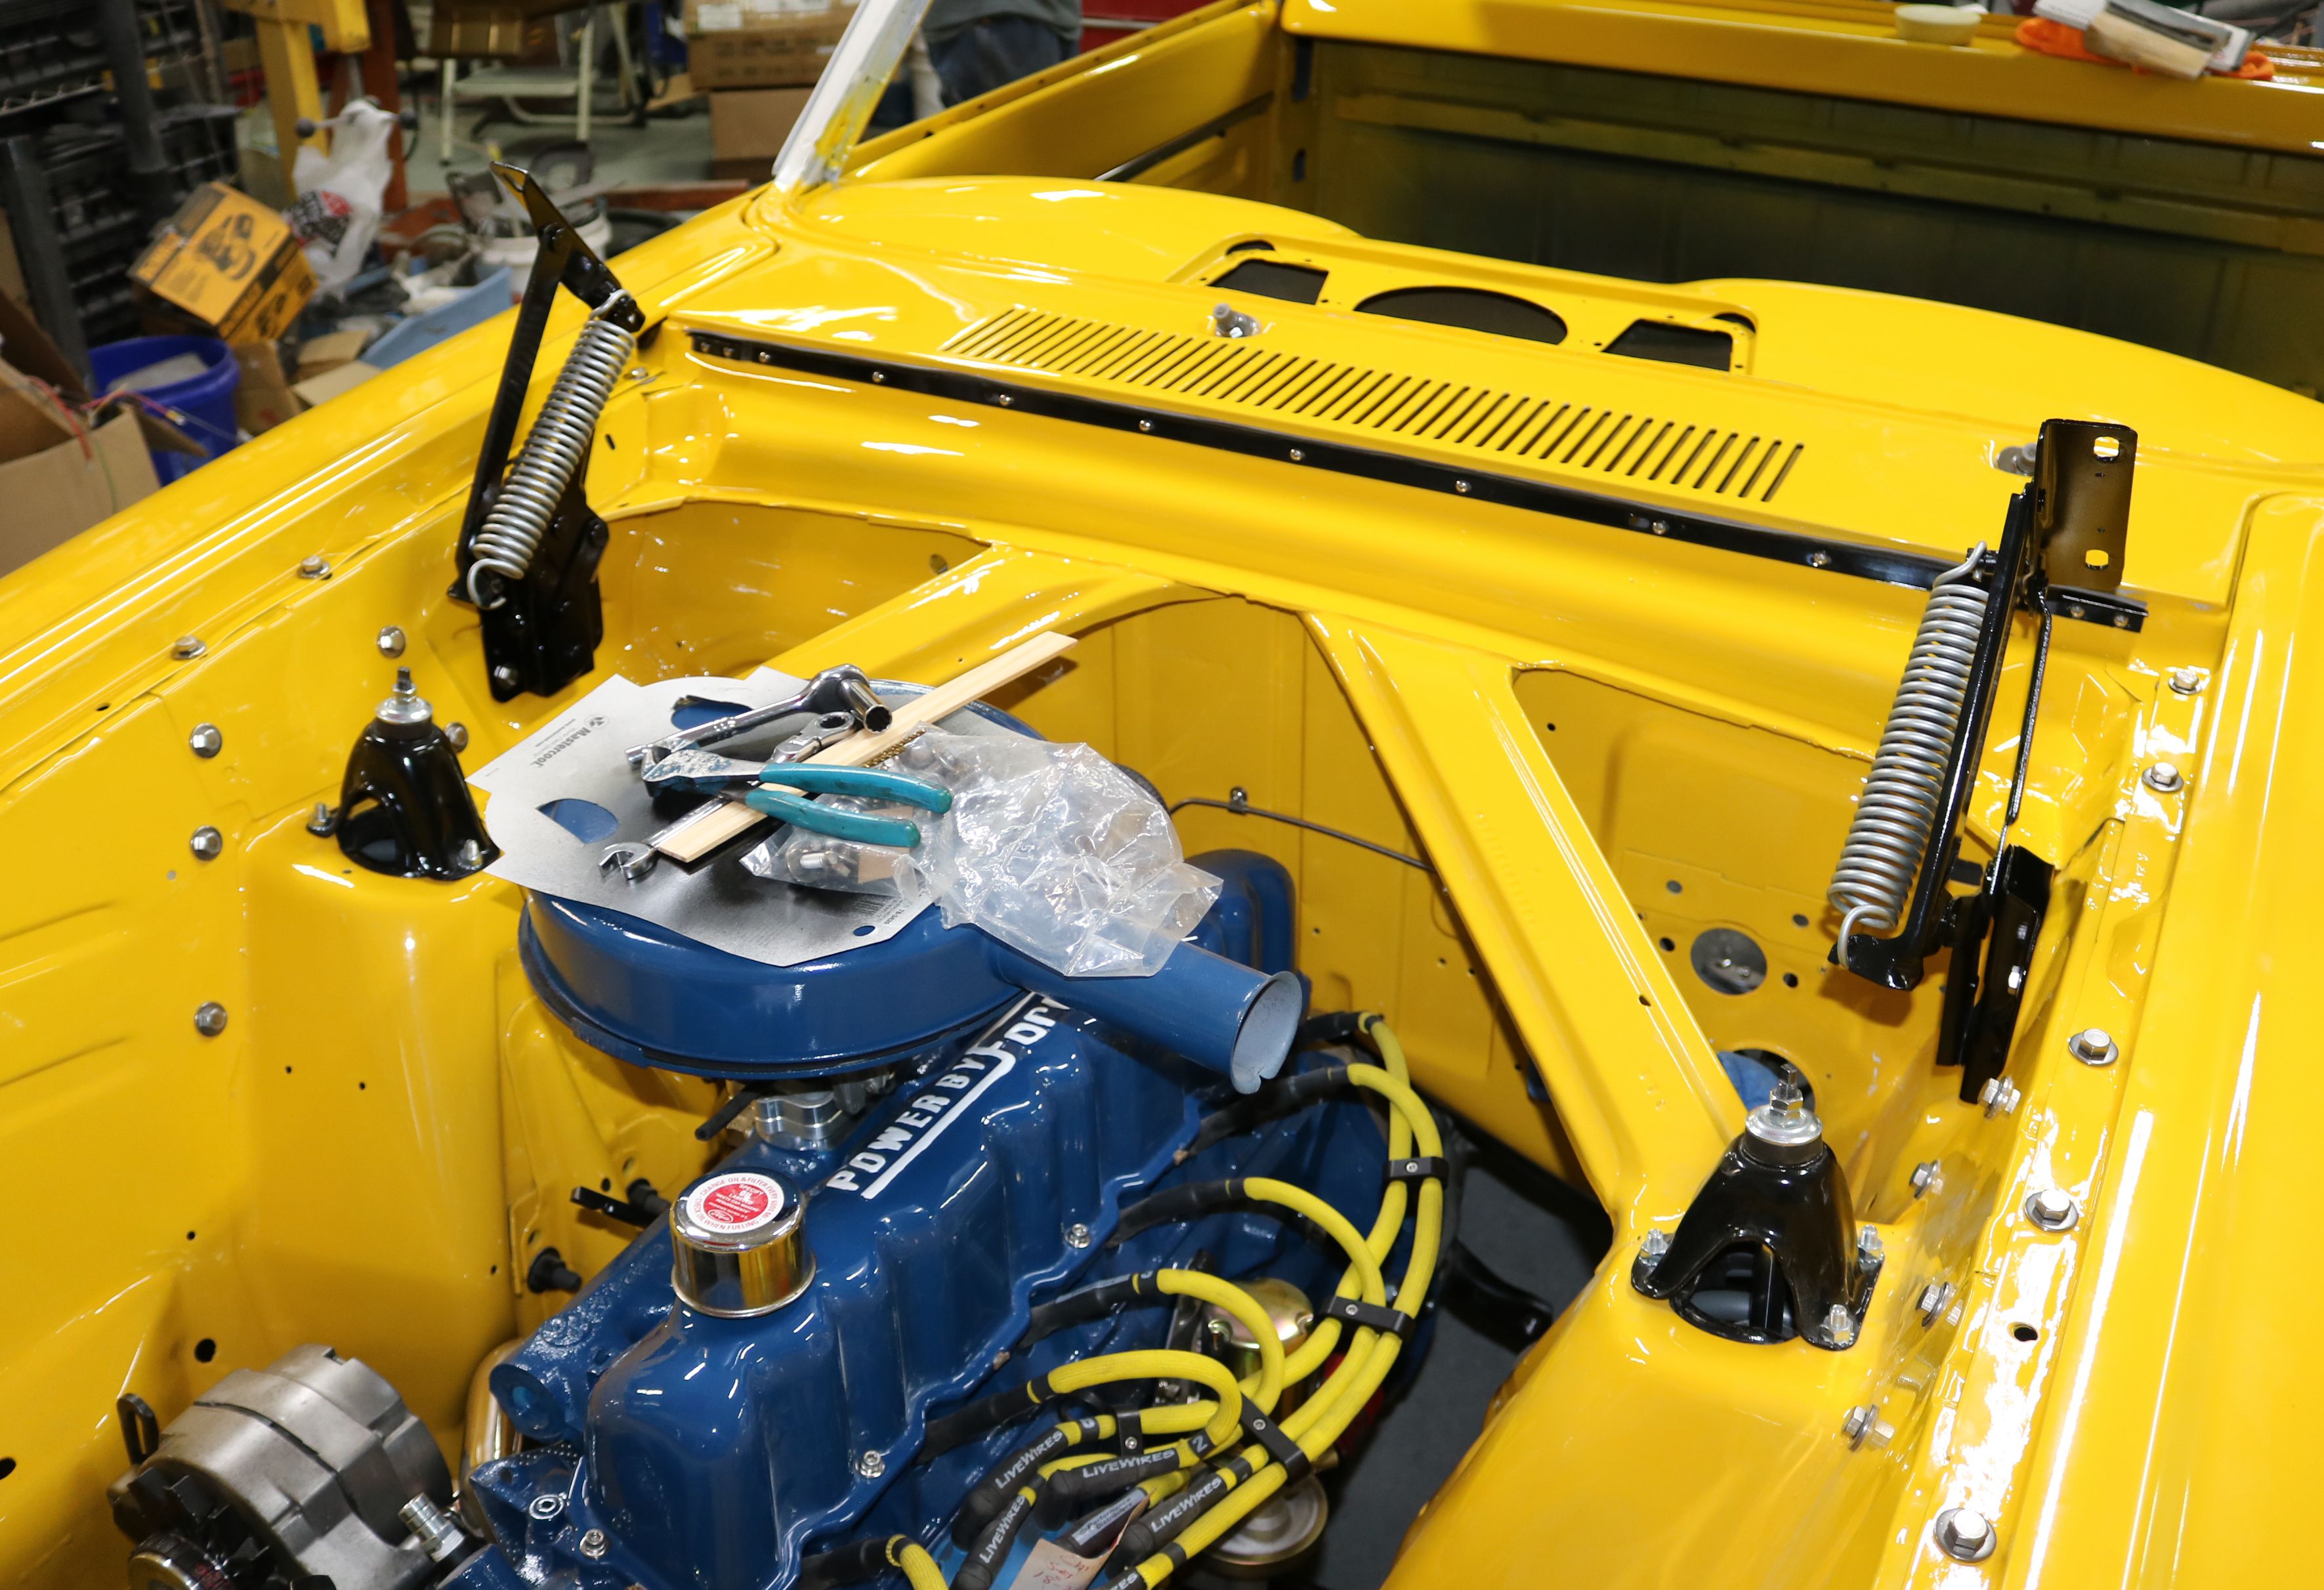
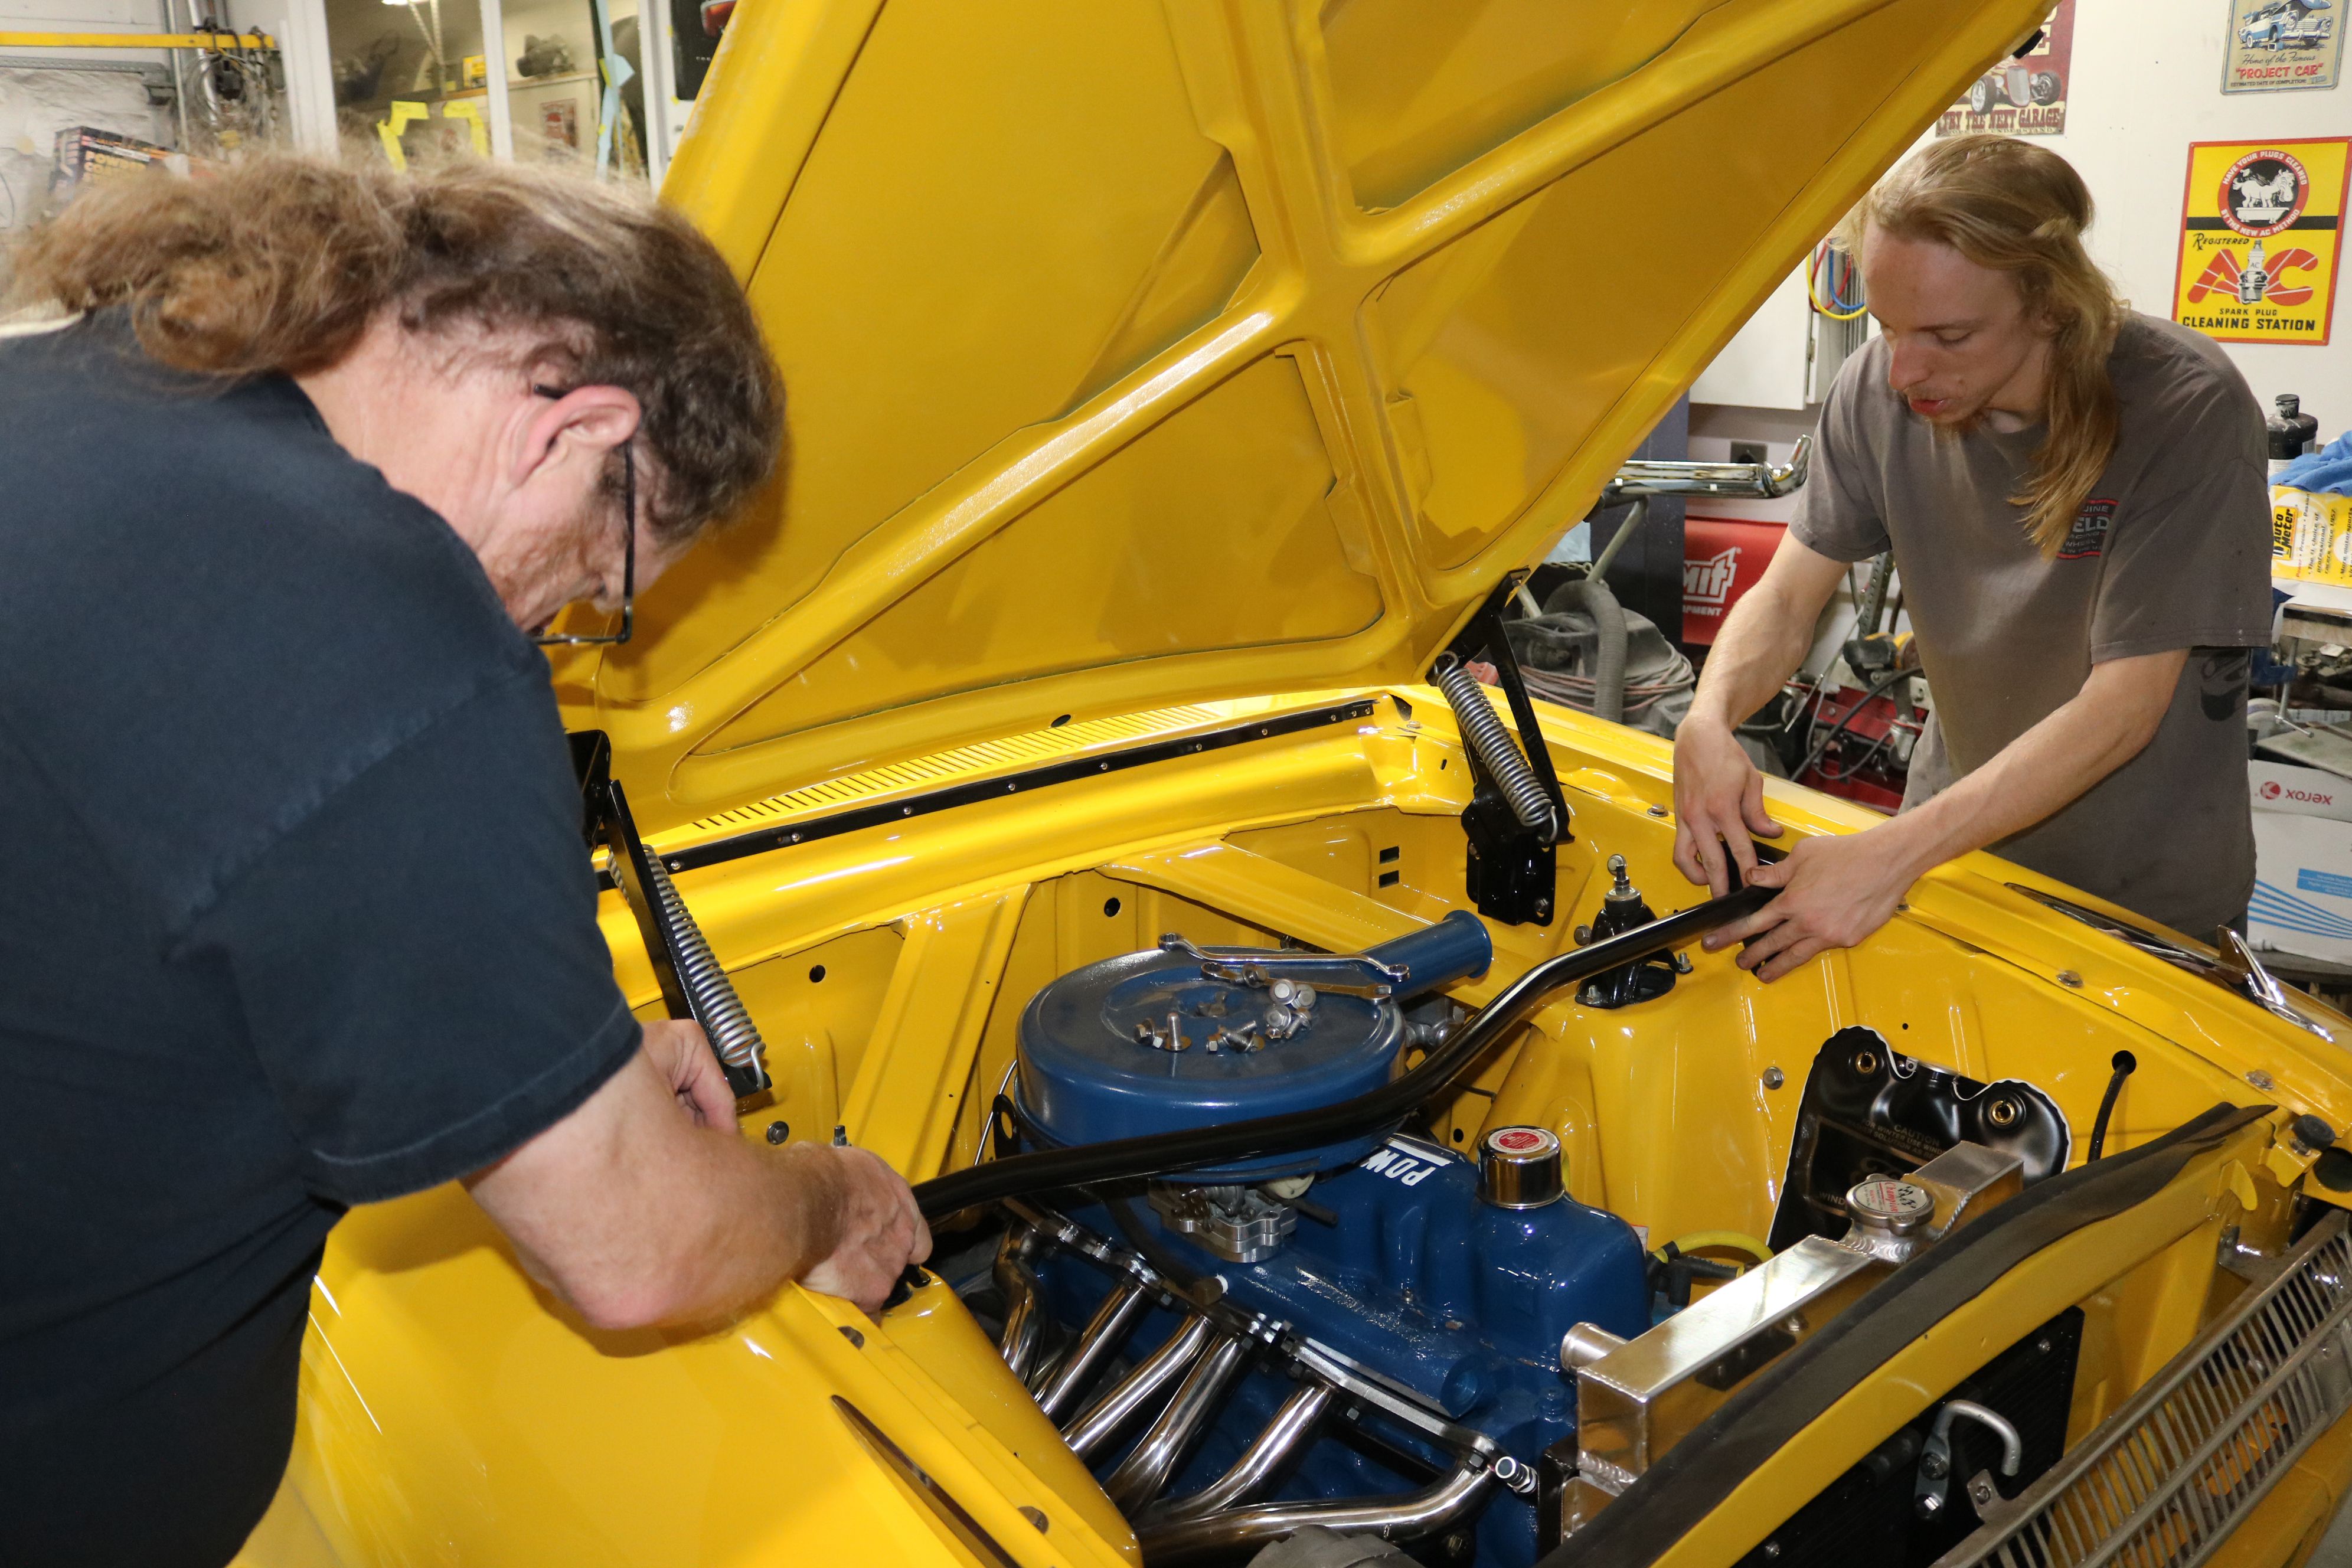
The modified electric wiper system was installed along with the hood hinges. There are some other engine bay components that we need to do before the hood goes on.
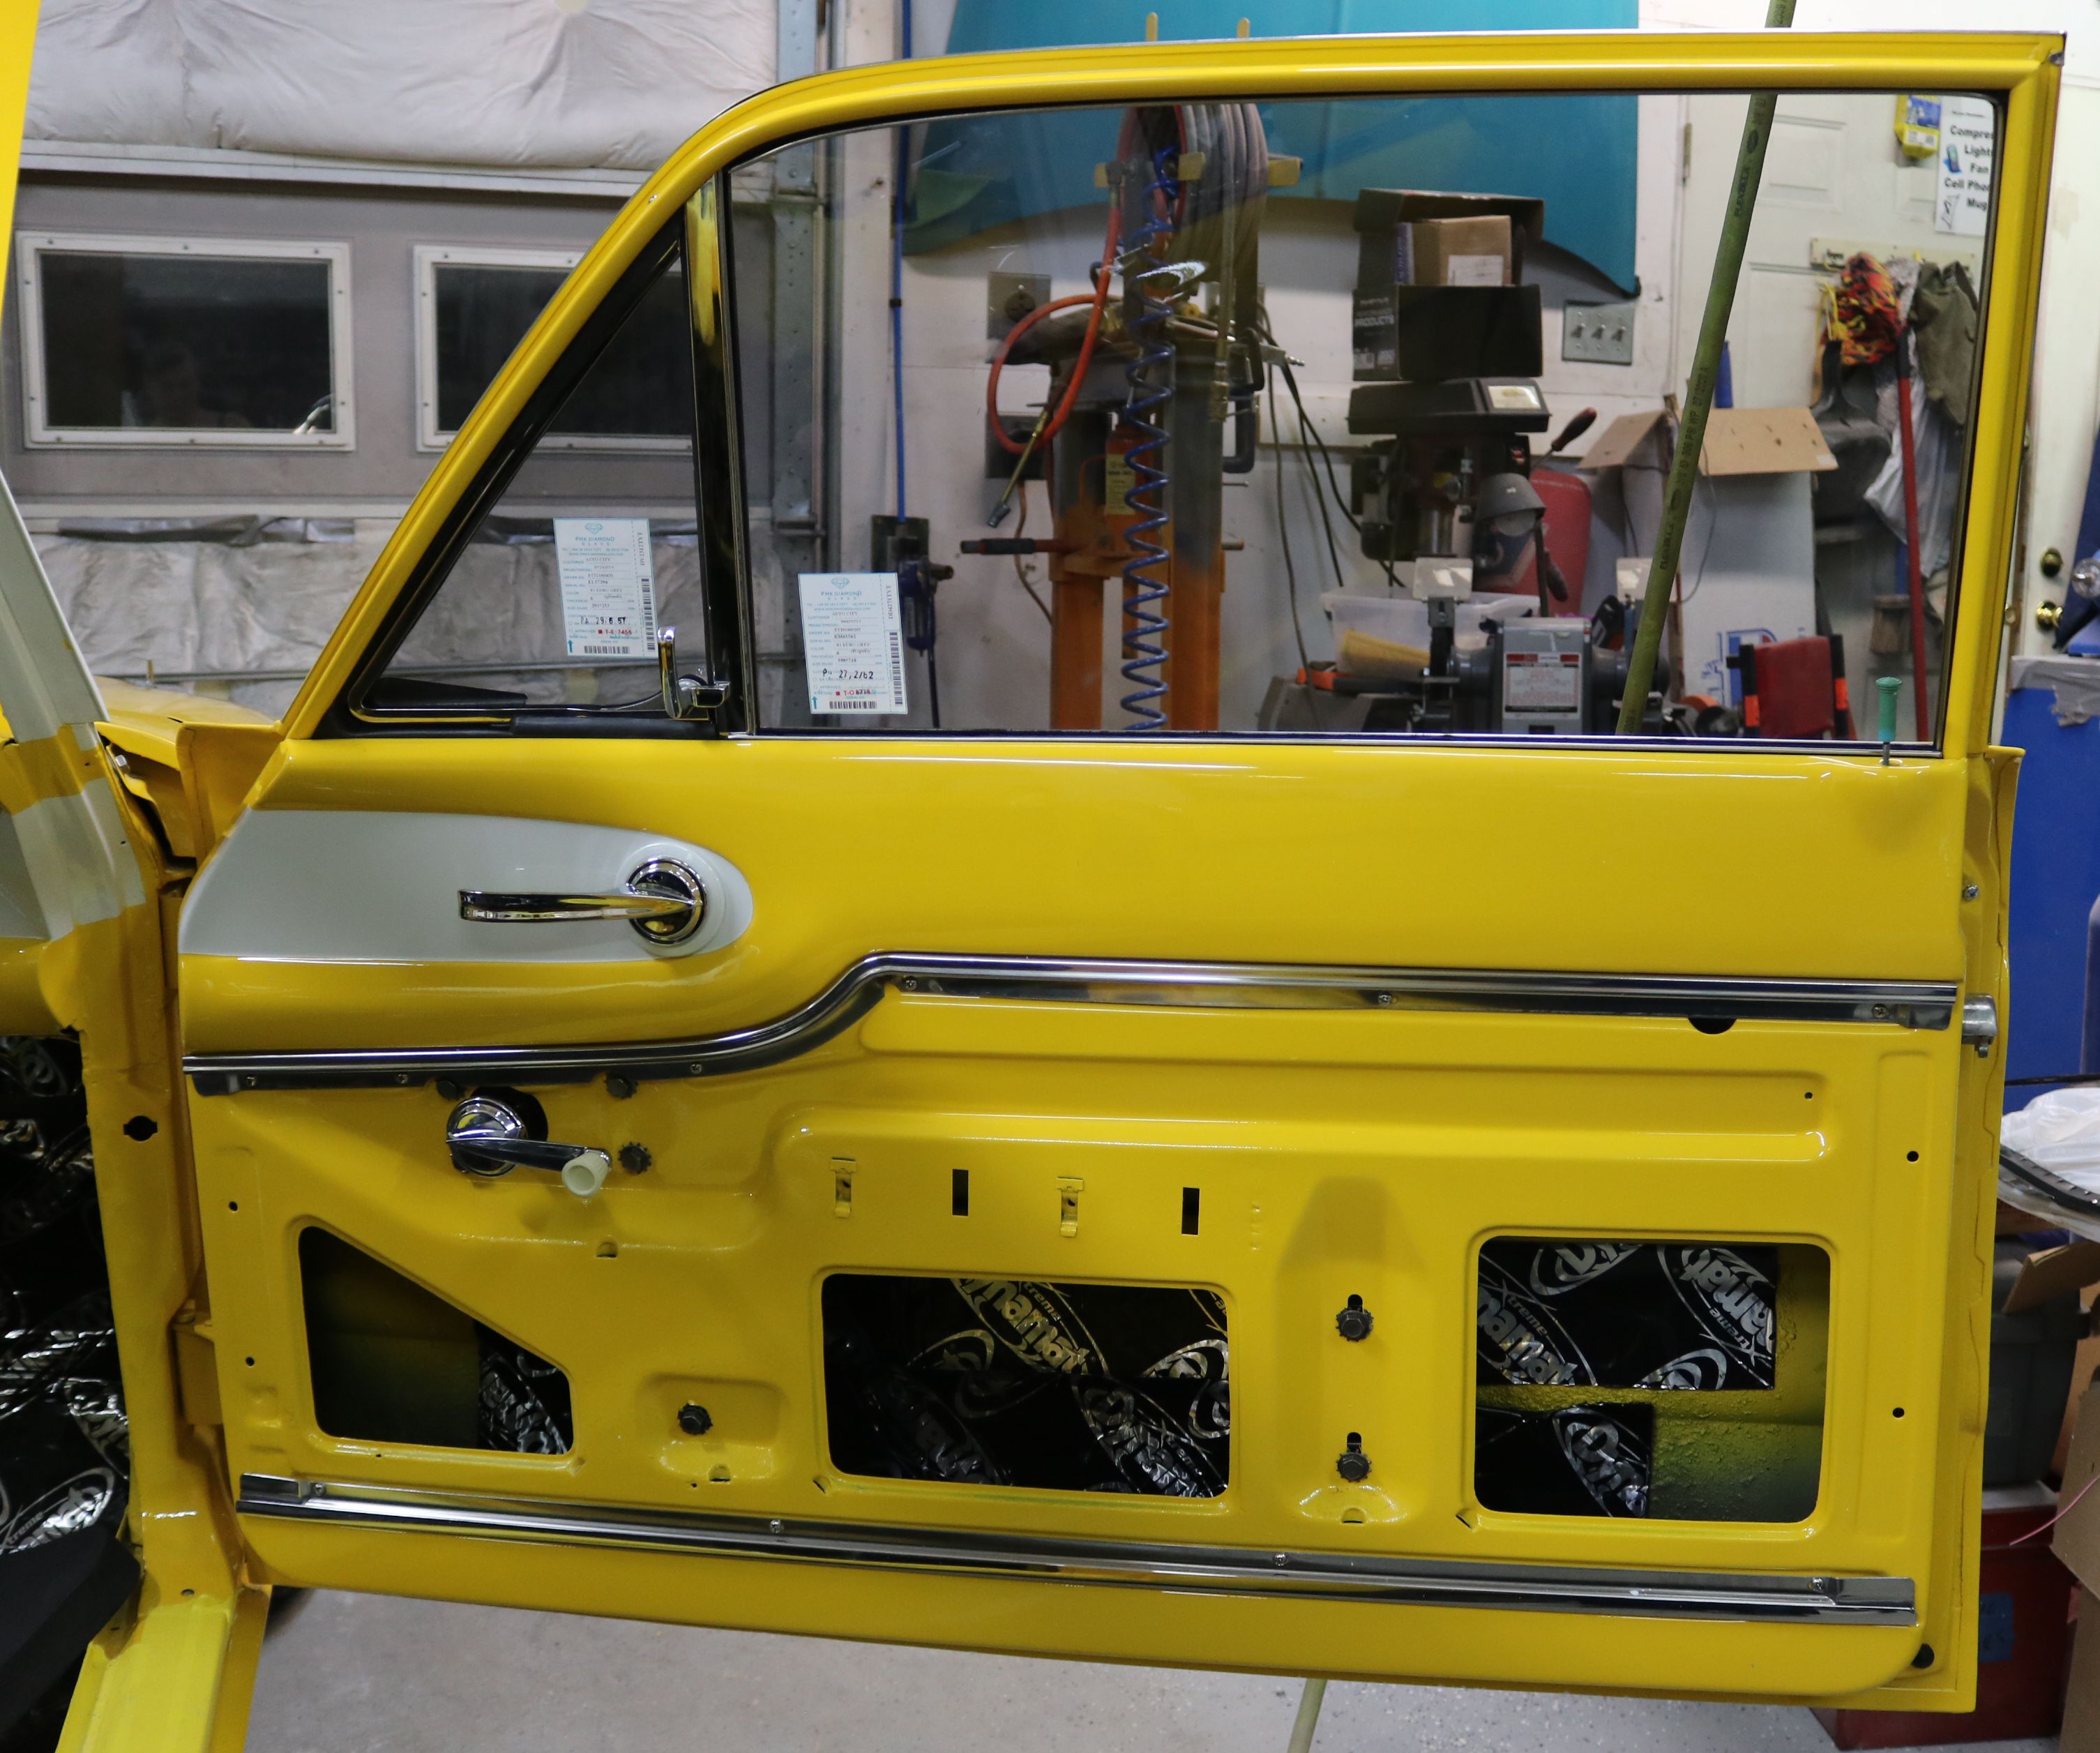
The passenger door with the glass installed. The tinting shows clearly here. And we were right, the weight of the glass caused minor sagging at the hinge, so we had to realign the doors again. Fortunately, it was just minor tweaking.

The valance was bolted in place, followed by the hood to help align the fenders. The AC condenser had to be installed before the valance because the clearance is too tight otherwise.

The hood buffed out quickly. Look at that shine.

Now that the hood is buffed out the headlight buckets were mated with their gaskets and installed in the core support.

While the guys worked on panel fitment, I got the glorious task of installing the Dynamat. This is an aluminium backed, rubberized sound and heat barrier. Warning, the aluminium backing mimics razor blades when cut. I had to break the task over three evenings just to let the tiny cuts heal.

Father and son tackle the final stages of cutting and buffing the paint.
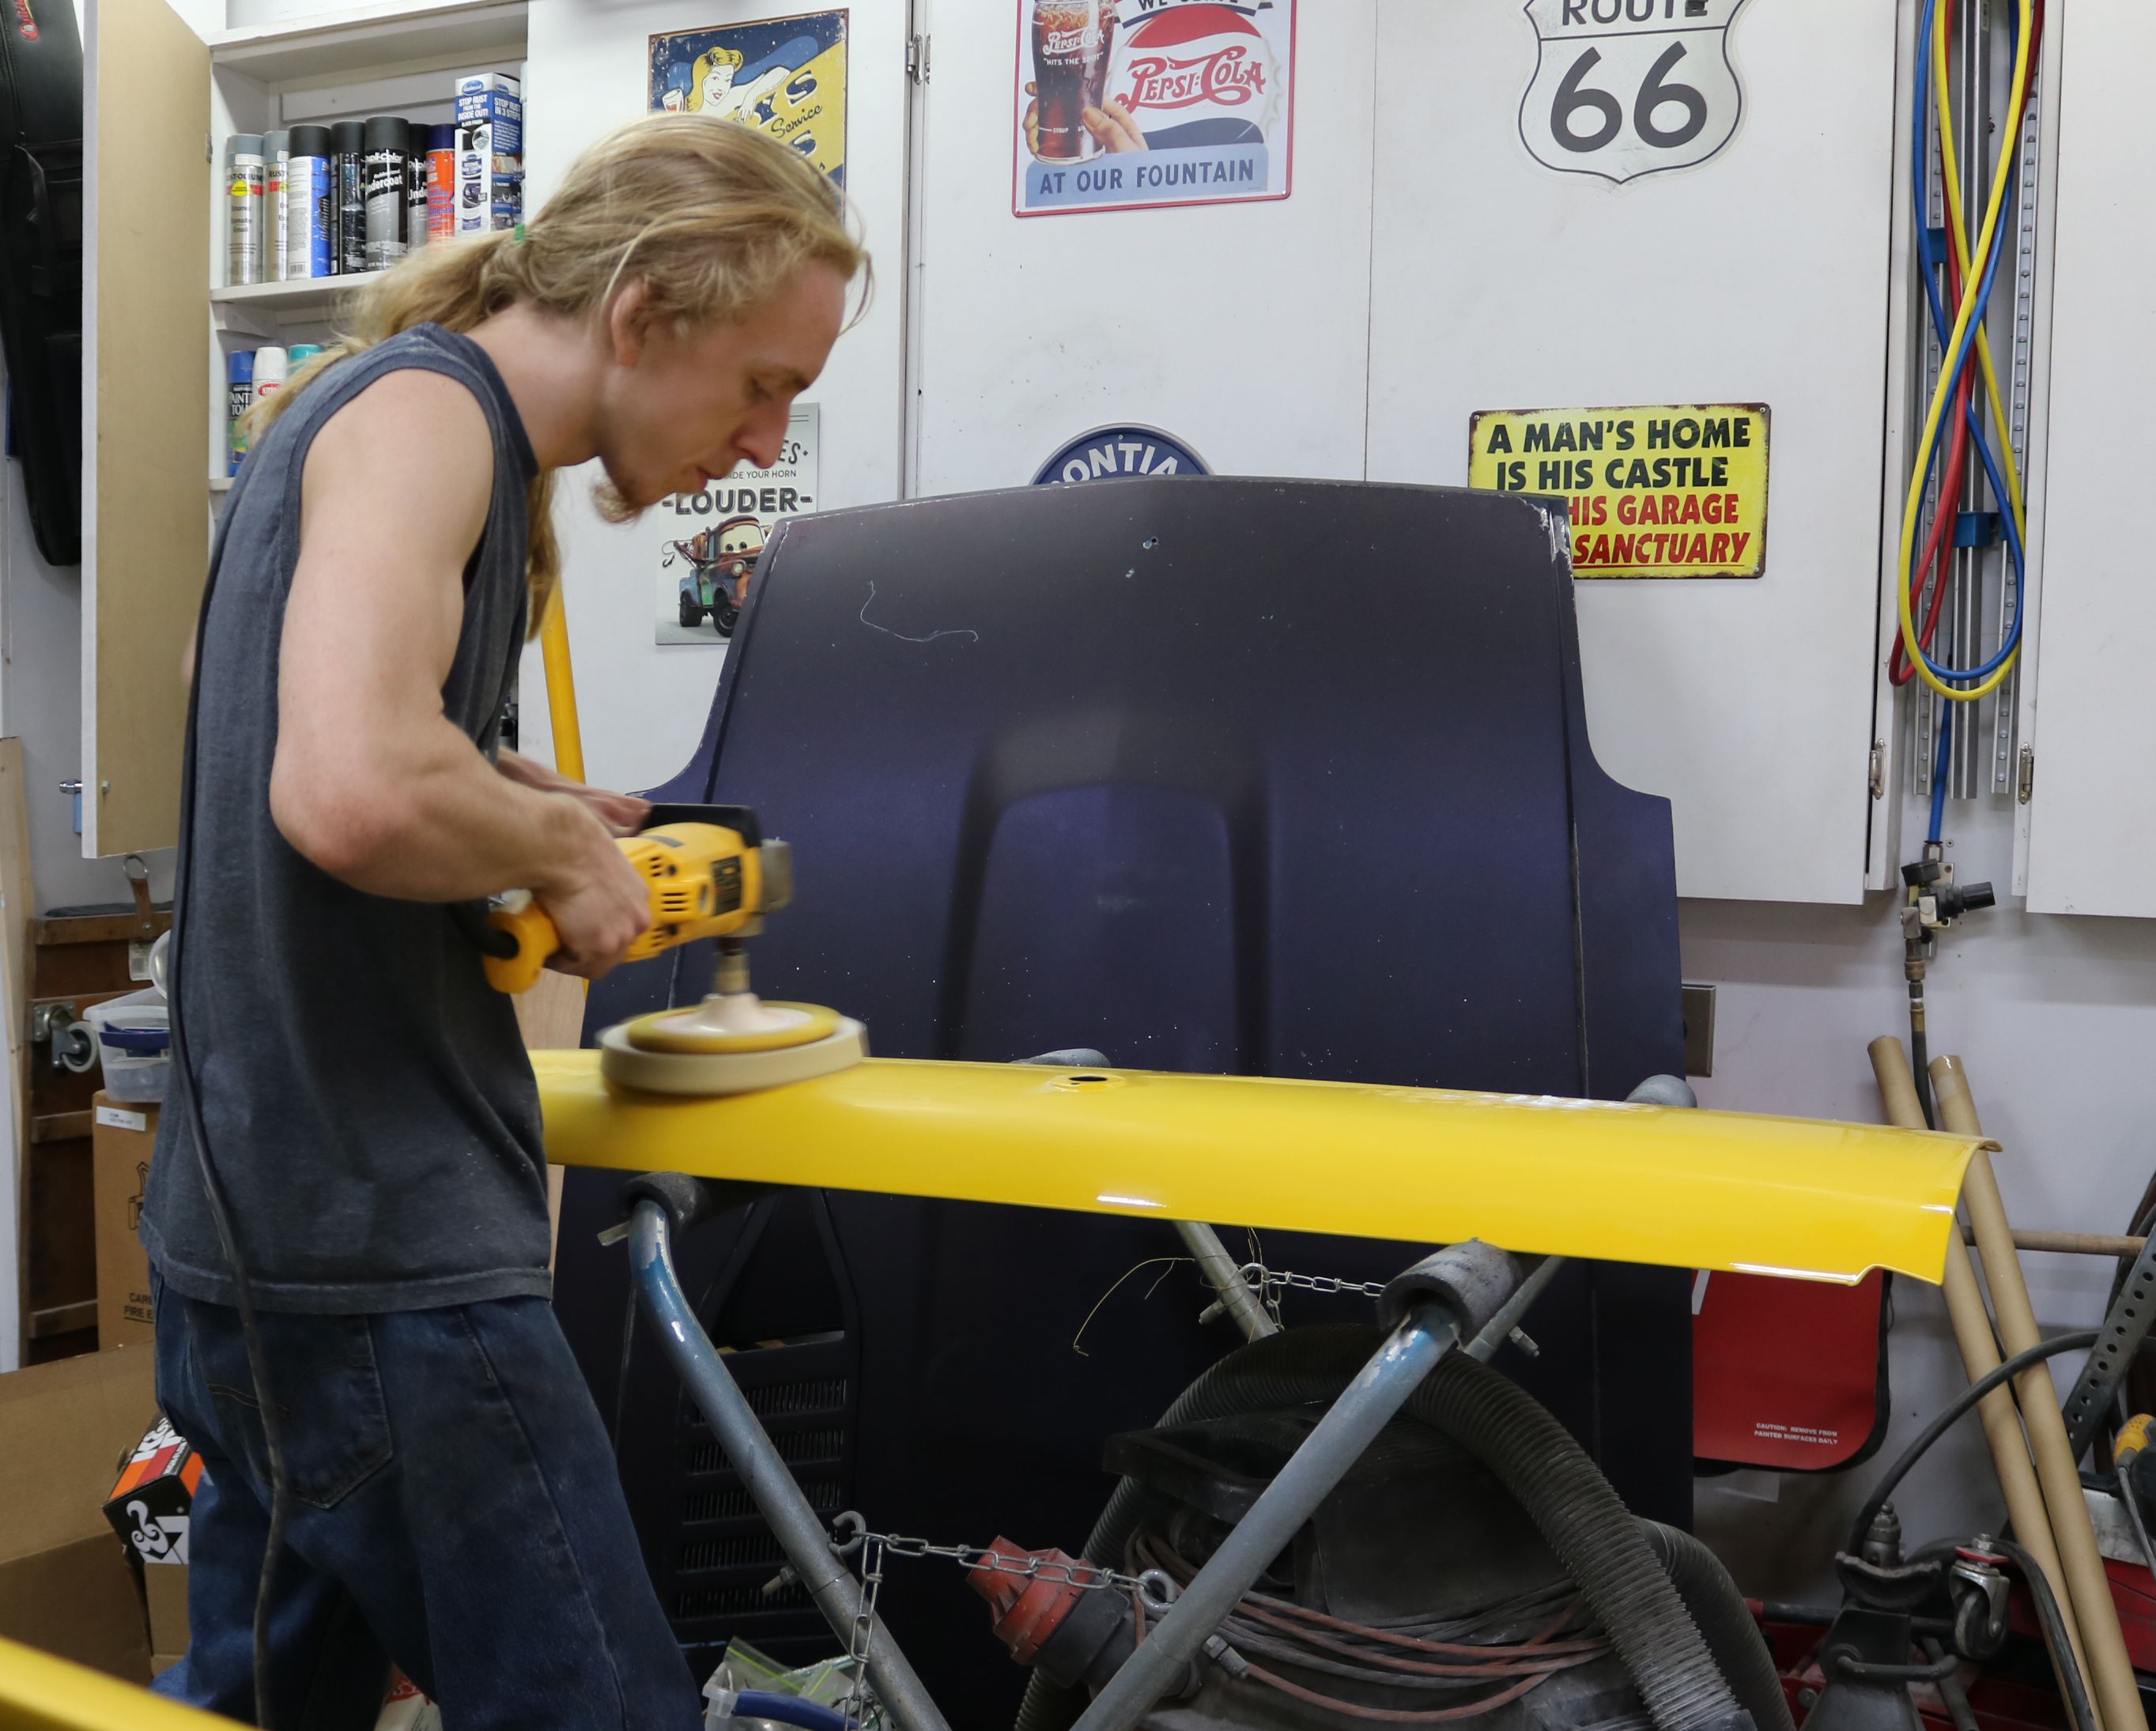
Our son tried out the larger buffer on the tailgate first.
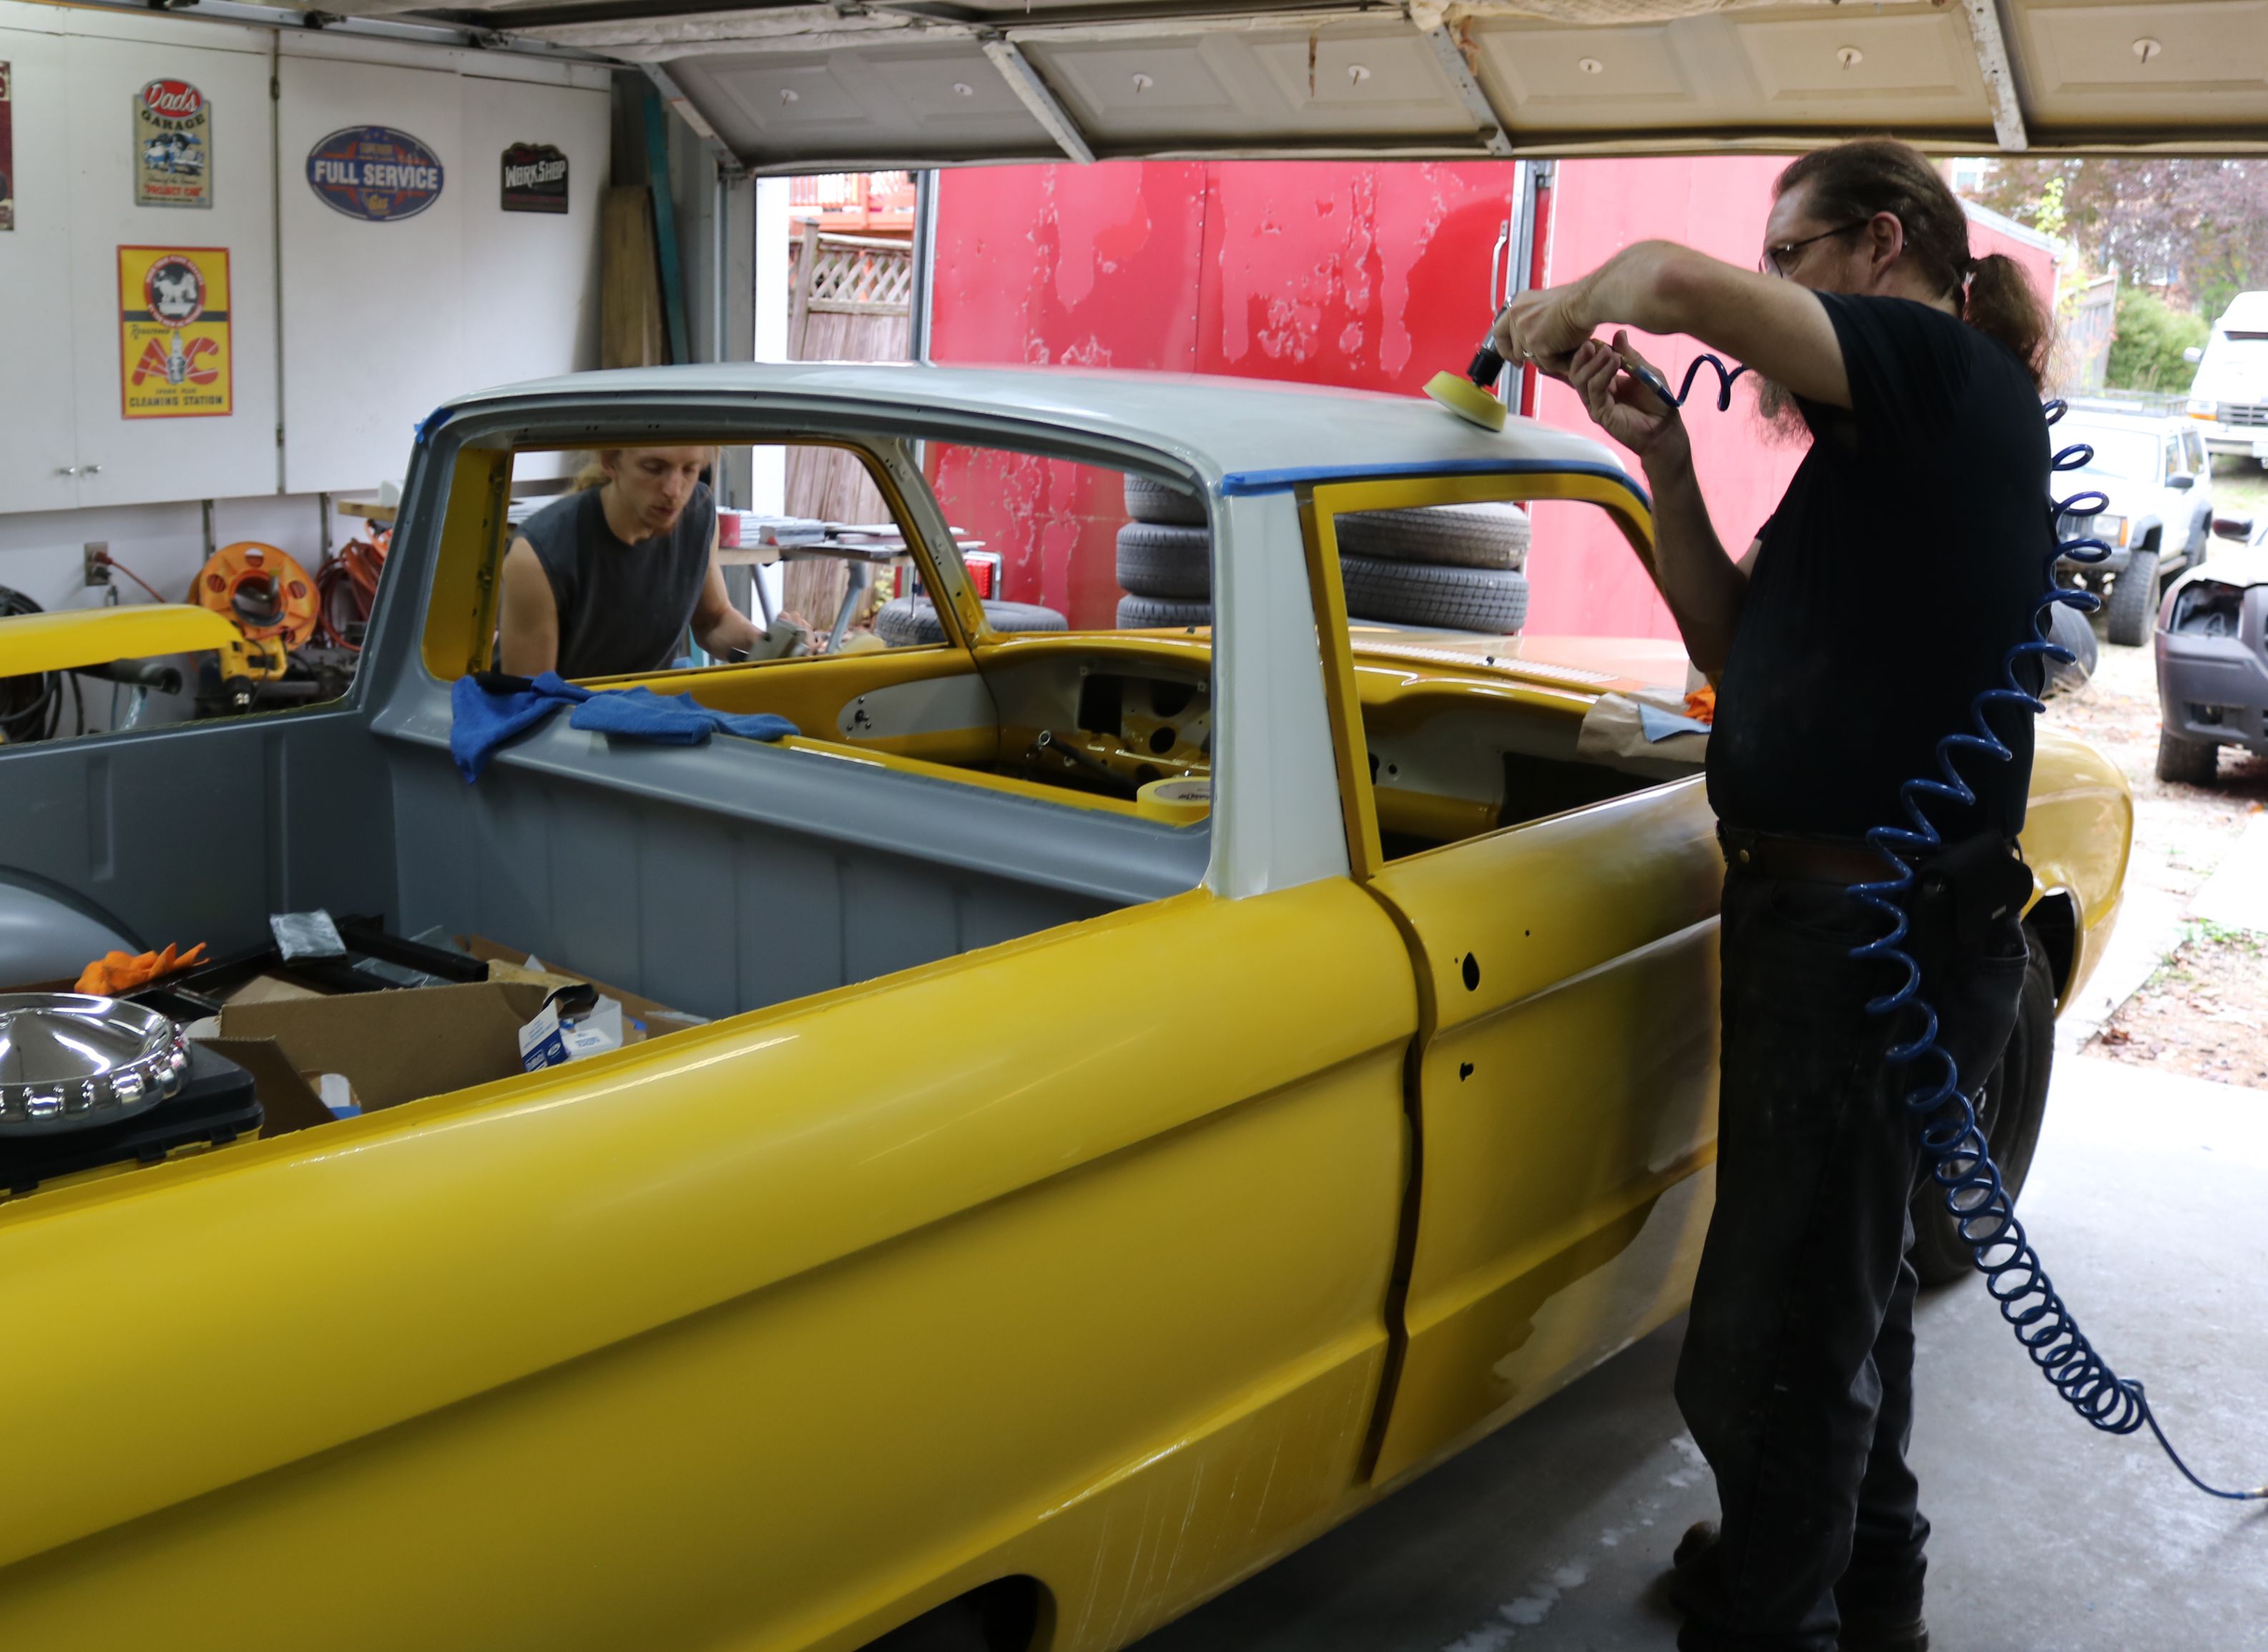
Then he did the body panels while Dad attacked the edges and harder to get areas with the small buffer.

I got the privilege of installing the jewelry onto this old girl. The new chrome compliments the yellow nicely.

The Ranchero script and the golden Falcon bird on the passenger front fender.
Then they installed the door stainless trim that has already been buffed to a high shine. It was a tight fit and sliced the paint away on the edge as they installed it. A few areas will need a bit of touch up.

The driver door stainless, door handle, and separate key lock.
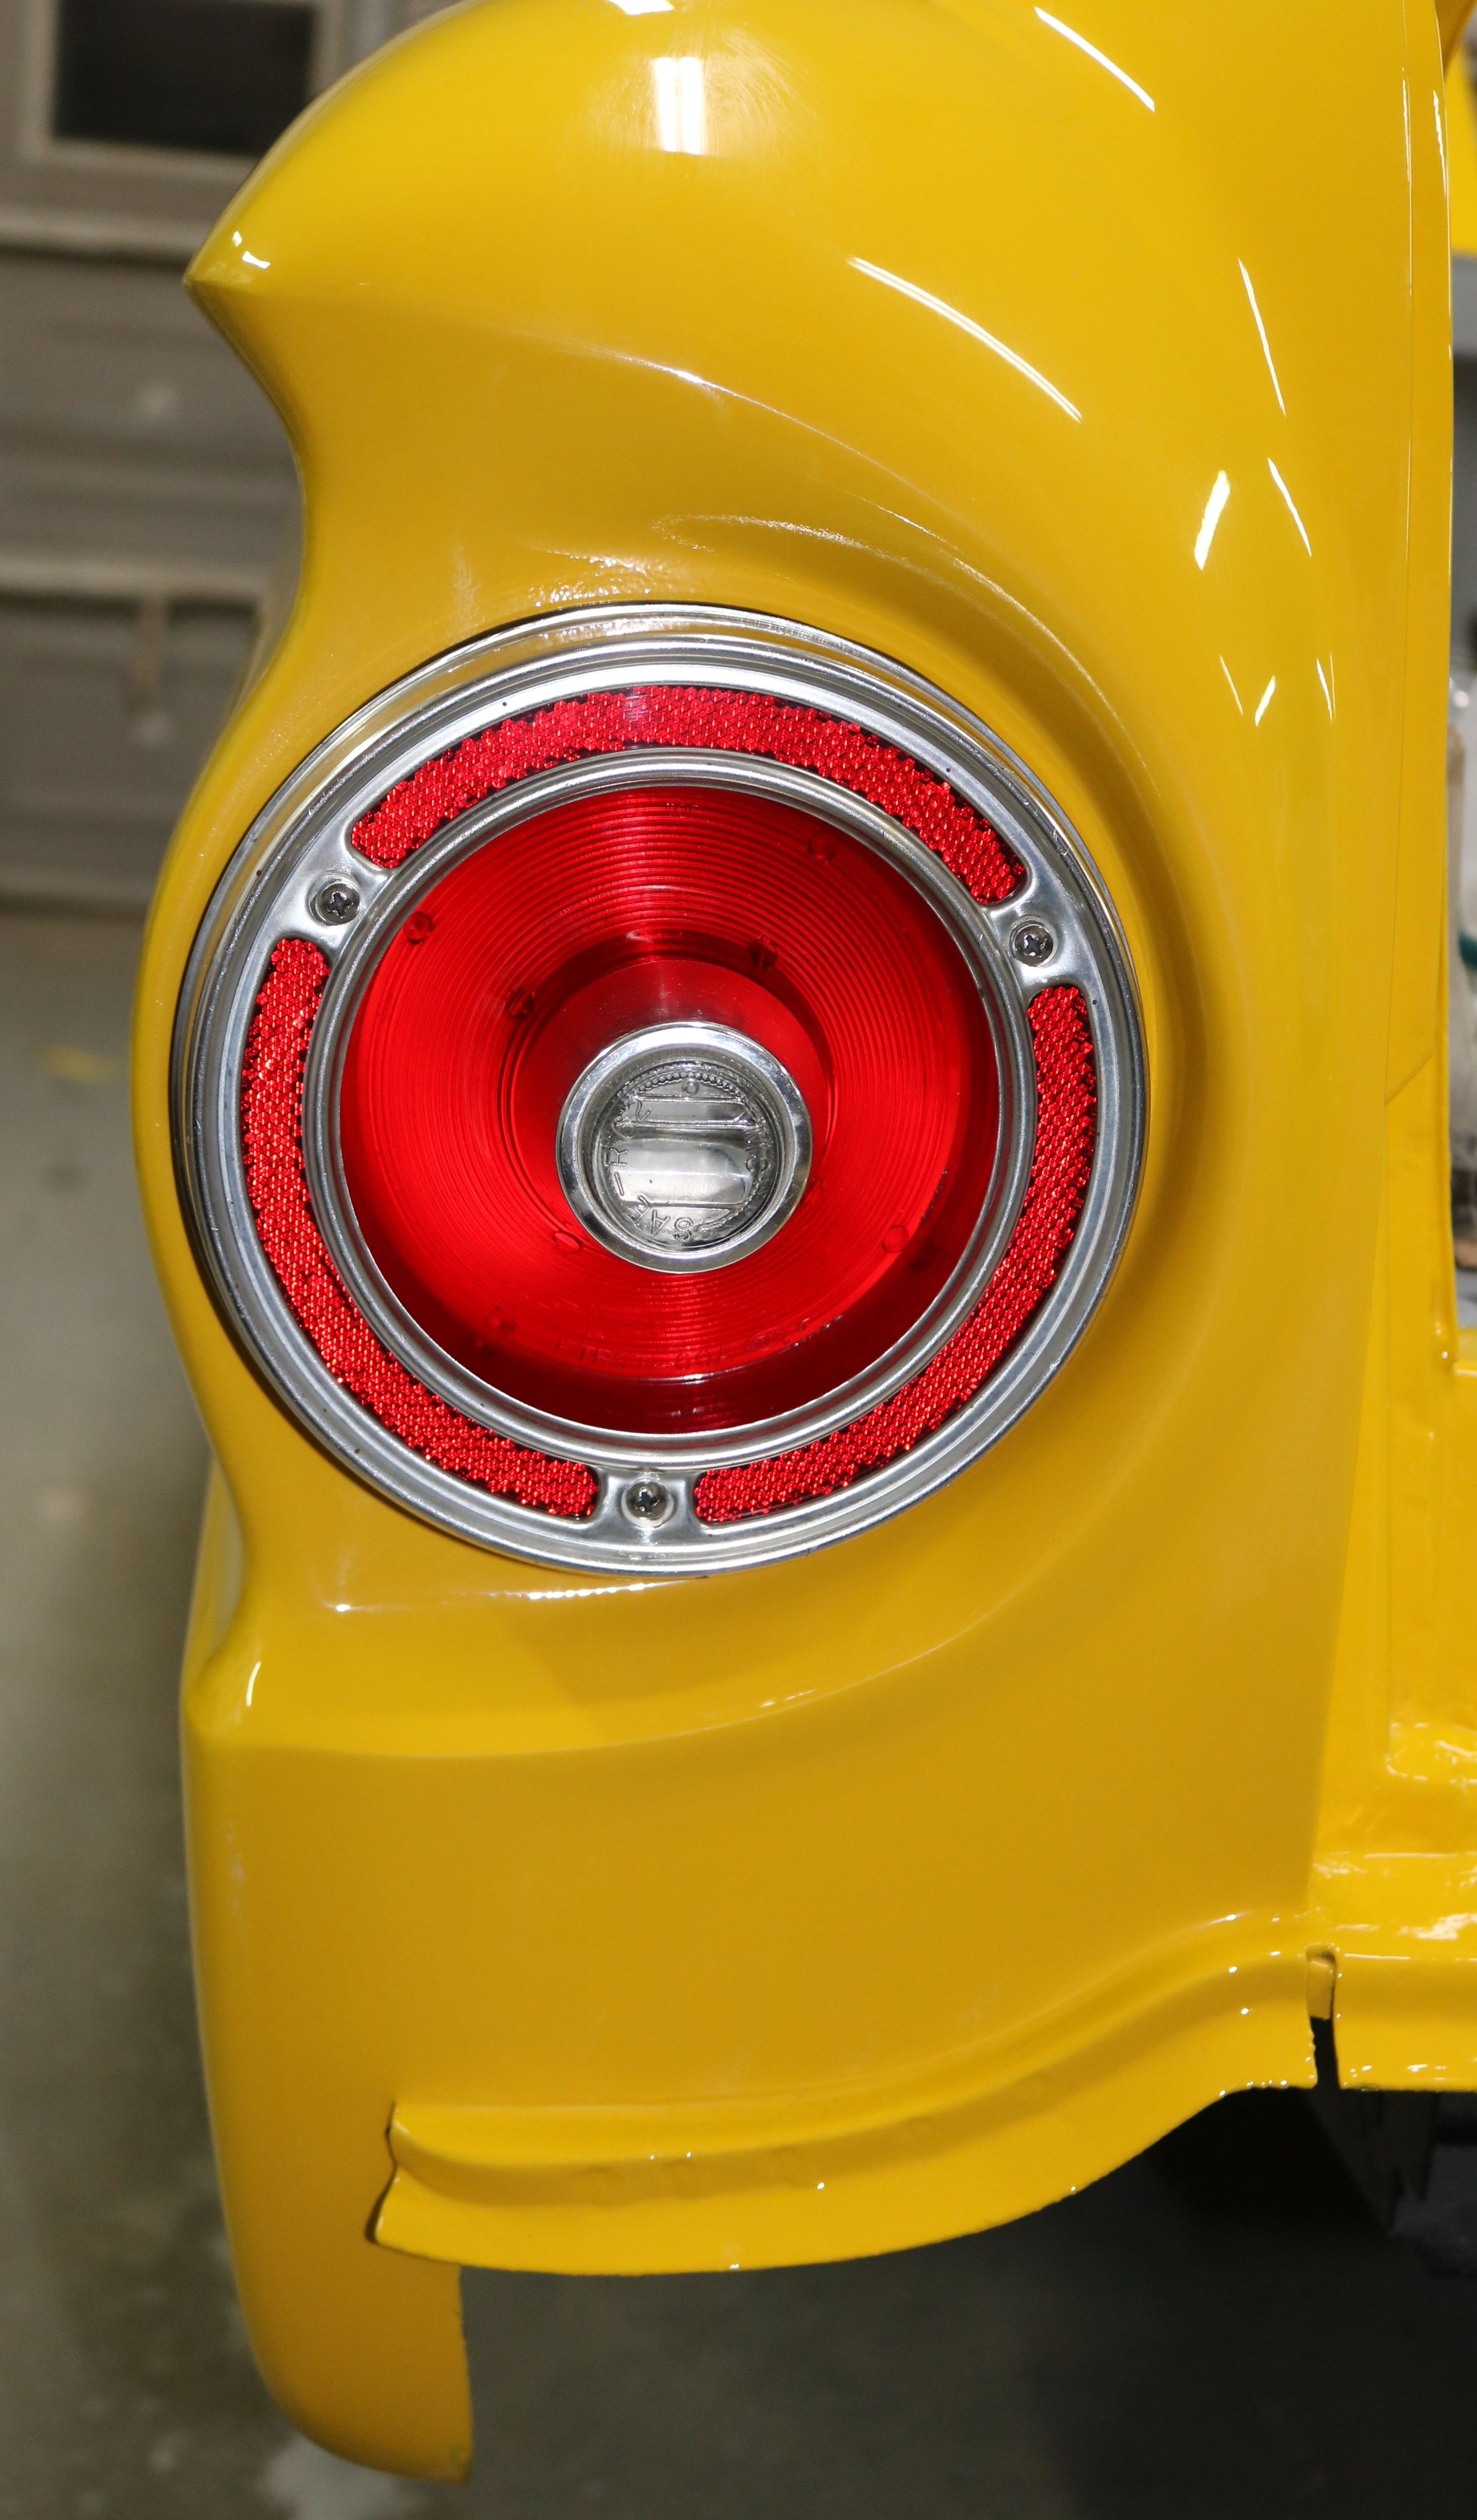
The driver taillight assembly is in place, just missing the new LED conversion kit that is still on order.

And the passenger side taillight assembly. The annodized aluminium cleaned up nicely.

And the passenger side door. The off green door lock knob is temporary, just to prevent us from snagging on the latch wire.

The tailgate was assembled using stainless screws. It turned out very smooth.

The bumper brackets had been cleaned up awhile ago, coated with POR15, and stored until now. Keep in mind that the first show is rapidly approaching and it only 3 days away at this point.

The stainless and chrome for the bed surround was screwed into place. A local chroming shop handled repairing and plating the small corners at the B pillars. The top of the bed was rechromed originals. The corners at the back of the bed, the bed sides, and tailgate bar are polished original stainless.

Part of the reason the Dynamat was broken over three evenings was this small rubber plugs. We had to locate some that would plug the original holes for the bench seat. Once the plugs were in place on both sides, they could be covered with the Dynamat for further protection.
The custom Monte Carlo bar was bolted in place.

Ready to install the bumpers. This odd looking washer is a wave washer. It came with no instructions. The shop manual has no instructions. And none of the websites we found said anything about the orientation of this washer in relation to the bumper. We finally settled on the cup up towards the head of the bumper bolt. That worked well for this application and the bumpers tightened up against the bolts nicely. It's job is to keep the bolts tight without vibrating loose over time.

Time to install the front bumper.

She's starting to smile.
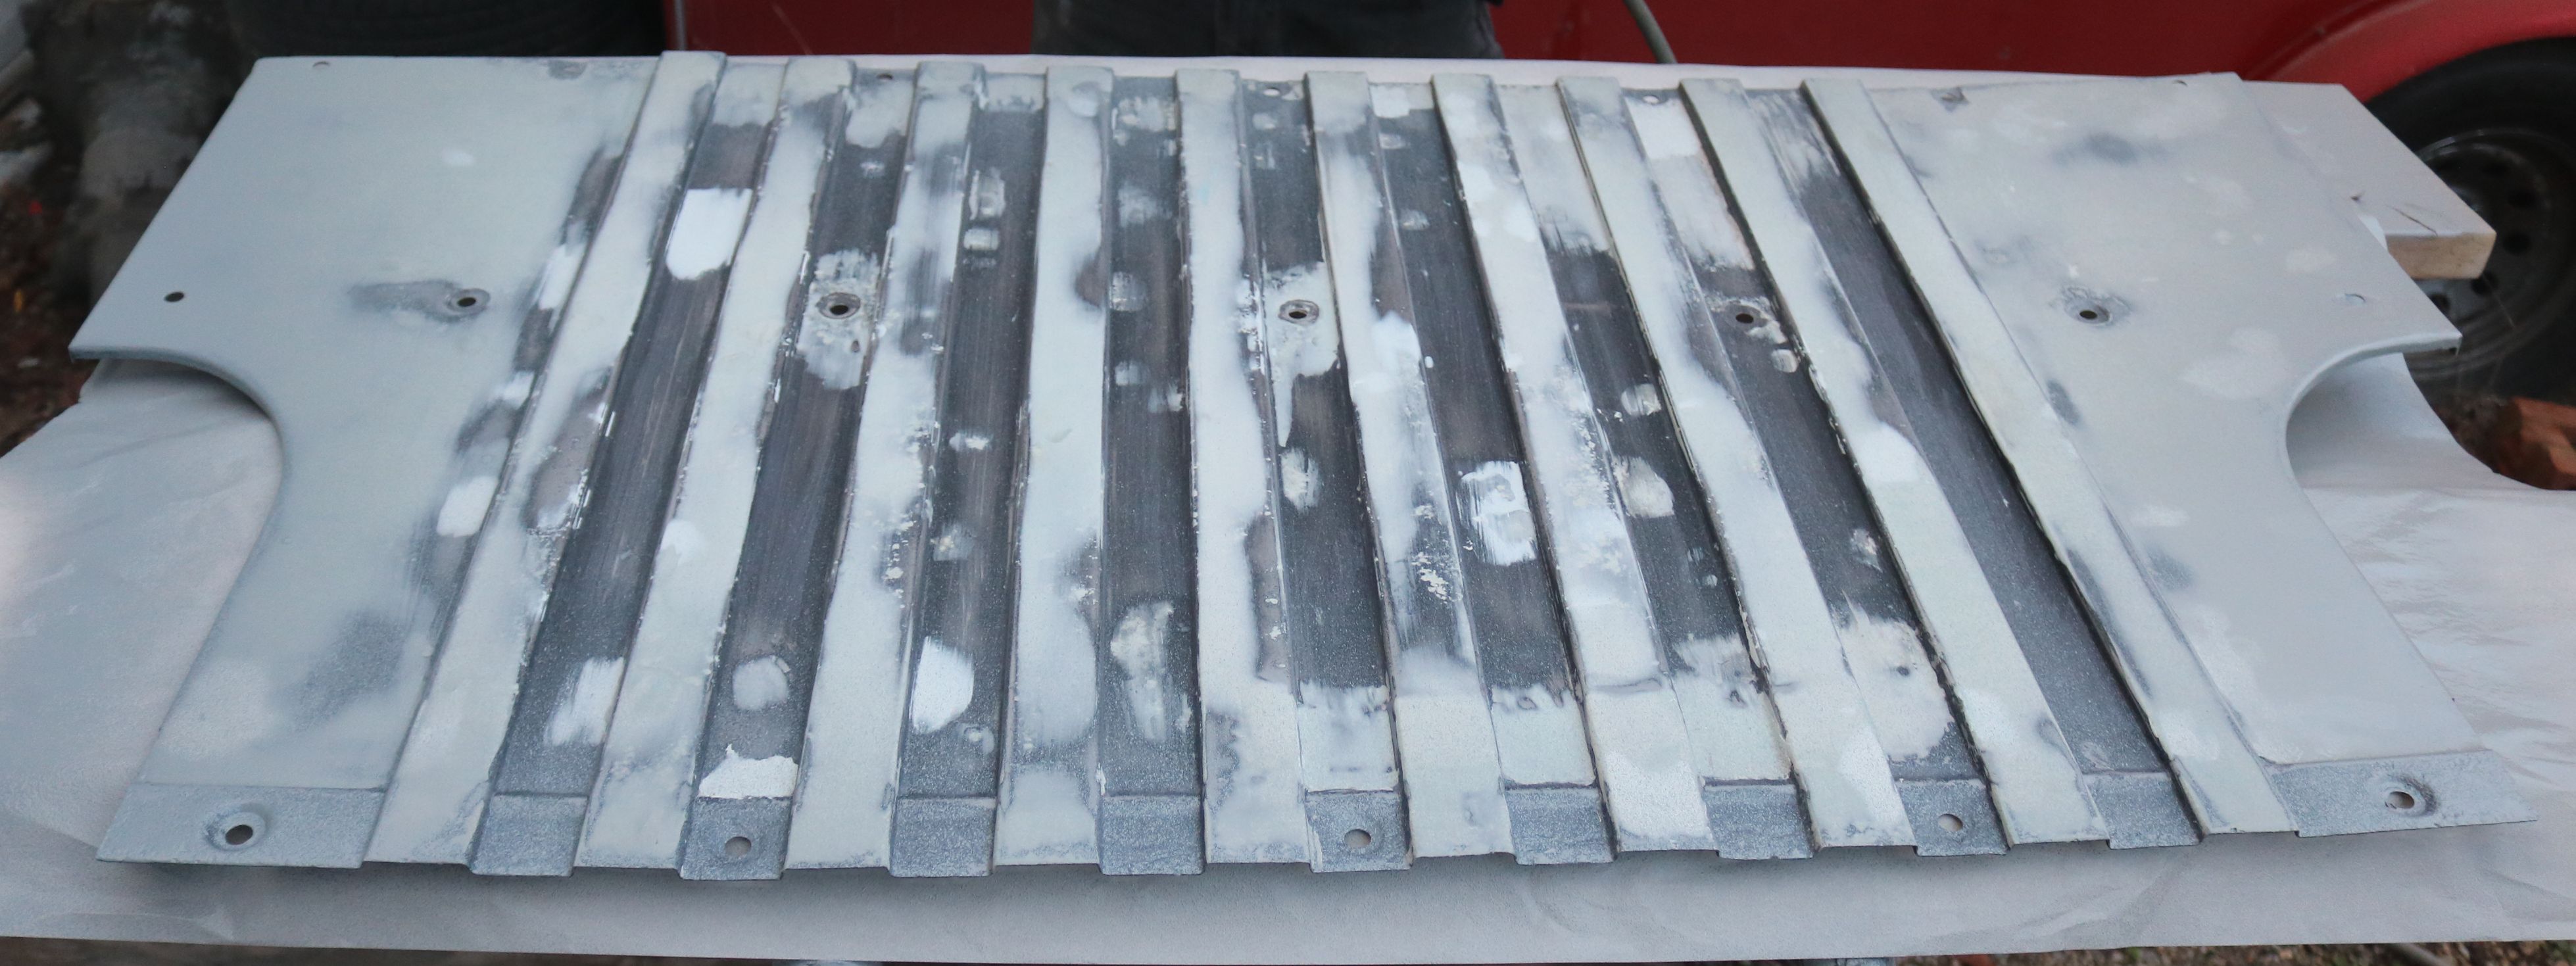
I know you're thinking this picture is out of place, but in time sequence, this is correct. It is Oct 30, the day before the show, and the drop in panel for the bed is still not done. We had to spray sealer anyway. We setup outside, since this piece needs further work. The outside temp is 48 degrees farenheit for this. It is not advisable to spray in that low of a temperature.

Once the spraying was done, we gave it a few minutes to flash, since the sealer only needed one coat, then brought it inside the heated garage to finish curing.
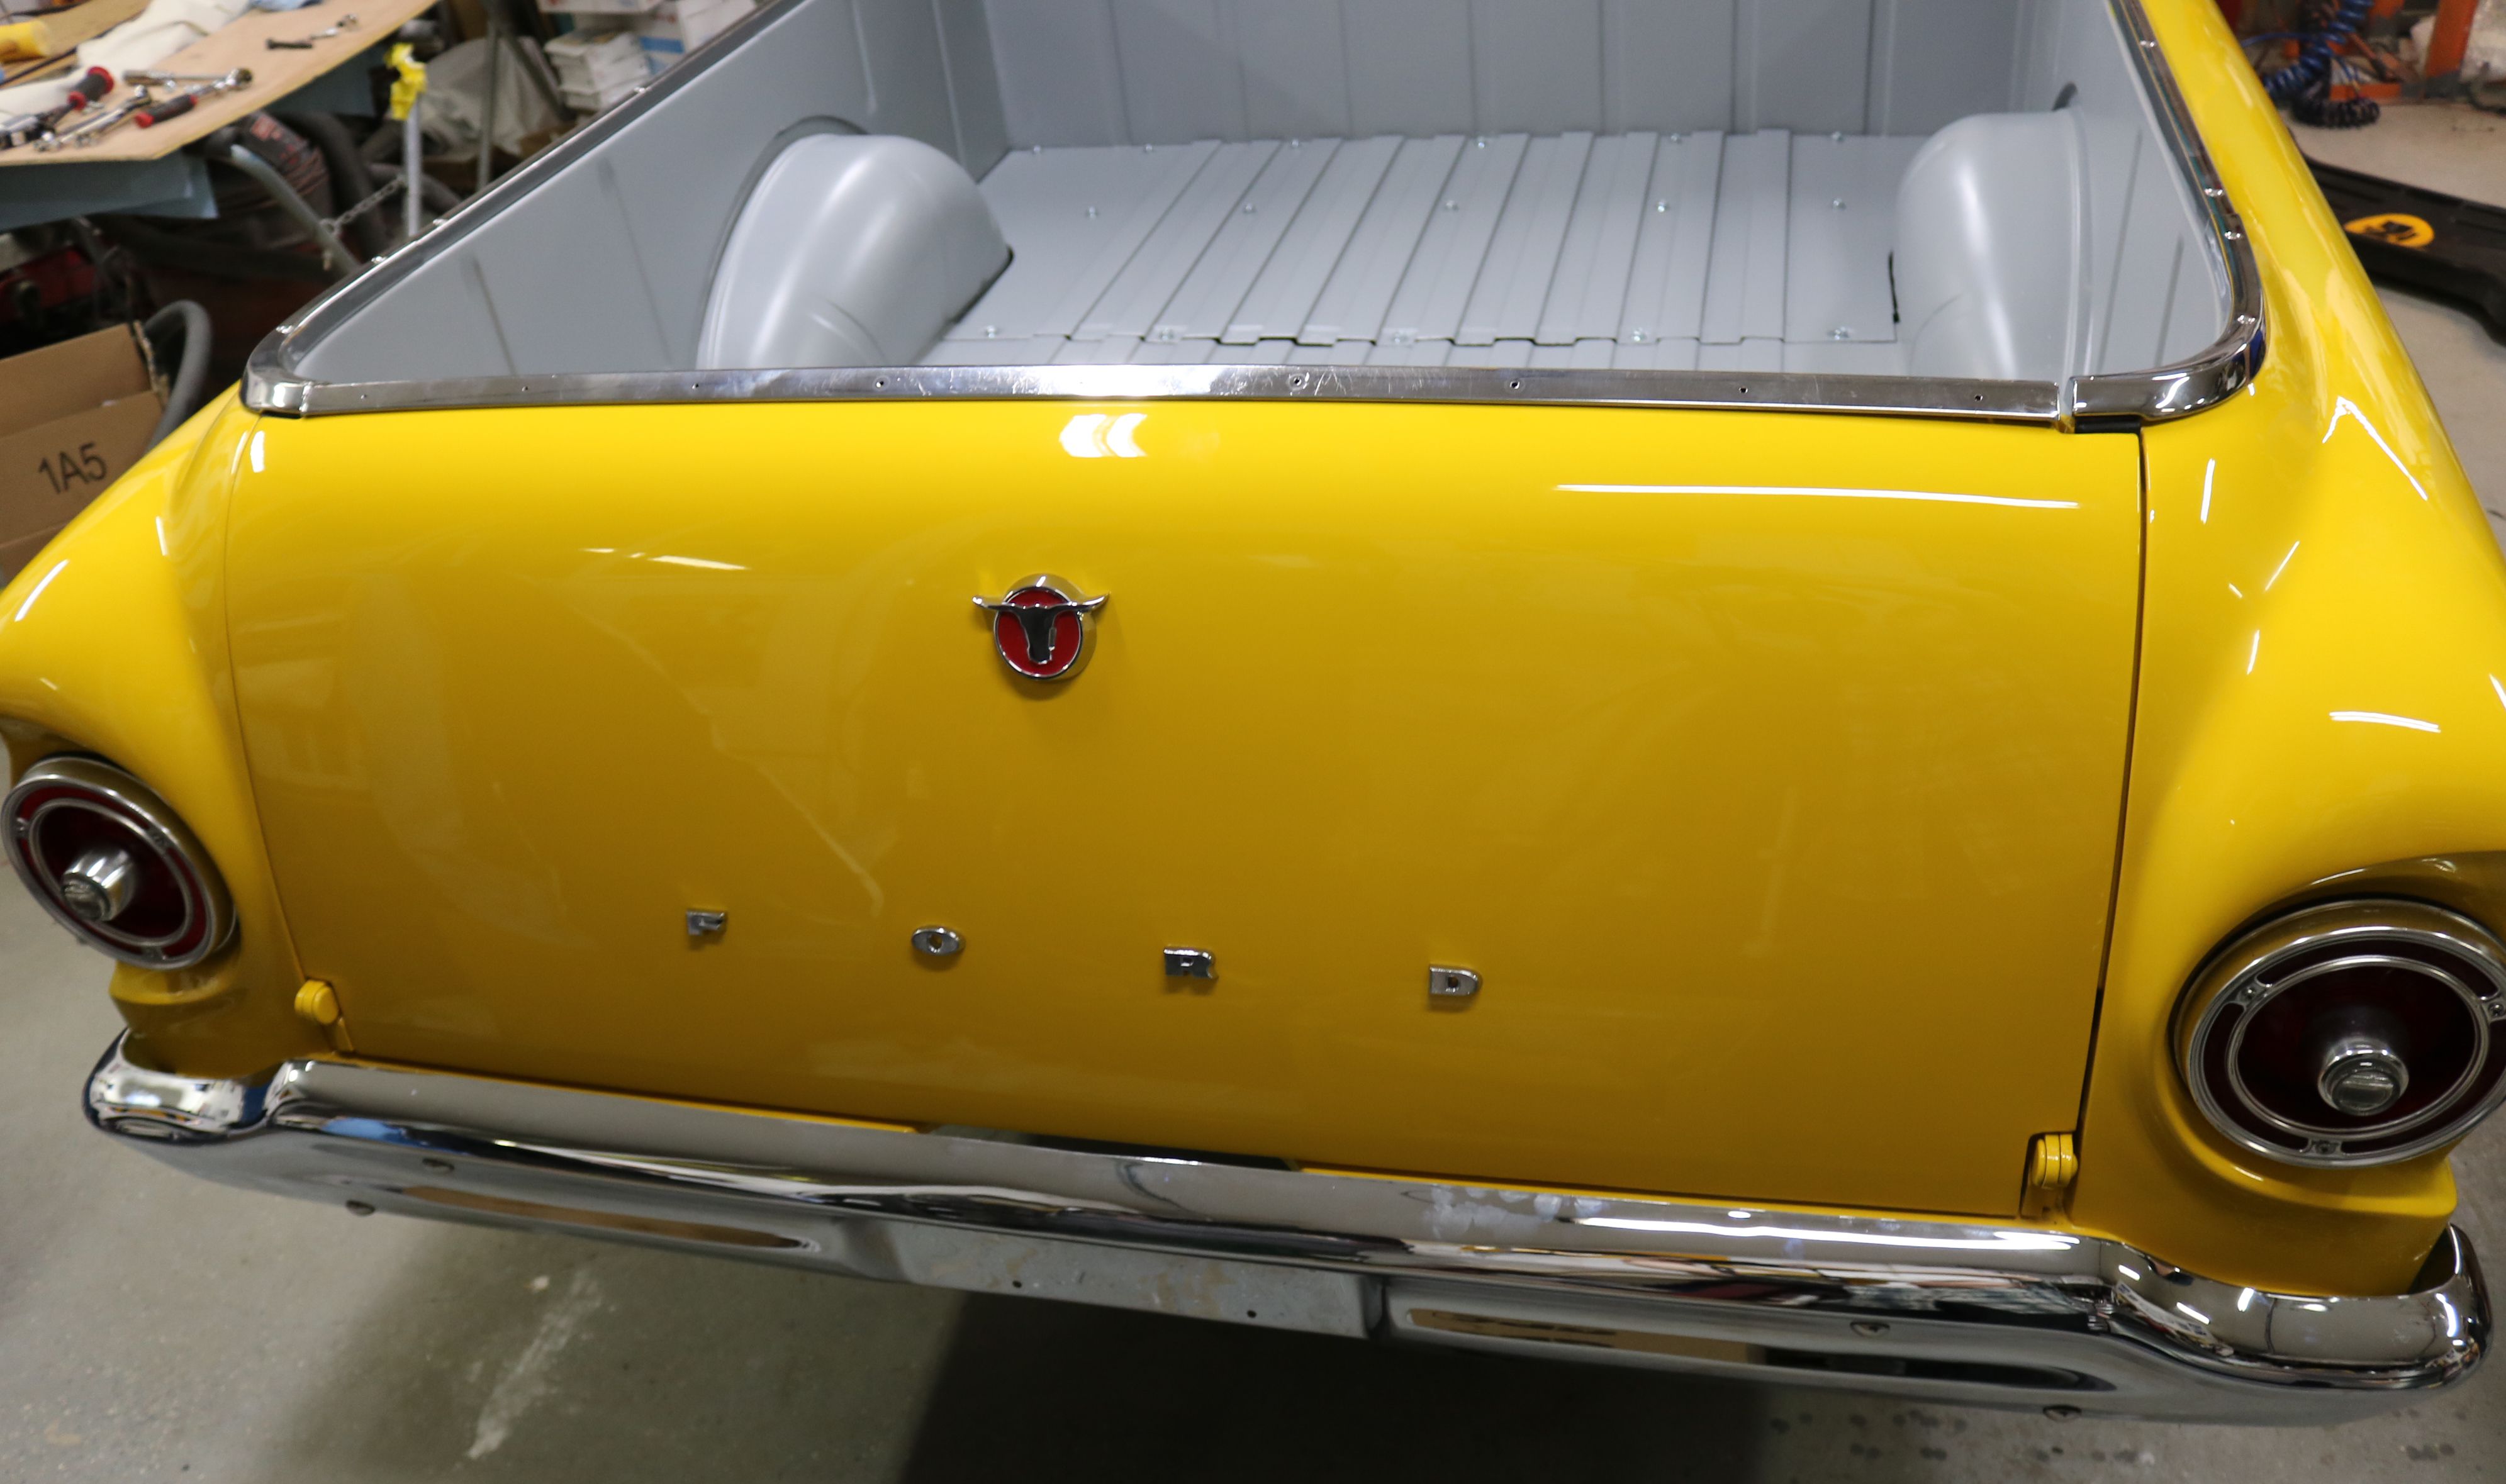
It seems to have worked. We dropped the panel into place about 11pm the night before the show.

While waiting, we installed the glove box door and ashtray.
Ok, so from the last of the paint, we had three weeks of reassembly time. The first week was at our son's work and the engine and transmission were installed. The second week was body panel installation, followed by cutting and buffing the paint at home before the jewelry could be installed. The third week was the jewelry, dash, steering column, clutch linkage, Dynamat, and finishing the last panel for bodywork. Notice that I did not say anything about starting the engine or even wiring or interior. The firewall pad is on backorder, as are the door panels. Without the firewall pad, installing any wiring would have to be removed to put the pad in place. So, that part of the reassembly will be delayed. But at least we can use the clutch to stop the car.

