
We freshened up the paint on the support for the removable panel in the bed.
|

Time to glue the rubber seals to that panel that goes between the inner and outer fenders. A little weatherstrip adhesive works well. Apply to both pieces, stick them together, then pull them apart, wait a couple of minutes, and put them back together for a more permanent bond.
|

The rubber gasket firmly in place, but that was not what held them from the factory.
|

Very large staples through small holes in the panel held the original gasket in place. We put the staples back in using bent stainless steel wire instead of the mild steel to reduce the chances of rust here.
|
Once the stainless wire was through both the gasket and the panel, the extra was bent over on the bottom side.
|

Some of the stainless pieces are polished and ready to go. I managed to catch one piece midway through the process.
|
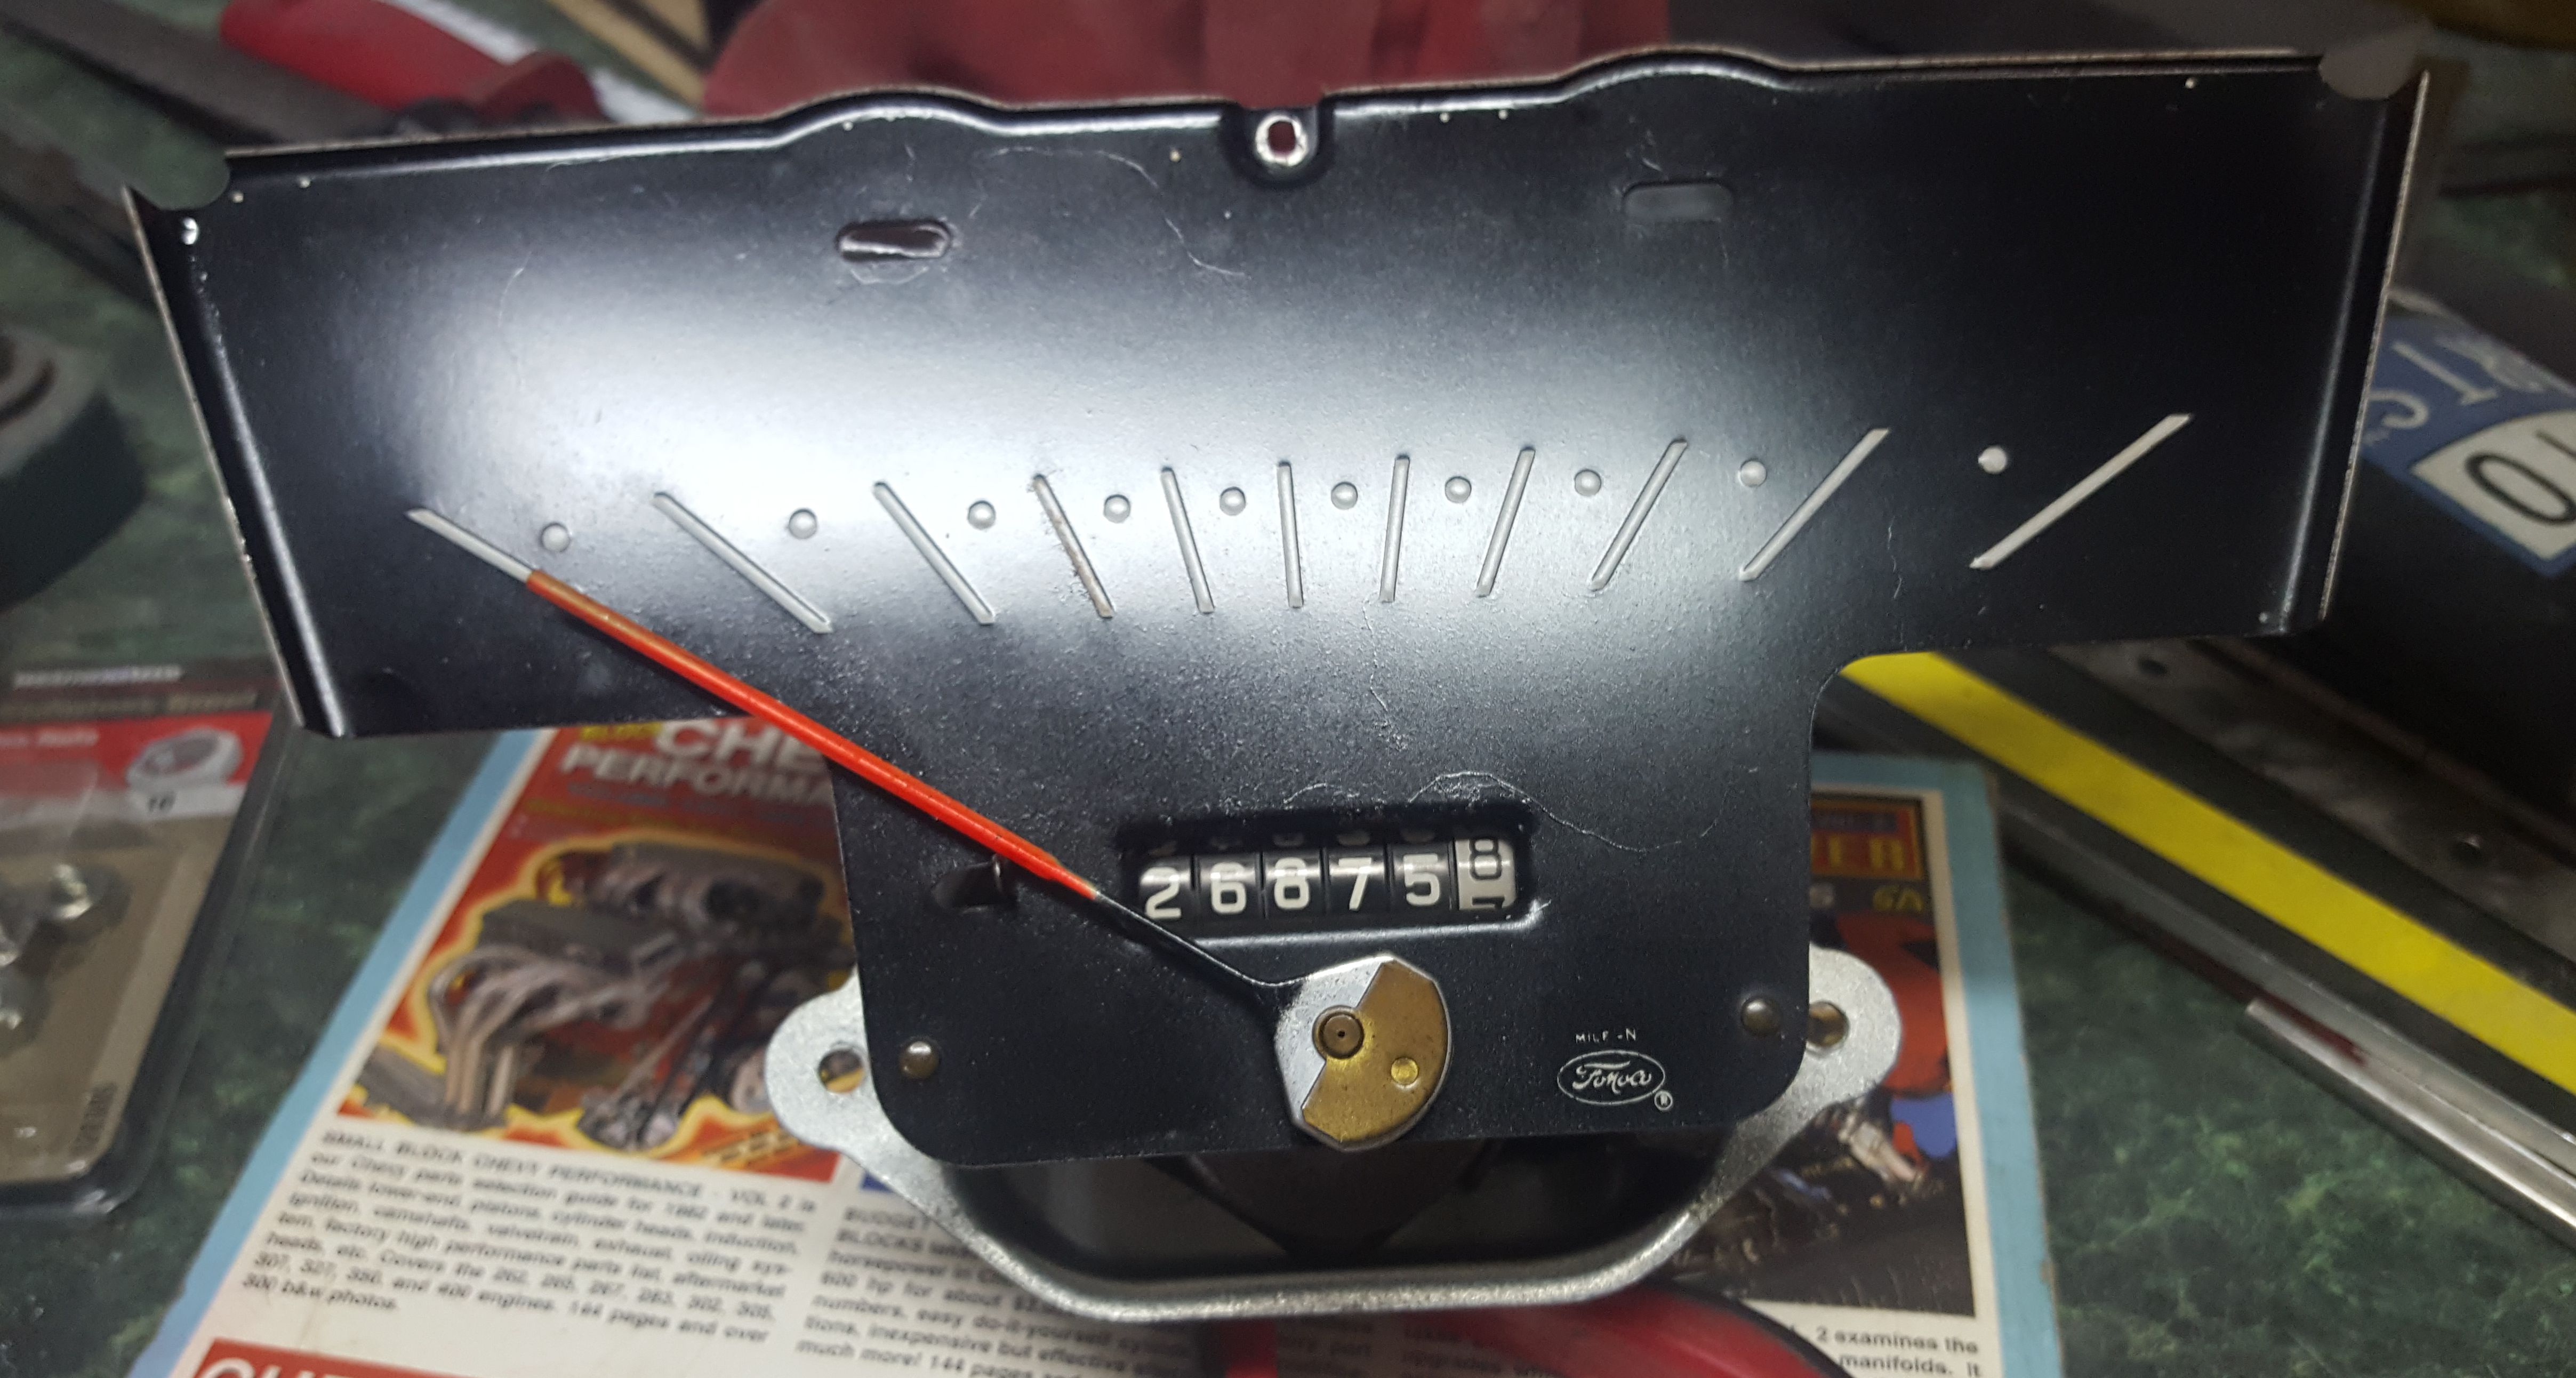
This is the original instrument cluster. We had to touch up the sweep needle due to sun fade. And we suspect the actual mileage had a 1 in front of all those other digits. Since every part on the care is new, and the current title has the mileage listed as unknown, the plan is to roll the odometer back to 0.
|
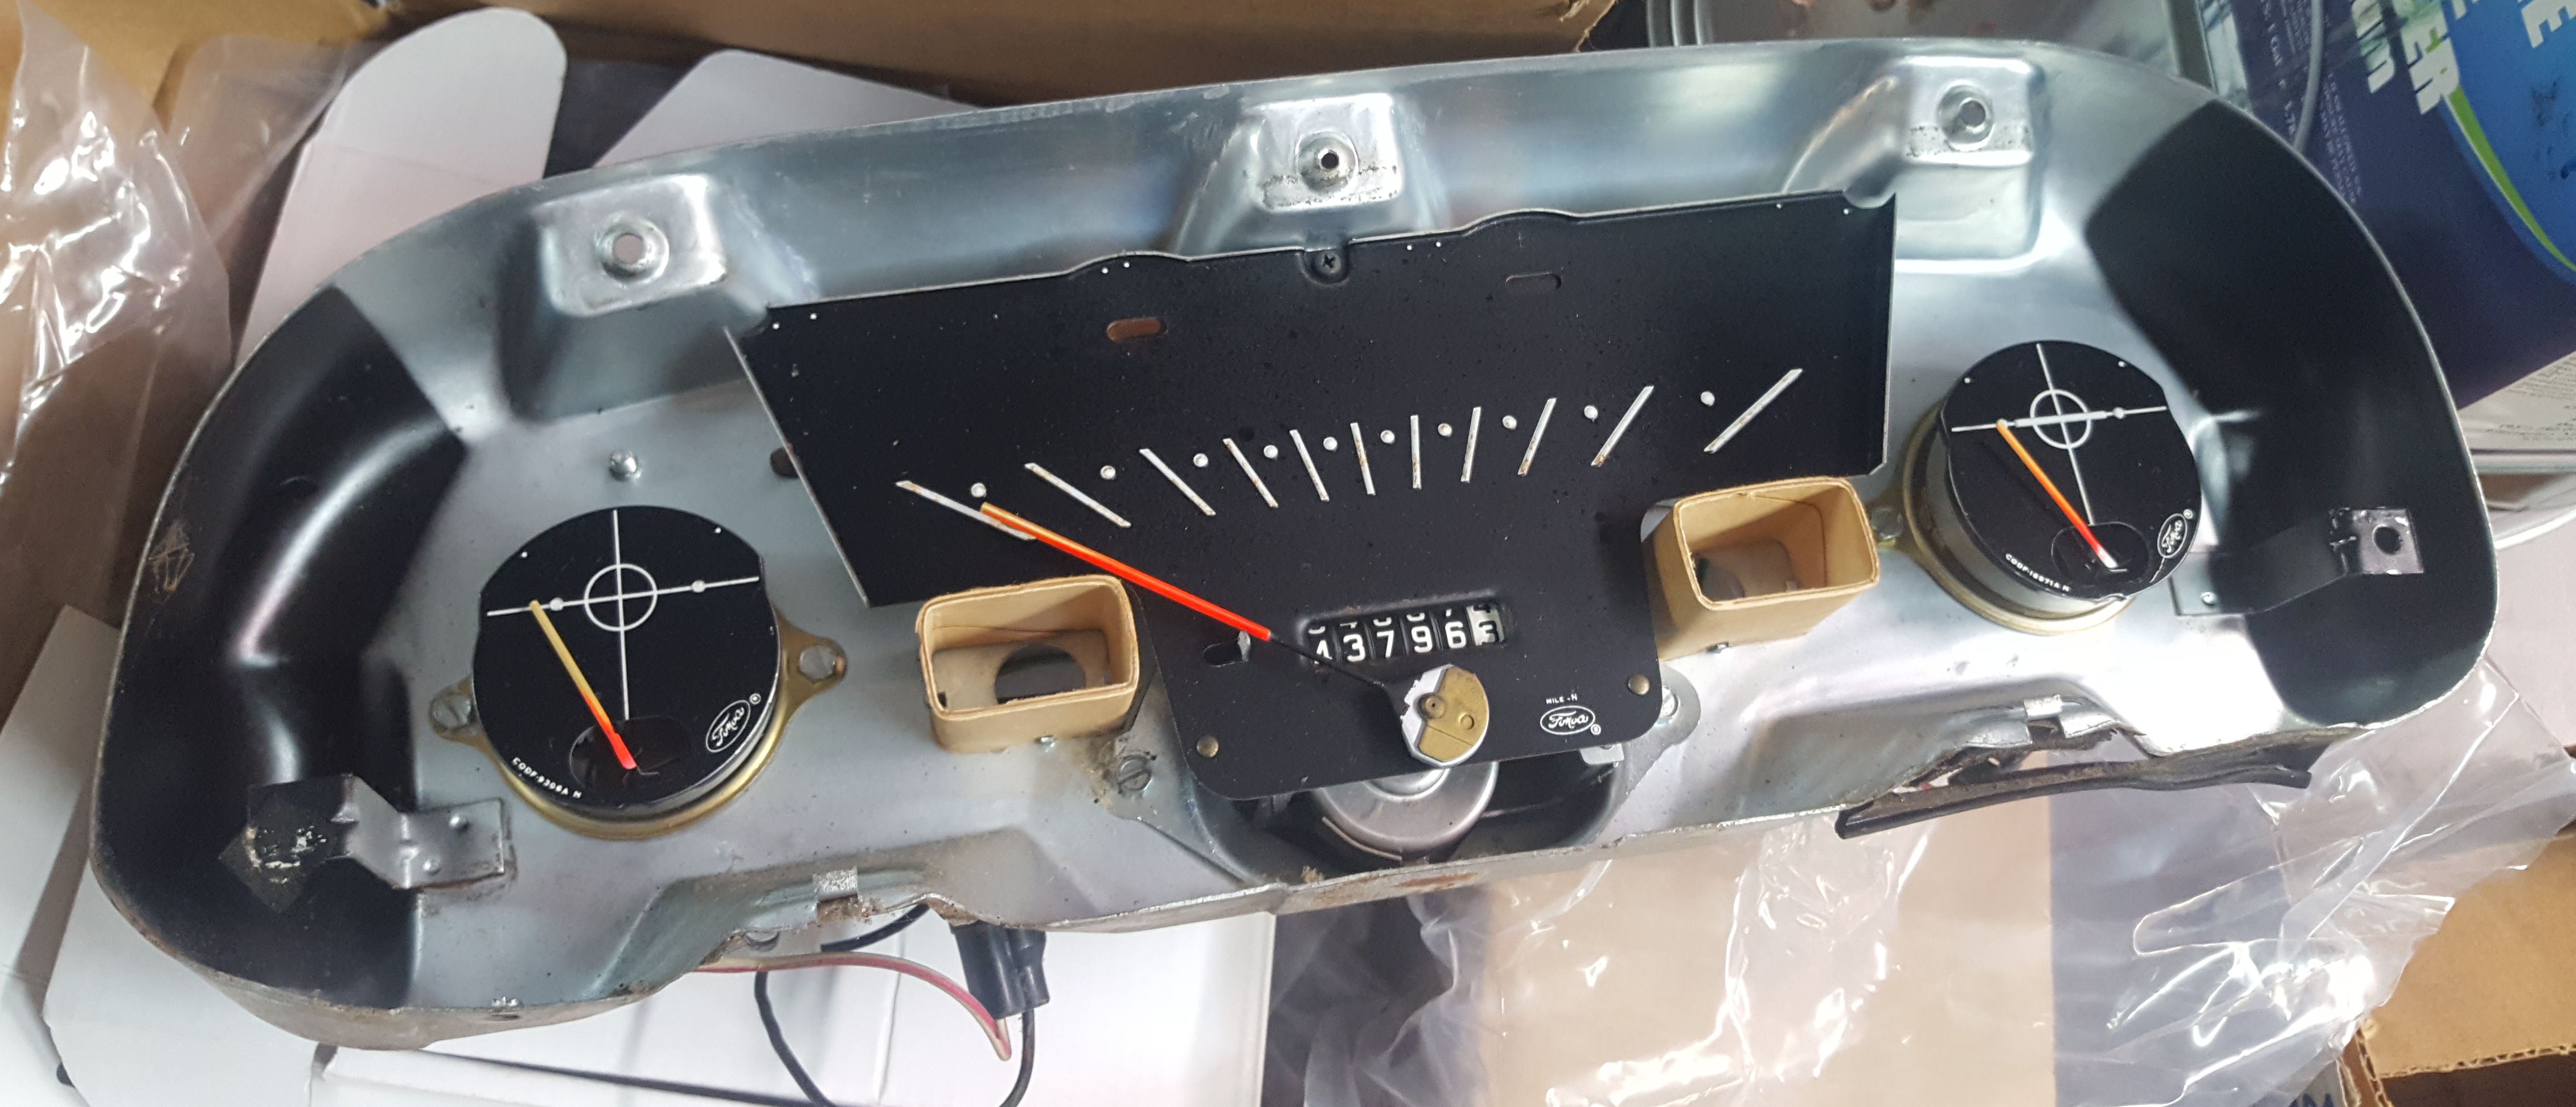
A spare instrument cluster we picked up at a local salvage yard, just in case the original doesn't work.
|

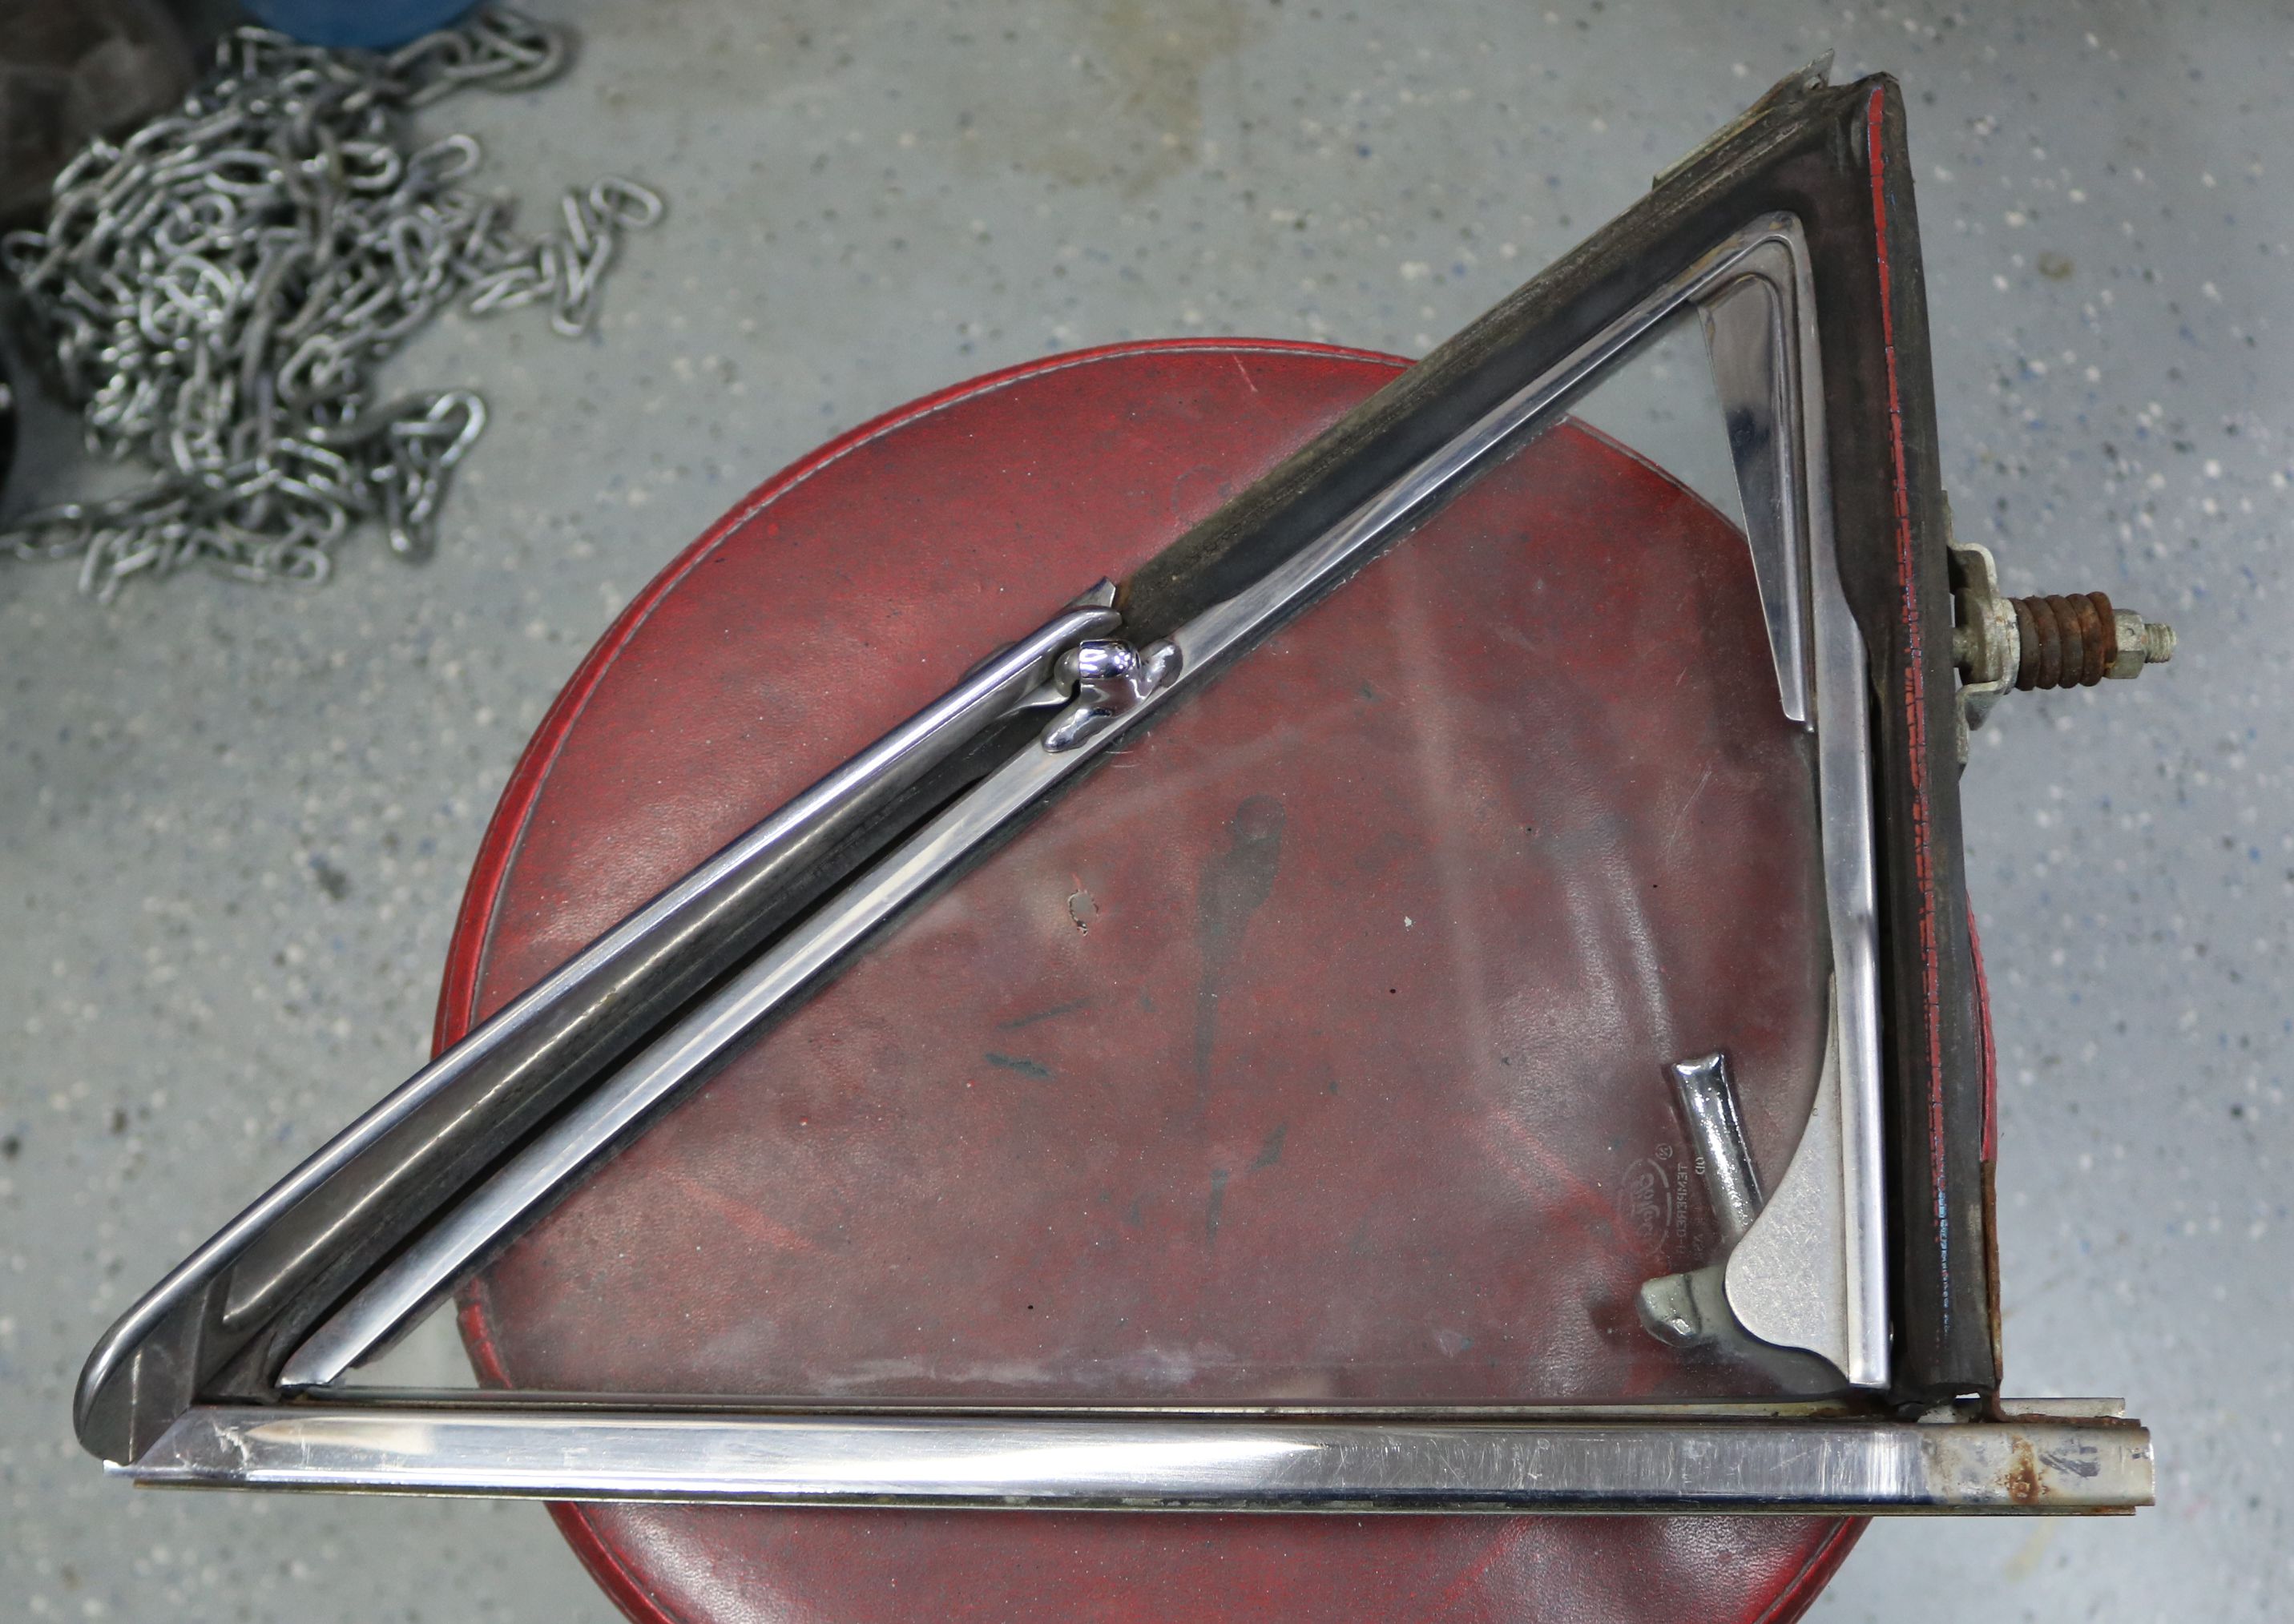
The wing vent was also polished and new rubber was installed.
|
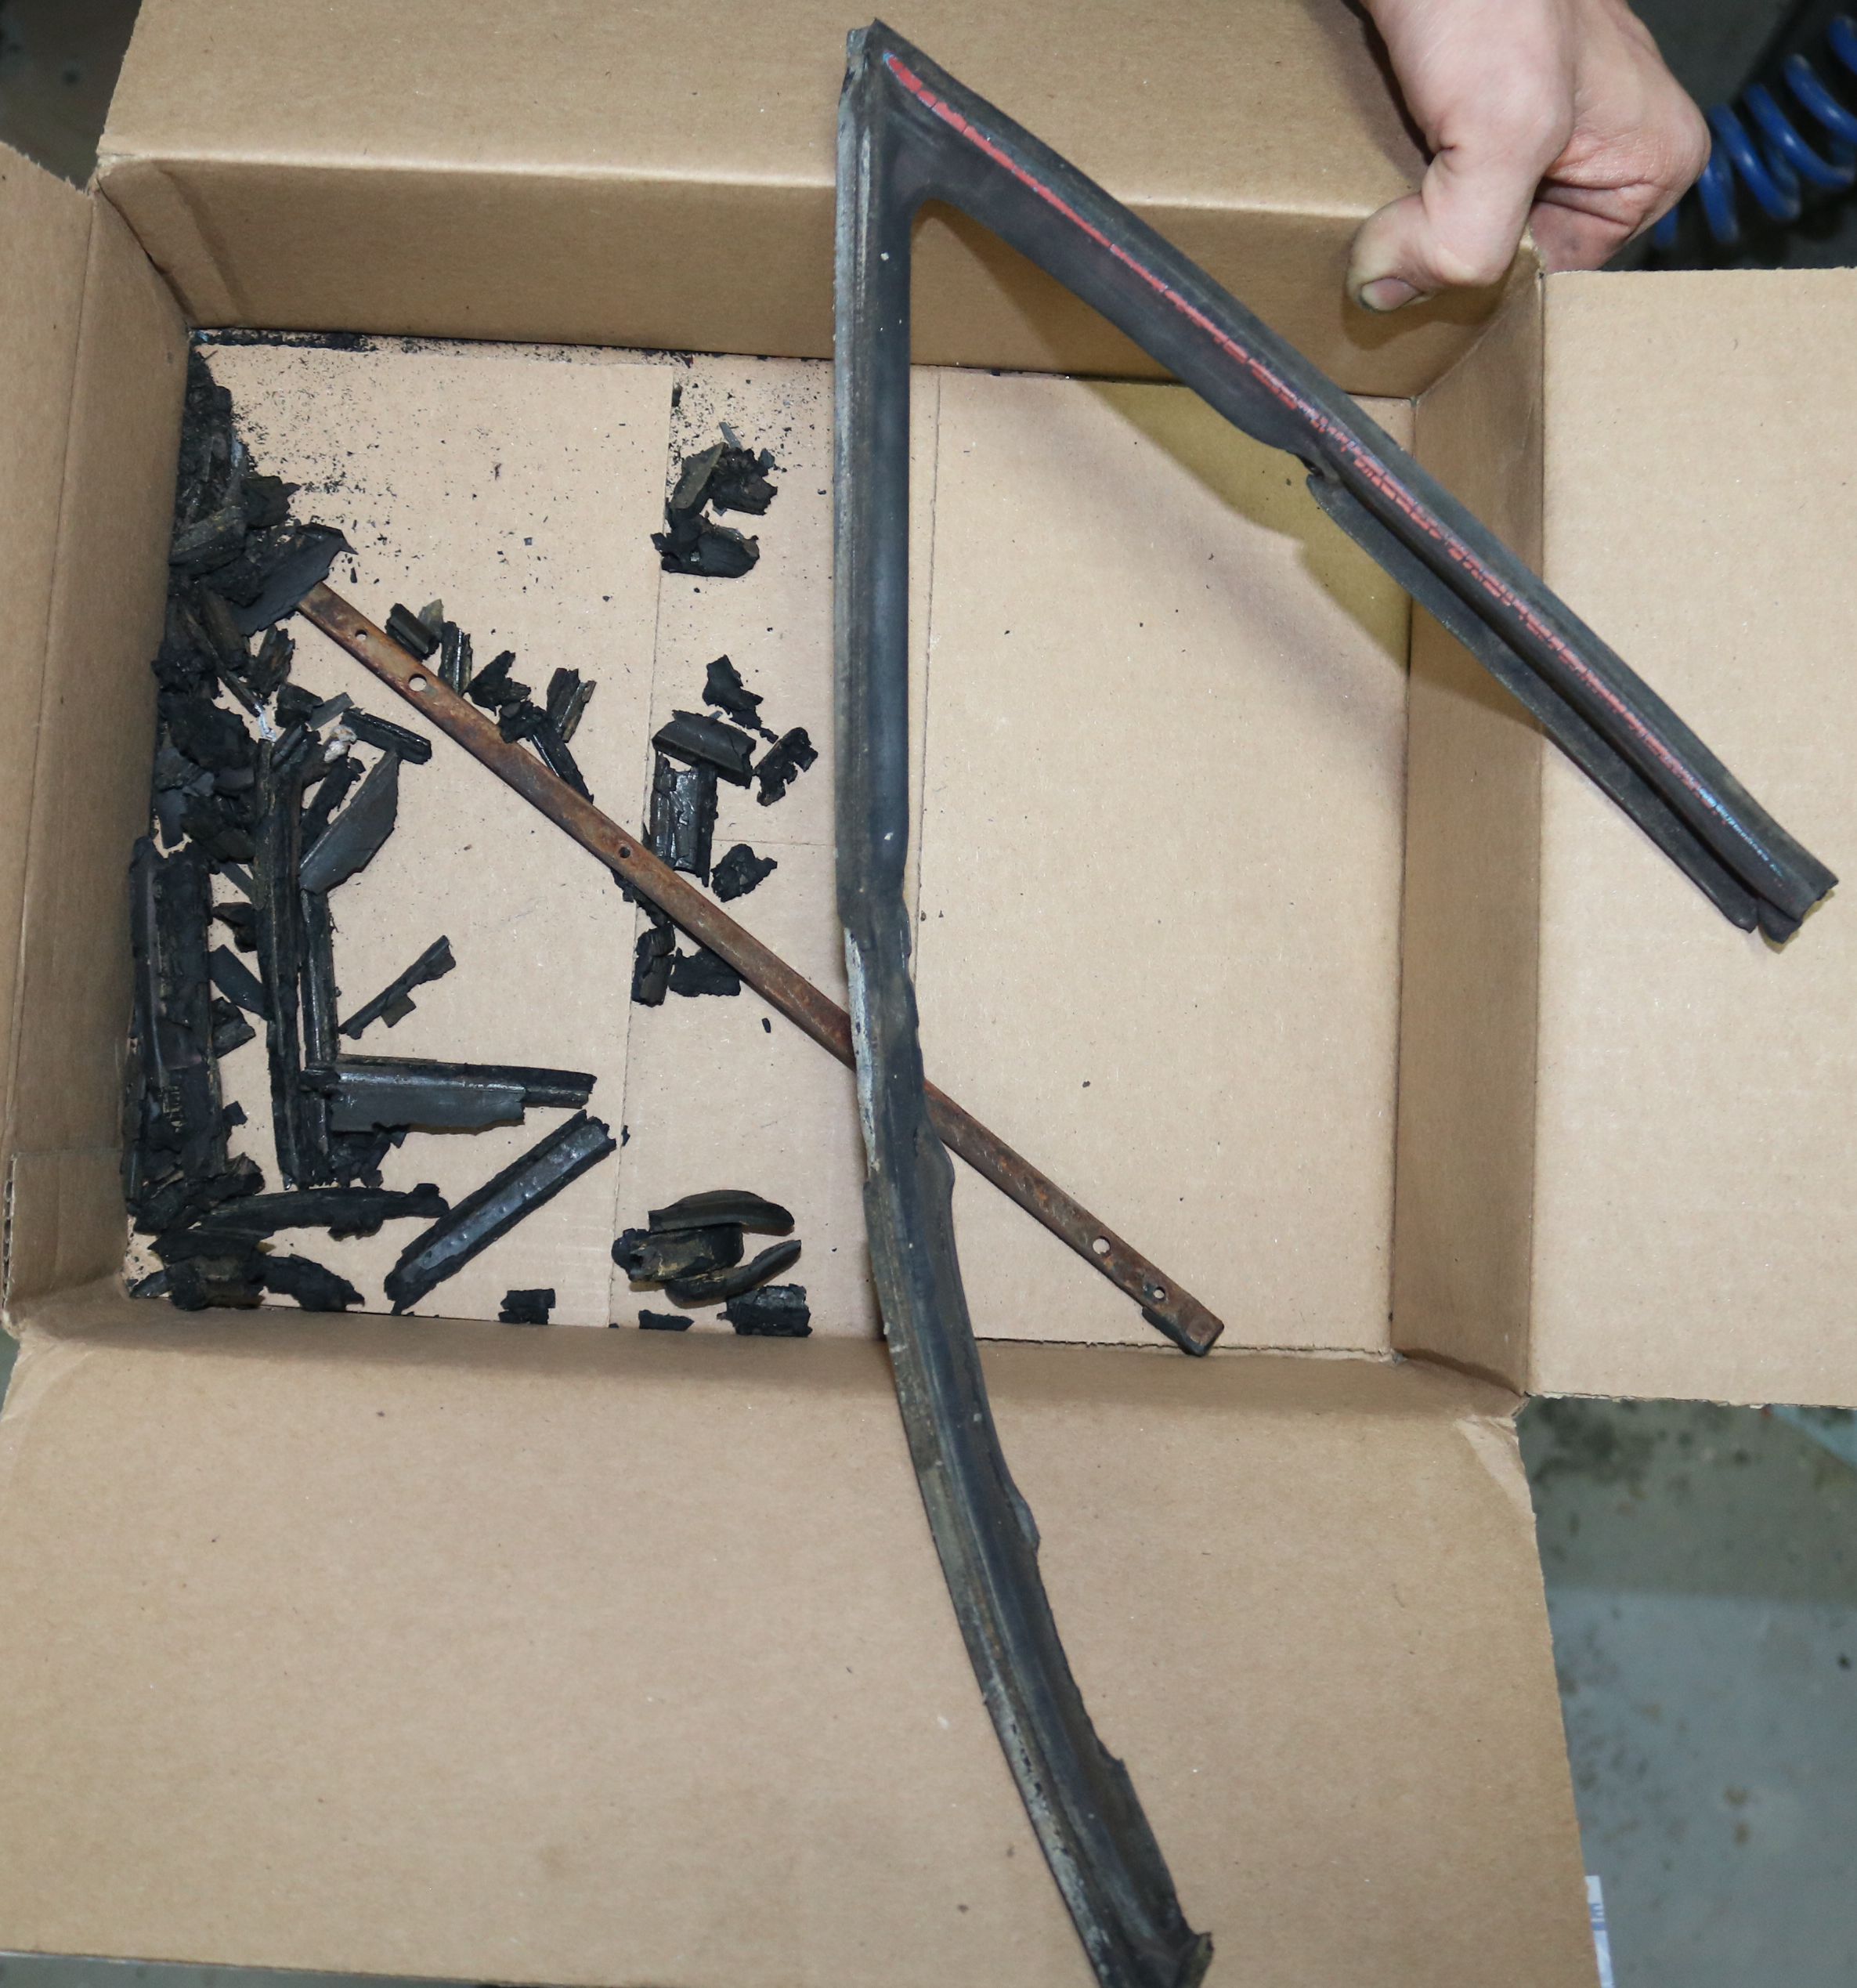
This is the old rubber from the wing vent. It should be all one soft, supple piece, not these hards chunks.
|

One original wing vent and one restored, without the glass. The picture doesn't show the difference well.
|
At least the second vent seal came out in one piece.
|
The unrestored passenger wing vent.
|
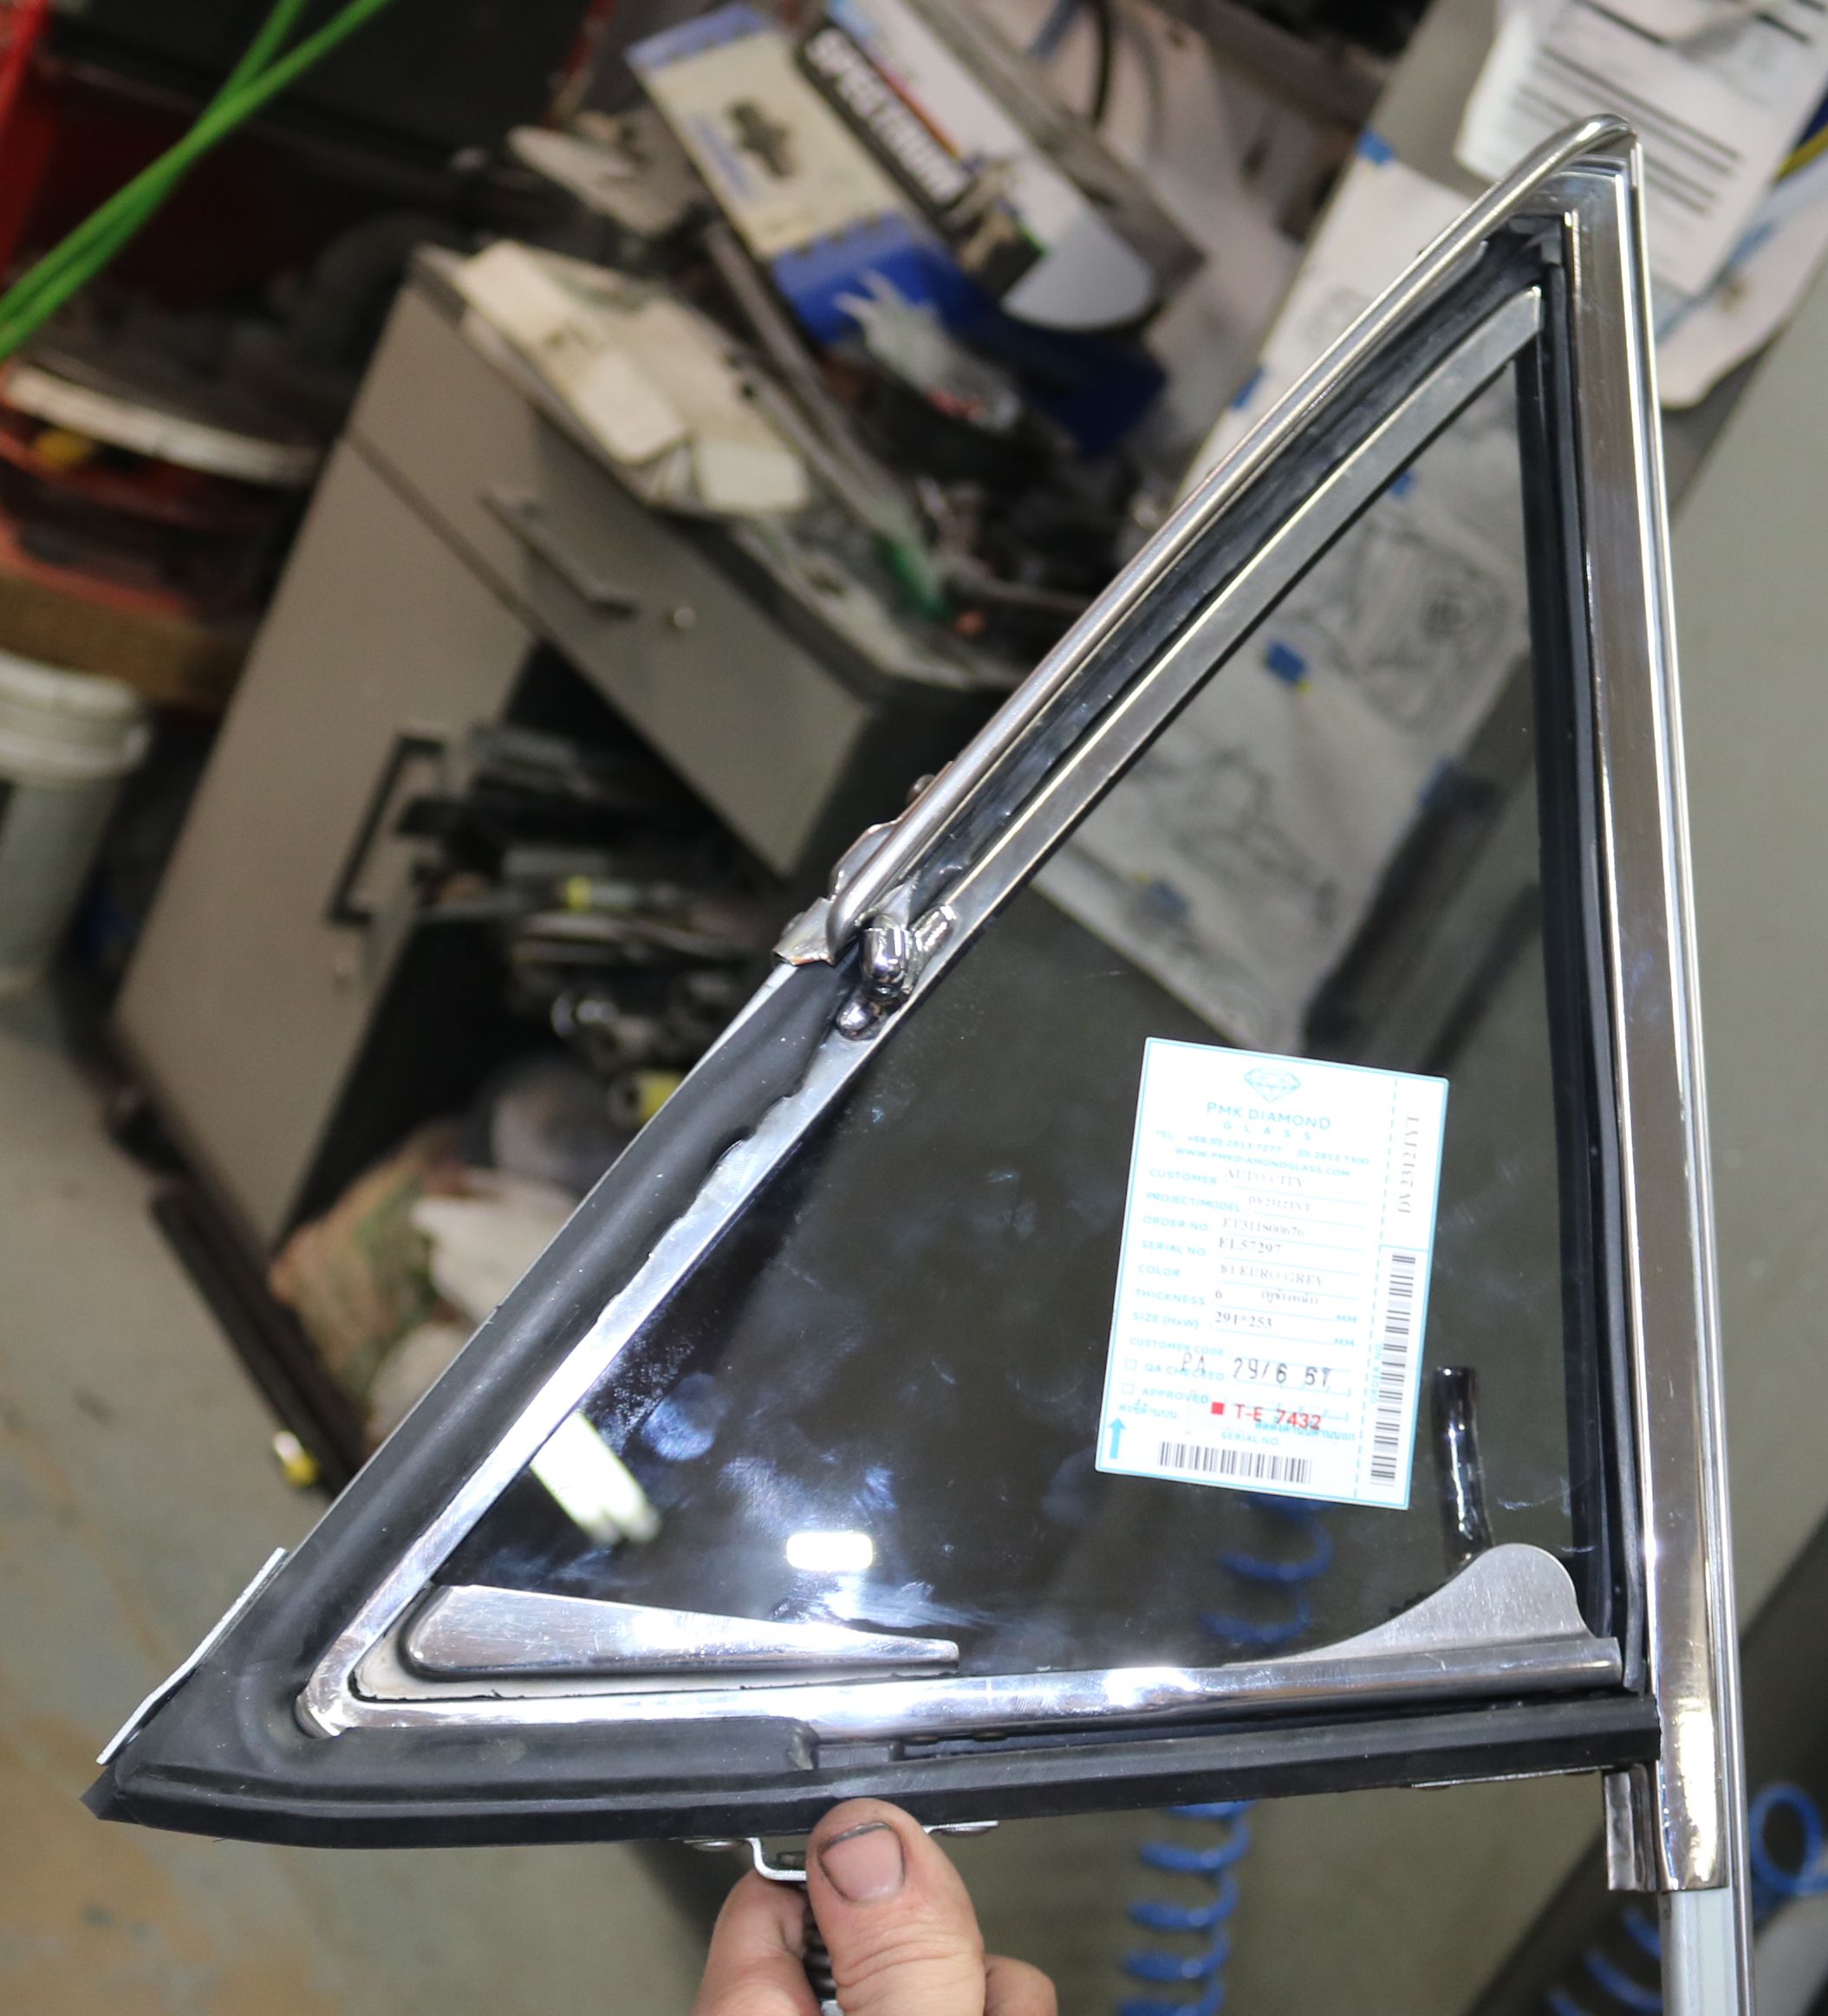
The restored passenger wing vent, complete with new seal and new glass.
|

The new glass for the rear window. It has a dark tint to really pop against the bright yellow while reducing the sun fade on the interior.
|
All of the replacement glass is tinted, except for the front windshield. The glass is from Auto City Classics, same as for Betsy and the Wagon.
|
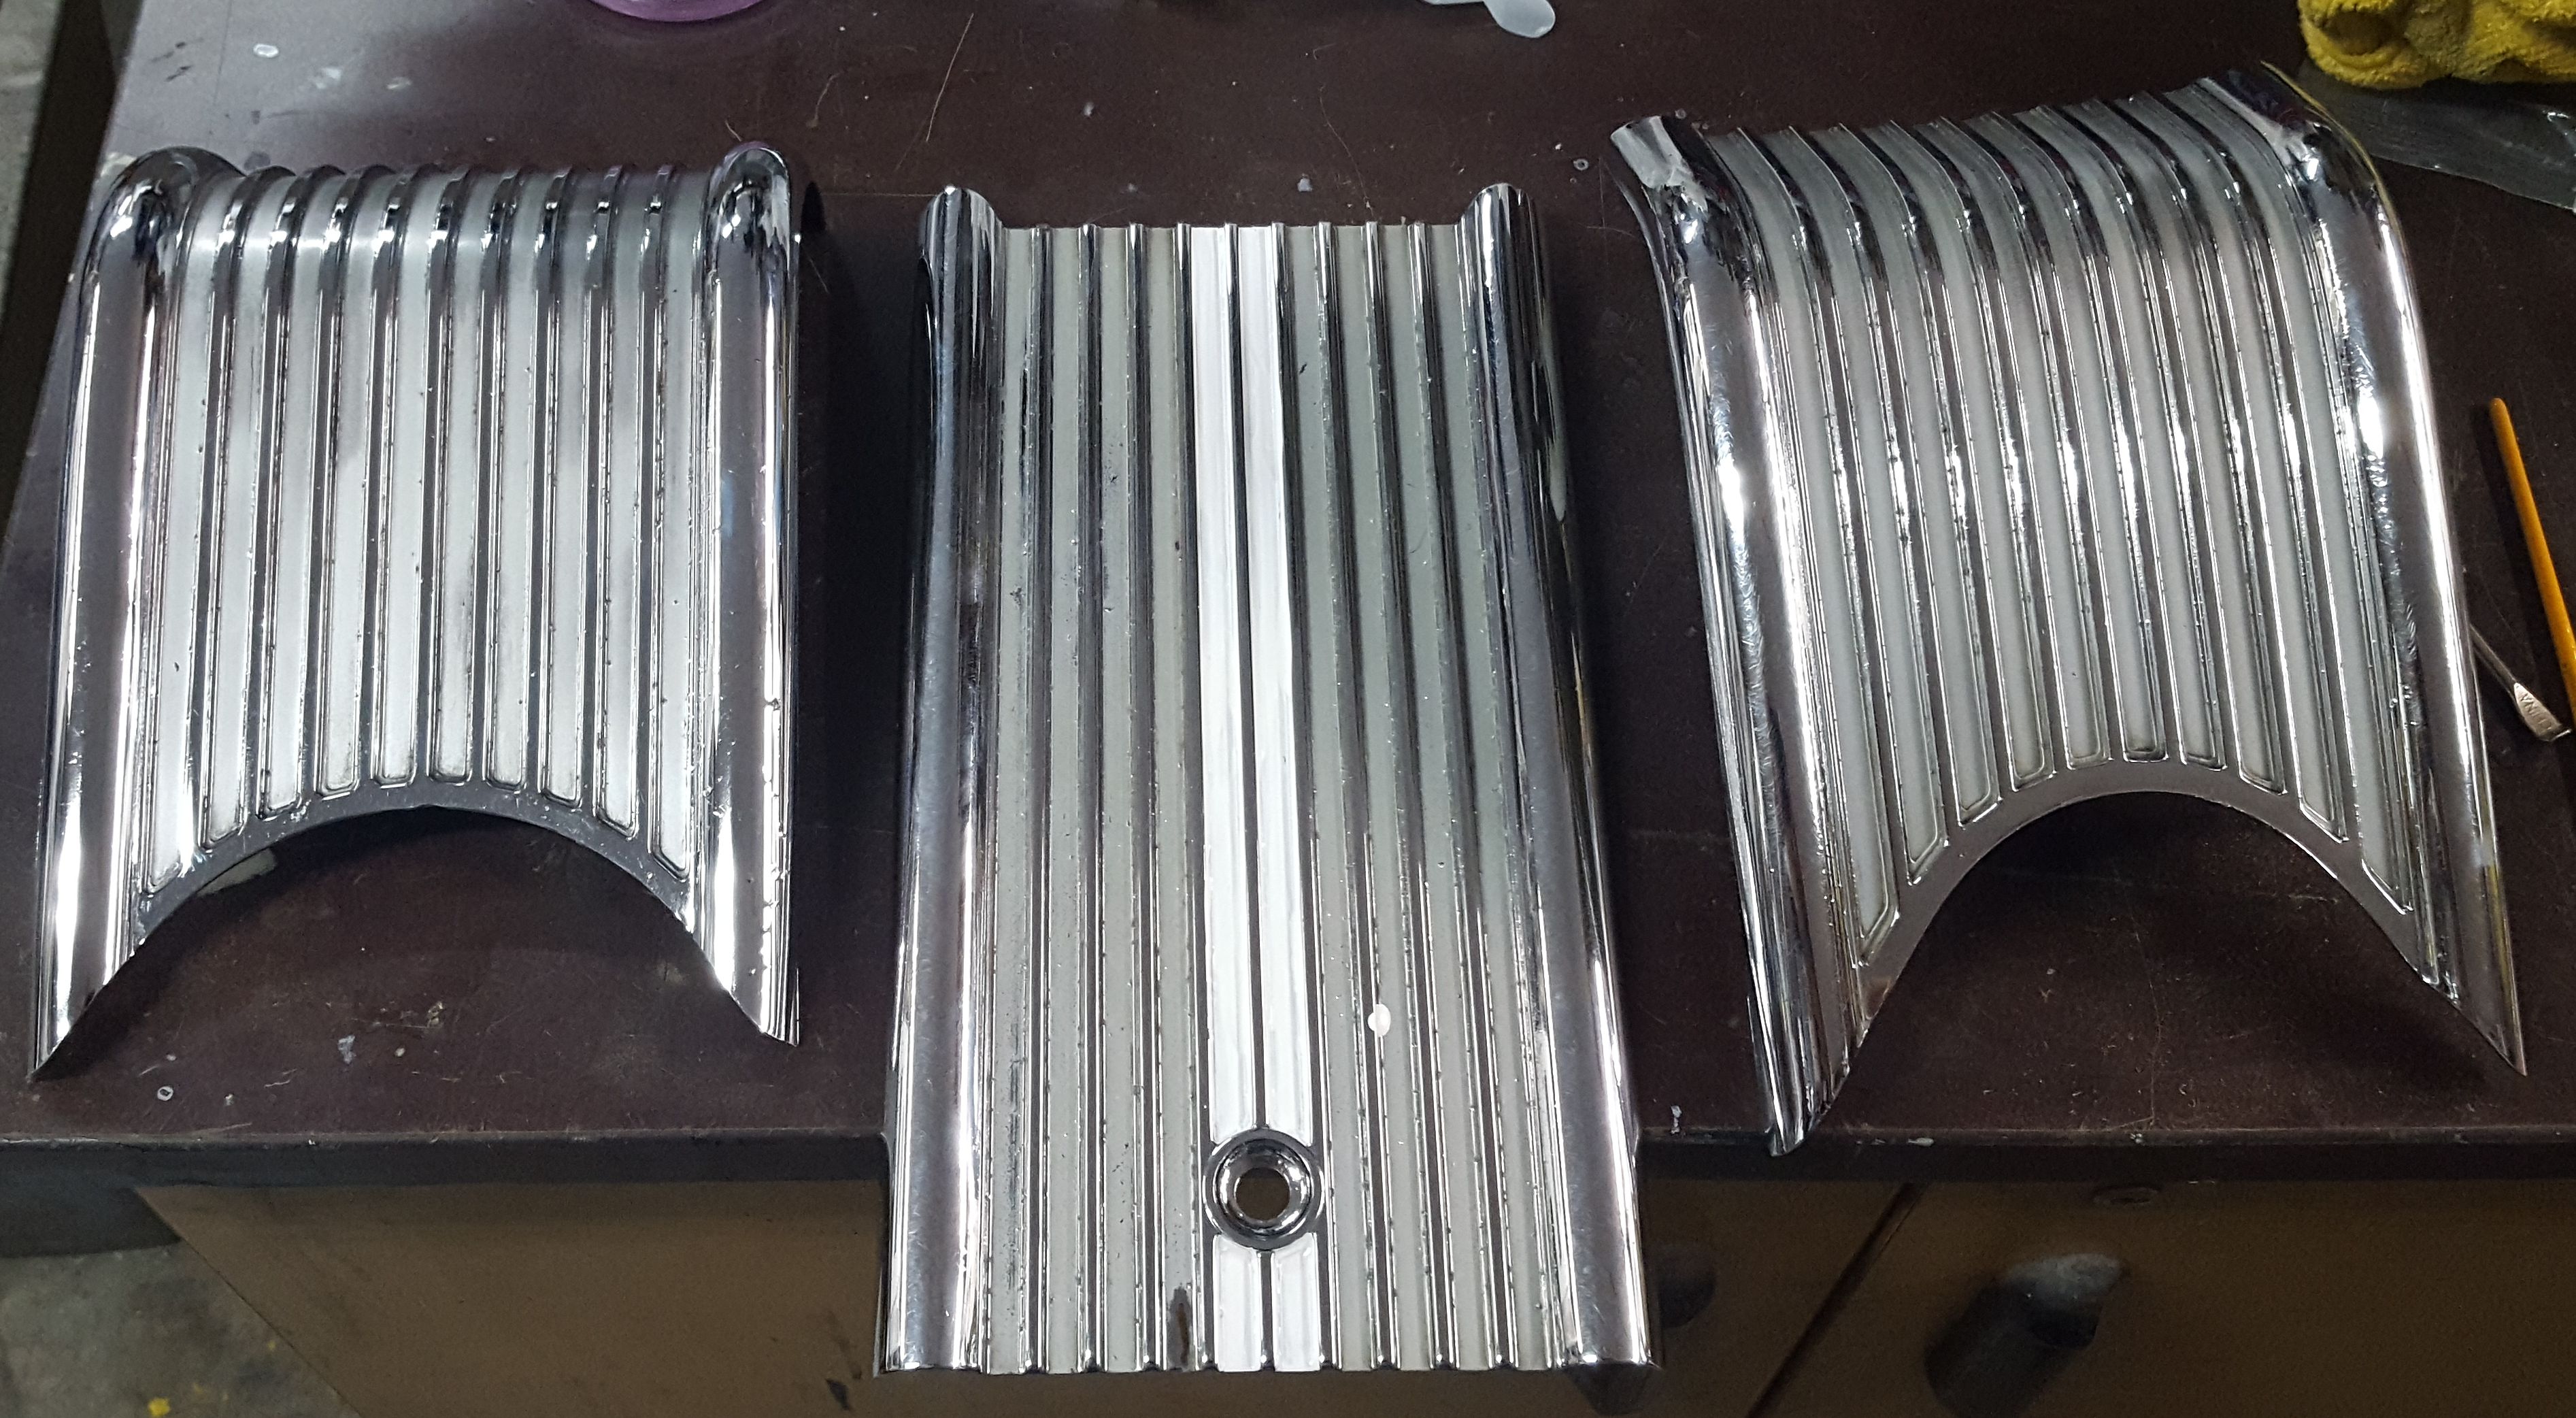
The top to the center console. Note the very faded original paint in most of the ribs. Dad started painting in the ribs before we could take the picture.
|

Dad finished the painting on the console while our son worked on the wing vents.
|

Back home for some serious reassembly work. She had 3 visitors on the first day home and 2 more on the second day. Everyone wanted to see the paint. Our son's work decided to hold one last car show this year on Halloween. We have just 3 weeks to get as much reassembly done as possible. And parts are on backorder!
|

One hood hinge ready to bolt in.
|

One homemade hood hinge spring spreader, so that the entire spring could be painted.
|
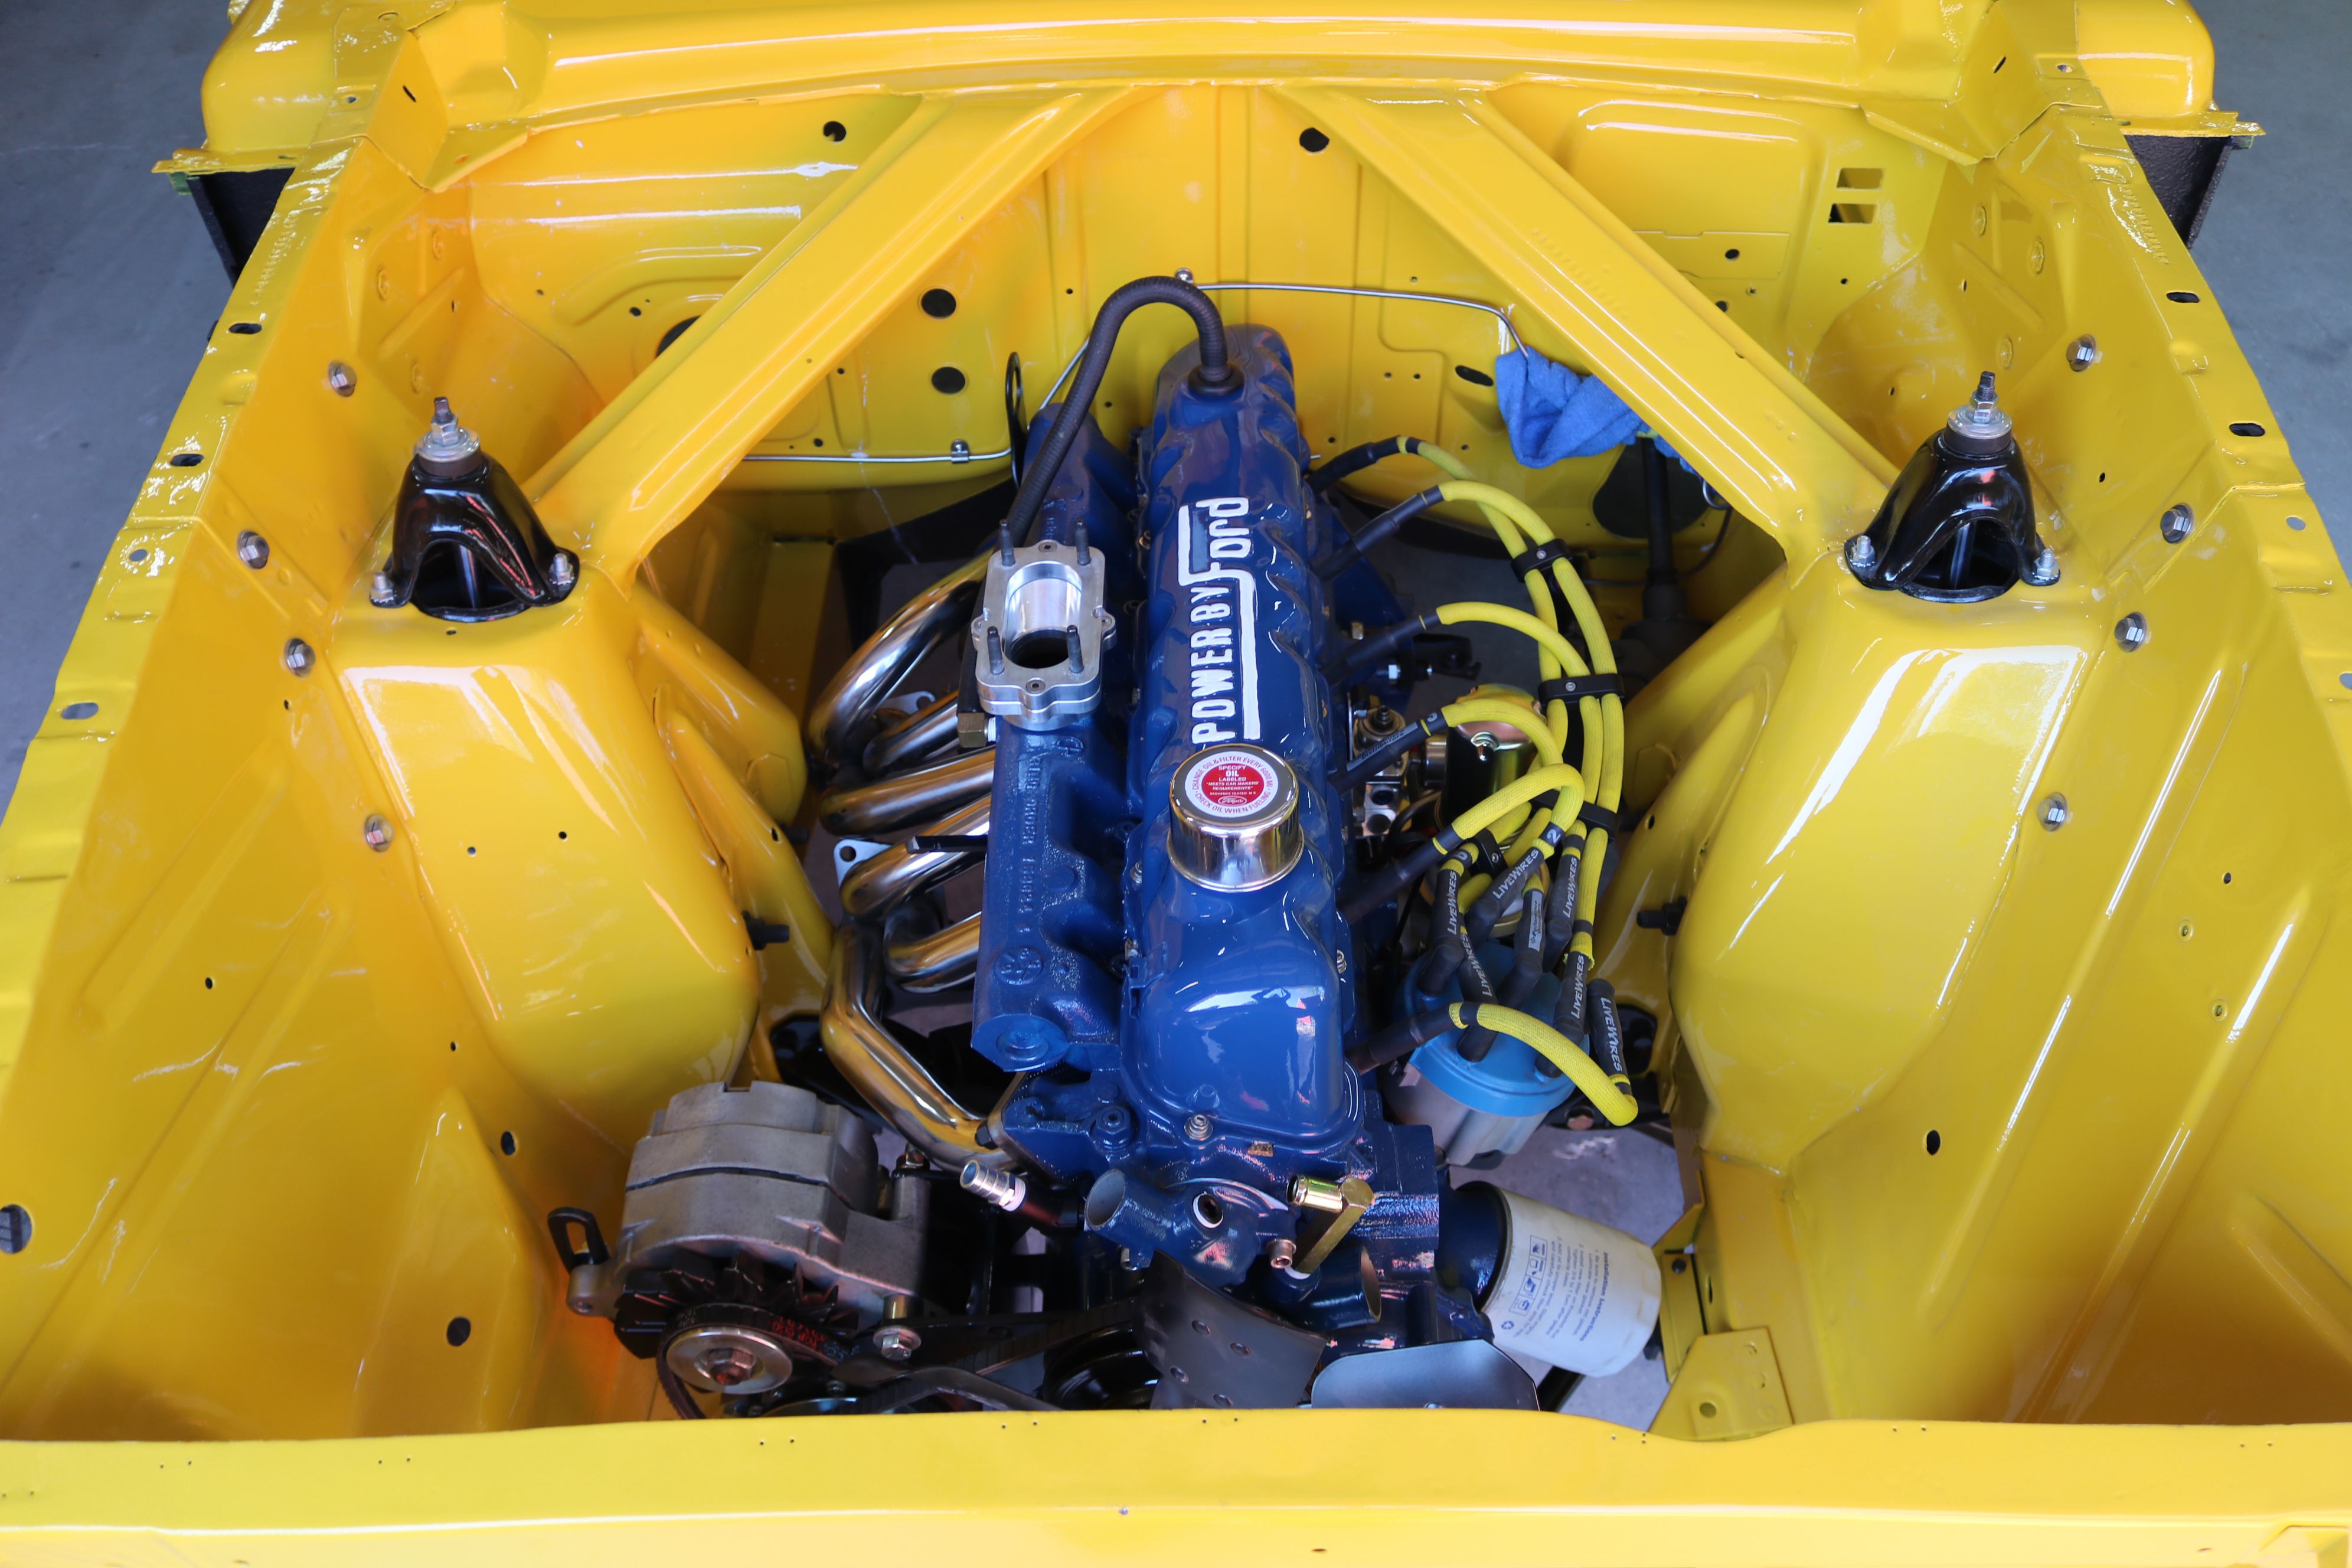
Our son reinstalled the engine at work over lunch breaks.
|

The bed is still waiting to be sprayed in color.
|

The back of the cab in sealer. We were so rushed to spray the seal coat and load the car on the trailer that I forgot to take a picture of this troublesome area.
|

Now you can see the shimmer of the pearl paint.
|

The truck had five doors temporarily. Six if you want to count the one laying down in the bed of the truck.
|

Stainless steel hardware and several parts were layed out for reassembly. Reassembly should go quickly as everything has been pre-fit to the car.
|

The hinges were laid out so that we could bolt the doors on.
|

Dad worked on buffing the hubcaps.
|
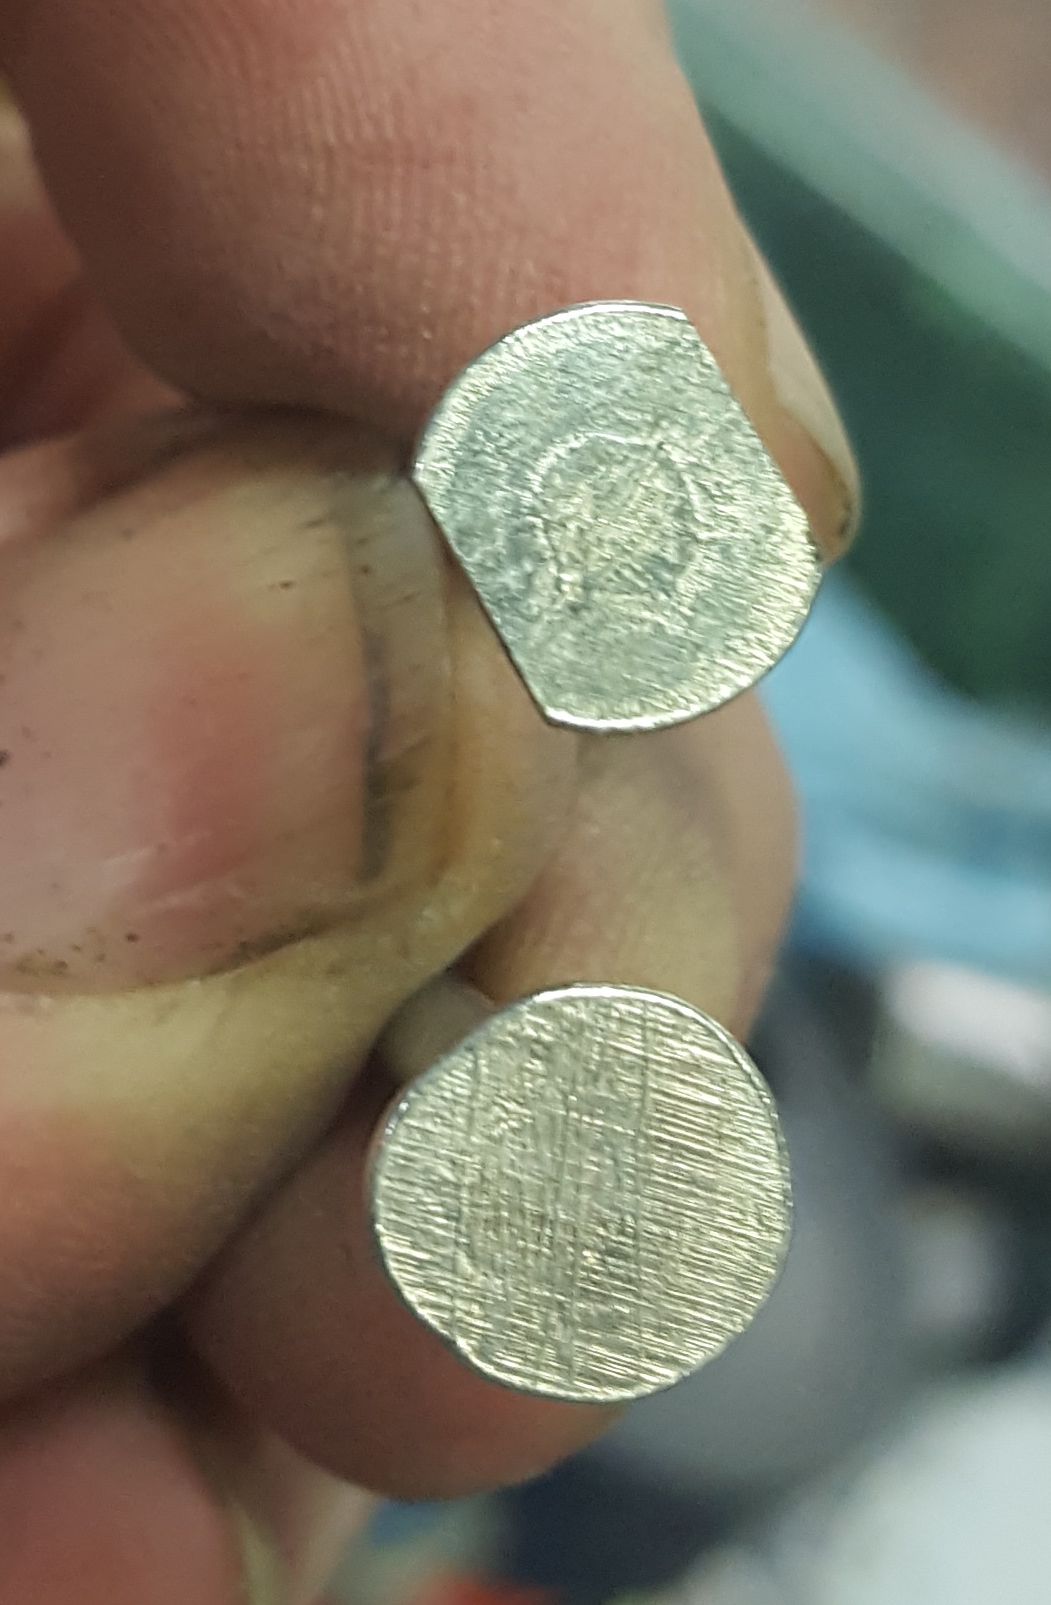
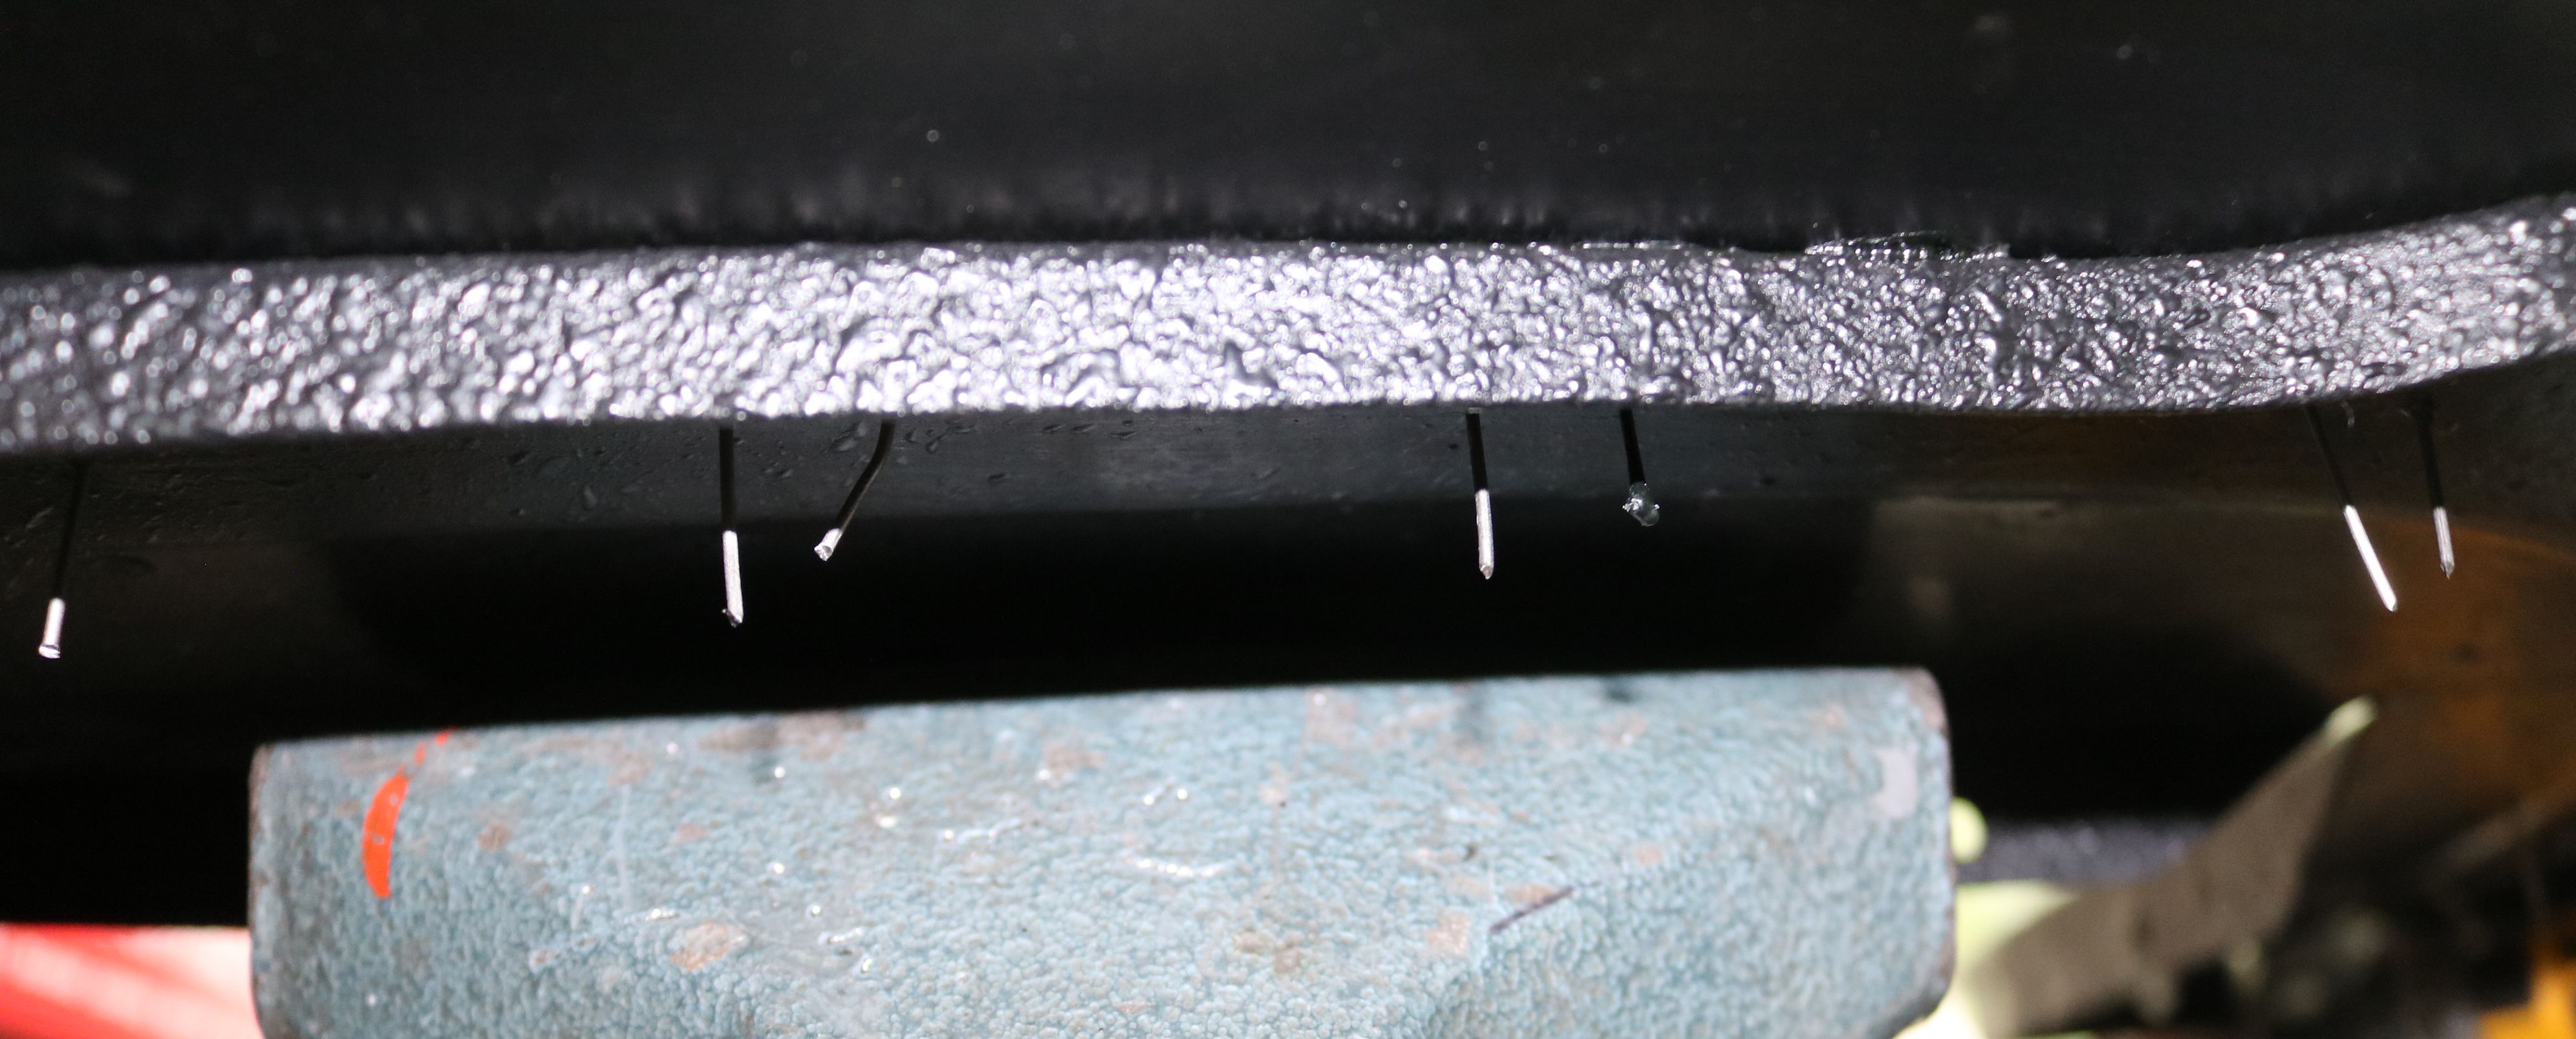
We even made all the retaining screws for the dash stainless.
|
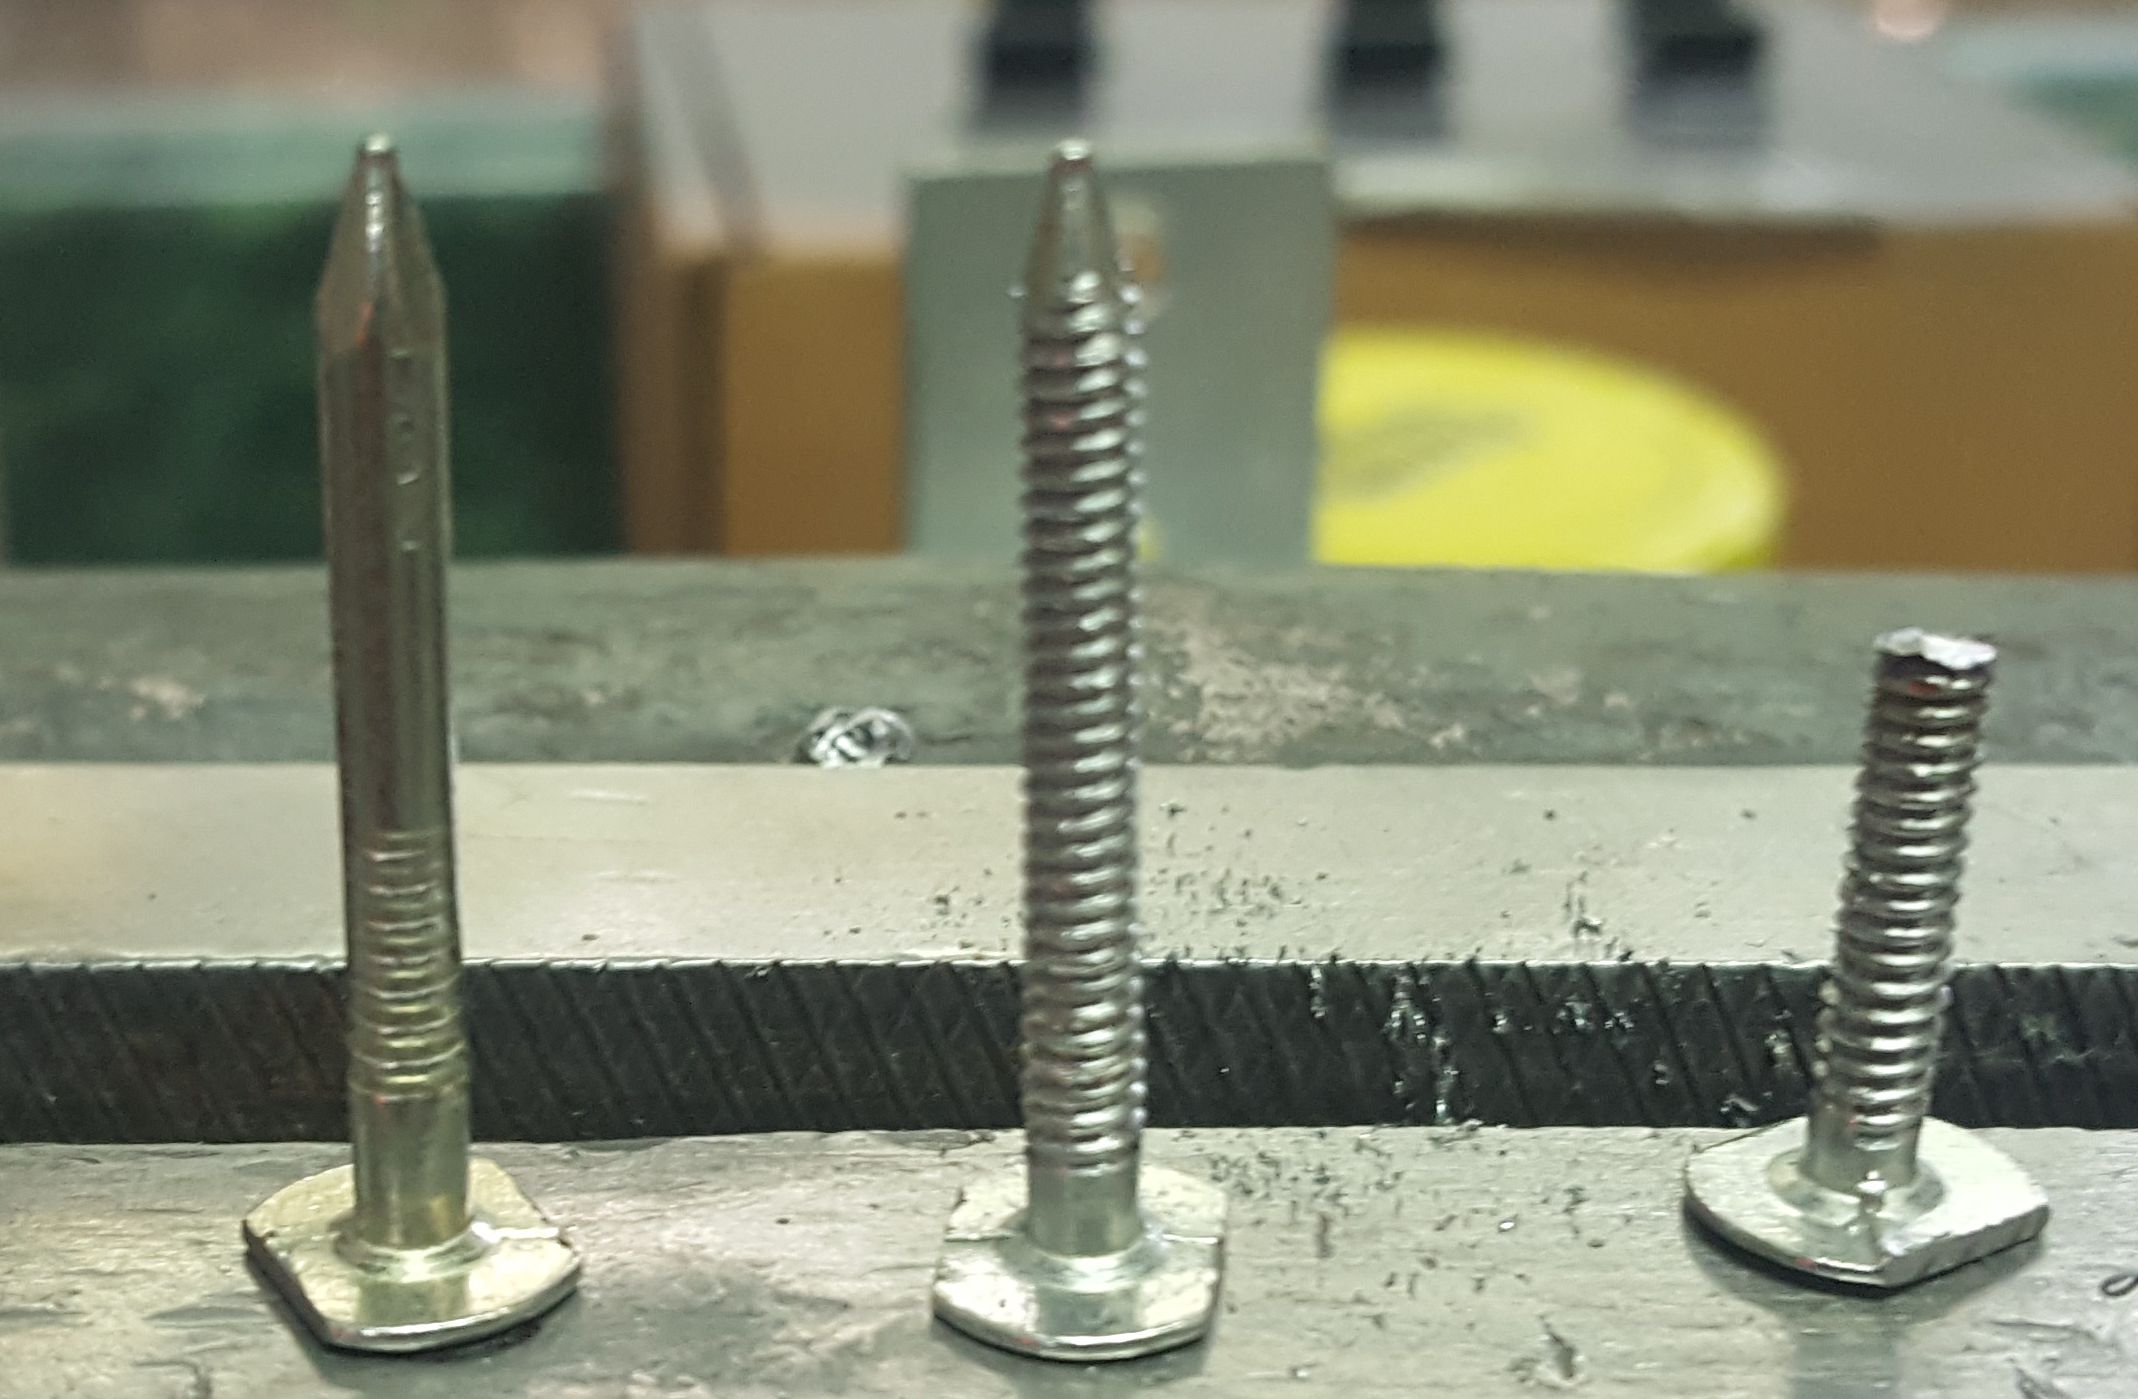
To make the retaining screws, we took a nail, trimmed the head to the correct size and shape, cut the threads using a die, and then trimmed to the correct length. No one makes replacement trim clips and these actually worked better than the originals that came with the used stainless we purchased since we did not use the dash pad the stainless was intended to sit on top of.
|

