
The cheesy smile says it all. Many years in the making to come down to this.
|

By the time I had finished the bed, they taped off and sprayed the sealer, and we let it flash, it was almost 10pm and we still had to load the body onto the trailer to take it to the professional painter. But with the bright flashlight and the camera flash, I had enough light to get a decent photograph.
|

Meanwhile, the parts were being prepped at the shop. The tailgate was taped off for the pro to spray the outside. Our paint on the inside was sufficient, since no one will see it unless they need to dismantle the tailgate again.
|

The sealer we quickly sprayed on the inner tailgate panel for transport to the shop was sanded to 400 grit to give a smooth finish.
|
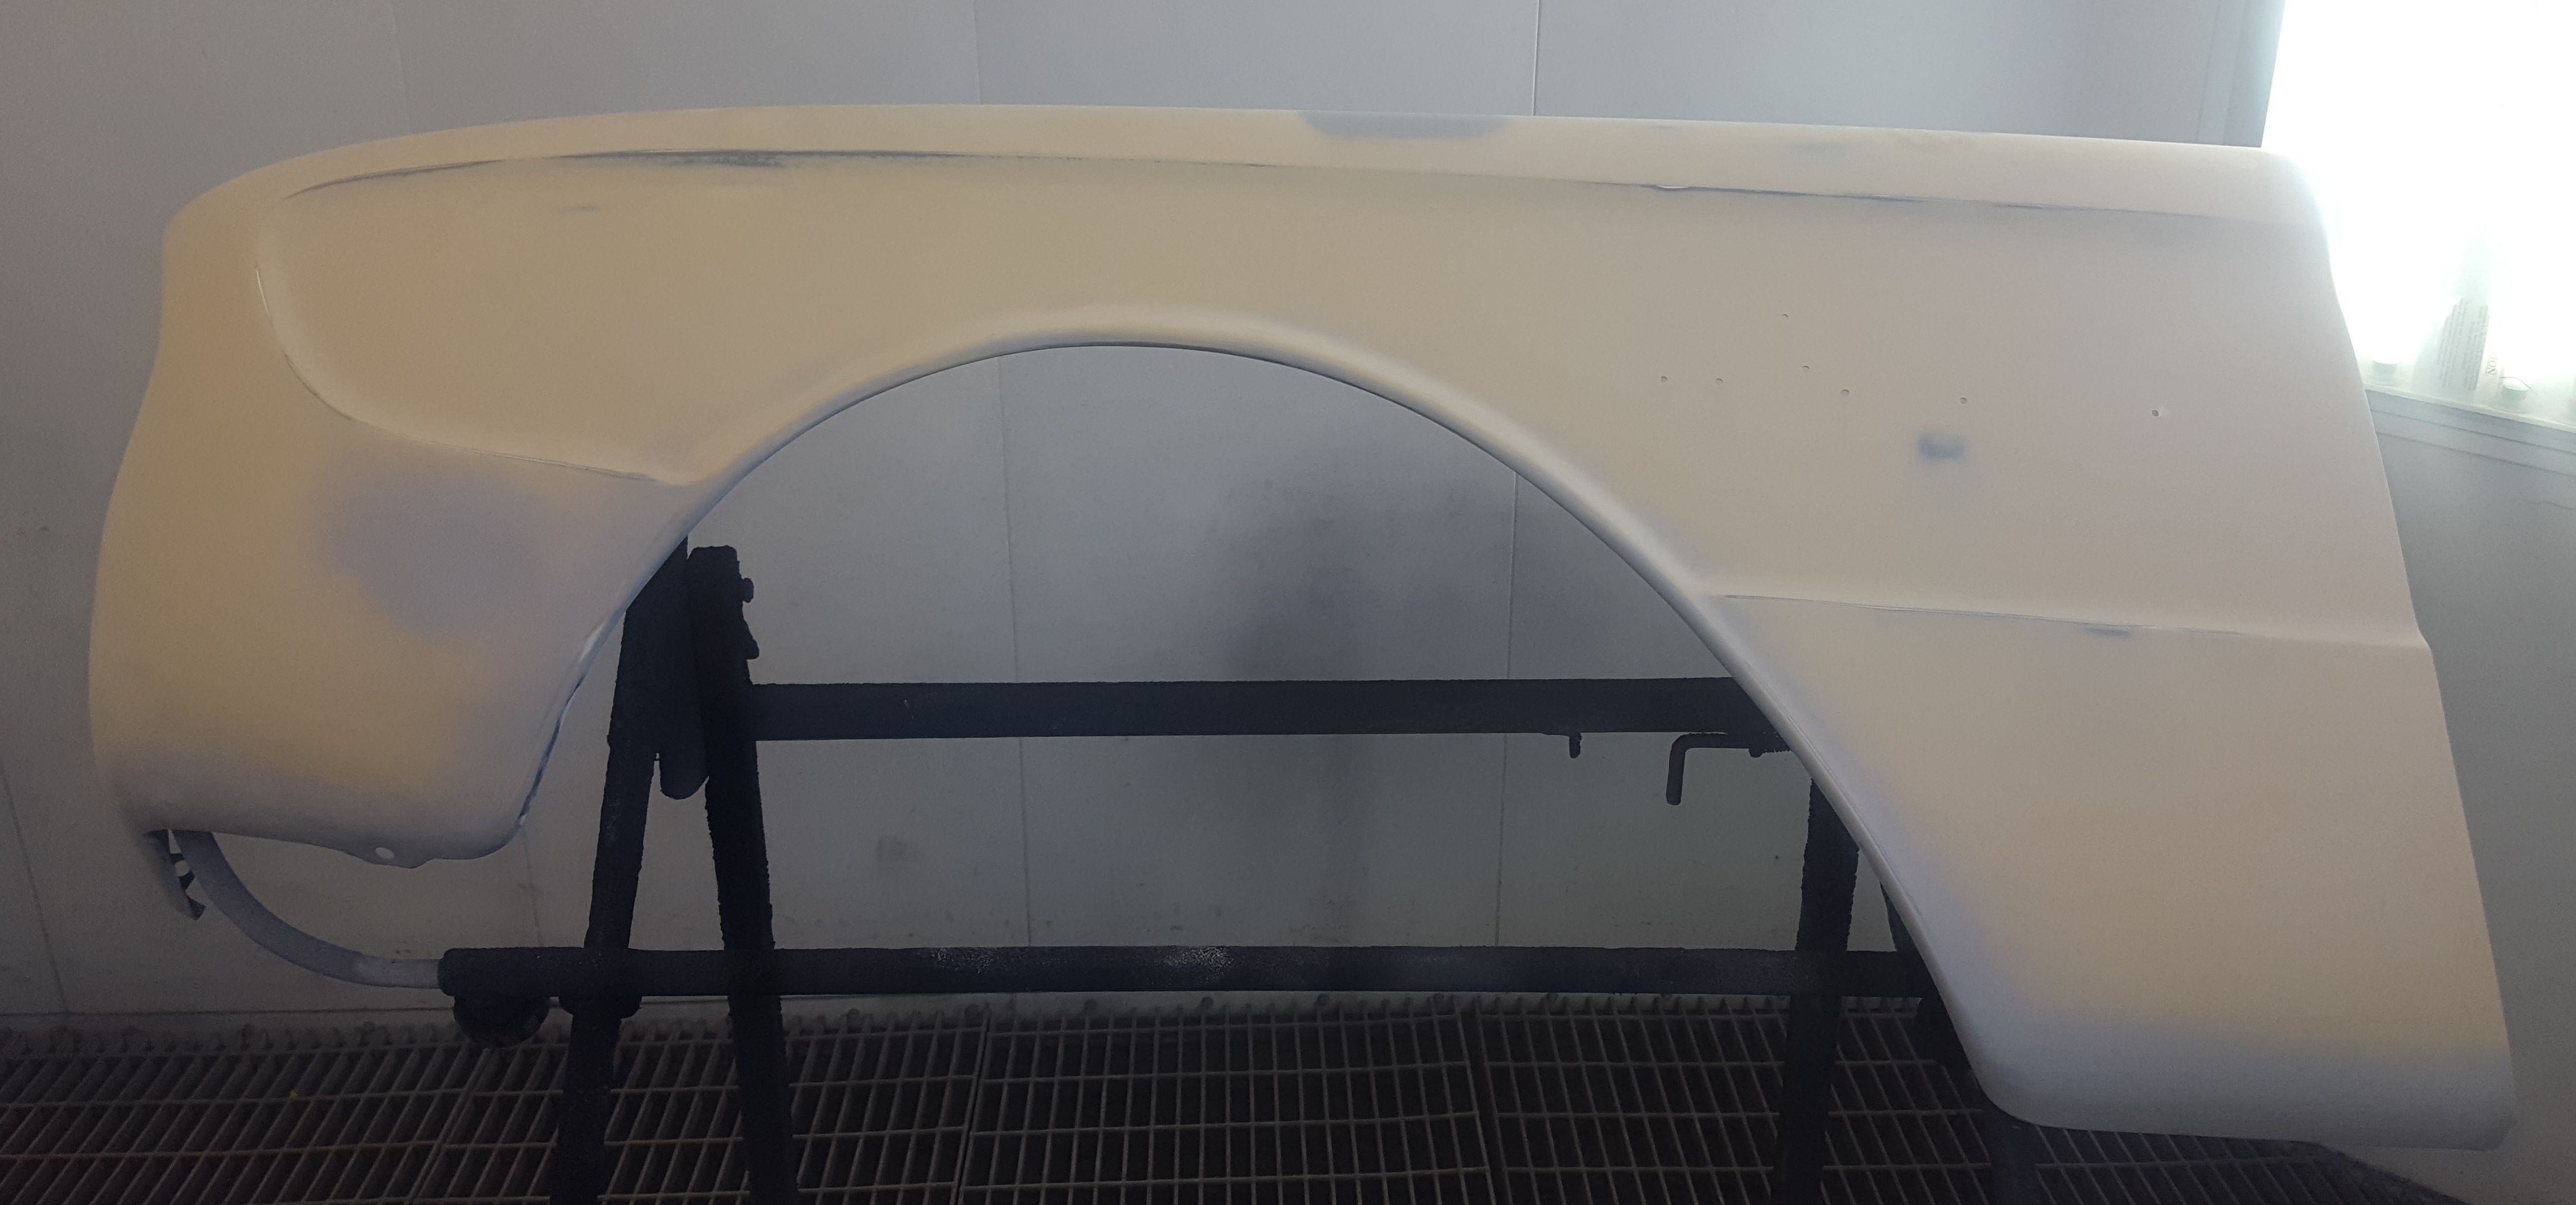
The pros added a touch of sealer to the driver's front fender and sanded it back down where bare metal was showing.
|

The passenger front fender needed a bit of sealer on the bare metal spots. More sanding to make sure the surface is smooth.
|

And this shows the reason for the pro's intervention. Note the gray seal coat peeking through the yellow. The gray line is the back edge of the package tray that we couldn't reach due to the way we taped off the back window. We warned the painter of this, so he took different steps than we had.
|

The small parts tree is sporting many yellow parts.
|
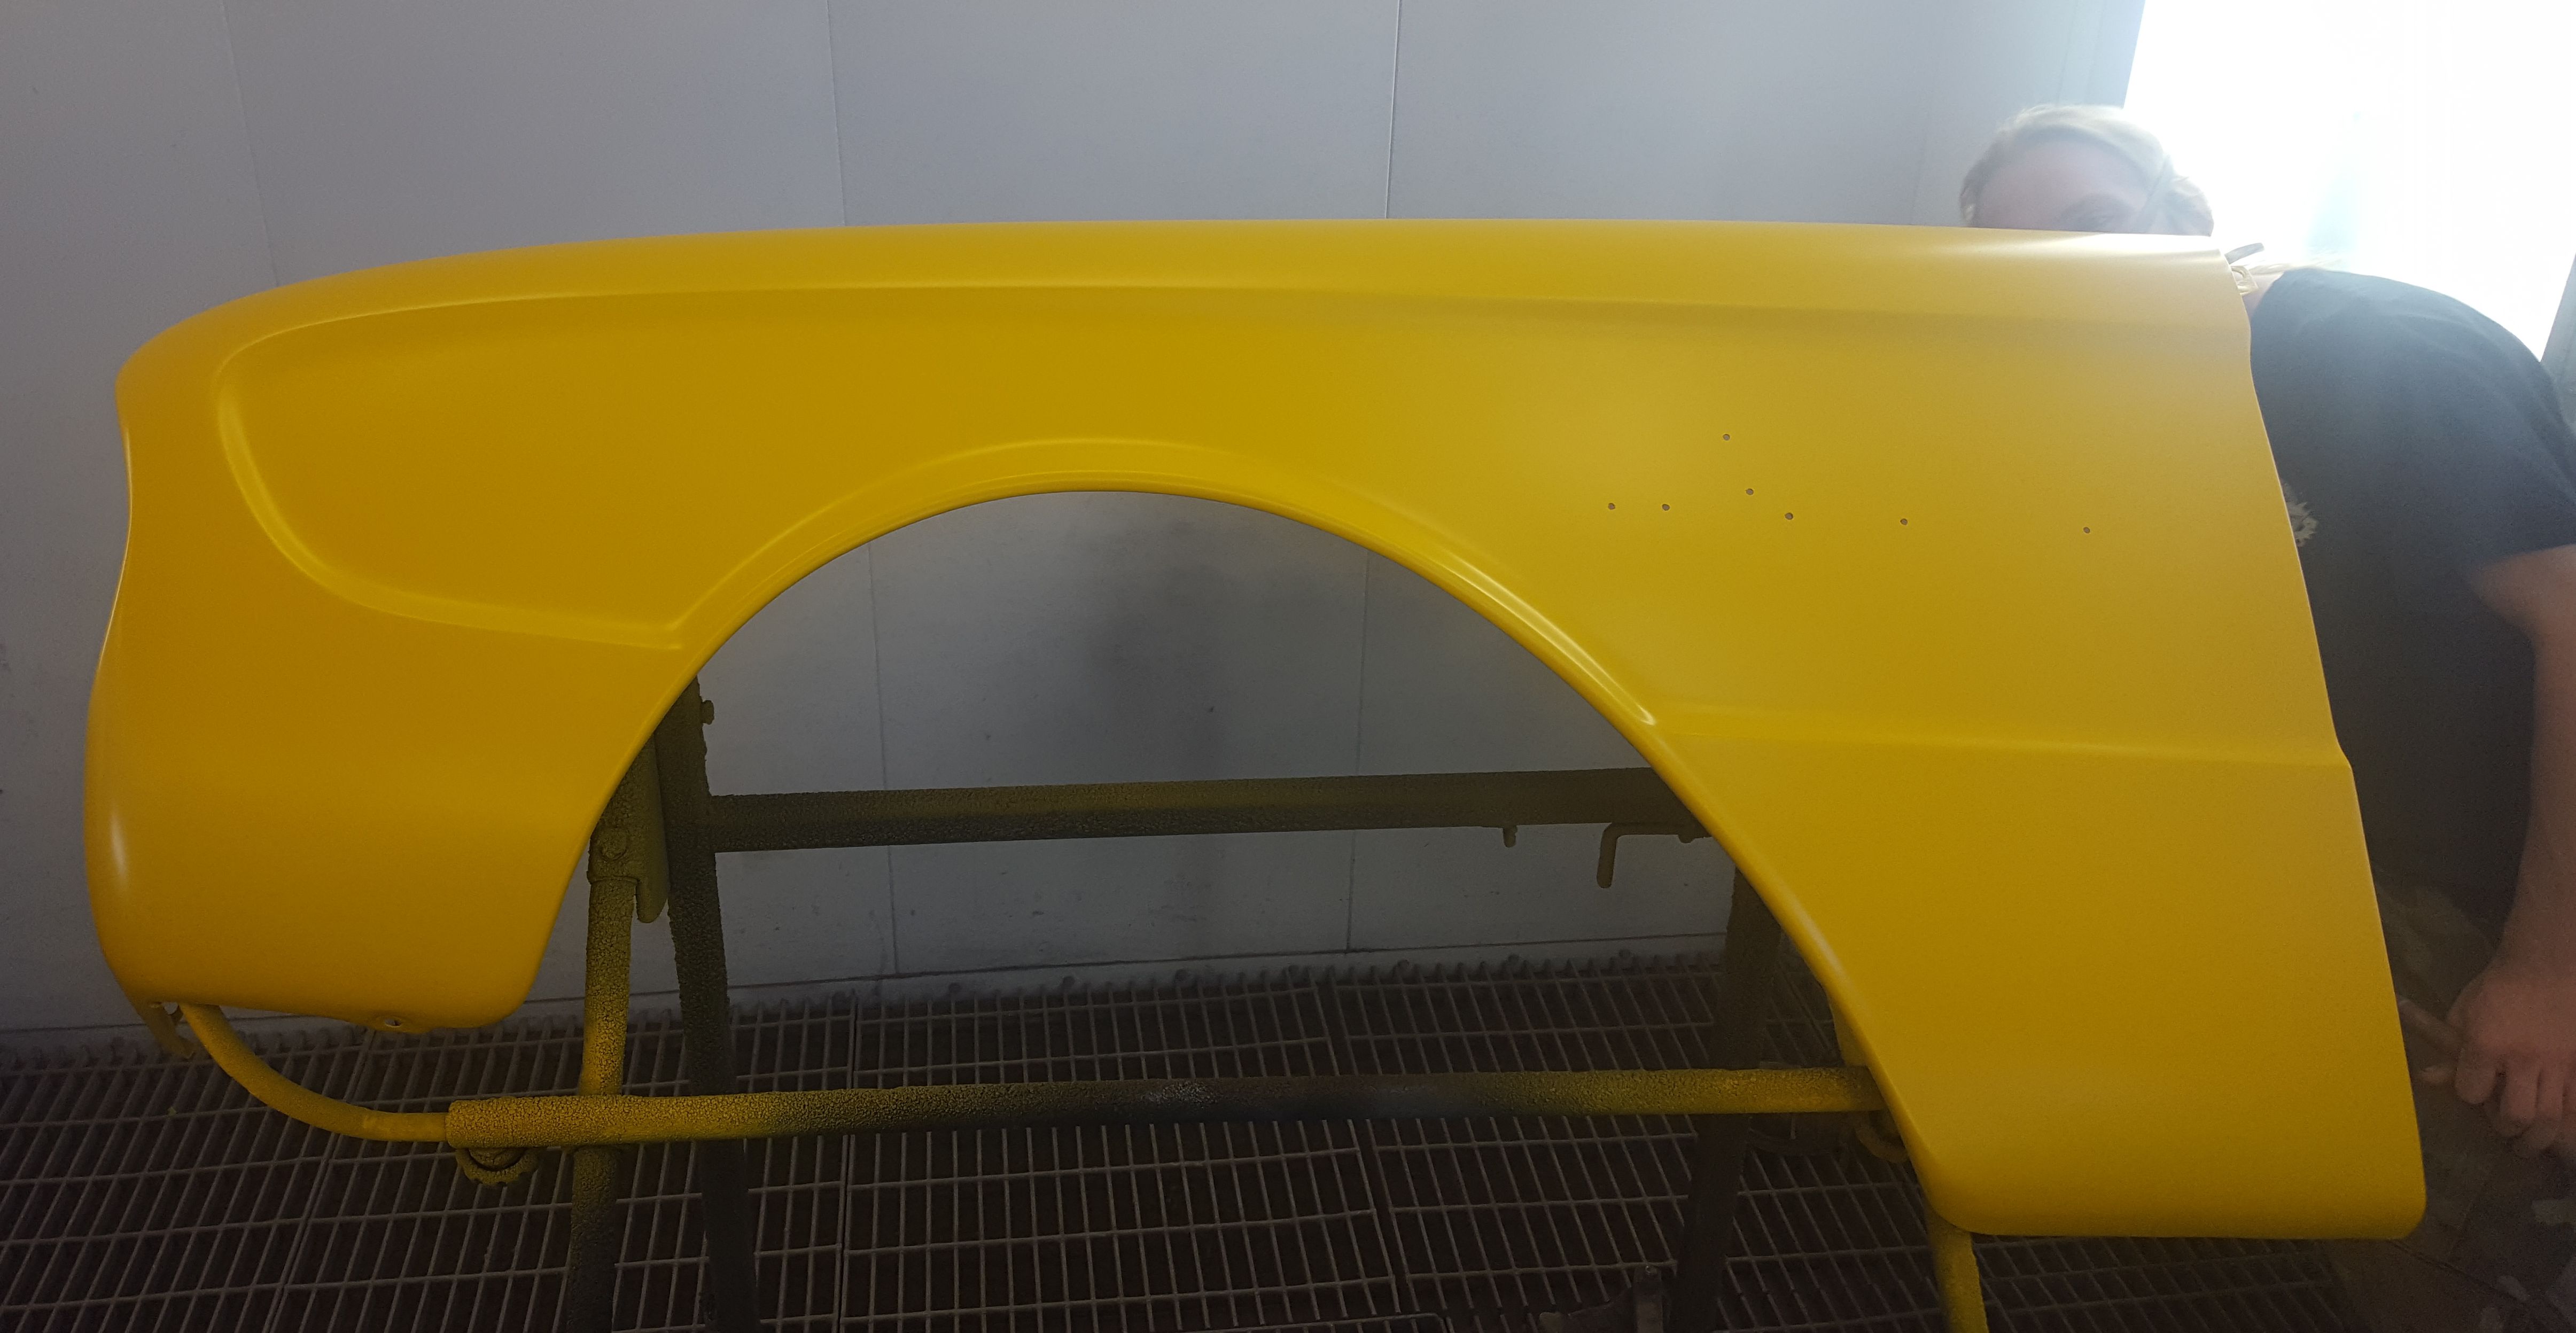
The driver front fender in good yellow. The pro said the yellow covered poorly. No wonder we had problems.
|

The front valance looks better than I expected.
|
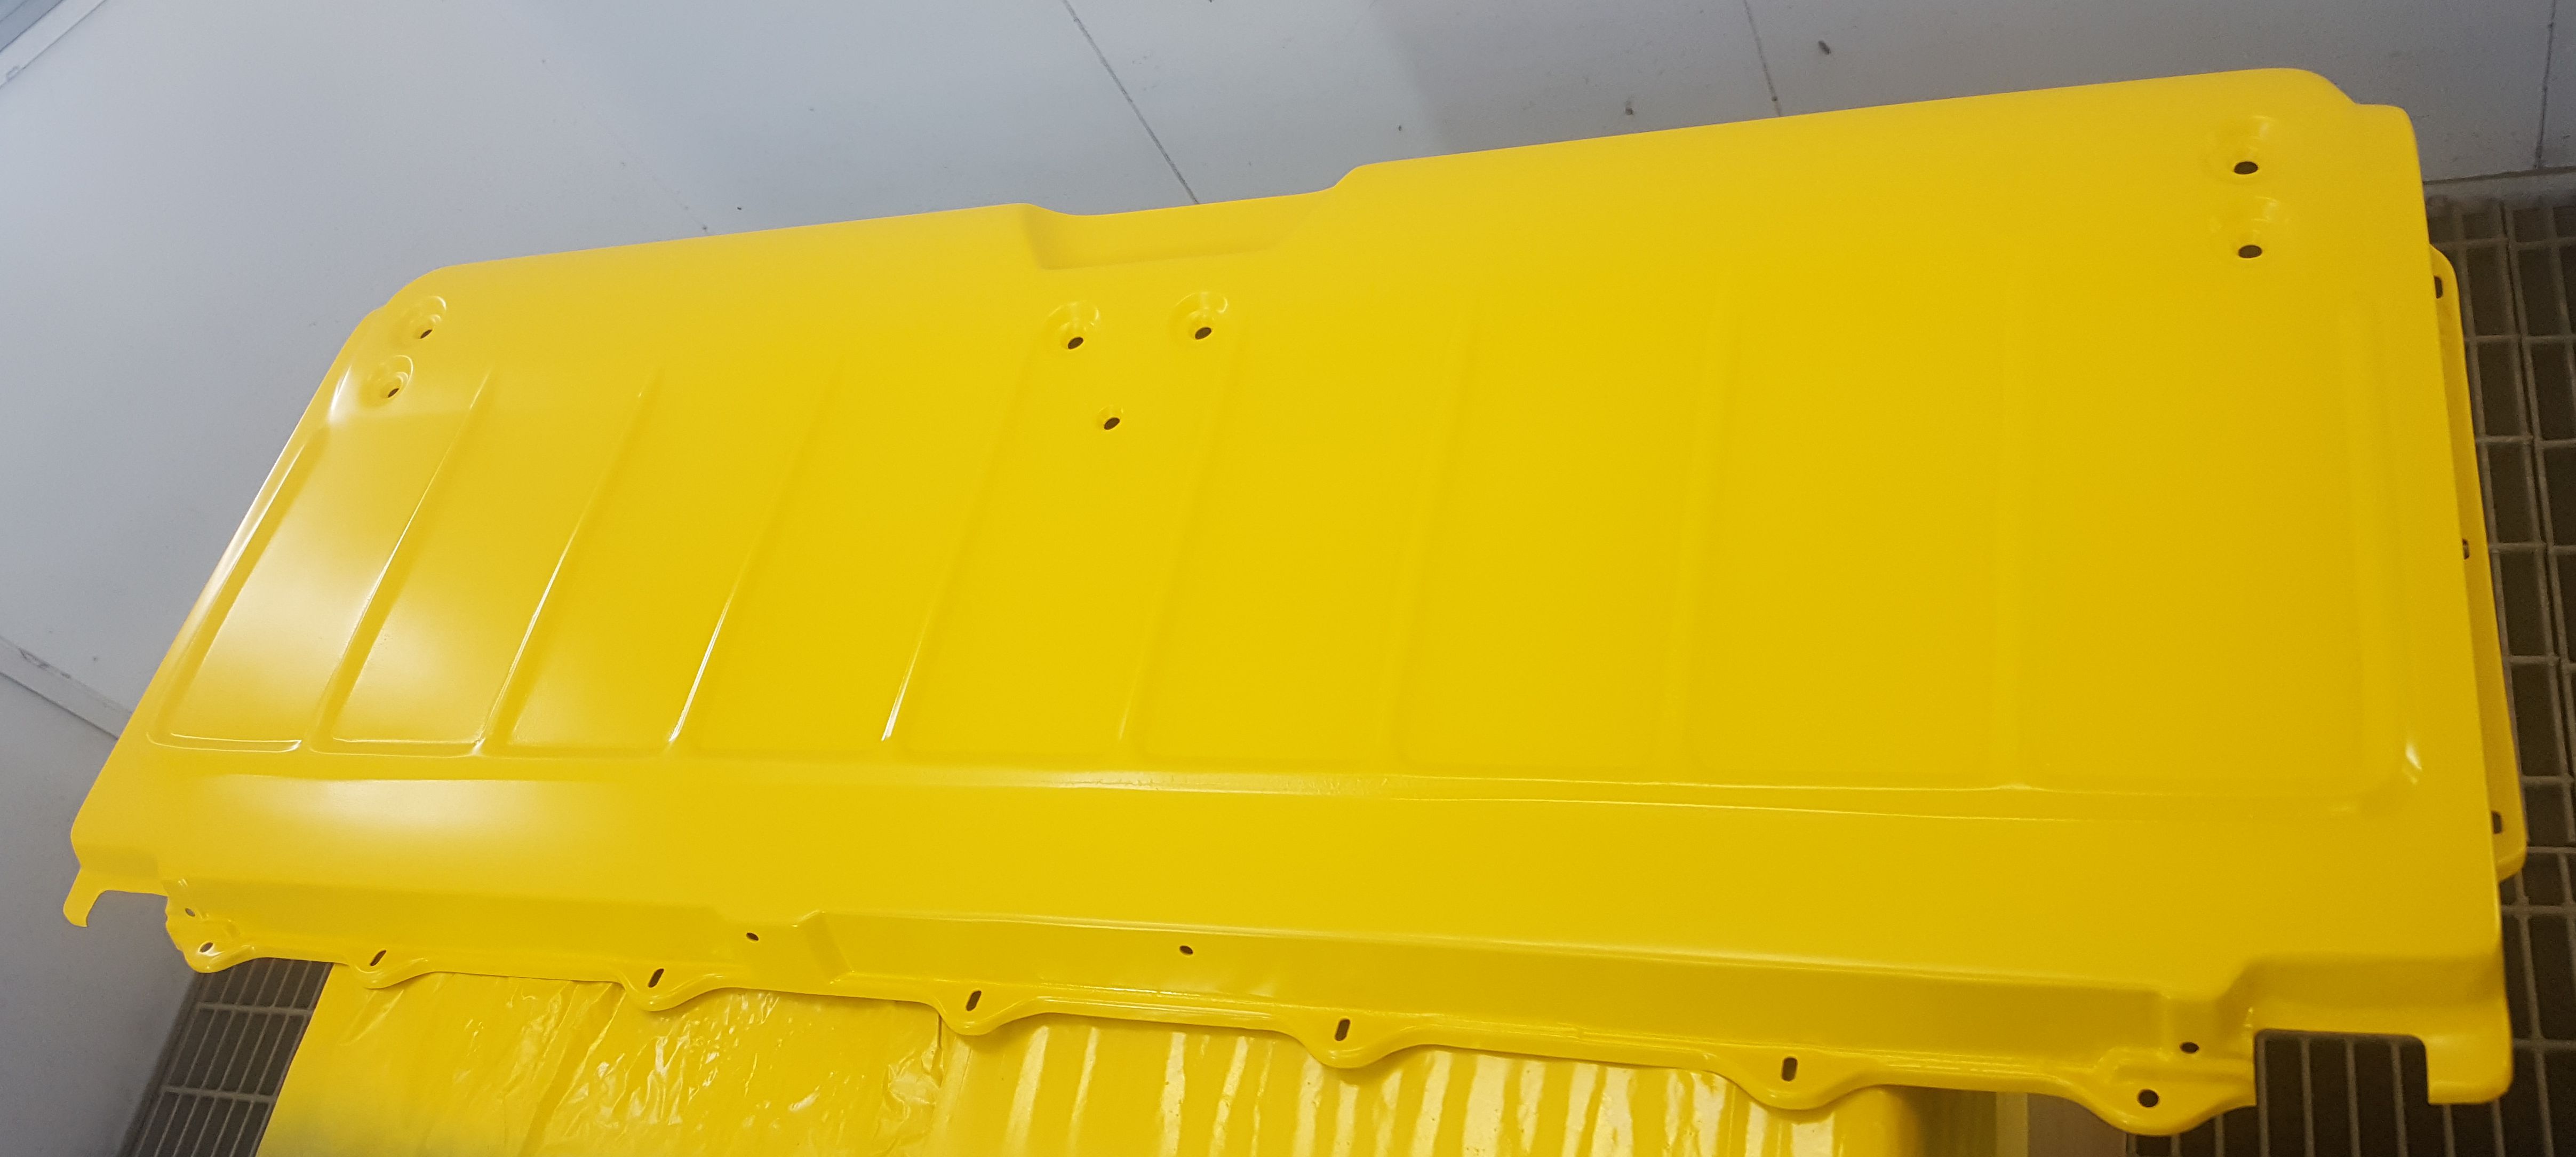
The inner tailgate now in yellow and clear. Remember how rough this piece was? Not anymore. This looks better than I expected.
|

And this is what the clear should look like! Those reflections say it all. There is almost no orange peel roughness. That's what a great paint job looks like.
|

The tailgate with it's emblems. Looking sharp now, especially with the deep shine in the smooth paint.
|

And the jewelry on the fender, all three pieces. She is going to look very sharp.
|

This is the radio grill that goes in the top center of the dash.
|
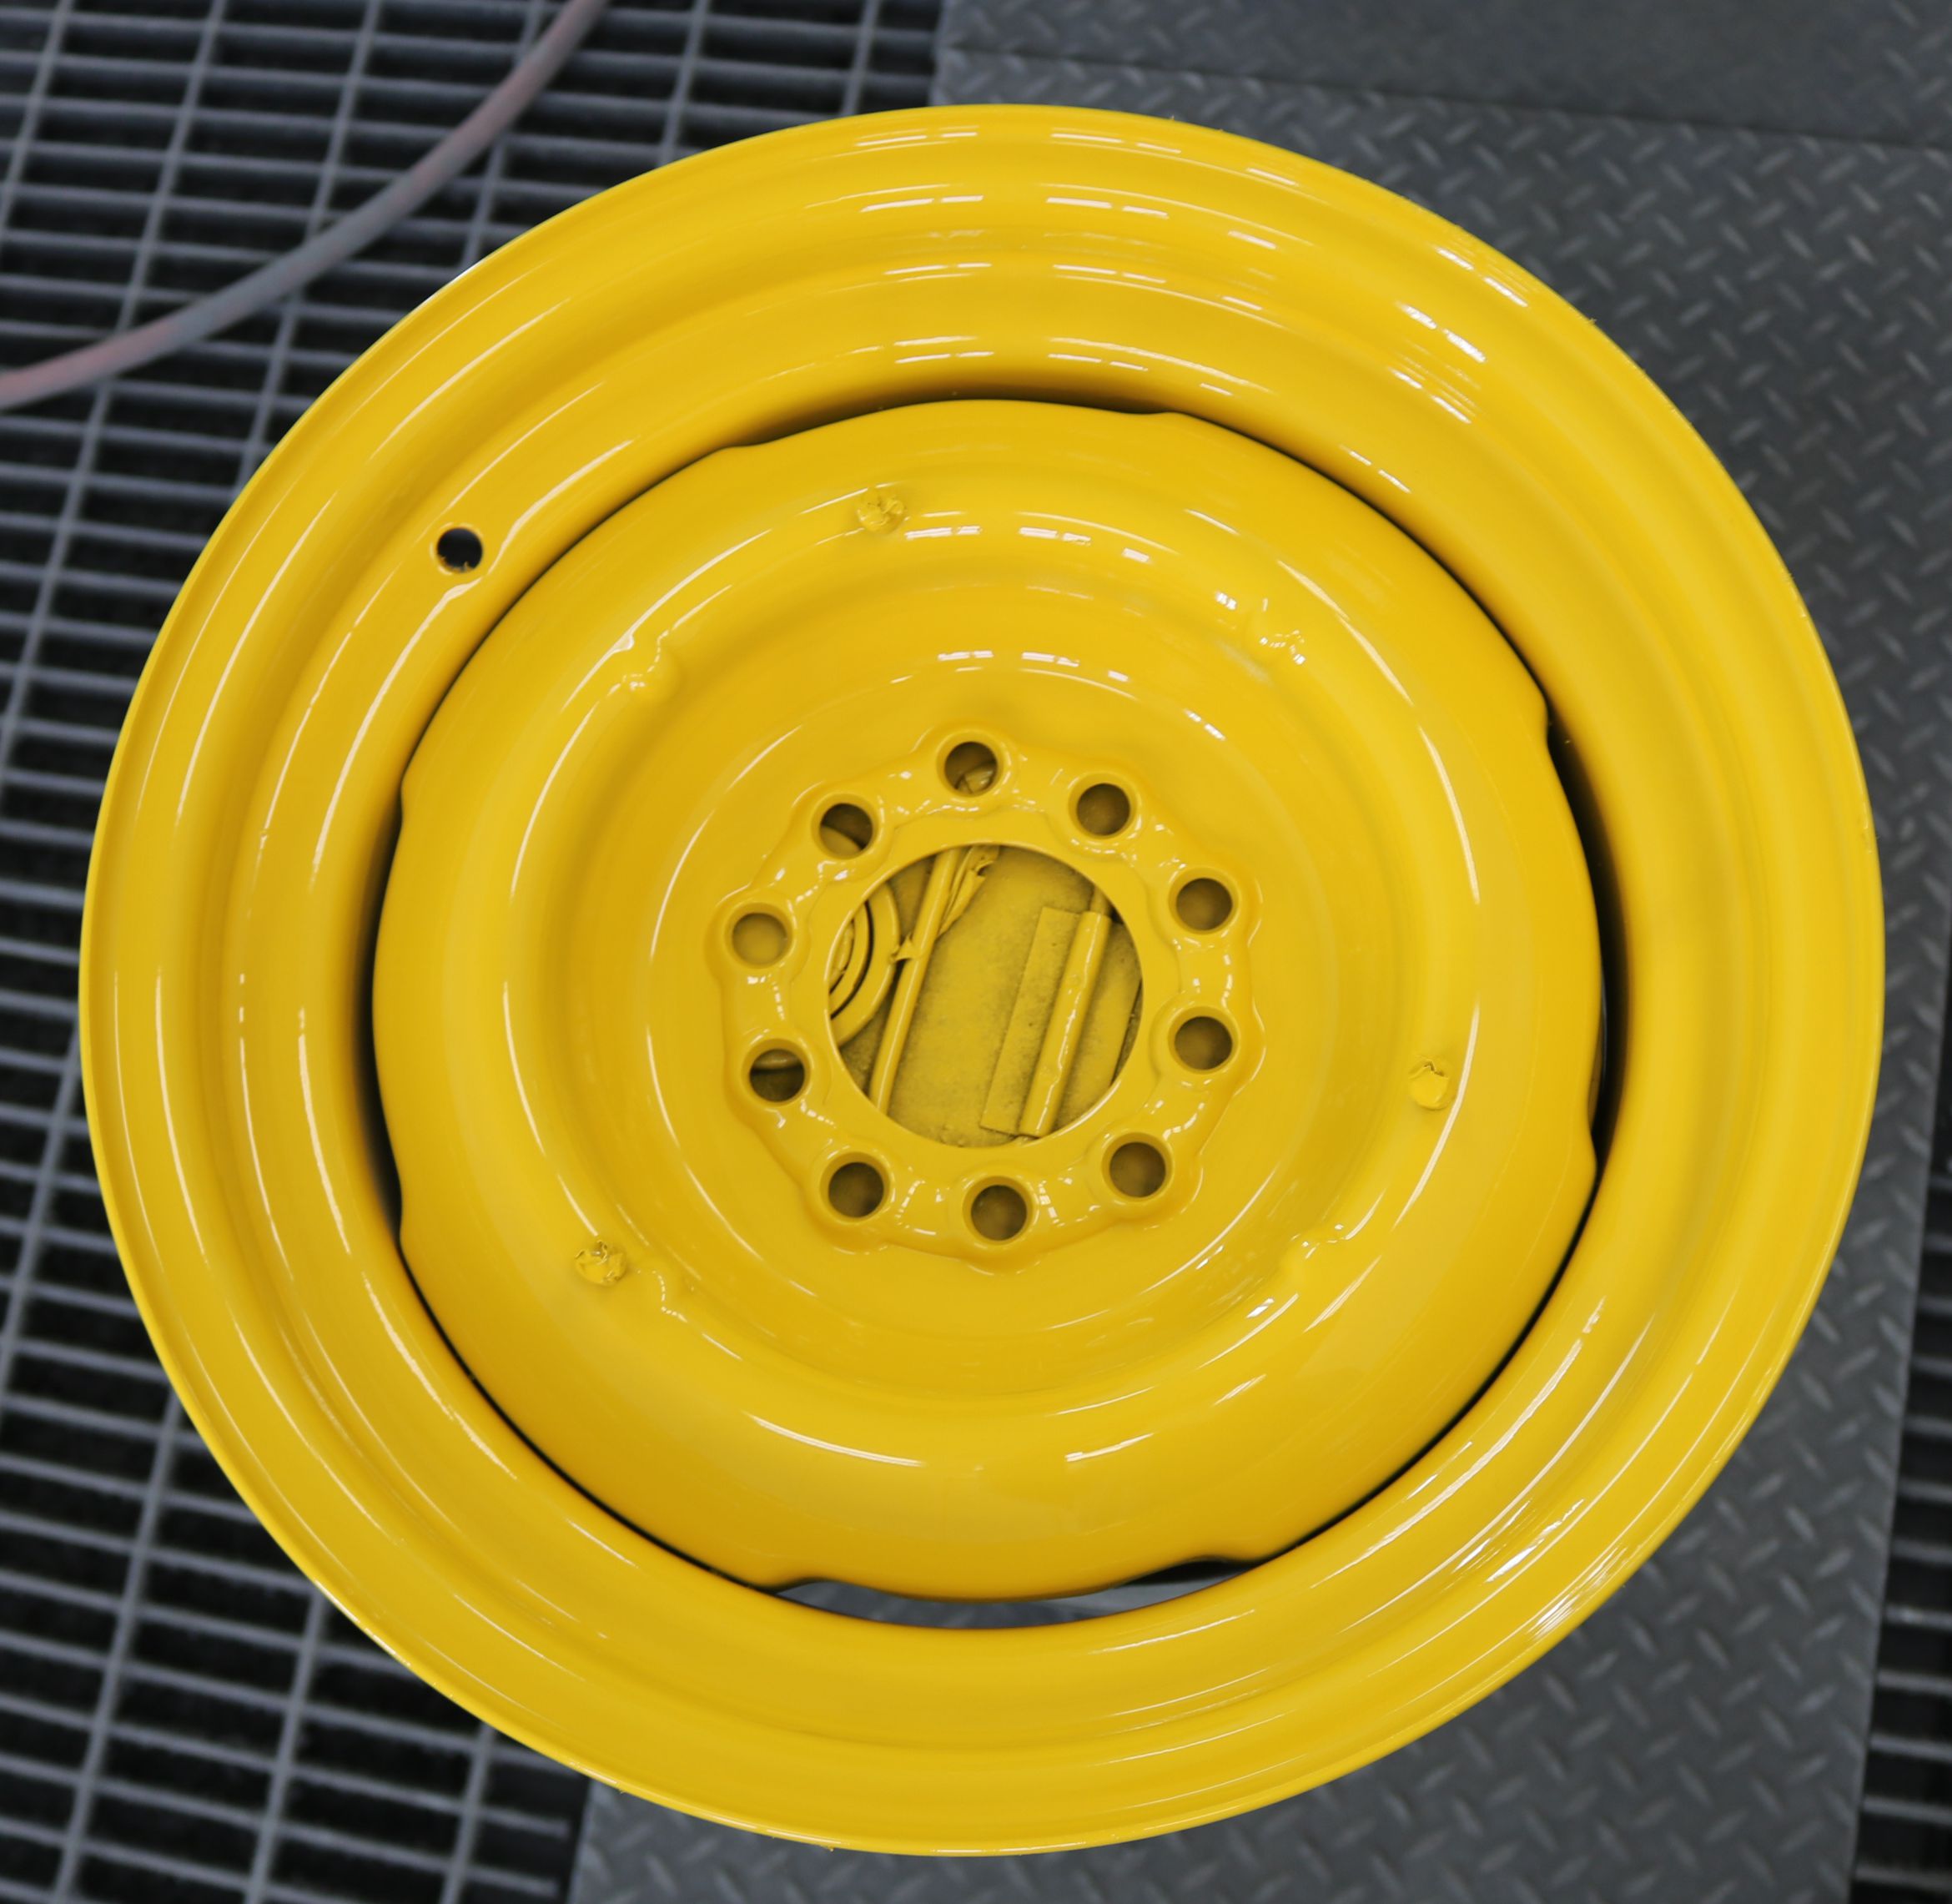
The front of the new custom wheel. These will look fantastic with the polished original hubcaps.
|

The doors were sprayed yellow inside and out, then taped off for the small white area to match the two-toning on the dash. The goal for this day was to paint all the white, paint the yellow on the main body, and then clear the main body, except for the bed.
|

The main body will be taped off for spraying the white on the roof and dash.
|

The pro, Rene, lays down a thin tape line to separate the white from the yellow on the doors.
|

The second pro painter, Joe, finishes up with the parts and the back of the wheels.
|

The white section of the passenge door.
|

The roof is back in white and pearl, with good coverage this time. I can actually see the shimmer without the clear.
|

Time to reverse tape the white on the dash so that we can spray yellow. Rene's daughter helped her dad with this part.
|

The dash is ready for yellow now.
|

The back of one of the wheels. The wheels have a deep back space to fit that Explorer rear end while carrying the tire size our son wanted inside the unmodified rear wheel arch.
|

And this is how the pro chose to fix the edge of the package tray. And also part of the reason the bed will be sprayed separate. For the yellow and clear, both painters were in the booth, keeping to their agreed upon sides and small parts. John did the few parts on the front of the car and Rene did the doors and small parts at the back.
|

The main body in color and clear. It will sit like this for a few days, then the engine and transmission will be installed while we wait for the next opportunity that the painters will have to spray the bed.
|

But since that opportunity was going to be another week, we brought the body home to start the reassembly process on everything except the tailgate.
|

