
Once the windshield was in, the corner trim could be screwed into place. This is using the factory screw hole on the passenger corner. The driver side was flush along the bottom of the trim. Original fit and finish isn't always perfect.
|

In this case, we drilled a new hole in the correct location to make the passenger side flush to match the driver side.
|

The windshield, fully installed.
|

The rear glass was only temporarily installed. It will need to be removed again to paint the back of the cab.
|

The father and son team now tackle the carpet. Minor modifications had to be made because of the modified transmission tunnel. The carpet was for a 61-65 Ranchero and the late '63s had a larger transmission tunnel at the bell housing (front of the tunnel). Our modifications were at the middle of the tunnel. The carpet sags a bit around the front of the transmission tunnel. Holes also had to be cut for the seat bracket bolts.
|

The rear wall plastic panel was trial fit and trimmed to achieve a snug fit once it is covered.
|

A few cuts and adjustments had to be made in the driver footwell to get the carpet to fit.
|

It's starting to all come together now.
|

This is a tool, believe it or not. It was used to locate the screw holes for the back wall plastic panel. The head was removed from a screw and the point sharpened so that it could be threaded into the hole and then the plastic pushed into it so that it made a small mark on the back of the panel. Then the screw hole could be drilled out easily following the marks.
|

One additional custom touch was to add the Ranchero steer head emblem into the cab wall. We had to find the best location for it.
|

The doors to the boxes were trial fitted with the back wall panel.
|

A tachometer will be mounted on the dash. The blue tape protects the speakers and the paint from the holes that need to be drilled. This is the factory location for the optional tachometer in later models.
|

The mounted tachometer. It was easier to locate this way, then drill the holes. The '63 Falcon Sprint had the option for a tach for the V8 engine. We could not use the V8 tach as we only have a 6 cyl, so we choose a very close looking after market gage from AutoMeter.
|

The mounts come up through the grates in the speaker grill. The original factory option would have been screwed directly to the dash just in front of the speaker grill (just off camera to the right), but we chose not to drill holes in the dash.
|

These are the tachometer mounting studs.
|

Betsy offered to hold the parts as they were being staged for final installation.
|

The mostly finished dash.
|

The stock dome light and rear view mirror. The sunvisors are still on backorder, so only the rods have been installed for now.
|

Custom floor mats will keep the carpet cleaner.
|

Other than a bit of wiring, kick panels, the rear cab wall, and the door panels, the interior is complete. Now to remove the seats to finish the custom rear cab wall.
|

Time to finish the custom panel for the rear cab wall. One final trial fit of the trimmed rear panel with the speakers installed before it is covered.
|

We covered the custom rear panel in vinyl from TMI to match the seats, then installed it, along with a custom cargo light, rear speakers, and the bullshead Ranchero emblem.
|

Stainless trim screws dress out the rear panel, including the B-pillar lower panels.
|

Dad reinstalled the seat brackets so that he could make a template for the side panel.
|

The seat bracketry is ugly and needs a customer cover.
|

So we made a custom cover and covered it to match to seats and the rear panel.
|

The modified glove box is ready to be installed. It was shortened to accommodate the new AC box.
|
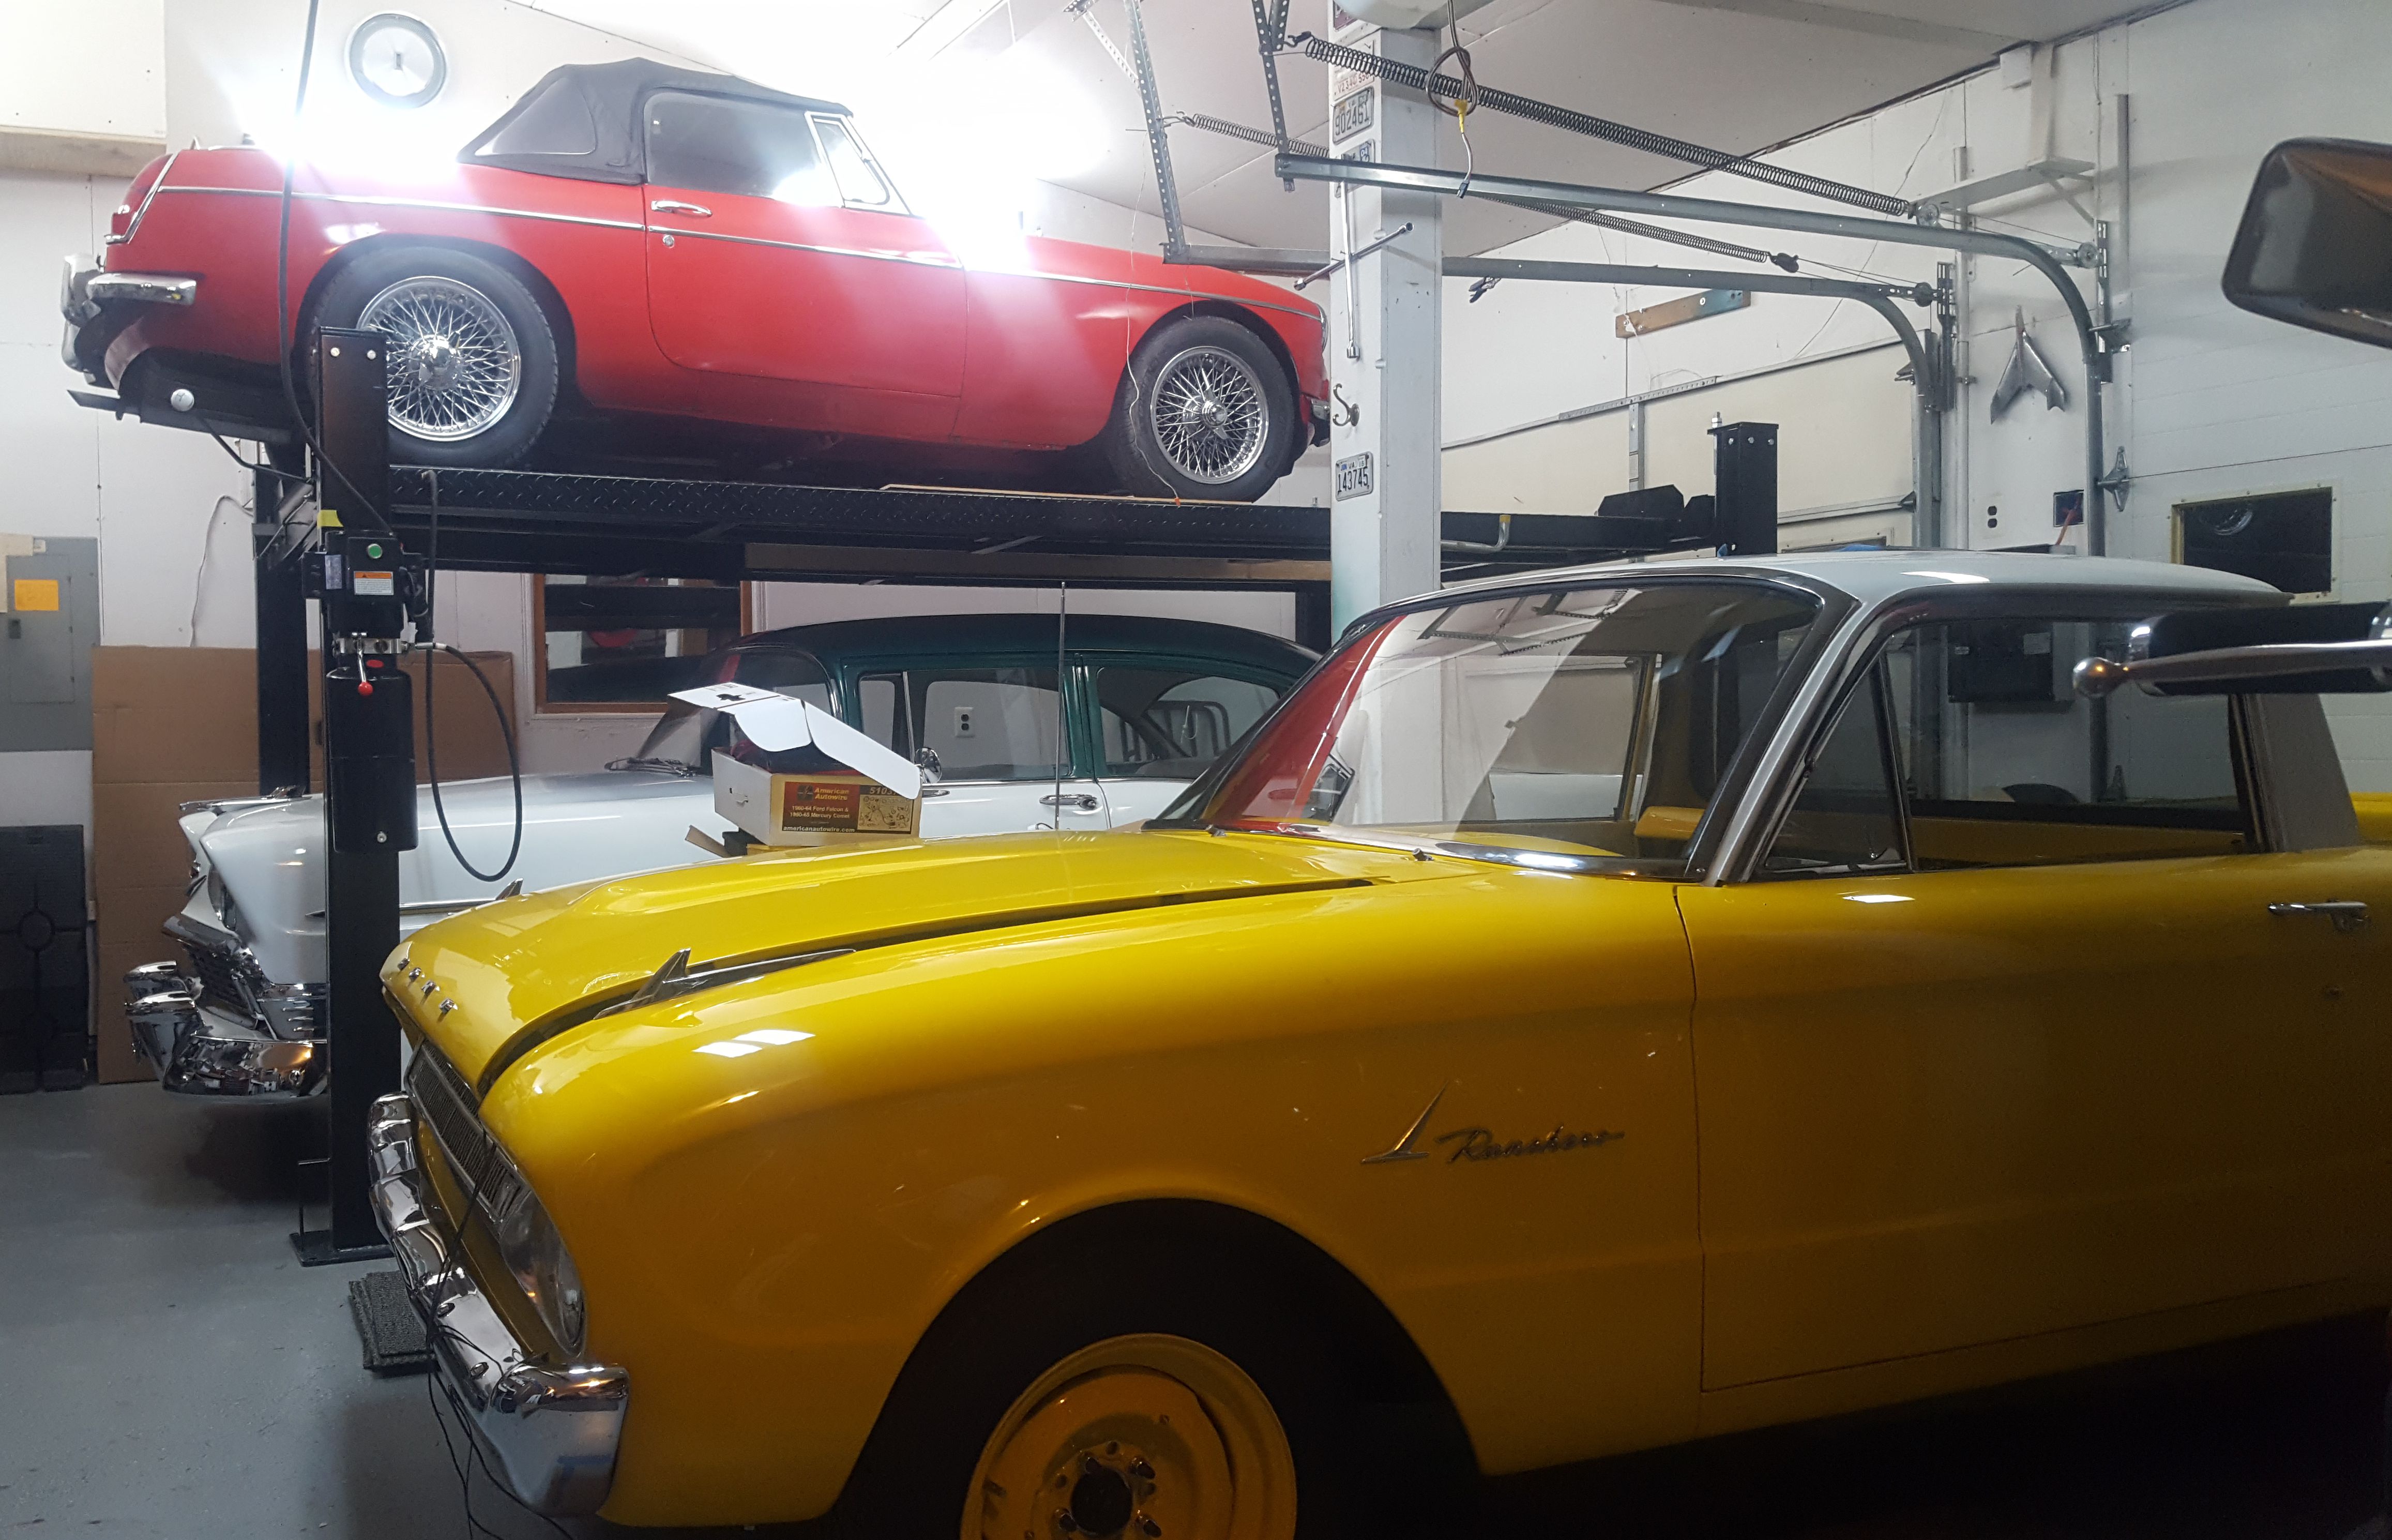
Sadie watches from her bird's eye view while Betsy waits to trade stalls with the Ranchero once it is done and driveable.
|

The mostly completed interior, with just a little bit of wiring left.
|

For now, our son decided to go with the stock door panels. I suspect these will be customized in the near future.
|

The RetroSound radio fits nicely in the repaired dash.
|

There is a customization pictured here, though most people won't realize it. 1961 Ranchero's did not come with emergency flashers. We removed the choke control as it is no longer needed due to electronic choke and installed an emergency flasher circuit instead (far left knob). Fortunately, the American Autowire harness comes prewired with a flasher circuit. The switch and bezel are out of an early '70s Bronco. With a small spacer and a bit of fabrication, it fit to the dash nicely.
|

The storage boxes access doors were adjusted to fit the thicker back wall panel.
|

The interior looks amazing!
|

The steering wheel was the last piece to be painted yellow. We were so excited that we forgot to take a picture before our son hand sewed on the leather cover. The two small gauges are a 3D printed replica of the Sprint Rally Pack cluster. Chalk one up for modern technology!
|

The yellow wheel looks compliments the dash area much better than the stock black wheel did.
|

Finally, just a few weeks before the deadline, the sunvisors arrived.
|

The installed sunvisors. The interior is finally complete.
|

