
The small pile of parts that went to the school for the rebuild.
|
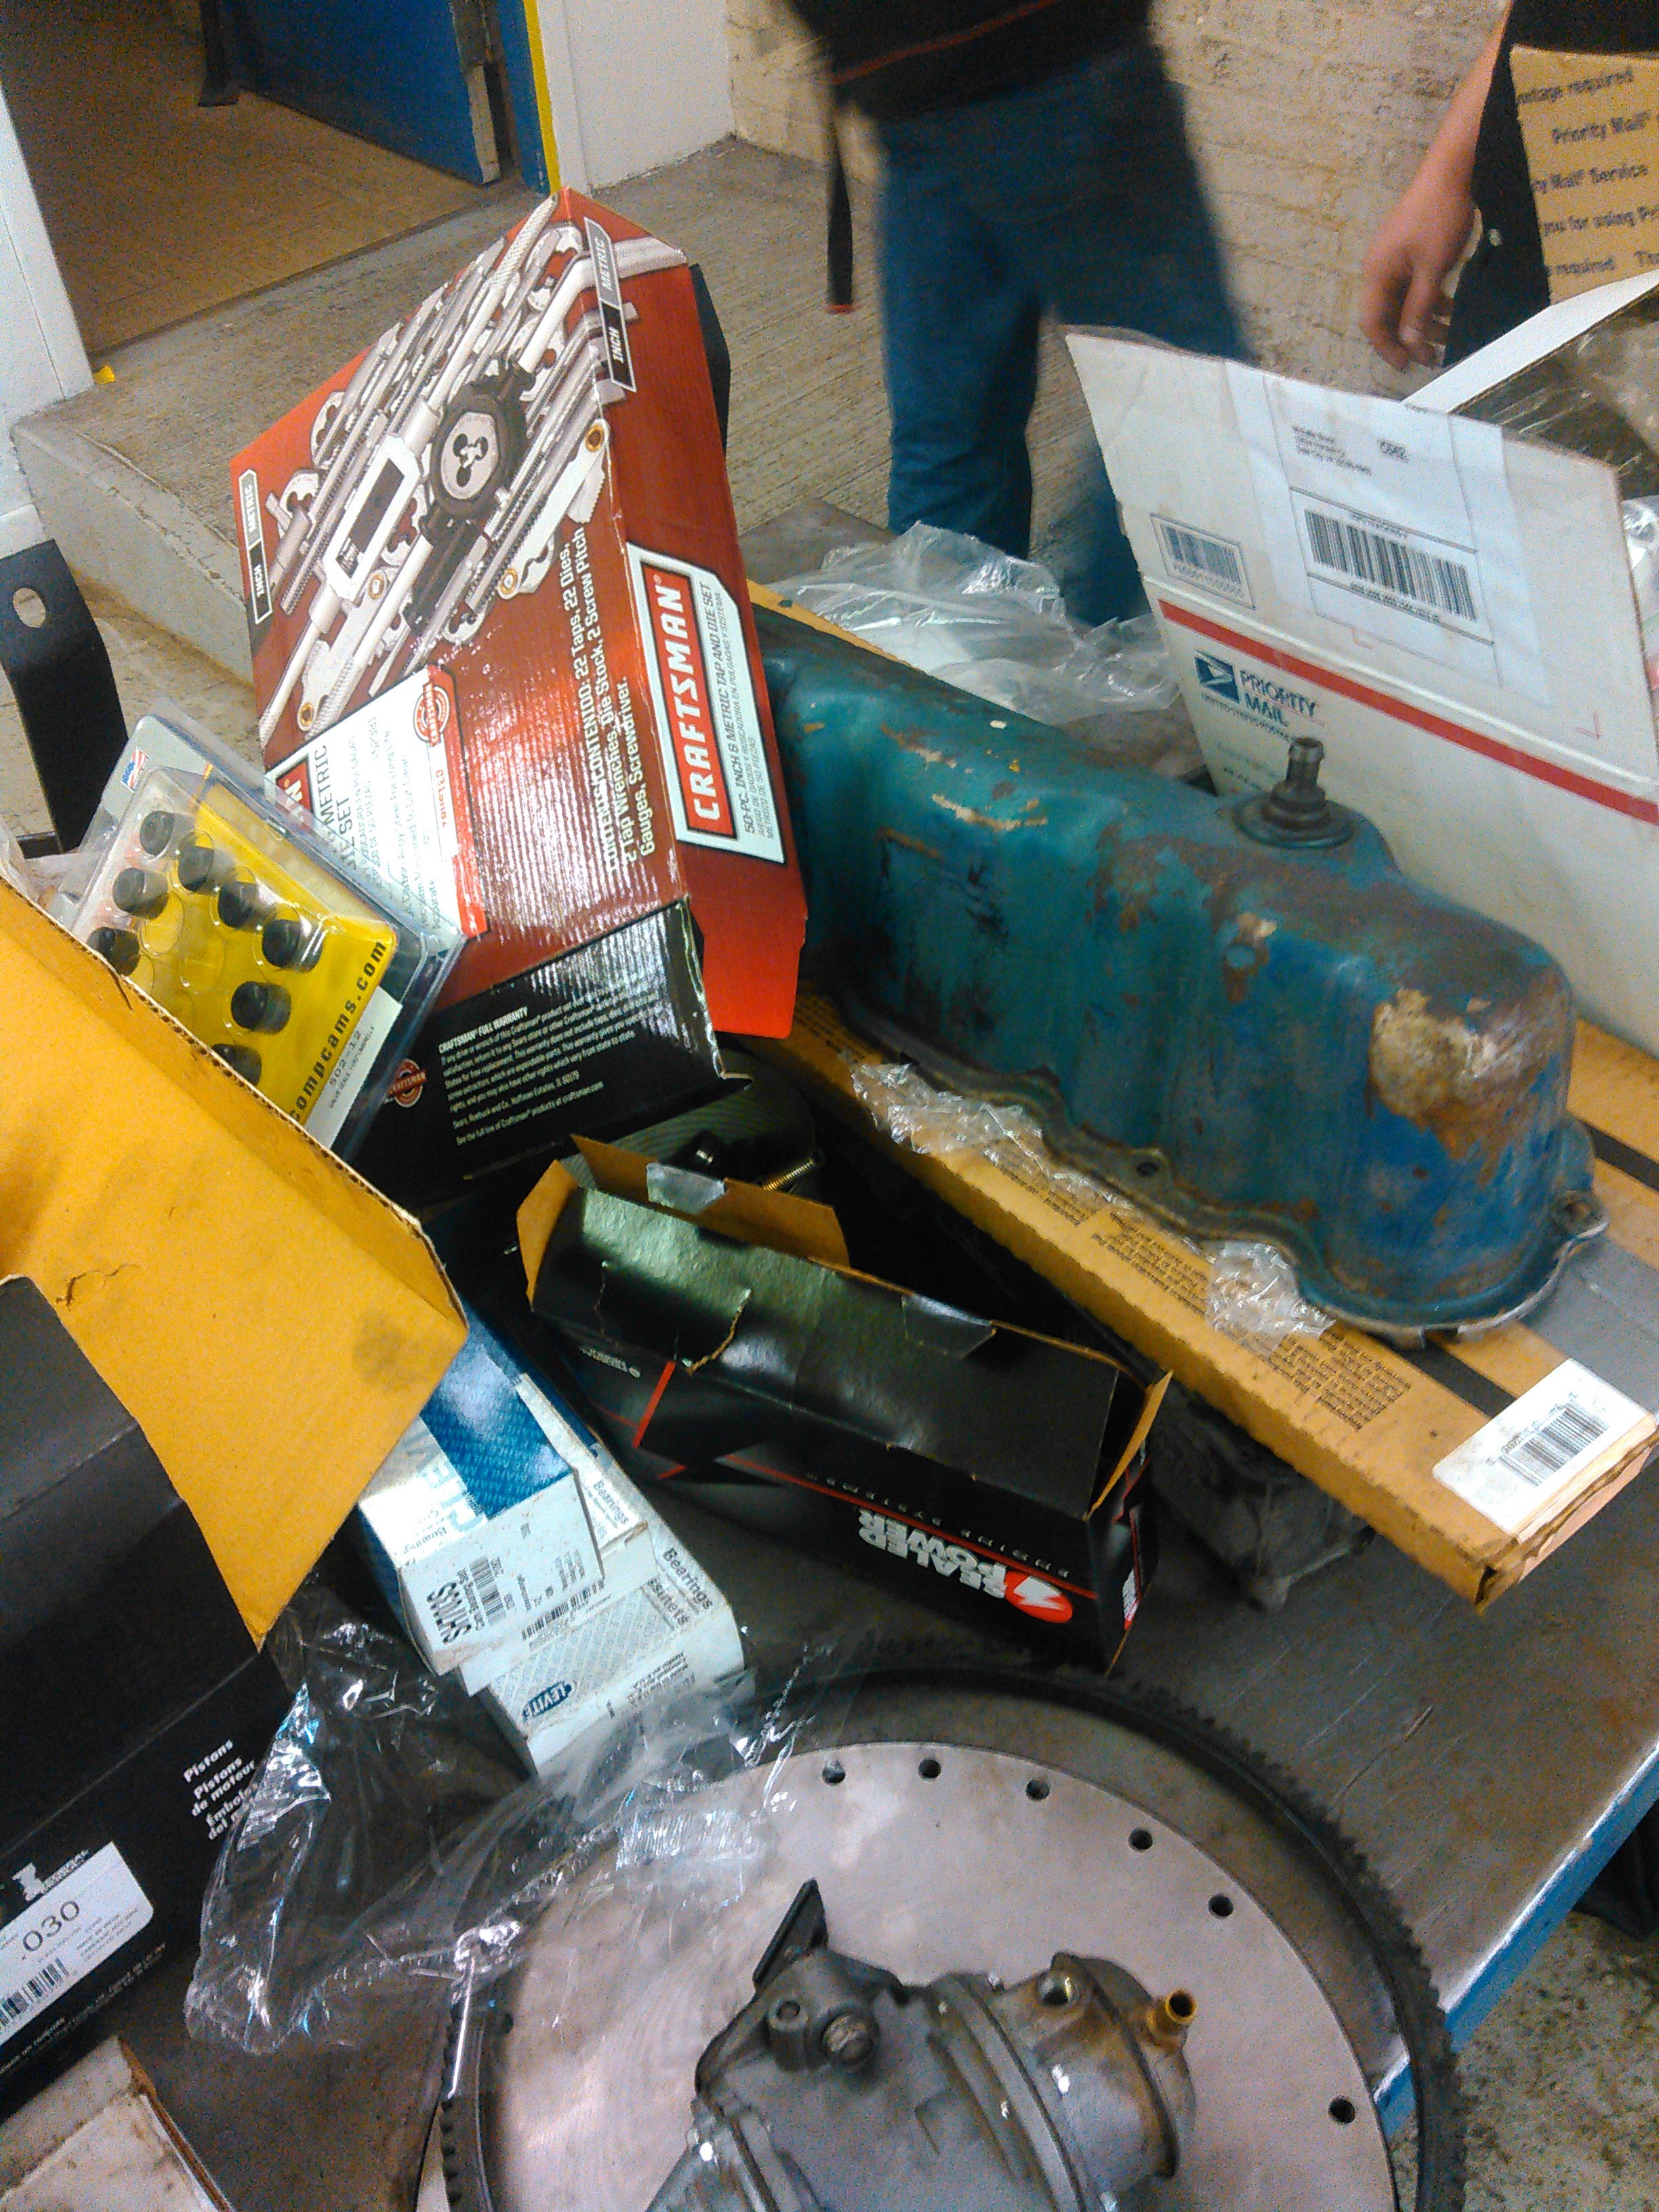
The much larger pile of parts that accumulated once the rebuild started.
|

Some of the parts ready for reassembly - the rocker assembly, exhaust mainfold, cam shaft, crank shaft, cylinder head, and timing cover. The original head had a crack and could not be repaired. This head is off a '78 with the largest intake and exhaust valve heads Ford made for the 6 cylinder. The head had to be shaved to bring the compression back up because modern gaskets are thicker than original head gaskets.
|
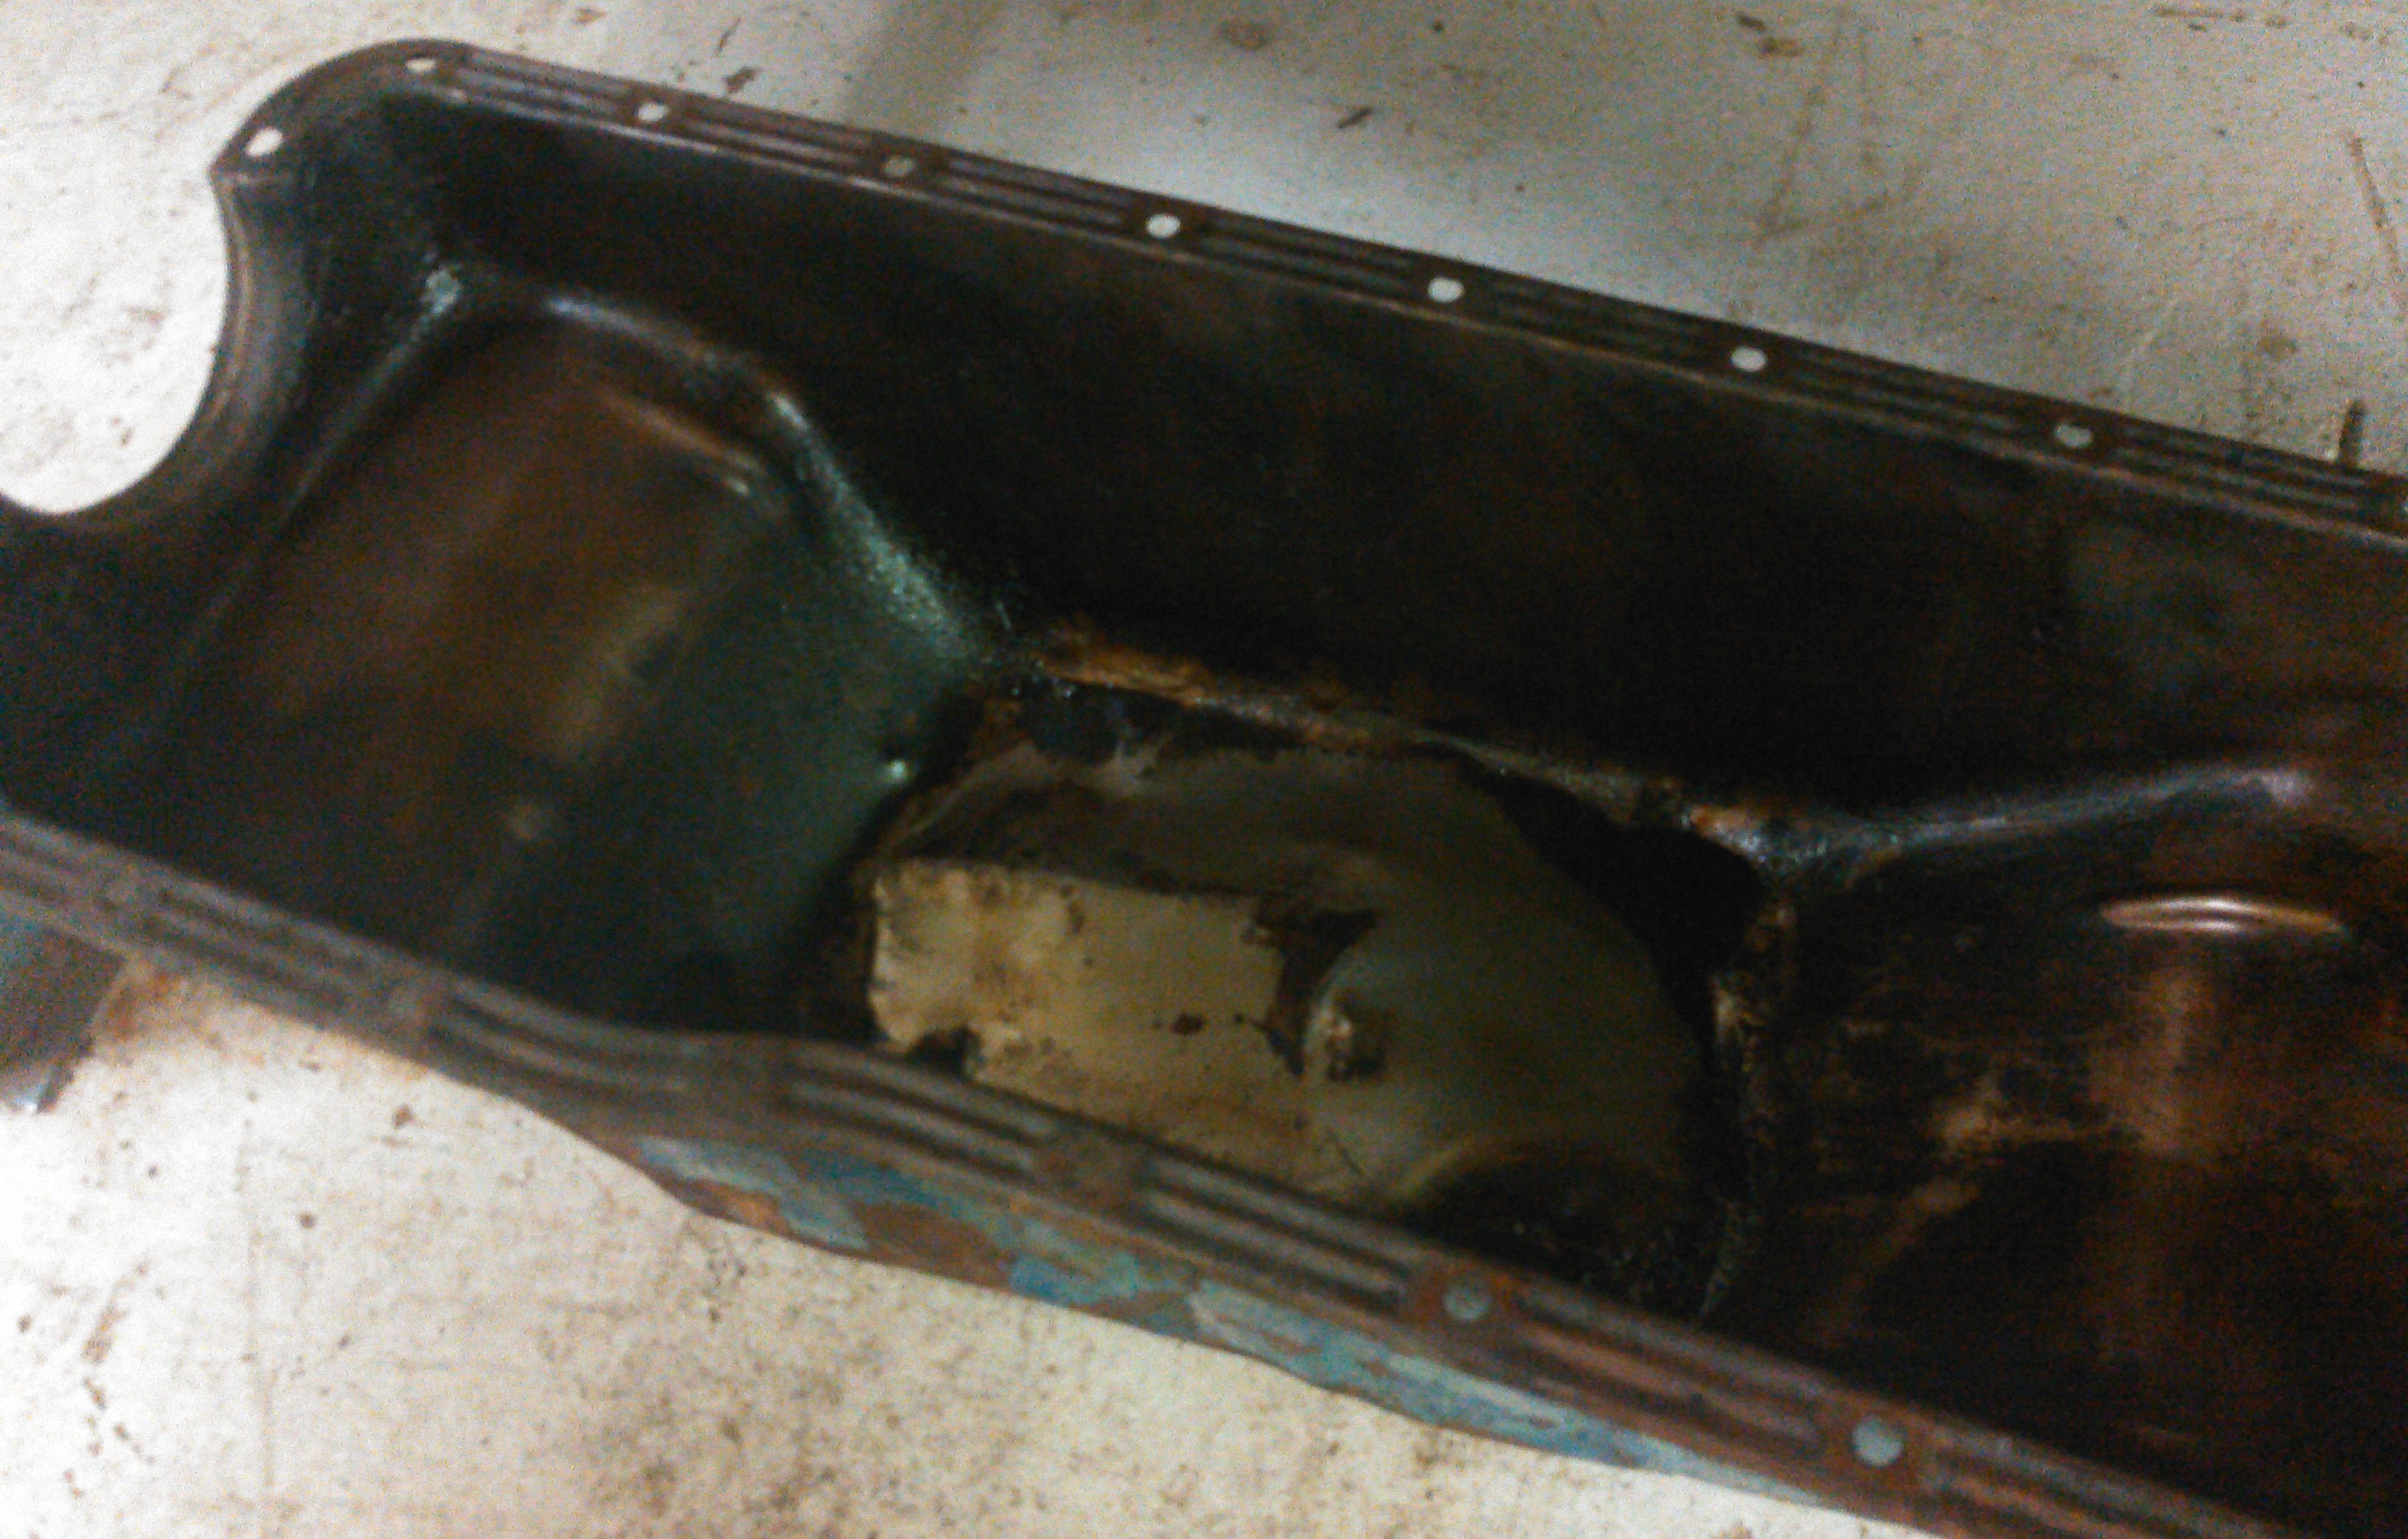
The old oil pan has a large dent in the bottom. That was metal worked out as much as possible.
|

Once the block was mic'ed by the machine shop, the correct pistons, rings, and bearings were ordered and the machine work finished. Once the parts arrived, the engine was assembled. We used ARP studs on the engine.
|
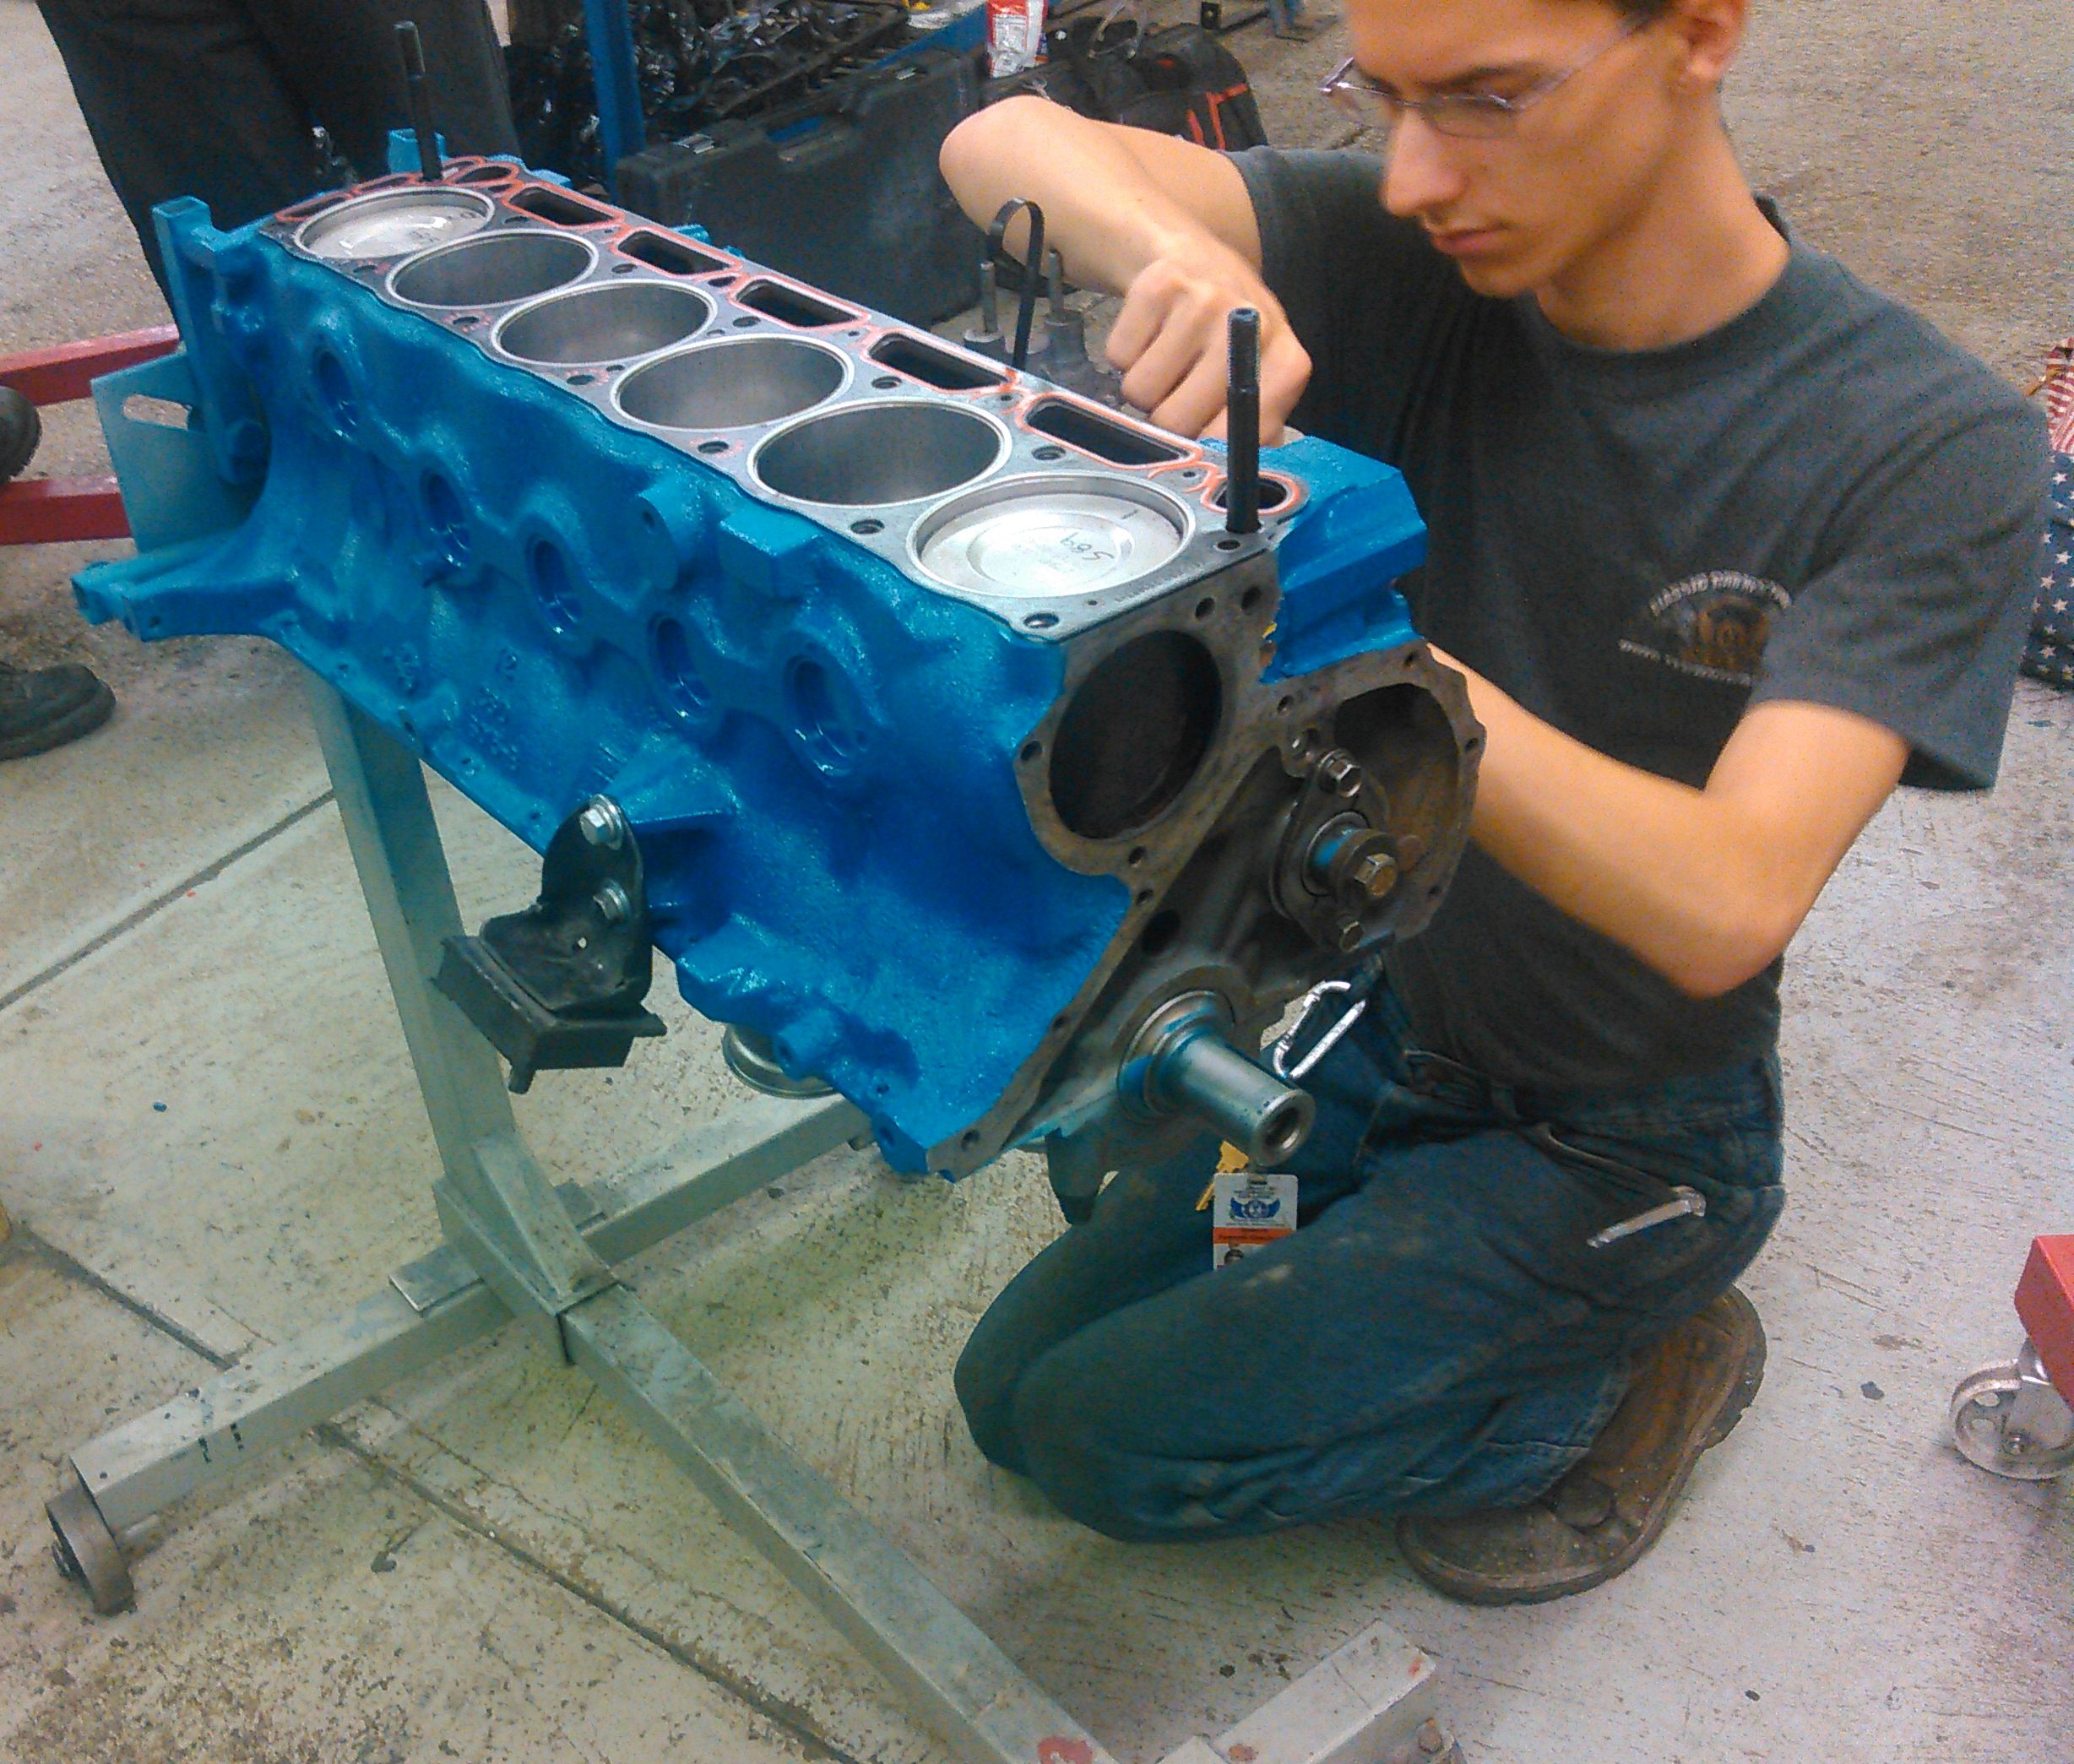
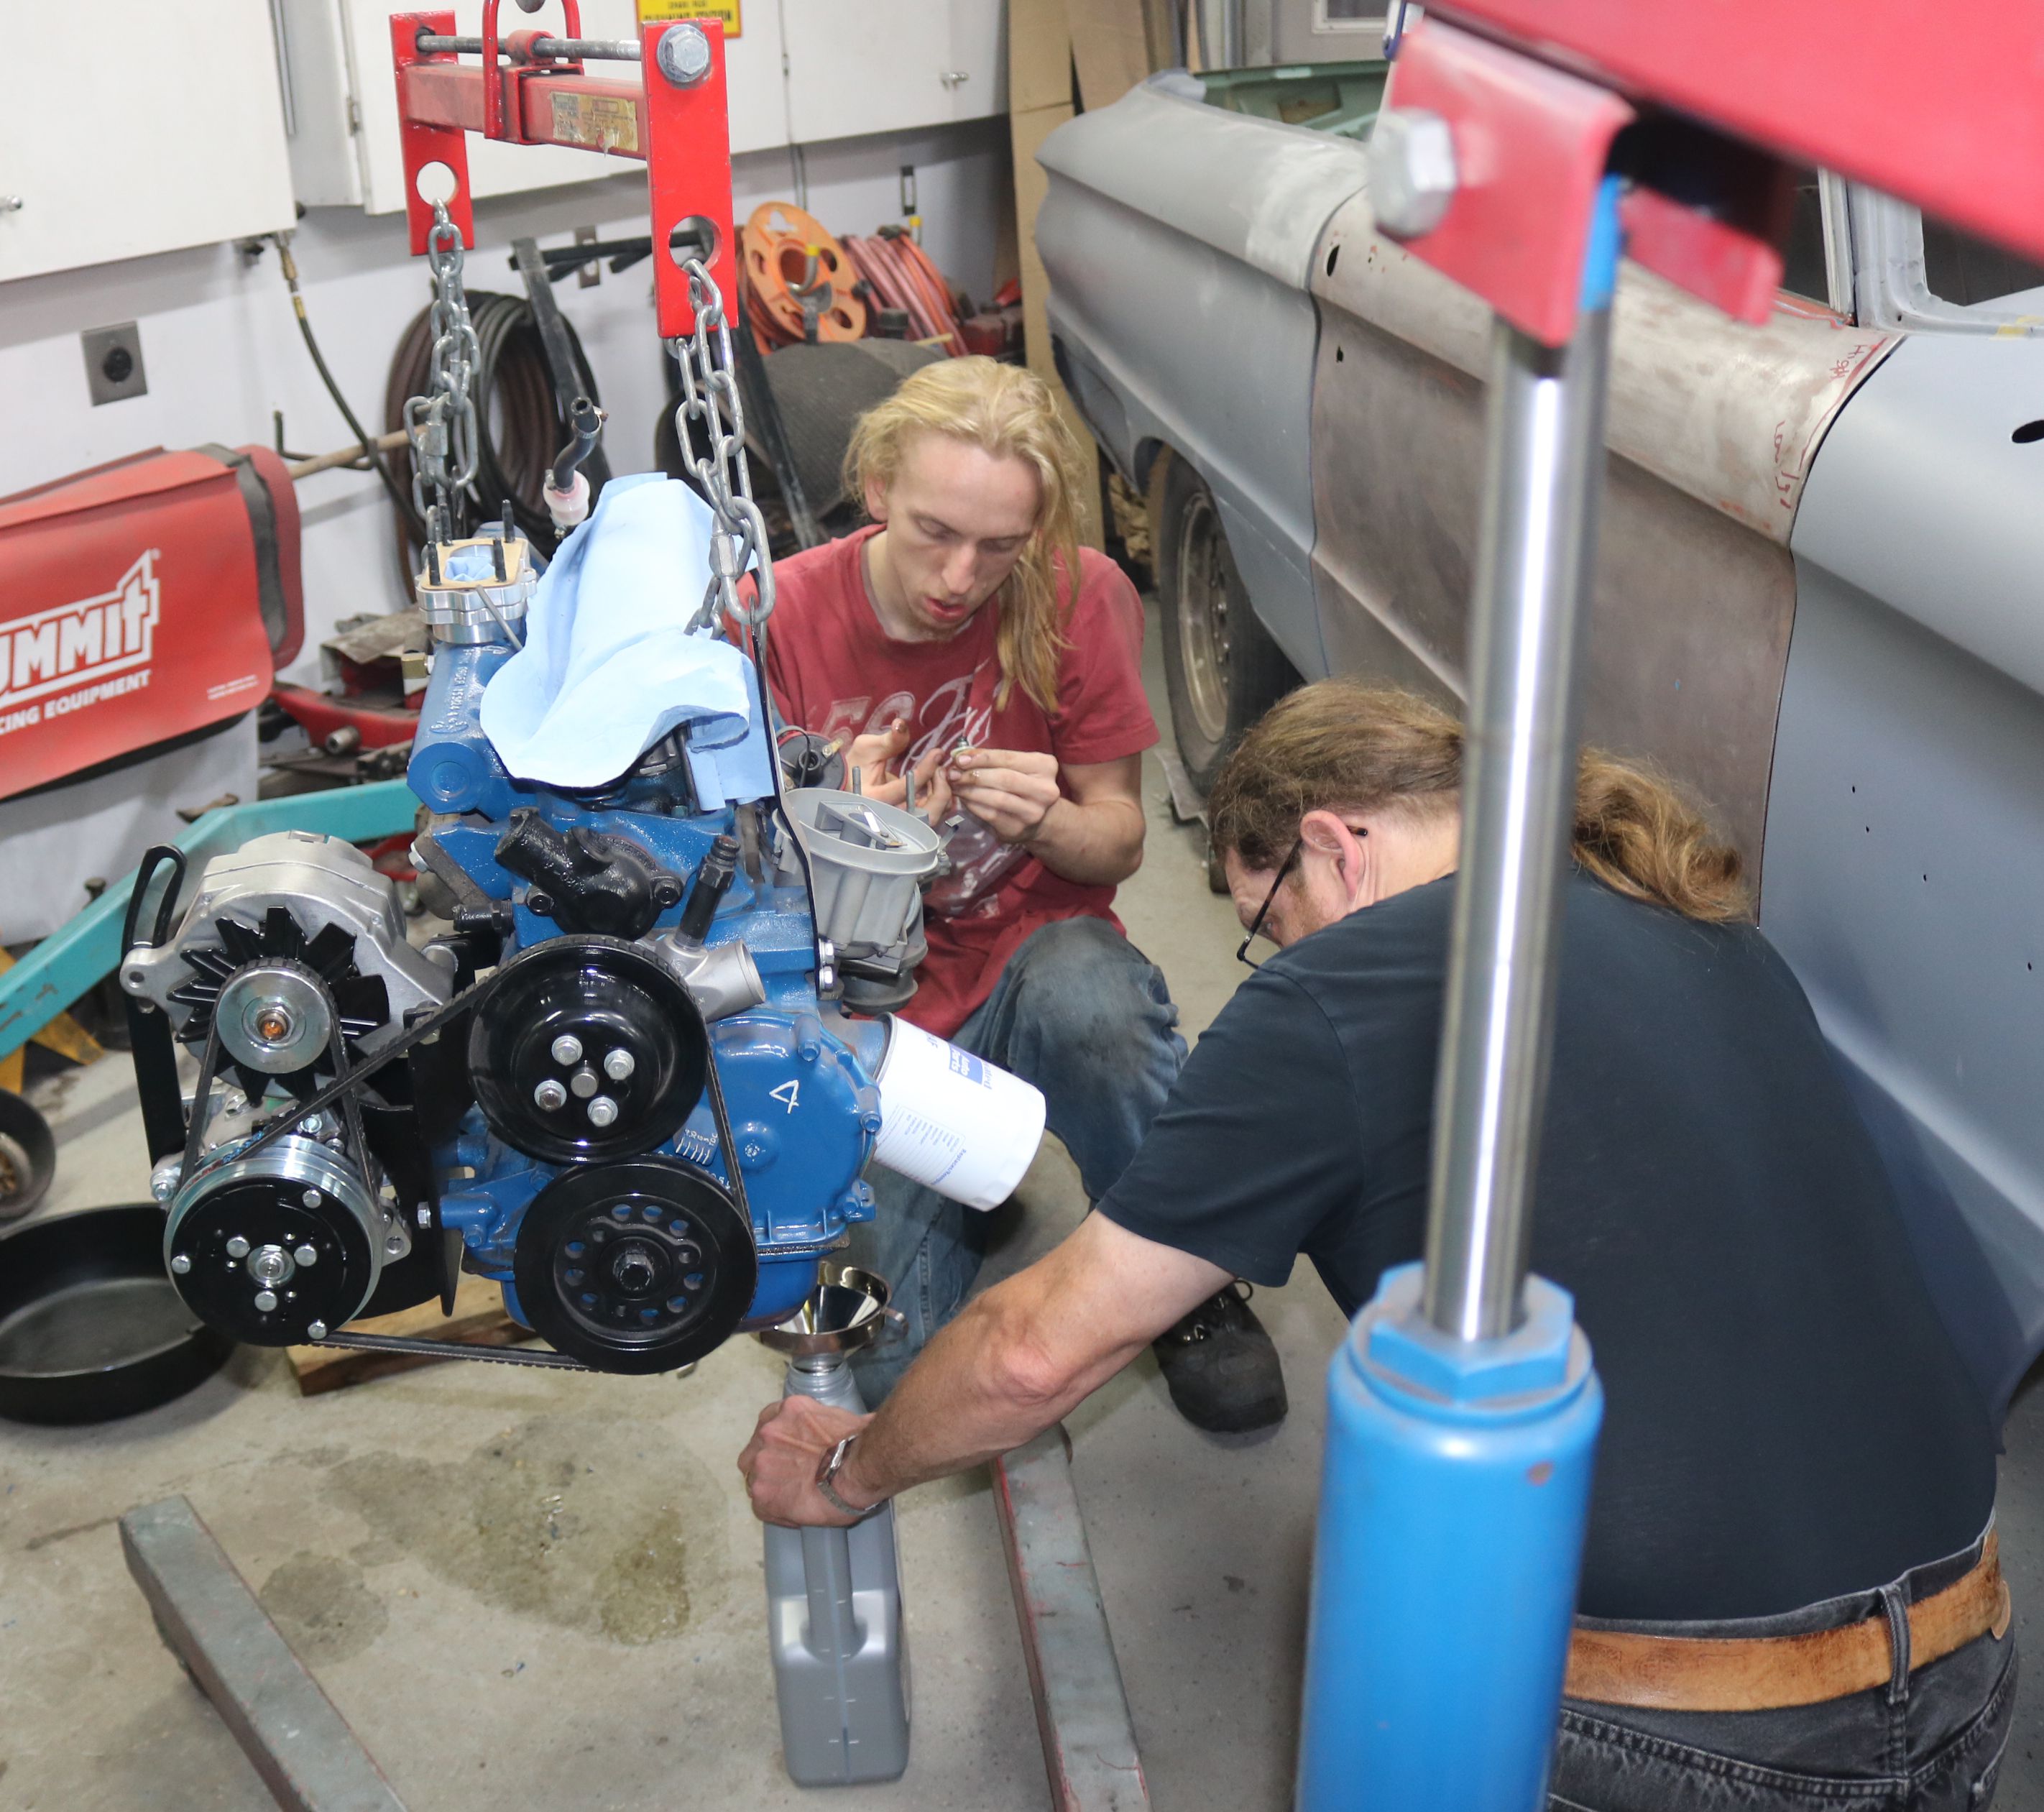
The class worked in teams. As this was a special permission build, he was allowed to hand pick his team. One of his teammates is working on the engine here.
|

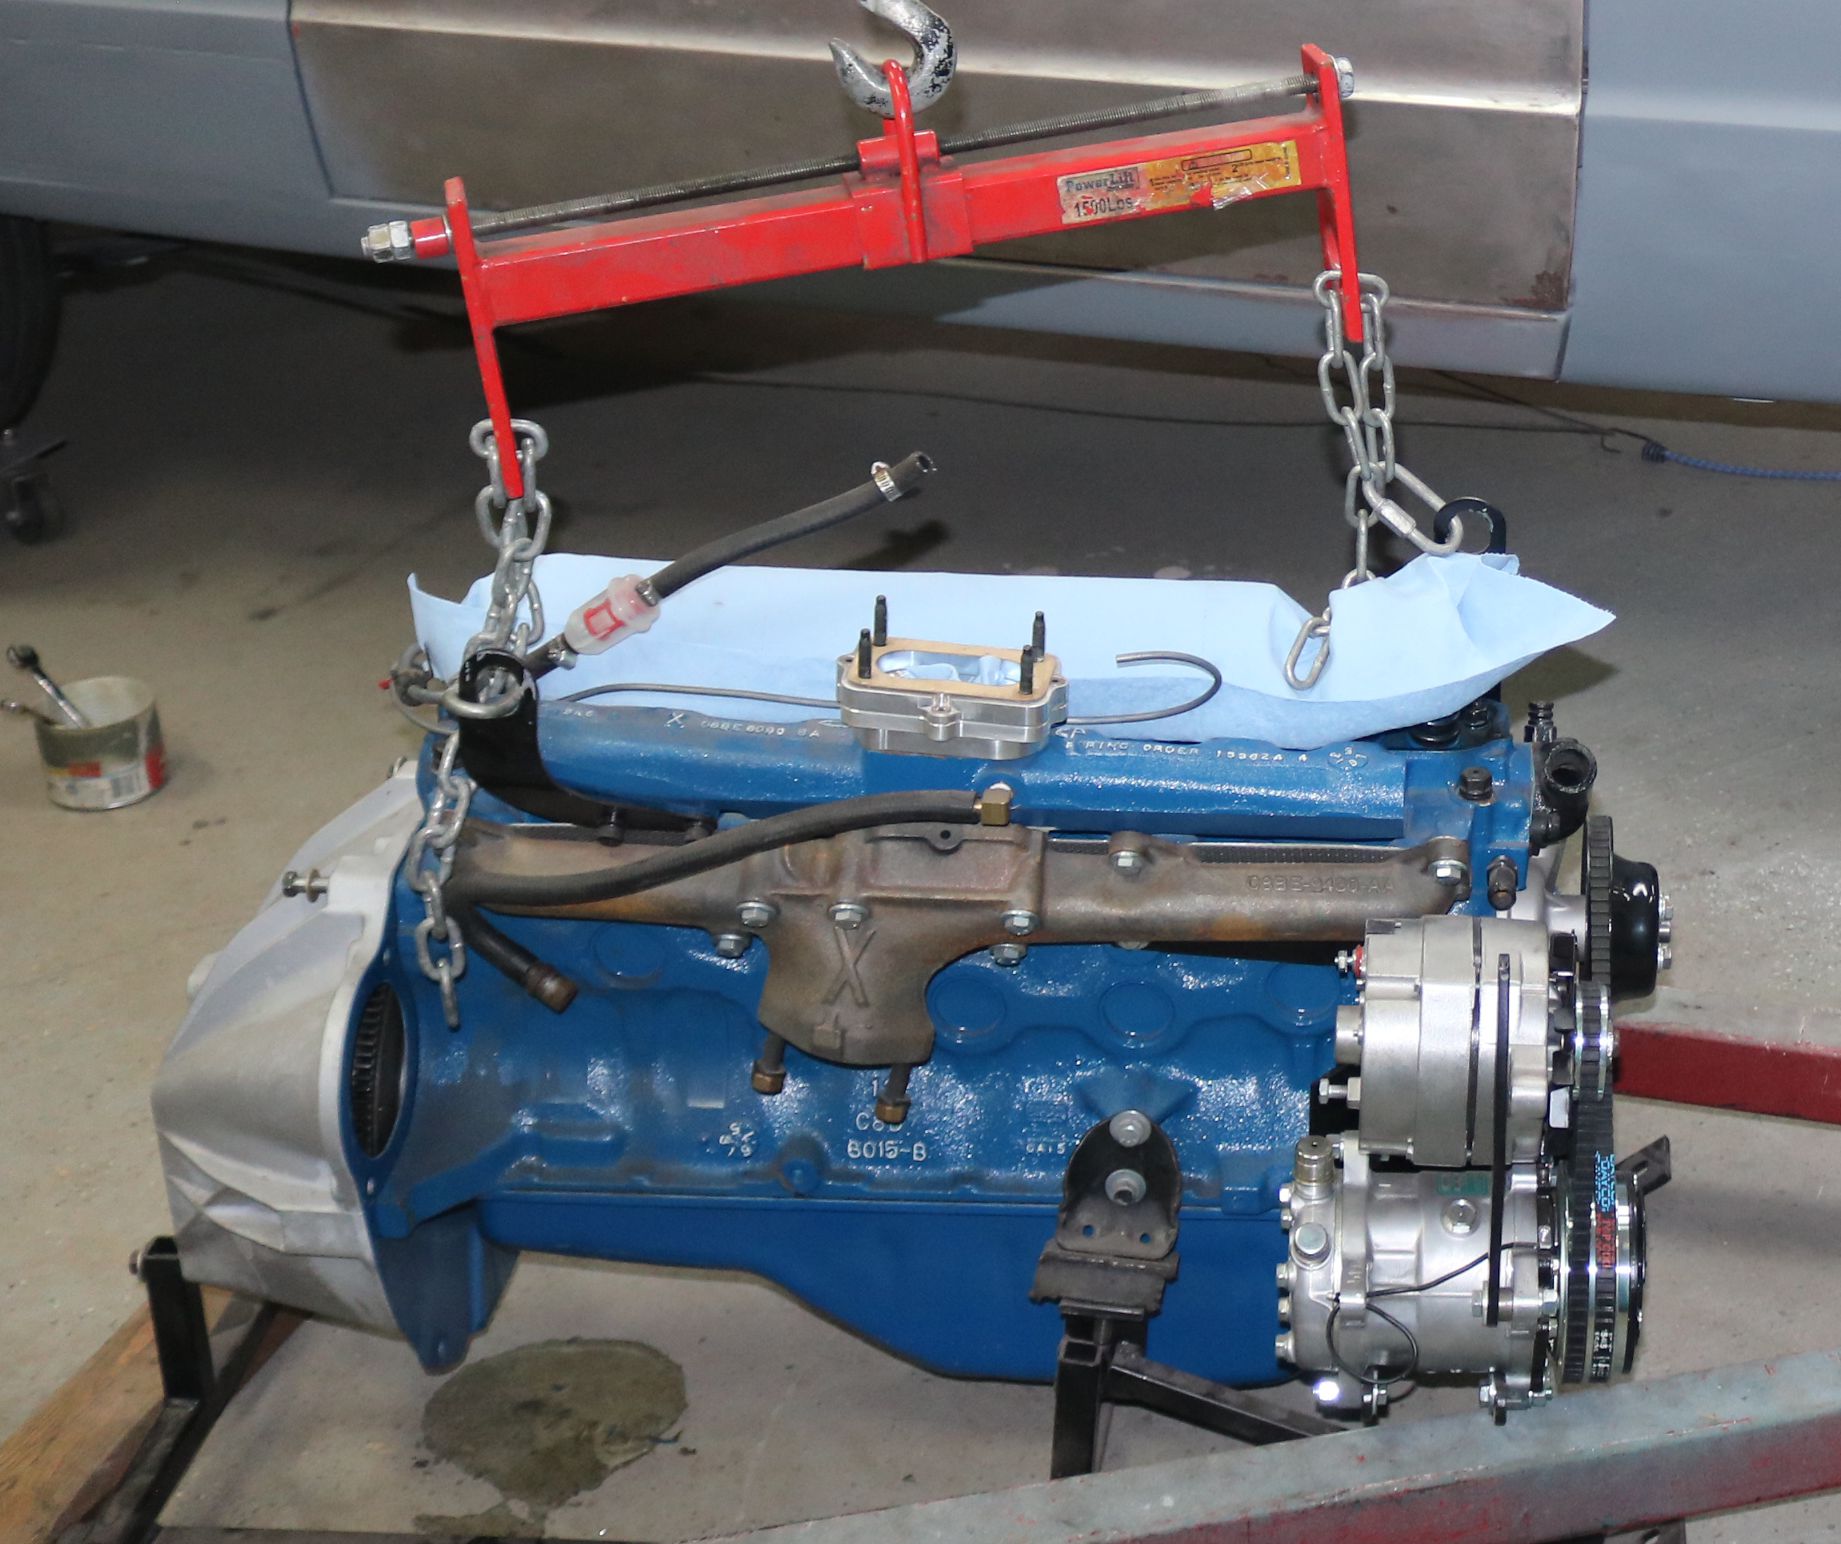
The fully assembled engine on the engine stand at OTC. Everything was cleaned, detailed, and assembled to correct specs.
|

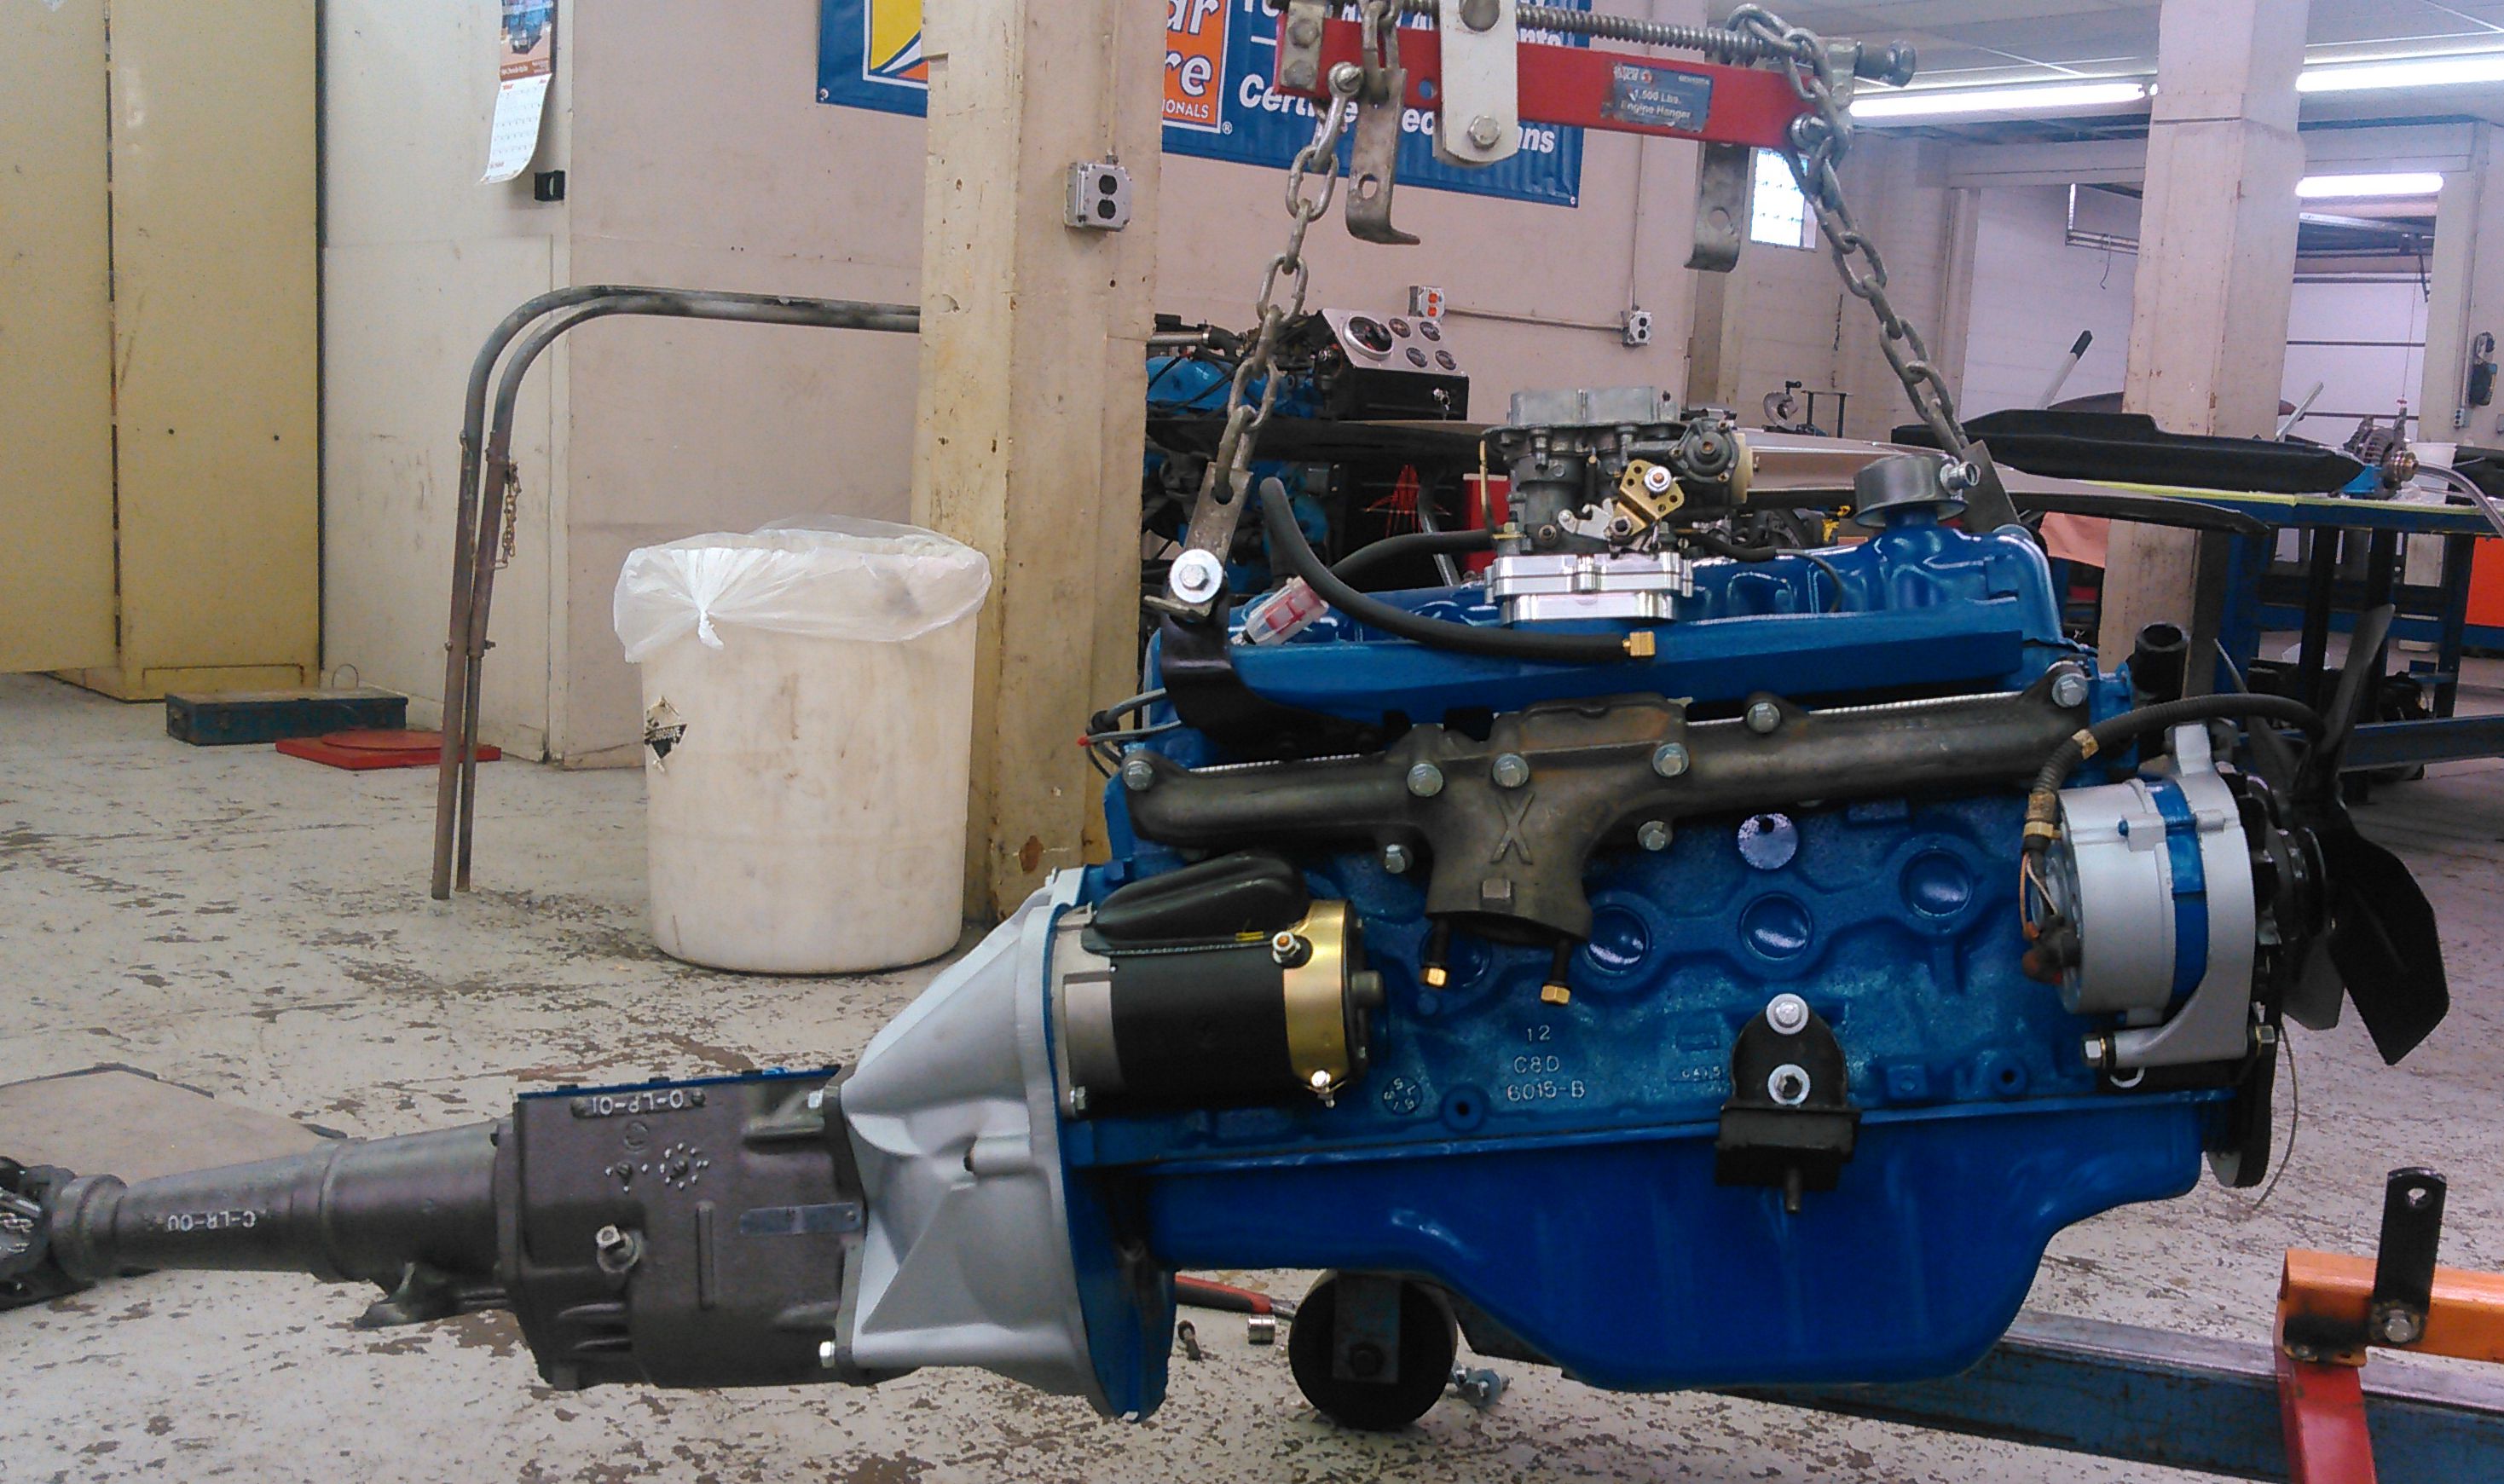
A side view of the assembled engine. The distributor is a Duraspark 2 off a '78 recurved to fit the engine. This allows us to use the MSD 6AL box.
|
The instructor had an old transmission that he did not want anymore, but was perfect to fit behind the 200ci. That trans was also cleaned, rebuilt, detailed, and mated to the engine.
|
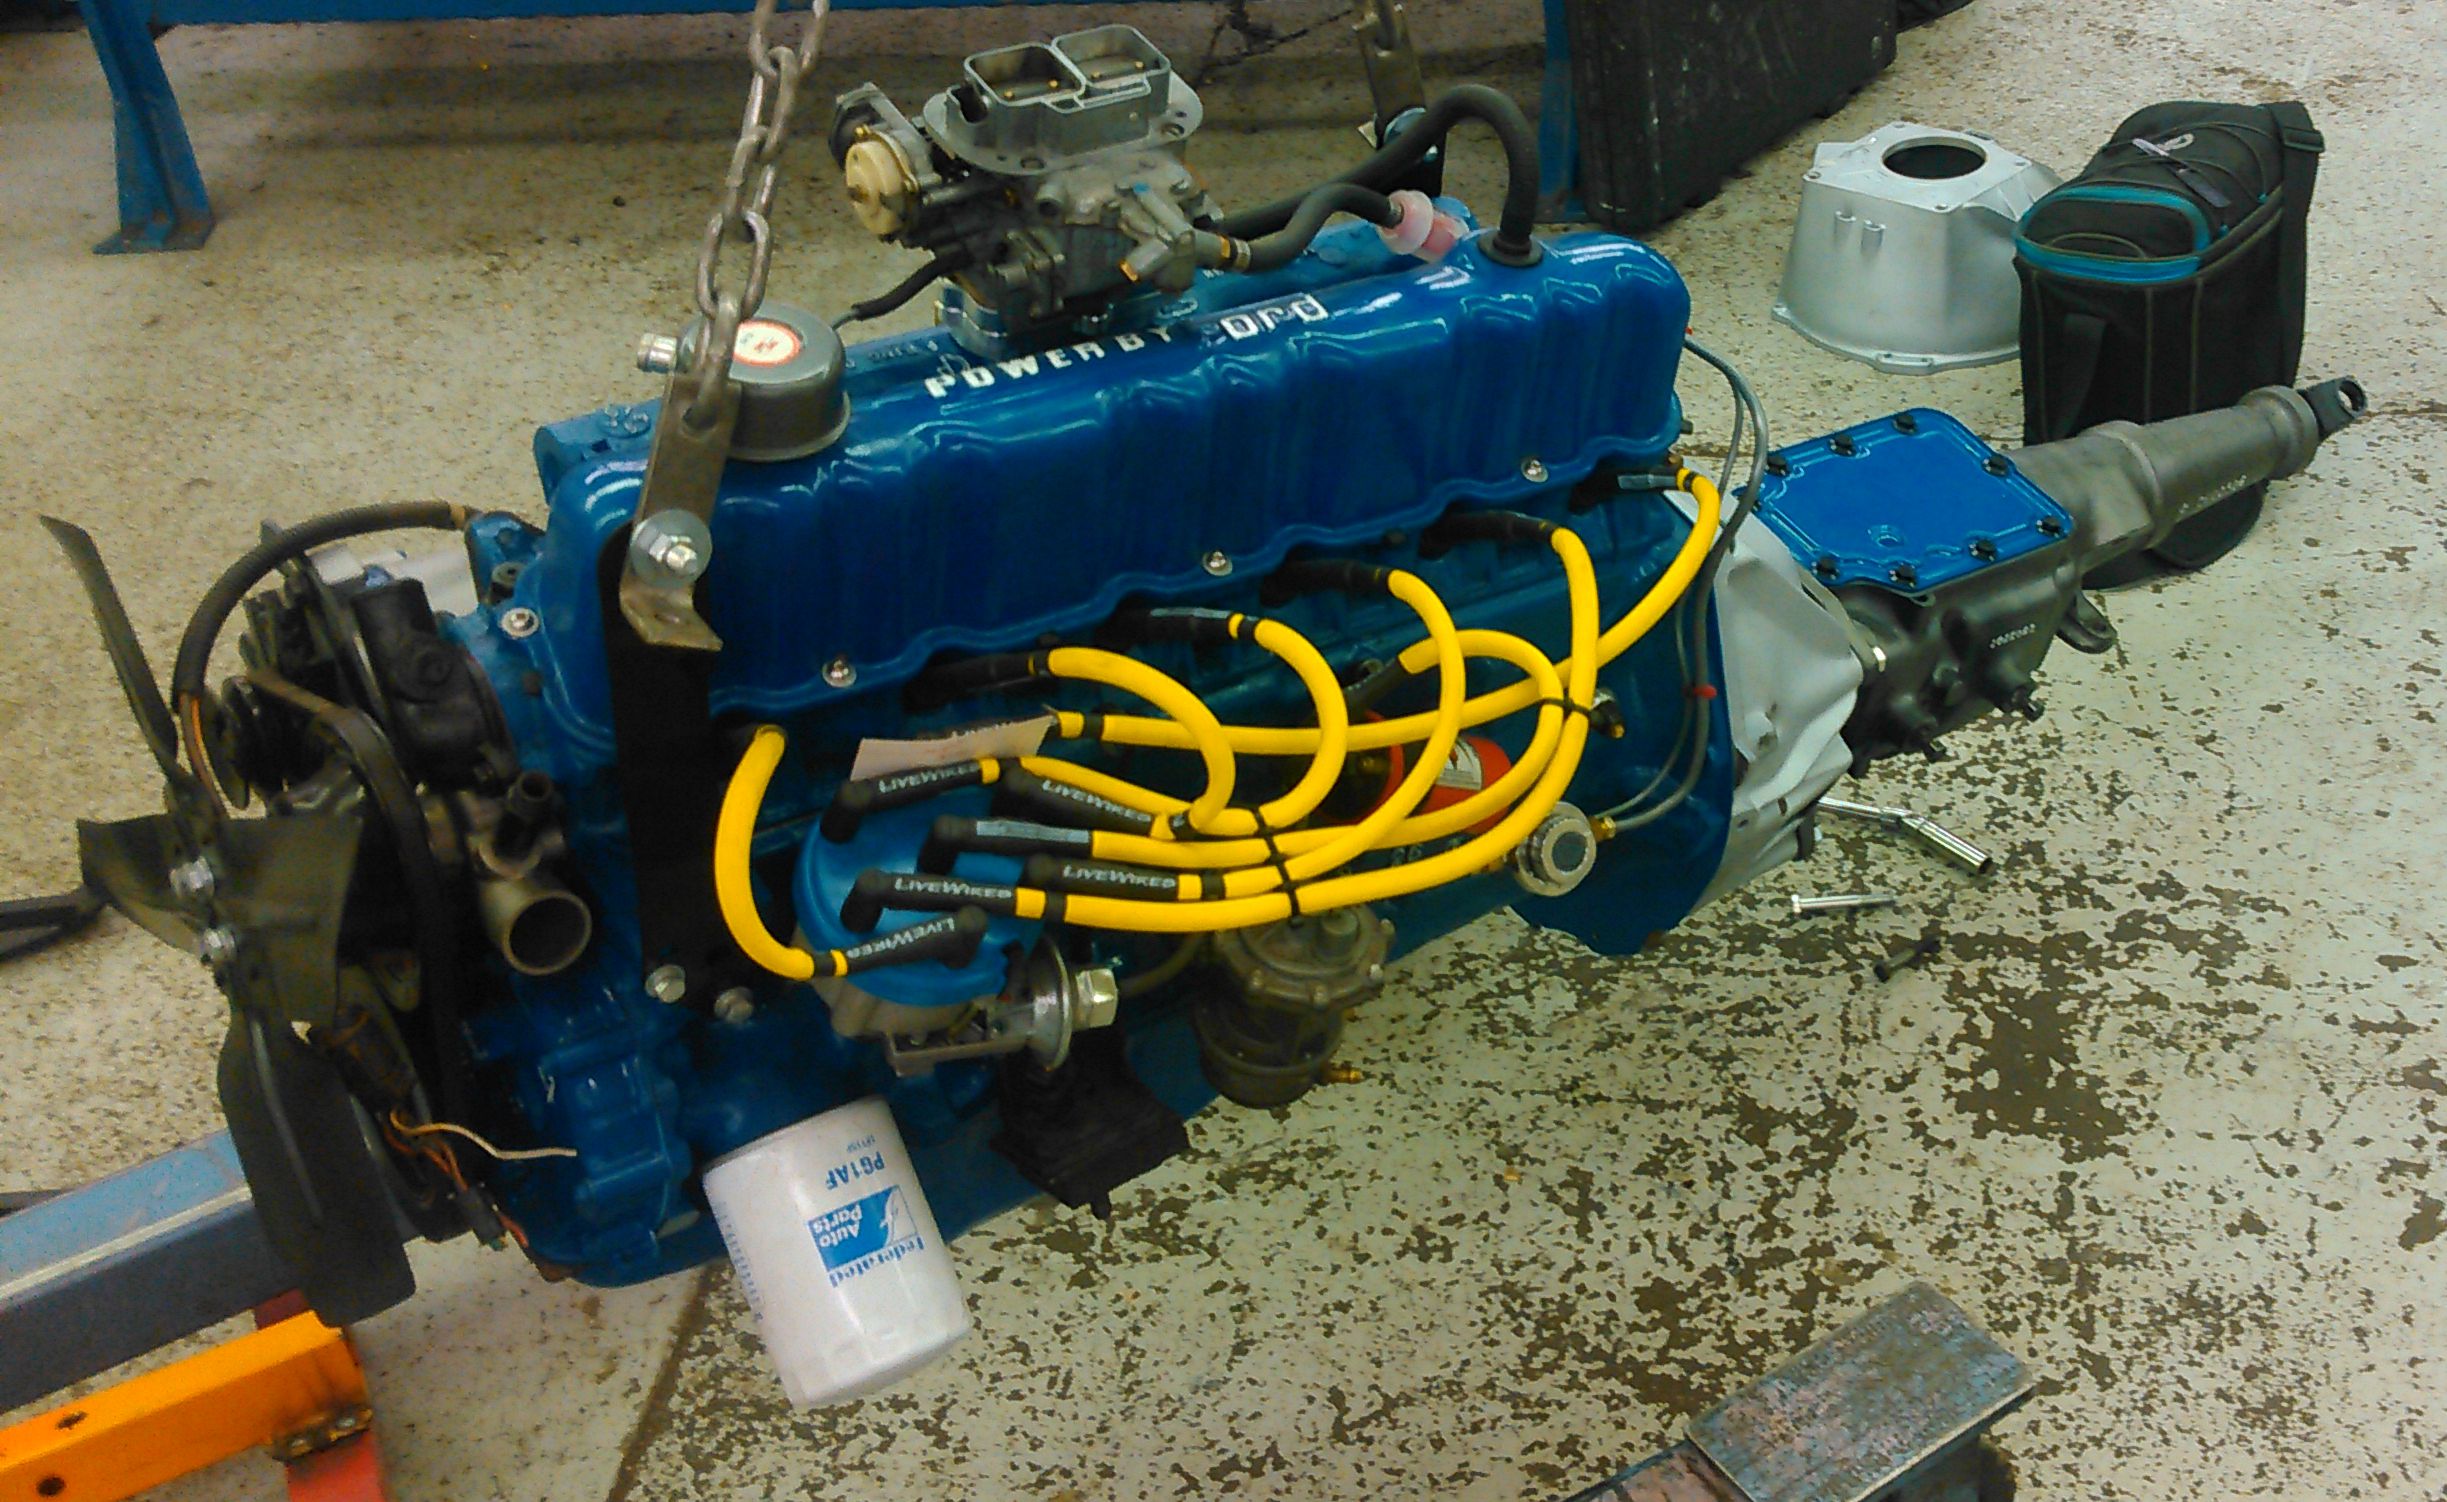
The other side of the finished engine. And, just in case you are still wondering, they did test start the engine at the end of the class. It started right up and everyone cheered. They did not run it long as it had no radiator for cooling though. When we went up for granduation, the engine and transmission came home with us.
|
Ok, fast forward from 2016 to the summer of 2019 while we focused on the
welding and sheet metal work. Now that we are ready for some fabrication prior
to completing the metal work, the engine
needs to go in and be fitted. This was done in Sept of 2019.
And to make matters worse, our son decided to switch from the original
3-on-the-tree setup to a Mustang 5 speed floor shift with bucket seats. This is
where the fabrication will come in. Not to mention modern steering, suspension,
brakes, air conditioning, and bucket seats.
|
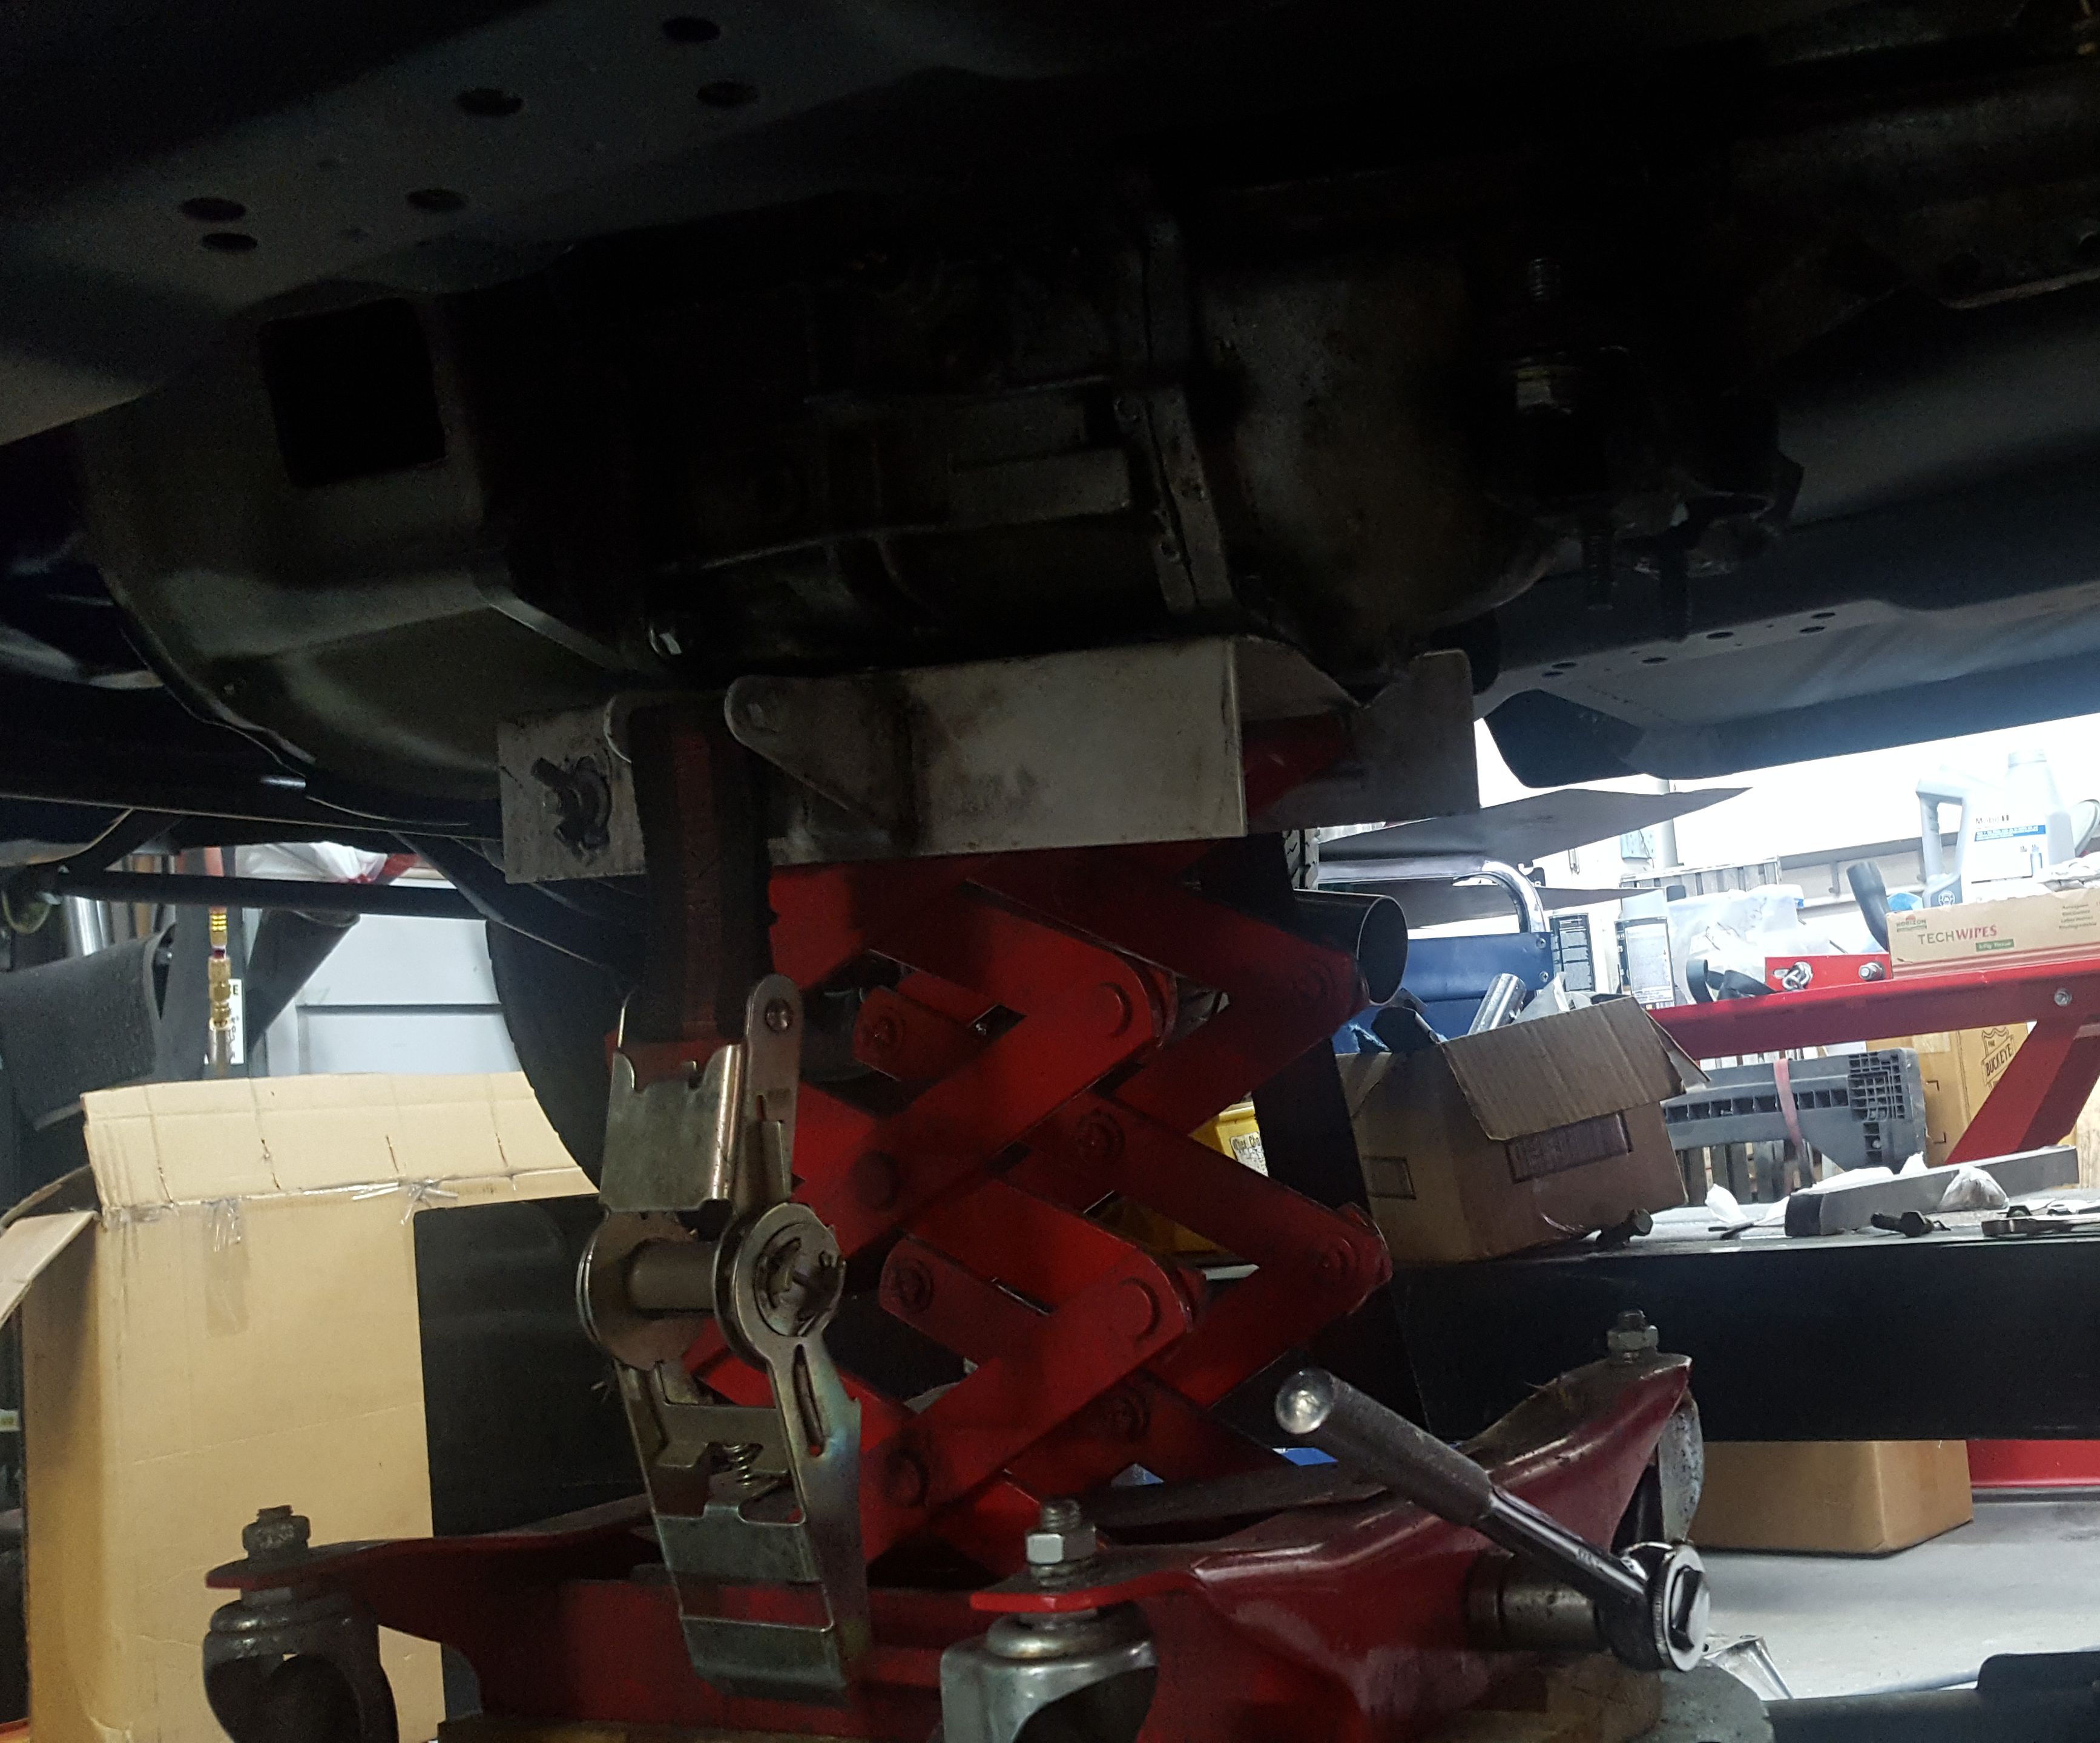
We know from the original removal that the engine leveller is a must, even though
we are not attaching the transmission to it at this time. We did remove the bell
housing for this.
|

One cleaned up engine bay, ready to receive. This is with the replacement fenders
and hood in epoxy paint.
|
We drained all the fluids so that we could install the flywheel after the engine
was in the bay. Ford straight 6 cylinder engines have the flywheel bolts all
the way through to an oil passage. Oil would have been leaking out the back
of the engine if we had left the oil in. Also, all the air conditioning parts
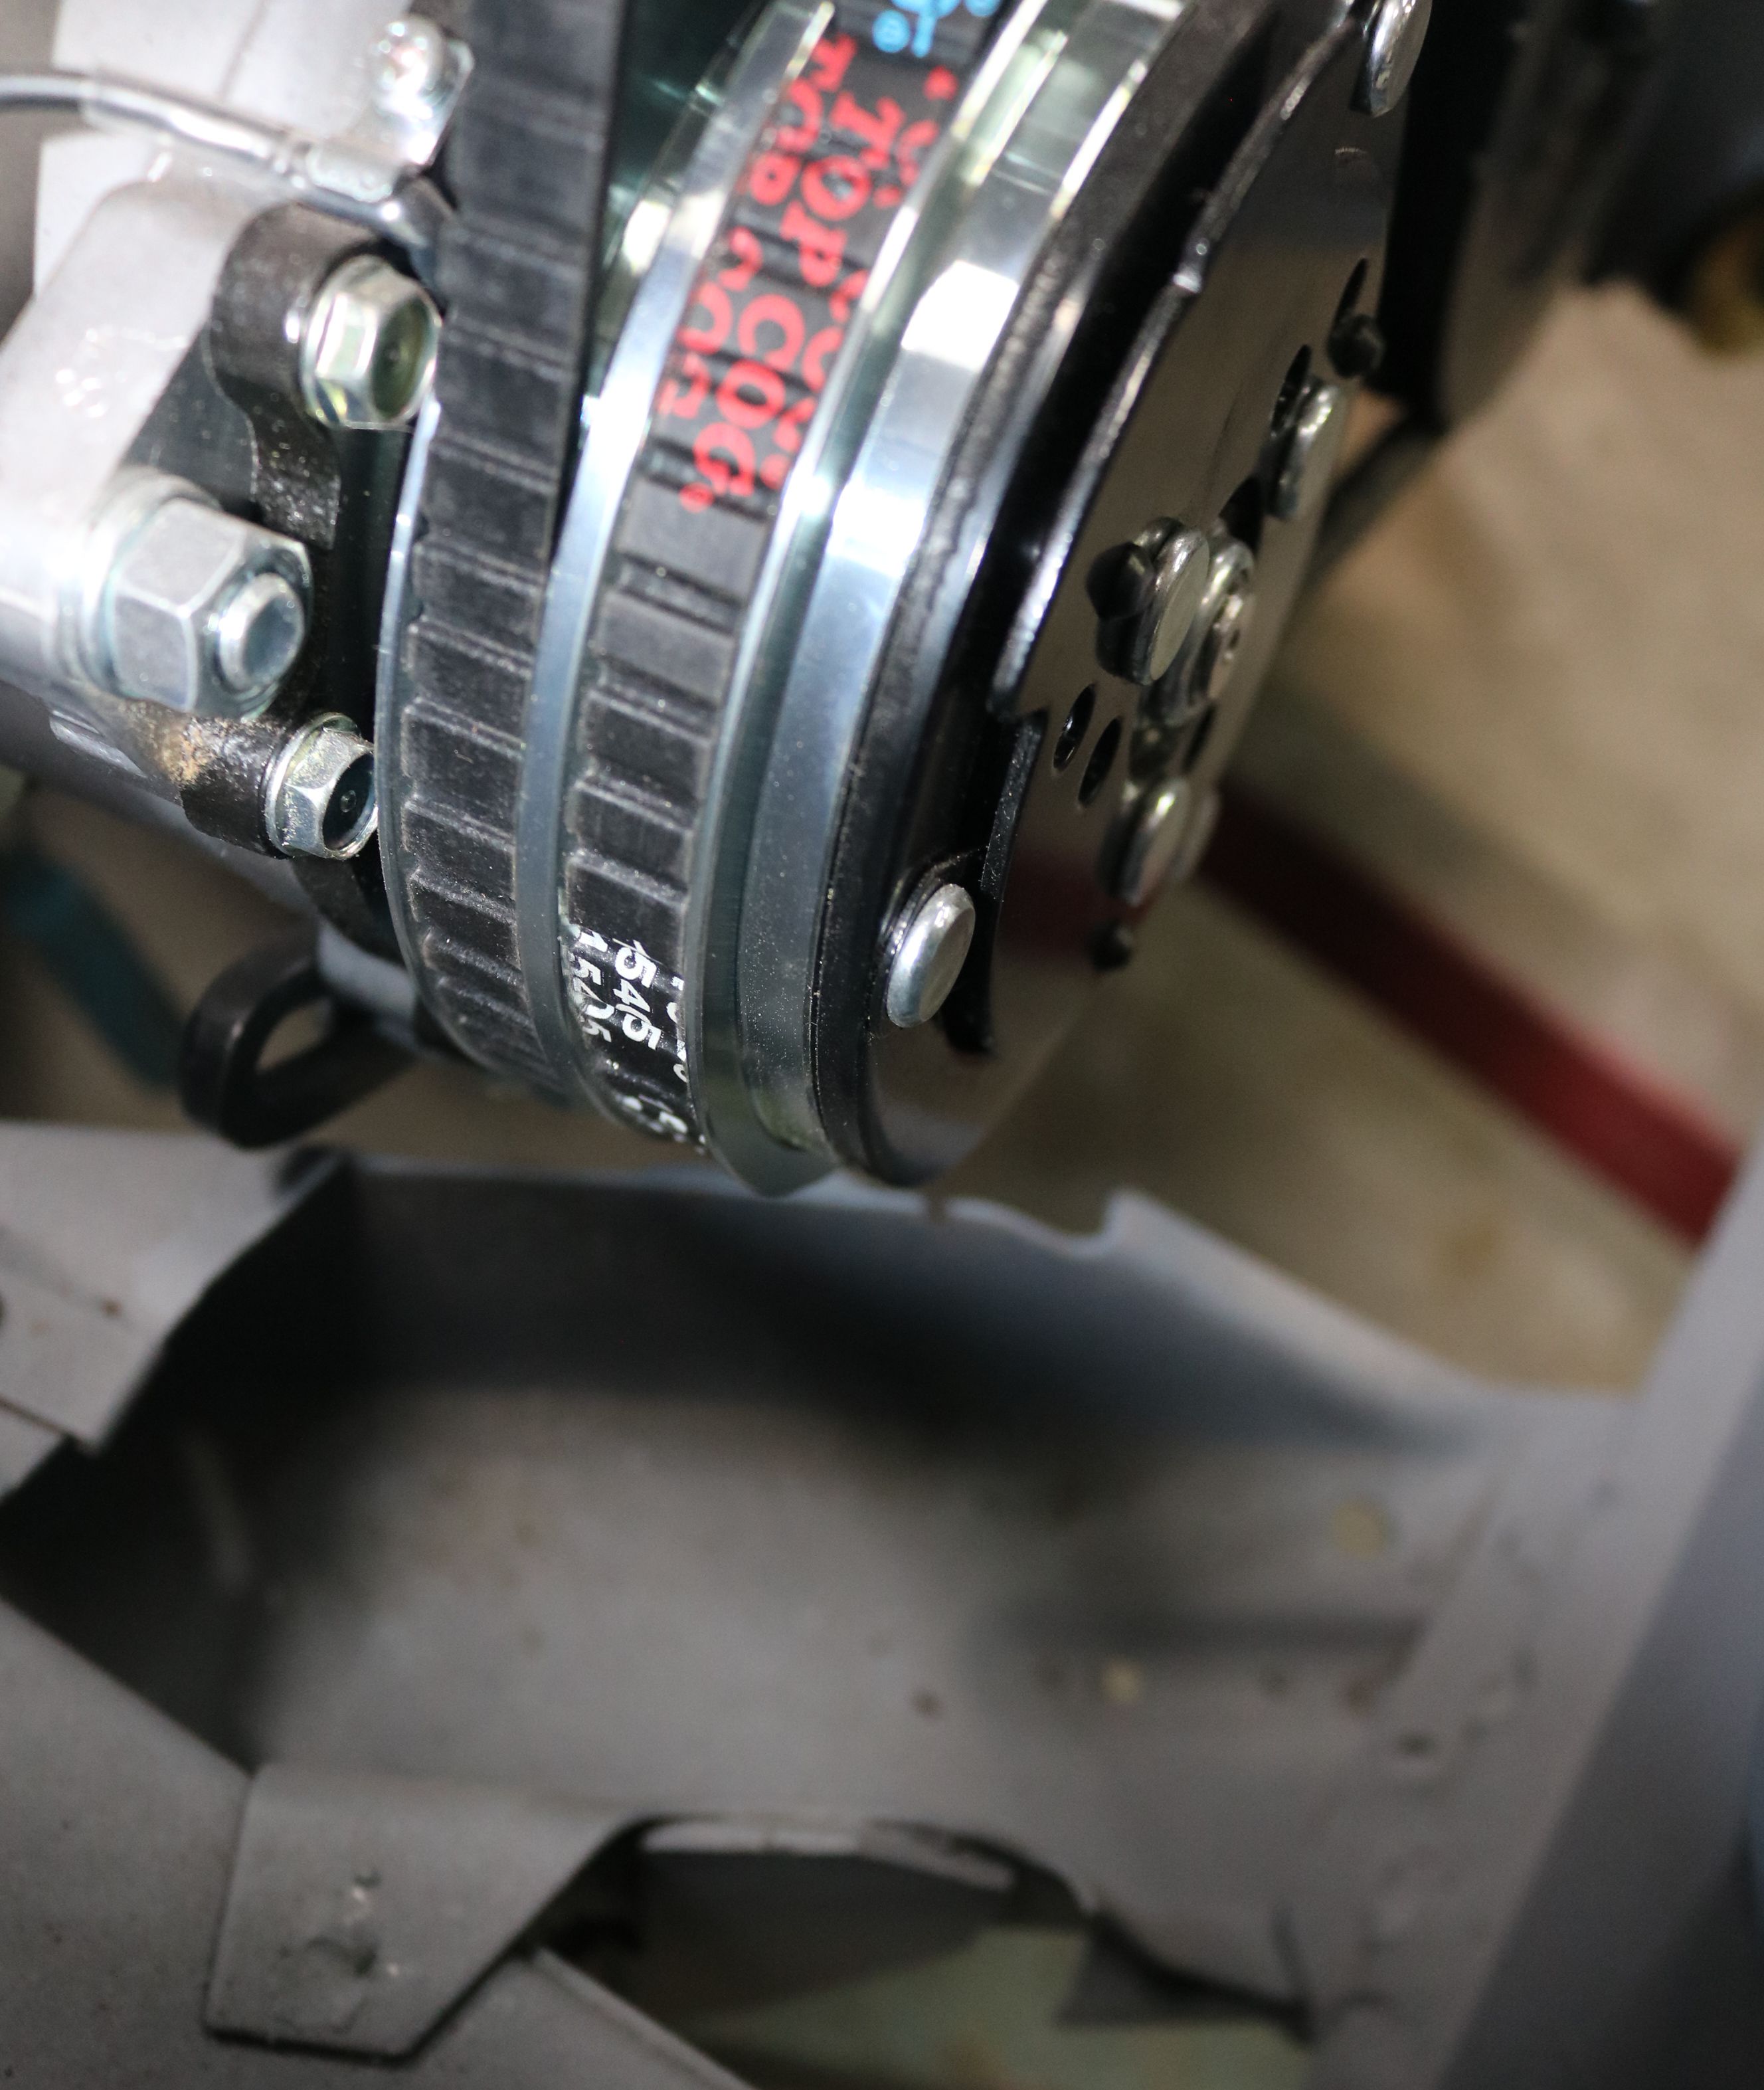
are in place, as is the altenator.
|
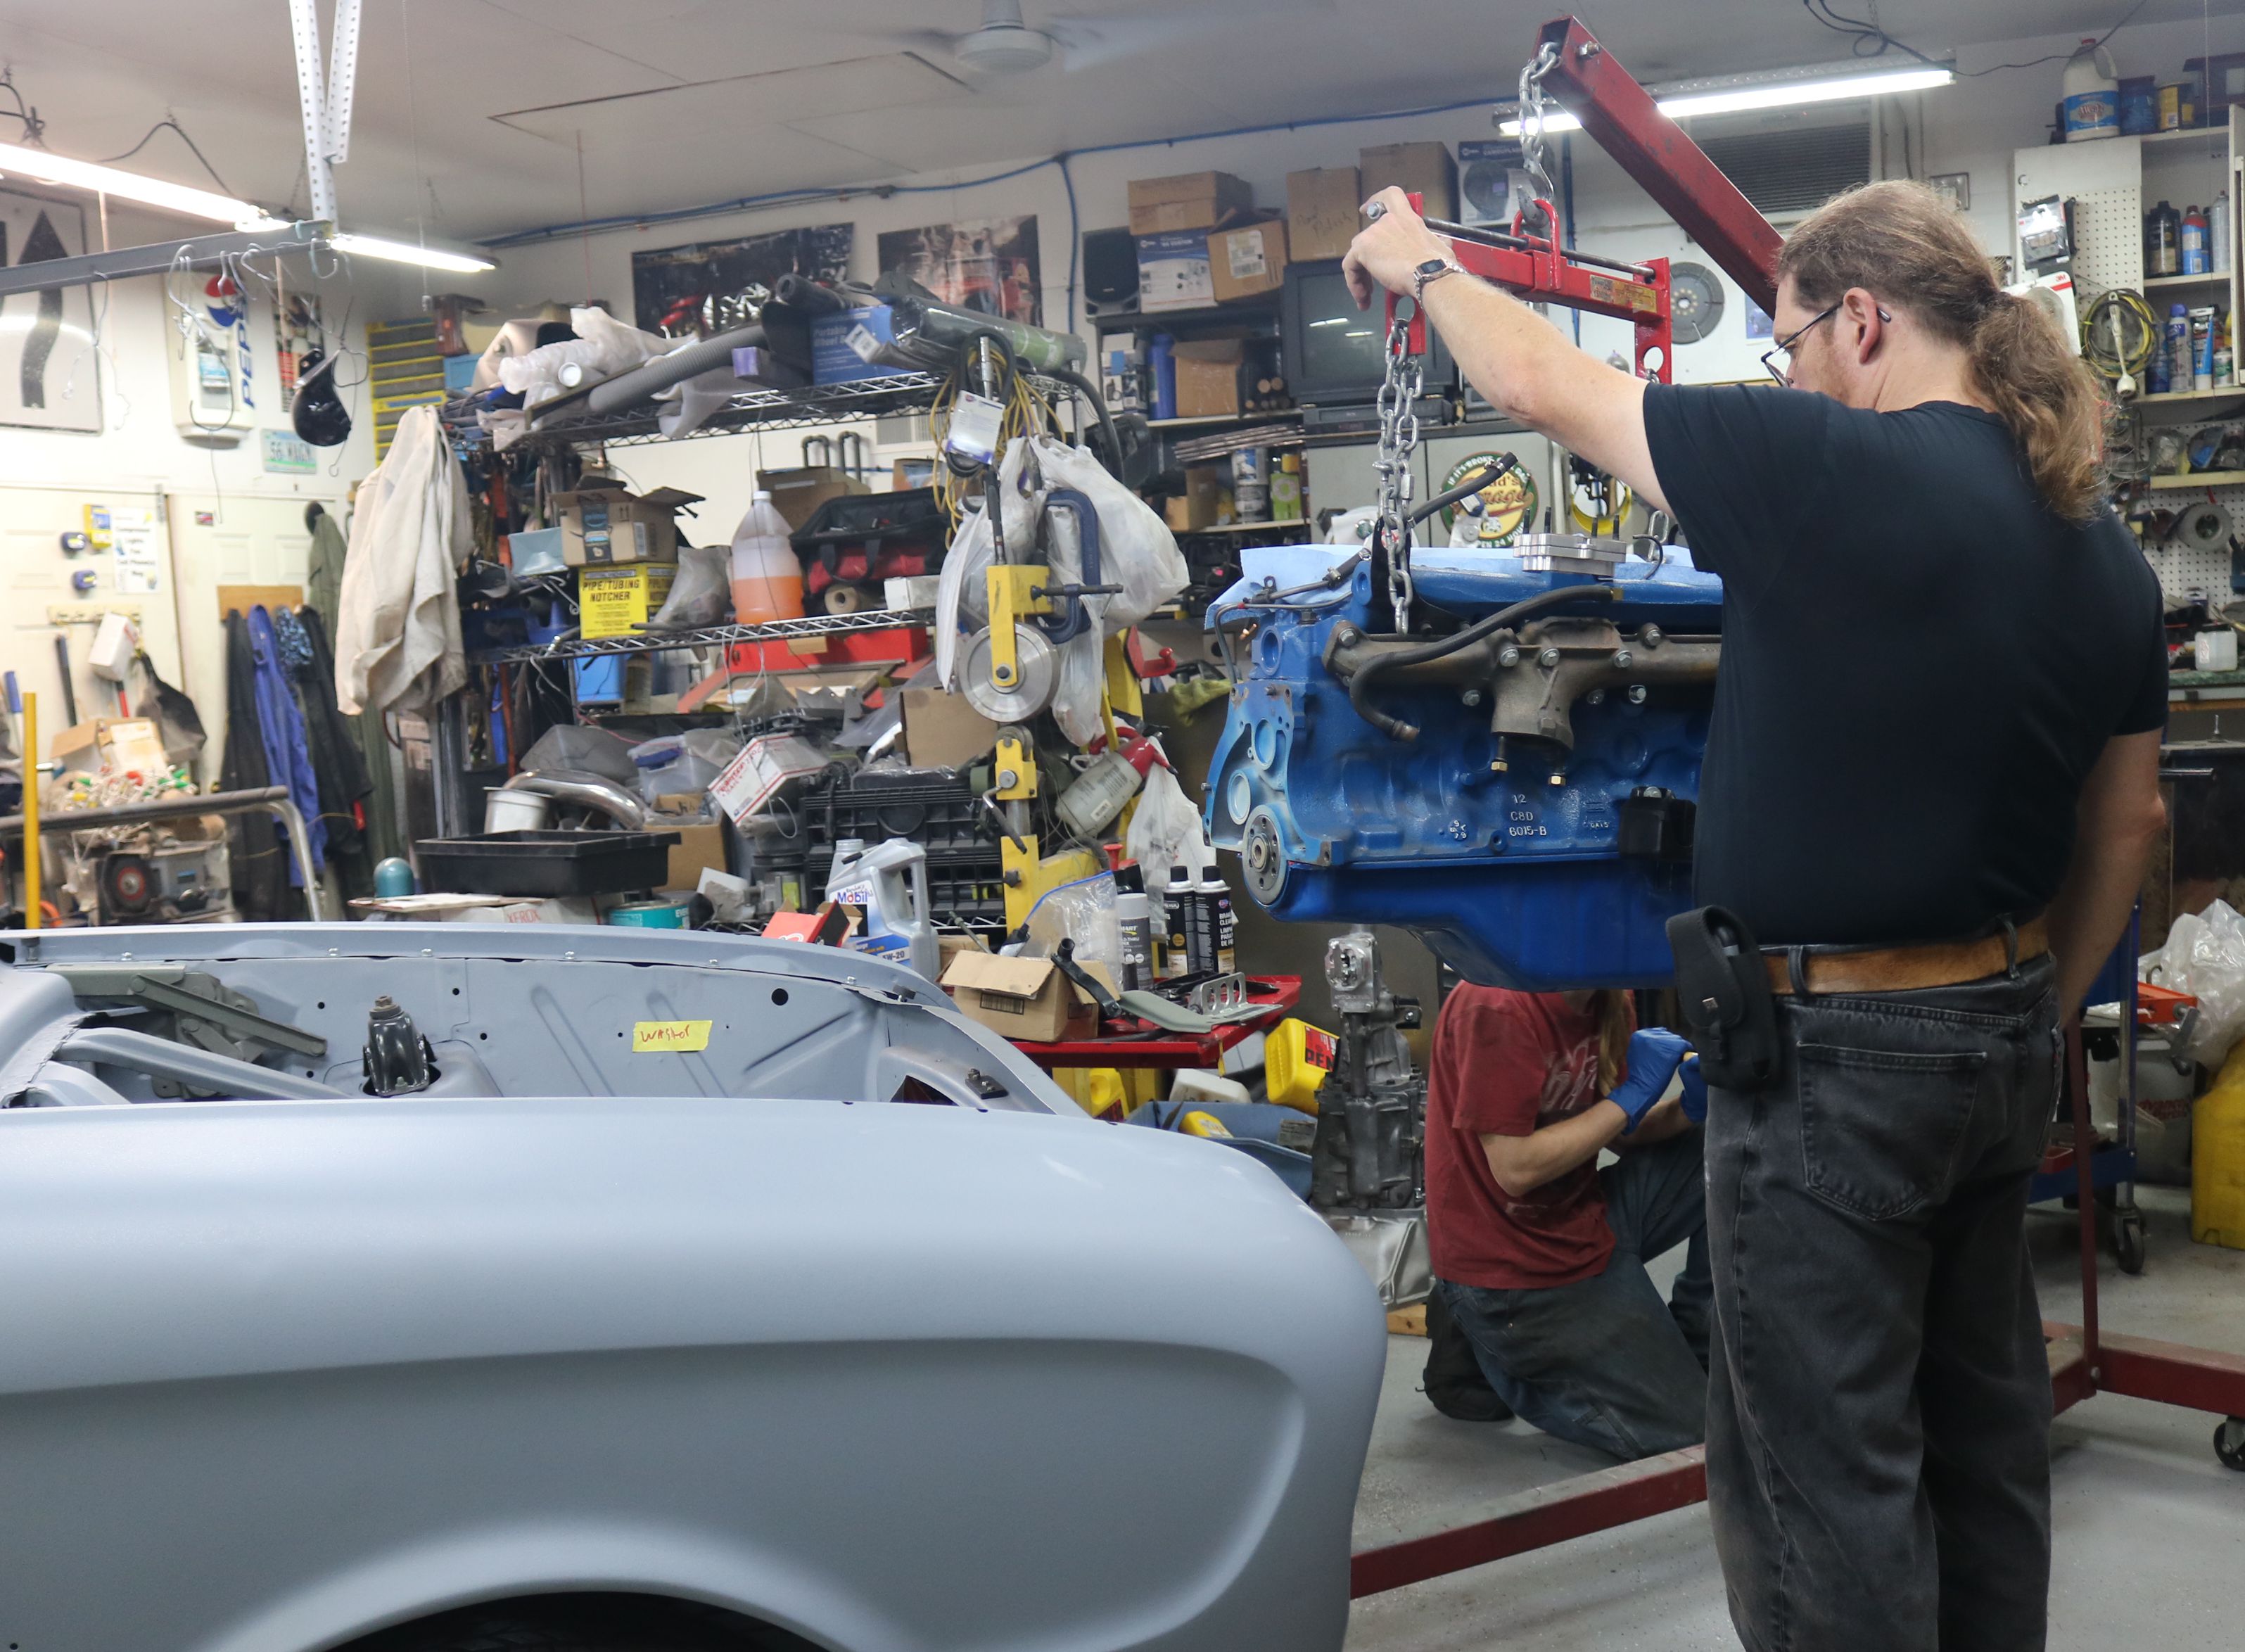
Time to lift the engine up enough to clear the body. We took the car off the
ramps for this.
|
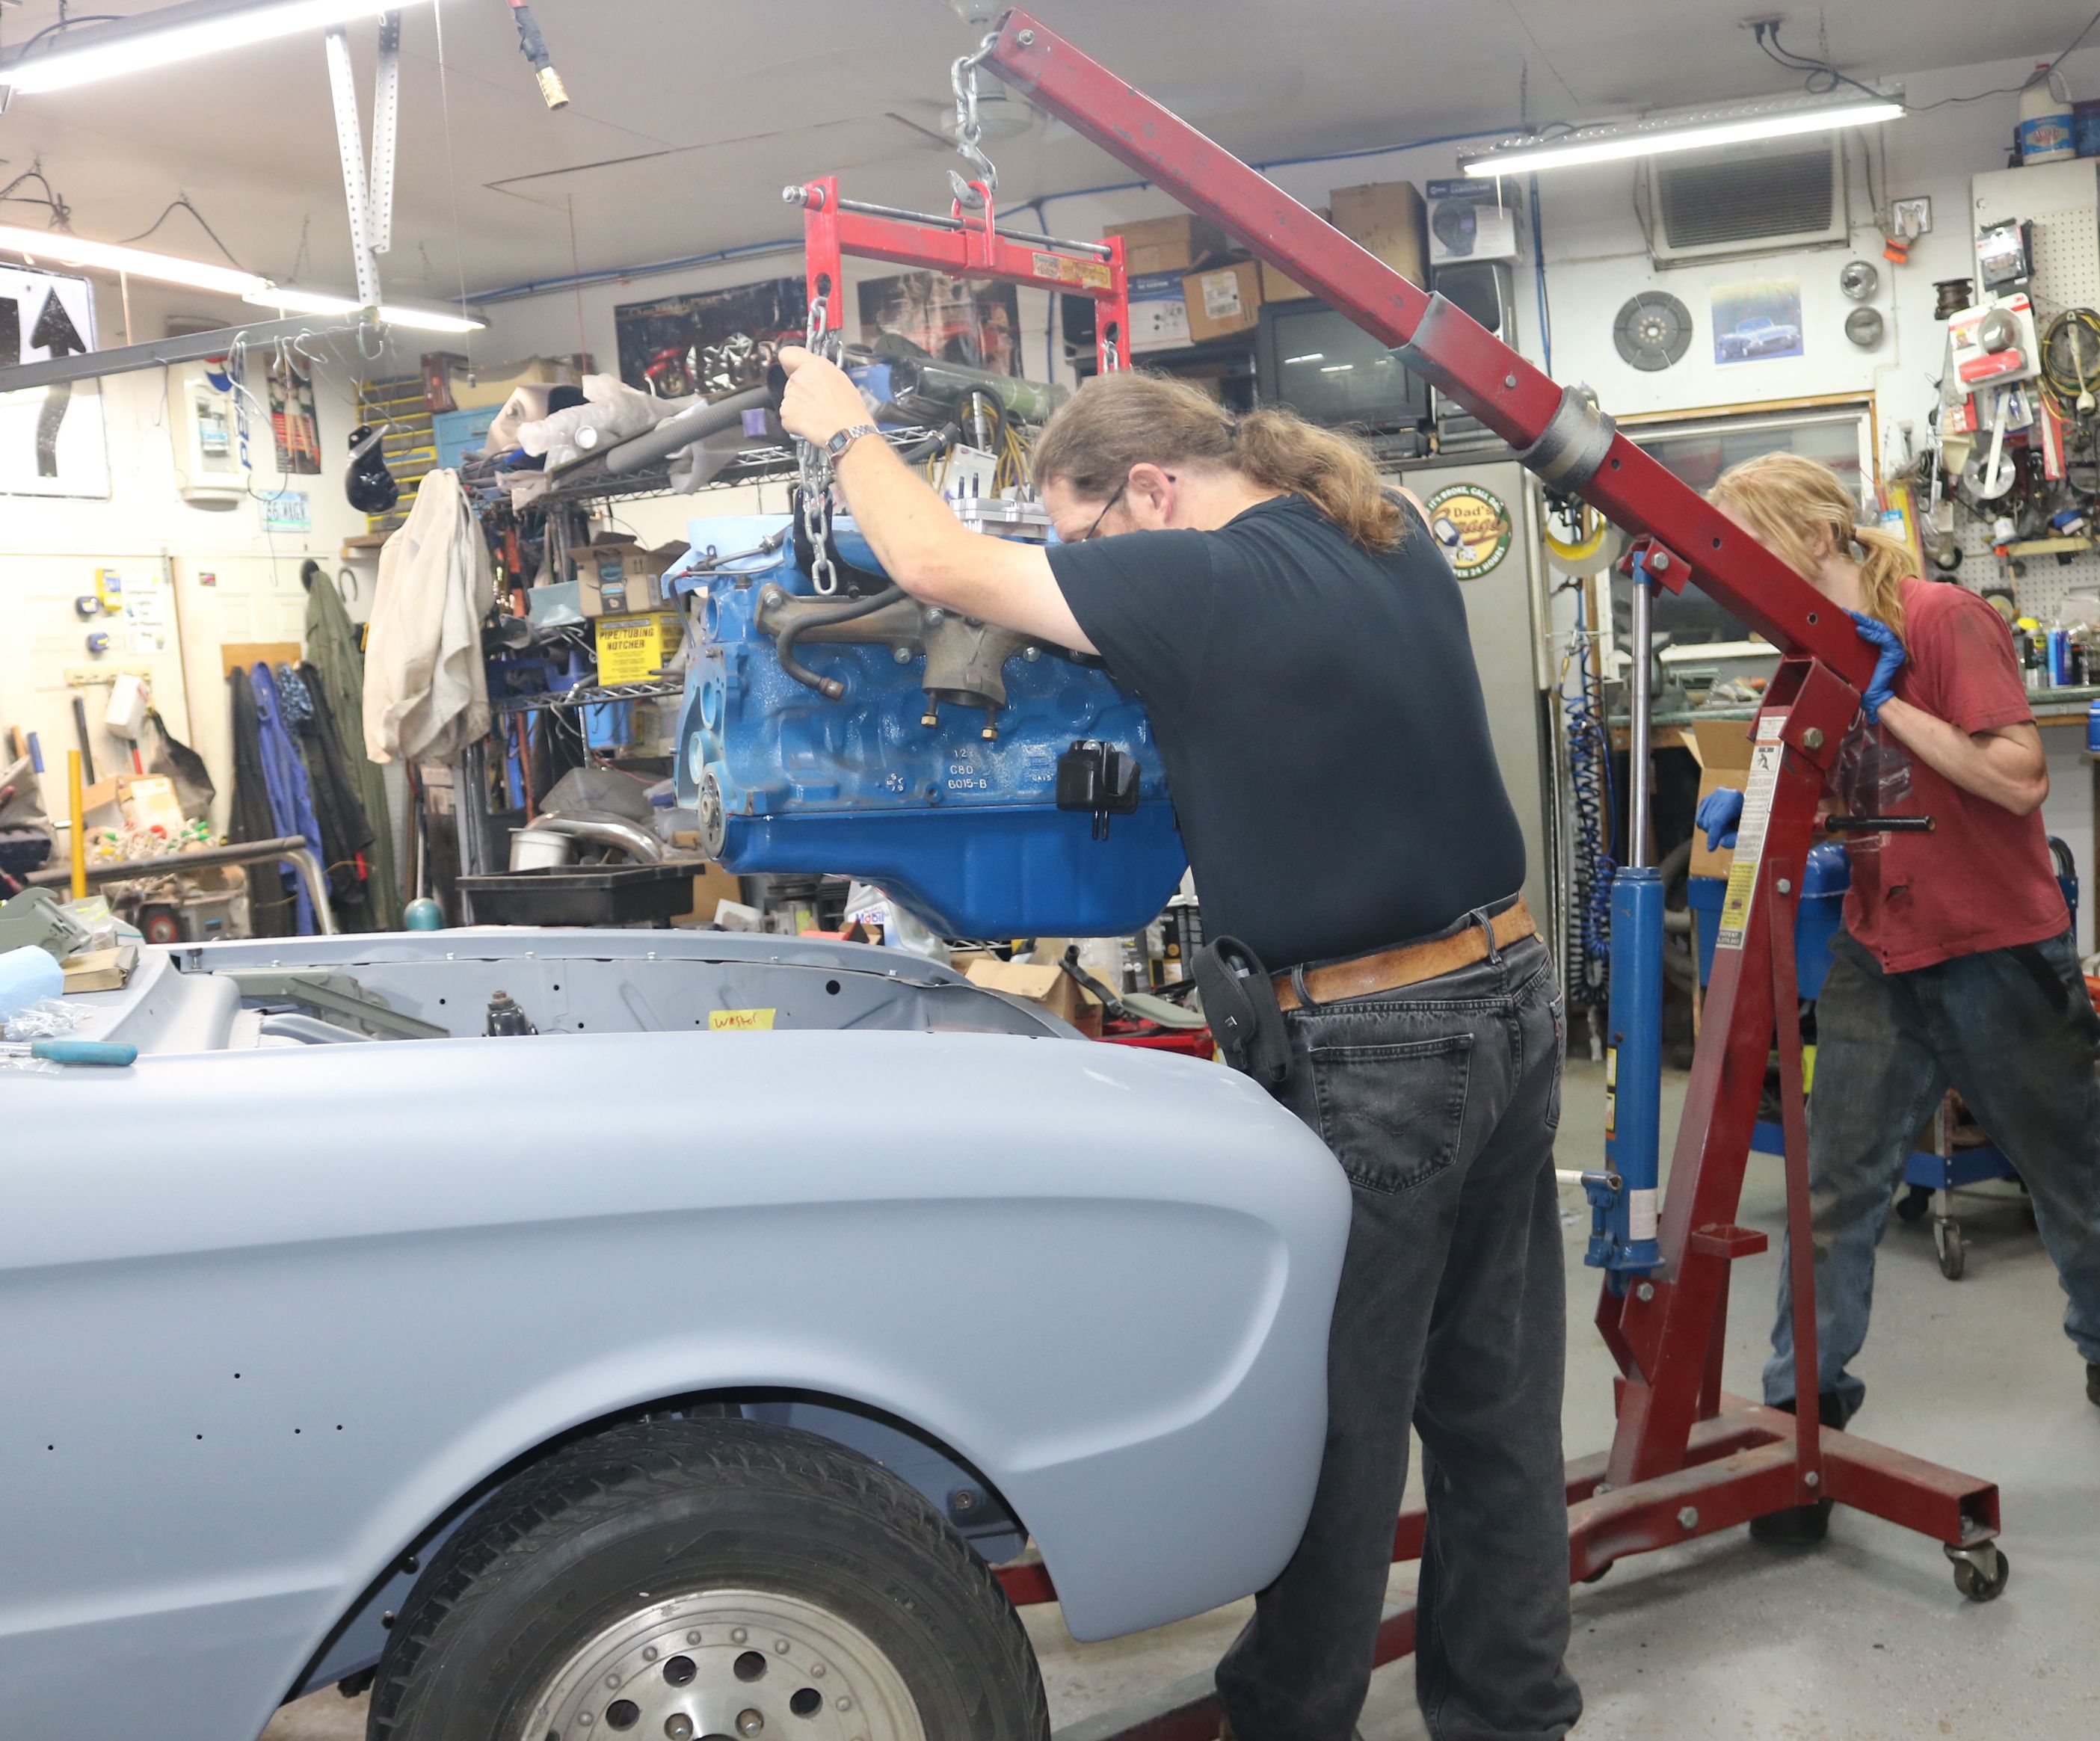
We started out level.
|
Once we cleared the radiator support, we could start lowering. Less swinging
mass up high leads to more stability.
|
Time to use the leveller to tip the back of the engine.
|
Good thing we removed the bell housing. The straight 6 is long and has to clear
the braces at the rear of the engine bay. The leveller allowed us to tip the
engine enough to clear while being mindful of the radiator support at the front.
|
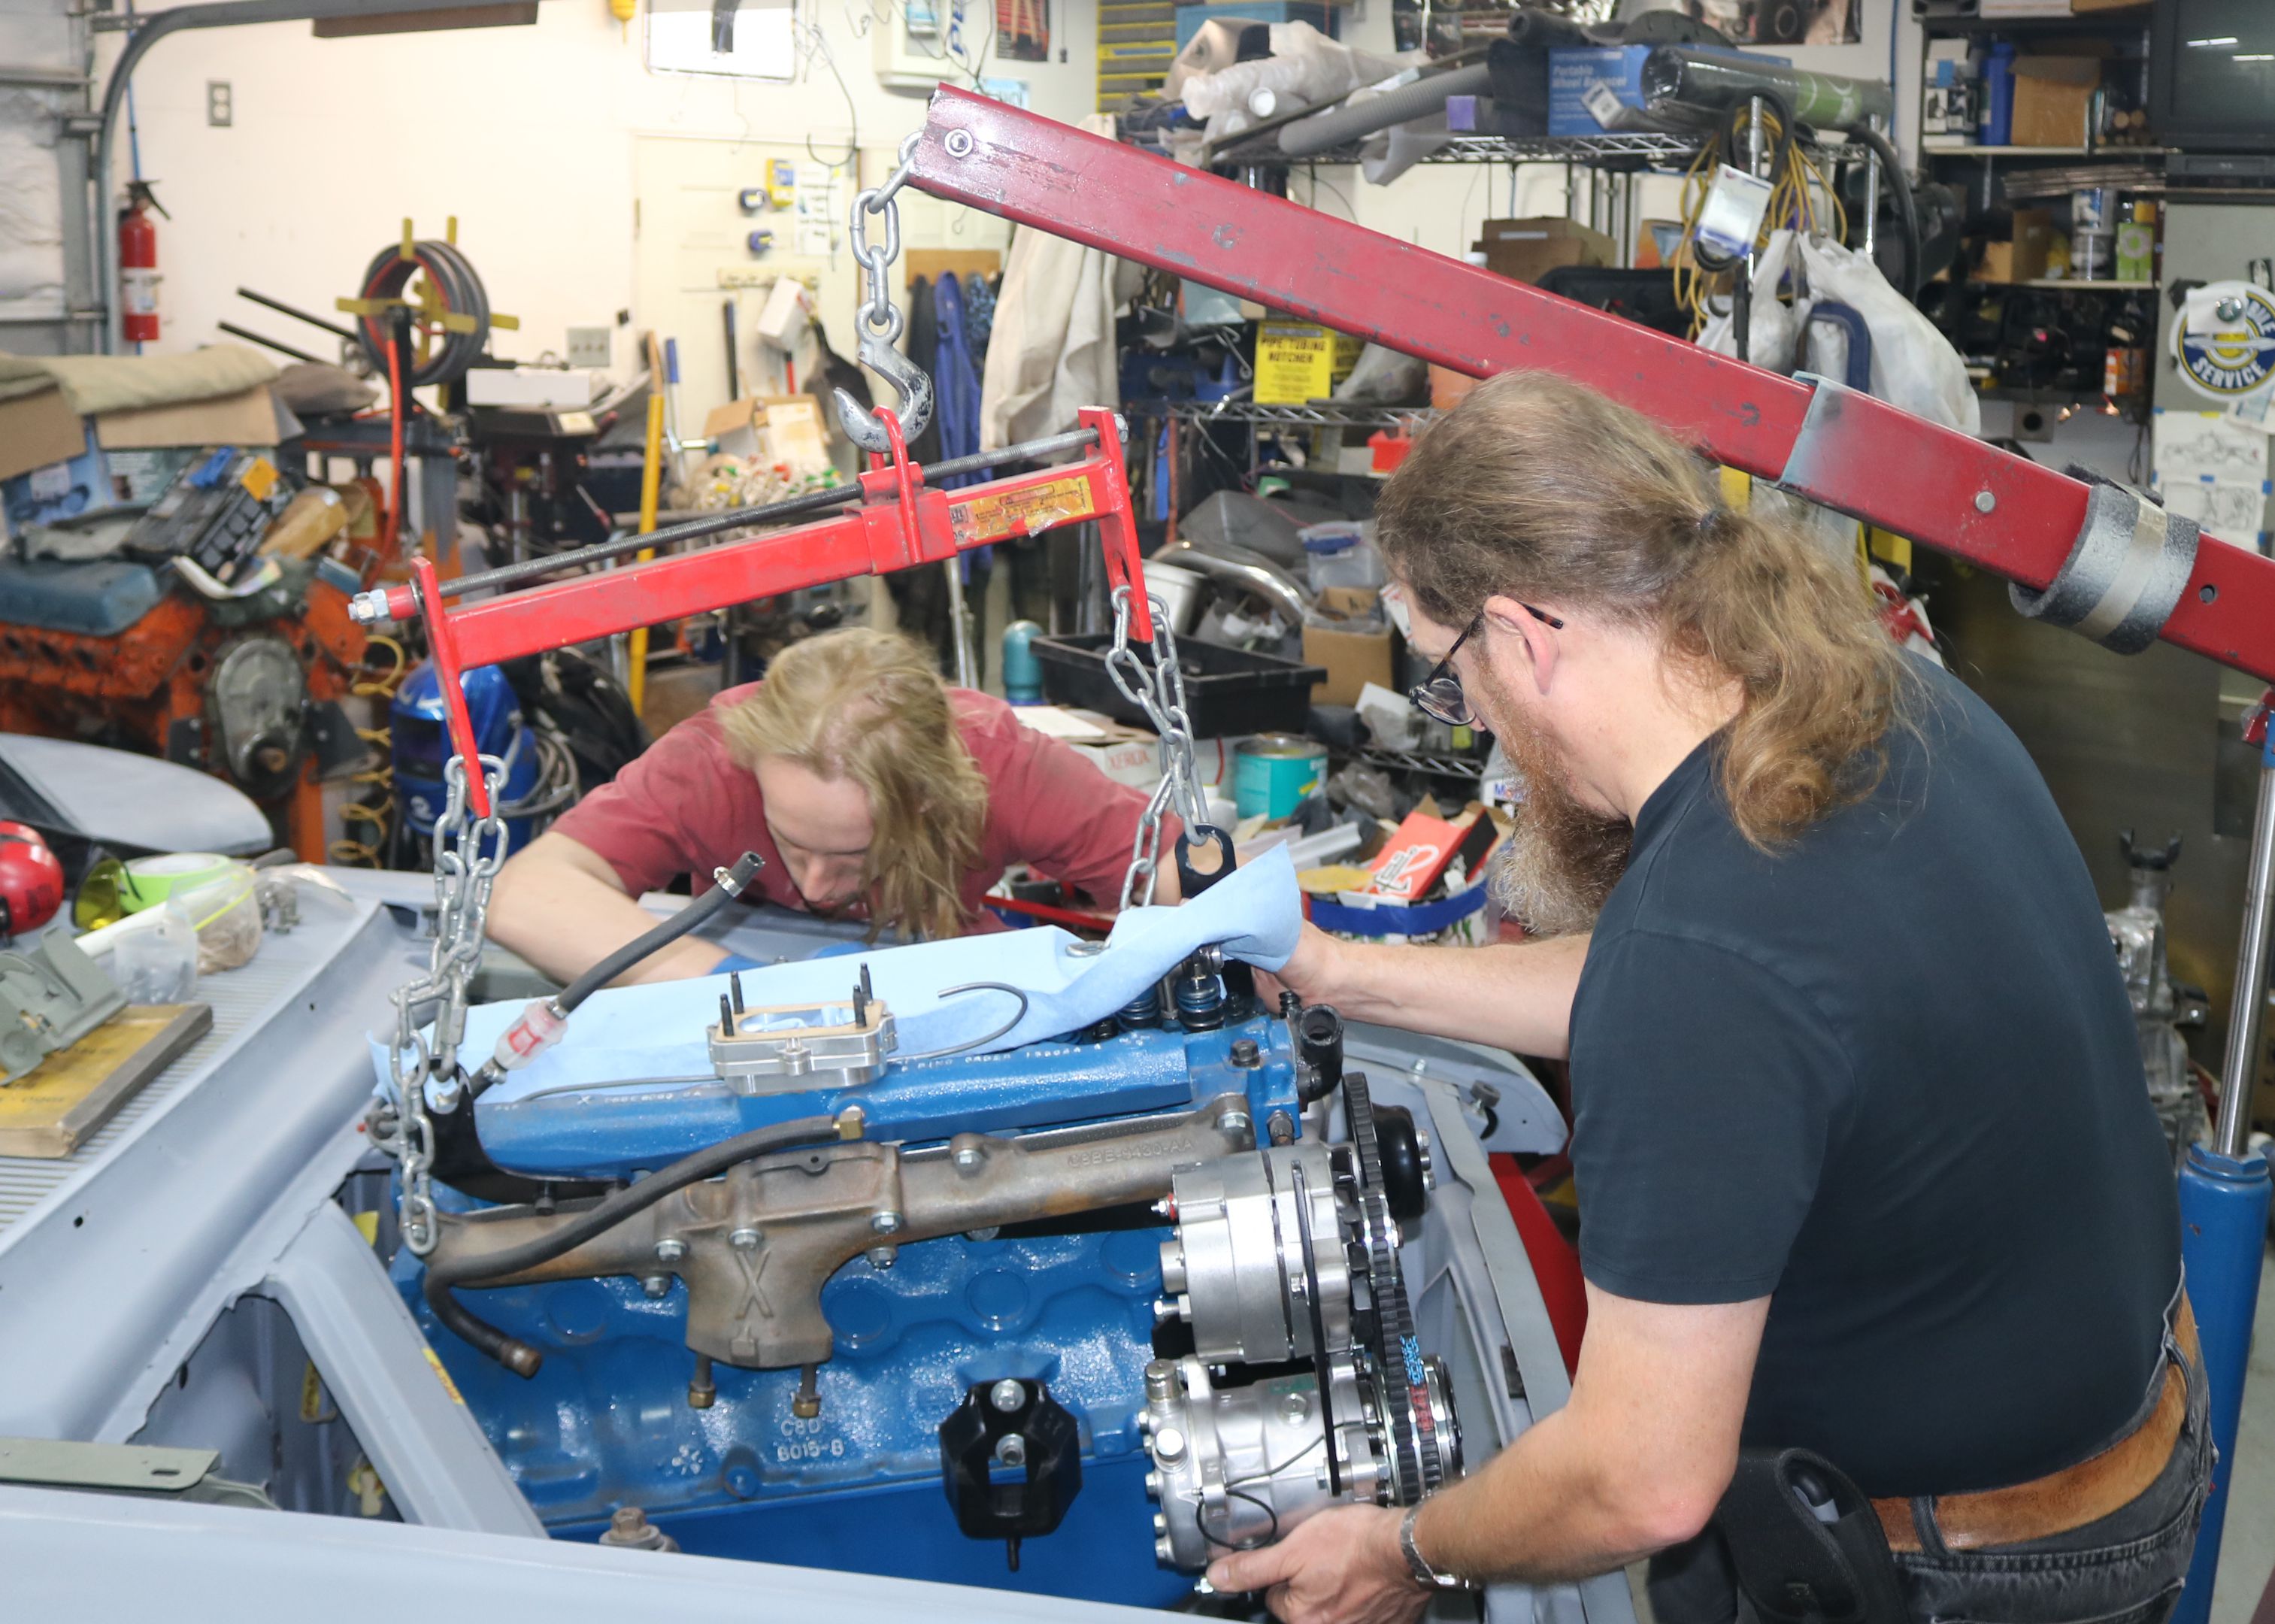
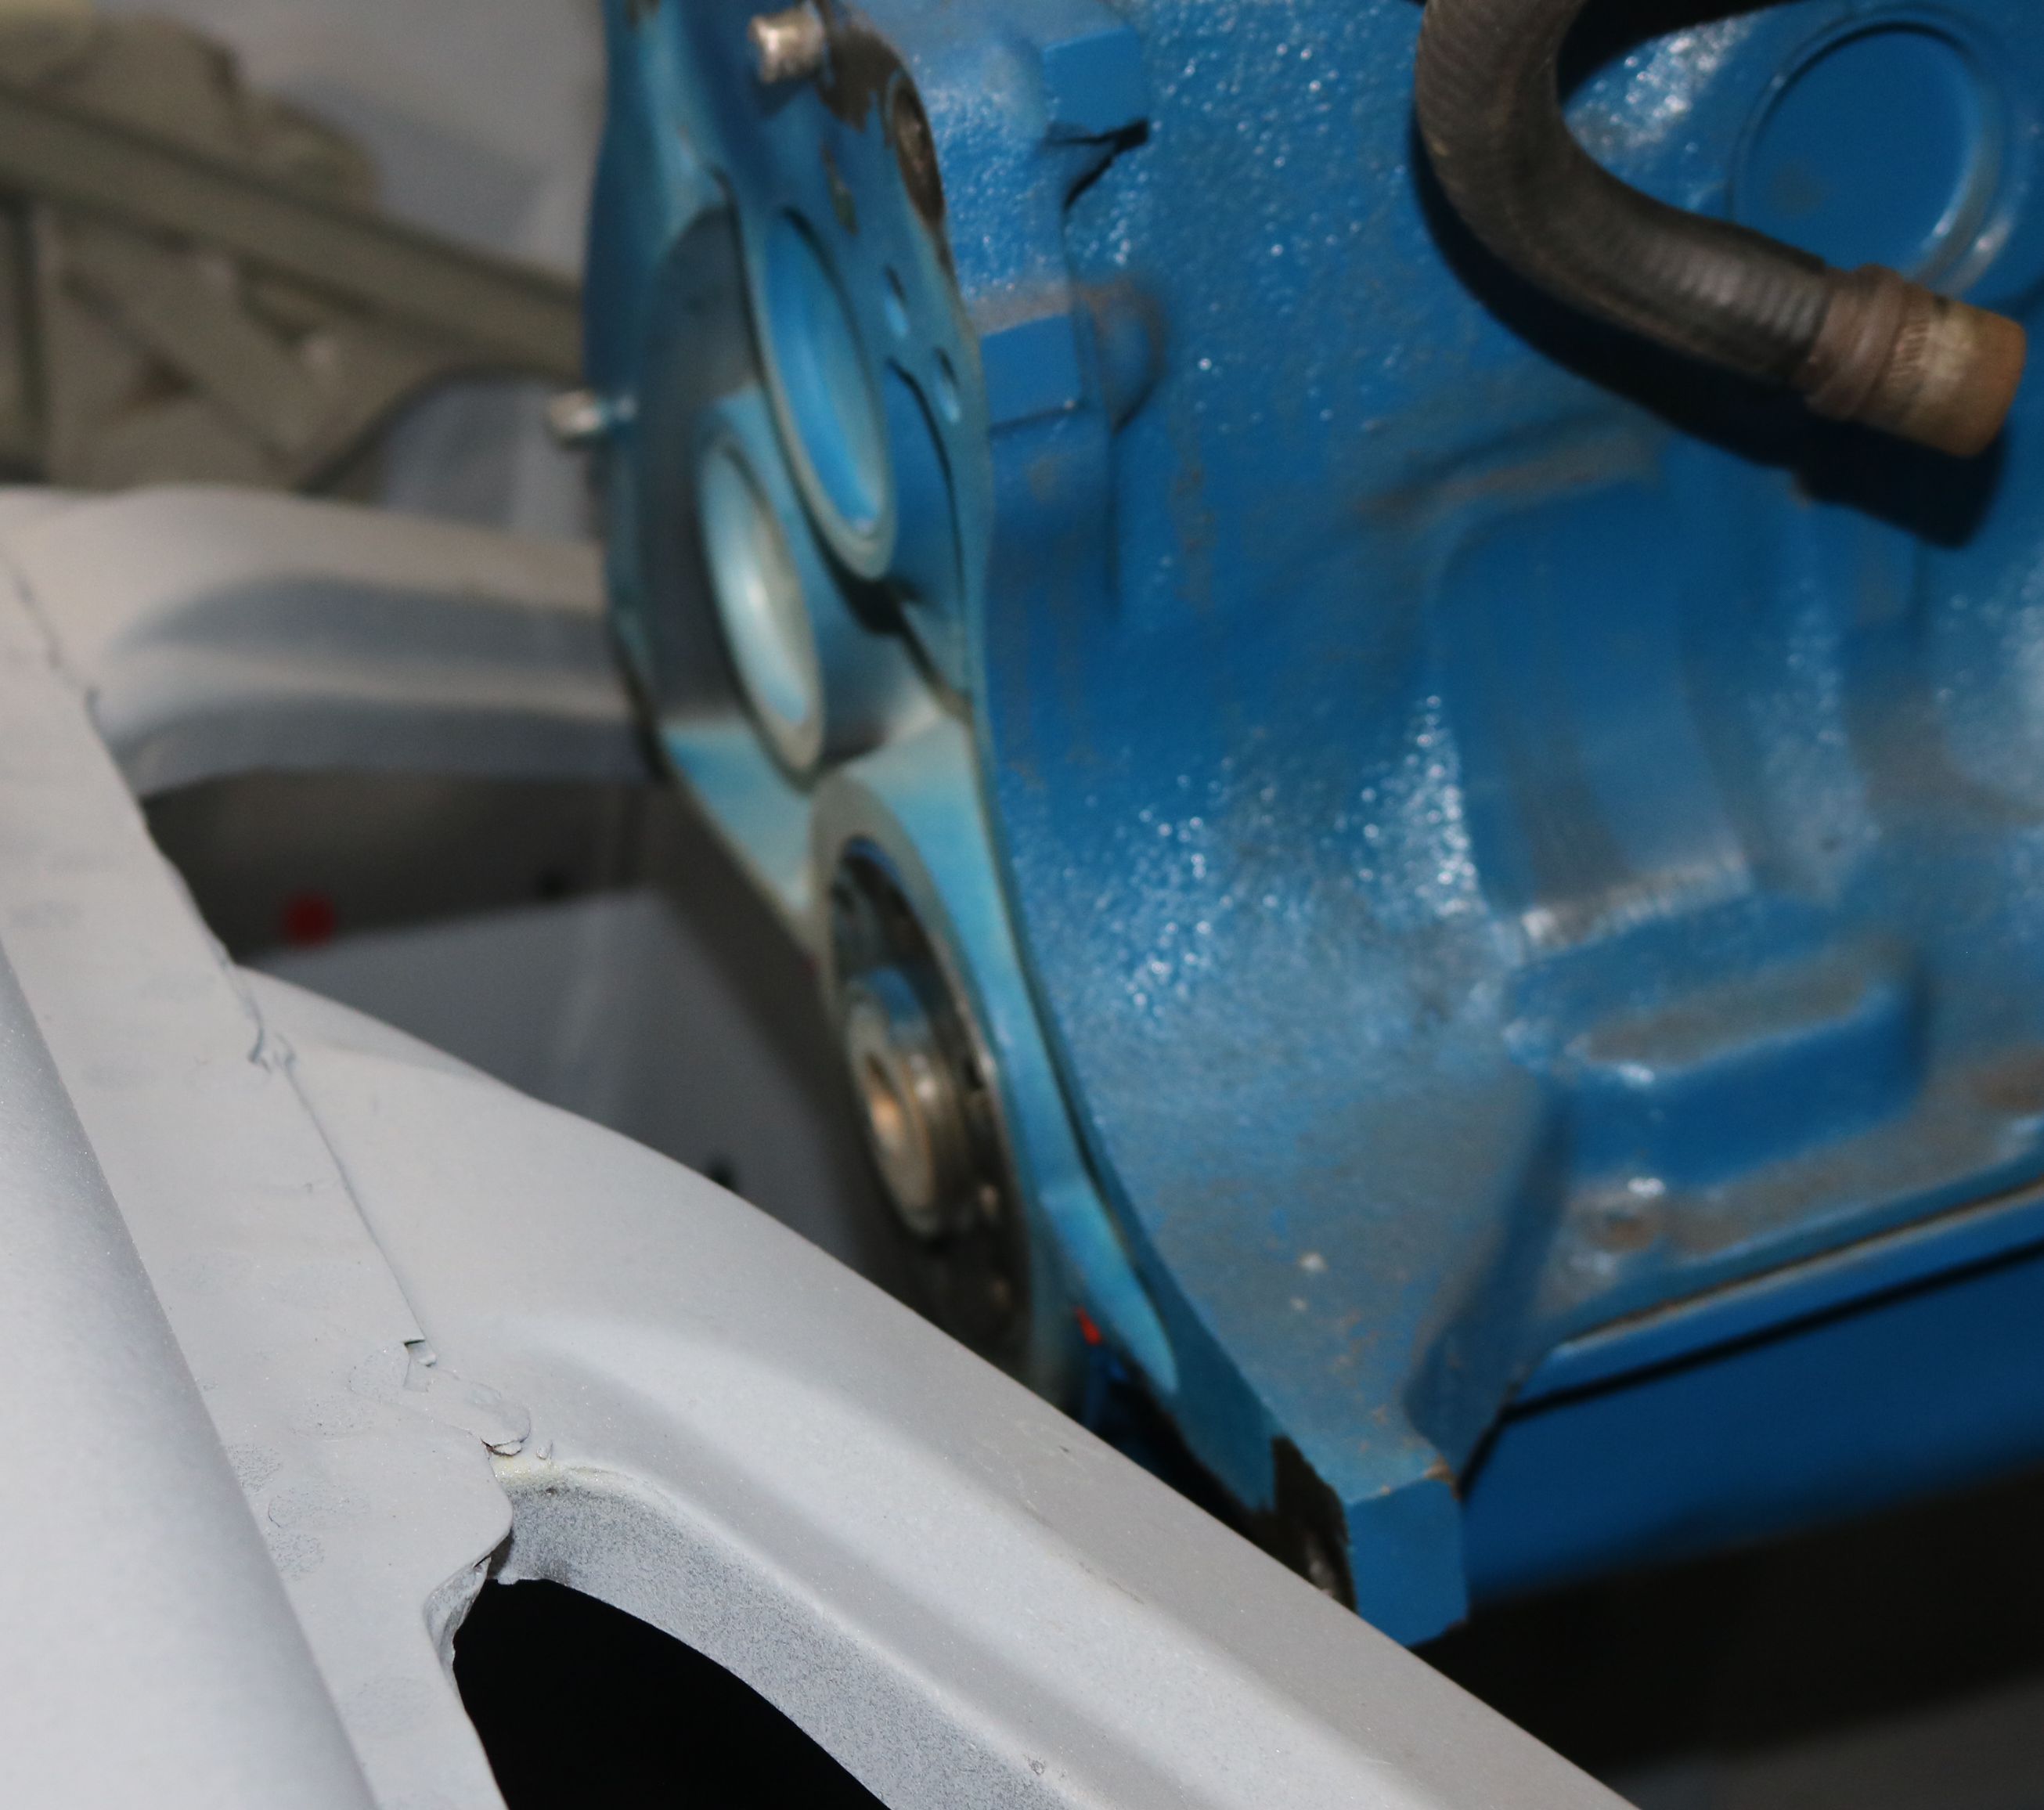
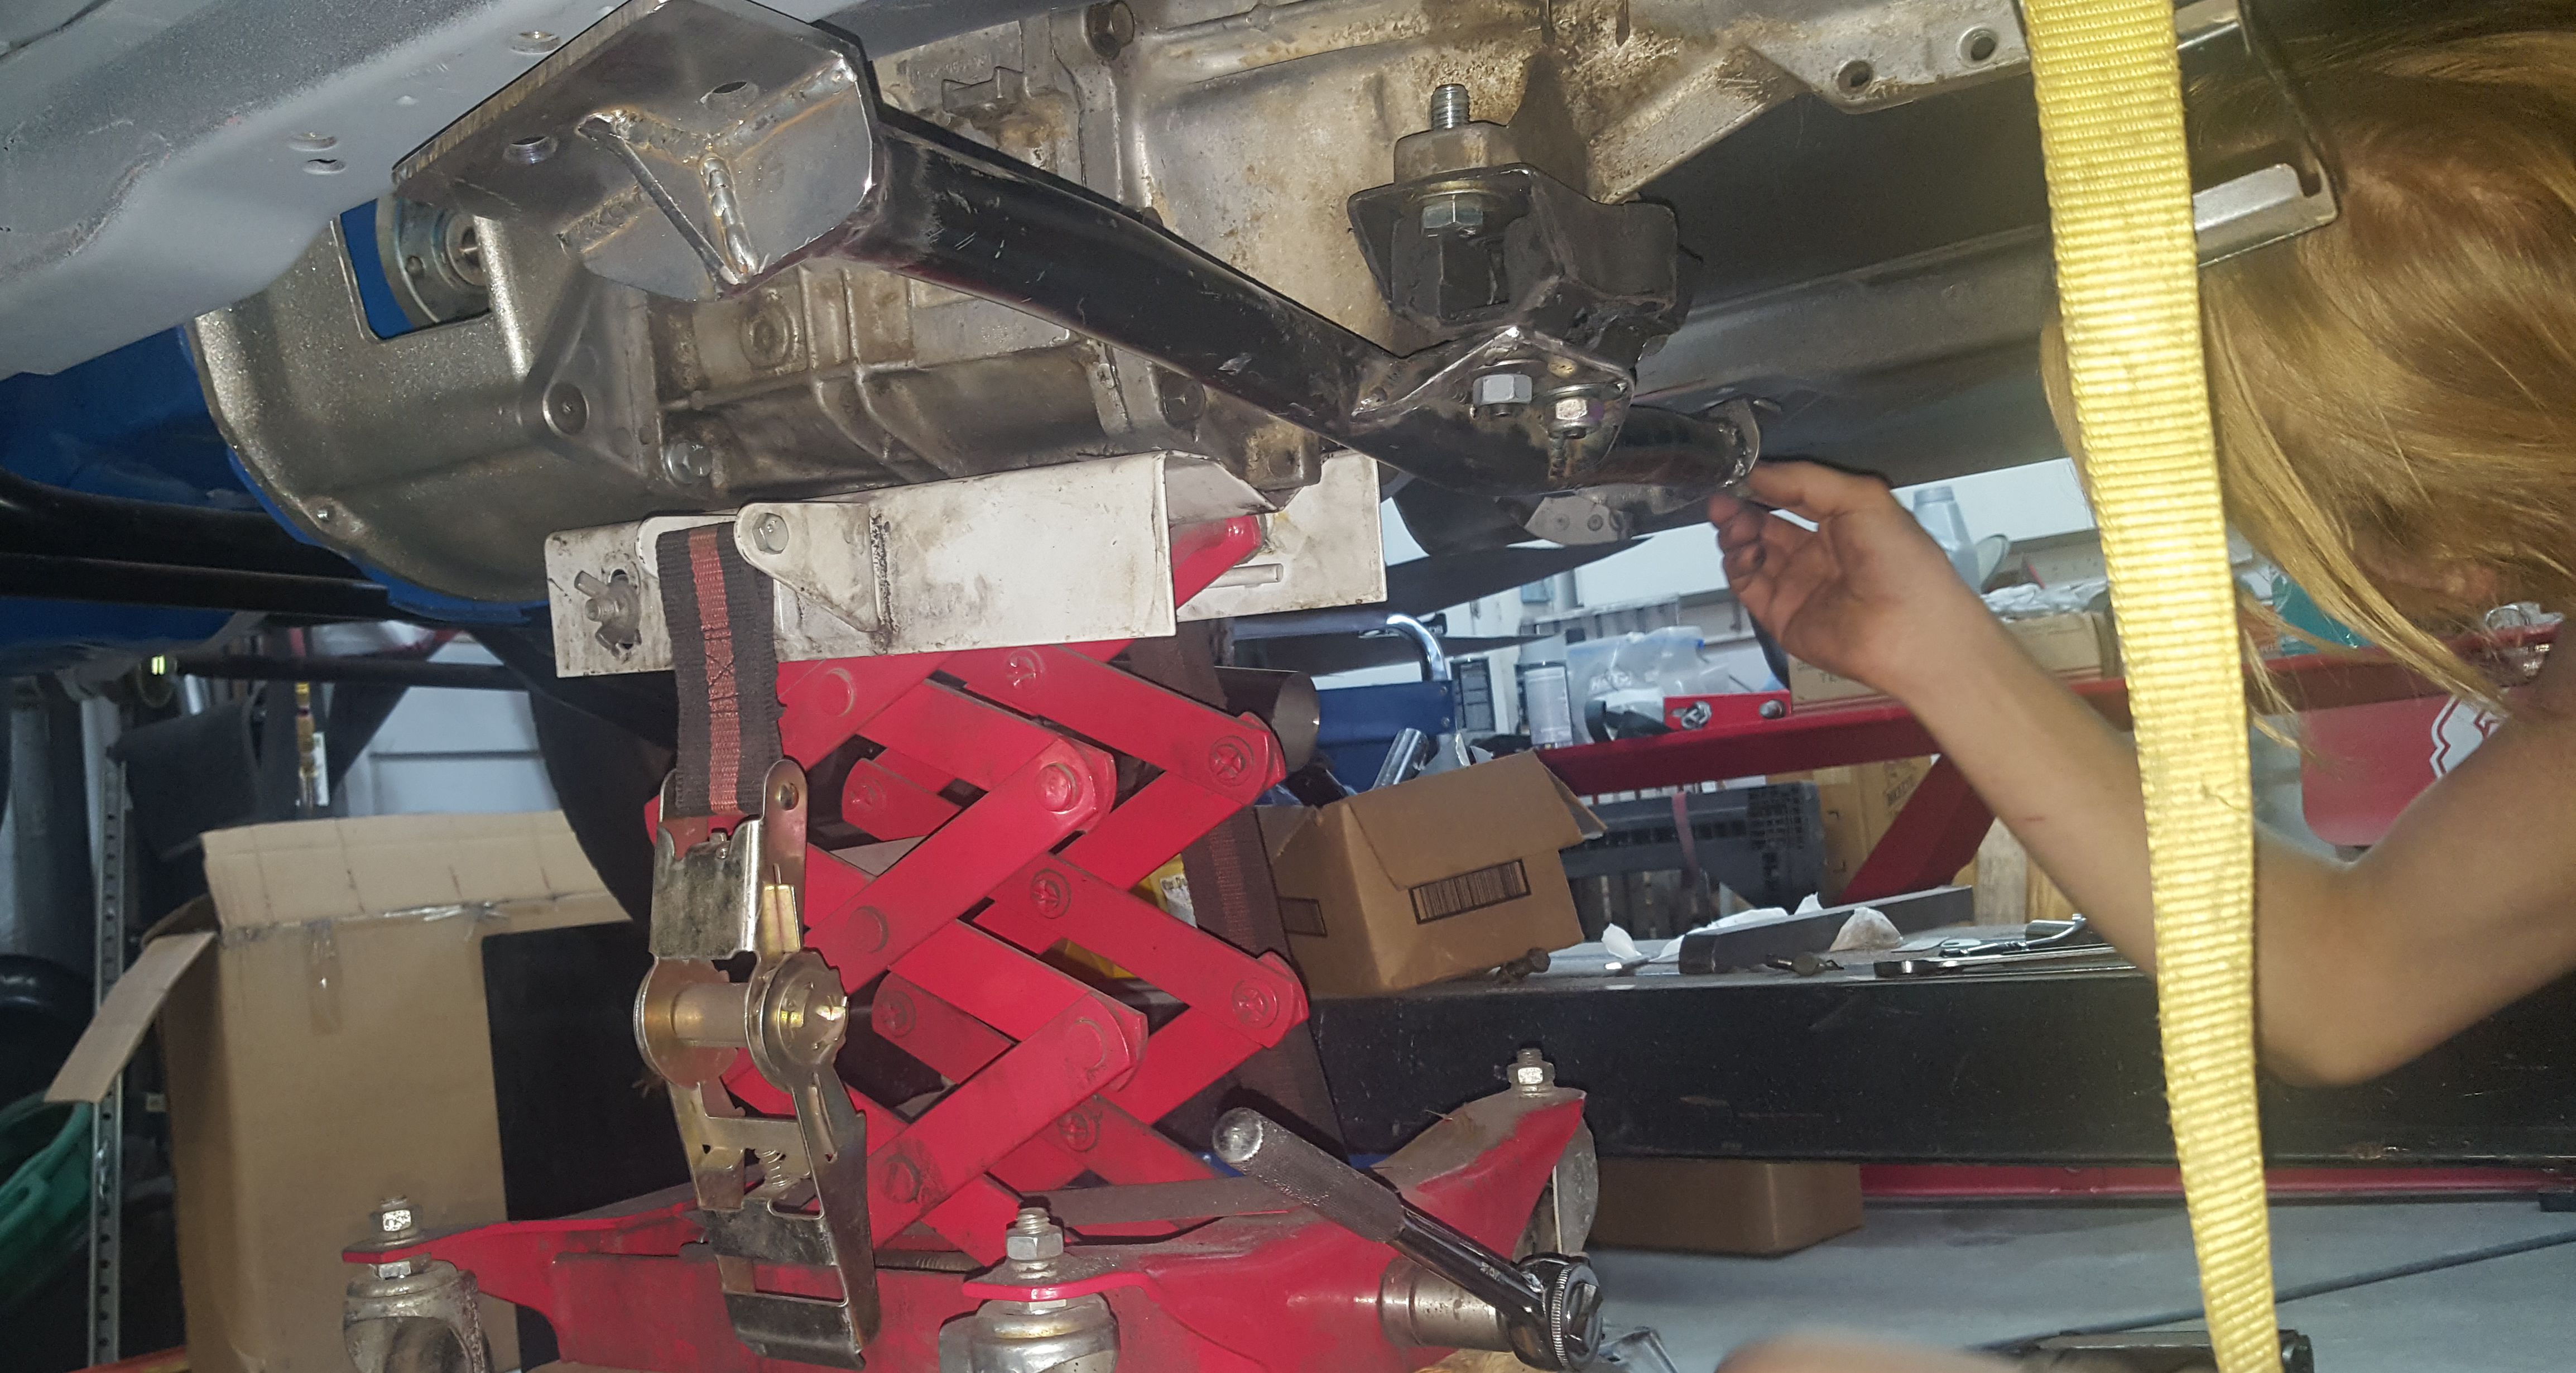
Checking for motor mount alignment.
|
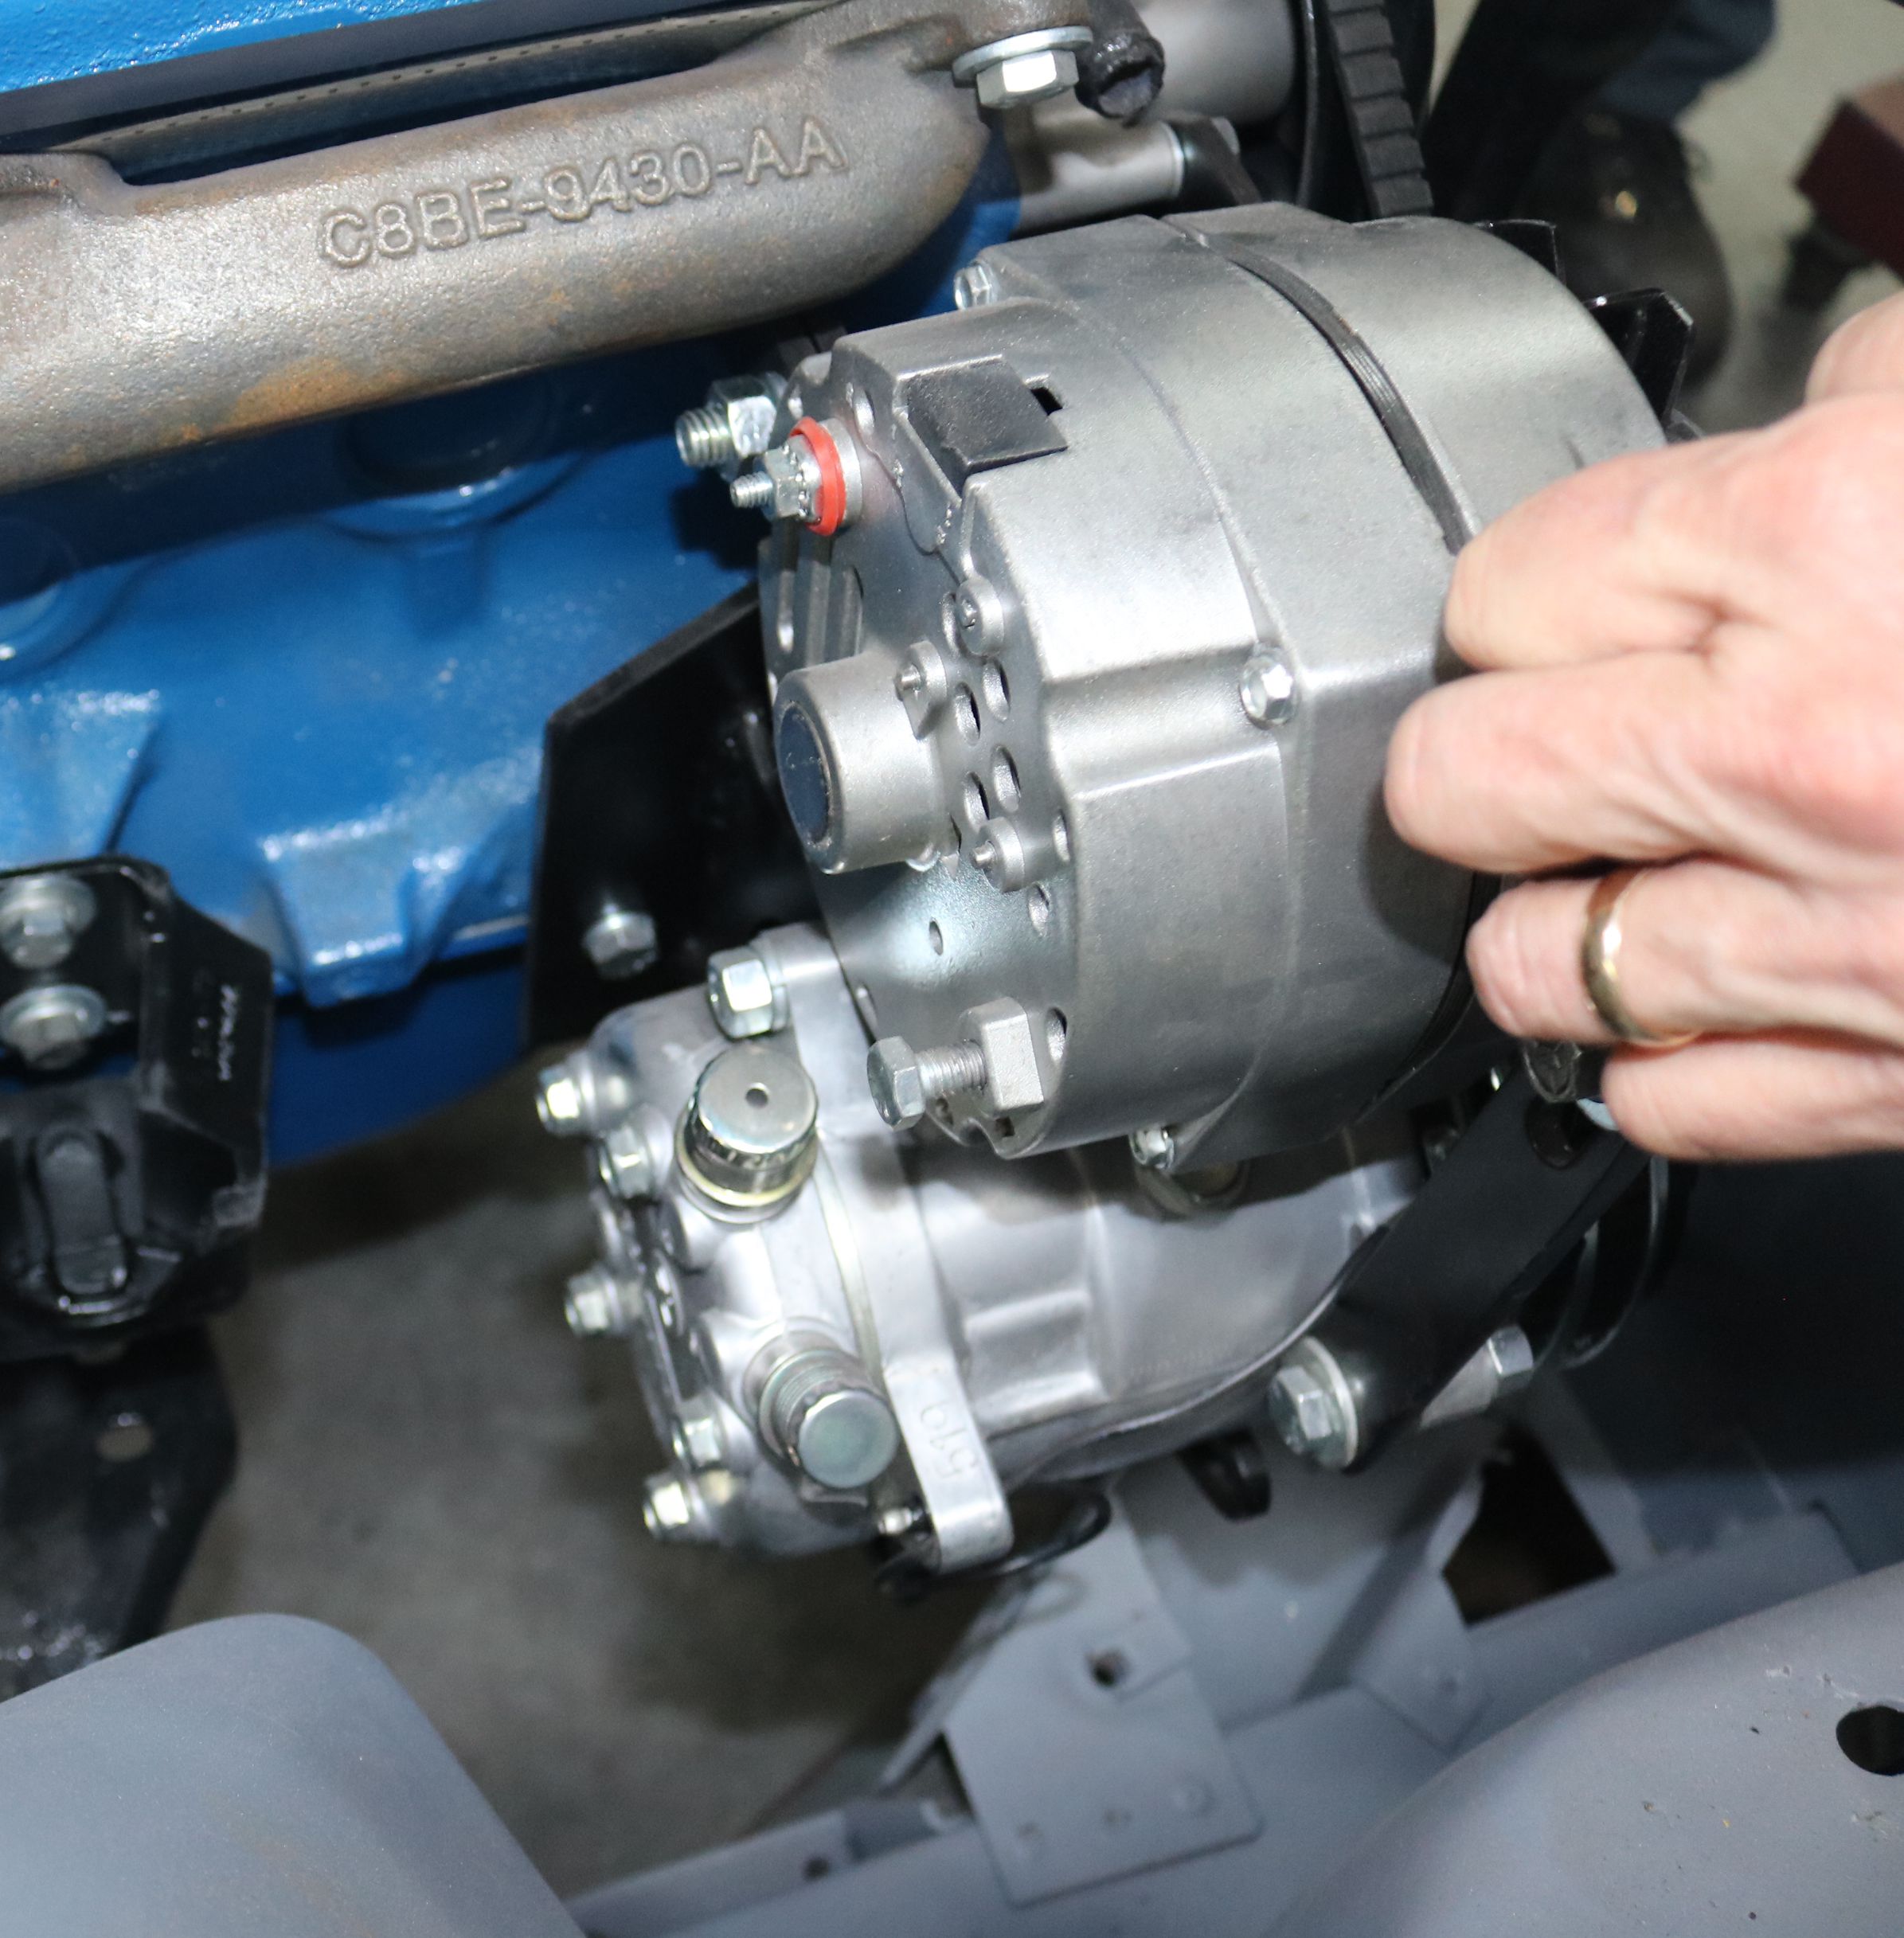
And problem number two - the air conditioning pump is resting on the front frame
rail.
|
The frame rail was clearanced and will have a new top plate welded on once we
pull the engine back out.
|
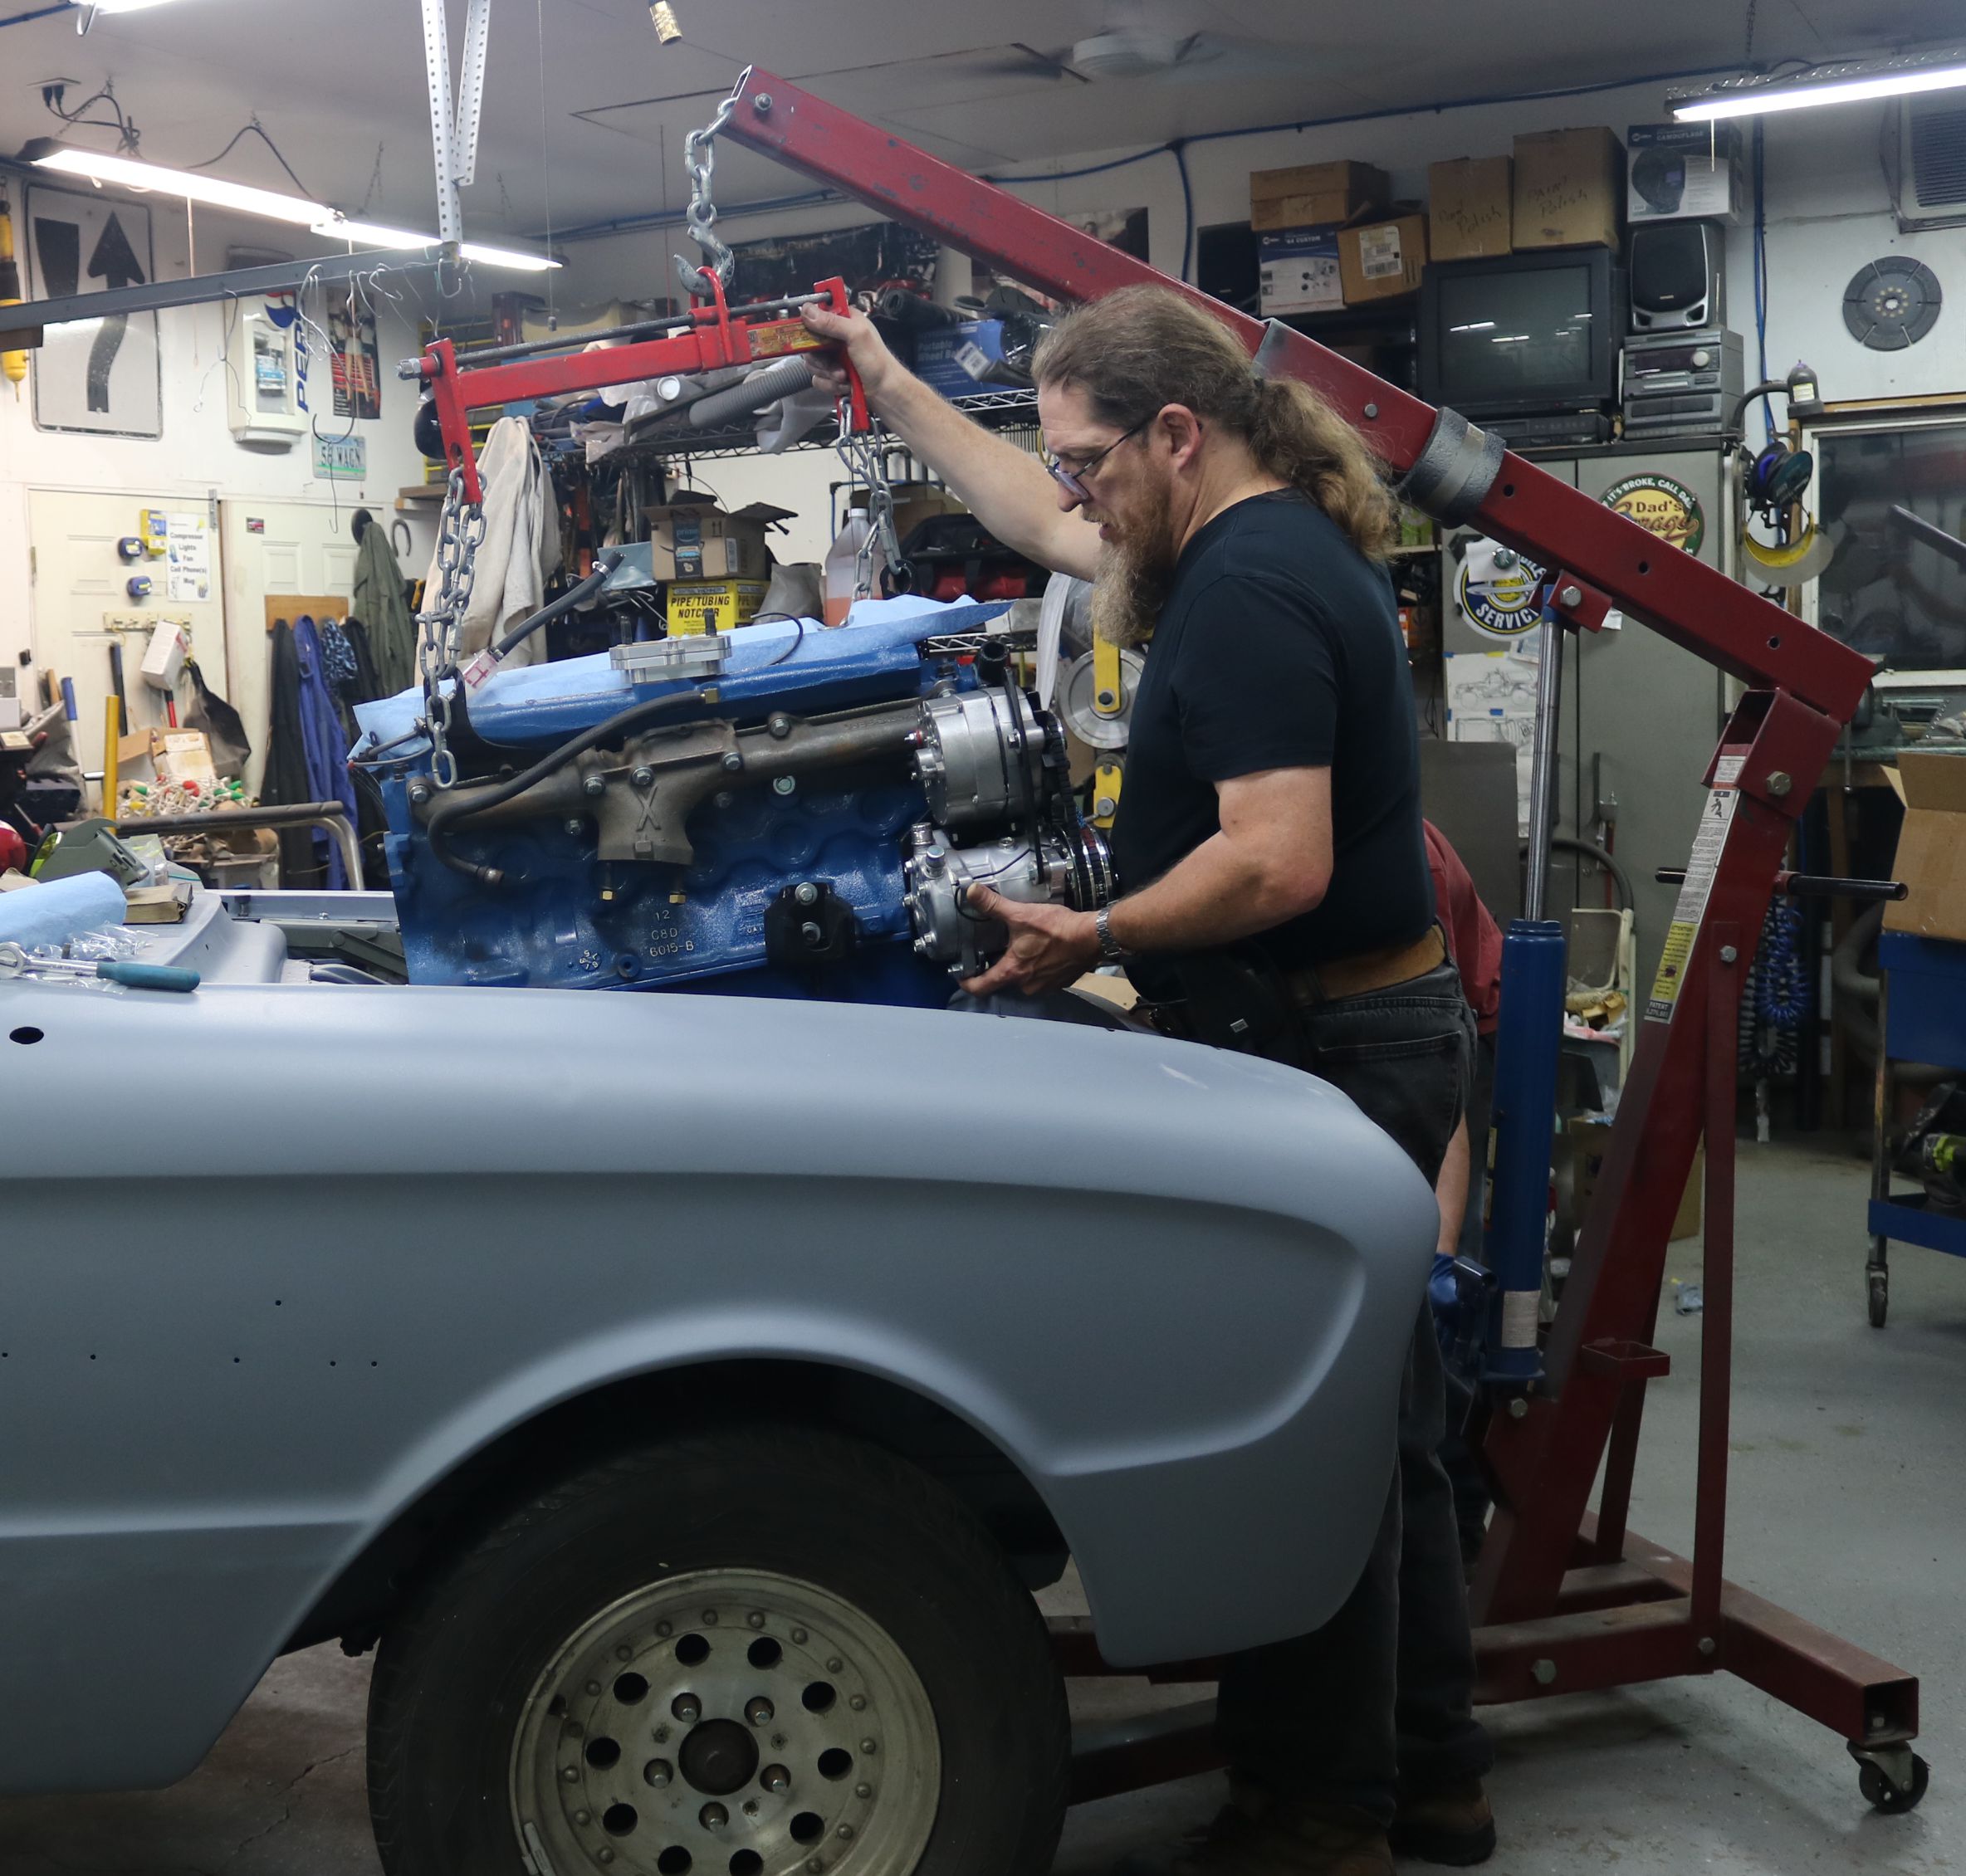
Father and son work together to get the motor mounts in.
|
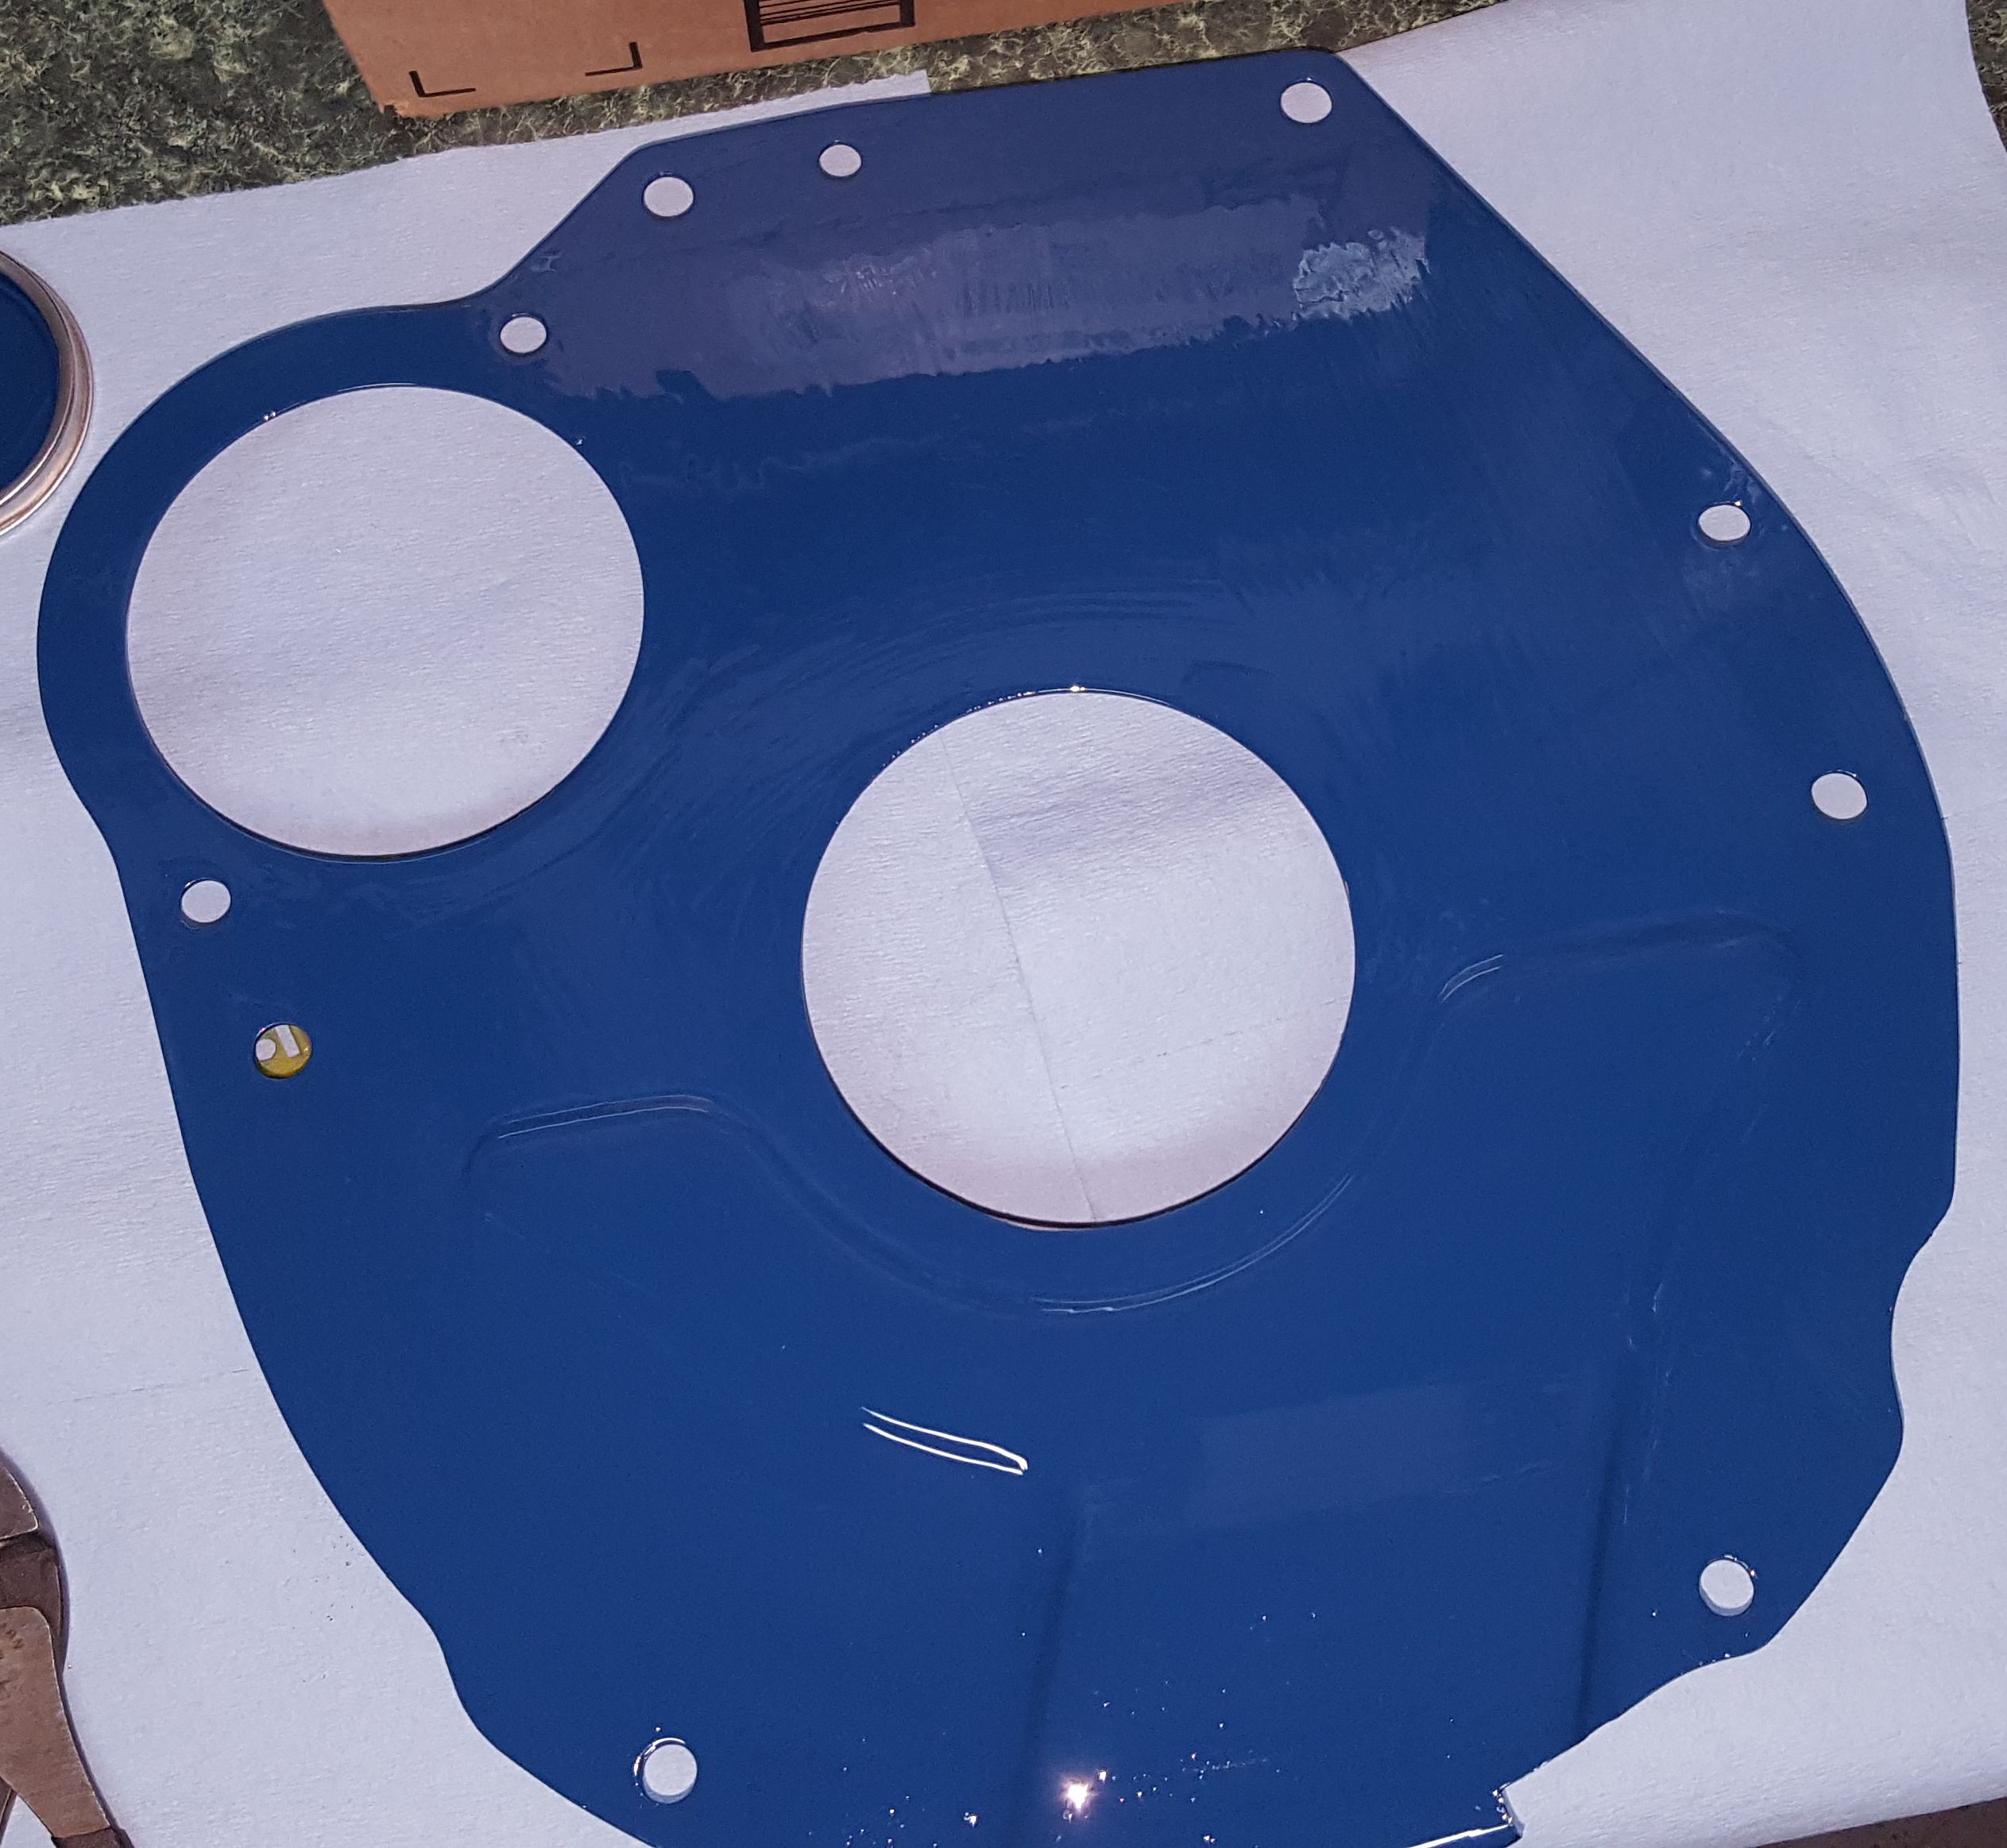
Old Ford Blue on the transmission cover plate.
|
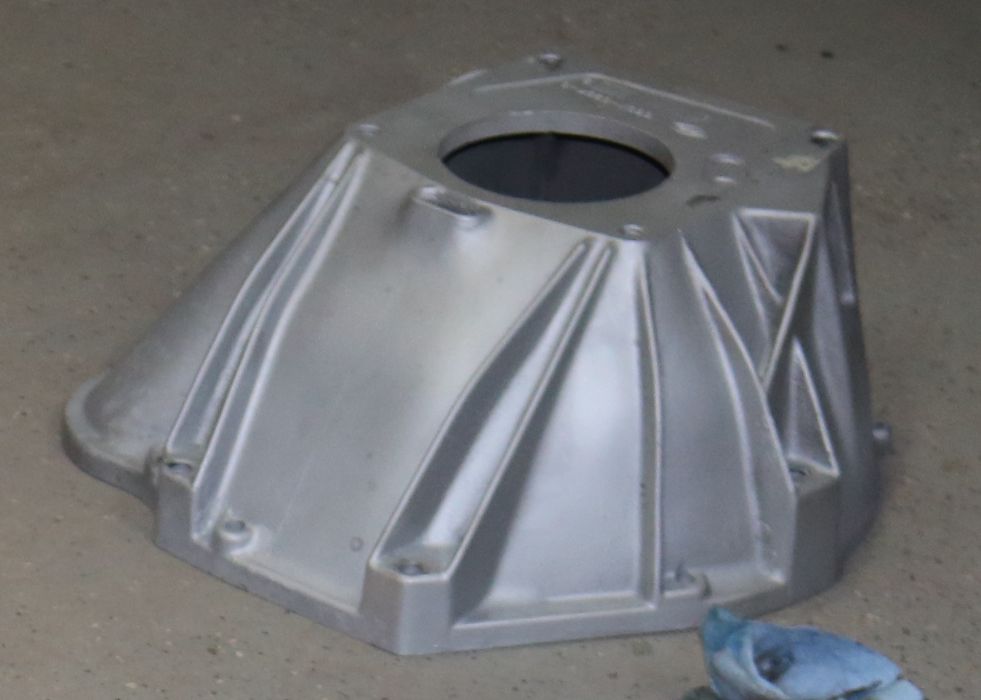
The bell housing is ready to be installed.
|
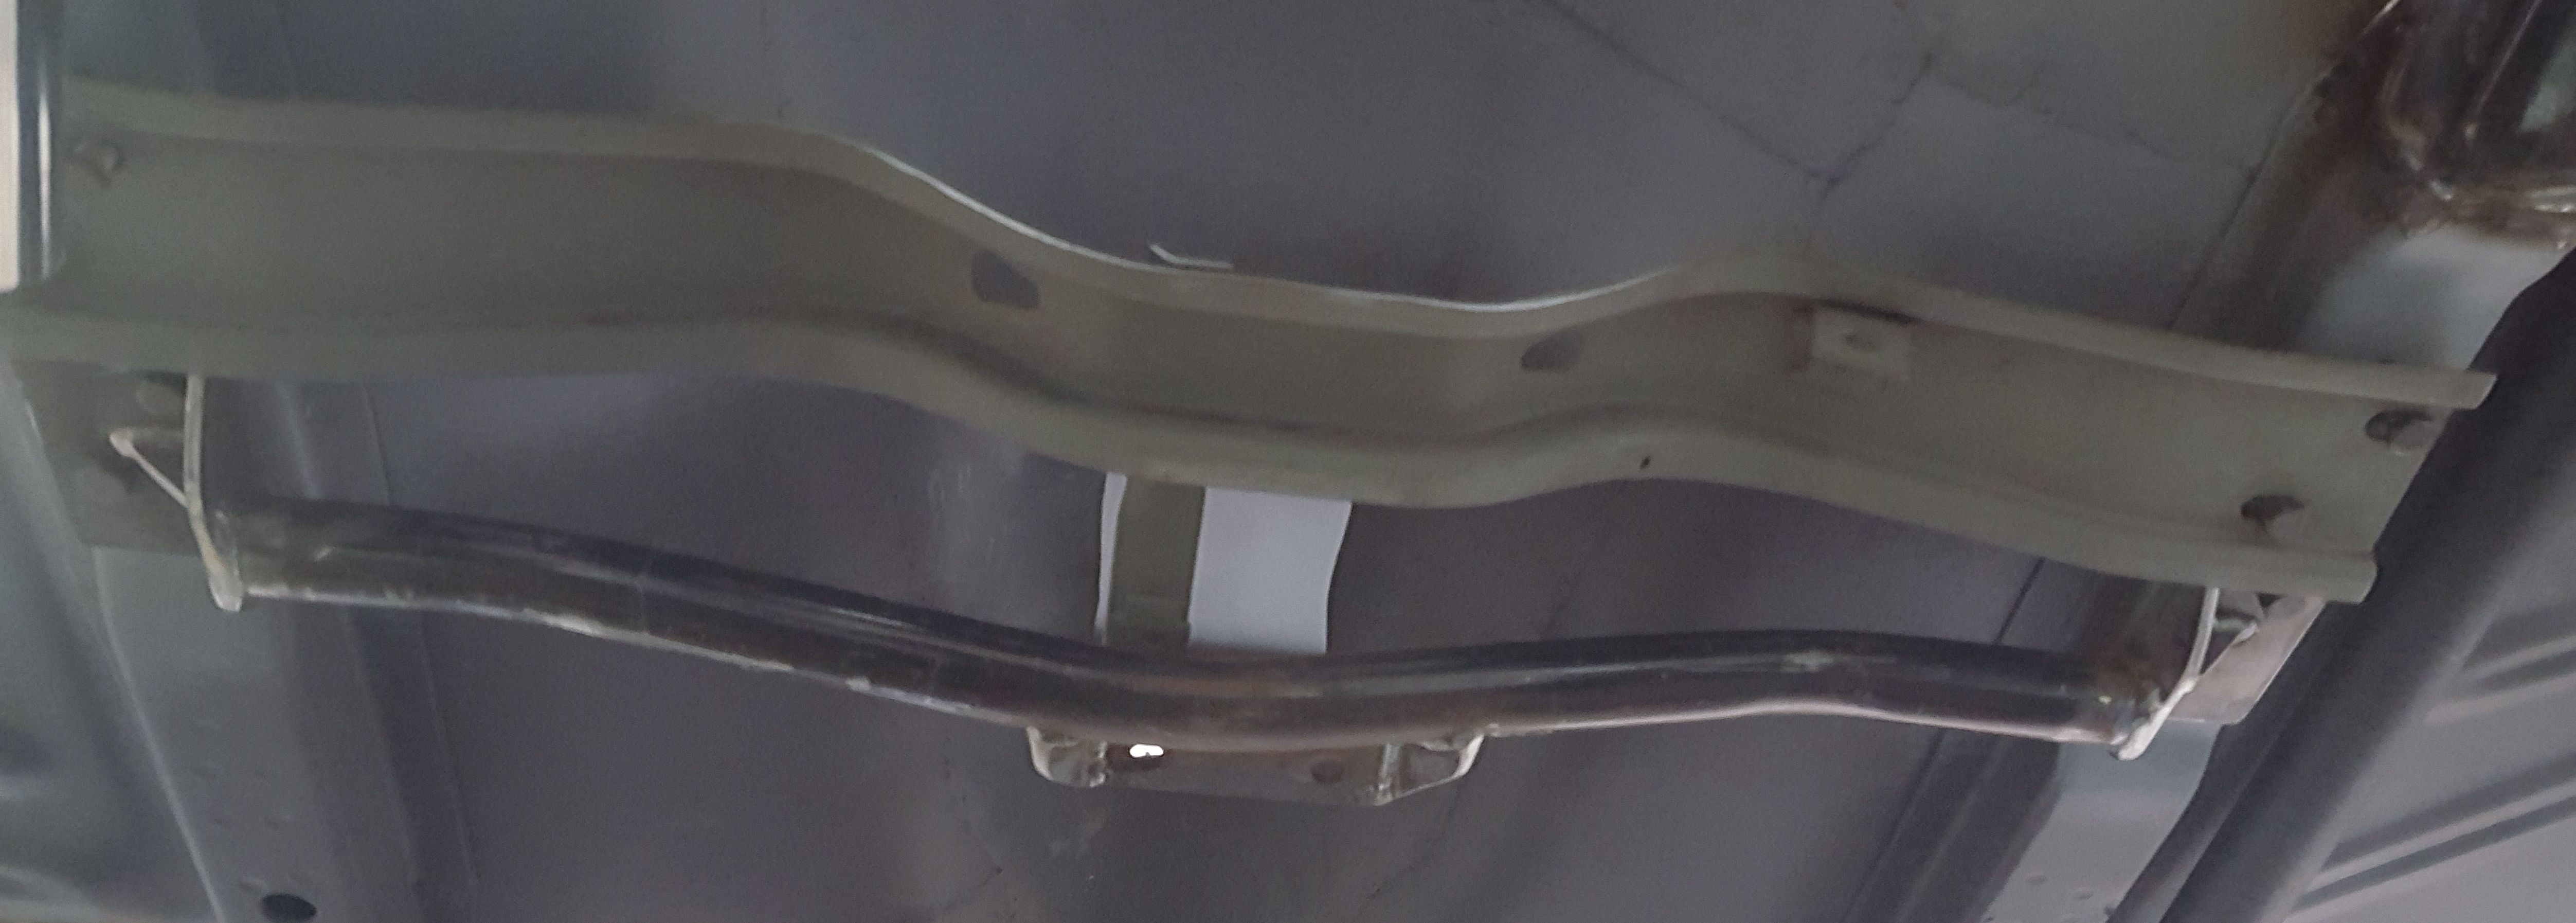
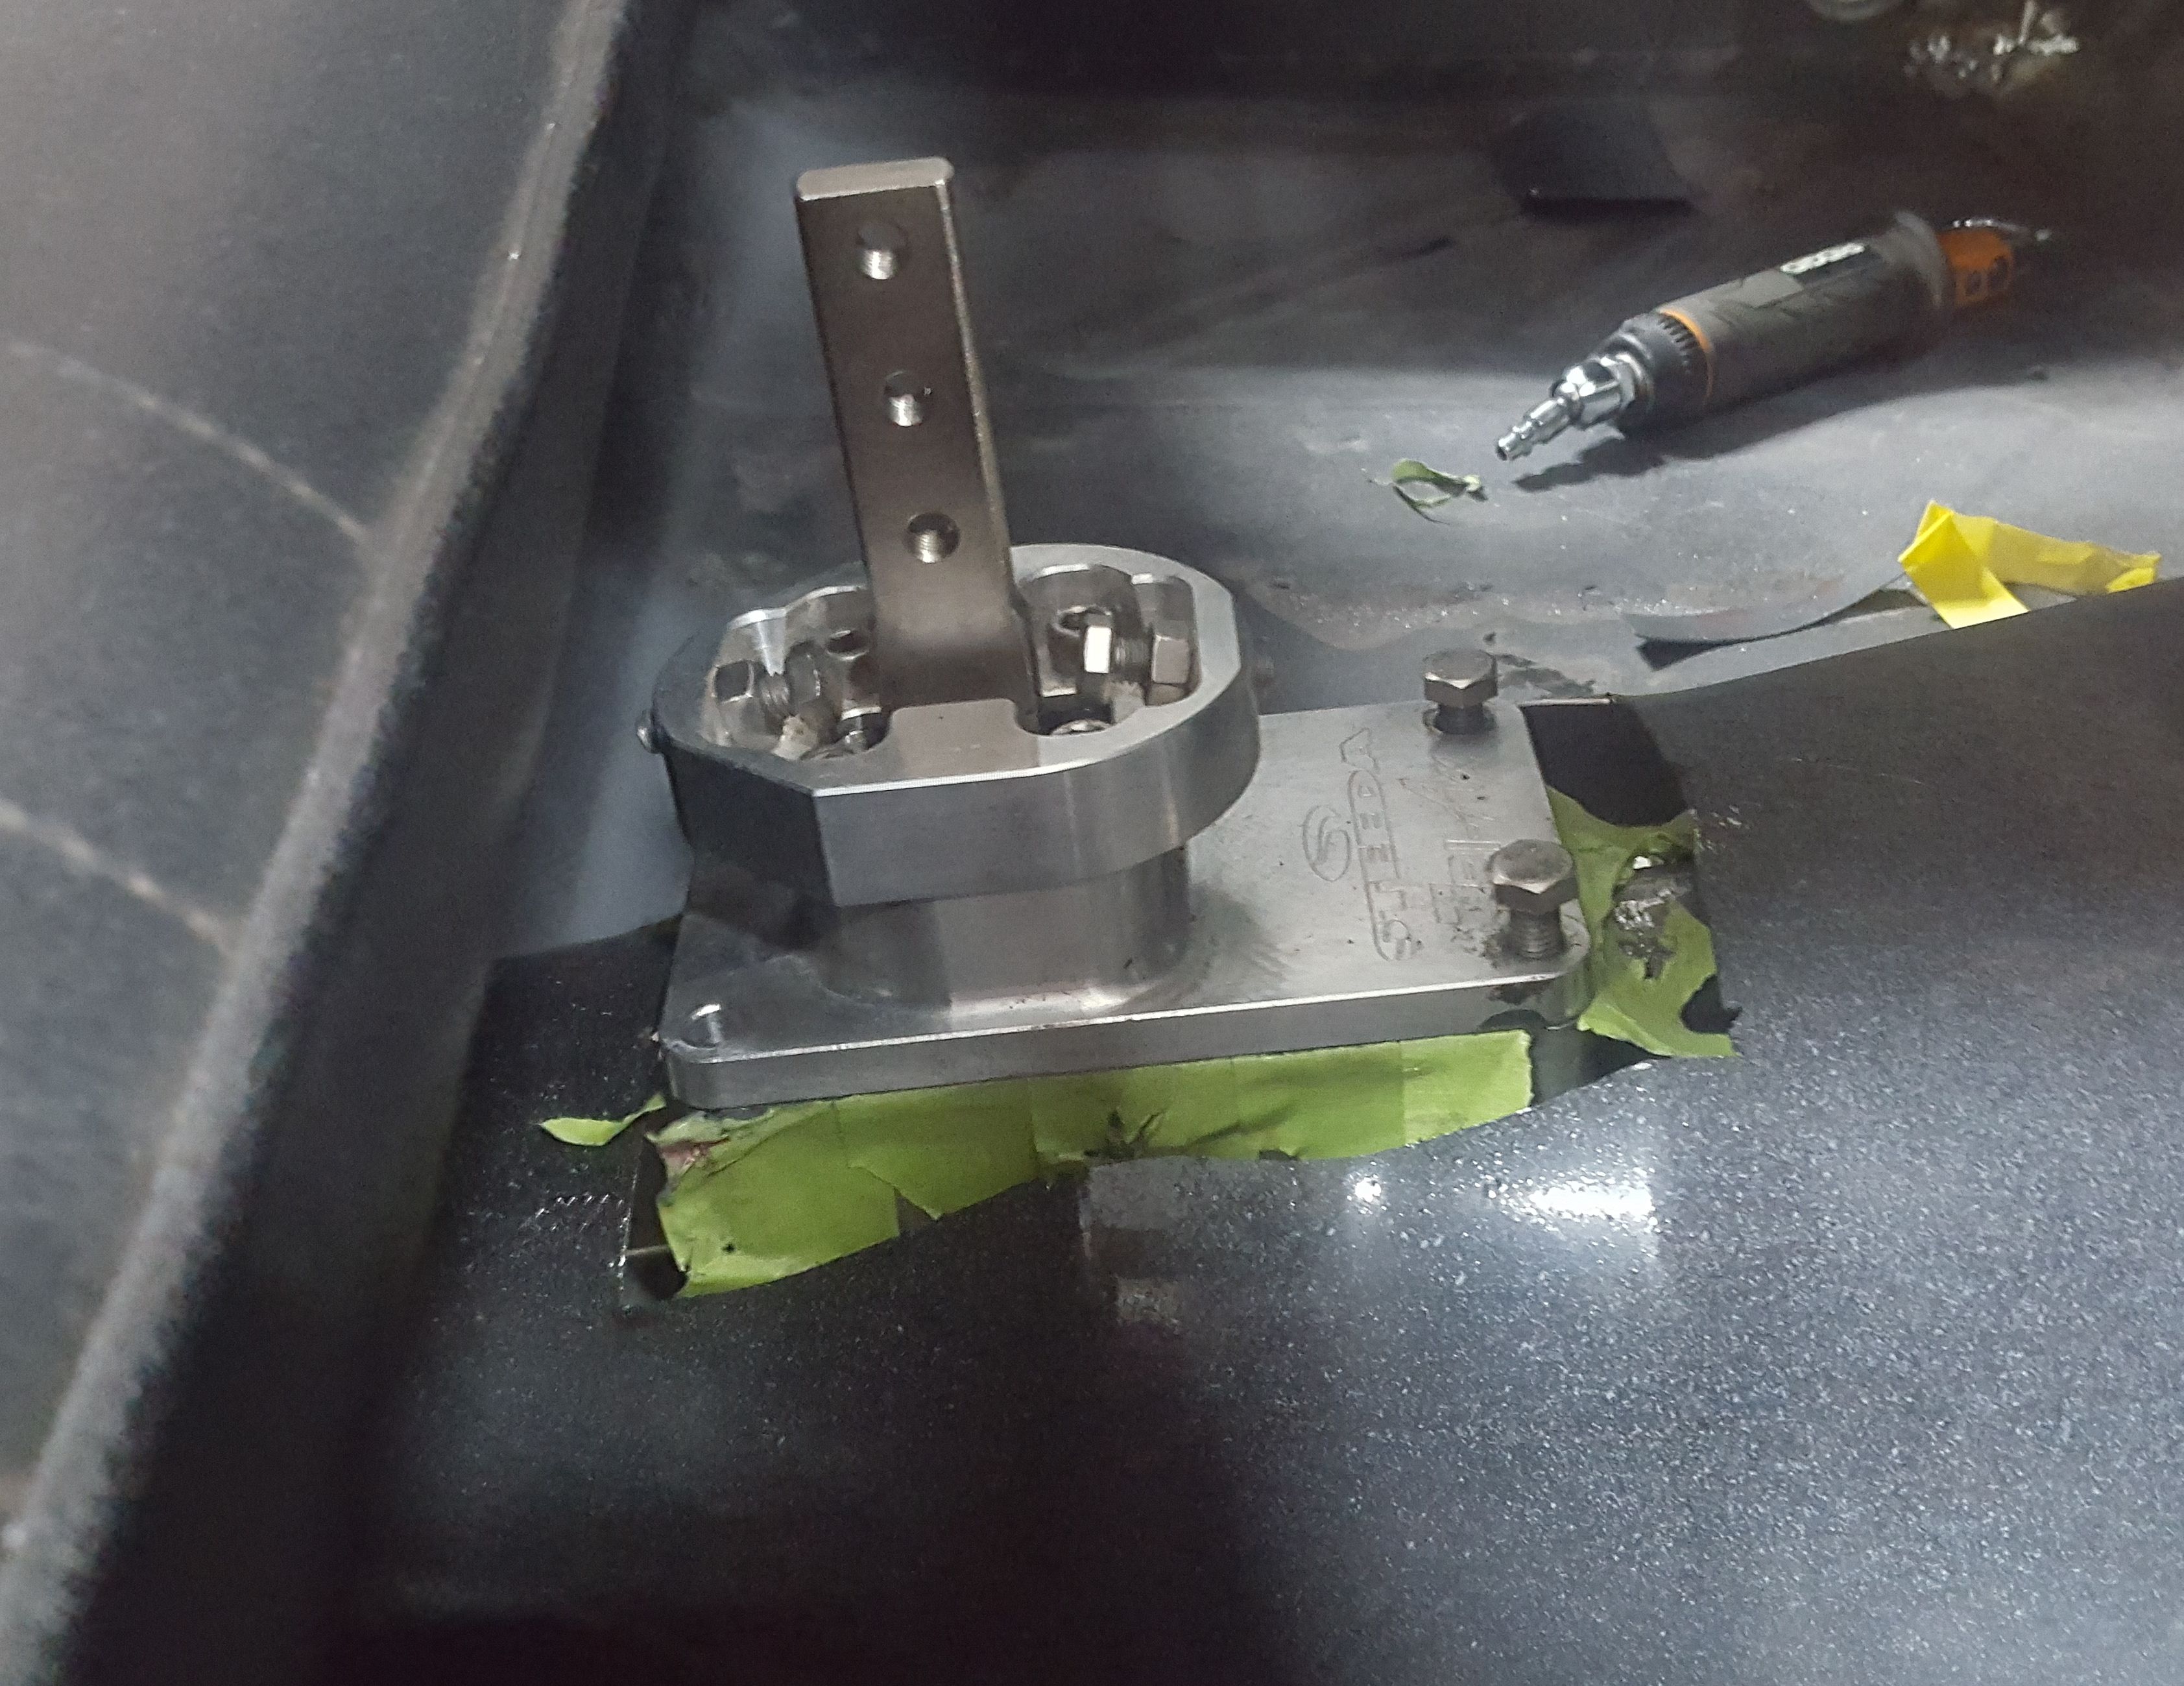
The original ford transmission mount and the new mount for the 5 speed. The
chosen transimission does not use the original trans mount, but instead requires
a new mount moved back several inches. This original full width trans brace was
only used in '60-'61 Ranchero's and '60-the first half of '61 Falcons. '62 and
later had a brace built into the floorpan with a removable center section.
|

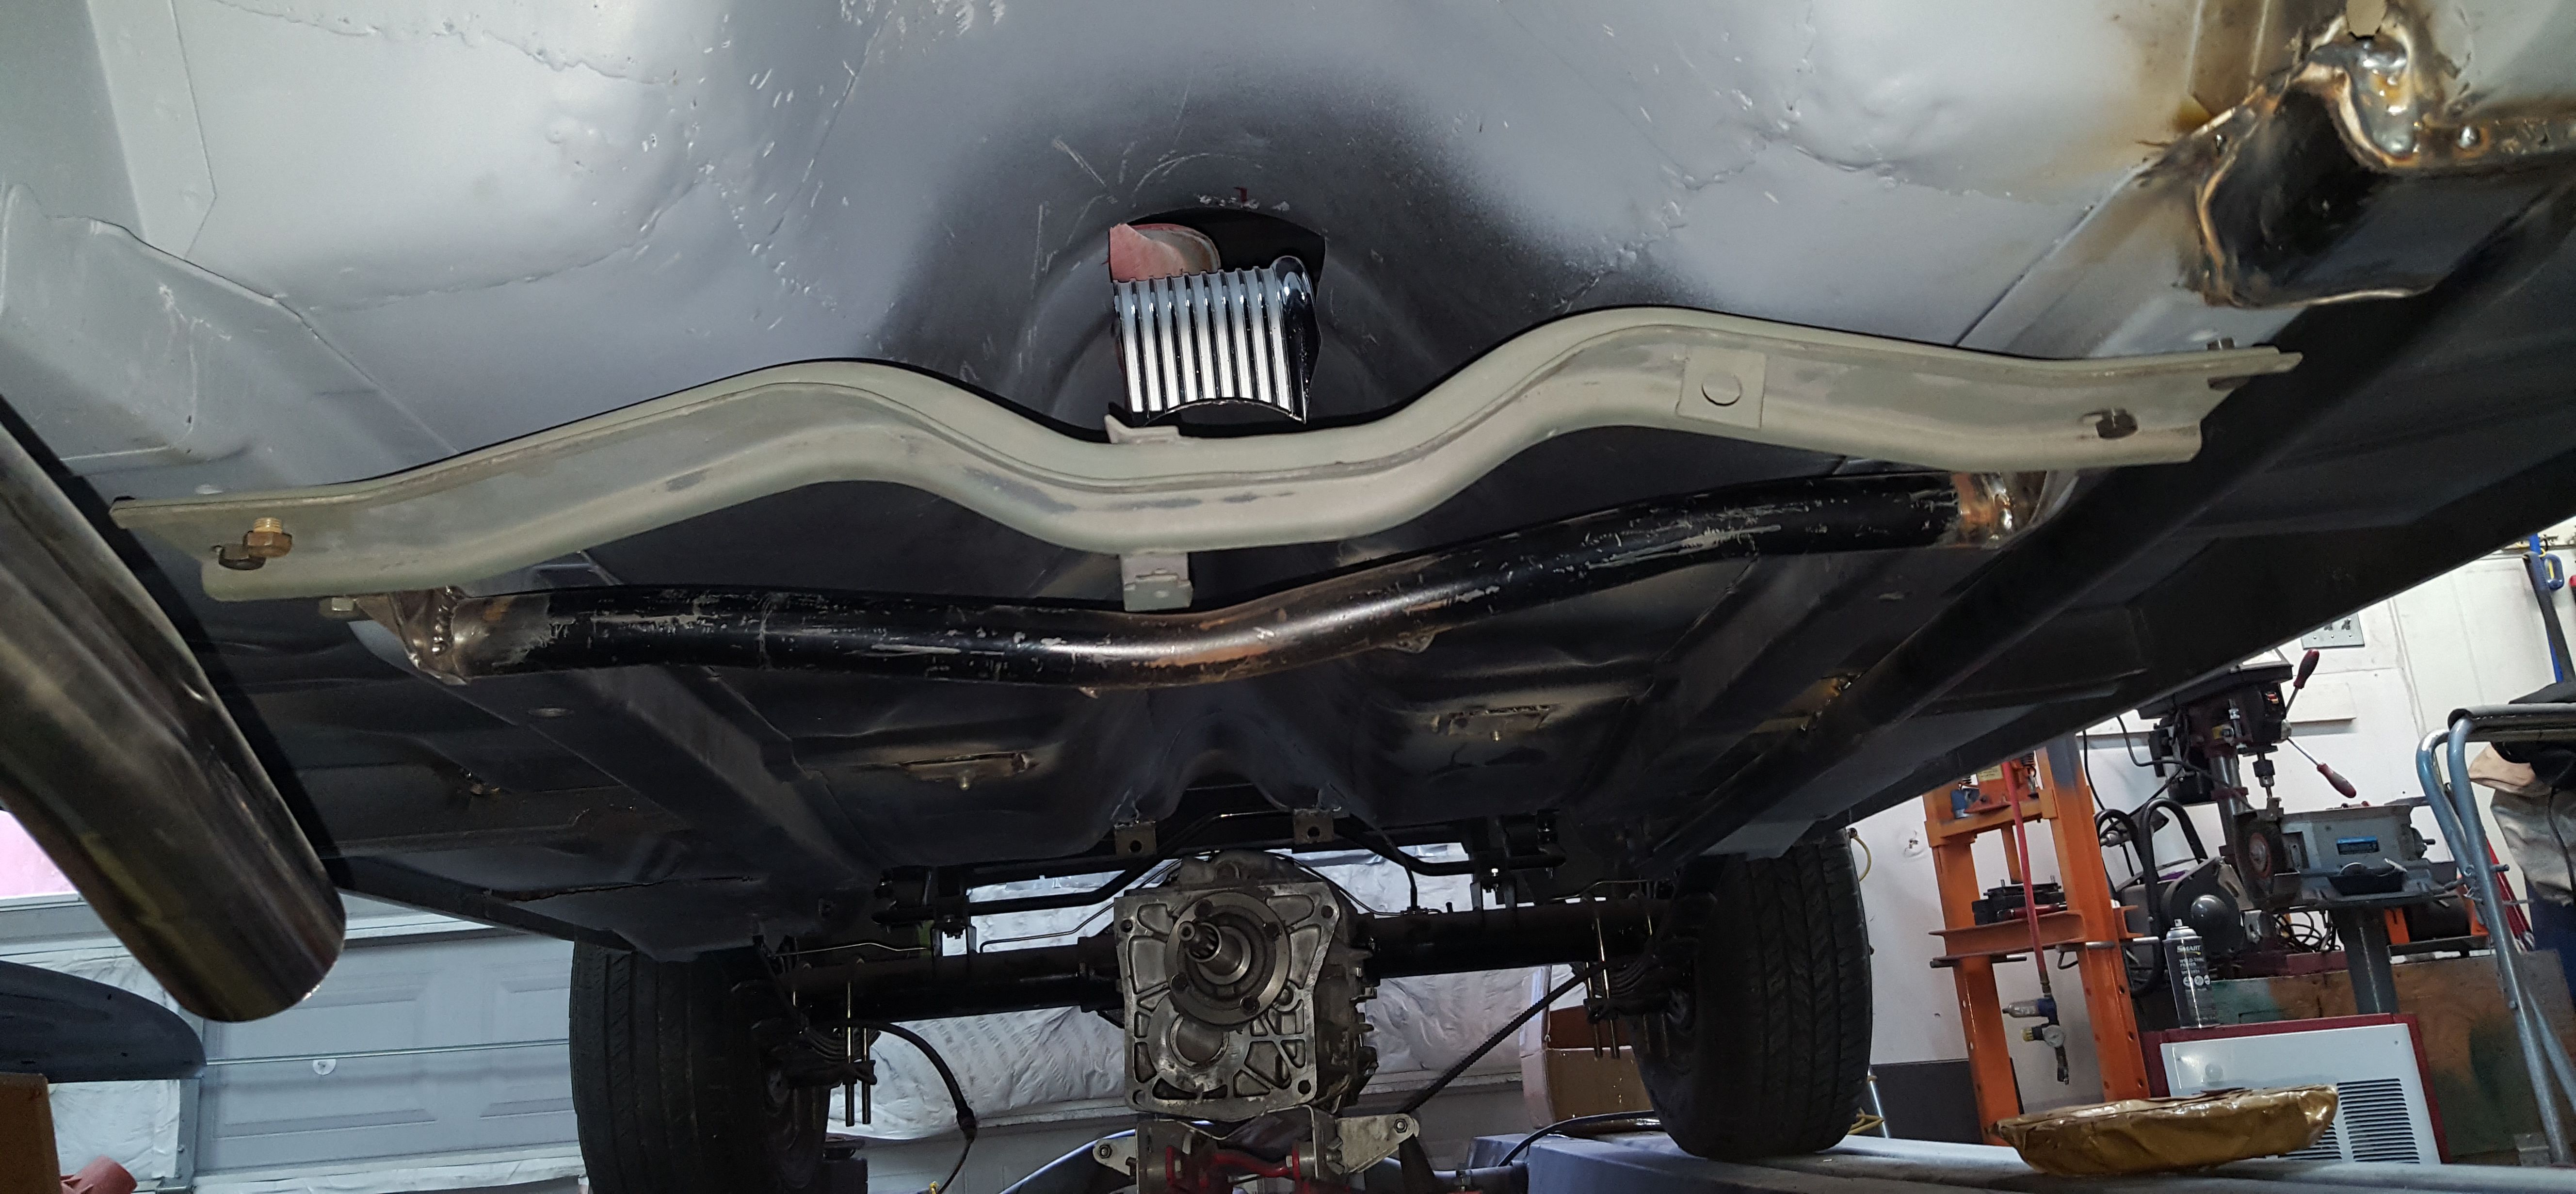
A better view of the new transmission mount. The original will be removed once
everything is fitted.
|
The new transmission sits waiting to be installed. The new trans is a T5 from a
'95 Mustang with a V8 (SN body style). The input shaft had to be switched to a
'93 to get back to the correct length for this application.
|
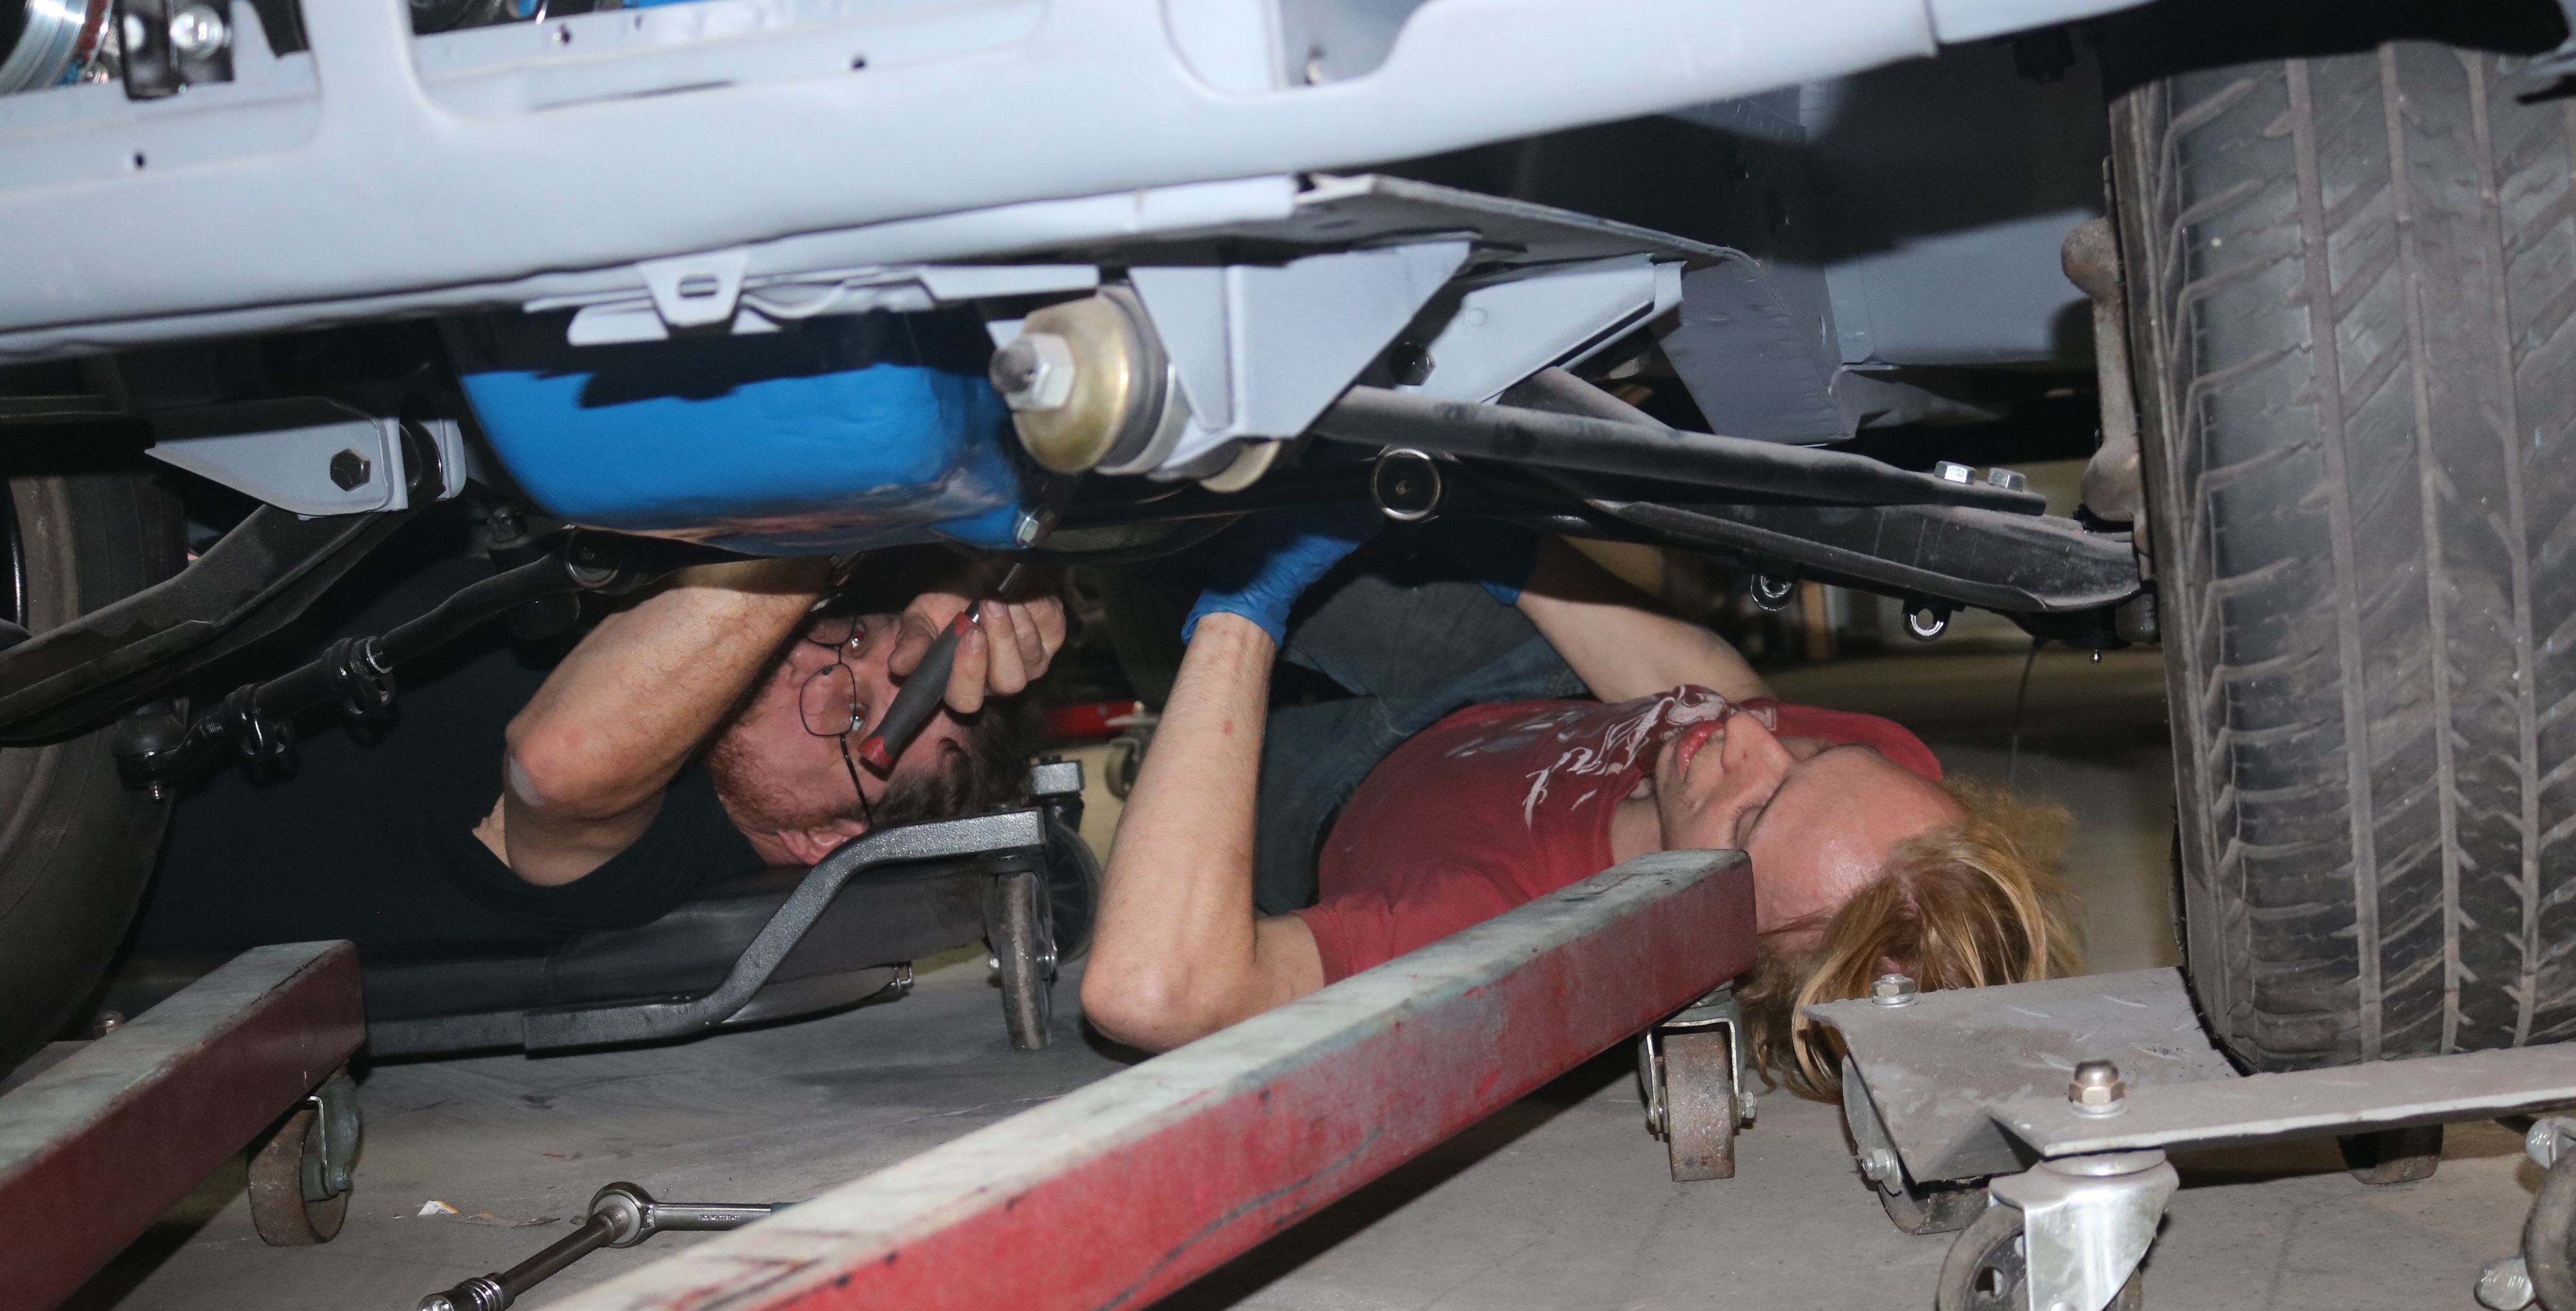
Time to install the trans. However, something went wrong and the trans would
not slide onto the input shaft correctly. Since this installation is for fitment,
we removed the clutch and was able to bolt up correctly. More on that in a minute.
|
Fitting the new brace in fully.
|
And cutting the transmission tunnel for the floor shifter.
|
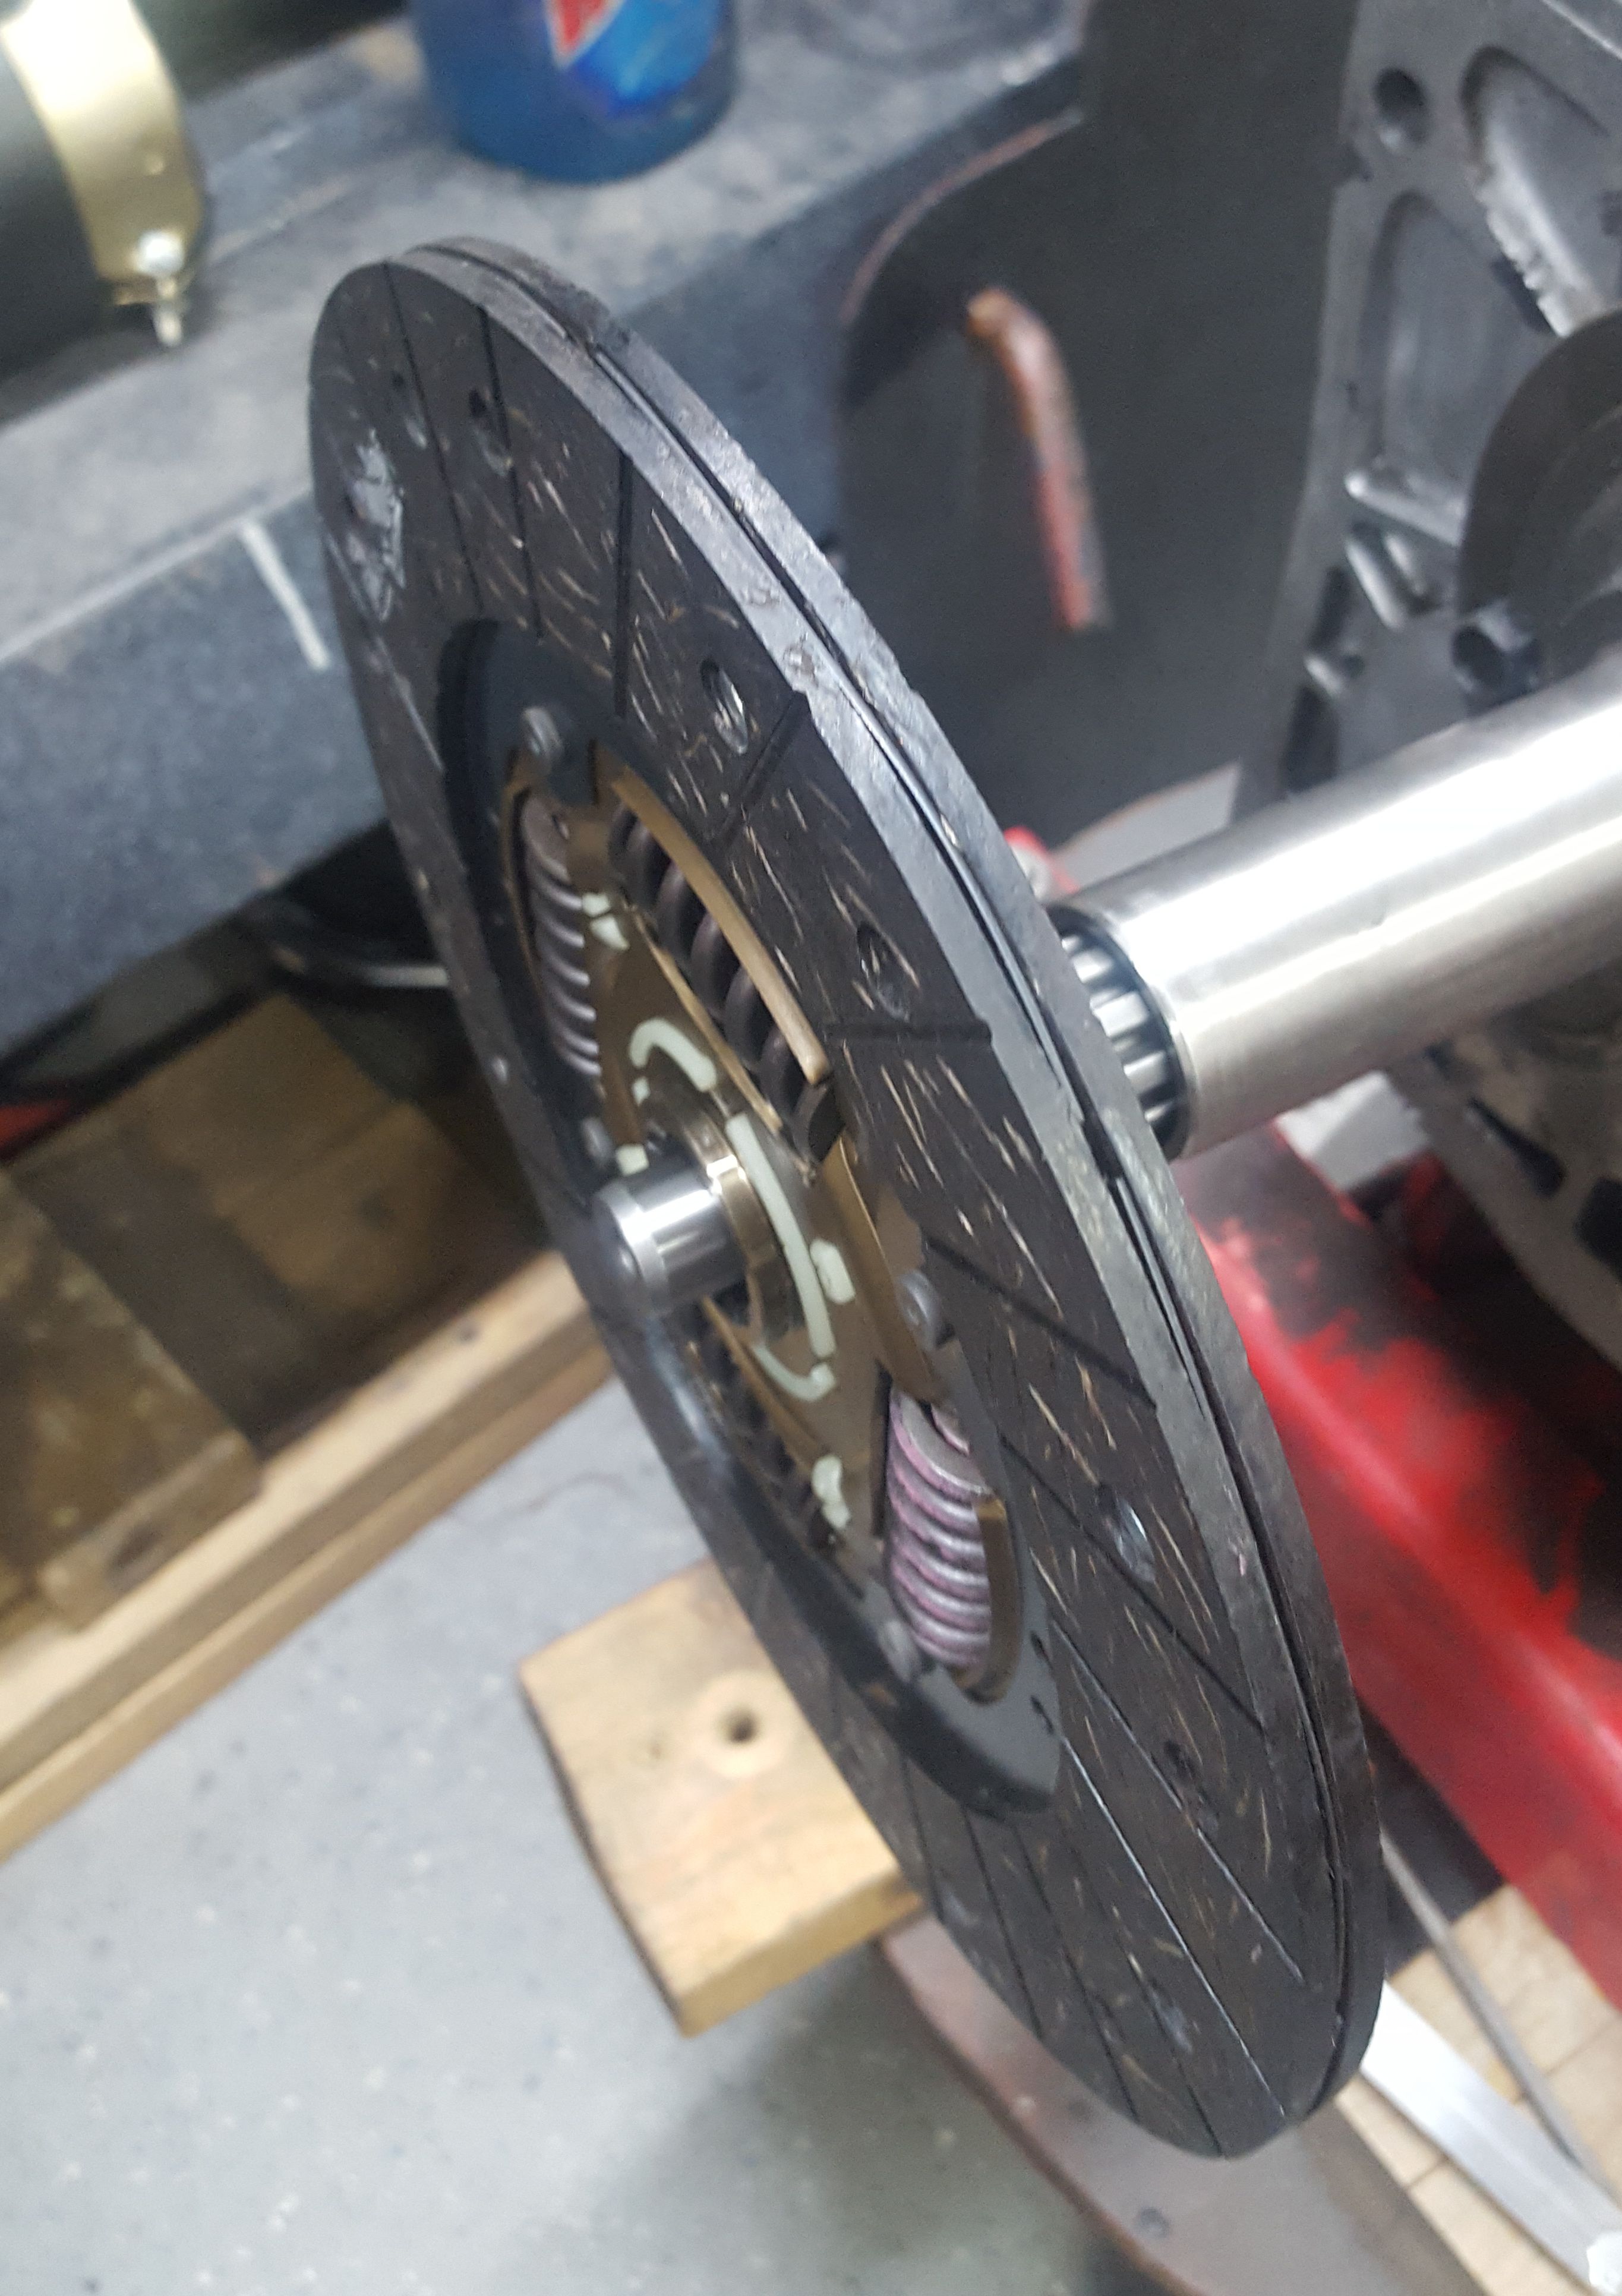
This is the new new transmission, removed to figure out the input shaft issue. The clutch disc is not sliding on. The splines are too wide for the clutch disc.
|
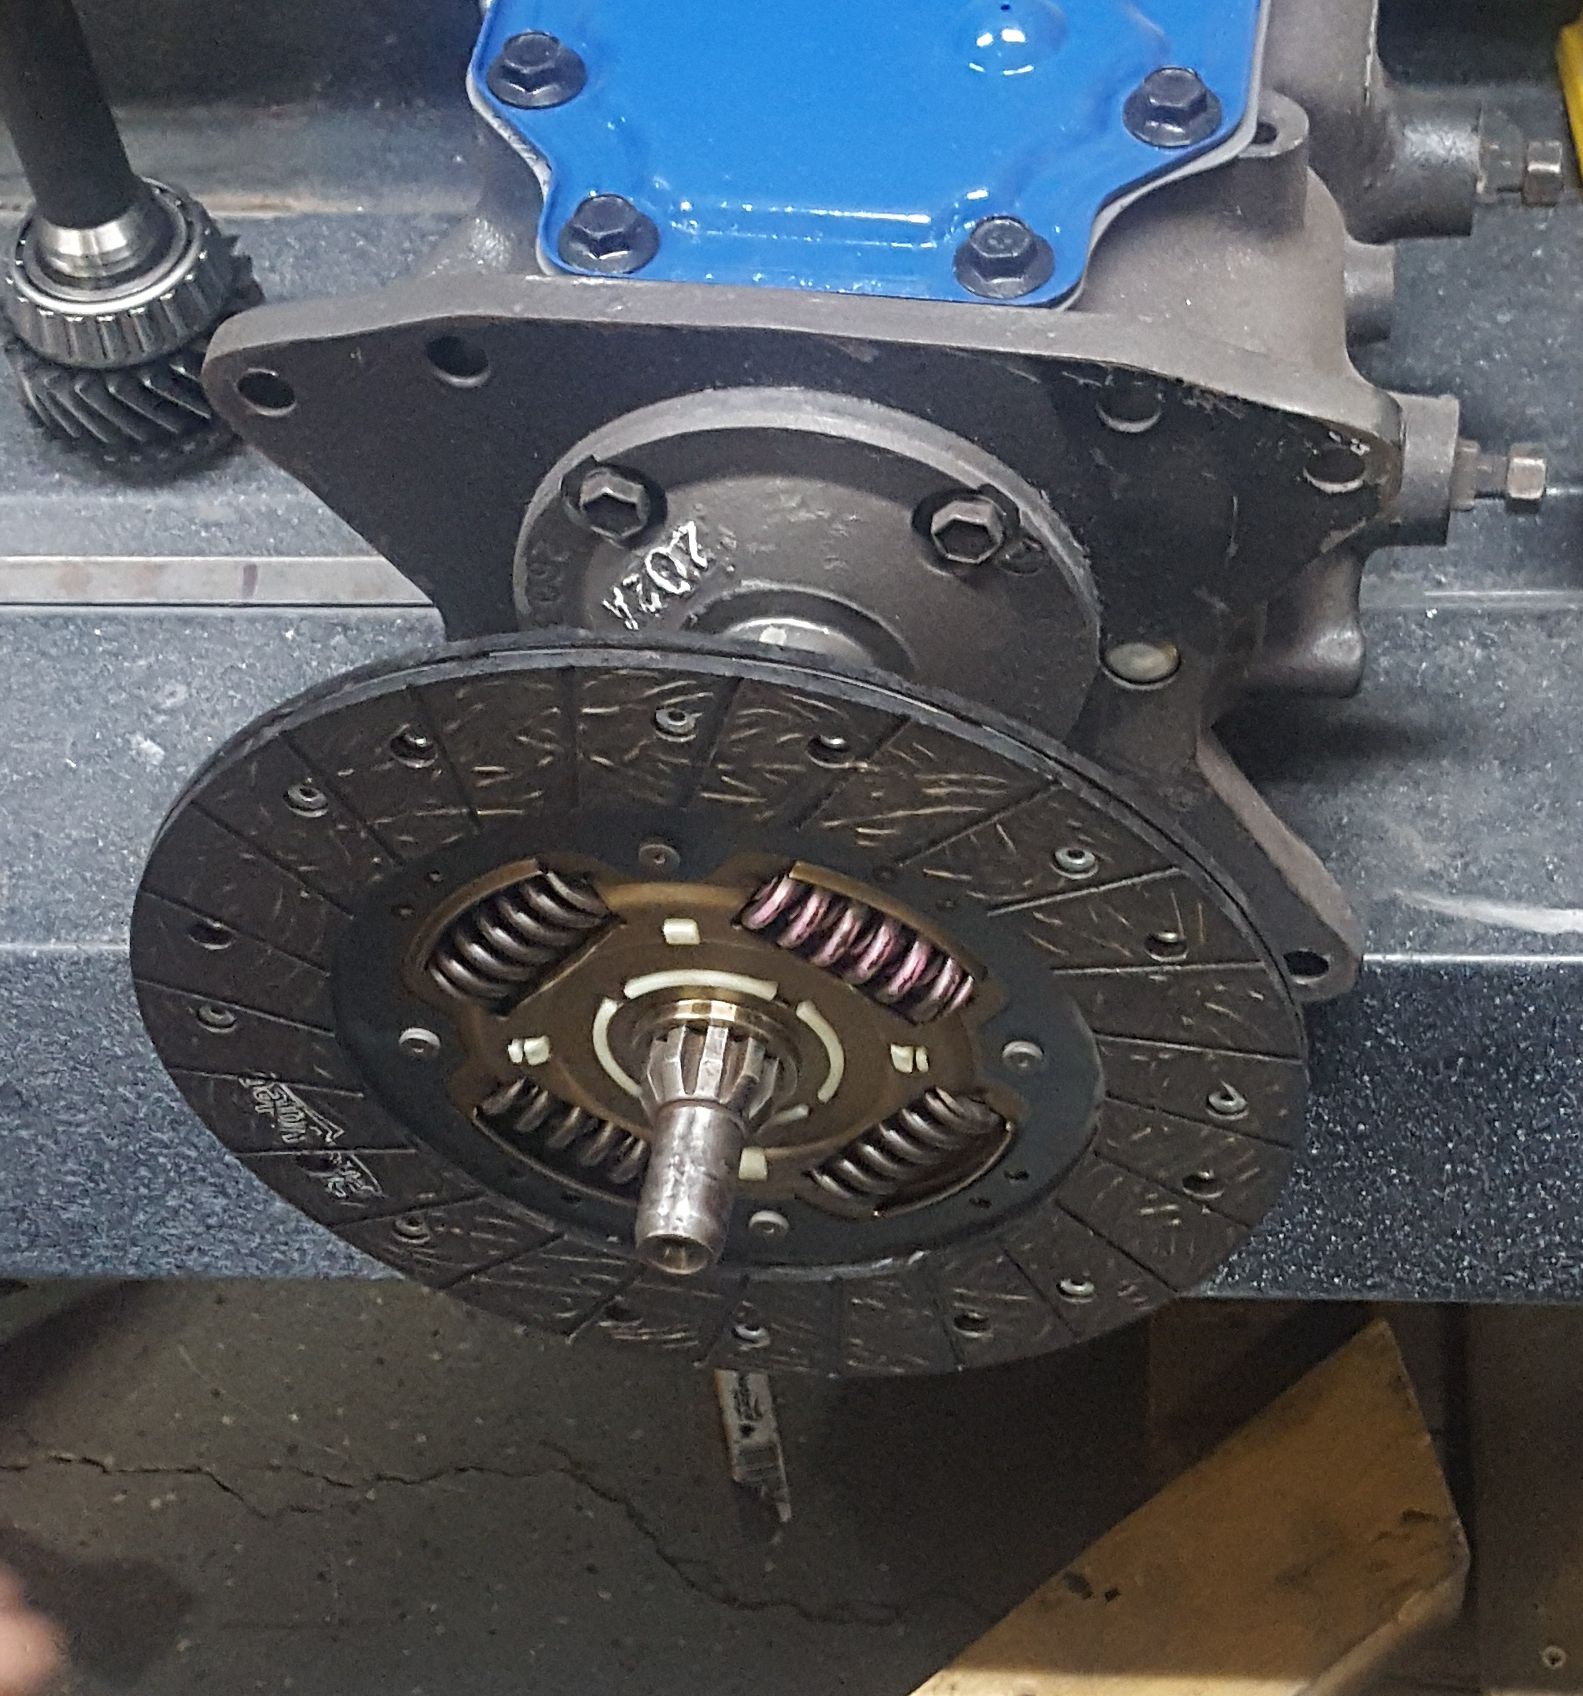
This is the original transmission. Notice how the clutch disc slid on nicely. A
call to the company and then to their supplier and a new input shaft was on the
way. This is a good thing to troubleshoot prior to lifting the trans into place.
|

Now that the transmission issue is sorted out, time to level the engine to
factory specs - well sort of. We made it relevant to using the ramps, with the
different carb adapter and different transmission. It was also lowered to help
the transmission tunnel accommodate the trans better.
|

The new shifter in place compliements of Santa for Christmas 2019.
|

Now to fit the shift boot. This boot was borrowed temporarily from Kurt's
Wagon as a trial fitment. The boot will seal
the shifter to the floor. A second
leather boot will cover this and match the interior.
|

The newly fabricated shifter boot hold down.
|

A wooden form helped to bend the back of the new shifter hold down.
|
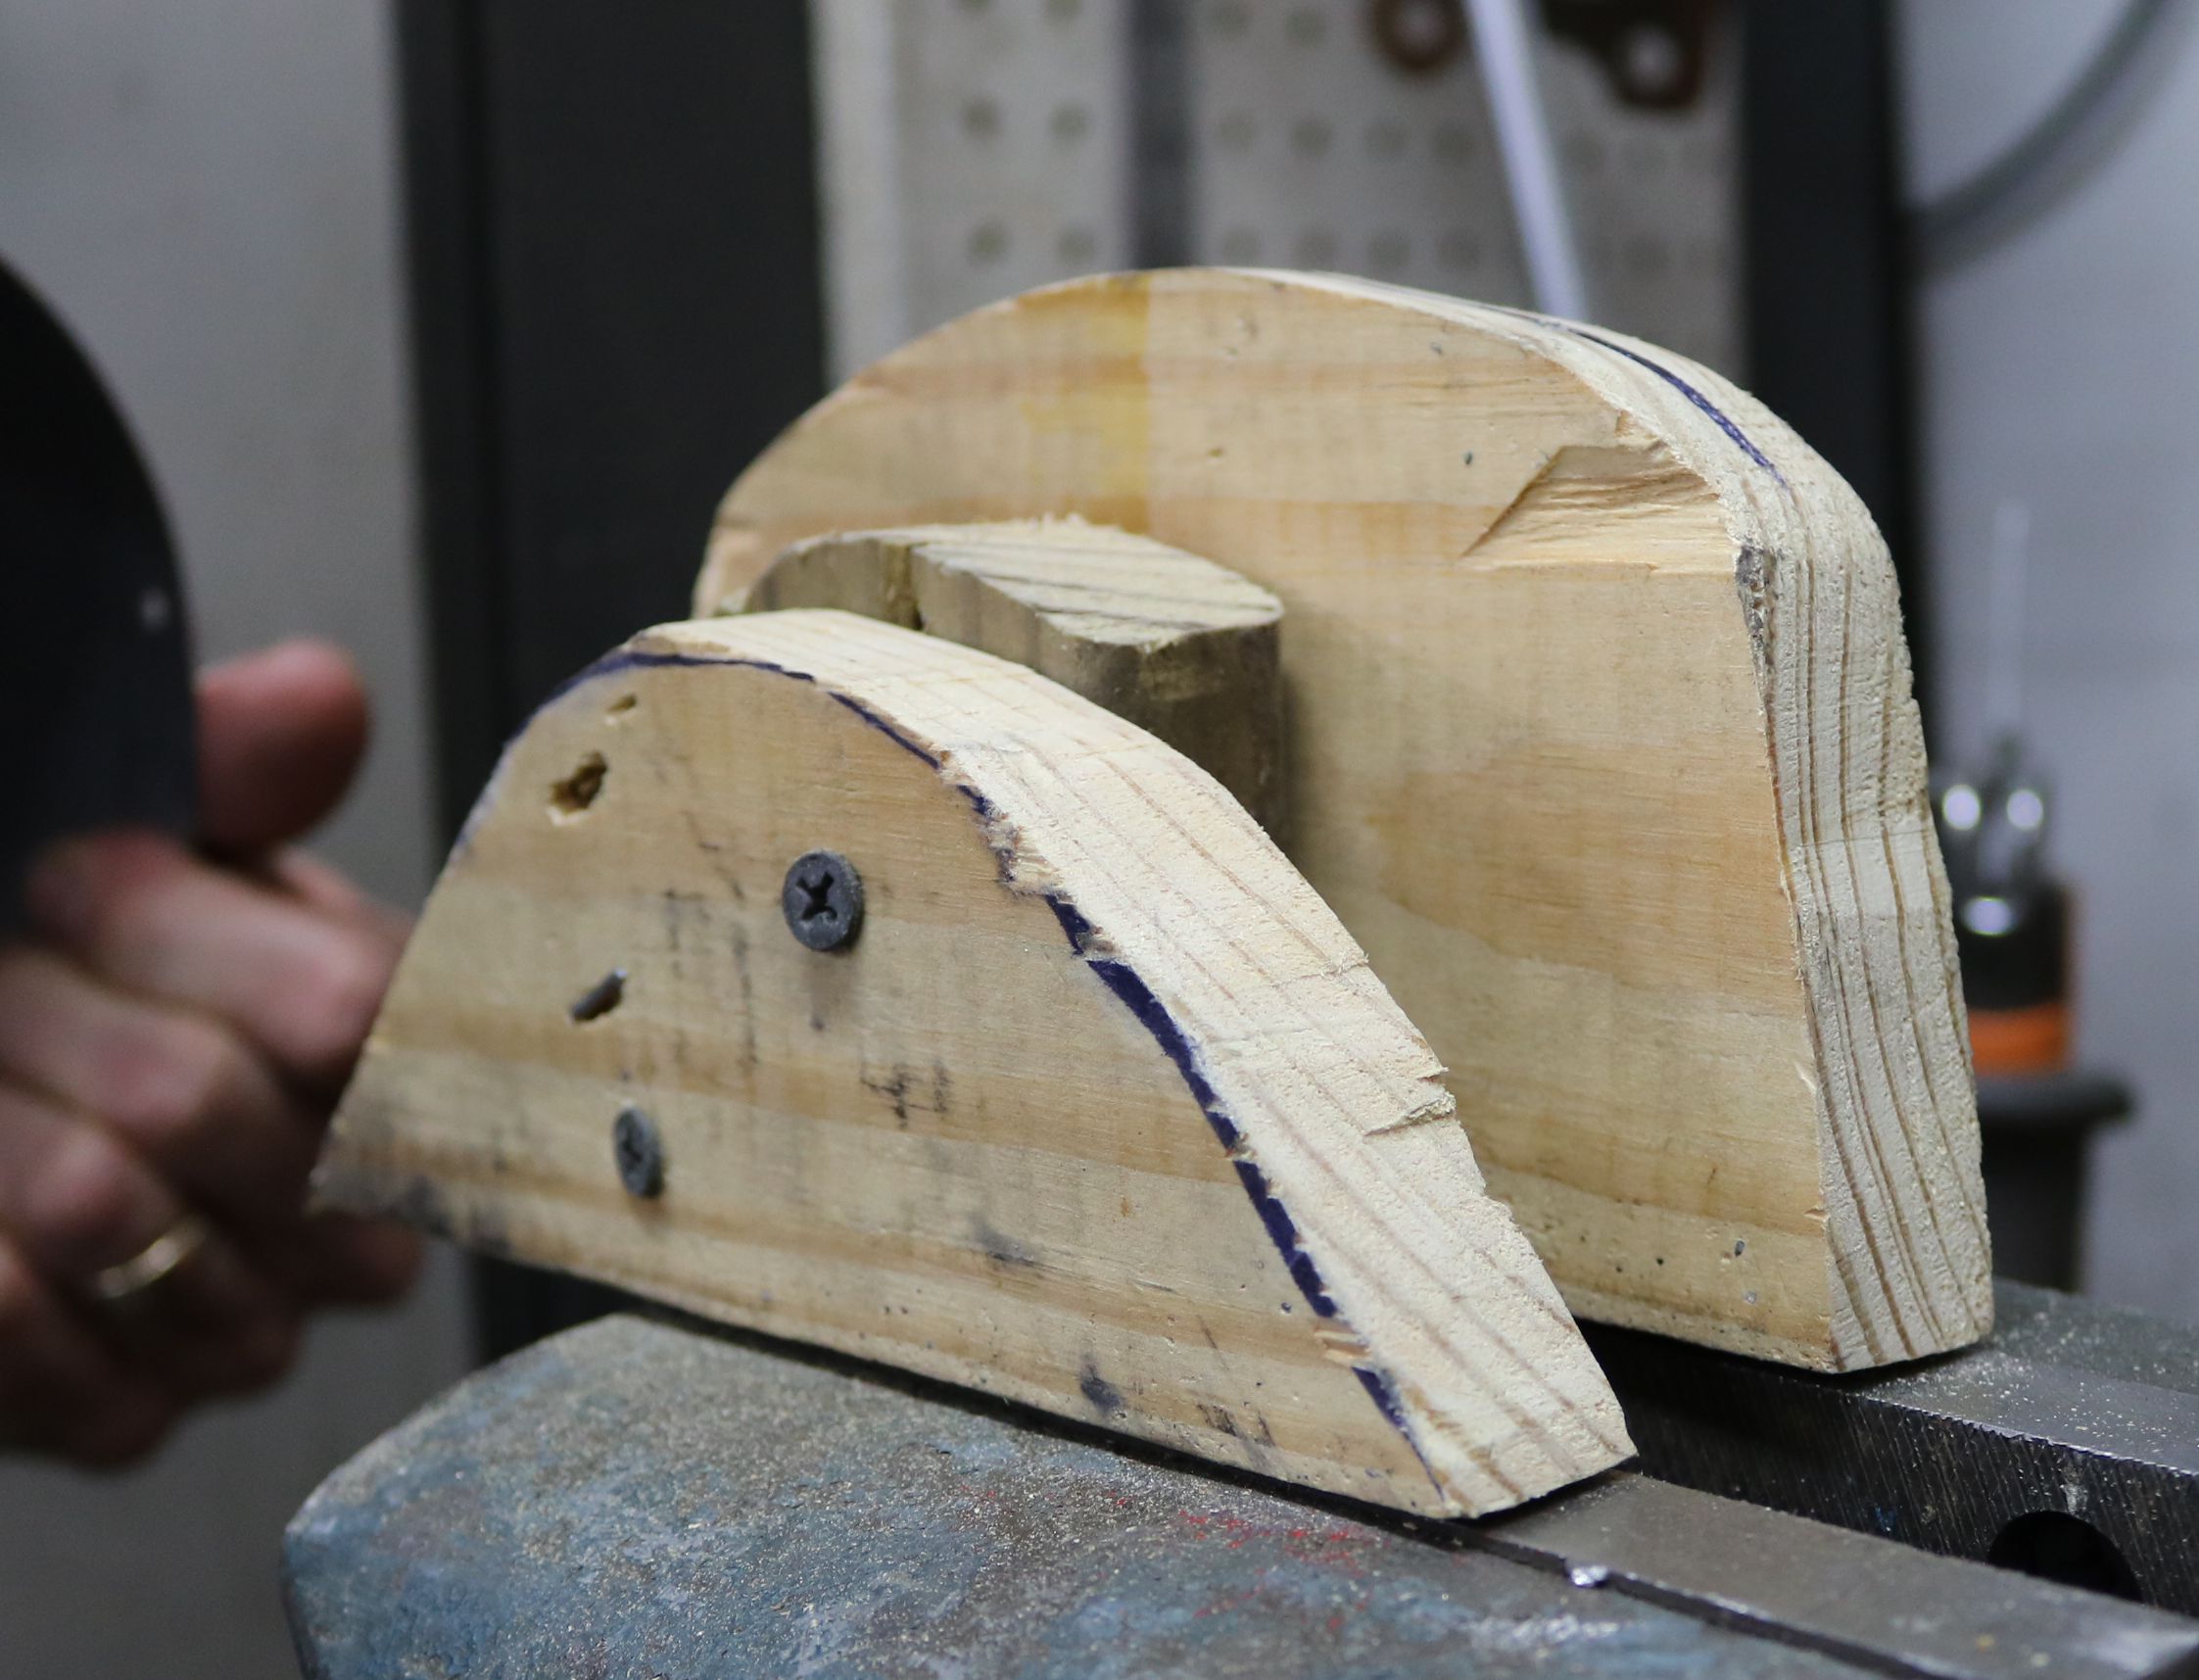
The whole wooden form.
|
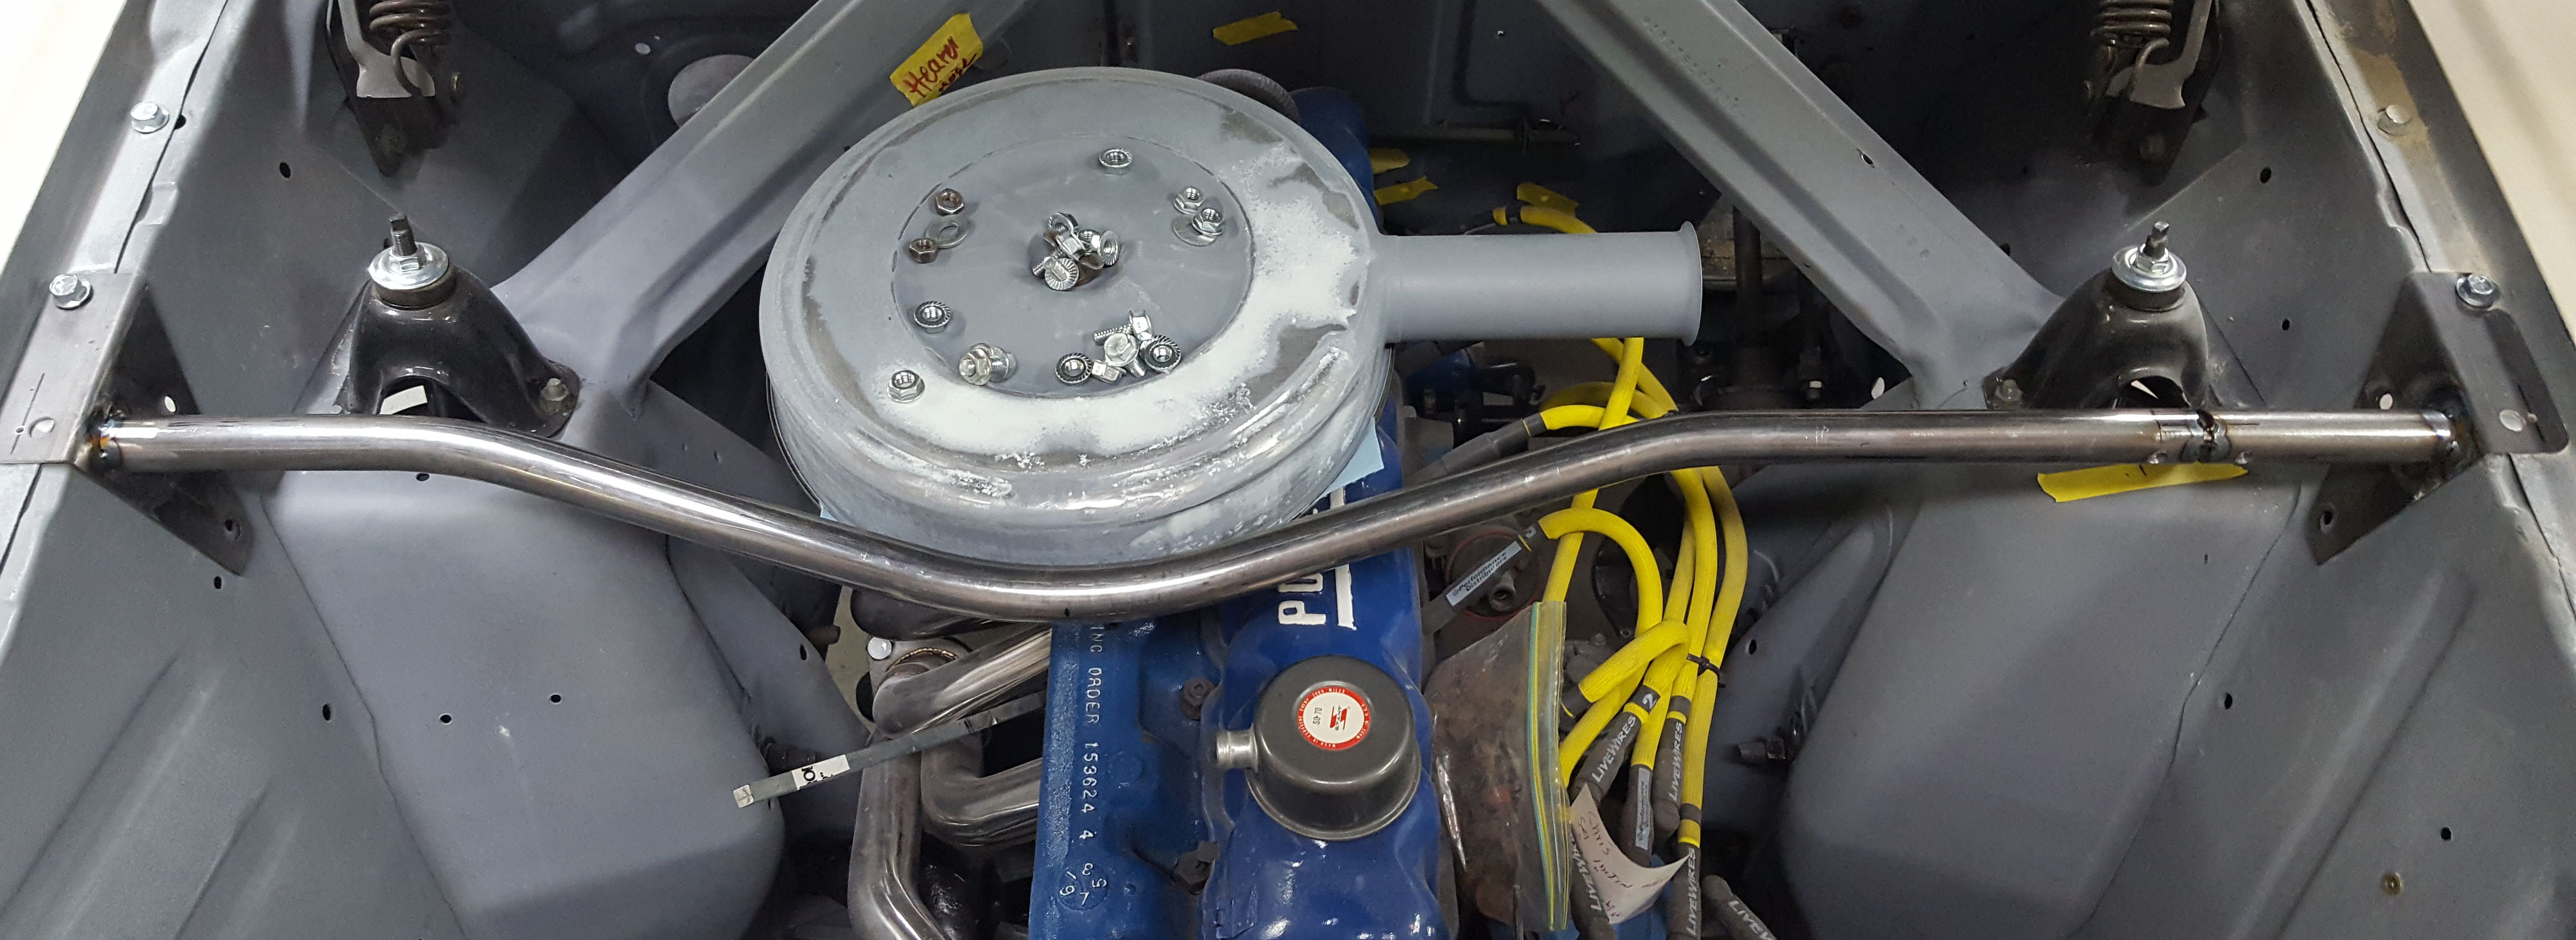
To strengthen the front, we installed a Monte Carlo bar. Only they don't make a stock bar for the 6 cylinder engine. We customized this one that was stock for an 8 cylinder.
|

The bar was shortened on the passenger side and reshaped to fit the offset air cleaner by moving the cut out piece to the driver side.
|

Both sides were tacked welded for now. Later, they will be welded solid and the welds will be ground down.
|
.
|

