
Time to cut out the cancer.
|
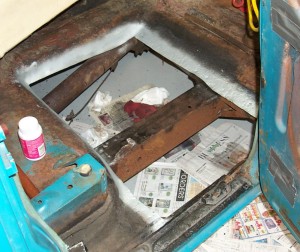
Replacement floorpans were ordered, then the floorboards
were cut to fit the pieces.
|
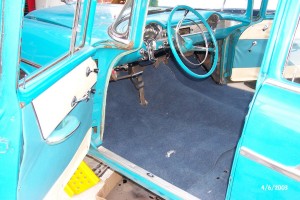
After
the floorboards were solid,
Kurt installed new carpet.
|
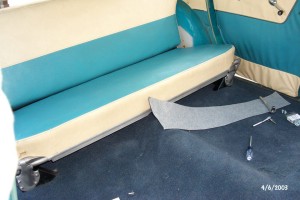
The new carpet had to be split to install around the mounts for the rear
folding seat.
|
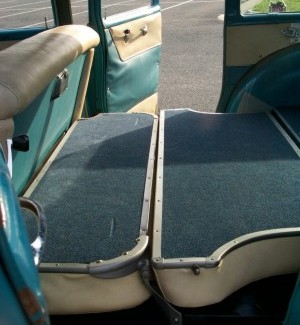
He even installed new carpet on the back of the rear fold down seat.
|

Looking better now?
|
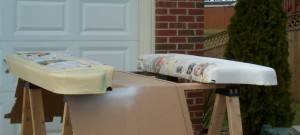
Door panels and seats were cleaned and redyed white. The
fiberboard backing for the door panels was replaced, from scratch. |

Door panels during restoration.
|
Back seat during restoration.
|

Seats before.
|
Seats after.
|

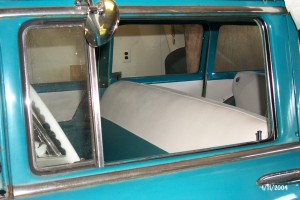
Interior before.
|

Interior after.
|
The original steering wheel was mangled.
Kurt purchased one from Ebay and repainted it using BC/CC. The paint
on the dash had been brushed on and
had reacted to the paint underneath, crazing and cracking. The dash was
sanded to bare metal and refinished. |

Steering wheel before.
|
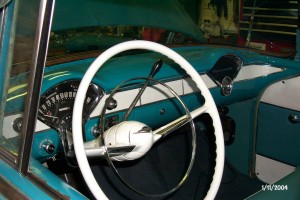
Steering wheel after.
|

Dash before. The polished aluminum trim that is
shown was for a Bel Air, not a 210.
|

Dash after. The trim is still here covering holes
someone had cut in the dash, but the center part is painted white leaving
a polished edge breaking the line between the turquois and white areas.
This provides a custom look to the original 210 styling.
|
The original dash paint had cracked and
crazed, most likely due to enamel paint being brushed on over a laquer
paint. What were they thinking?
Christmas time 2003, Kurt's in-laws came to visit. Jim helped to reinstall
the engine, then while waiting on the transmission mounting brackets
to be unwrapped, they decided to repaint the dash. In very little time,
the dash was stripped to bare metal, sanded smooth, primed, and repainted
in a color matched turquois enamel. Jim is a retired auto mechanic and
had never worked with the HVLP modern paint guns.
|

Dash in primer coat.
|

Dash in primer coat.
|

Taped off for painting single stage Enamel. Yeah,
we know you're not supposed to use newspaper, but try finding supplies
on Christmas Eve. Kurt's father-in-law, Jim, was eager to try the new
HVLP spray gun.
|

Repainted dash.
|

The original windshield had been cracked, so
an aftermarket windshield was located. The replacement windshield was
tinted.
Windshield goo is so hard to clean up too.
|
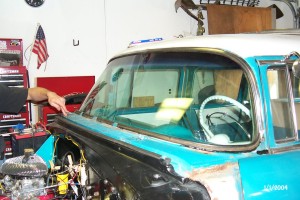
Stainless top window trim was also located since
the original car was missing it.
|
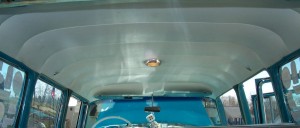
The cleaned up headliner.
|

From a junk '56 wagon, Kurt rescued the antique rubber embossed floormat
and put it in his wagon.
|

Kurt built a speaker box for behind the rear fold down seat, customizing
it to designate it Chevy.
|

After searching several places, Kurt finally located the interior trim
for a 56 Chevy wagon. After he reconditioned it, he installed it over
the replacement carpet.
|
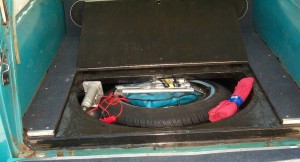
The spare tire is carried under the rear area floorboard in these old wagons,
in a metal area that always rusts out. This one has only a few pinholes
from rust.
|
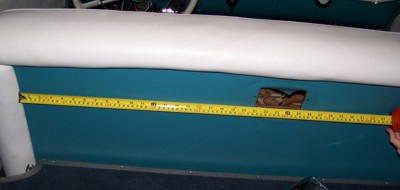
One of Kurt's buddies on Chevy Talk needed some help relocating the ashtray
spot in the back of the front seat. Here's the
information, for future
reference.
|


