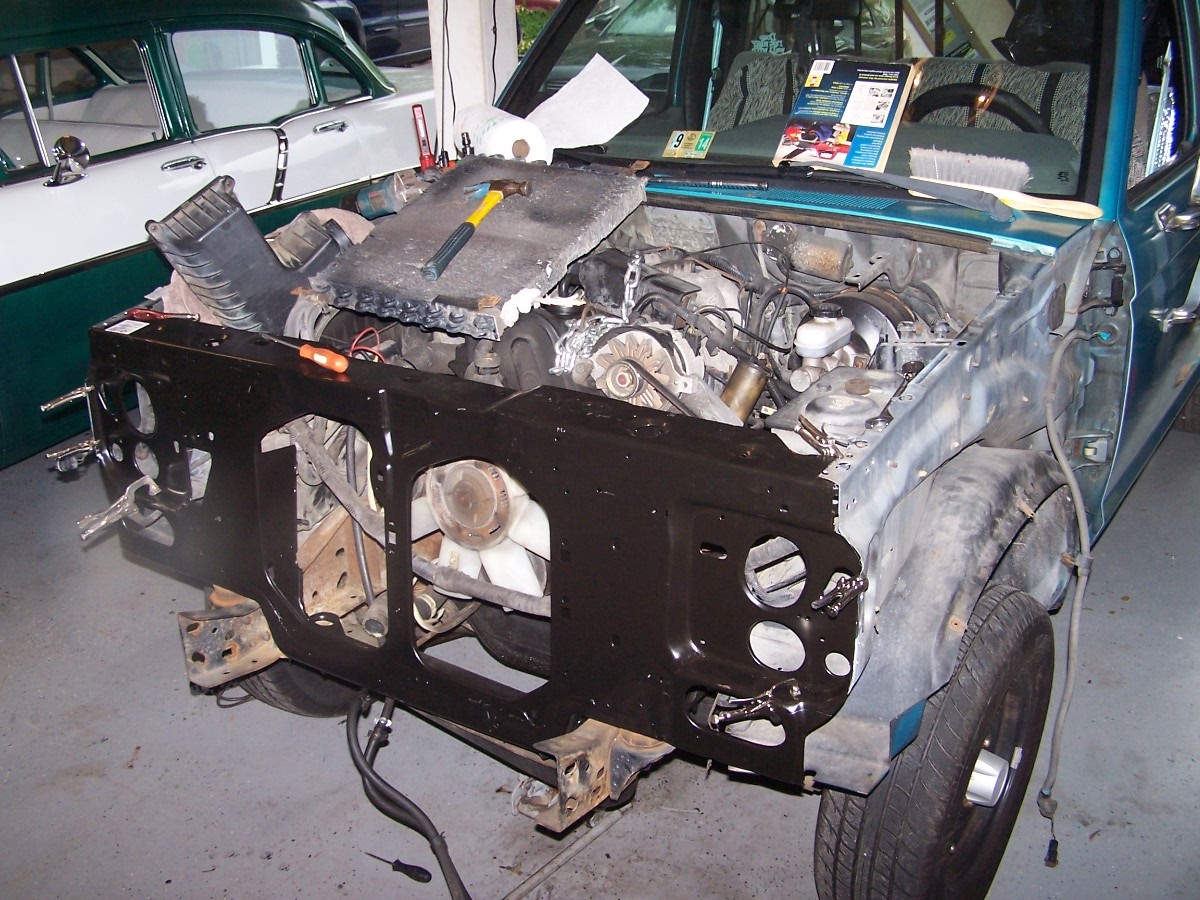
Another view of the core support ready for welding.
|

Pepe had to go into storage temporarily while we worked on another vehicle.
|

The donor bed was put into storage as well, to protect it. It had been on a very low mileage '88 Ranger that had been with a cap shell all of it's life, so was very rust free.
|
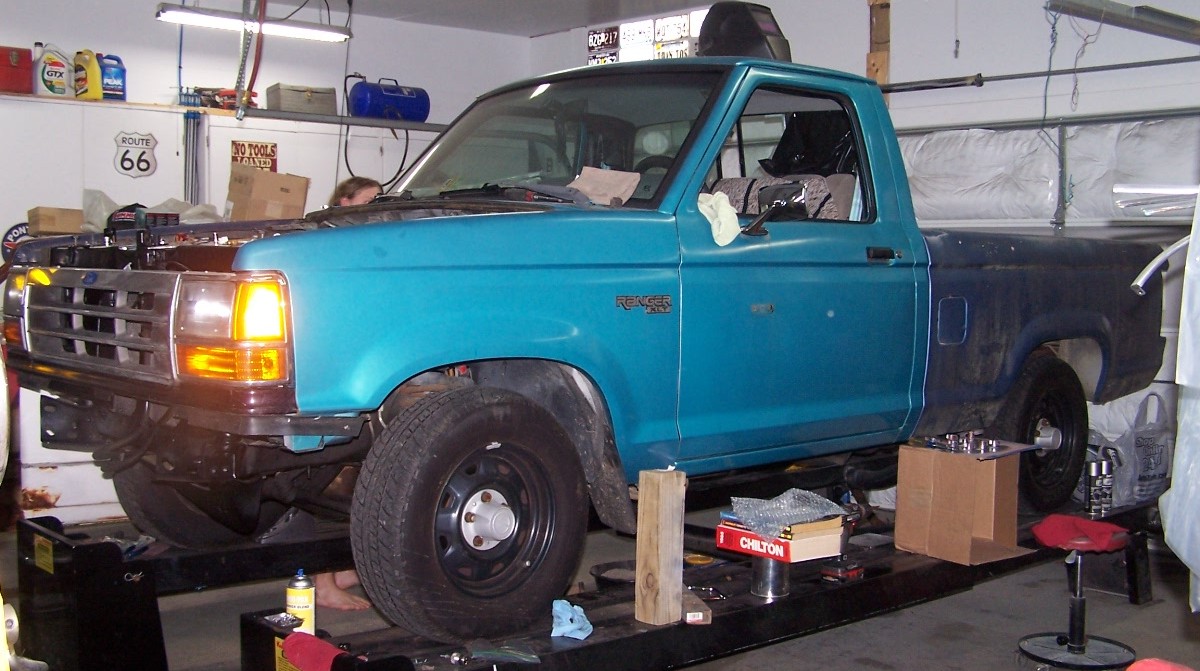
Ok, so I apologize for the gap in pictures, but putting Pepe back together was more important than running the camera. The engine is in place, locked down, and running again.
|
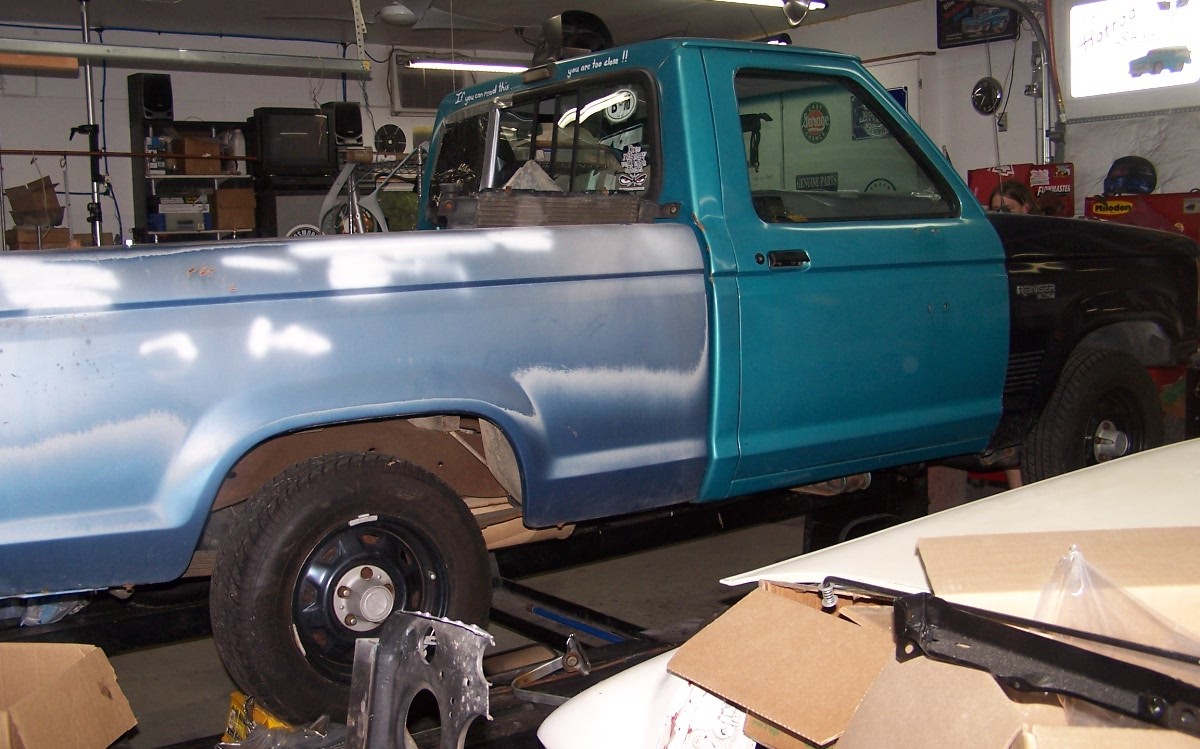
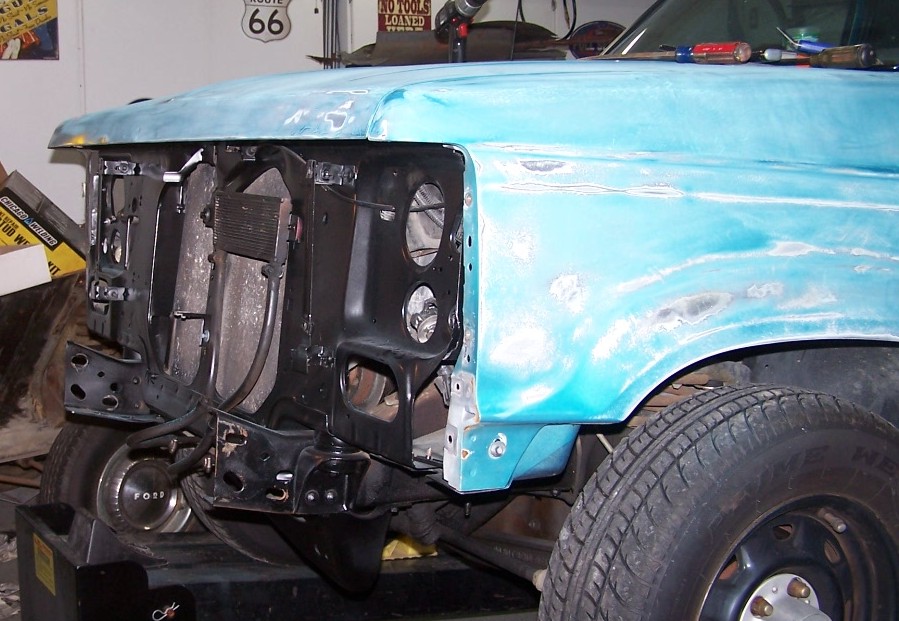
The bed is from a doner truck as is the passenger front fender.
|
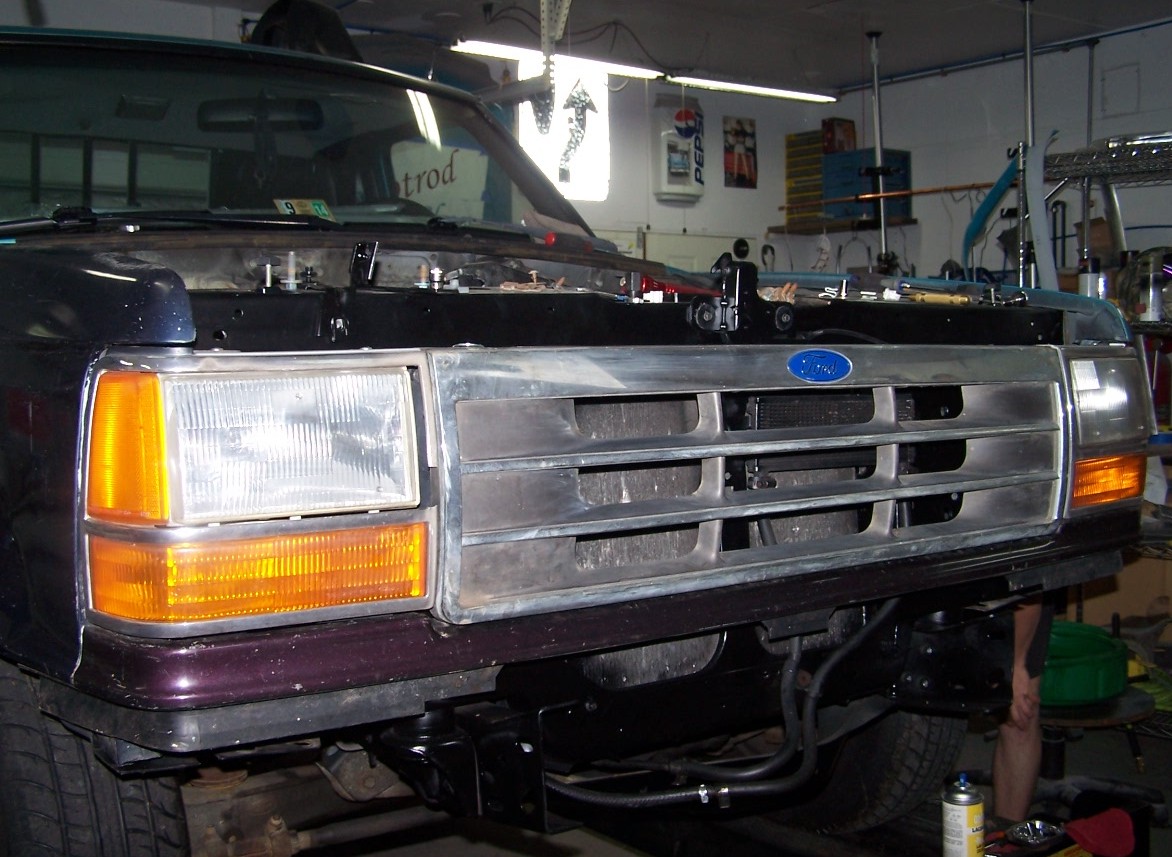
The filler panel is from another truck and the grill is from a Ford Explorer. However, Pepe doesn't like the replacement grill, so a grill just went onto the Christmas list.
|
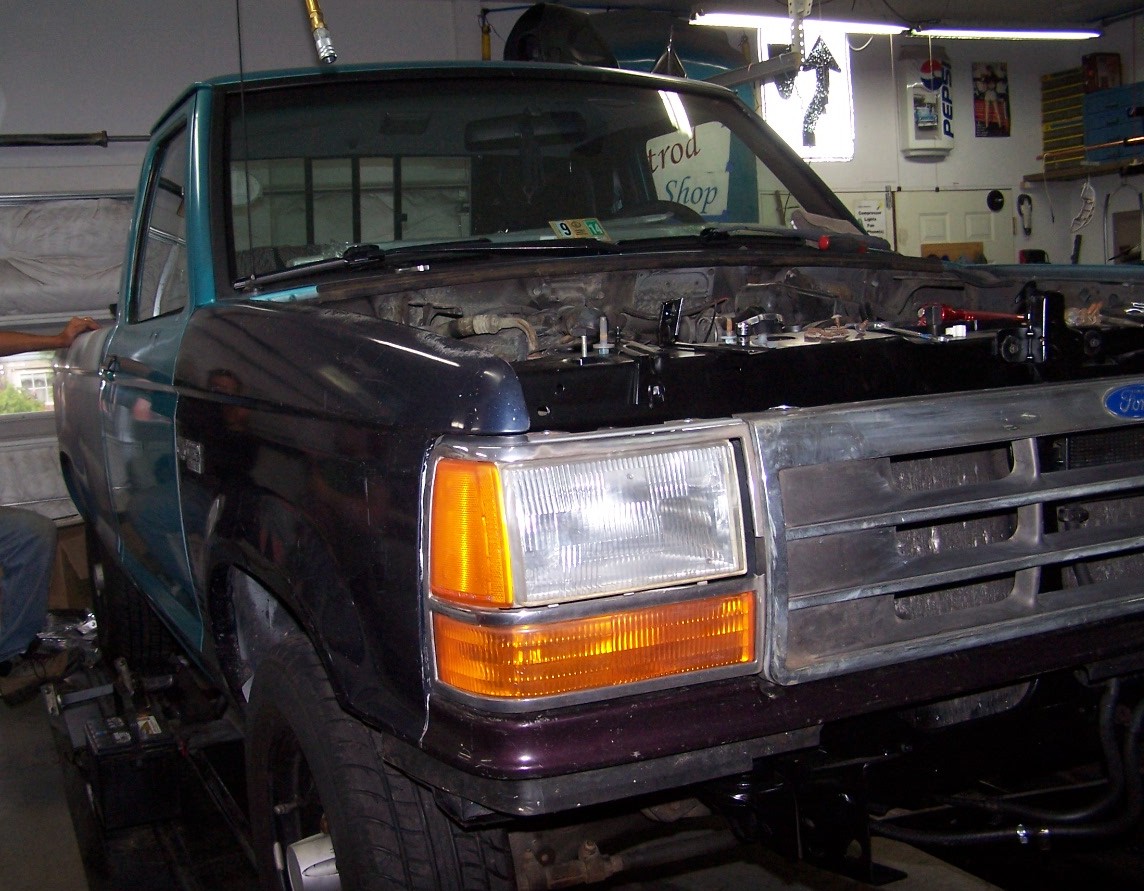
Pepe says he has a "booboo" since the front fender is dark blue. We're calling him the "Calico Kitten" for now. Four different shades of blue from four different trucks.
|
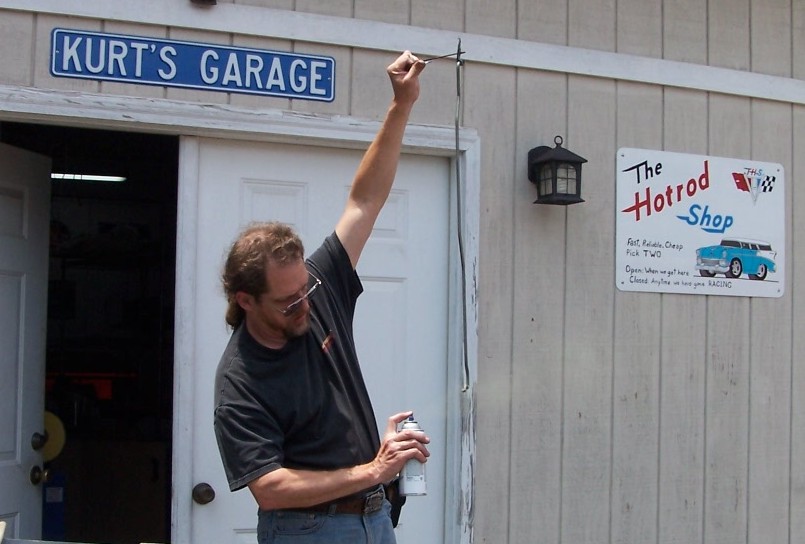
Dad has to paint something, so he prepped and sprayed the hood prop.
|
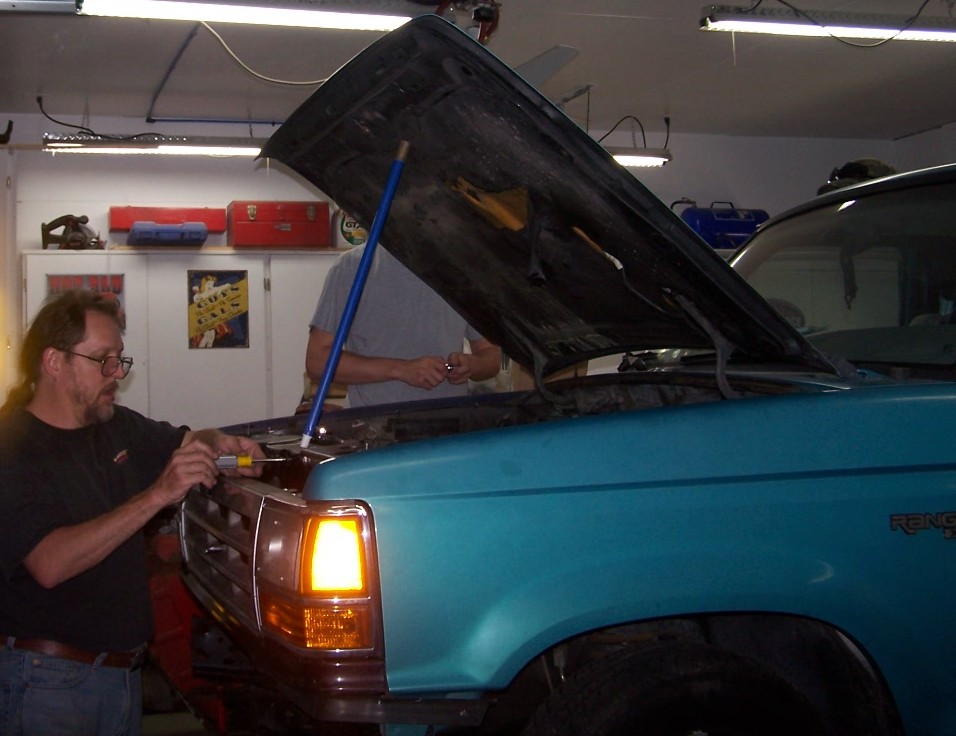
While the hood prop dries, a broom handle substitutes as we realign Pepe's hood.
|
The boys who removed the hood forgot to drill alignment pin holes, so we are using the original paint lines and blue masking tape for reference.
|
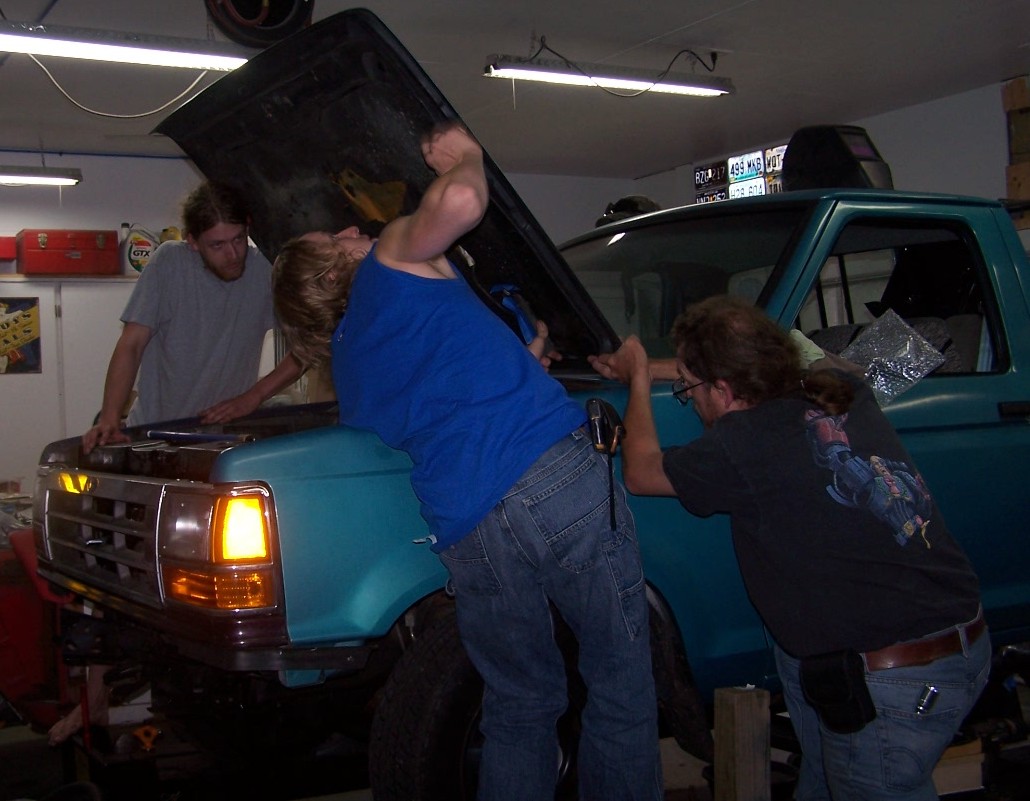
Or when the broom isn't handy, a shoulder works as a prop as well. Dad is focused on keeping the hood from hitting the cowl.
|
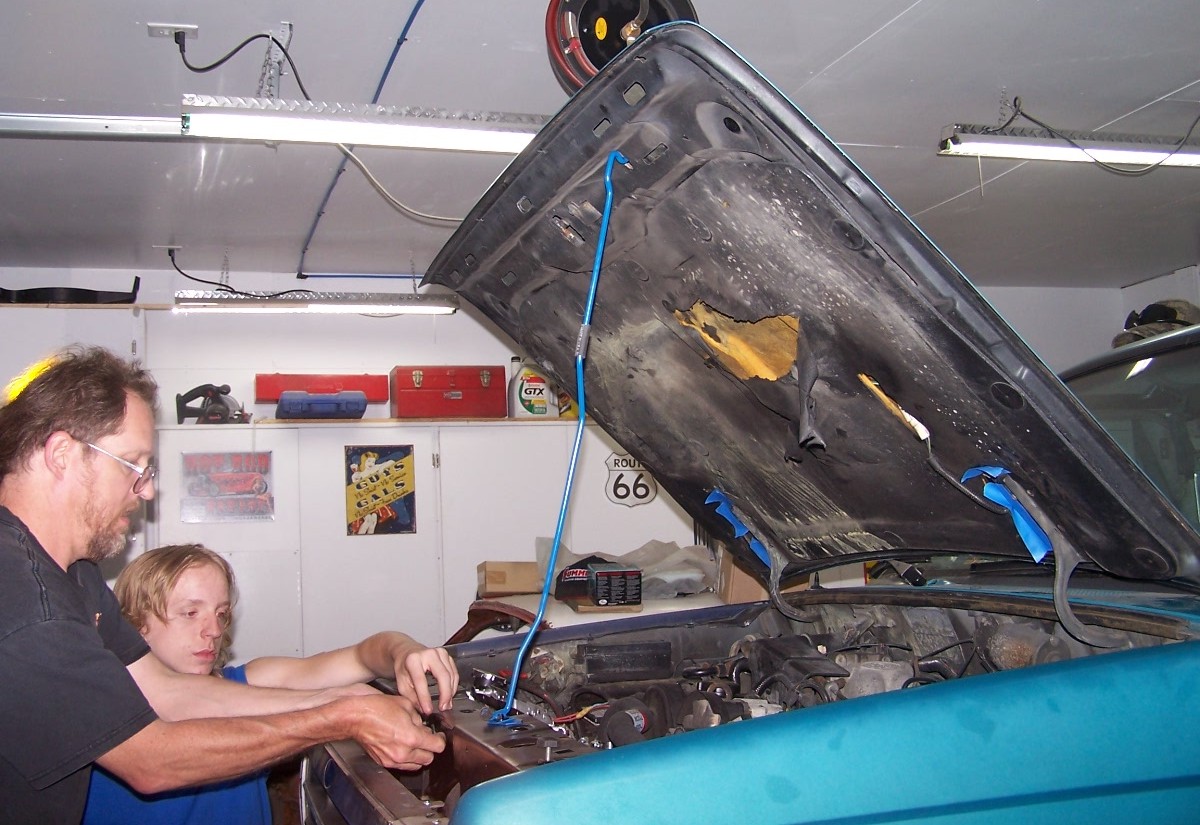
One Ford Engine Blue hood prop installed. Now to realign the hood latch on the replacement core support. We had already had some minor problems with the fit of parts back onto the core support, so it was no surprise that we had to tweak this as well.
|
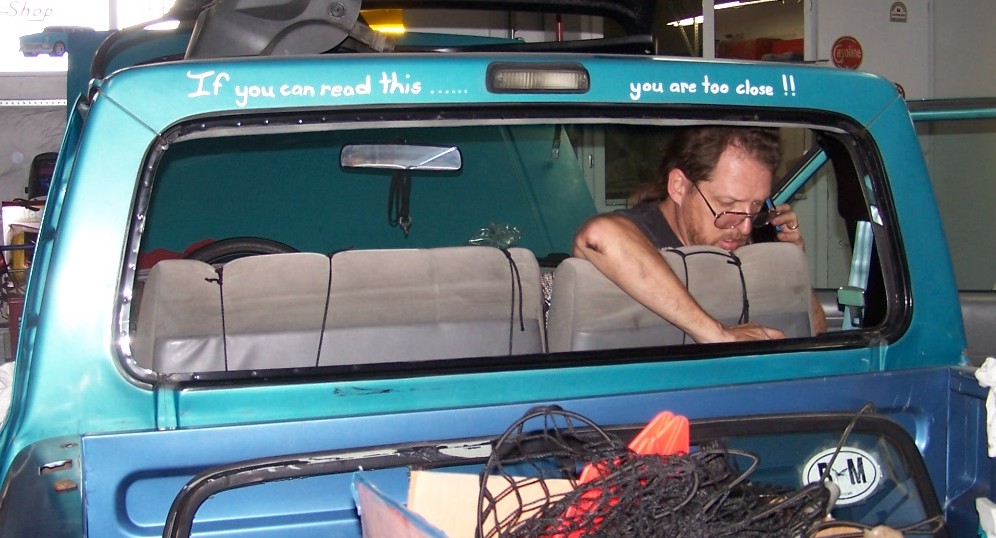
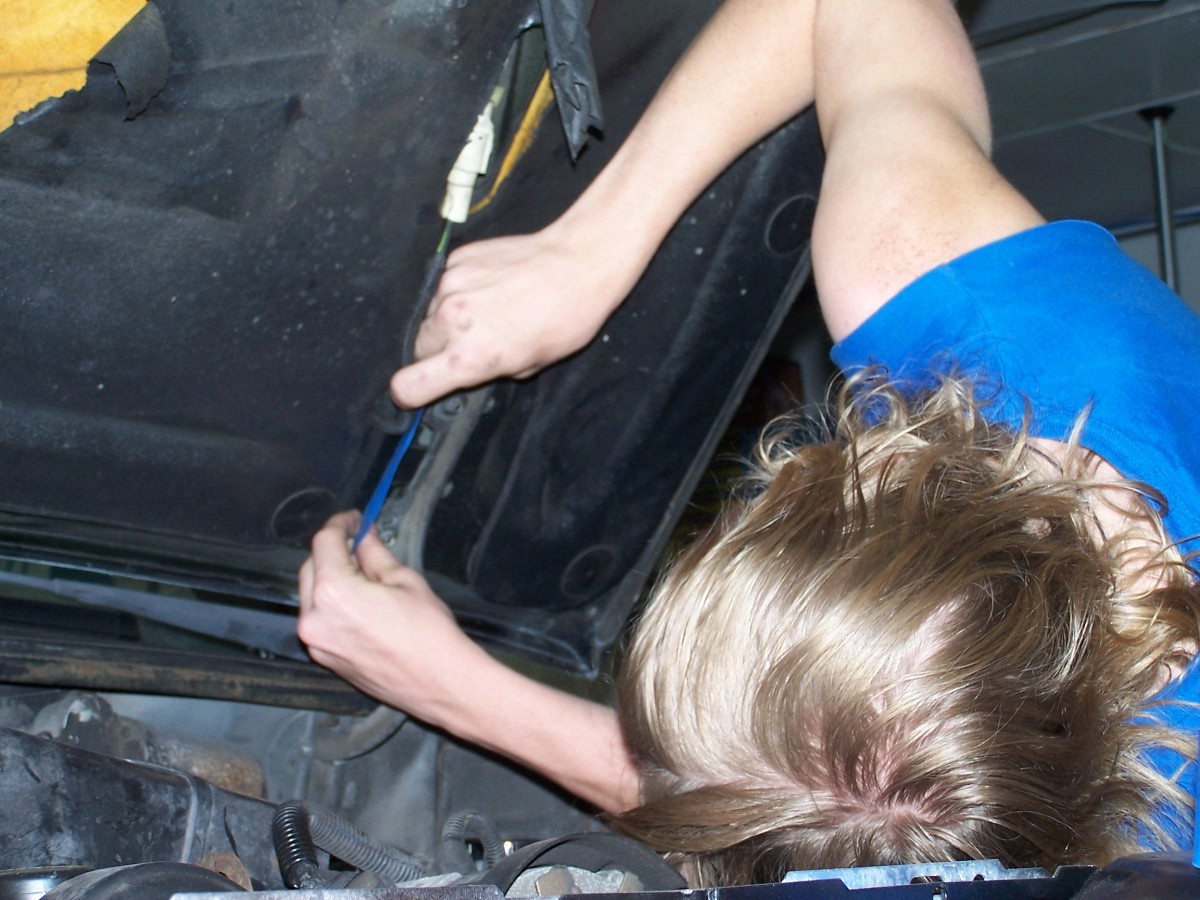
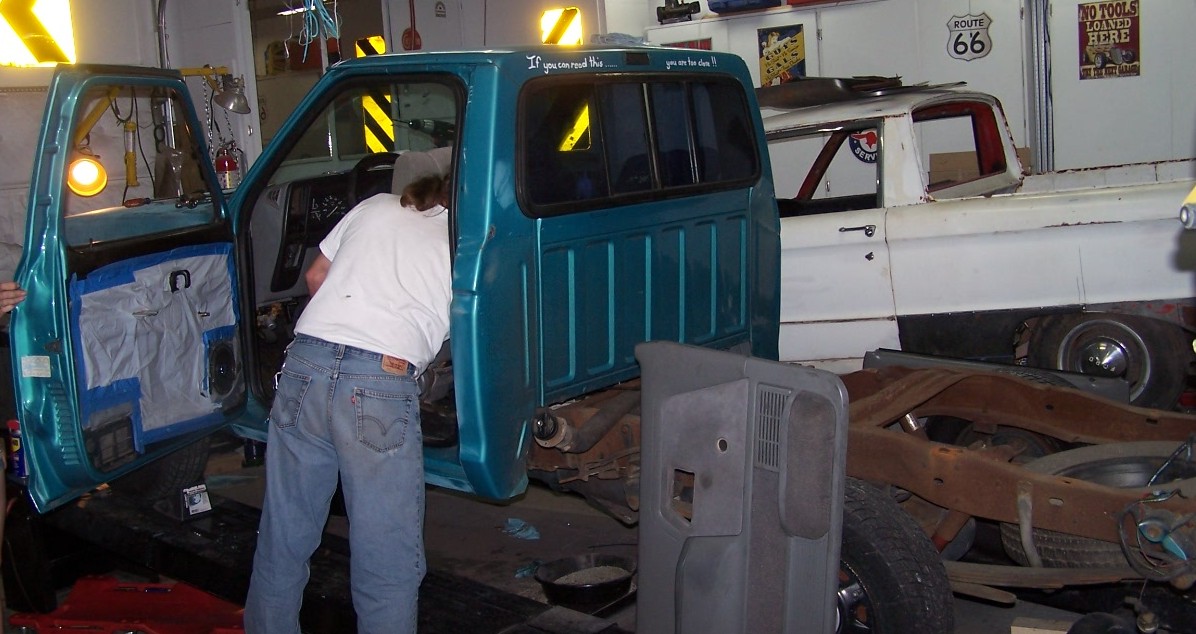
The rear window was next. We cut the rubber to remove the broken window, then pushed the glass out the back into the bed of the truck.
|
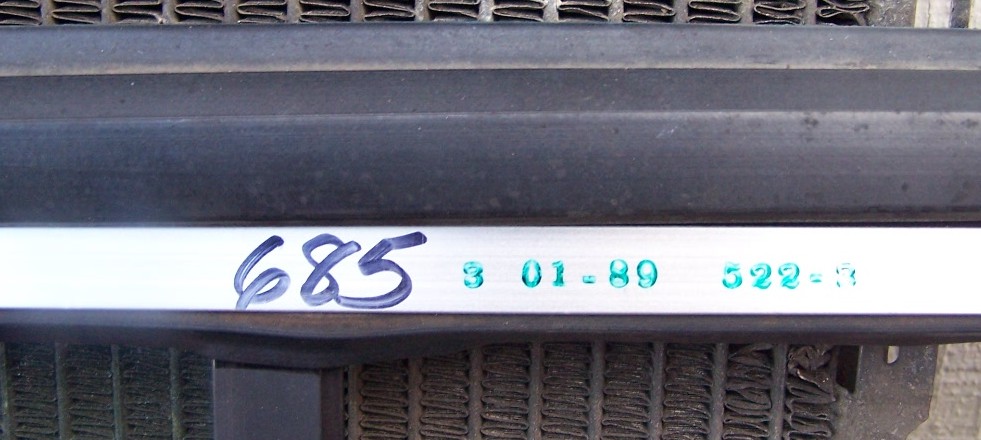
The old window is stamped "3 01-89 522-3" and has 685 on the frame in marker. We also noted that the front fenders were stamped "1989".
|
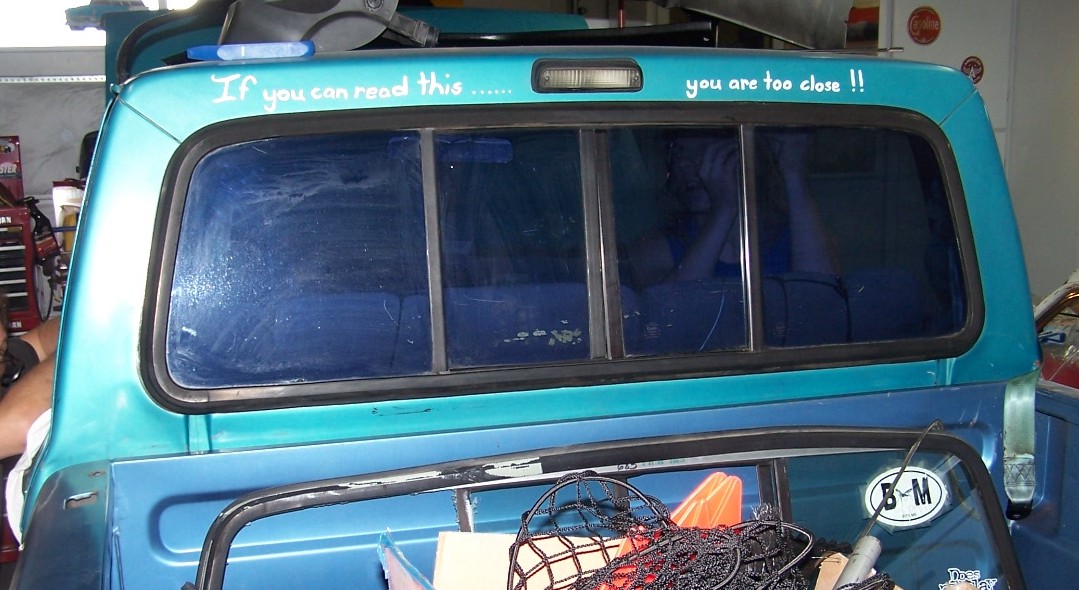
The replacement window was easy to install. No messy goo. Just a rope in the rubber to bring the rubber over the flange. It has to be put in from the bed of the truck. And it is even tinted.
|

Next step - body work to get back to an all turquoise truck. Later, an engine swap with a V6. But that is another story. Meanwhile, a "replacement" truck was located and purchased, it has the V6 with a manual trani. And, yes, the color is extremely close to Pepe. It's a 1992 Ranger and it's name is Smoke.
|
After a few months break to finish Dad's Wagon, we finally got time to return to working on Pepe. Dad started by welding up the holes in the doner bed from a previous cap shell.
|
The holes for the large side mirrors were welded up. After driving Smoke for several months, our daughter decided she liked the small mirrors better.
|
More welded up holes on the donor bed.
|

A slightly ugly weld, but easily smoothed out with a bit of putty.
|
The next step was the back of the cab. The bed was removed for access as was the interior. The stud gun will be used, but the damage is all down the back of the cab
|
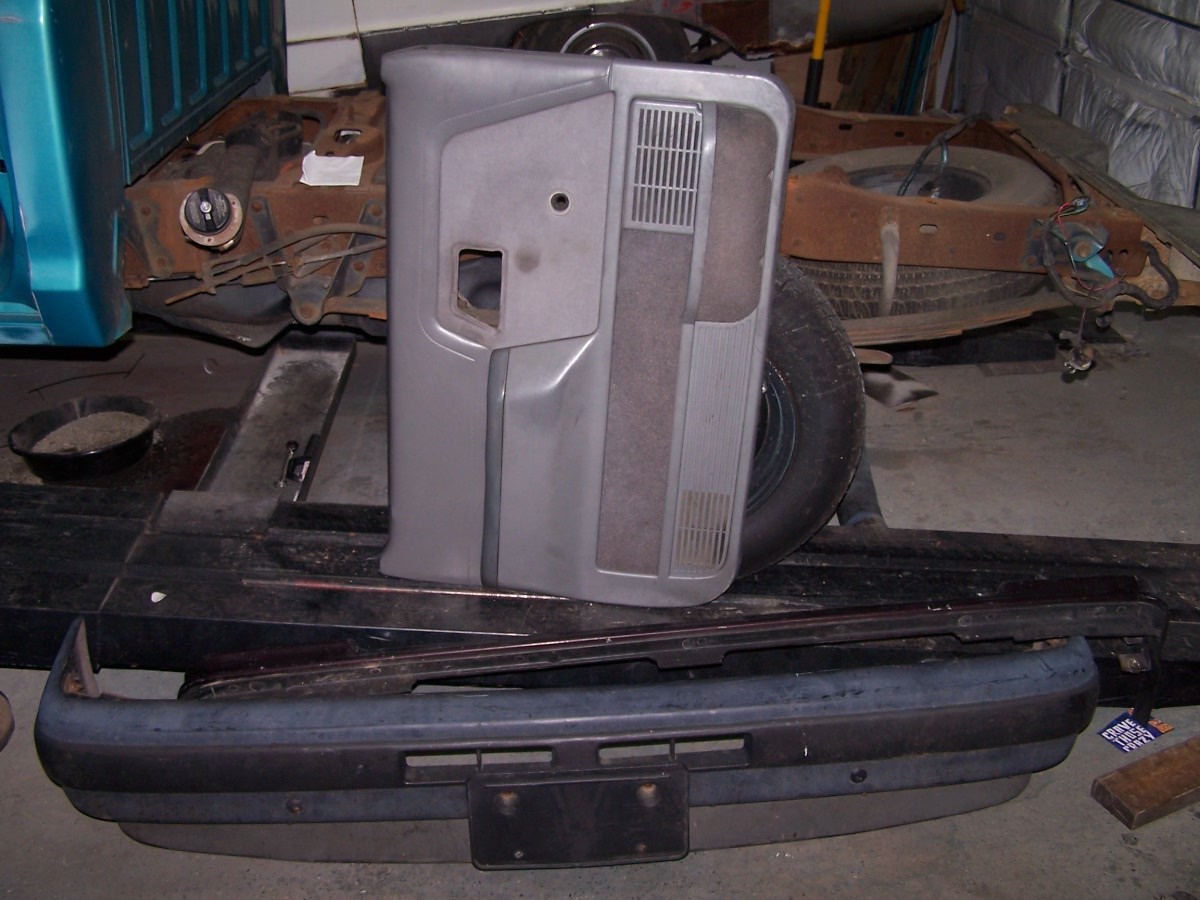
The filler panel has to be painted off the truck, so the front bumper was removed. This pile of parts will be stored for later reassembly.
|
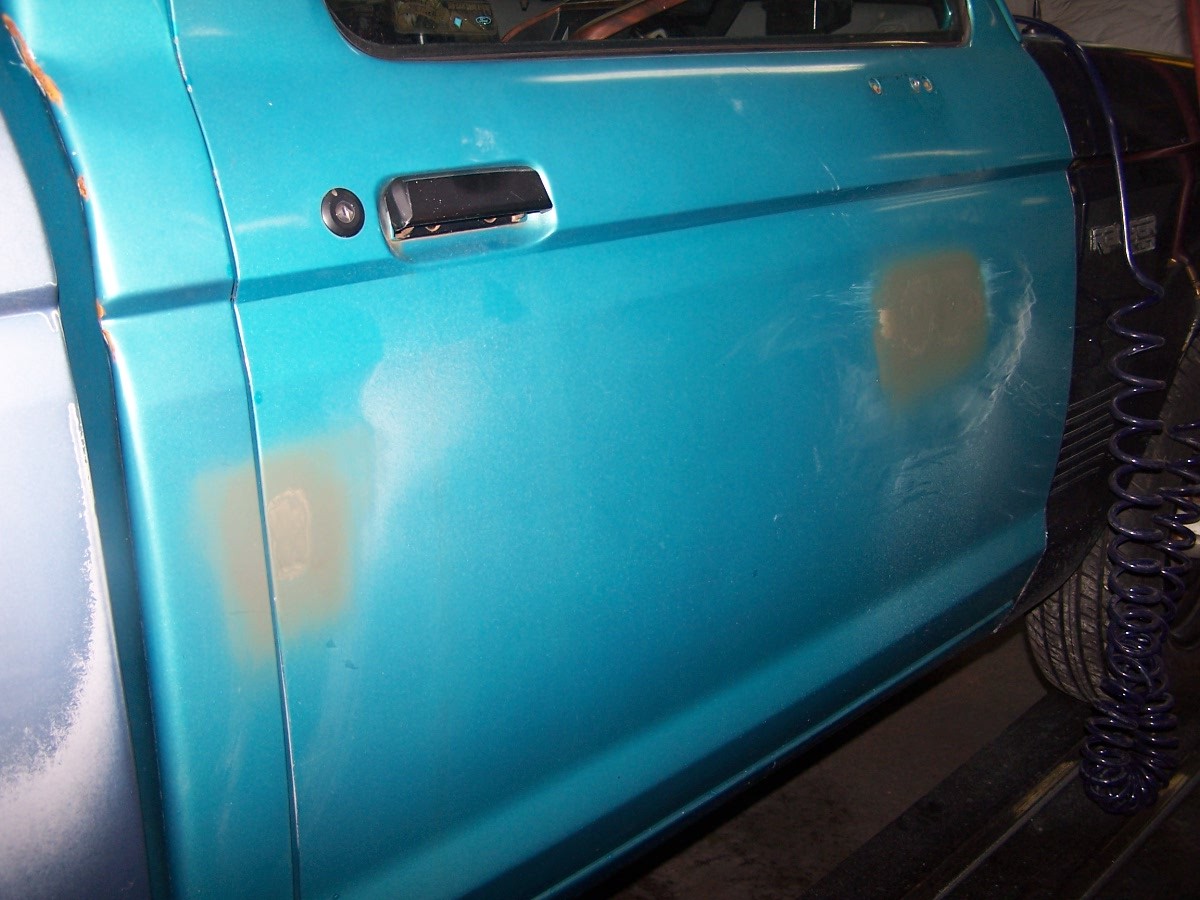
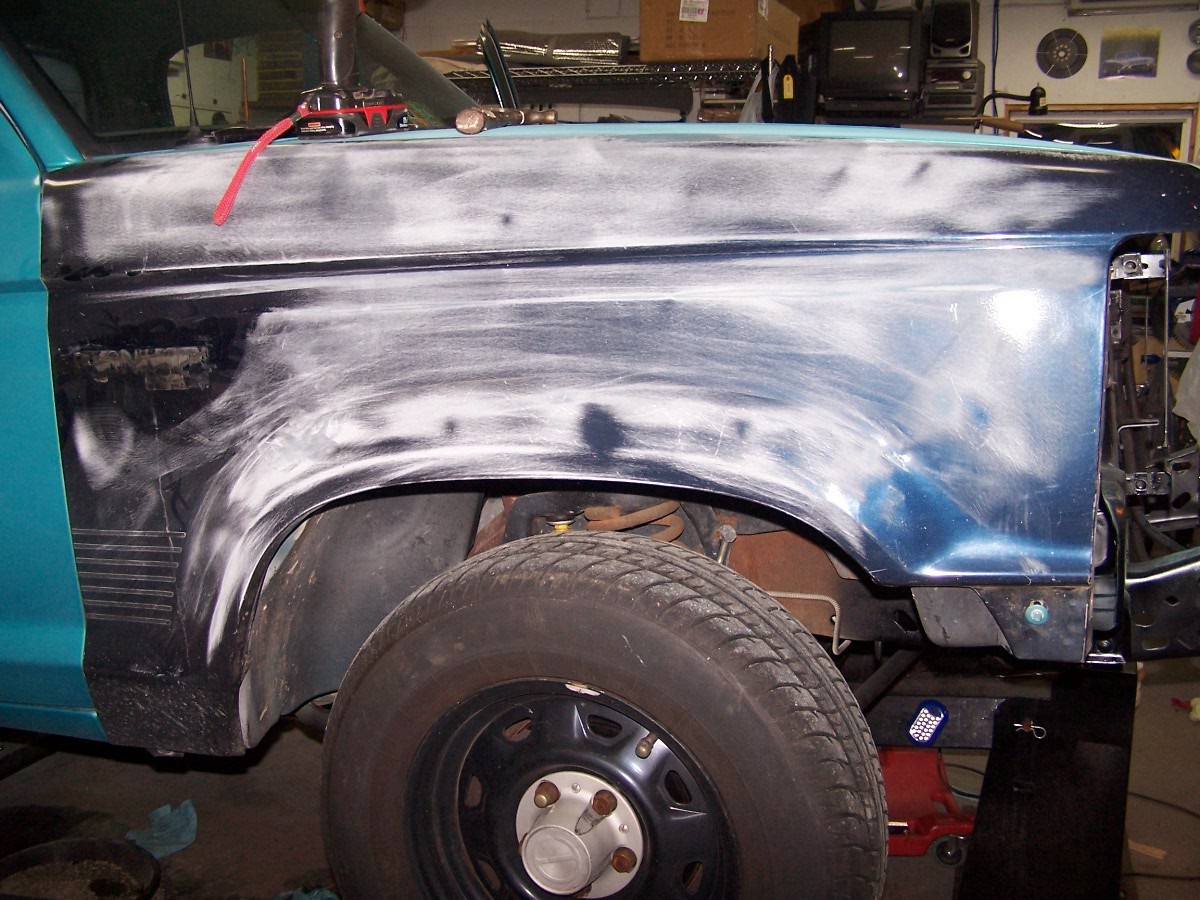
So the paint job that we paid for was - um - not what we paid for. We paid for base coat clear coat and the better grade of paint. When I started sanding of the paint, the top layer came off turquiose. That makes the paint enamel. And the thickness was very quick to sand through. Not hard to understand why that shop is no longer in business.
|
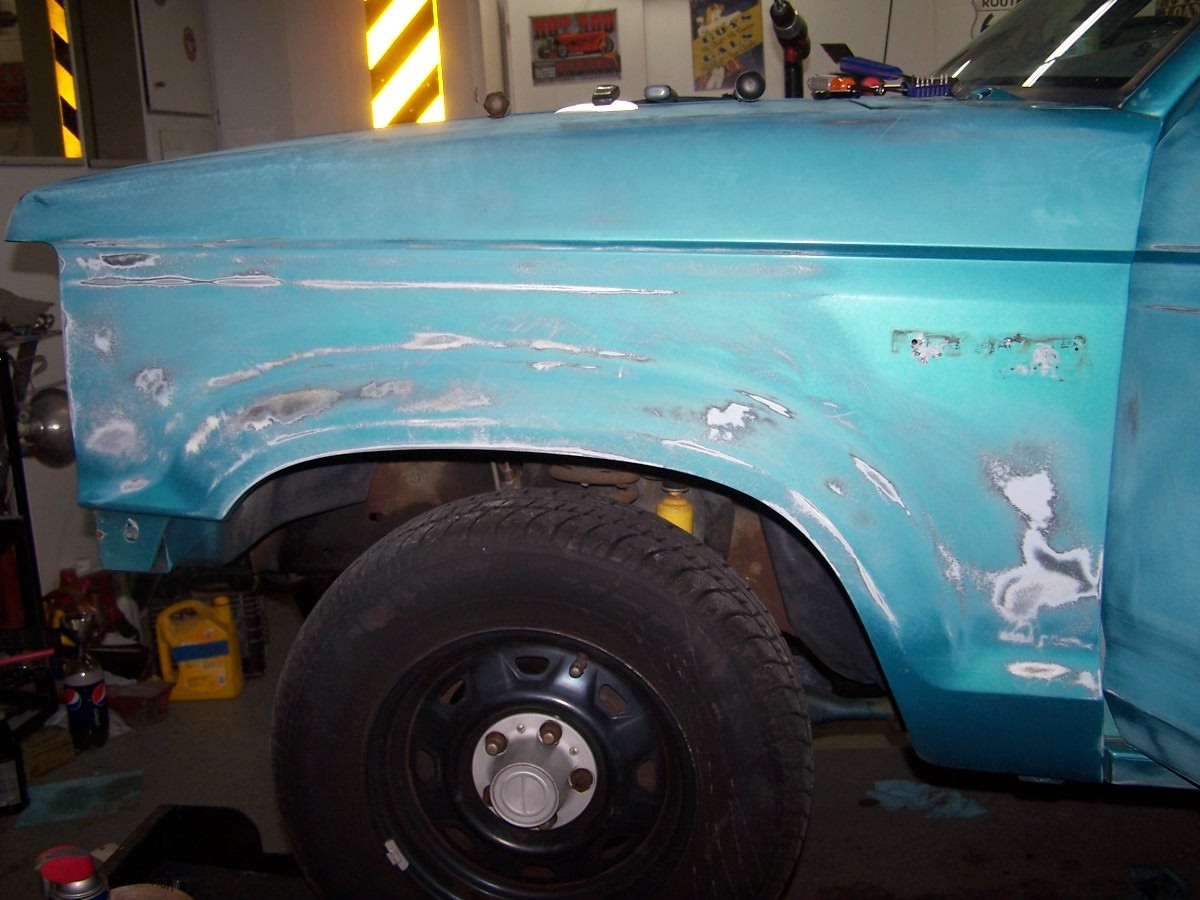
In about an hour with an airboard sander and the hood, driver door, and both front fenders are stripped back and ready for small bits of putty, then a good sealcoat followed by a layer of fill primer to give a good finish.
|
The donor passenger front fender has a few small dents to fix.
|
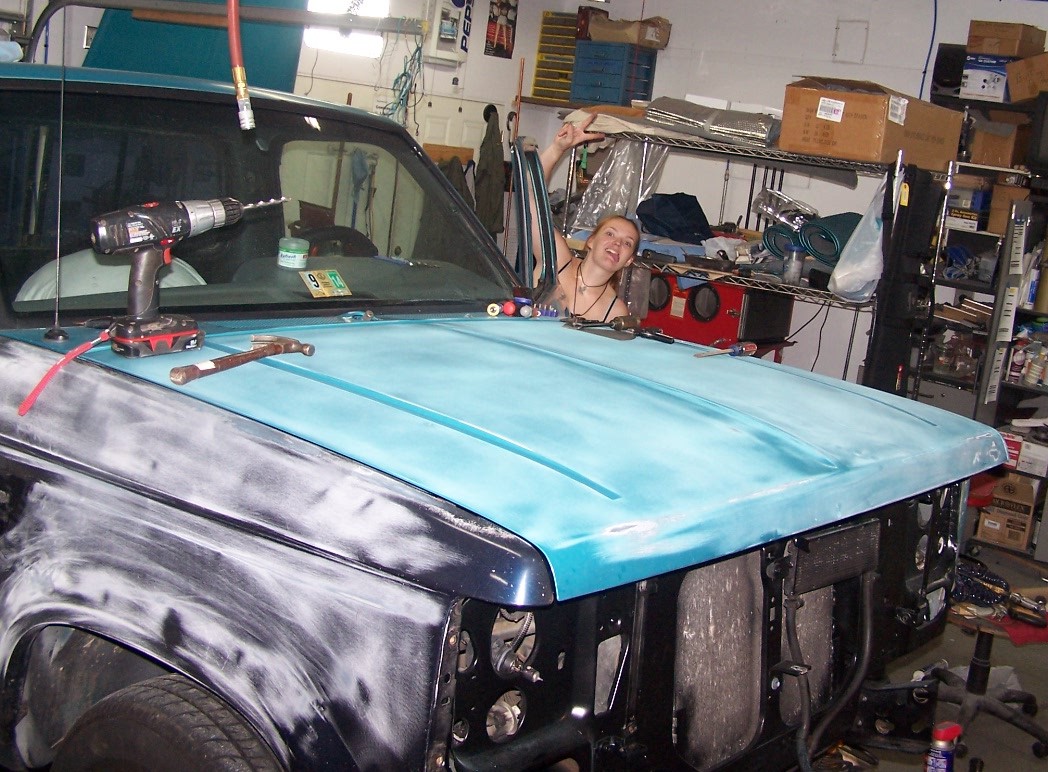
No damage was found on the hood. Some minor hand sanding to do and the hood will be ready for spraying.
|
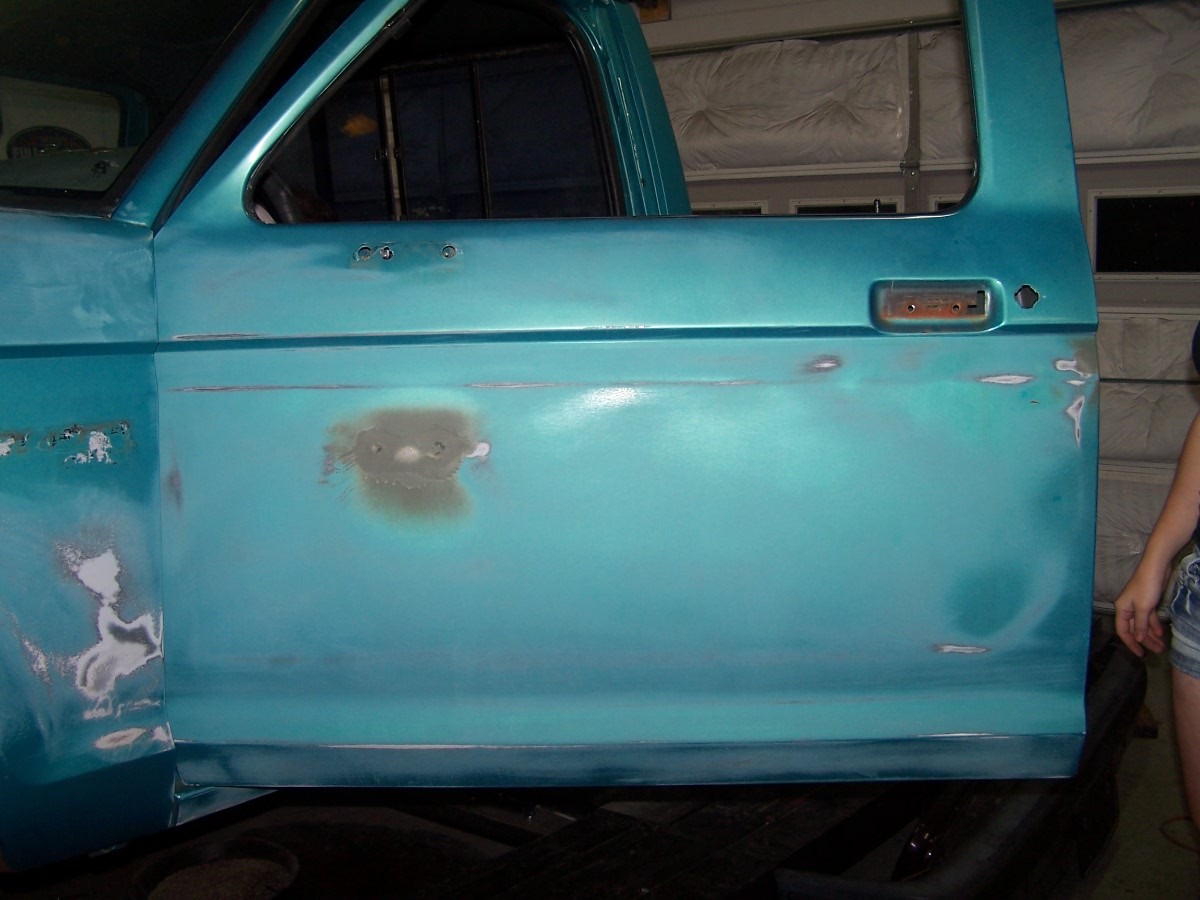
The doors have a small plastic bushing that had worn off. Before we identified the problem, our daughter had hip checked the door several times to close it. A few shallow dents here to fix.
|
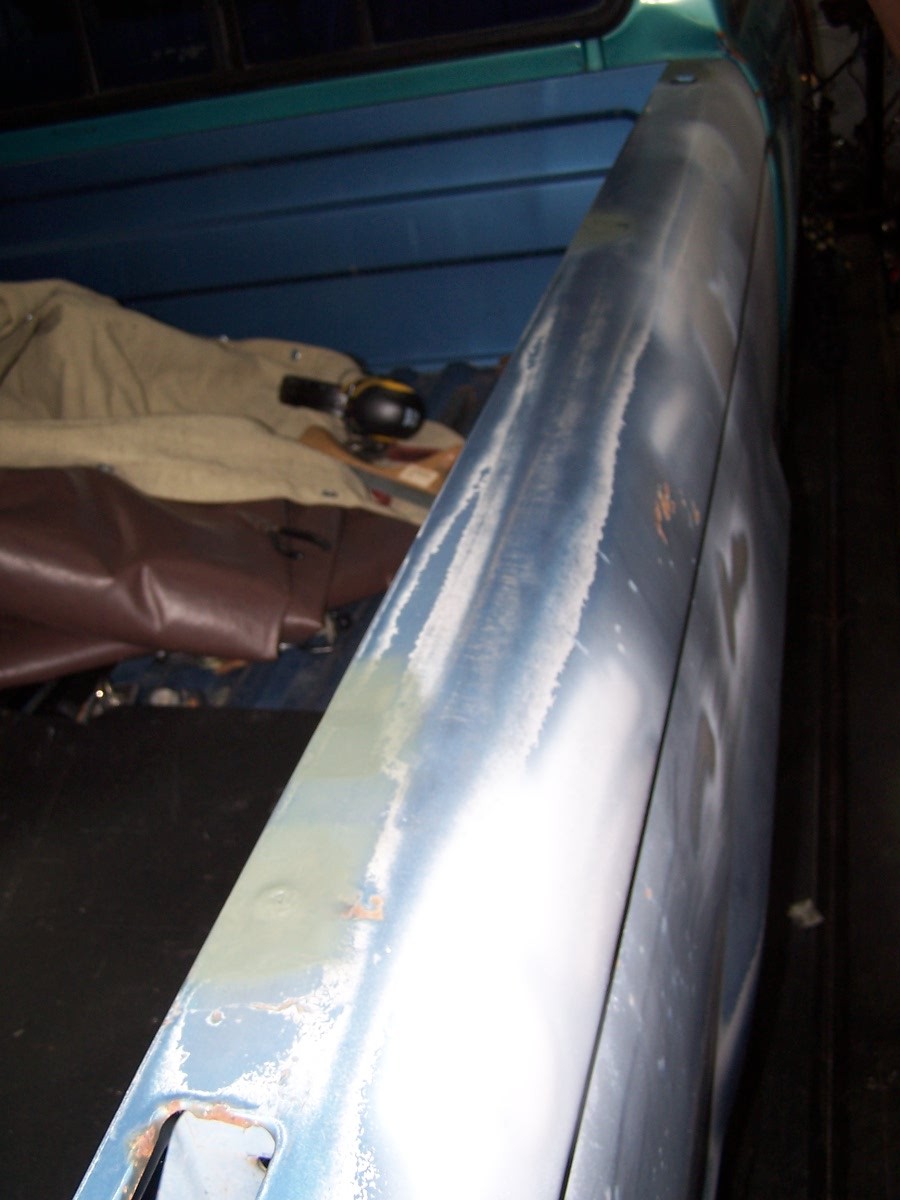
The damage to the back of the cab on the driver side is minimal, but above where the hammers can reach from the inside. Time for the stud puller. The turned up corner at the bottom just needs a hammer to put it back into place.
|
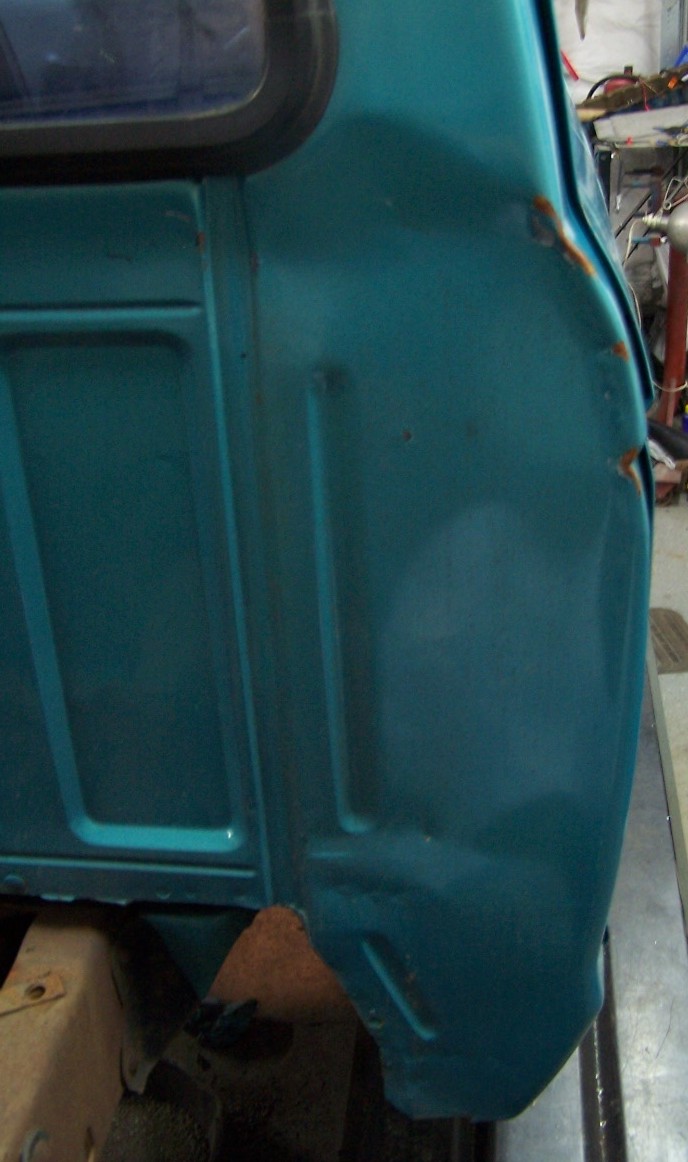
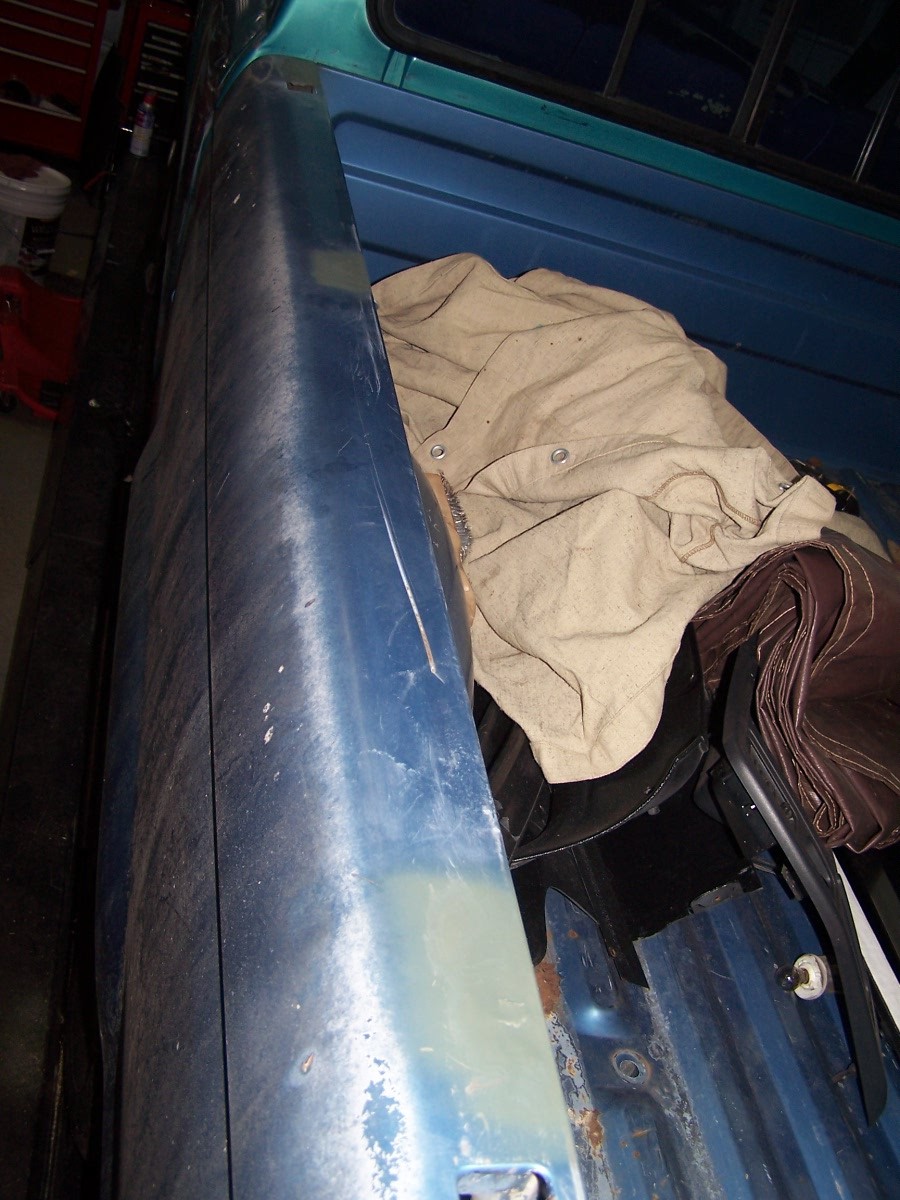
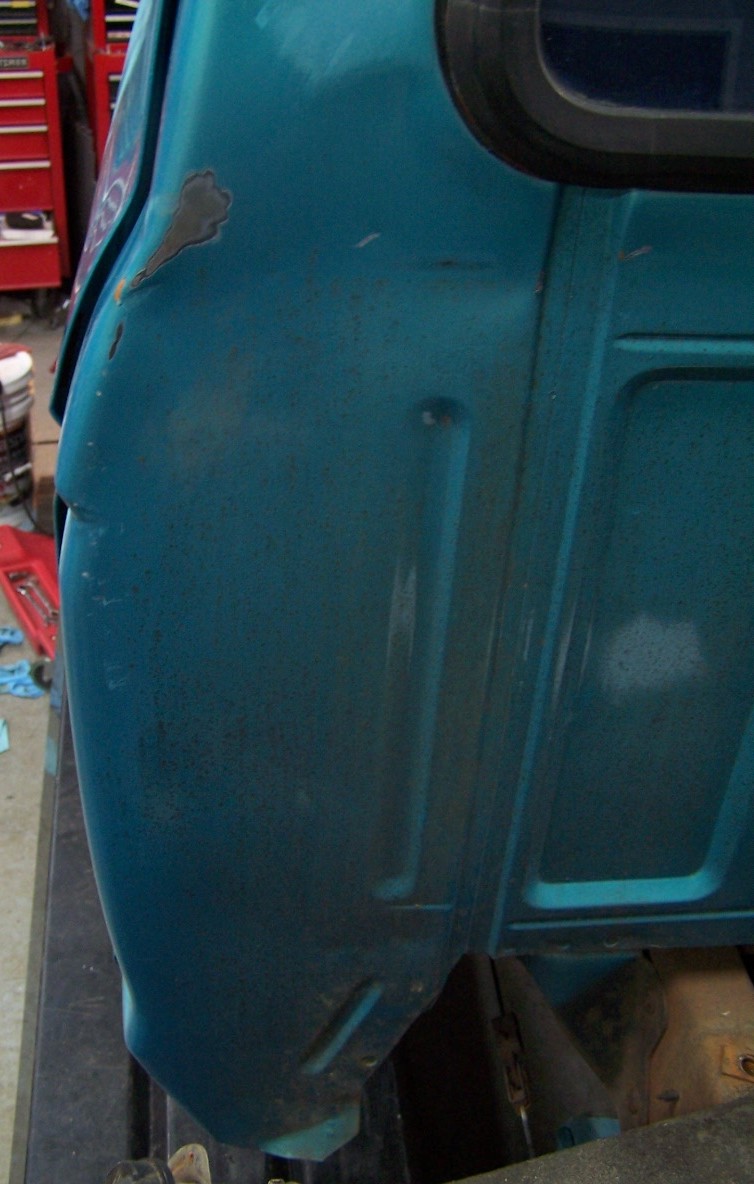
The back of the passenger side is much worse condition. The hammer can reach some of this, but the stud puller will be needed for the upper portion again.
|
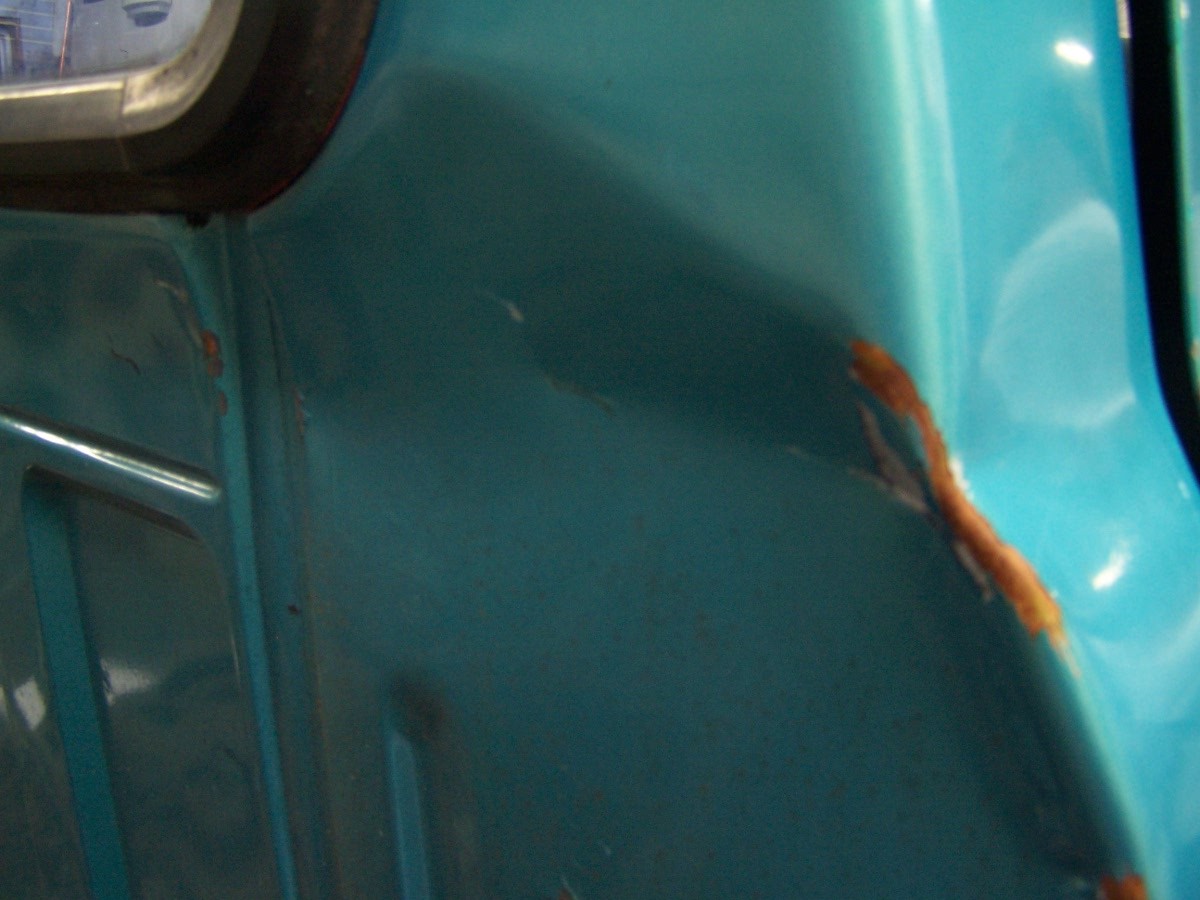
A slightly different angle shows the depth of the damage.
|


