Kurt hated the solid white color. Long story. He decided to paint the Bronco. For that, he had to do the body work first, starting with the rust repairs.
|

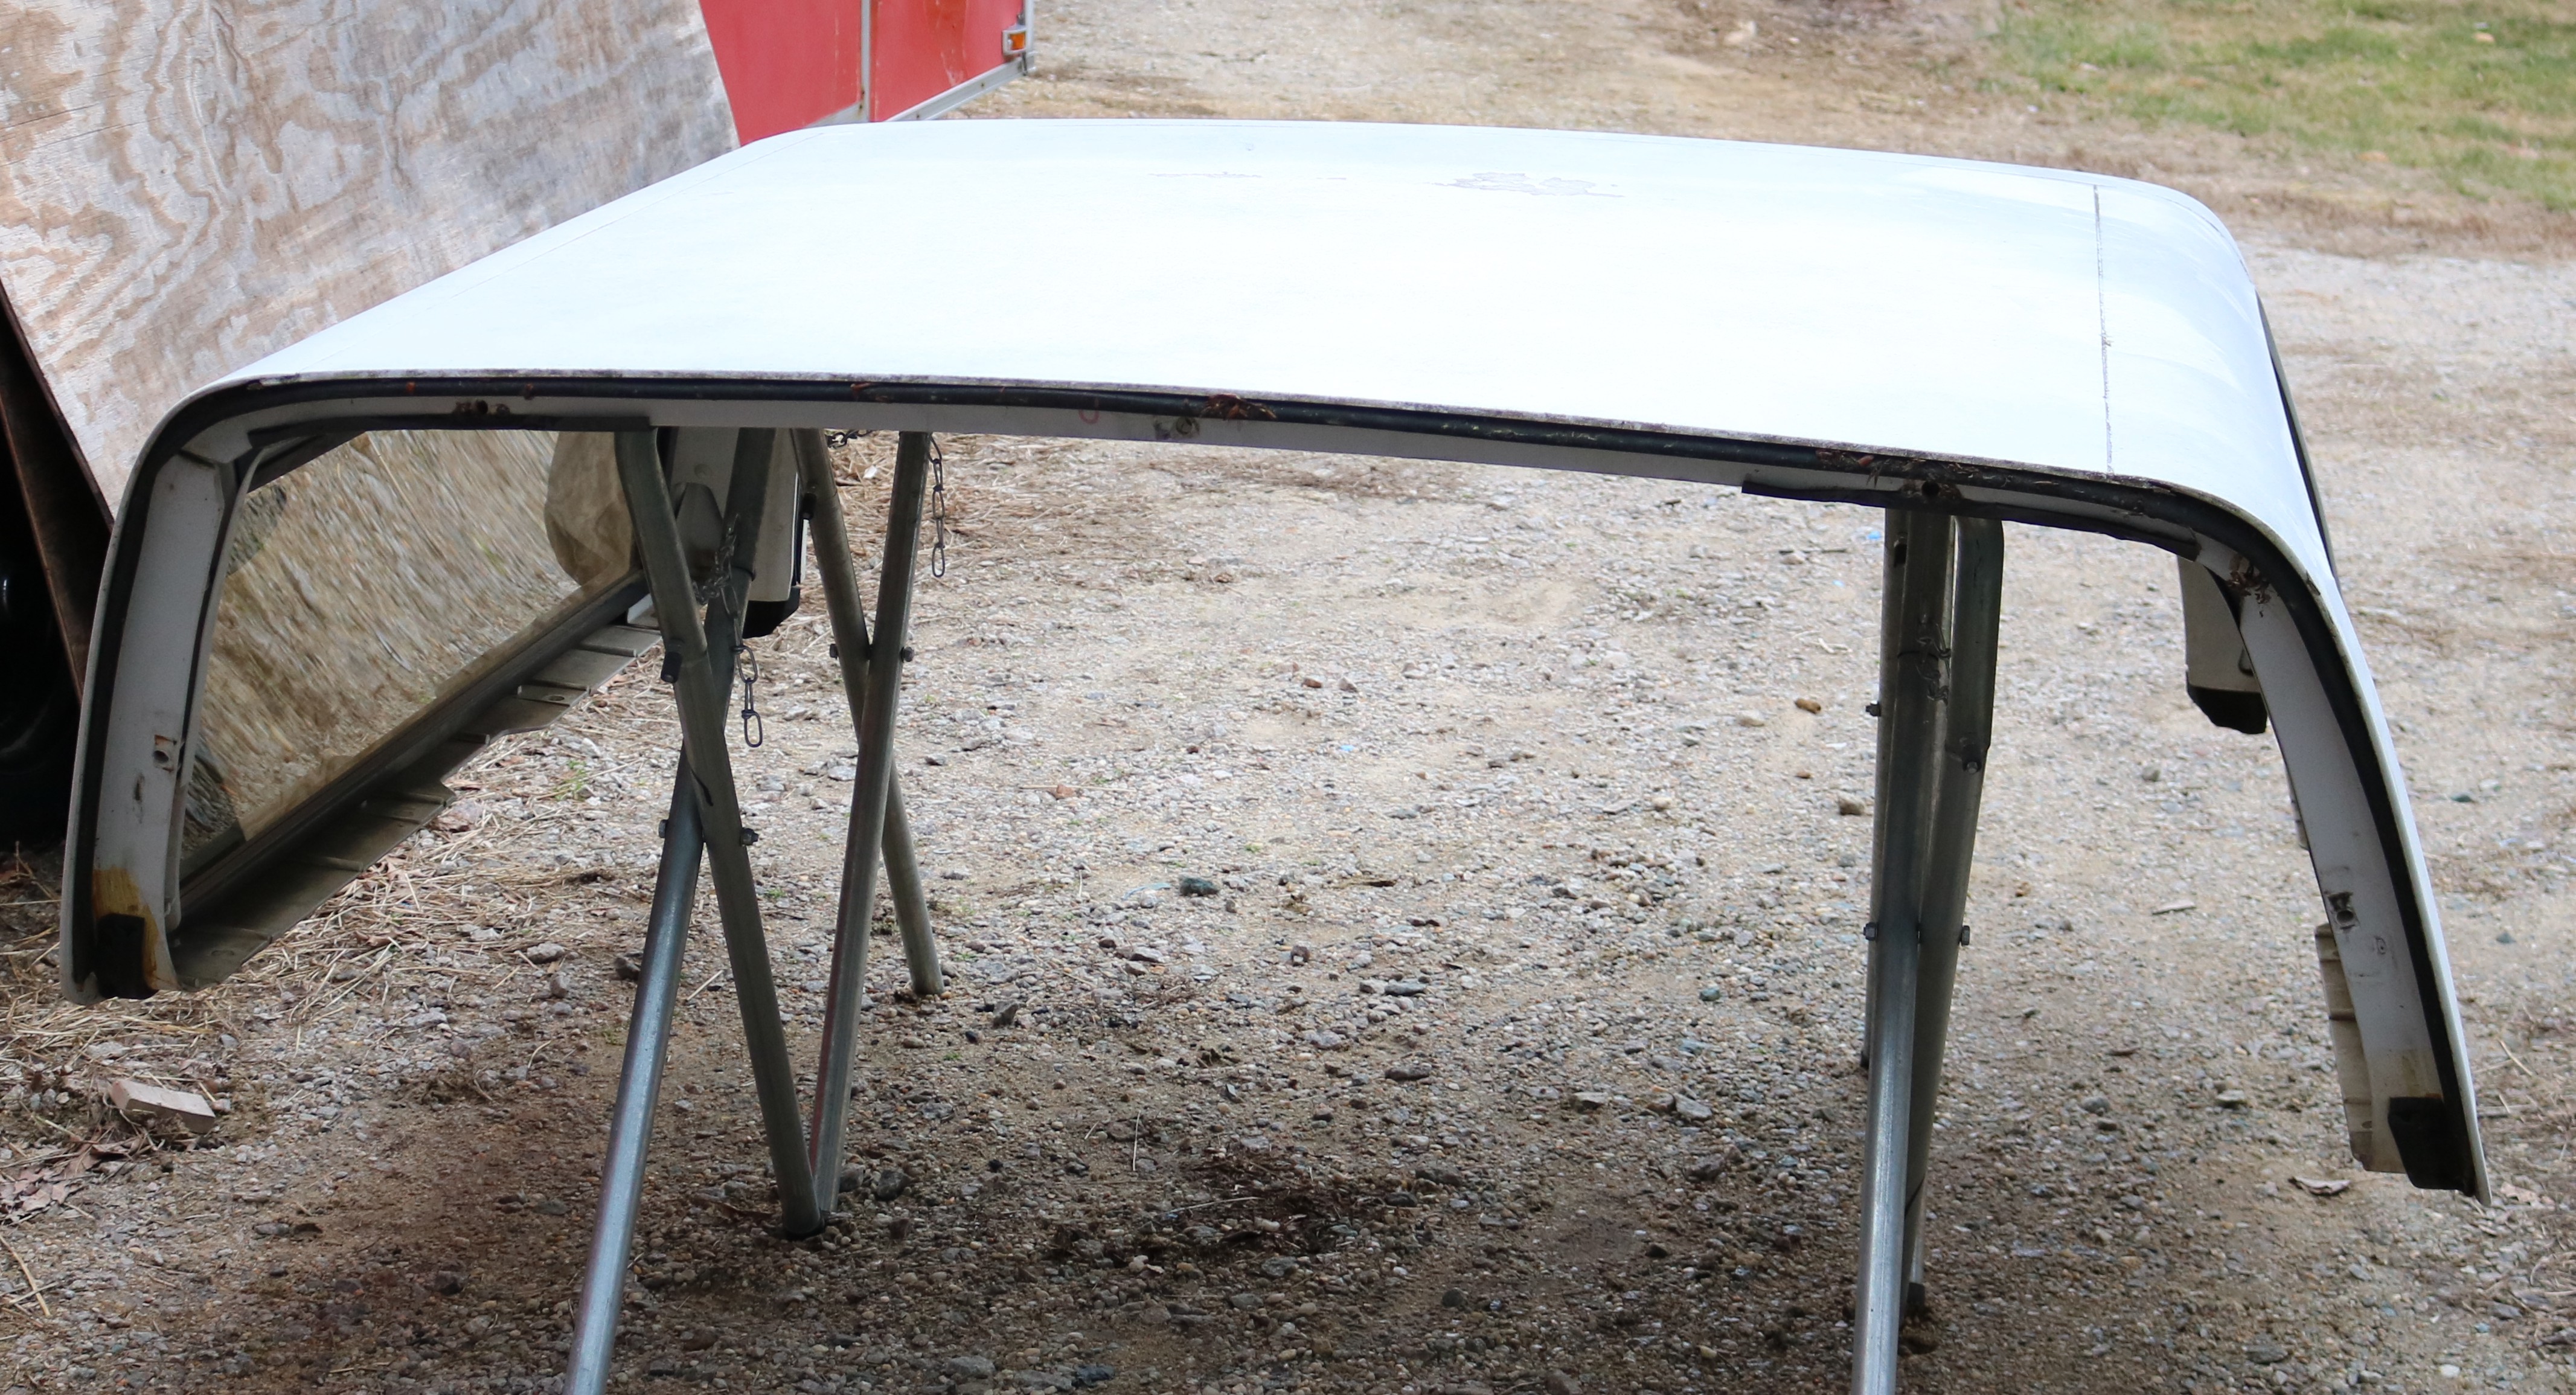
So we pulled the cap shell off the Bronco to protect it from welding sparks. It makes a rather sporty looking Ranger shortbed without the cap shell.
|

Now that the cap shell is off, we can start on the worst of the spots, the driver side drip rail.
|

The passenger side also had rust on the drip rail that was hidden by the cap shell.
|

In checking out the fenders, Kurt found this rust spot hiding inside the passenger side wheel area, back below the taillight. Fortunately, this isn't a structural area.
|

And unfortunately, the driver side is worse in that same area.
|
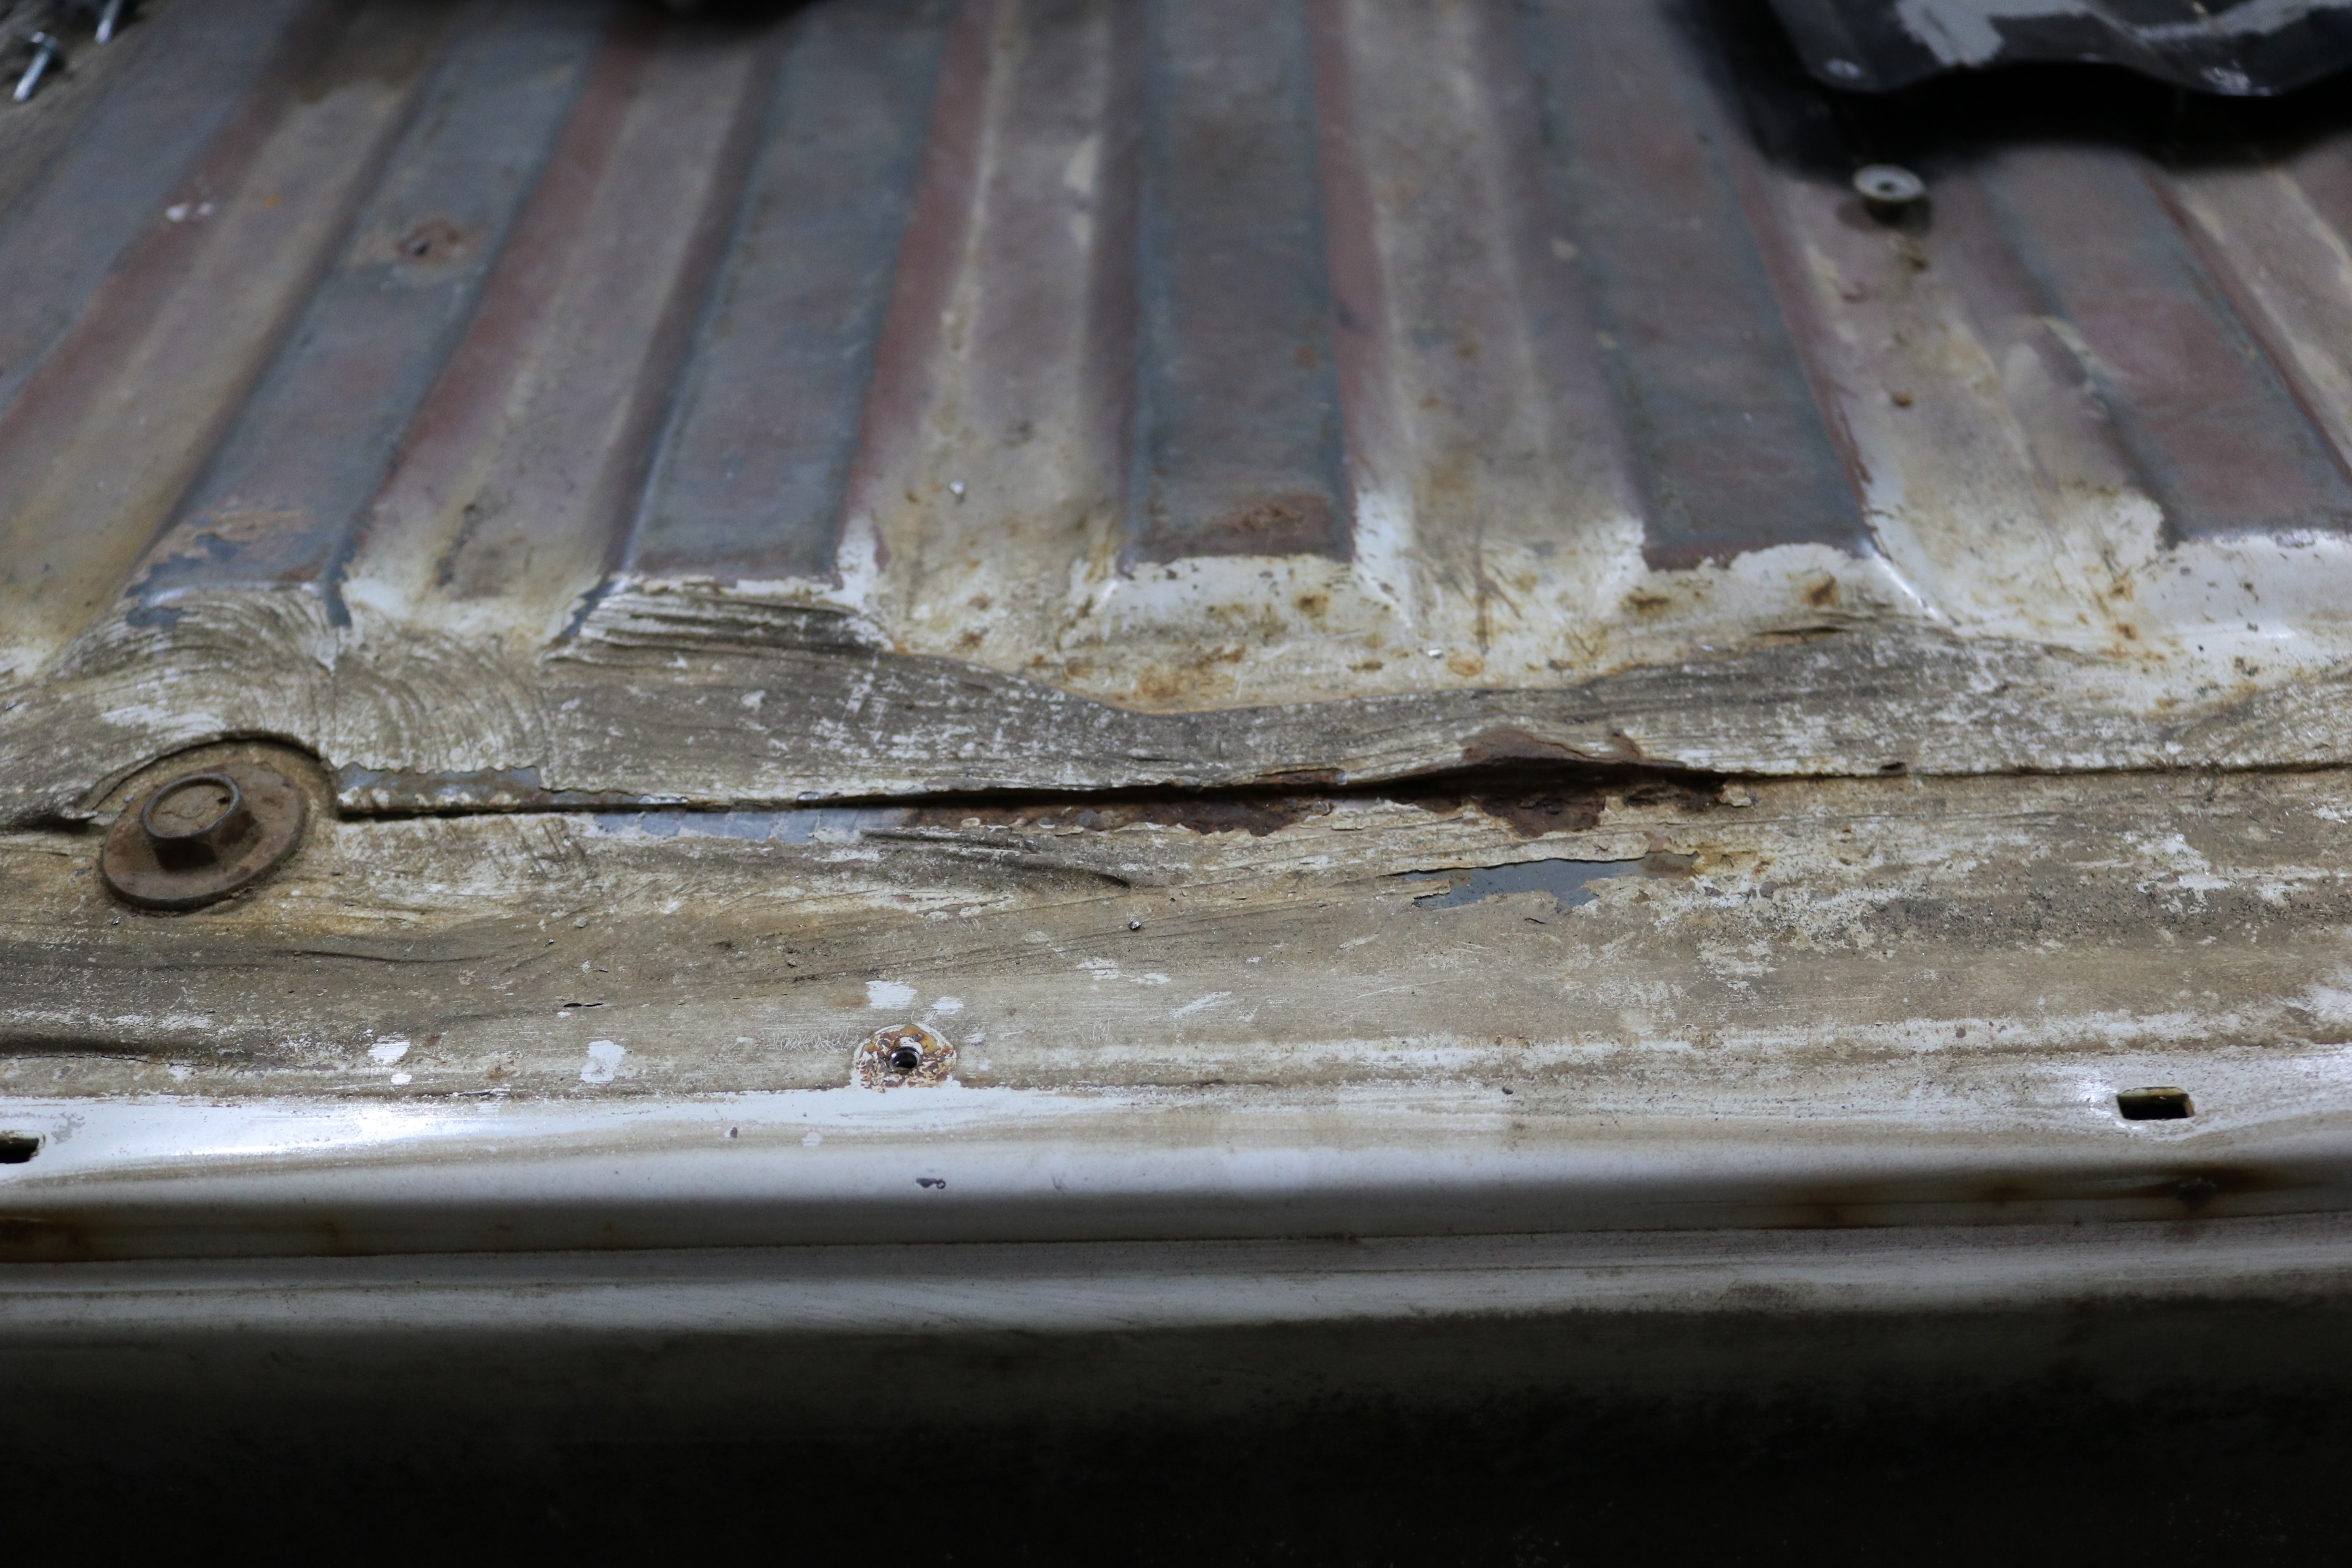
The rear tailpan by the tailgate had the start of rust buckling the metal.
|

Cleaned, rust treated, and hammered back into place, then seam sealed over. As Kurt kept saying, it's a trail rig, it doesn't have to be perfect. Yeah, right.
|

The driver corner had the rust cut away along with the ripped metal, and replacement metal welded in.
|

The passenger side just needed a bit of rust treatment and welding, no metal, since it was caught in time.
|

The outside of the fiberglass cap shell is in rough condition. Fortunately, only a few small areas had lost the paint layer, so there was no damage to the fiberglass shell. As we do not plan to put any weight on the cap shell, this should be fine.
|

Kurt wanted to keep the pebblegrain appearance of the factory cap shell. He remembered that the bedliner also came in white. It works great and should cover the missing areas nicely.
|

We removed the front fenders and hood to trial fit the replacement ones.
|
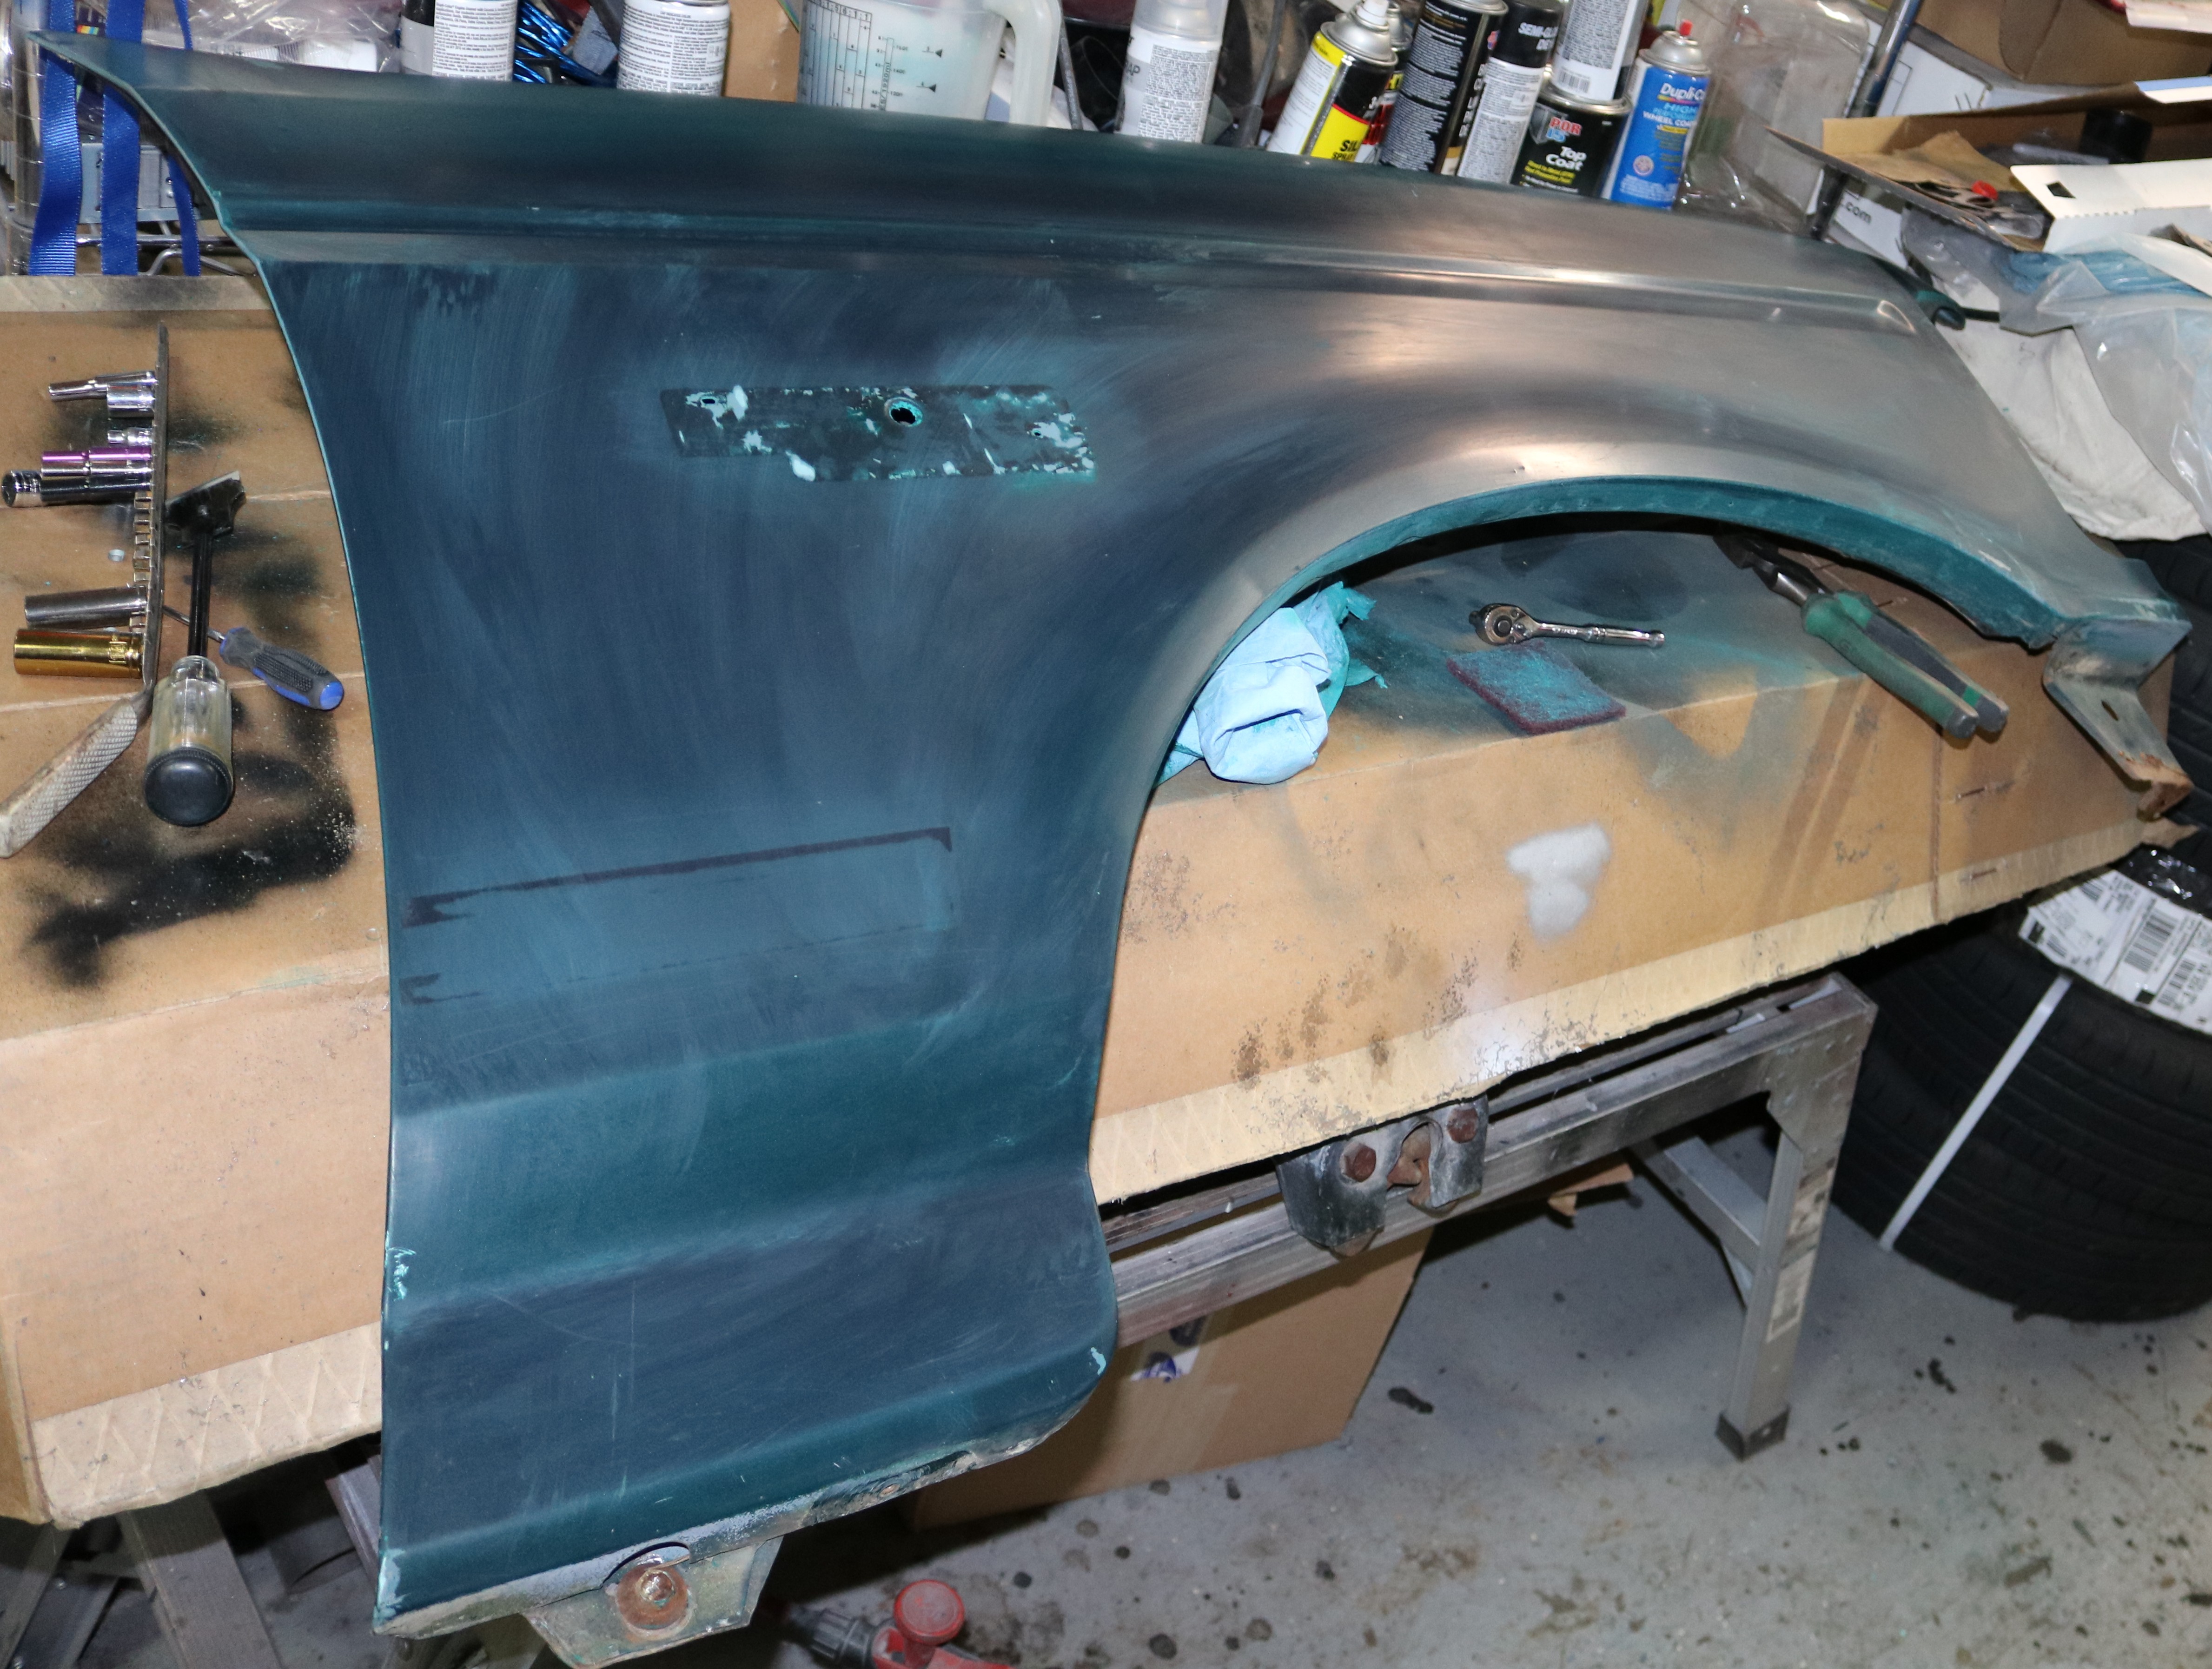
The replacement front passenger fender has less body work needed than the original.
|
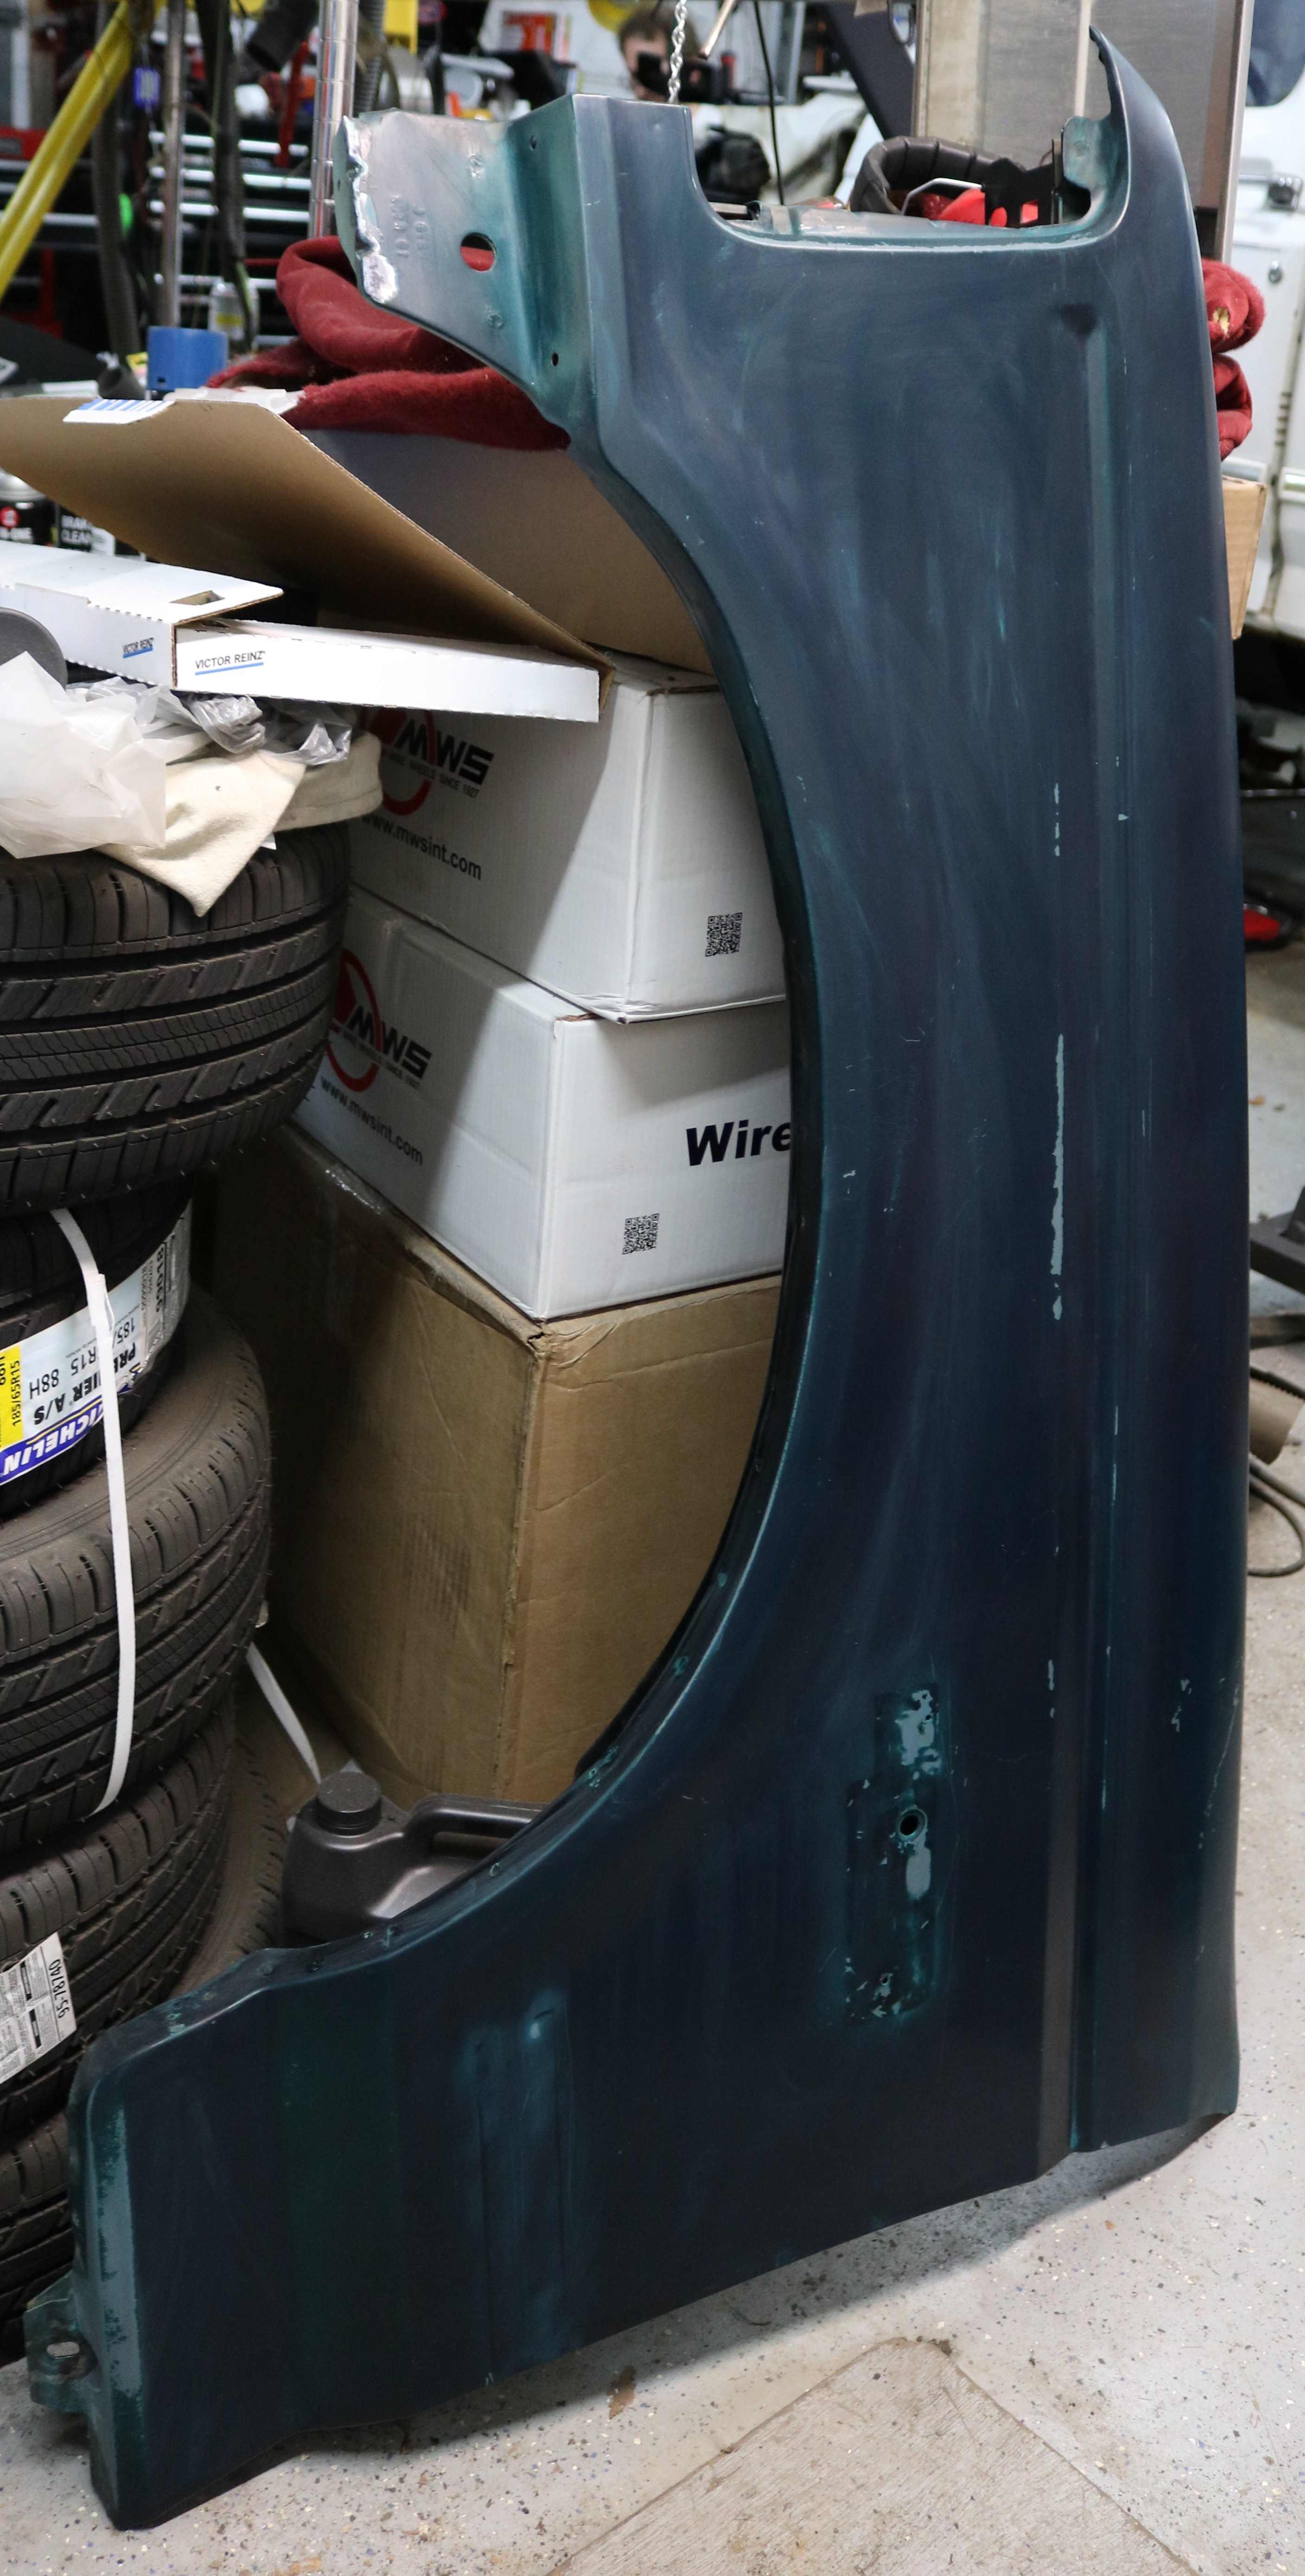
The driver front fender is about the same on body work.
|

Filler time. I started with that driver drip rail corner, figuring it would take the most time. I have to use stepstools or the Topside Creeper to reach.
|

The driver mirror had been hit and the metal just behind it dented in.
|

The driver rear fender had a spot, just in front of the wheel well.
|

The passenger rear fender had a small shallow spot.
|

The passenger side sail panel had a long shallow crease starting.
|

The passenger side drip rail did not take as much as the drive side.
|

The passenger rear fender dressed out quickly and easily.
|

The passenger side drip rail took a few layers to build up. My first layer was a bit dry when I put it in and had some airpockets.
|

The driver side drip rail actually dressed out quicker than the passenger side.
|

The rear driver fender also dressed out easily.
|

The driver mirror area was actually the most difficult area. It had two lips and a complex curve.
|


