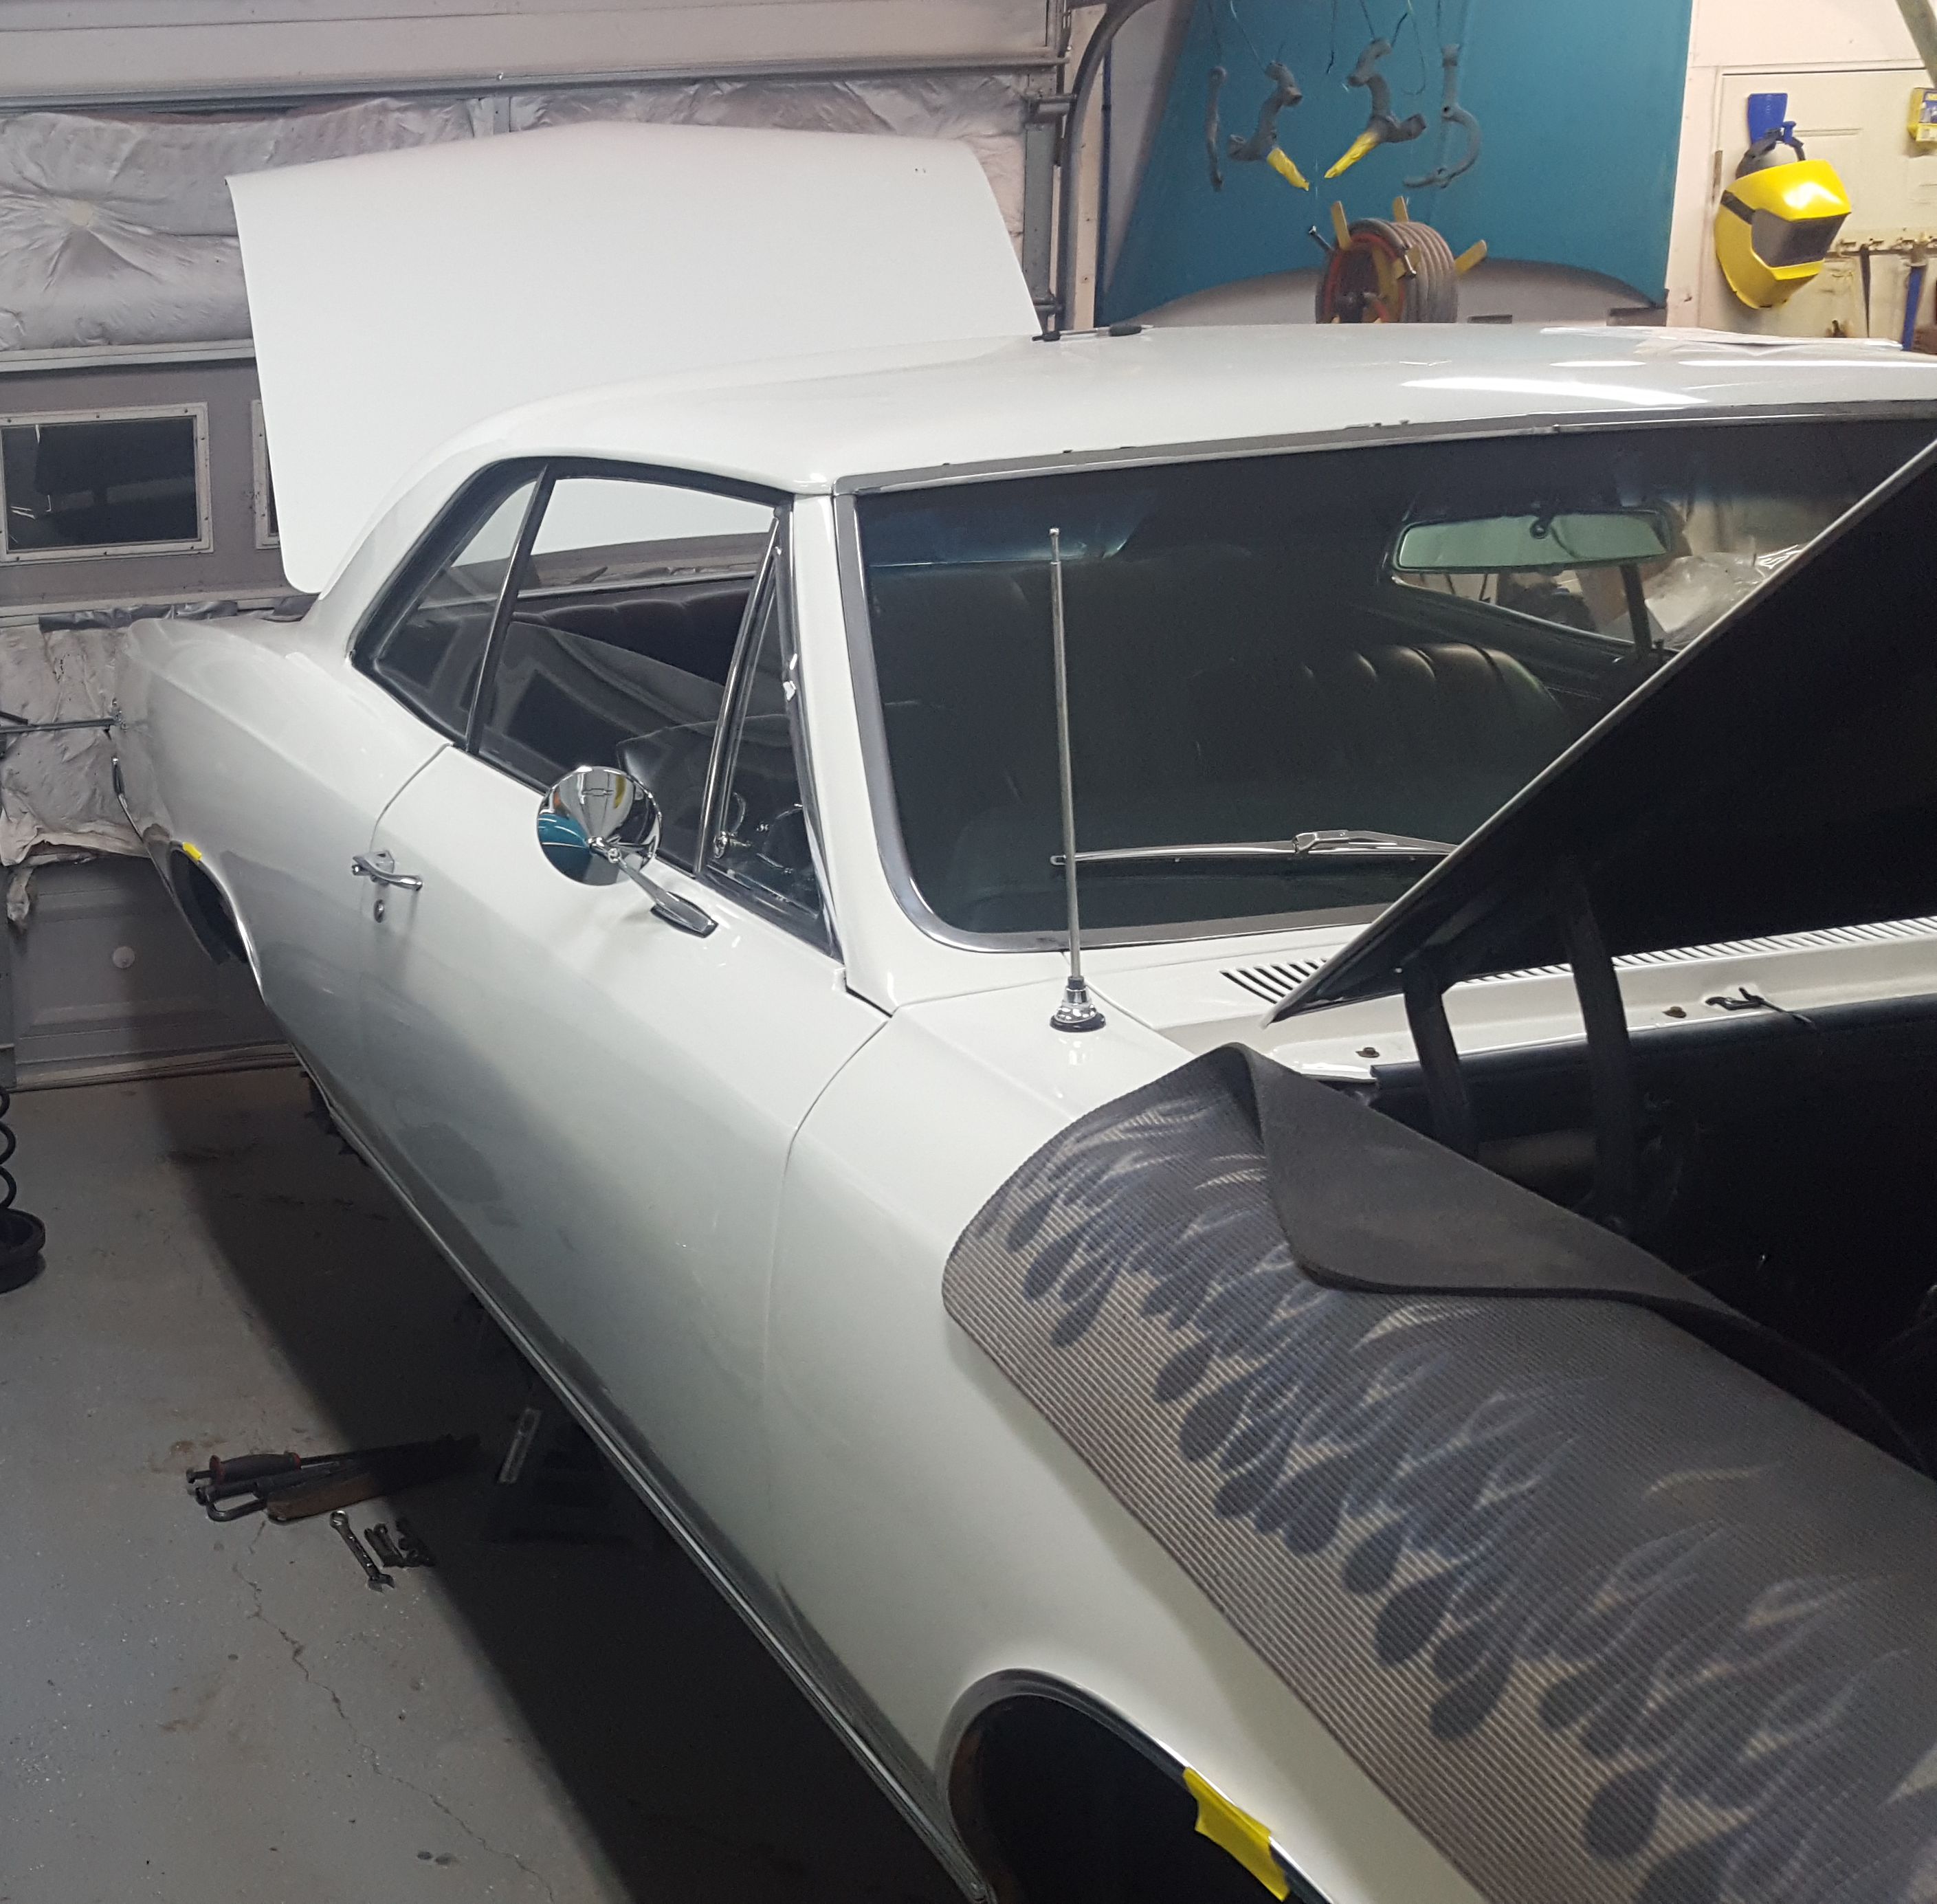
There was a delay in the arrival of the front wheels. So while the Chevelle was non-mobile in the garage, our friend opted to add air conditioning to the car. While we waited on the new front wheels, we tackled the new AC.
|

Vintage Air makes a good kit to add air conditioning to the Chevelle.
|
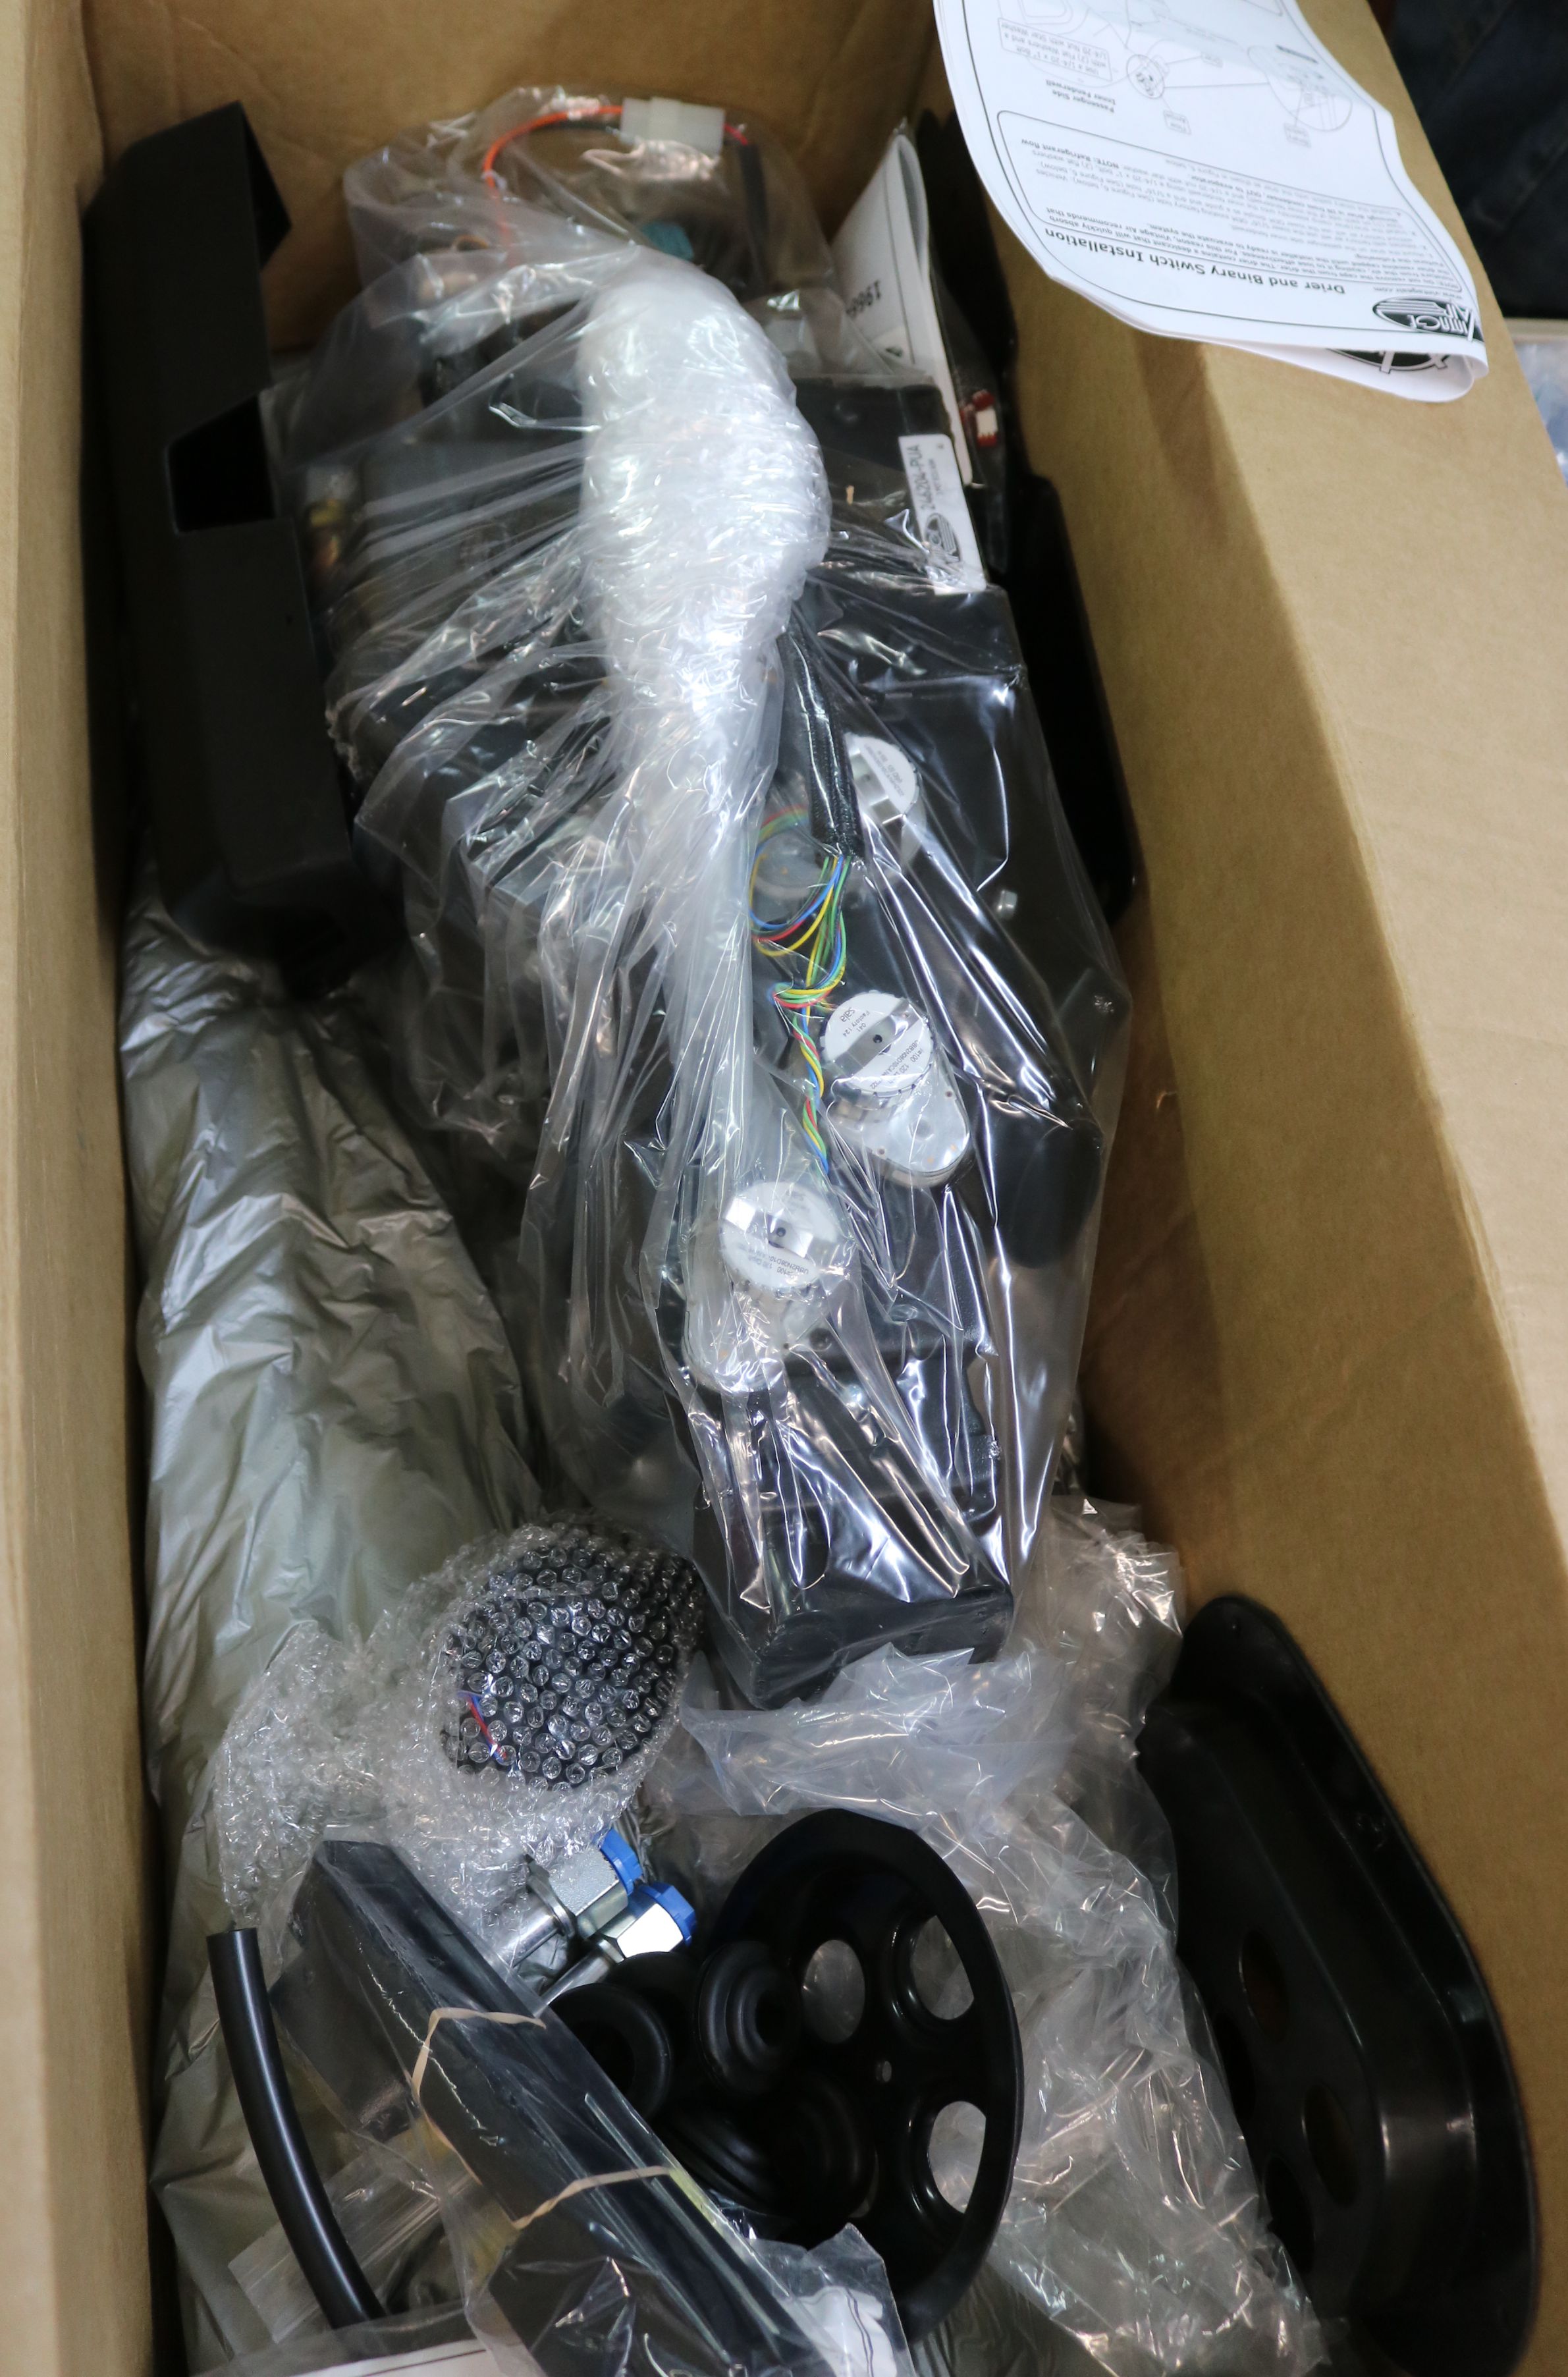
Everything needed, right down to the bolts and nuts that are not already in the car are included.
|
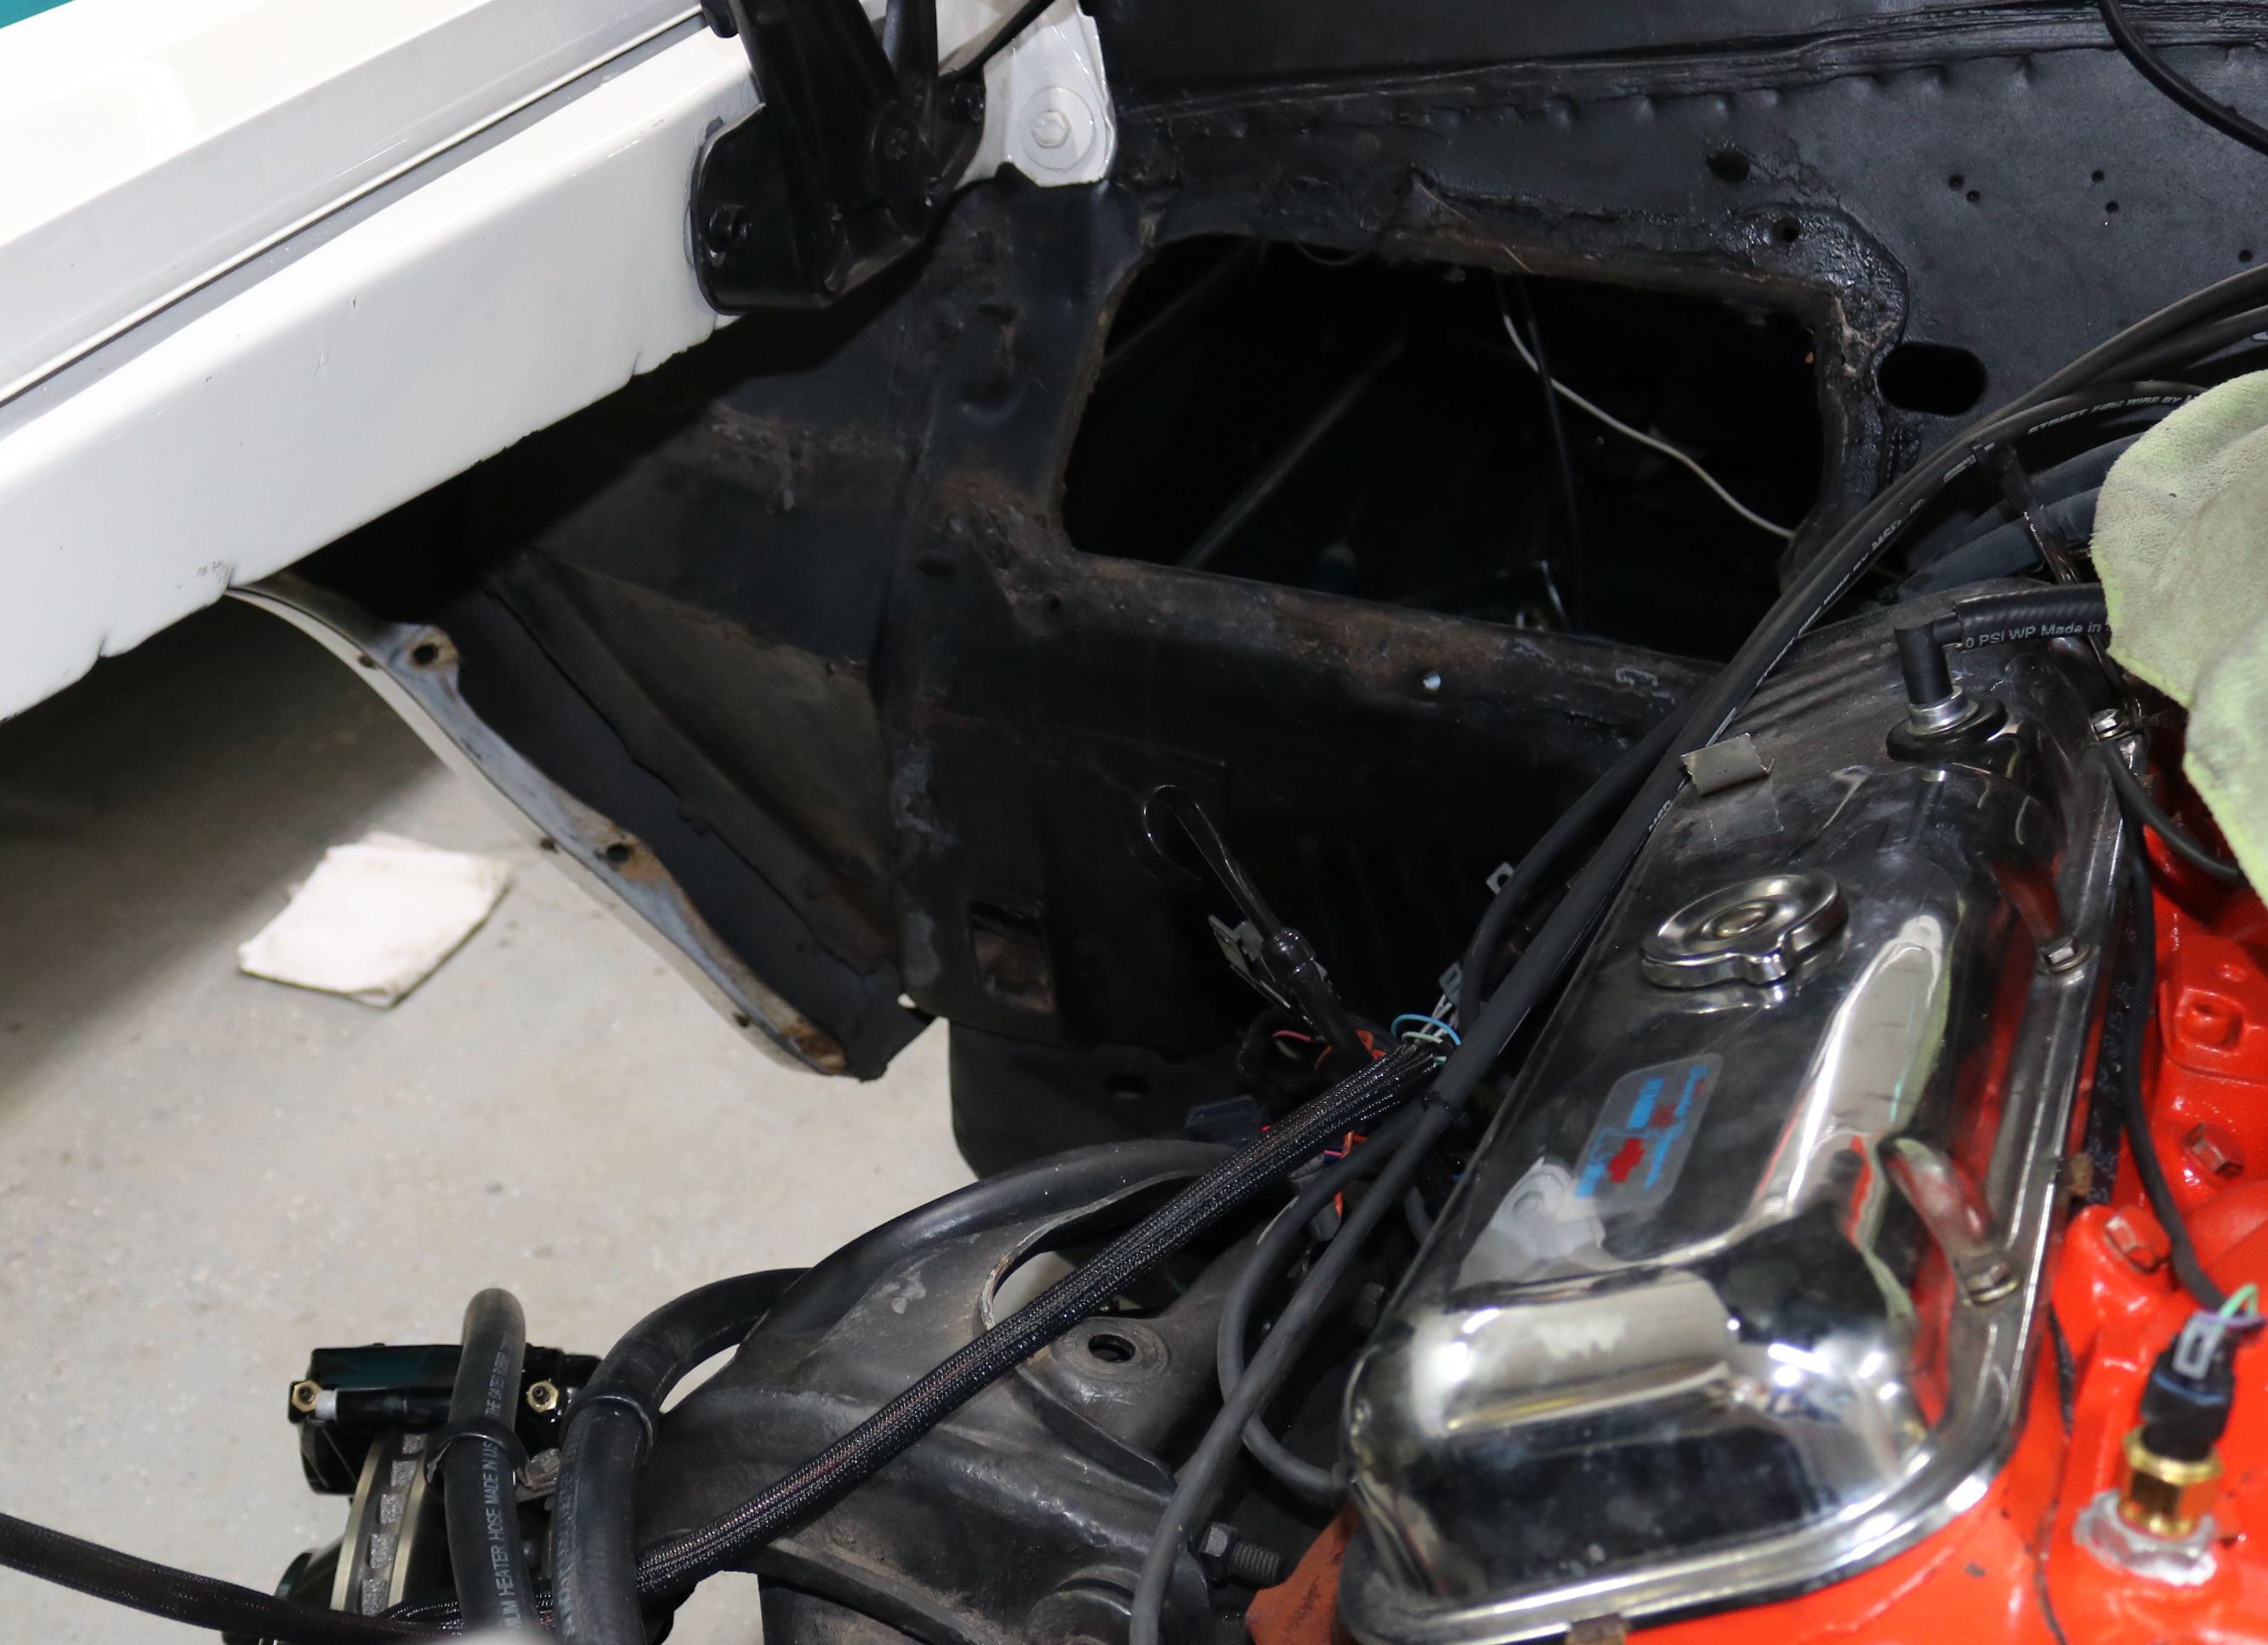
The new AC system will replace the original heater box. The kit provides a block off plate for the heater box hole in the firewall on the passenger side of the engine bay. We had to remove the inner fender to remove the blower motor and outside of the heater box.
|

The original heater box, with the rusty and leaking heater core. It wasn't leaking until our friend installed the new radiator with a higher pressure cap to solve an overheating problem. The heater core was the weak link and gave under the higher pressure.
|

The new AC also provides a block off plate for the fresh air vent on the passenger side. The AC lines will be routed through this plate.
|
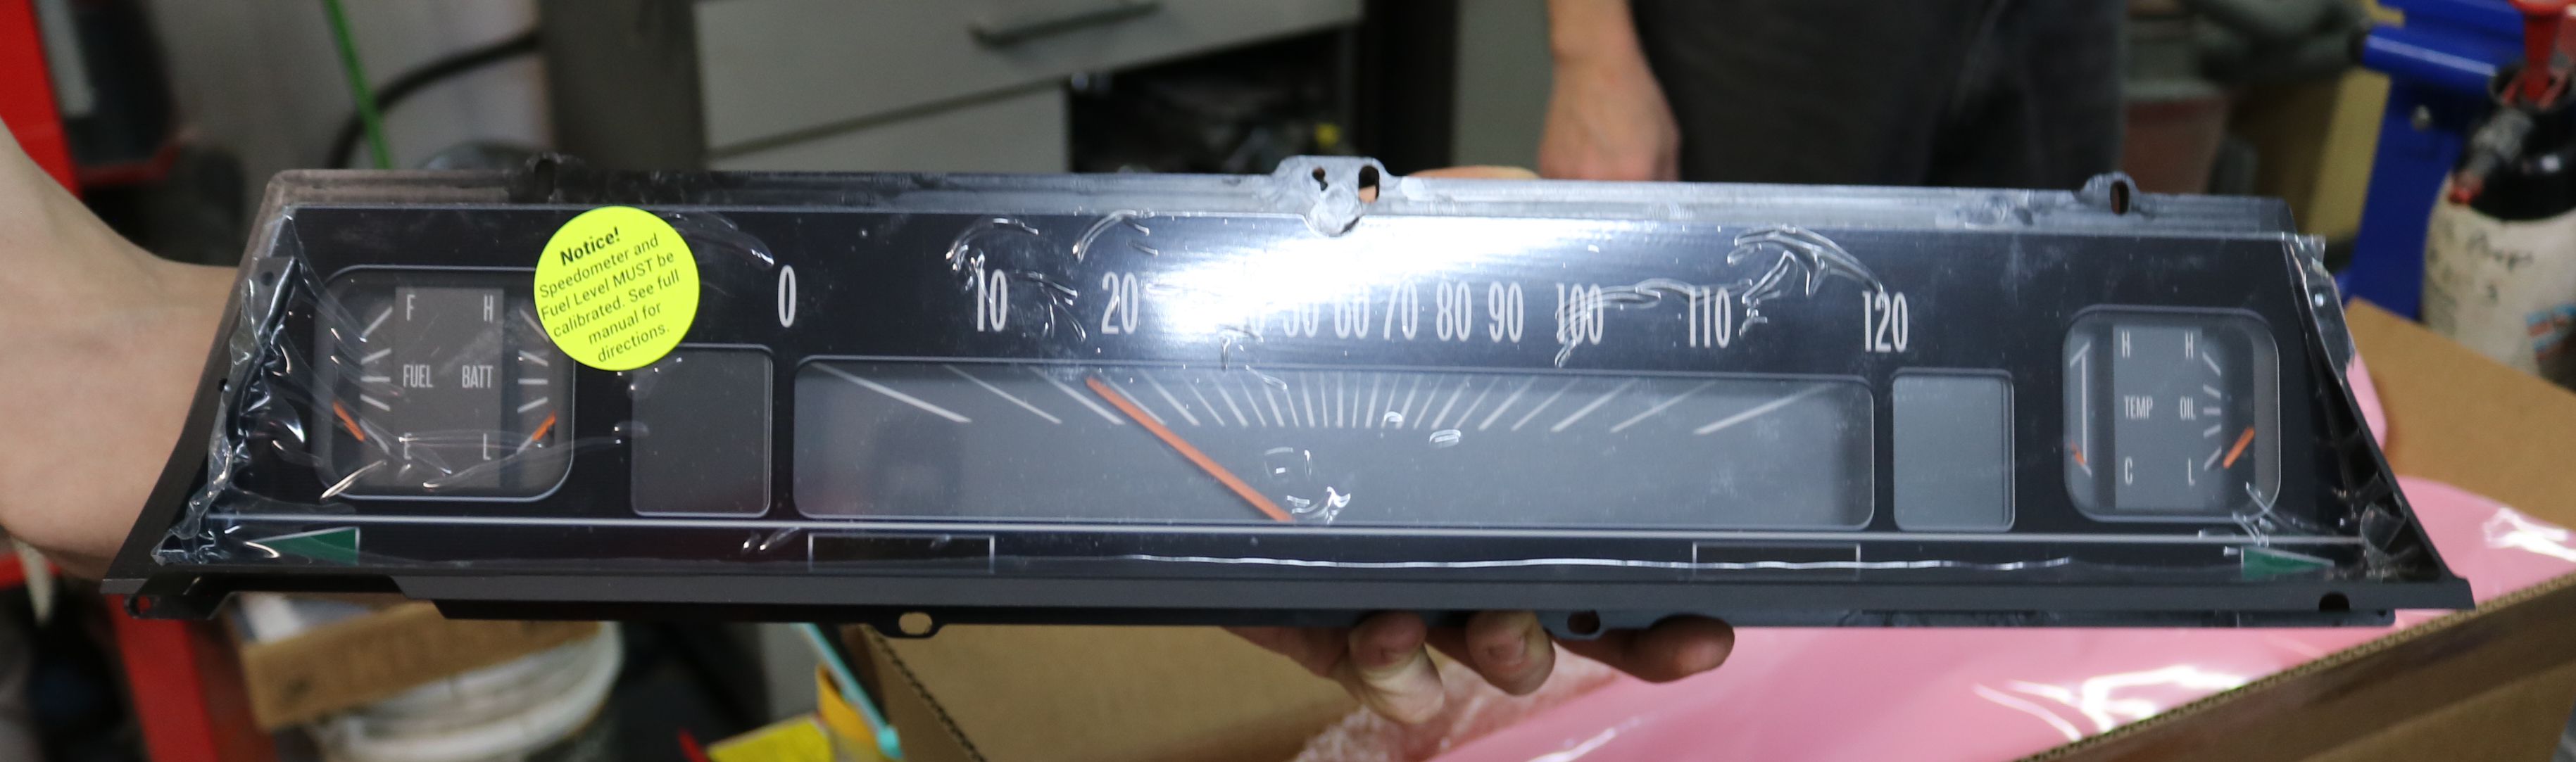
Then we heard about the Dakota Digital dash for the Chevelle. It would provide the extra gauges to monitor the engine with all the upgrades our friend had planned. The planned automatic transmission will be a 4L80E which does not have a provision for a mechanical speedometer. The new gauge will interface with the transmission, as well as resolve a faulty amp meter and leaking oil pressure guage.
|
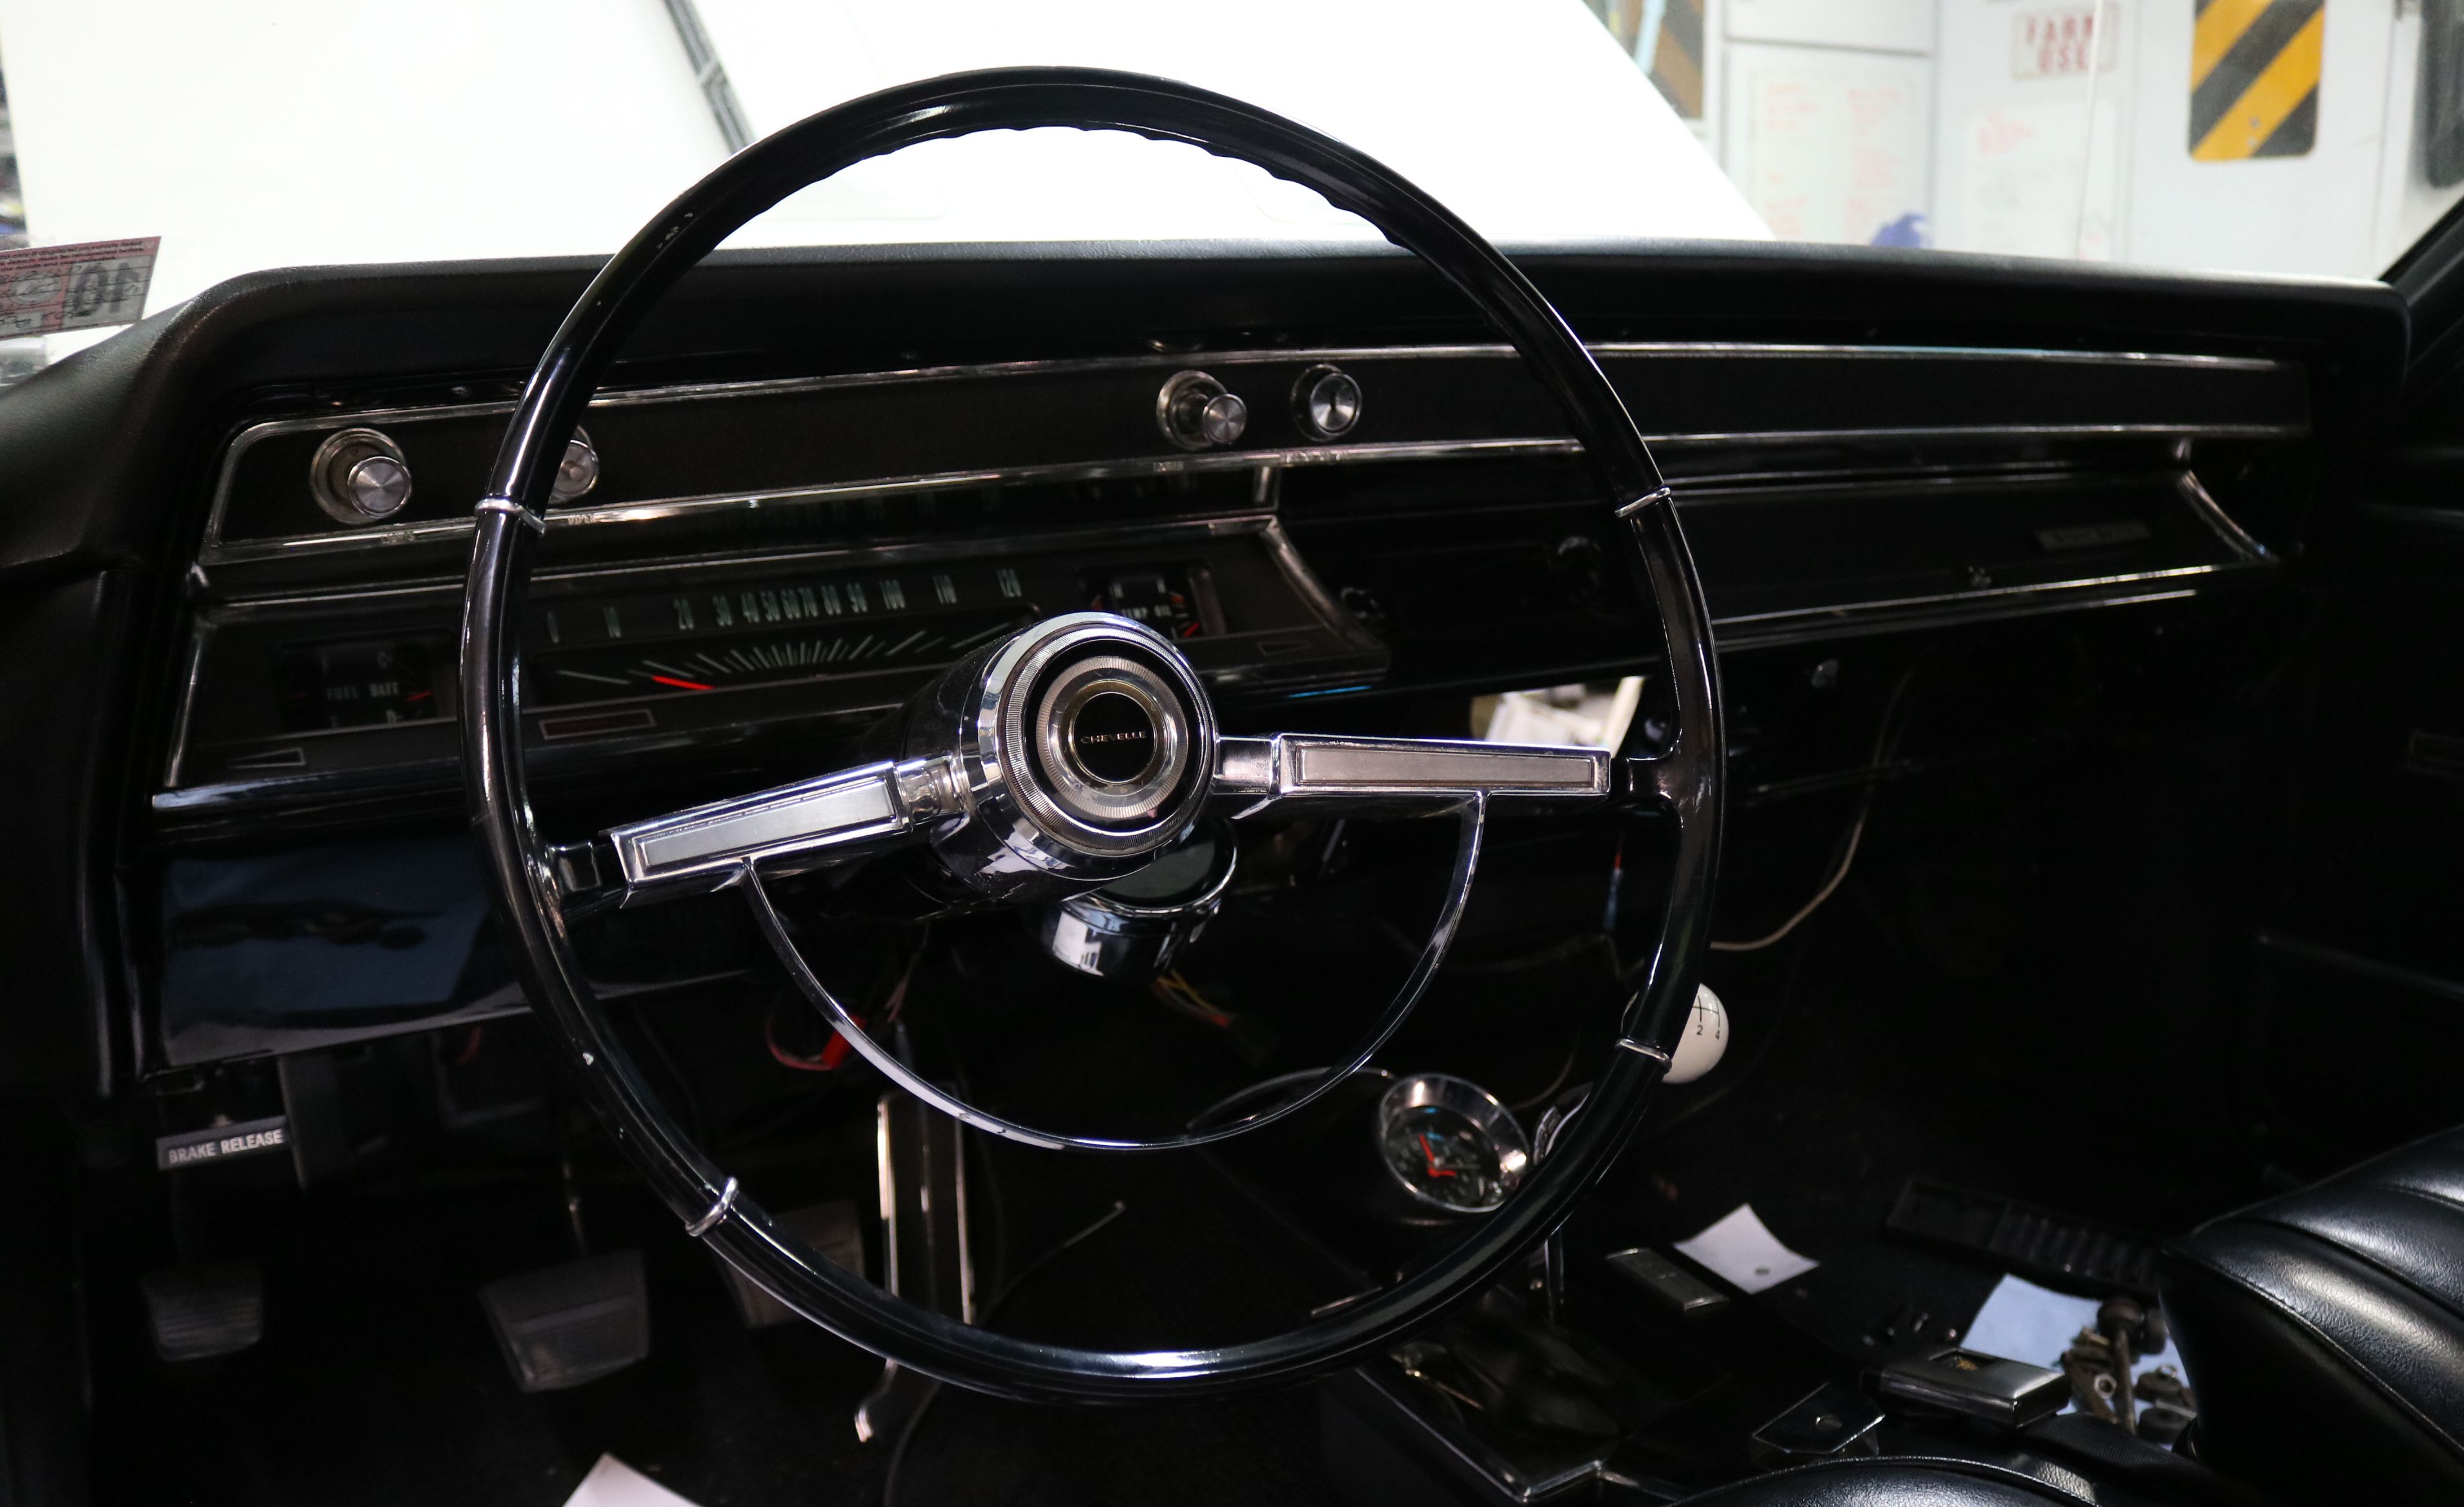
To install the AC vent hoses, we would need to pull most of the dash, so our friend decided to do the radio upgrade at this time. This is the stock dash, before the AC install, upgraded radio and new digital dash.
|
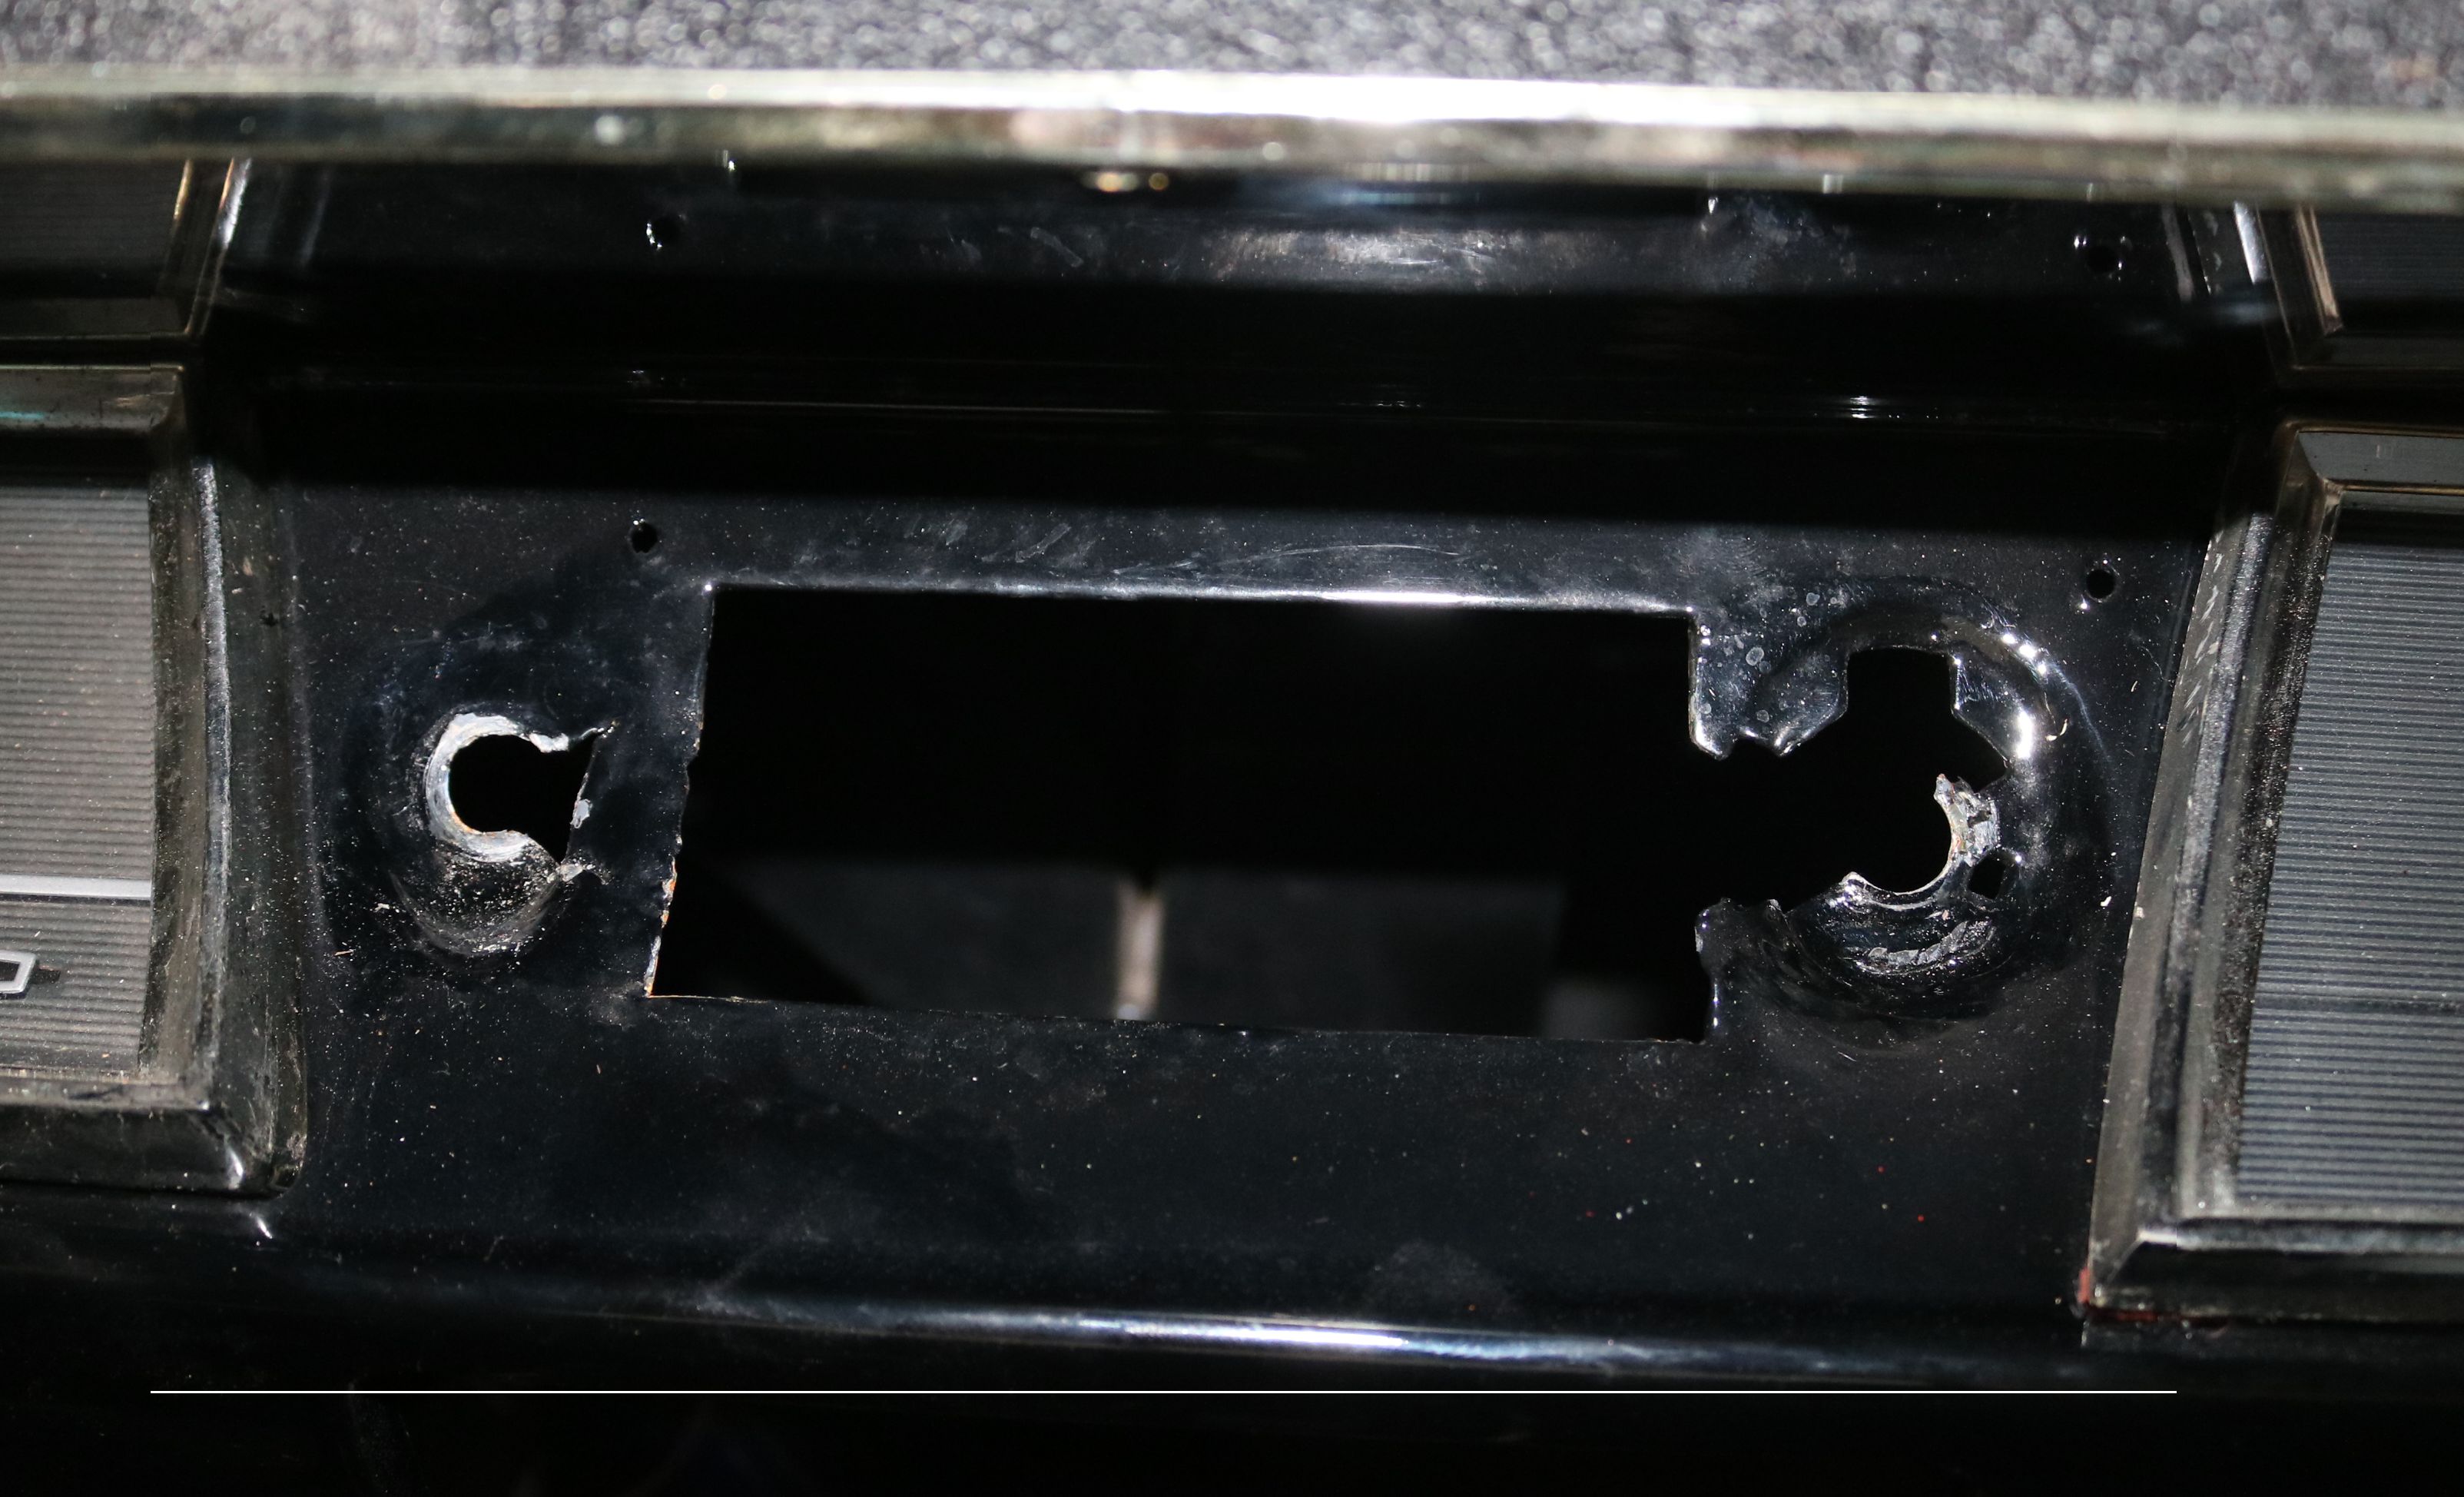
Up to now, most things had gone OK. But as usual, someone had cut the dash to install a radio sometime in the past. Unfortunately, we are not doing a full restoration and cannot weld inside the car as the headliner and dash pad are still in place. We will have to resolve this issue a different way.
|
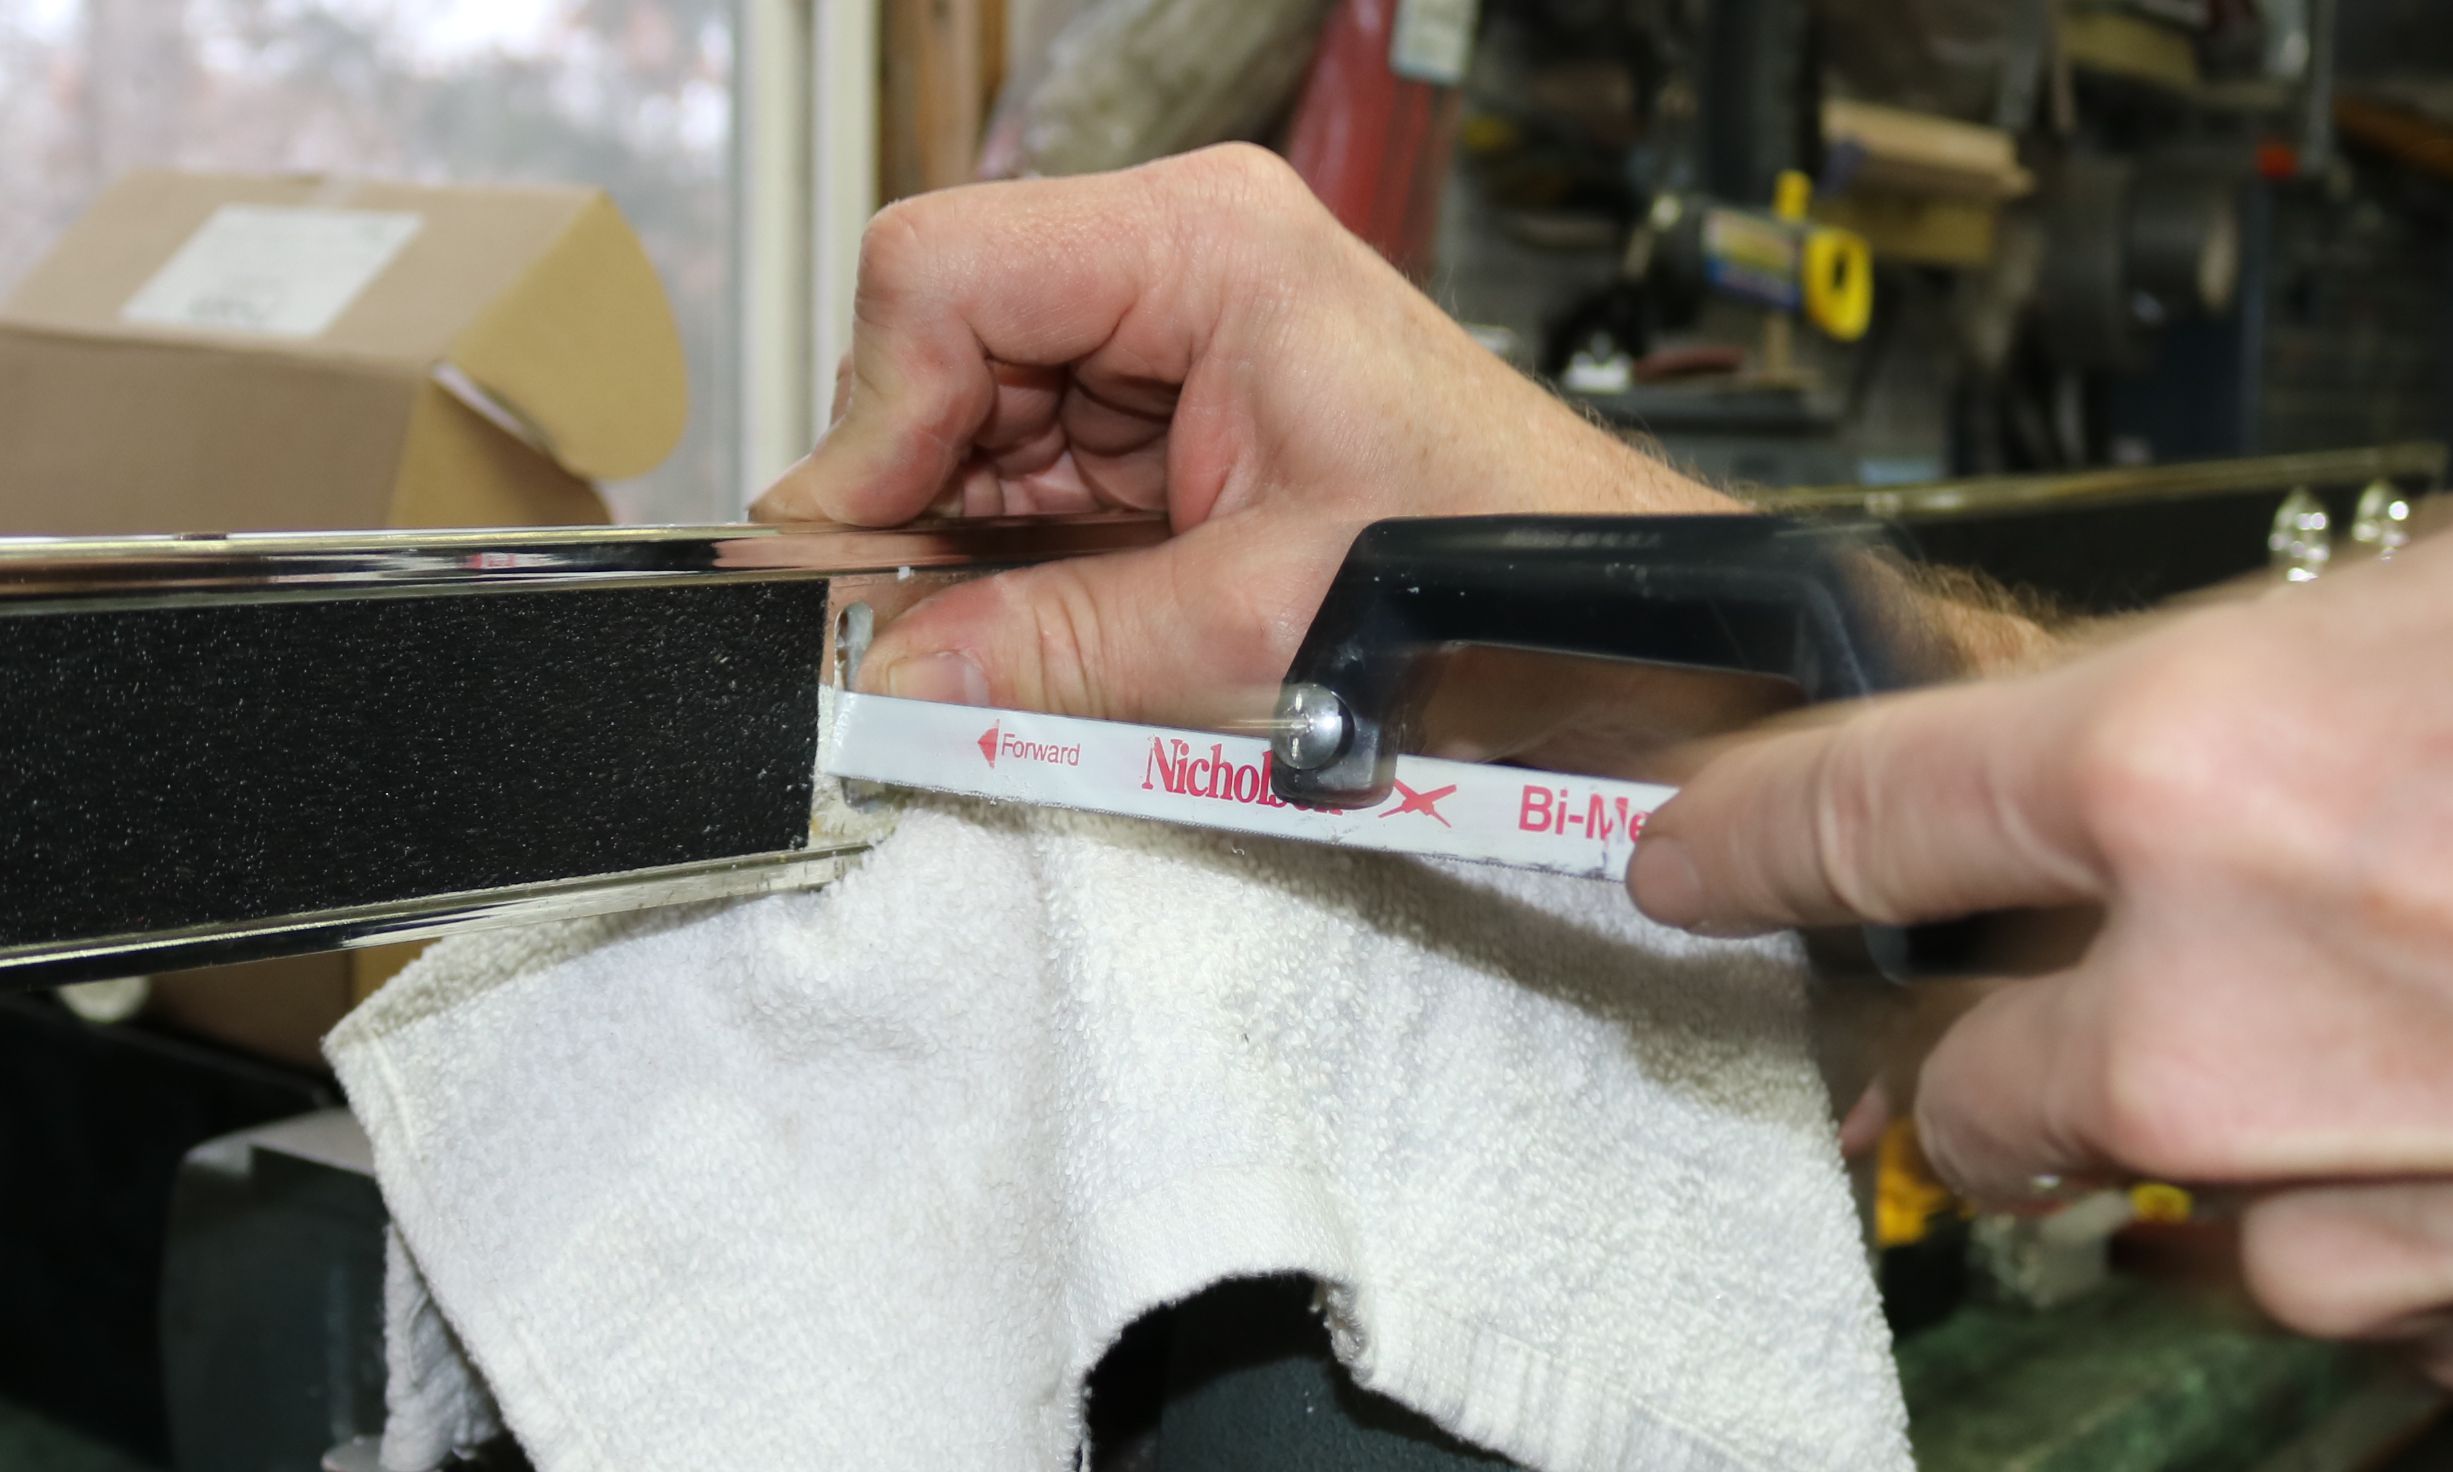
The original dash trim had to be cut to install the vents for the new AC. The plastic trim melted easily and the only thing that worked was slowly cutting with a hand saw.
|

We removed the glove box door and glove box to provide access to the original heater core. You really are not supposed to sit in the passenger seat and see the engine.
|

Adding AC to a car that did not come with AC can be done in several locations. The stock Chevelle kit comes with in-dash mounts on the far left and right sides of the dash. Which means cutting two larger than 2" holes in the dash. Fortunately, the kit came with a template for the factory locations. The alternate common location is under the center of the dash.
|
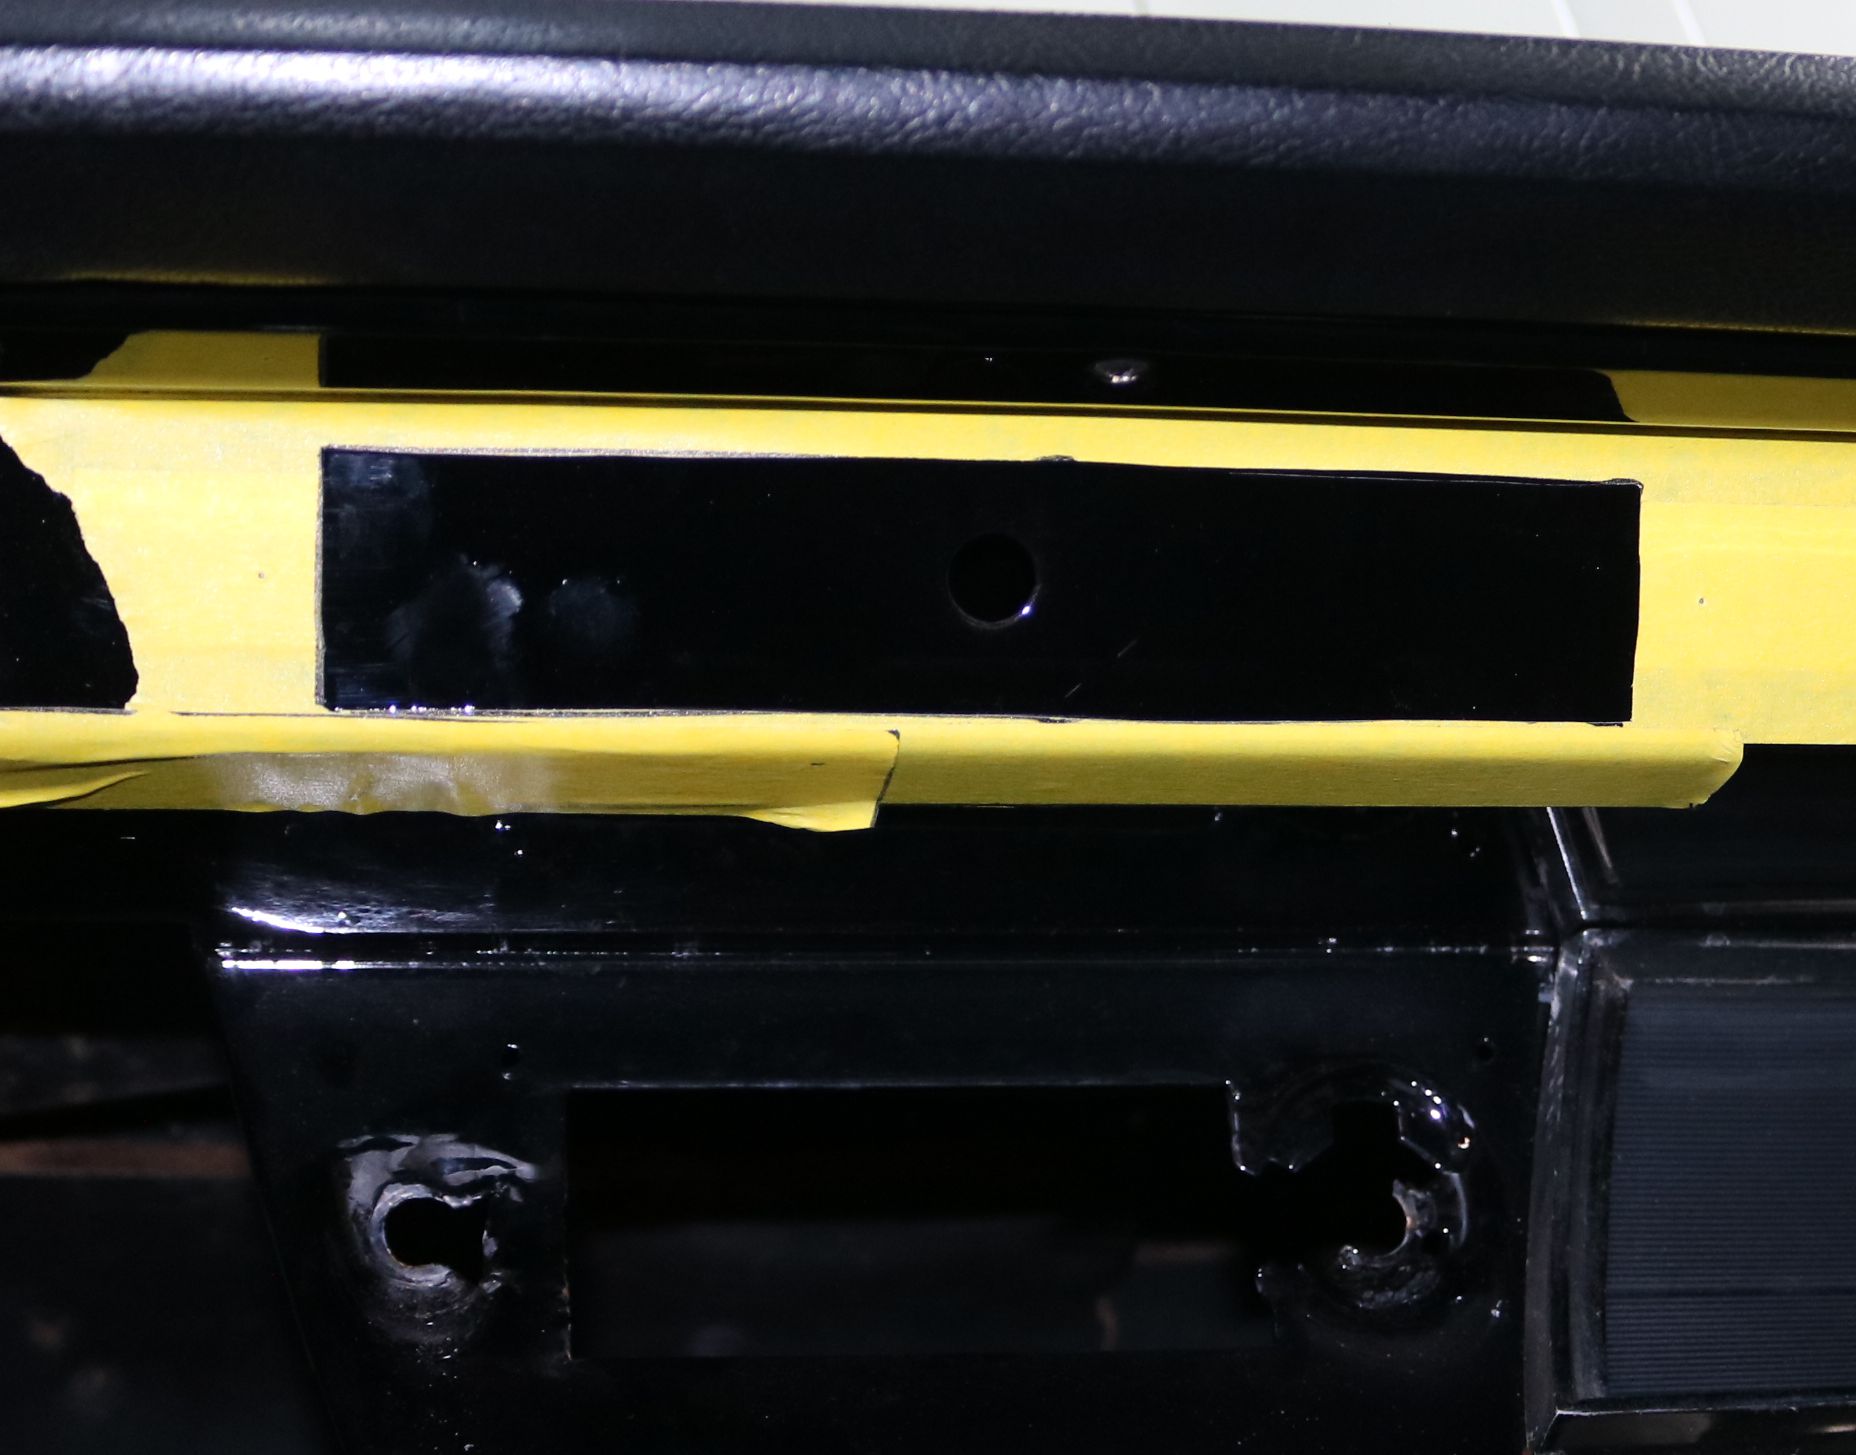
And we had to cut a hole in the center of the dash to match the trim we cut earlier for the center in-dash AC vents.
|

The dash trim is ready to be reinstalled.
|

With all the wiring under the dash that had to be done, we decided just to remove the dash to get it out of the way. This will also help us to install the new radio and the digital dash, as well as the AC vents easier.
|
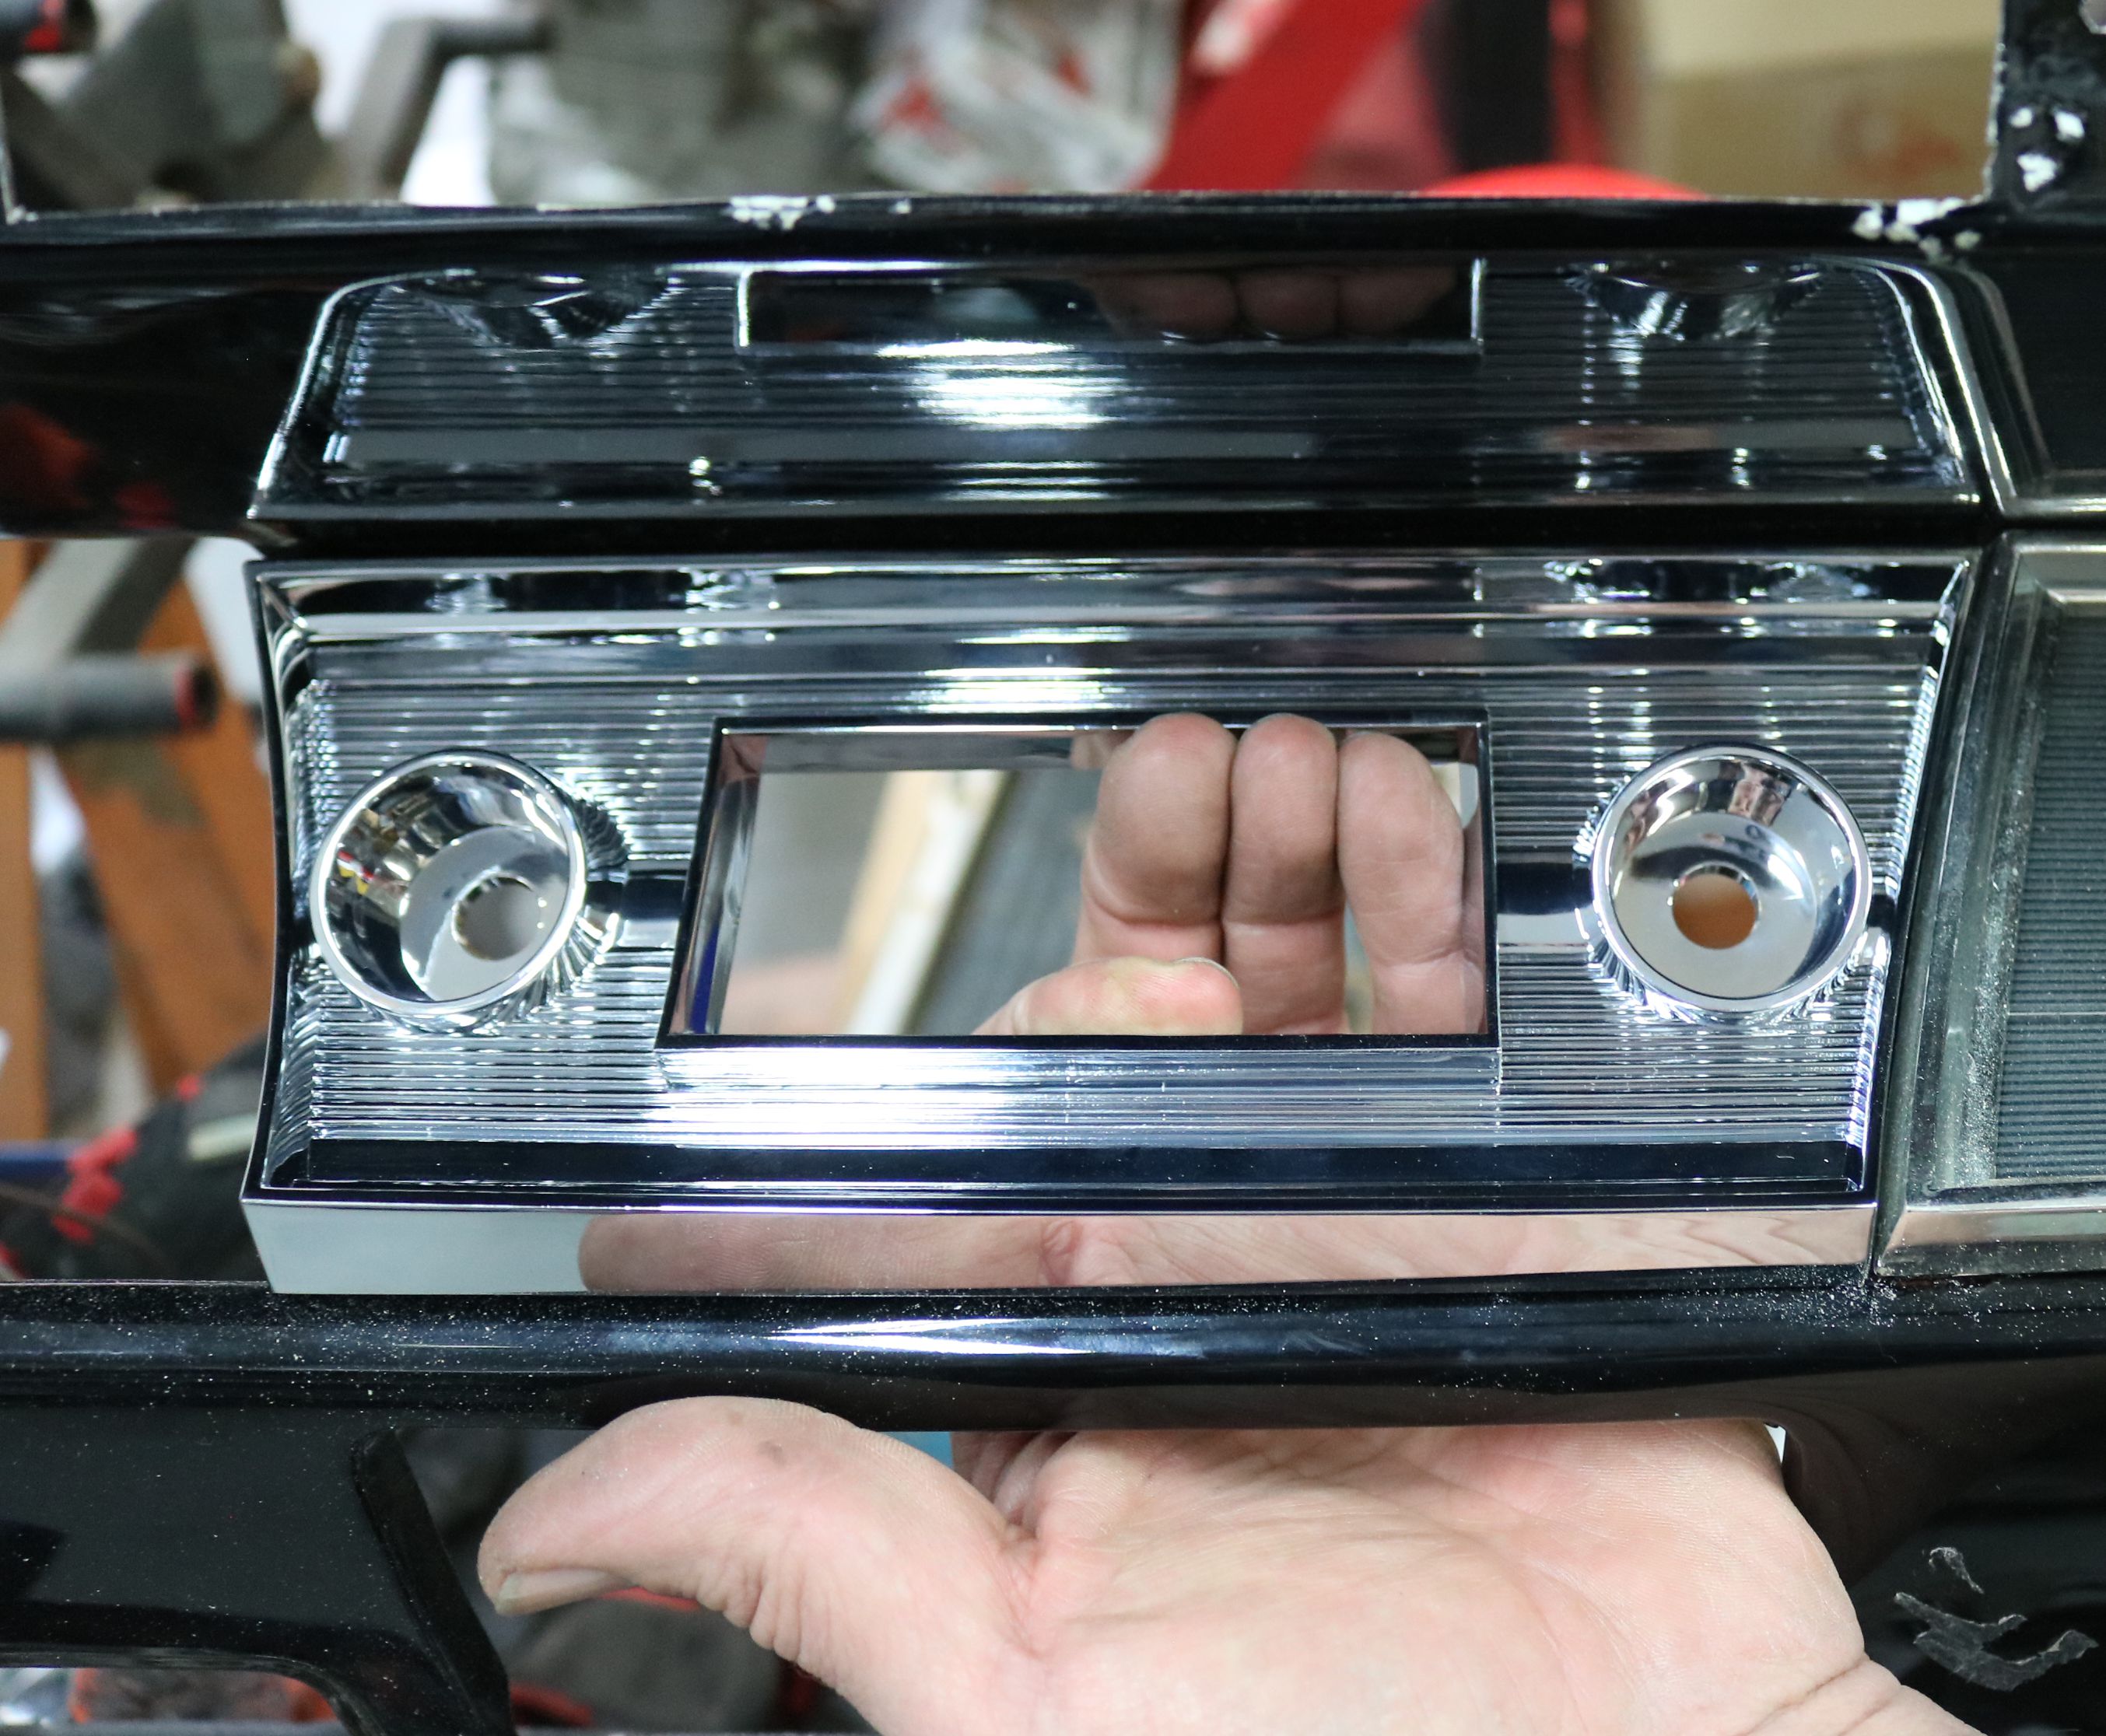
The bezel for the Retrosound radio. It closely matches the design of the trim in the original dash.
|
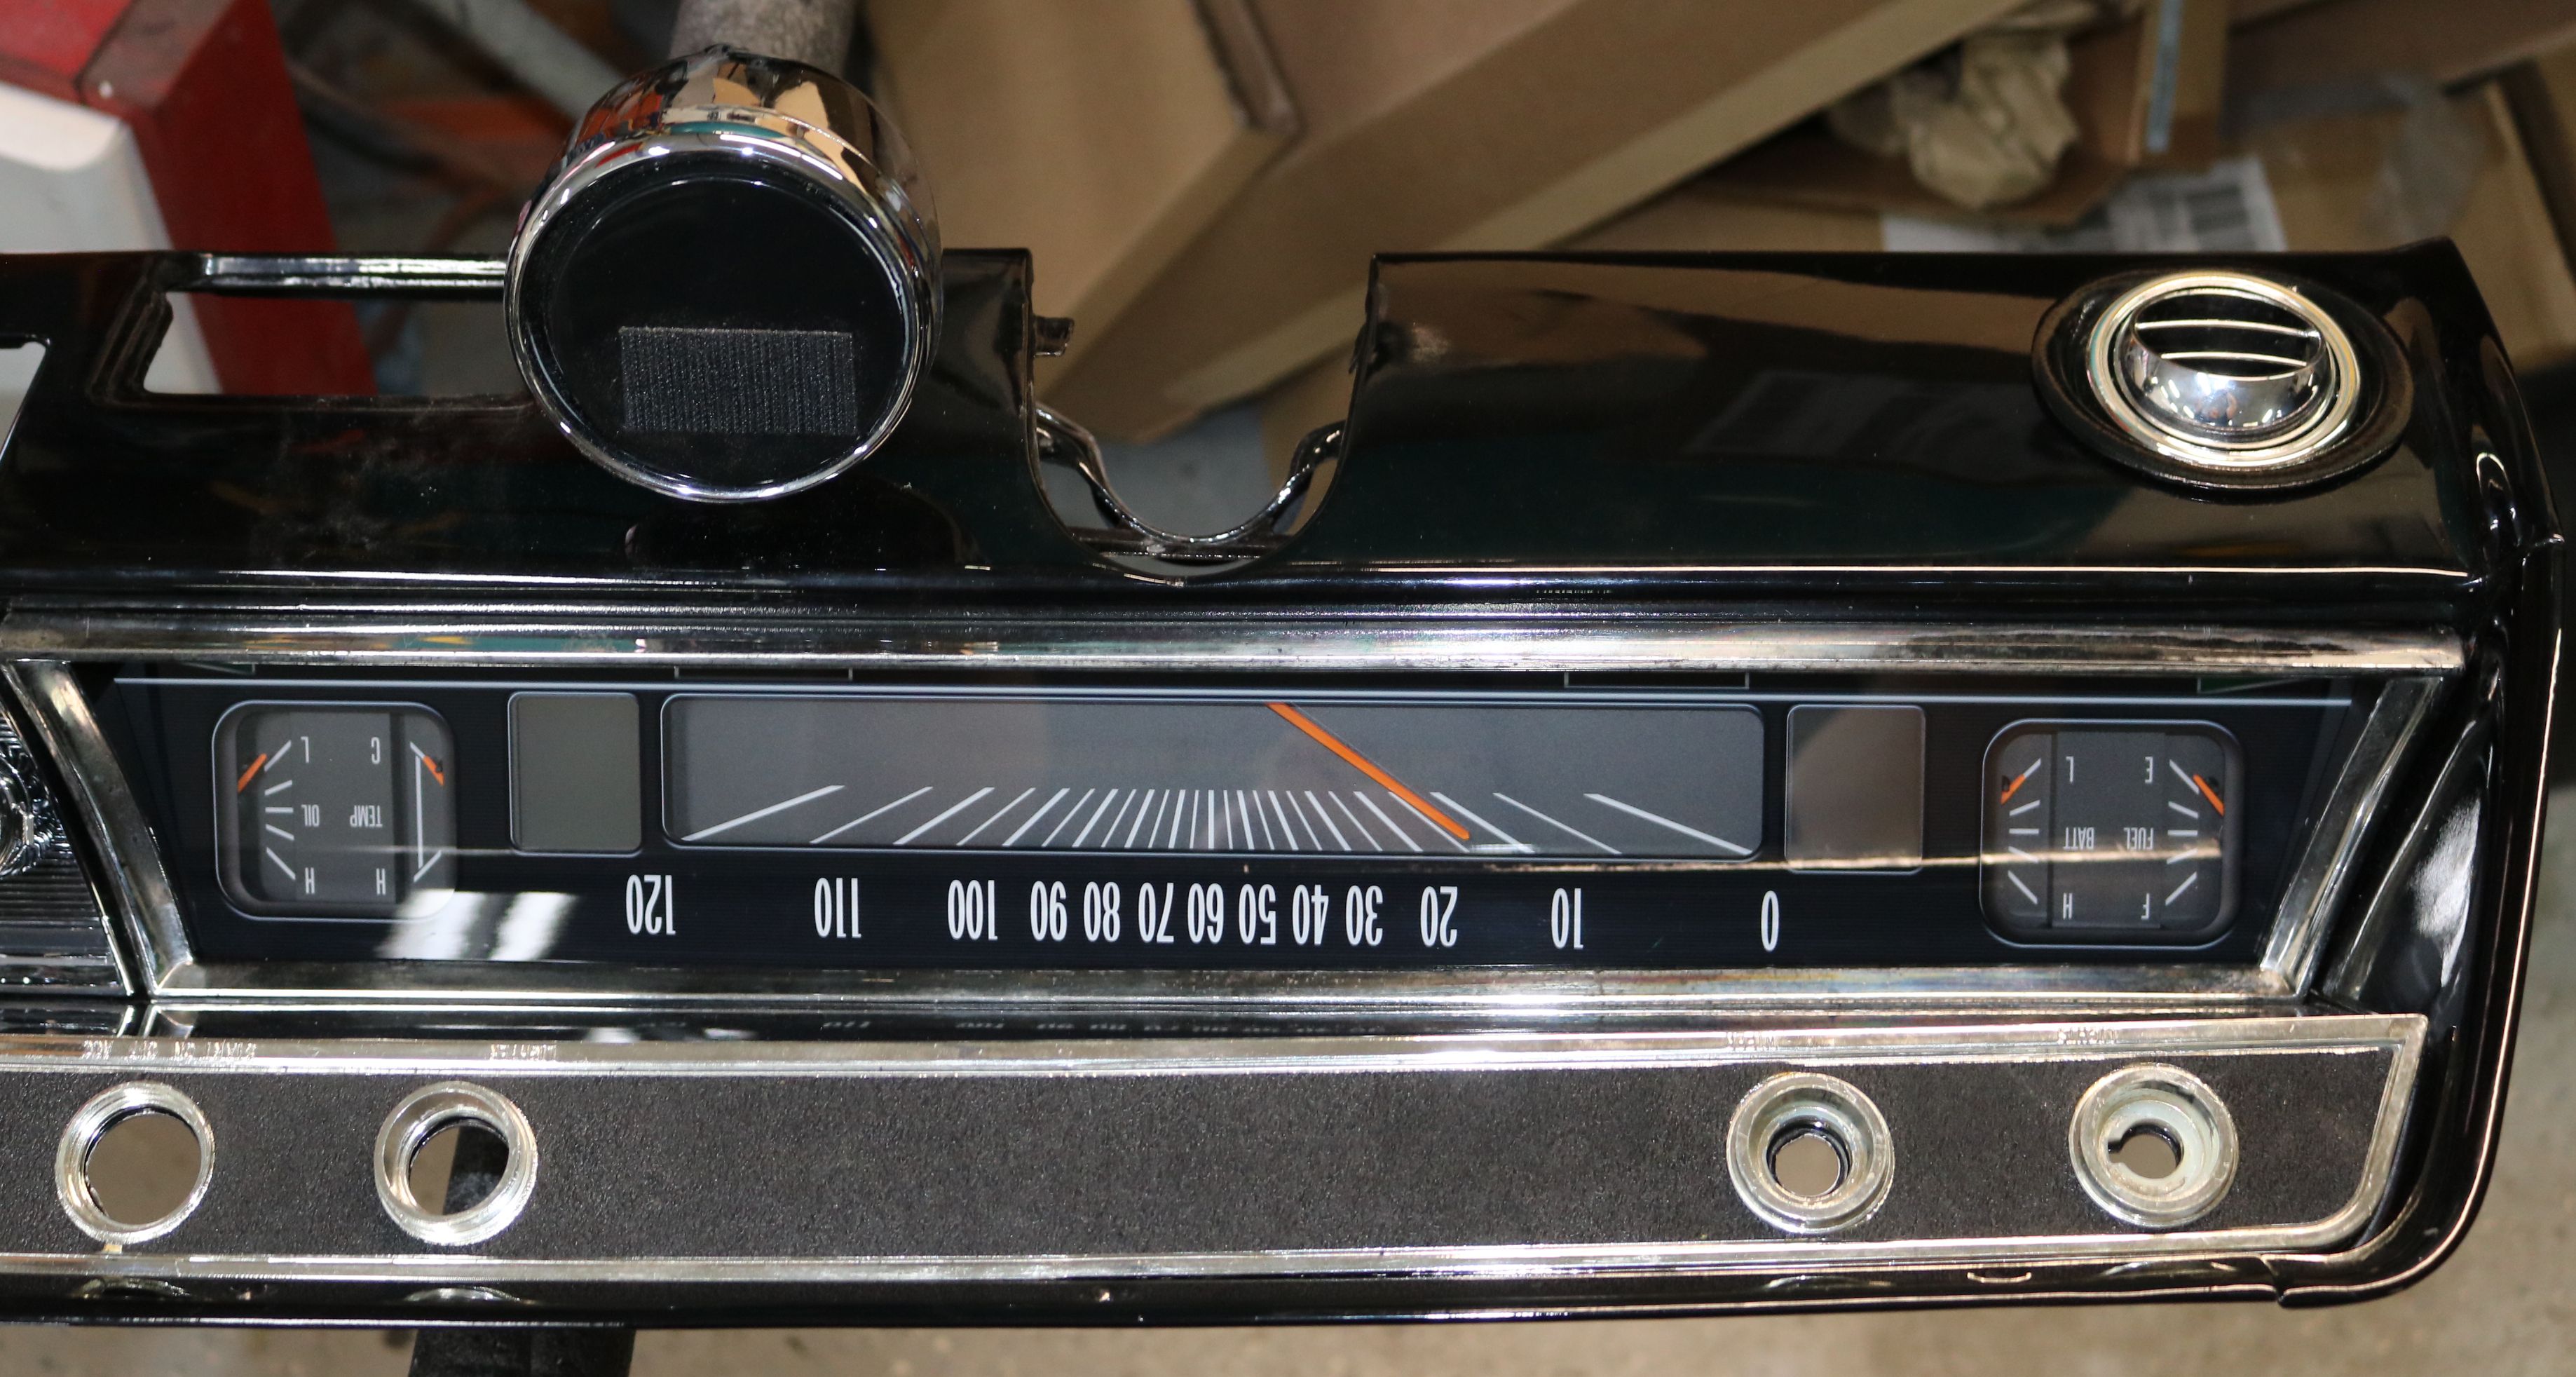
The new digital dash mounted in the original dash, with the new AC vent.
|

The new, very shiny, Retrosound radio in the dash, with the new center AC vents. The new radio is so light and has rather large mounting surfaces for the knobs that we didn't need to repair the dash. We did add a large washer to help reinforce, but that was all. We also had to add a small strip of the original dash trim back in between the vents. We used a soldering iron to melt the plastic back together.
|
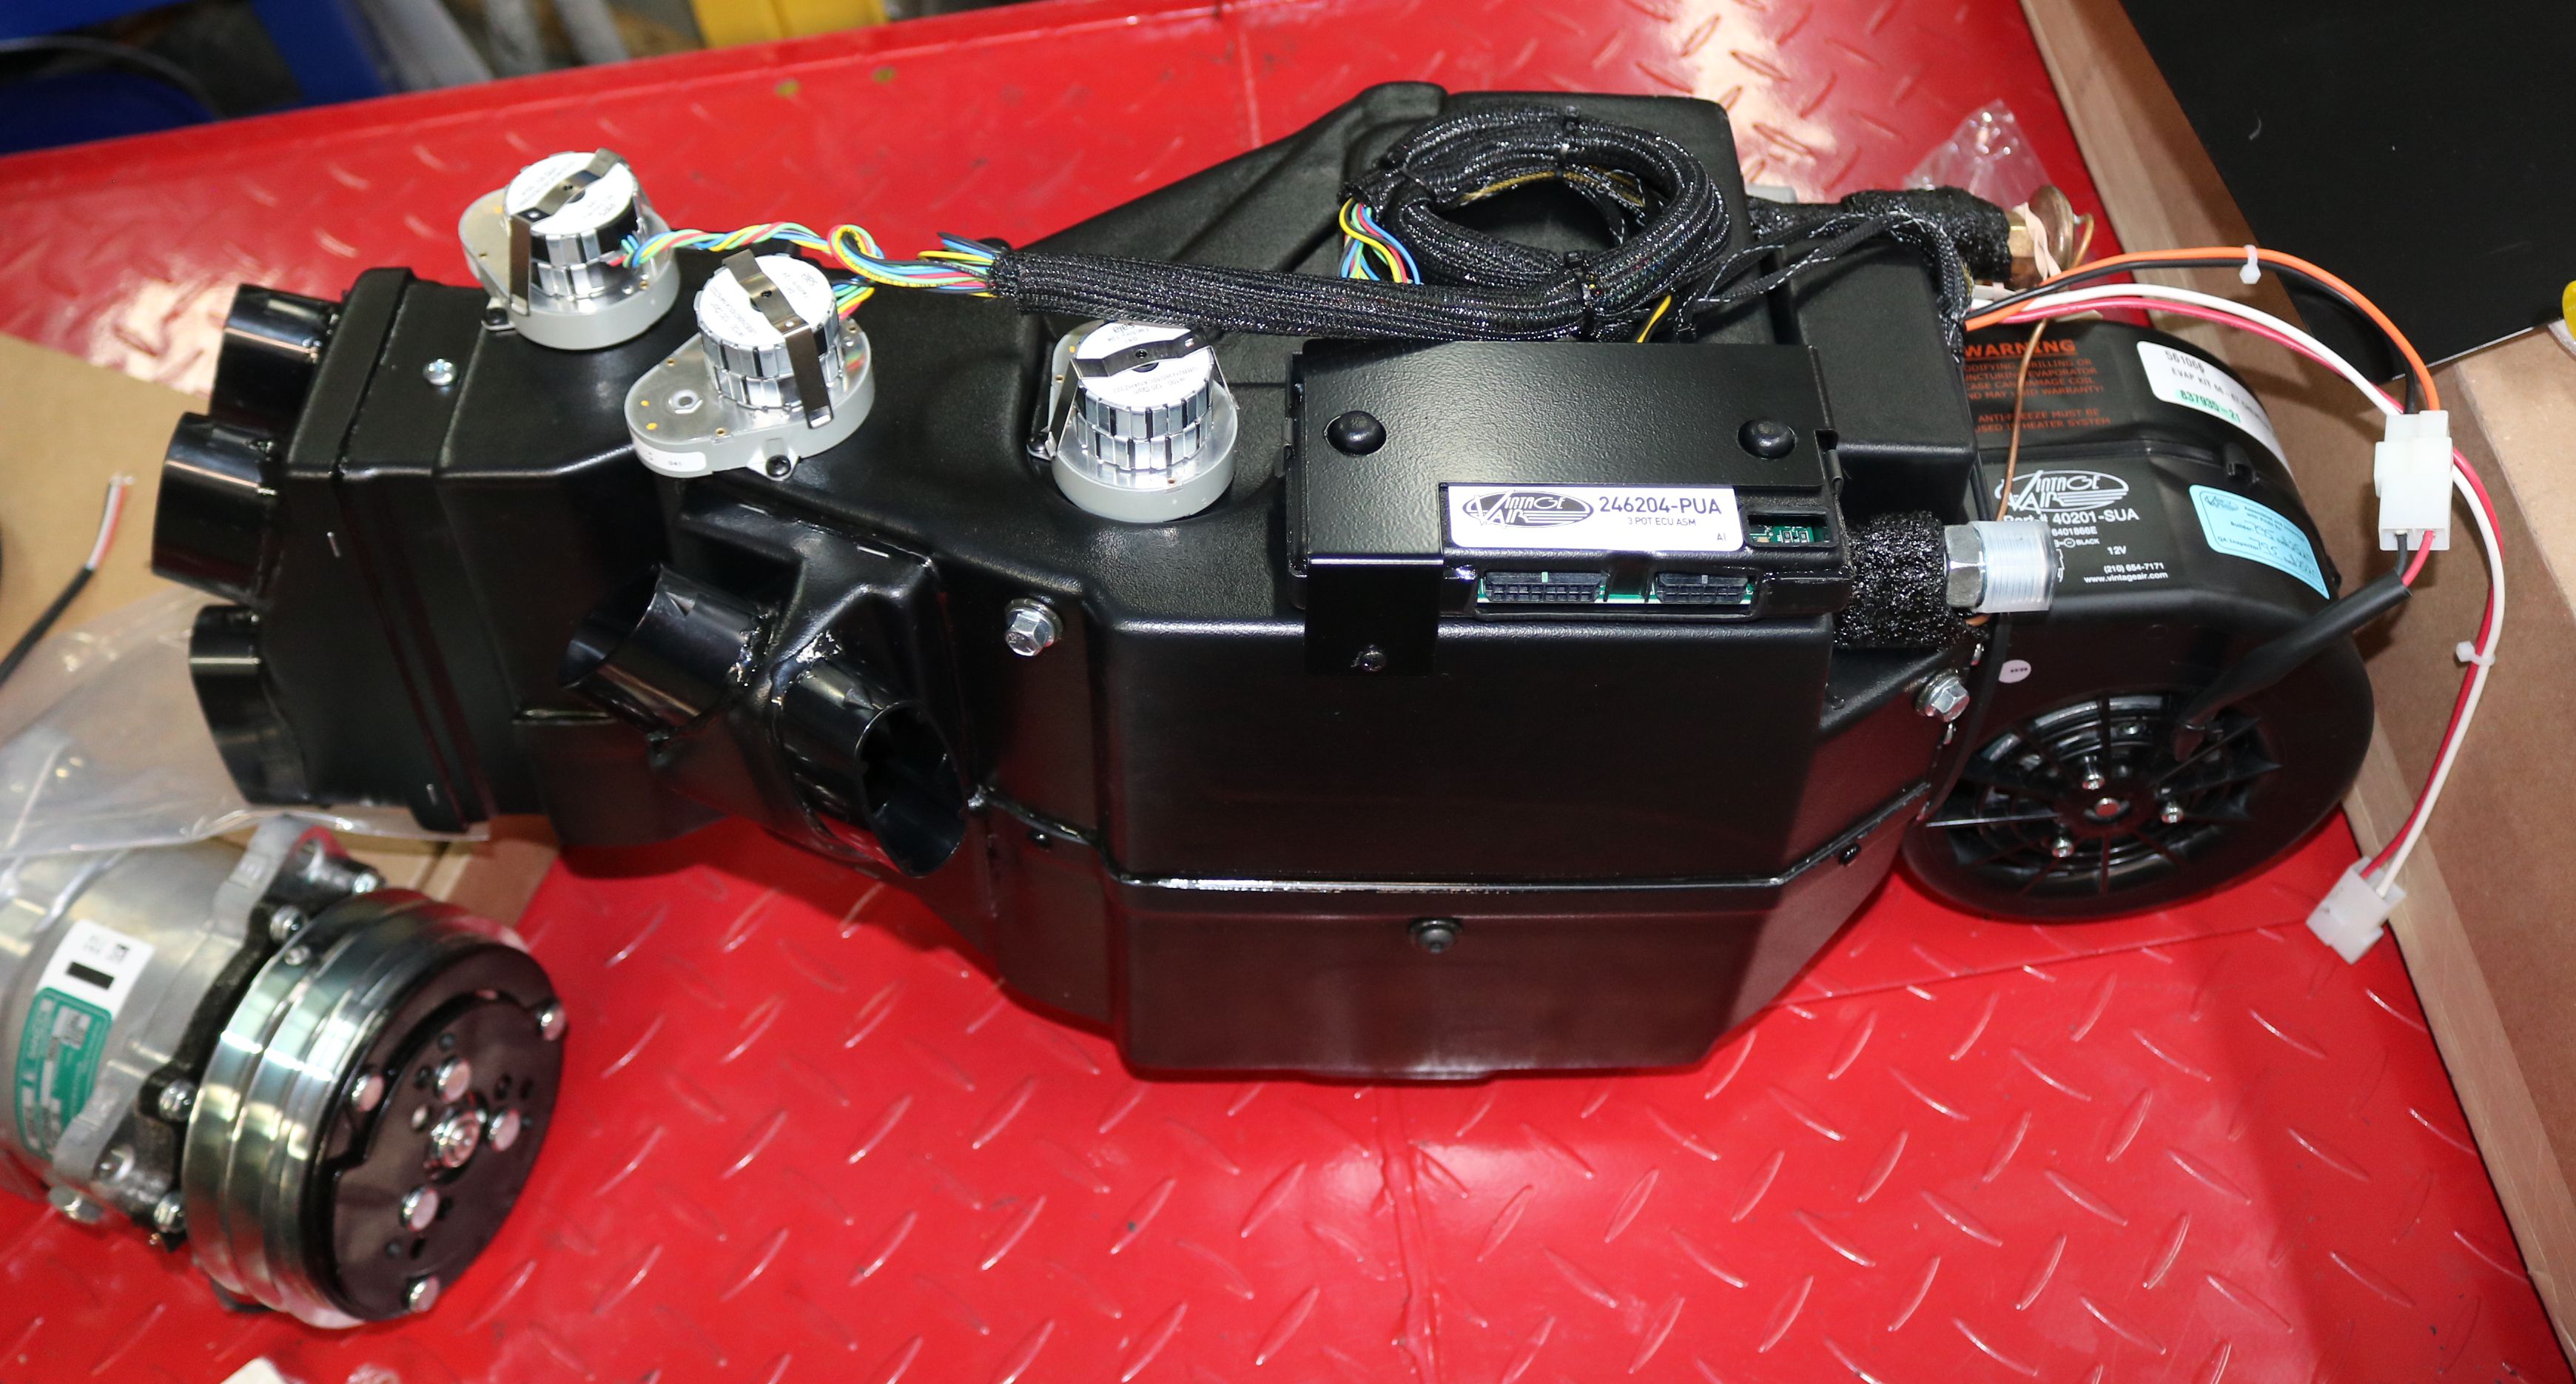
The new AC unit is ready to start the installation process. There are brackets in the kit that have to be mounted on the box first.
|

Time to wire everything under the dash. Our friend opted for a power antennae as well, so that has be to installed.
|
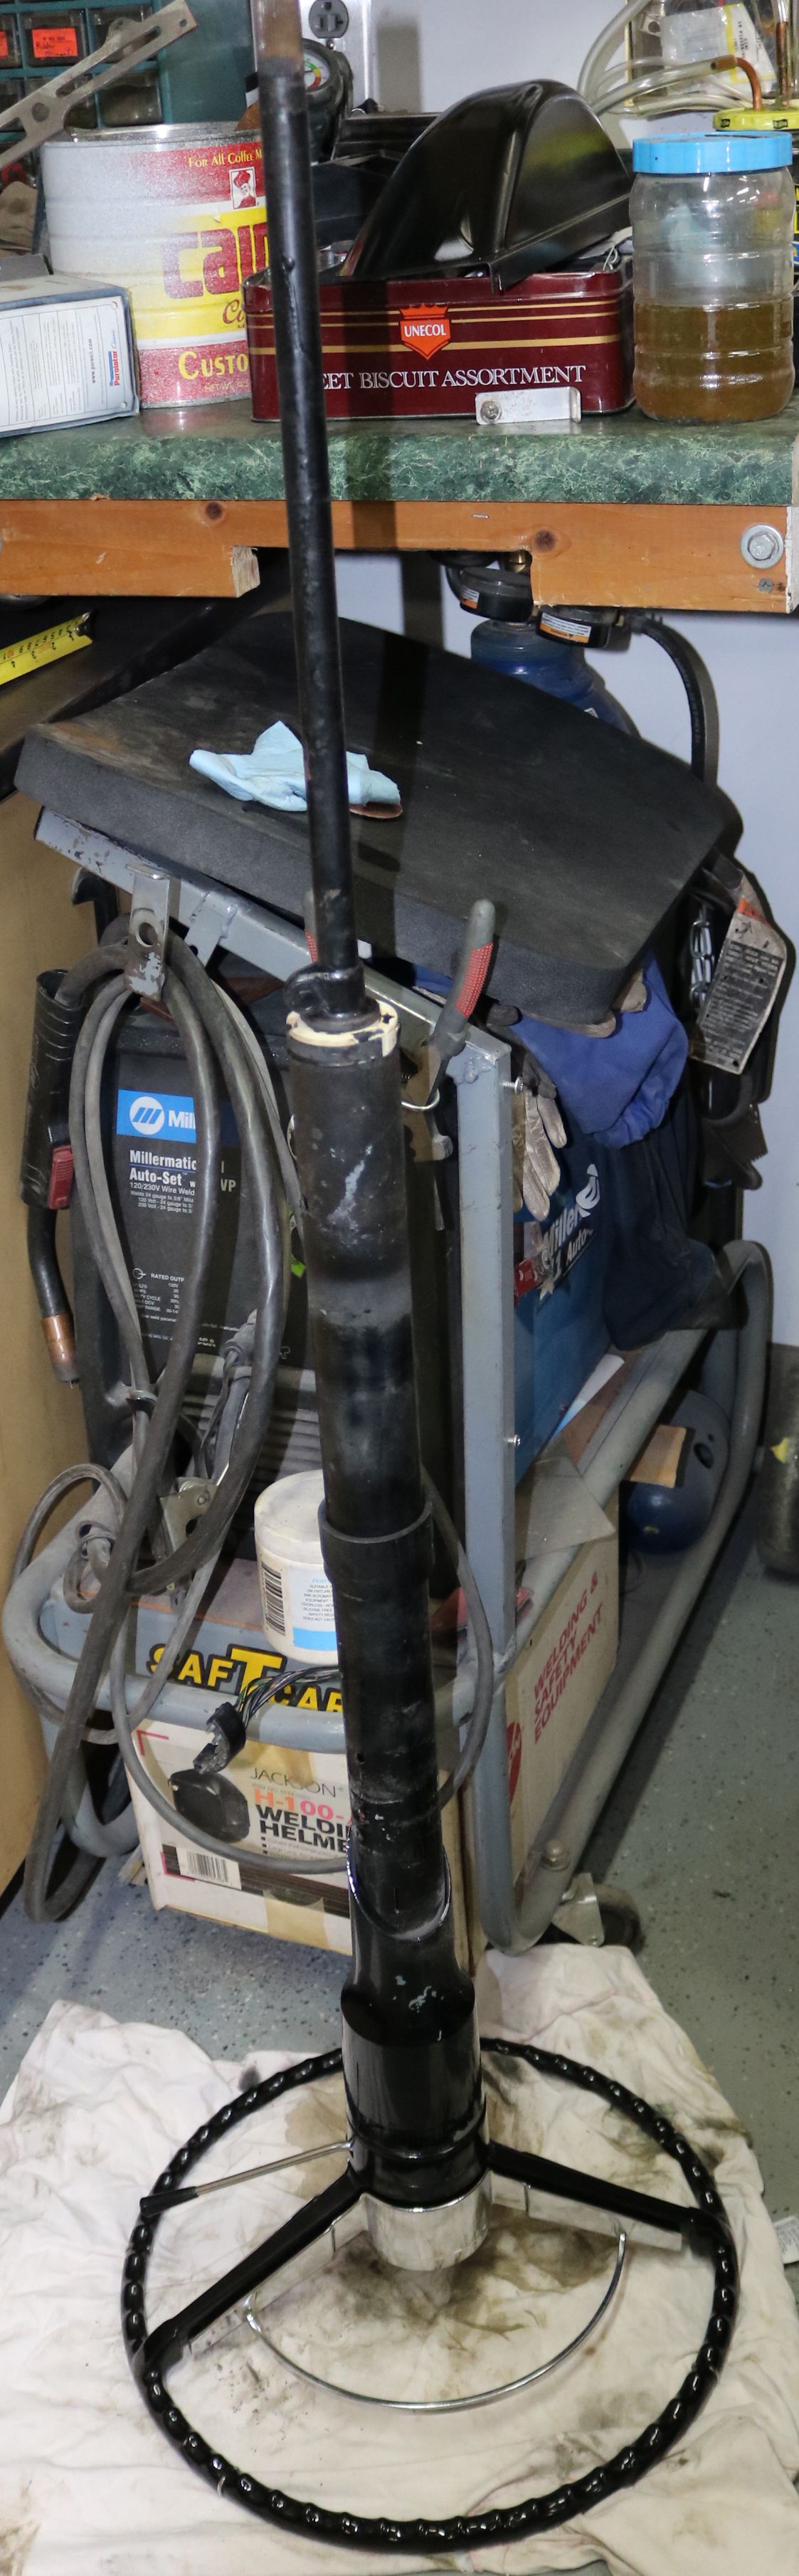
Our friend stopped by to see his baby. He mentioned that he was thinking of installing a tilt wheel. Since the column was in the way of doing the wiring, now was the easiest time to do this upgrade, and that allowed us to remove the steering column for easier dash wiring access.
|

Which is a good thing because the rag joint on the olde steering shaft was worn out. Our friend had mentioned sloppy steering and this is part of the problem. The new column will come with a new rag joint.
|

Every time we touched the firewall pad it disintegrated more. This looked to be the original one from 1966. This will be replaced as well.
|
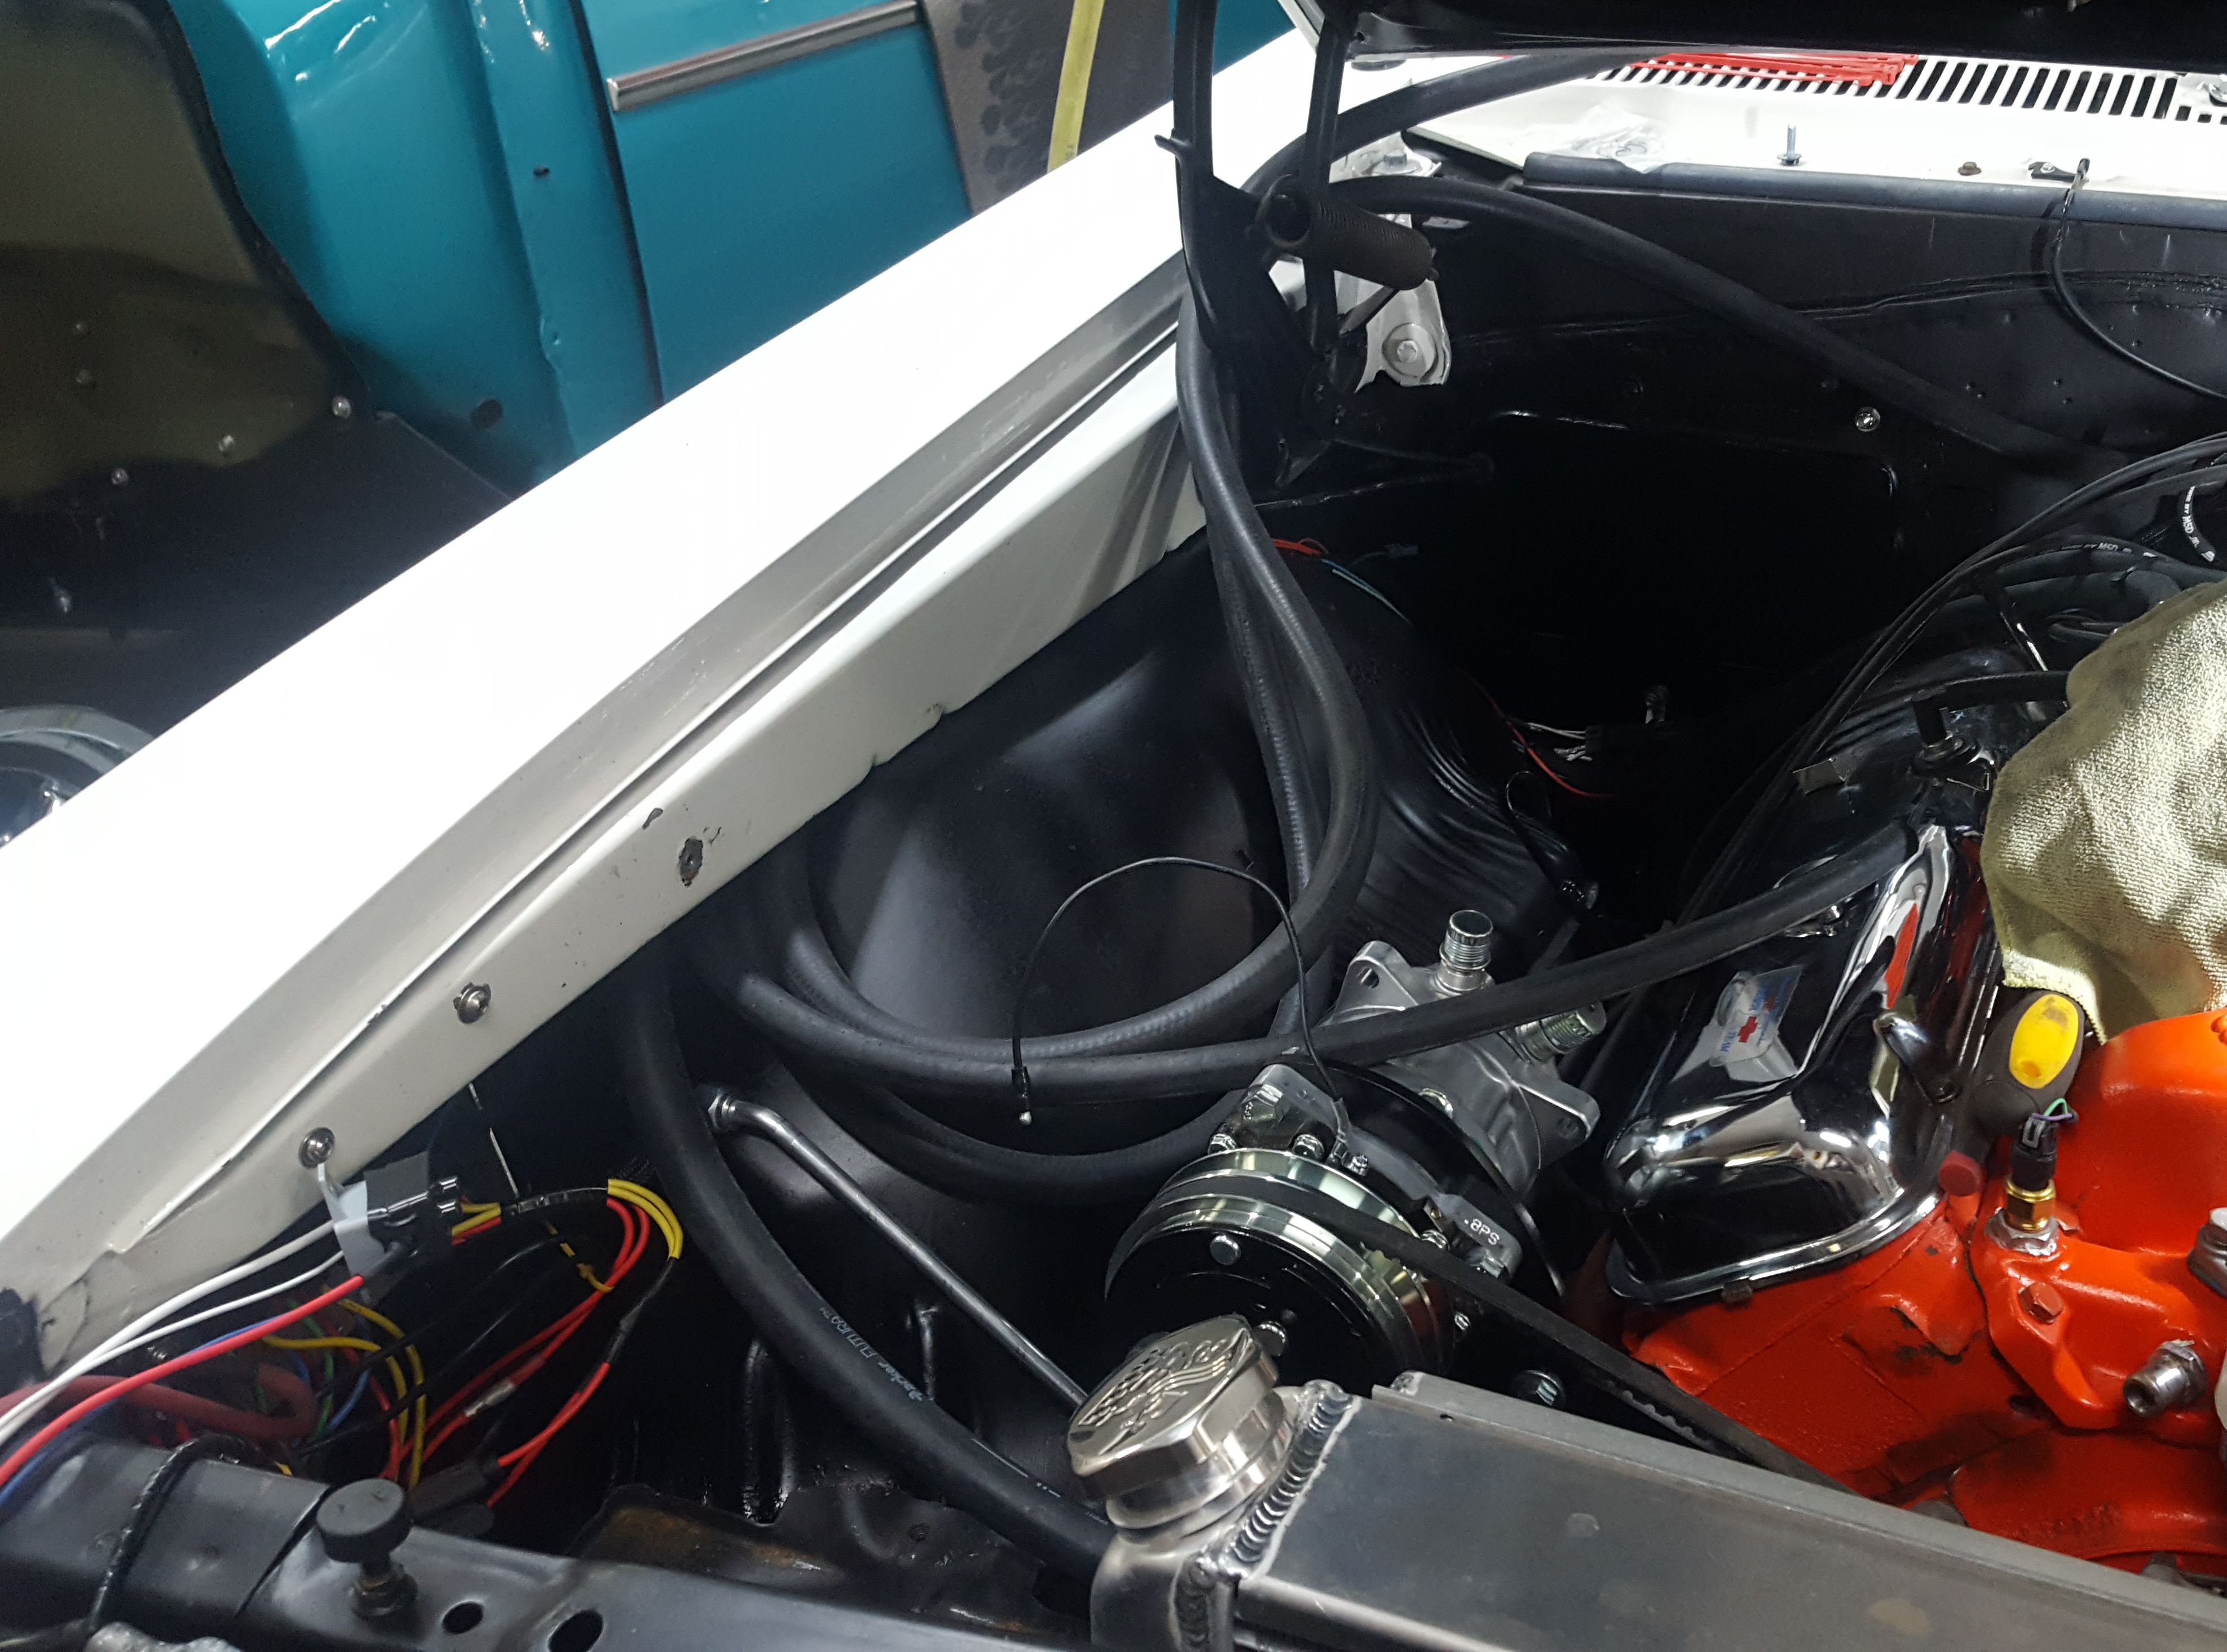
The compressor was installed in the engine bay with a longer v-belt. Time to run the AC lines.
|

The AC box was installed under the dash and the fittings for the AC lines come through the provided block off plate for the fresh air vent and into where the blower motor used to be inside the inner fender.
|
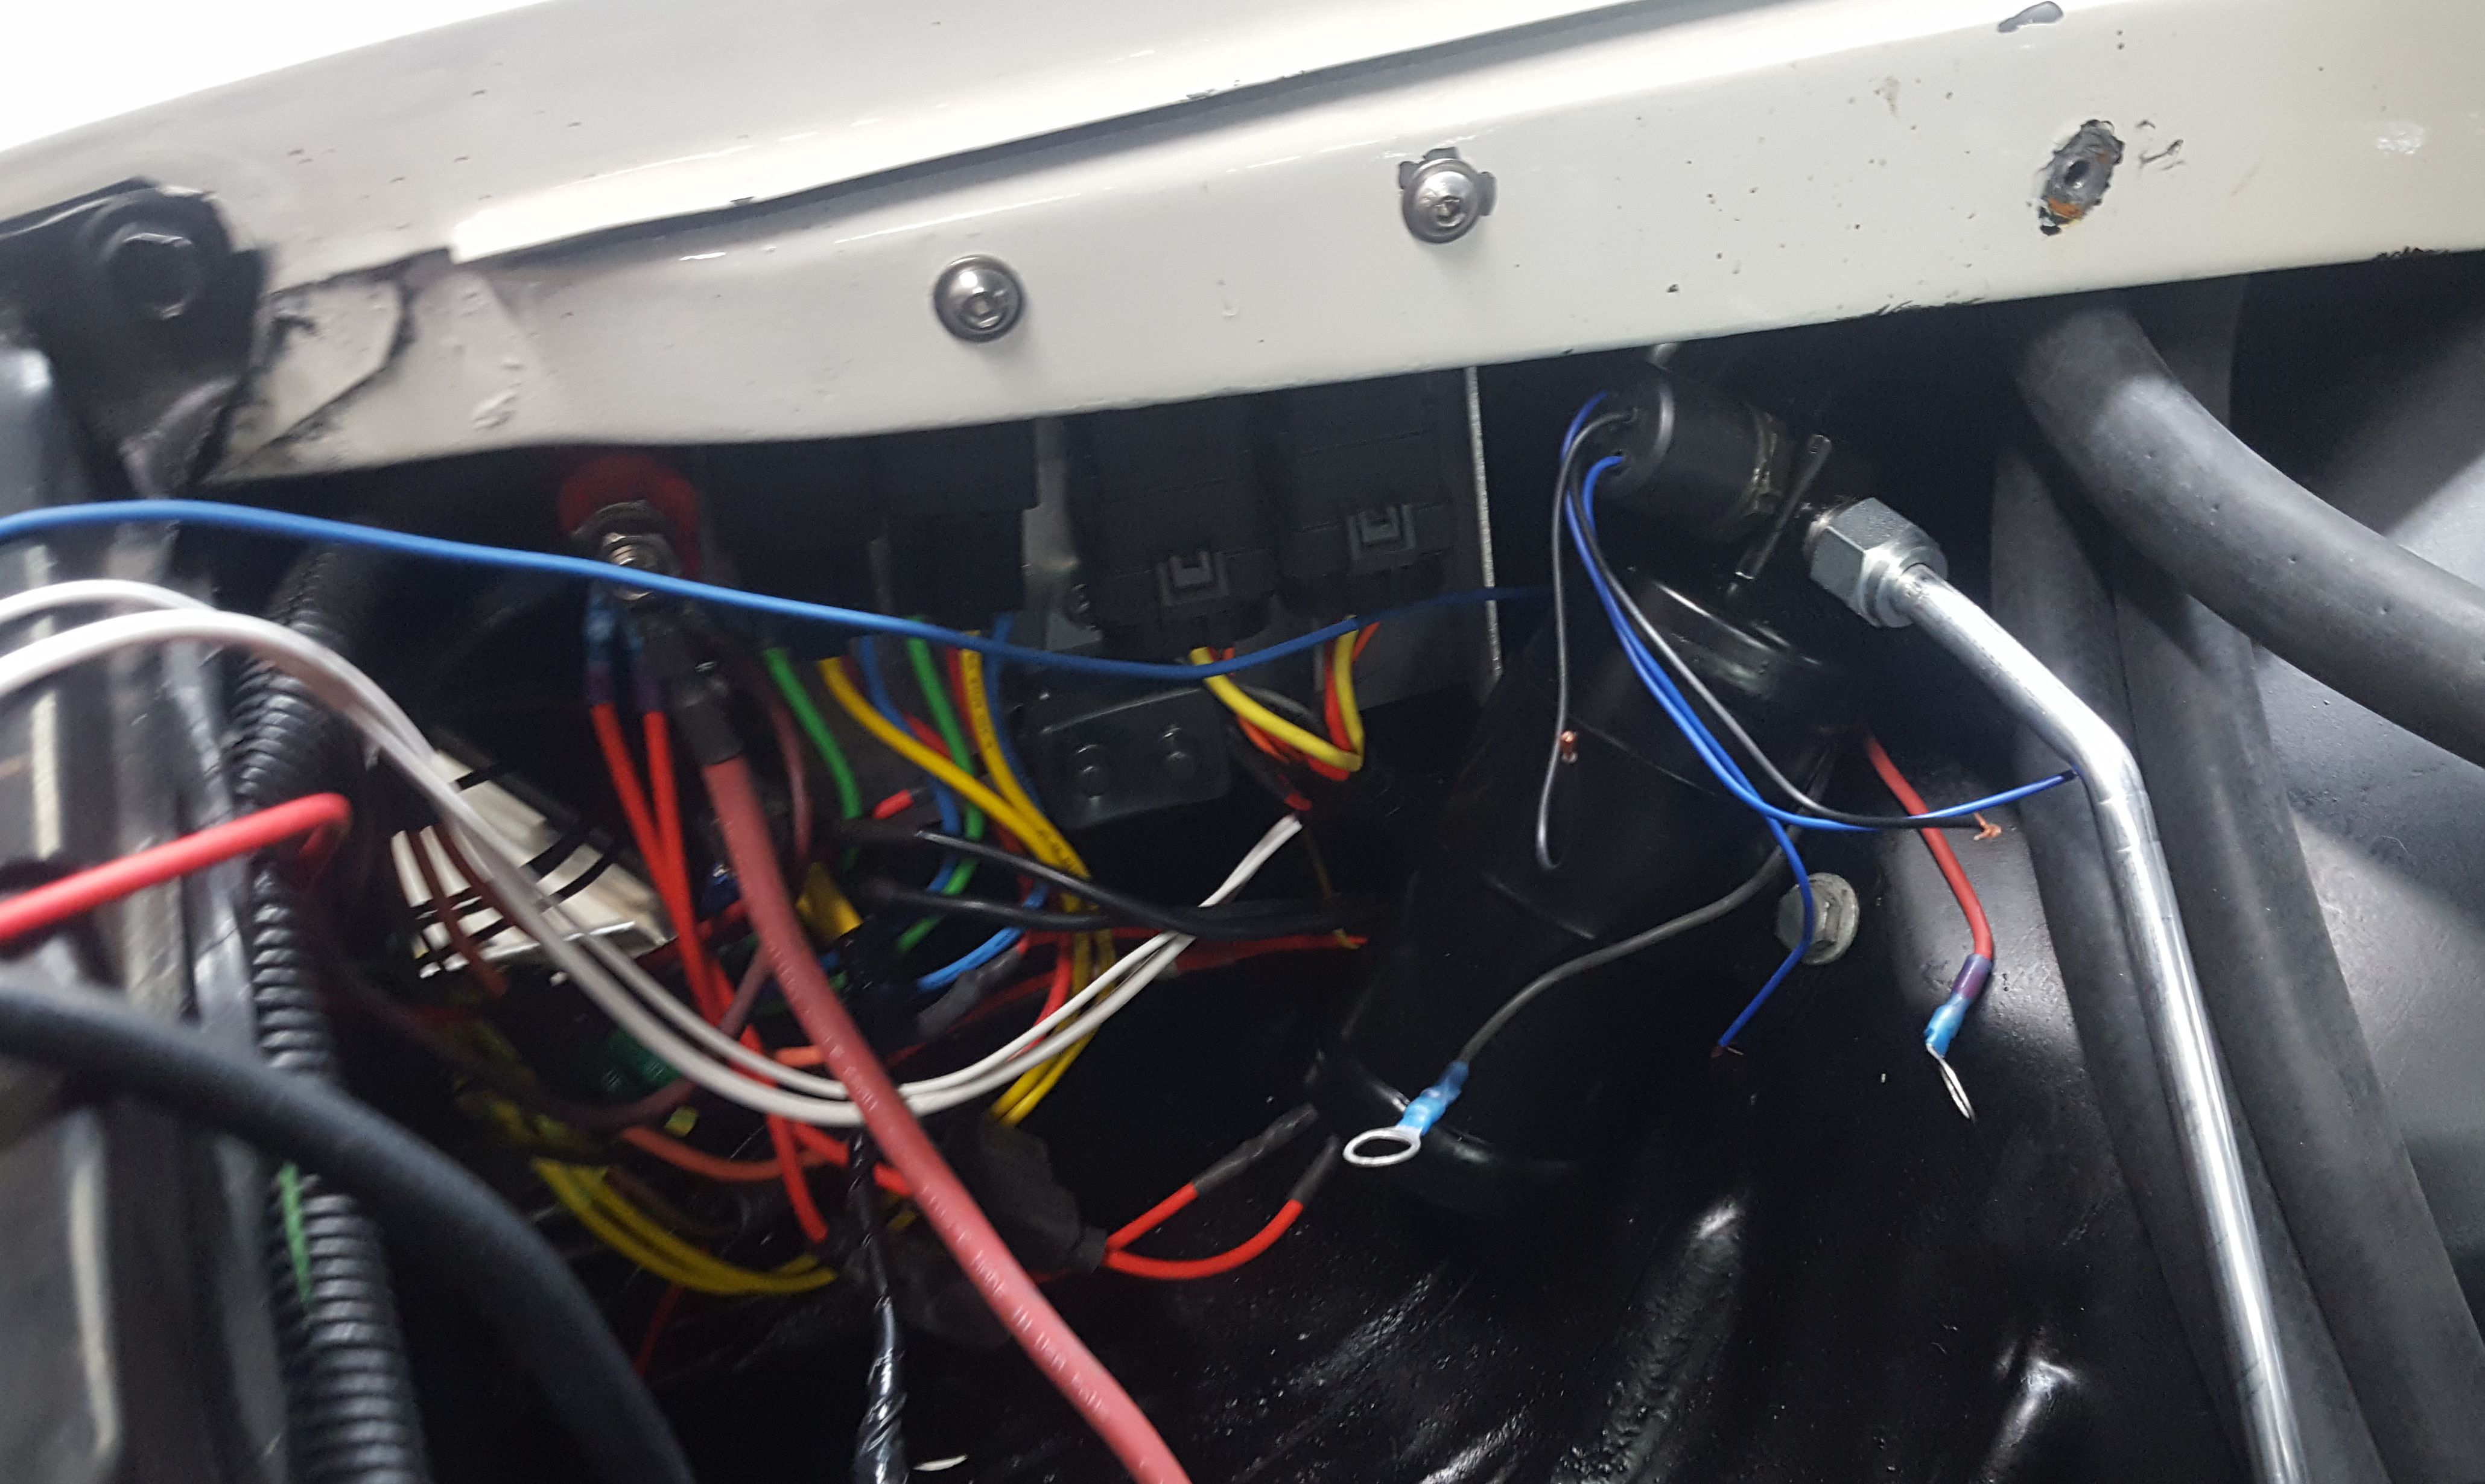
The evaporator and wiring was tucked under the passenger front fender. Most of this will be hidden behind the battery. We made a panel to mount the headlight relays for the H4 headlights and the electric fan relays as well as the circuit breaker for the AC. We also added 2 distributions posts for power and ground to clean up the battery posts.
|
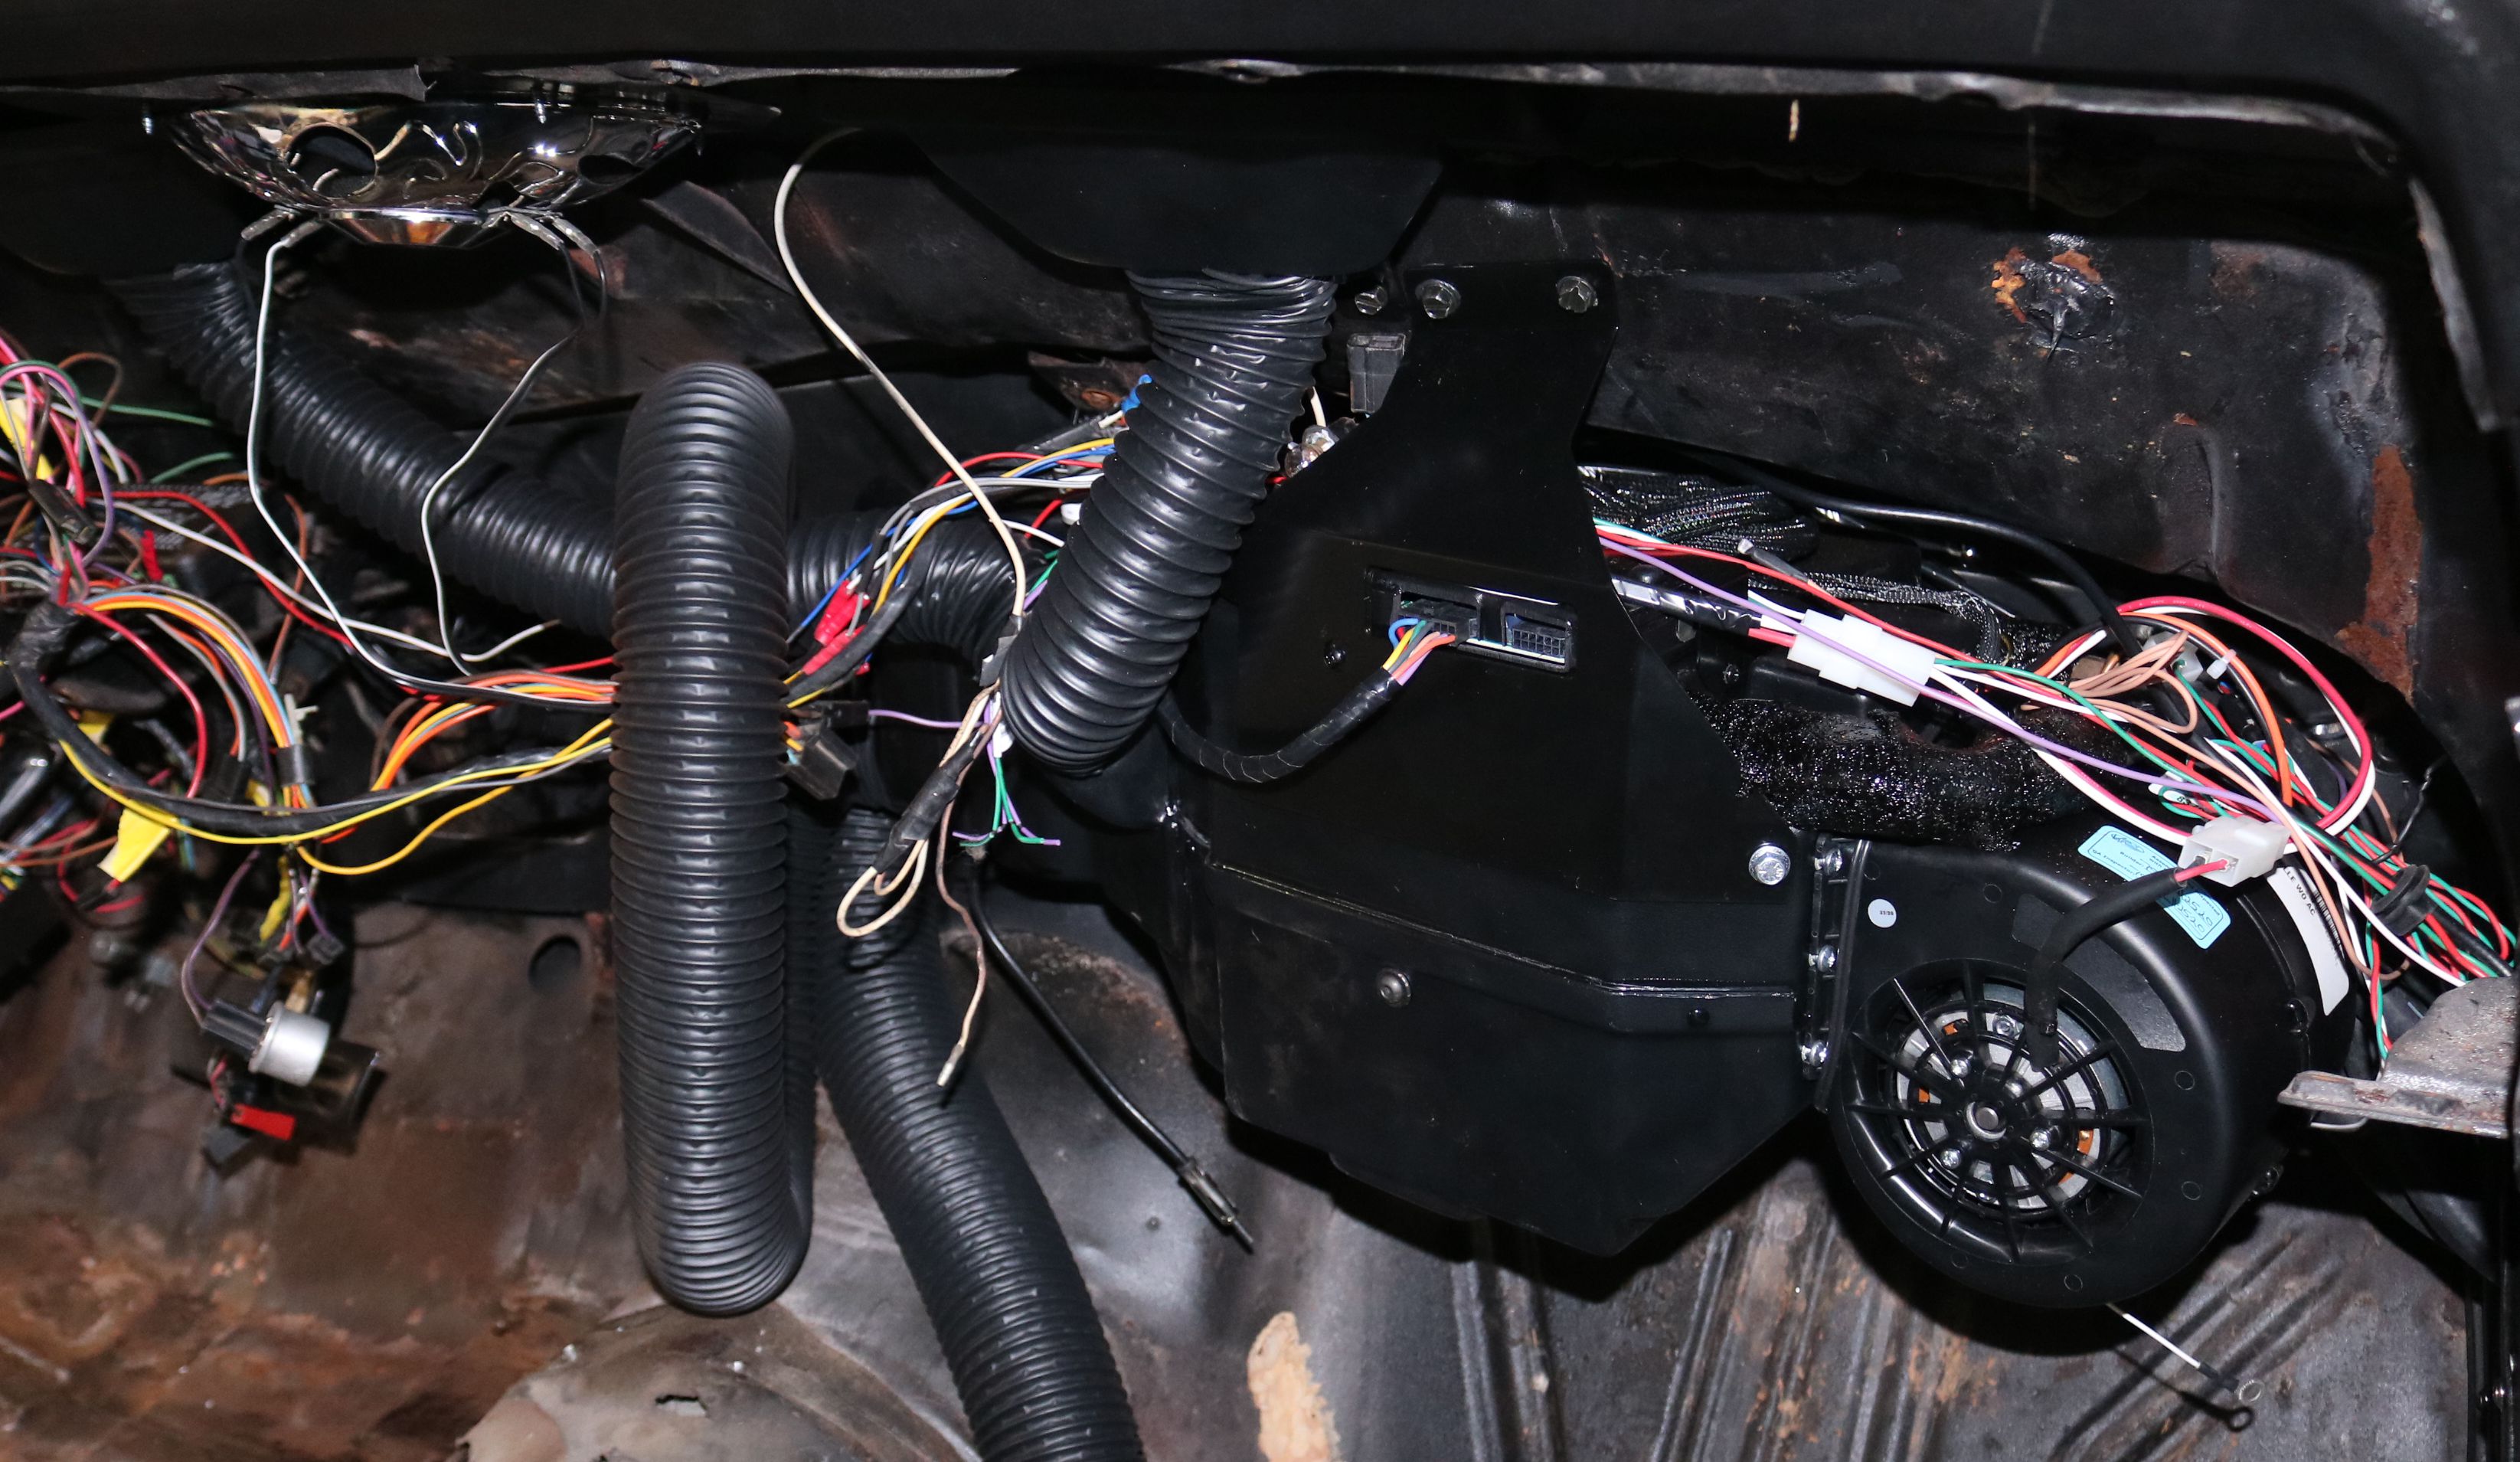
The air ducts were plummed from the AC box to the defroster vents. The rest of the hoses were installed, but could not be connected until the dash is reinstalled.
|

The finished AC lines. We had to clock the AC compressor and purchase different fittings to get the routing this clean.
|


