
One Blue Print Engine (BPE) special, Chevy LS3 530hp crate engine. The owner decided he no longer trusted the reliability of the 396 after the pushrod incident, so this monster will replace it.
|
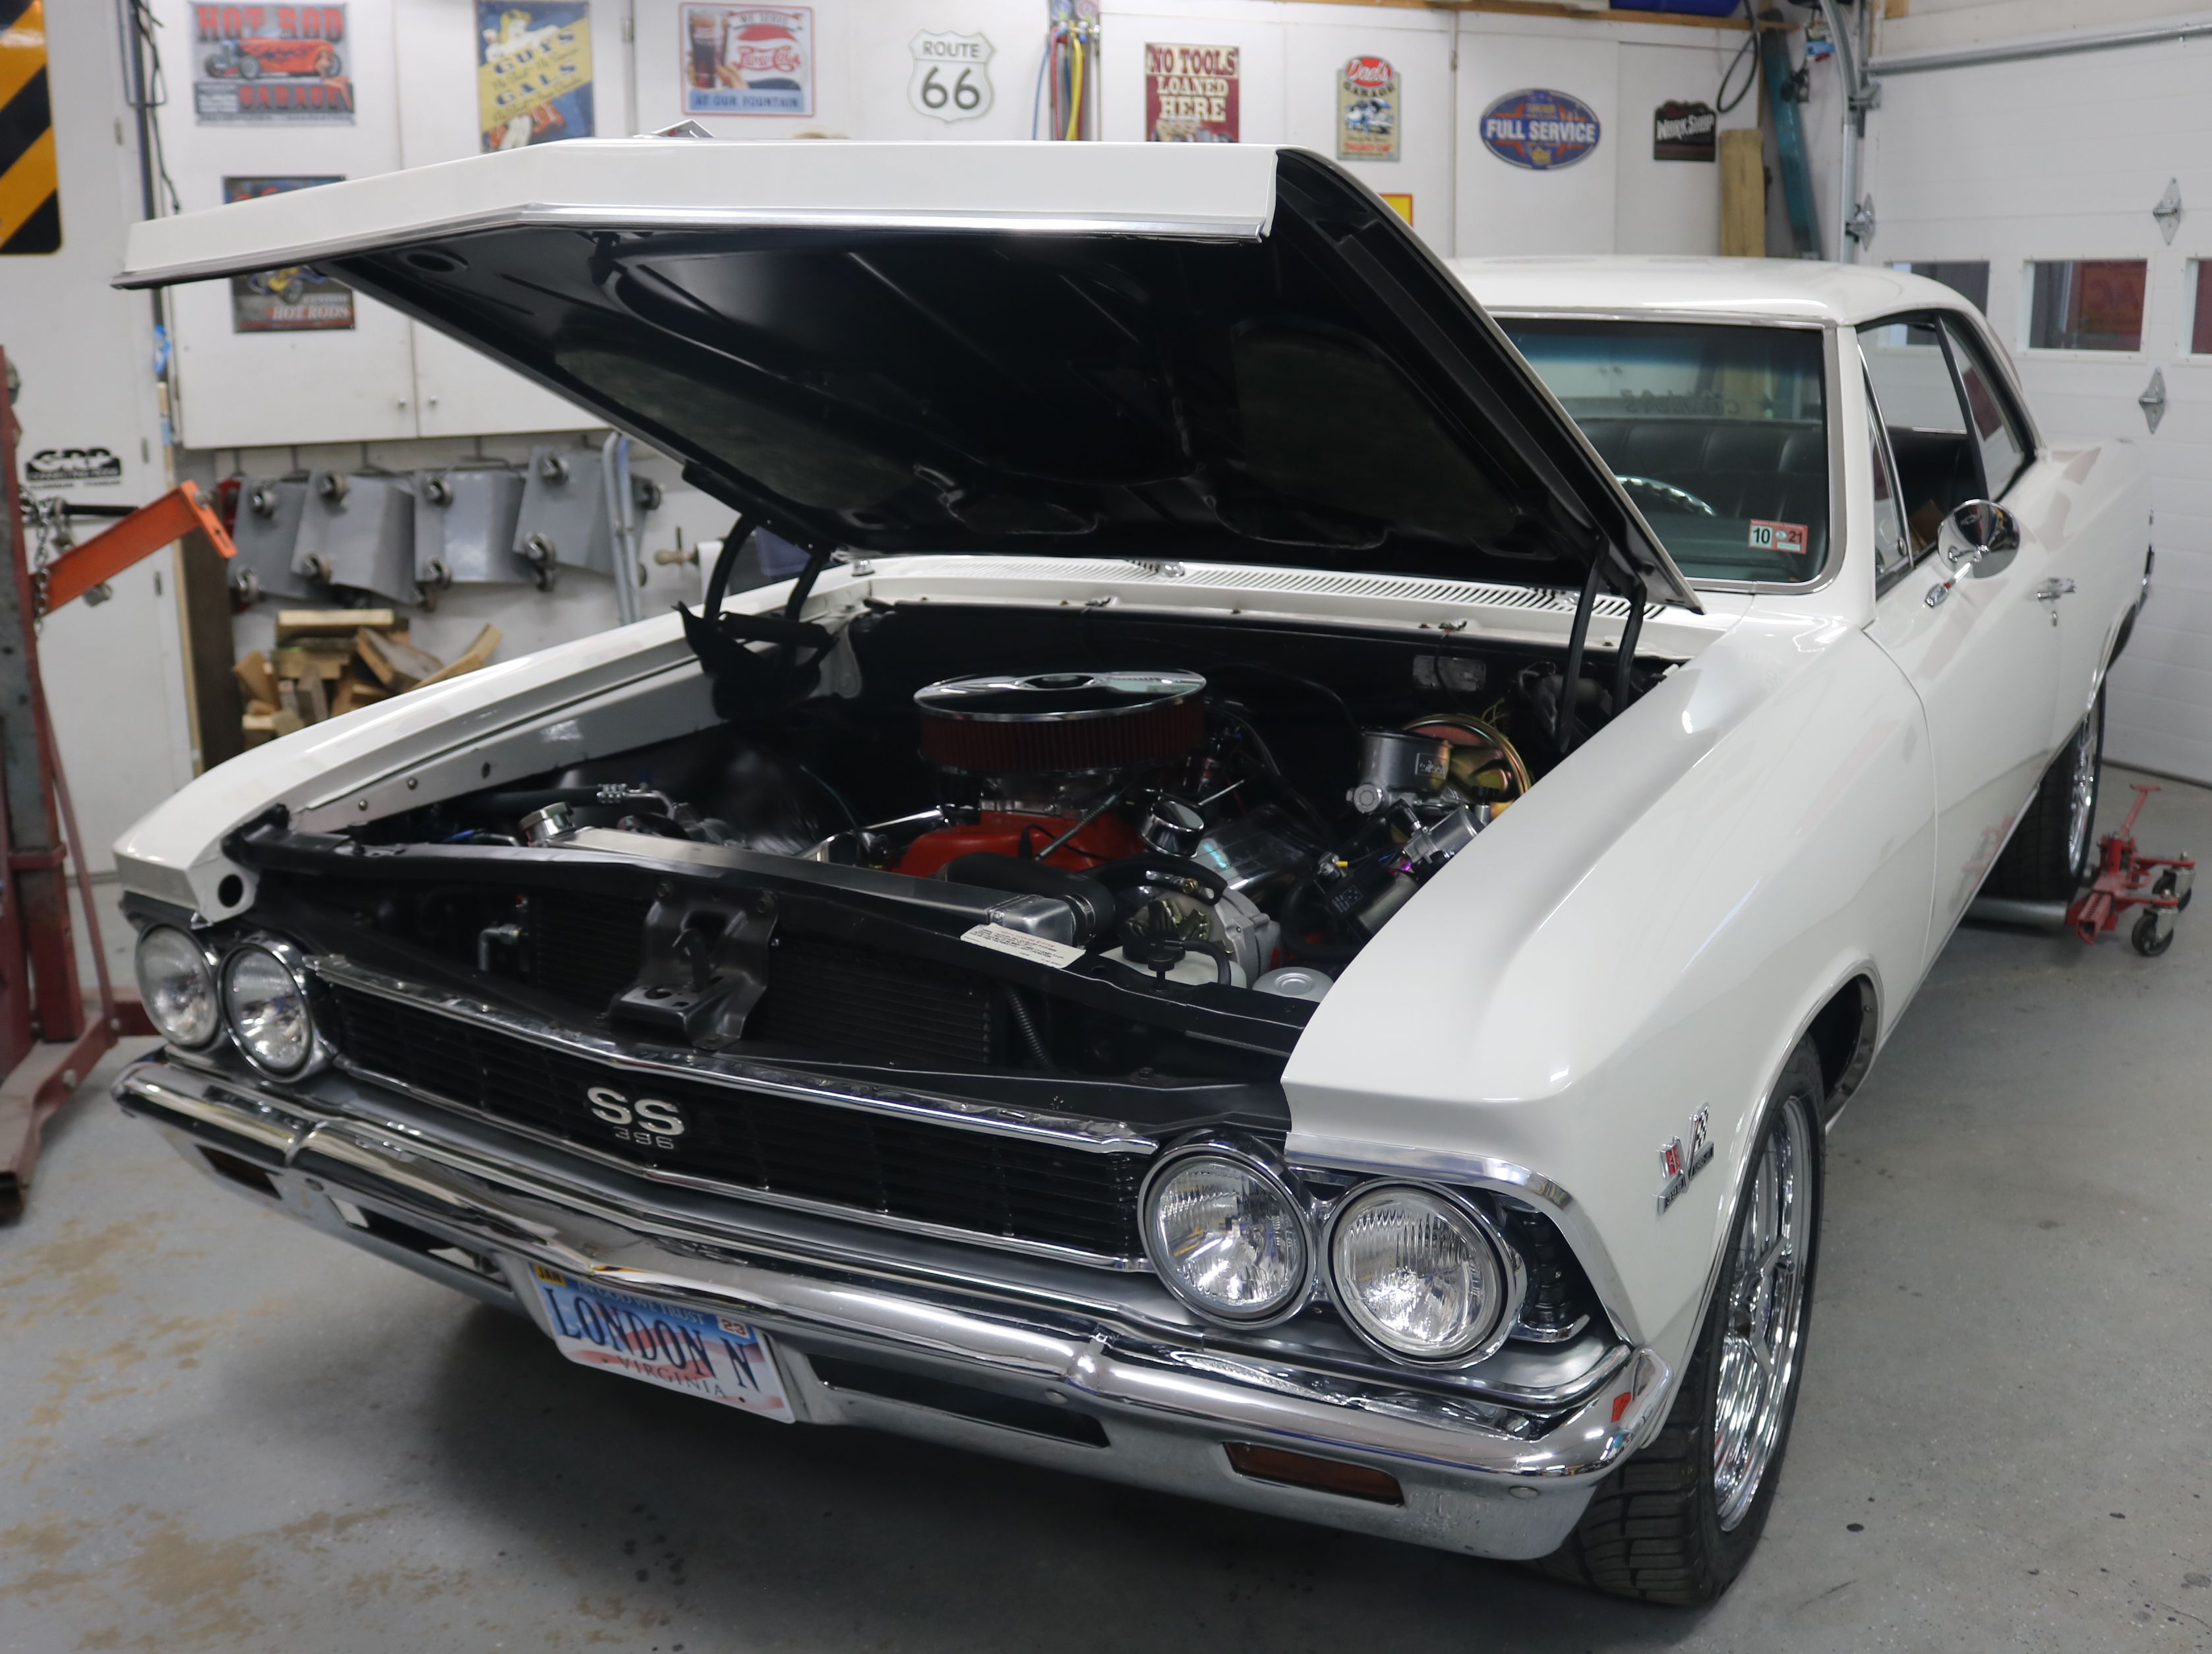
The Chevelle is back in the garage. Since the engine swap will require removal of the hood, time to replace the worn out hood hinges. We will also replace the worn out body mount bushings this time.
|

Some of the parts of the new LS3. We are also doing the front suspension as one of the upper control arms had "spit out" a bolt and bushing. And the factory installed ball joints are still riveted in place.
|
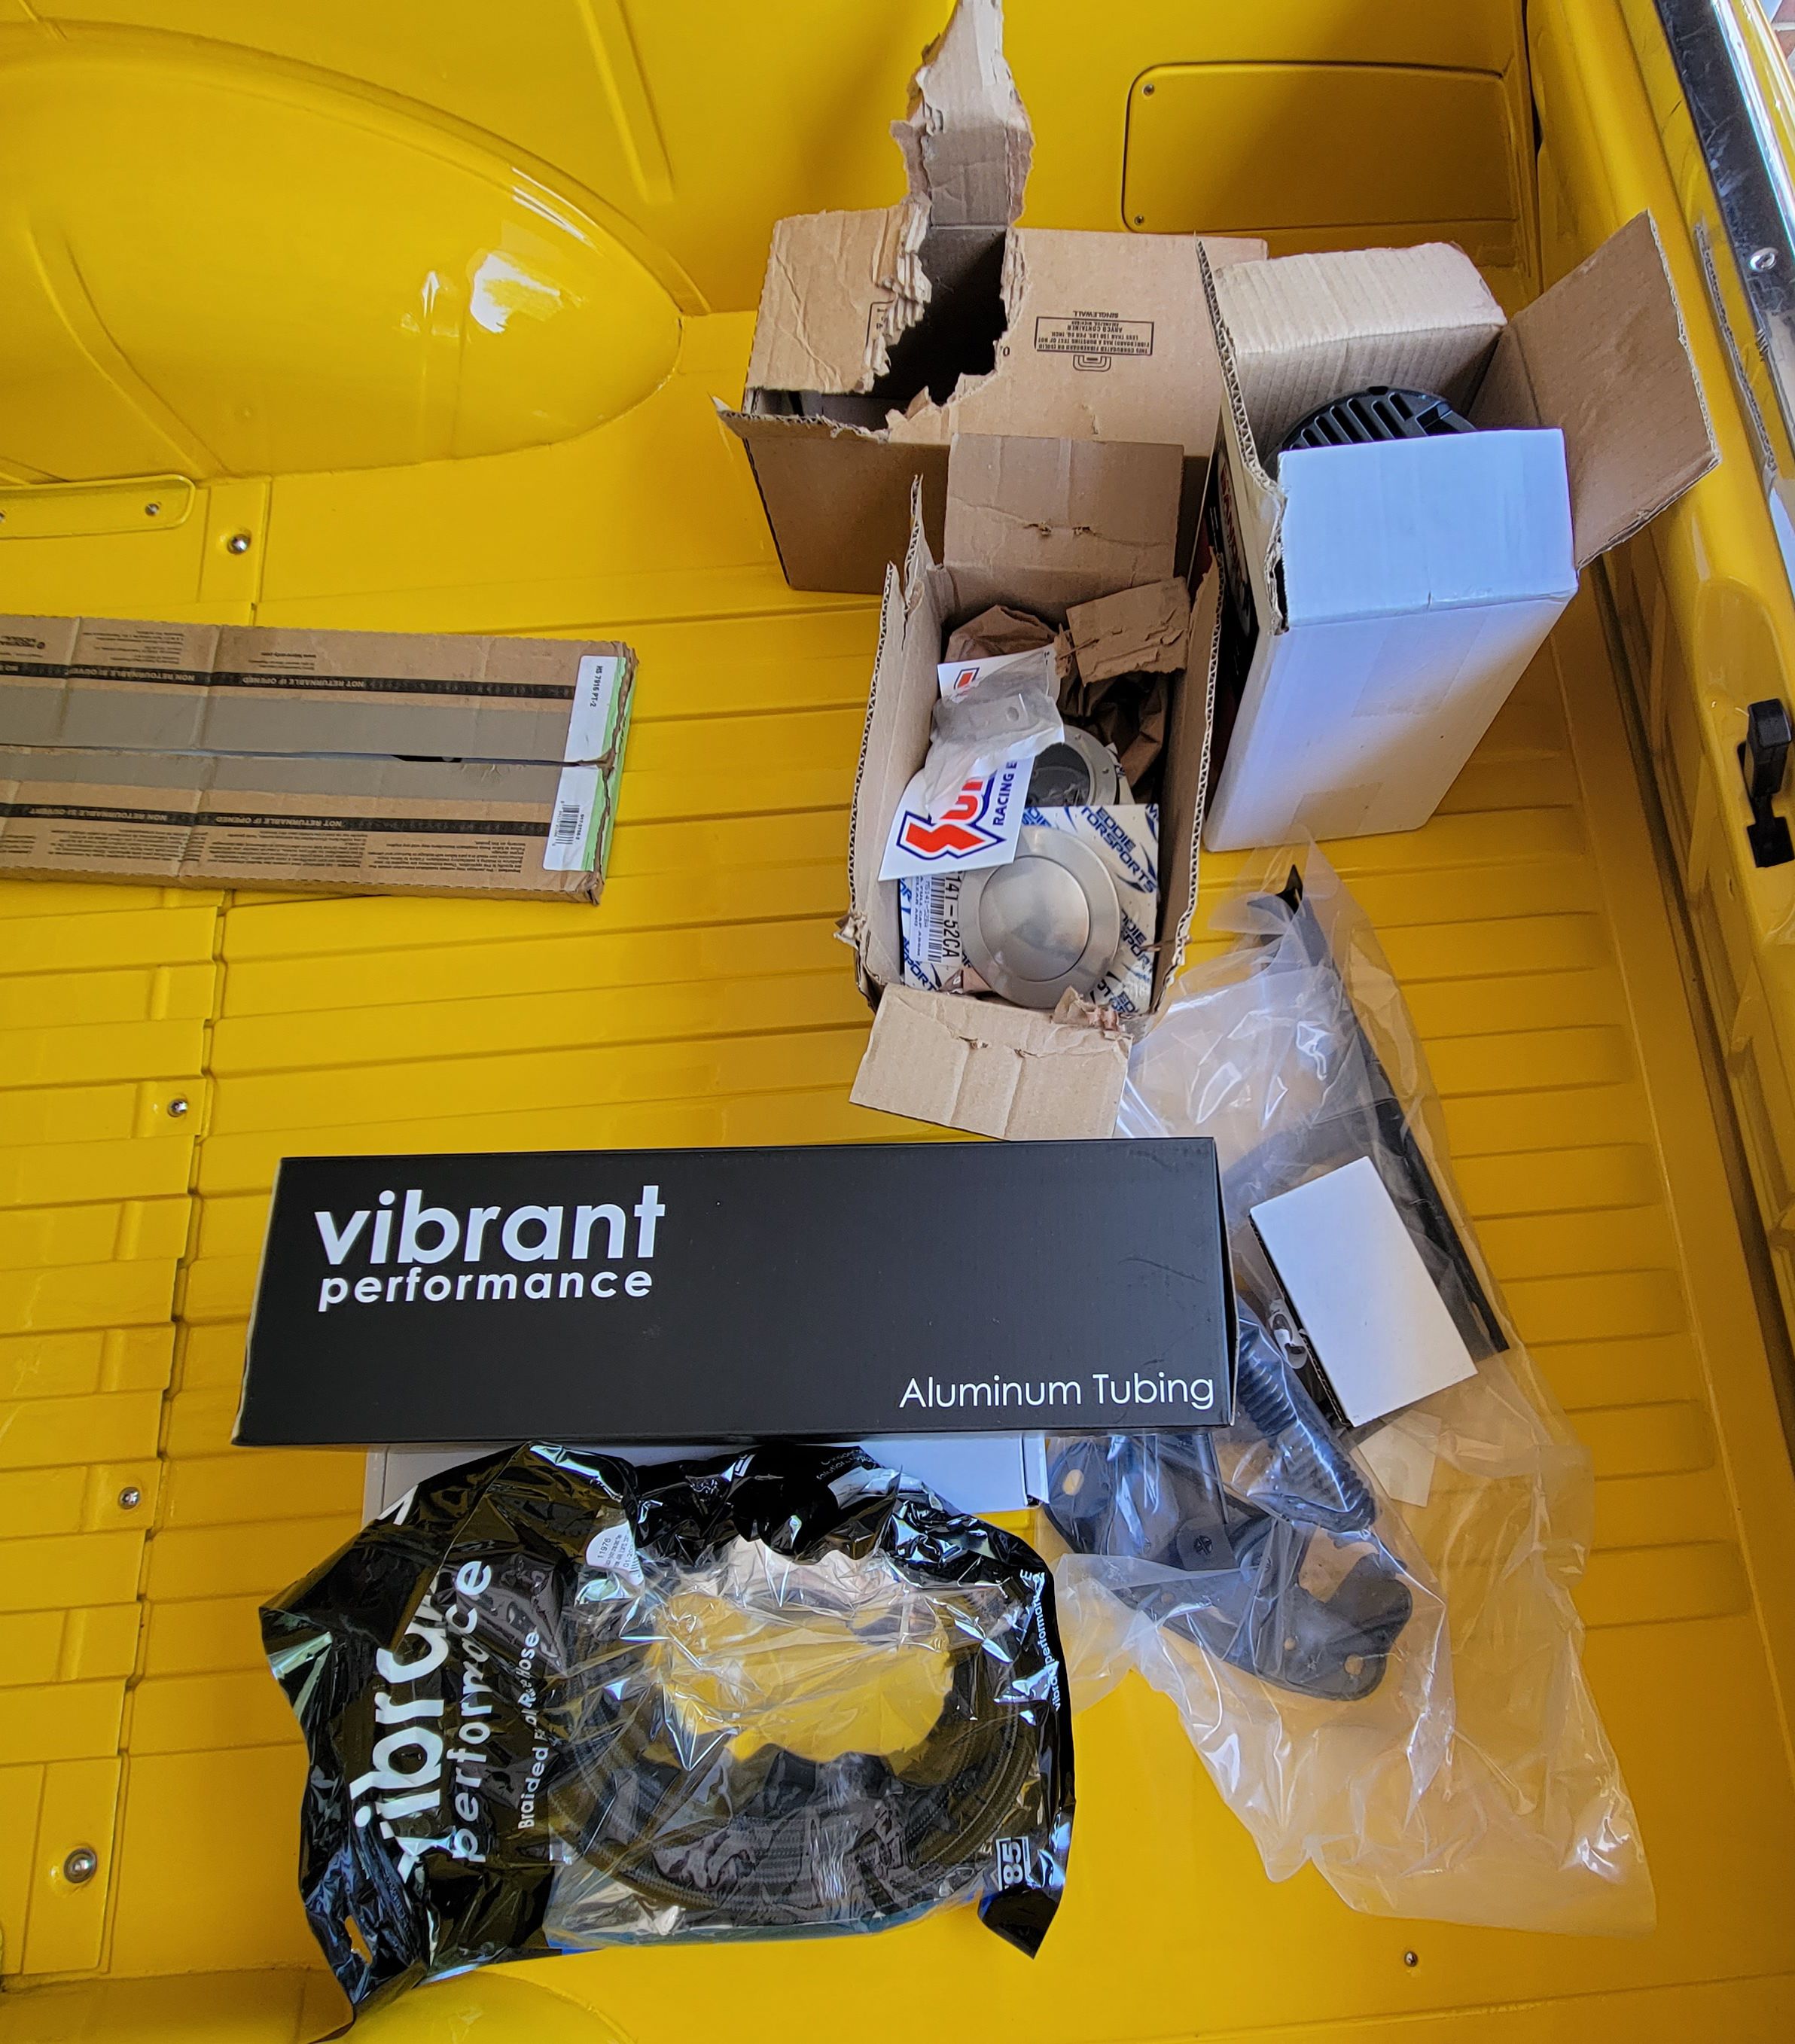
The small parts were gently set into the bed of the Ranchero.
|

Out with the old 396 big block. We brought the Chevelle over on our trailer and only ran the engine long enough to offload it into the garage. The block still had heat as we pulled it out of the engine bay. The 396 was sold on to help cover the cost and to keep another old school hot rod on the road.
|

In with the new LS3. This is for a trial fitment to the transmission, the motor mounts, and supplied oil pan. We'll also try the headers and the radiator to ensure nothing is hitting where it shouldn't.
|
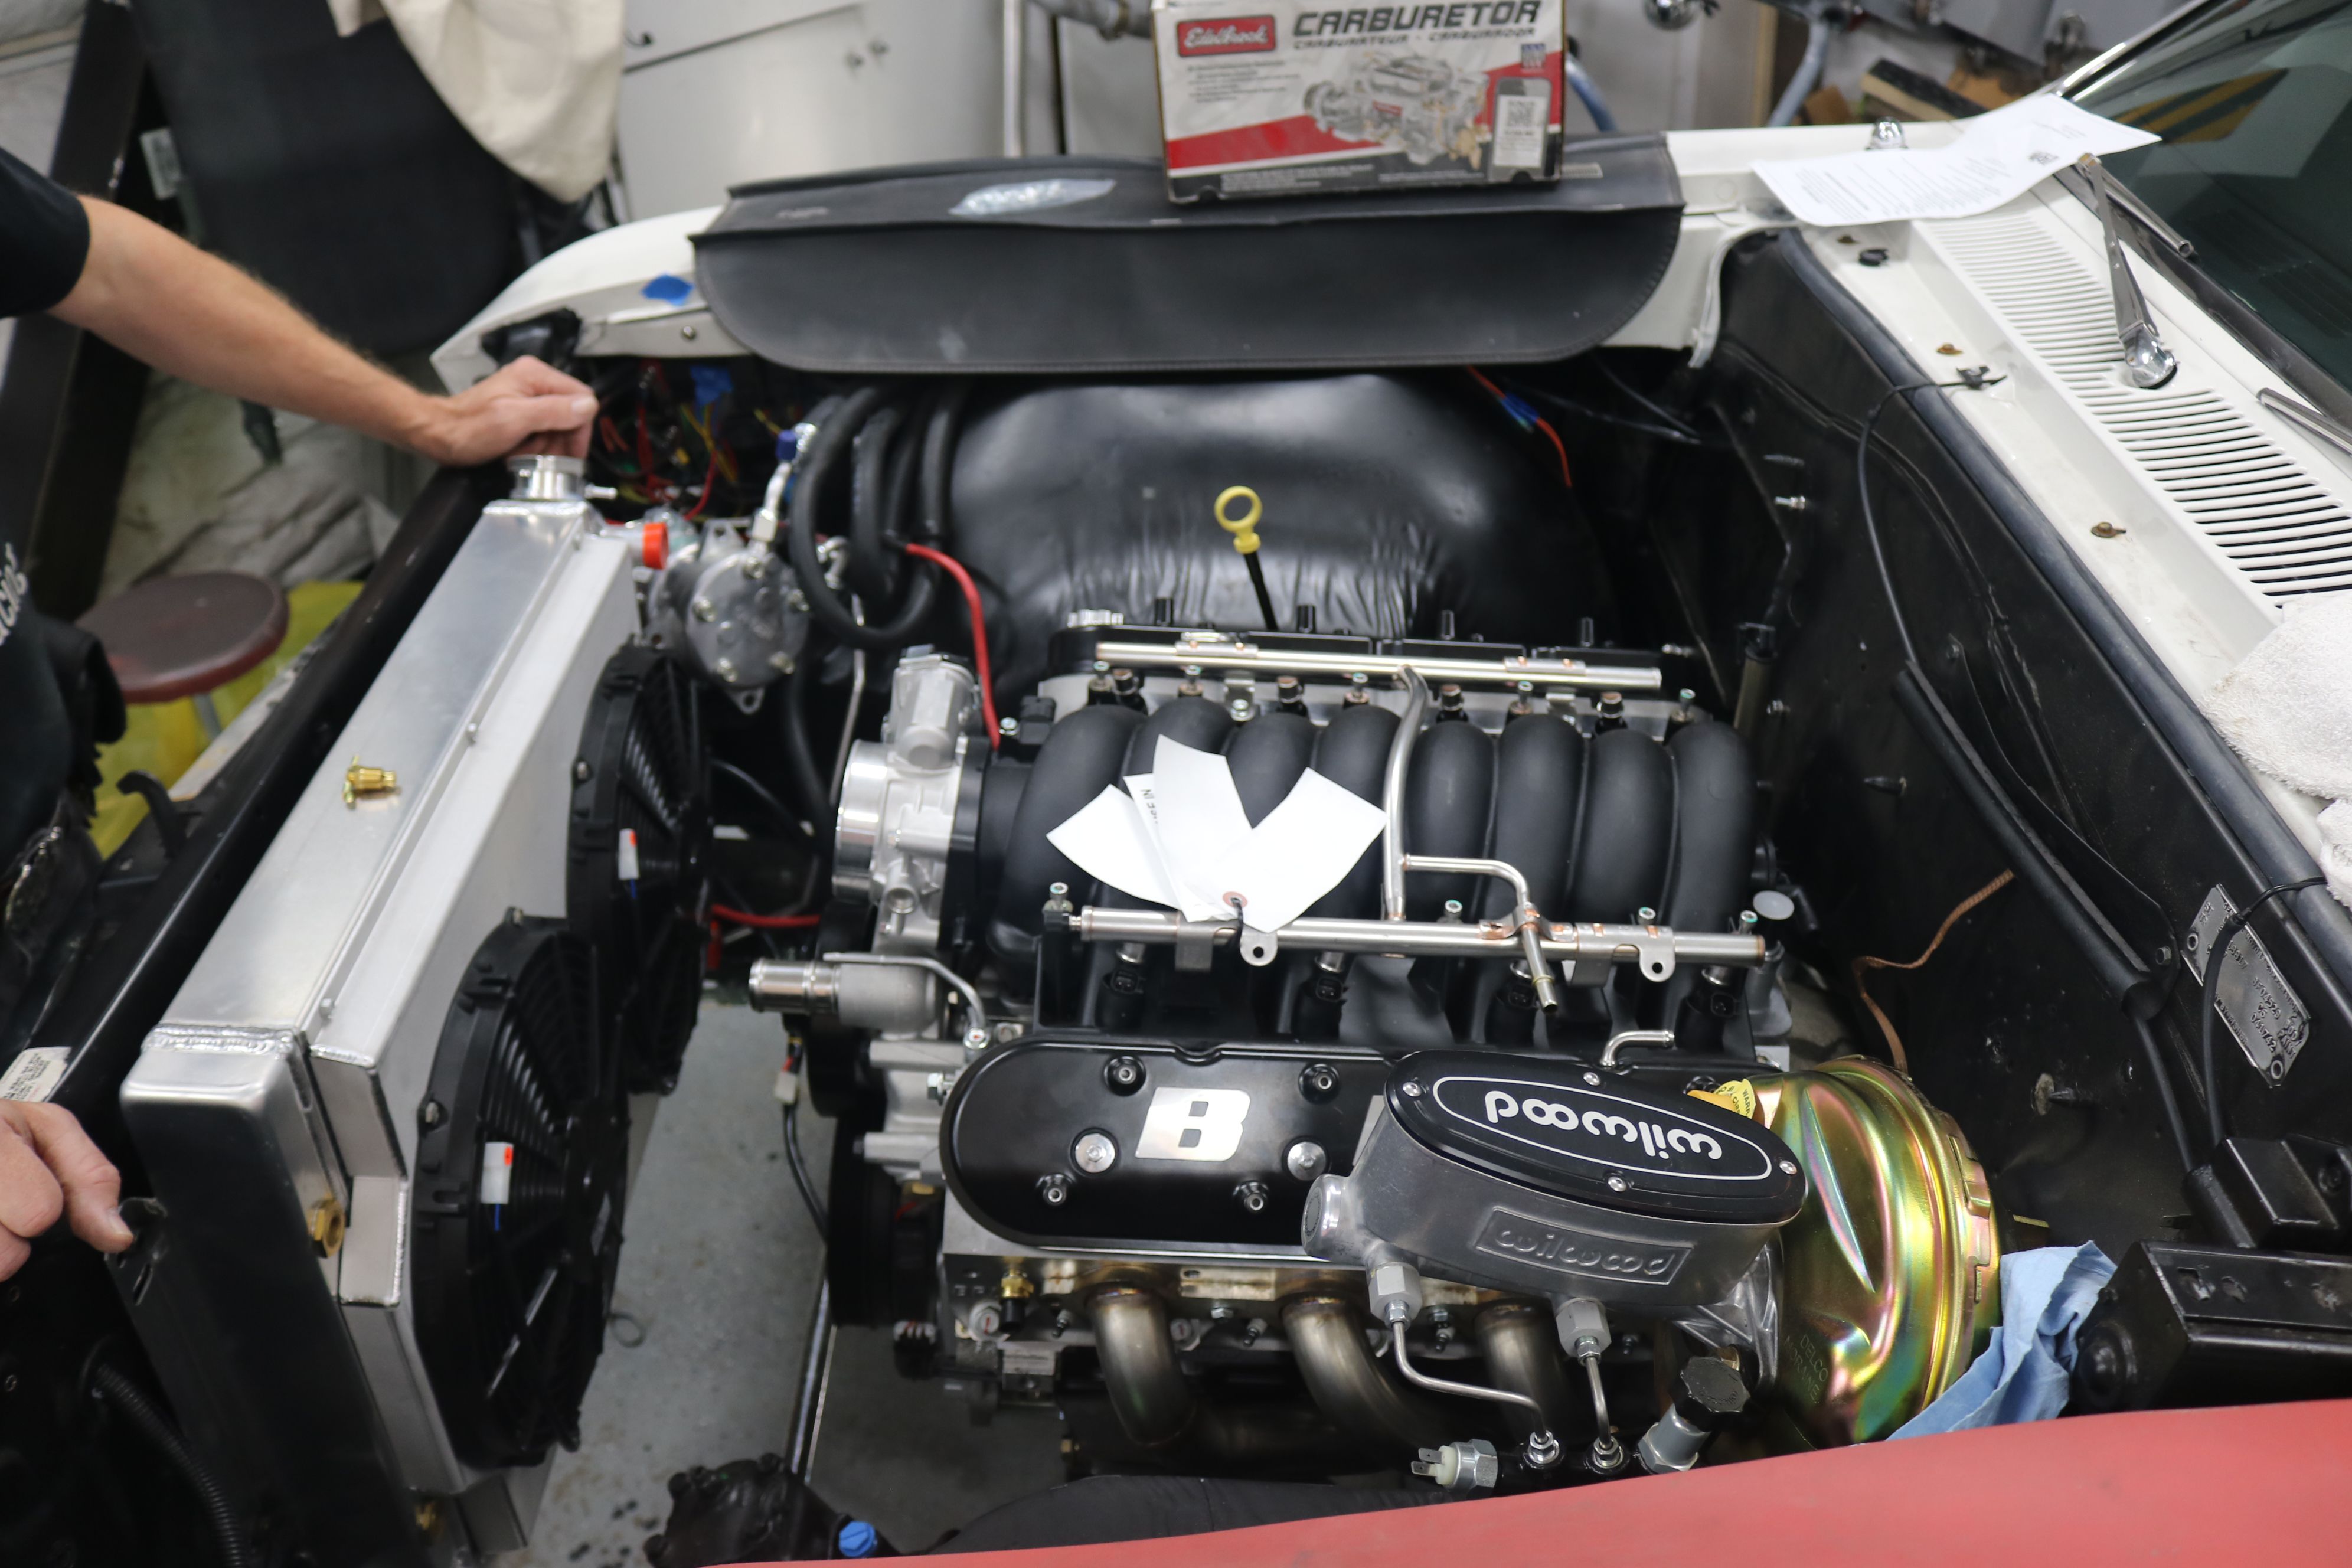
The new LS3 in place, with the new headers. They slid into place without any problems. This entire setup was custom built for a Chevelle, but we still expected problems - it's headers.
|

The entire wiring harness was gutted and replaced. This is part of the engine harness pulled out of the way for the engine to be dropped into place.
|
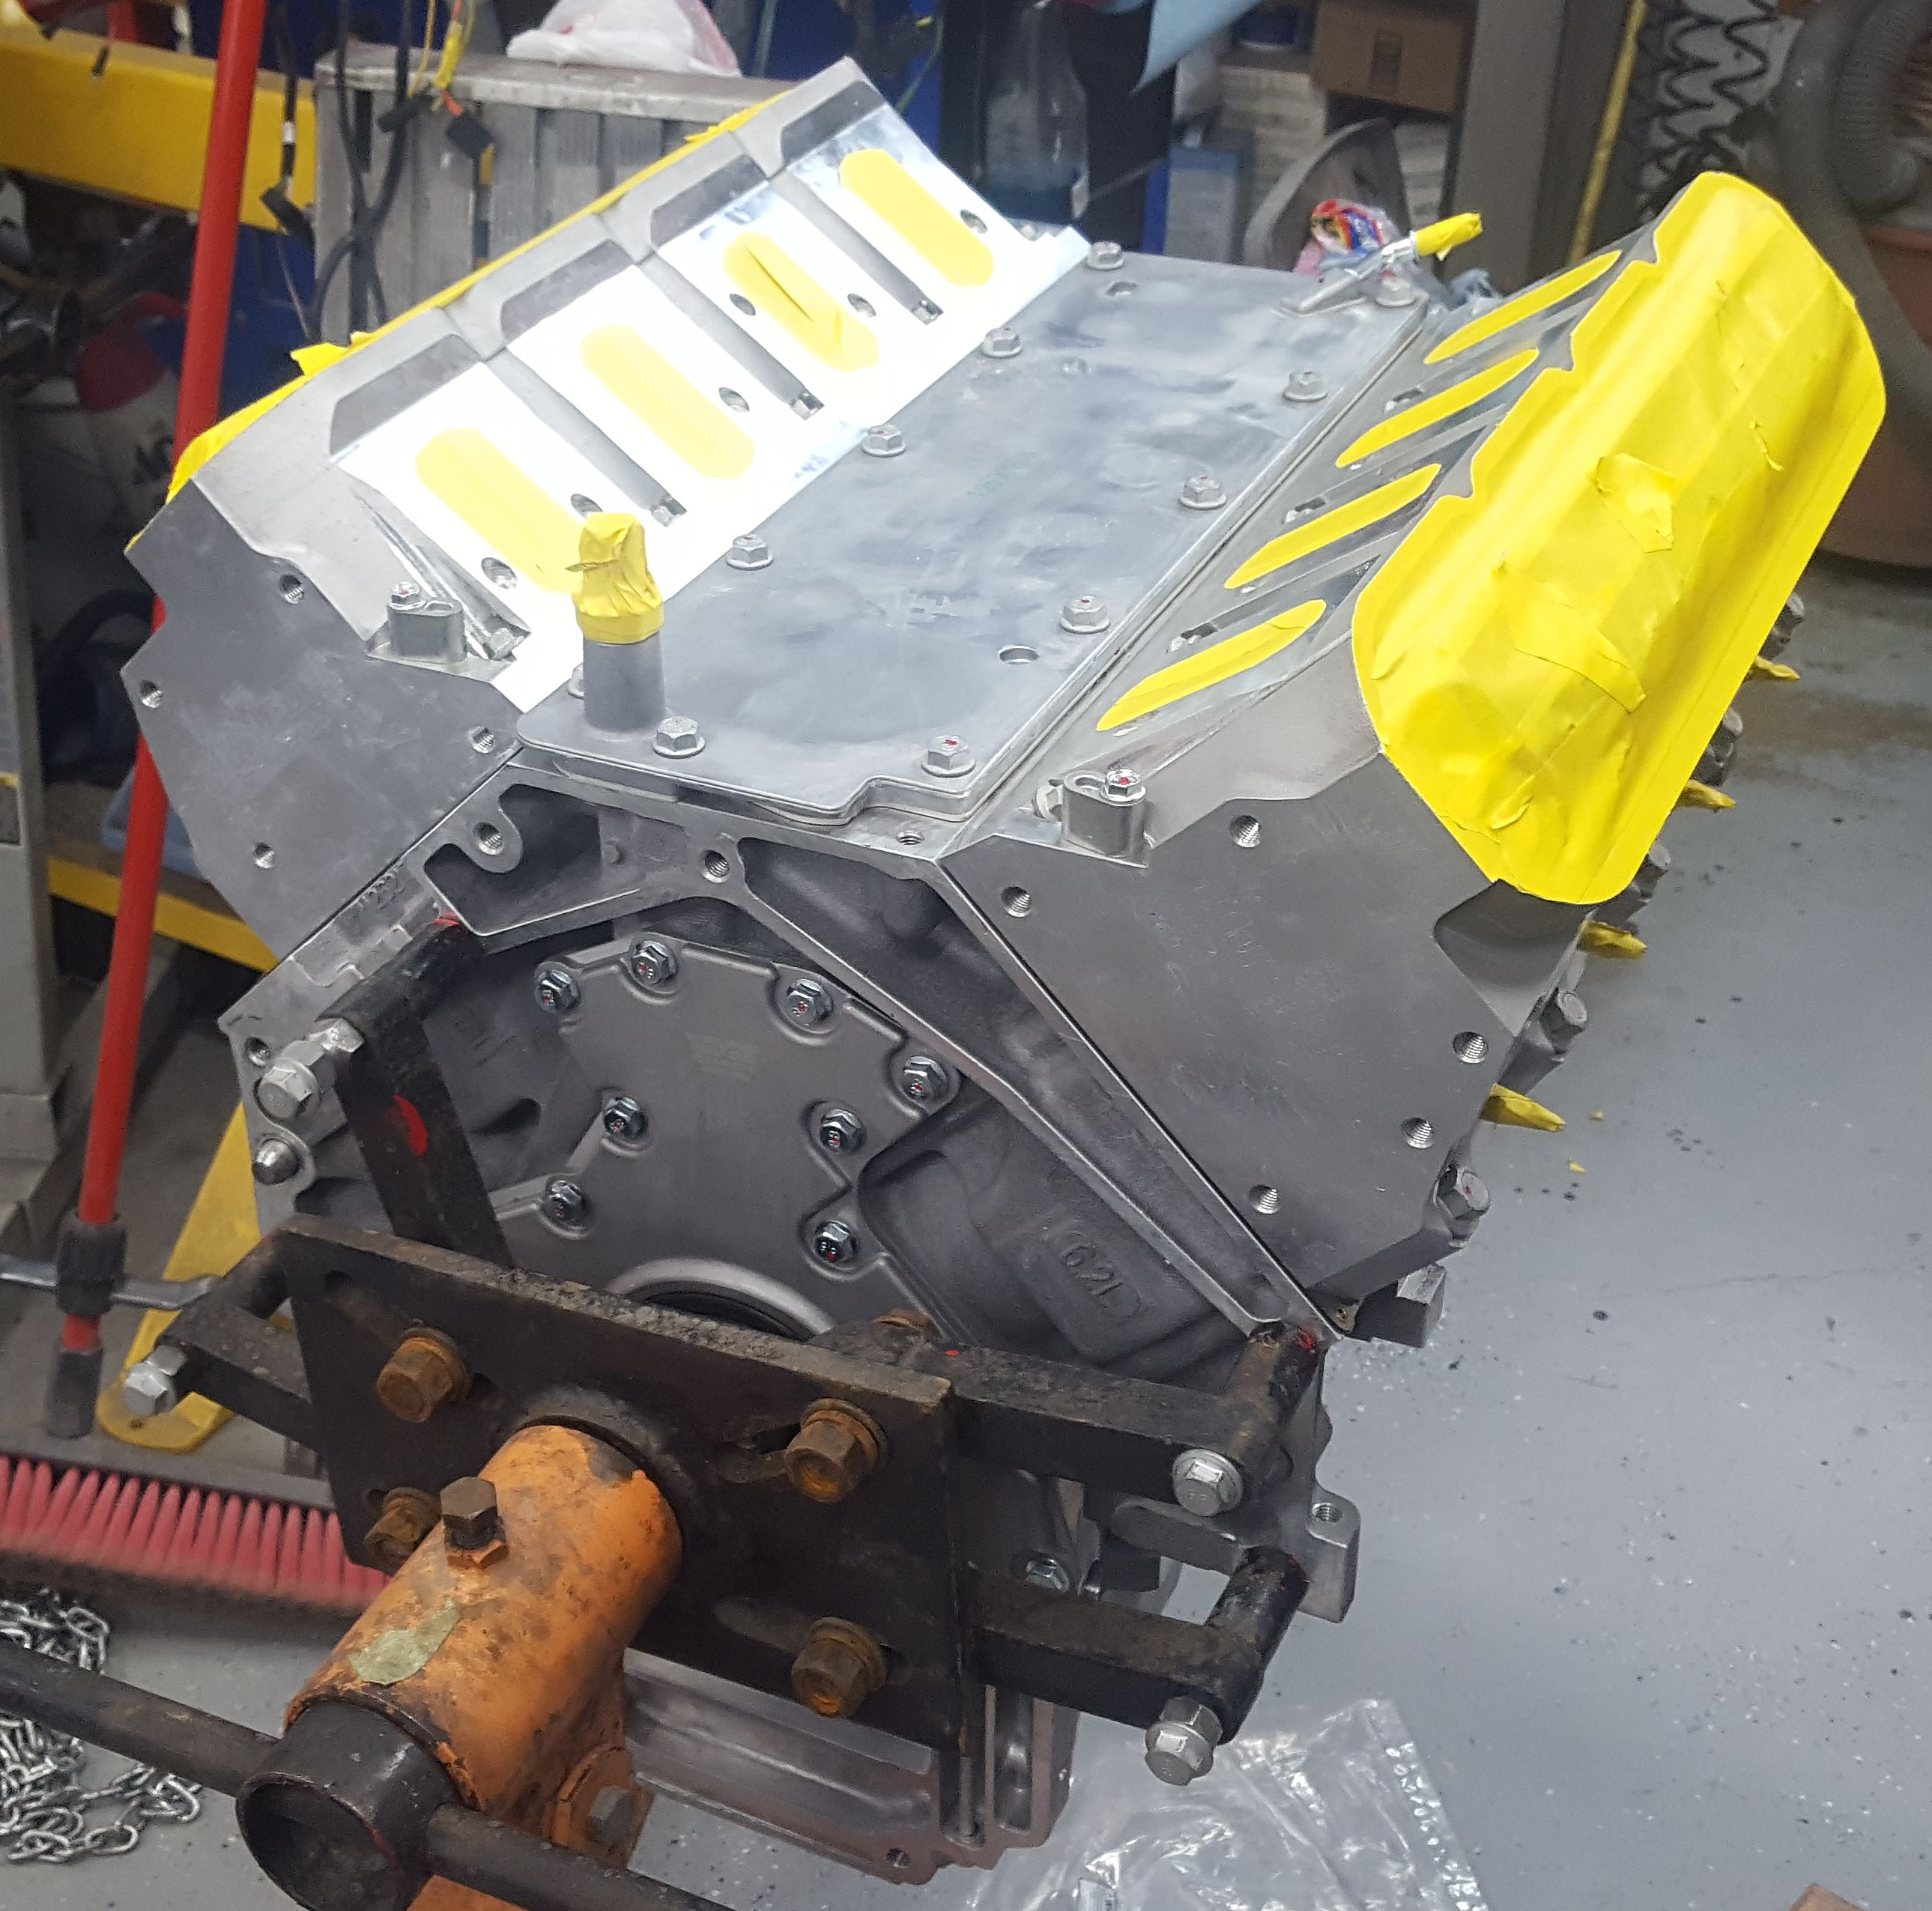
The LS was pulled back out and stripped for painting. The owner wants as close to stock appearance as possible, so he so opted for Chevy orange.
|
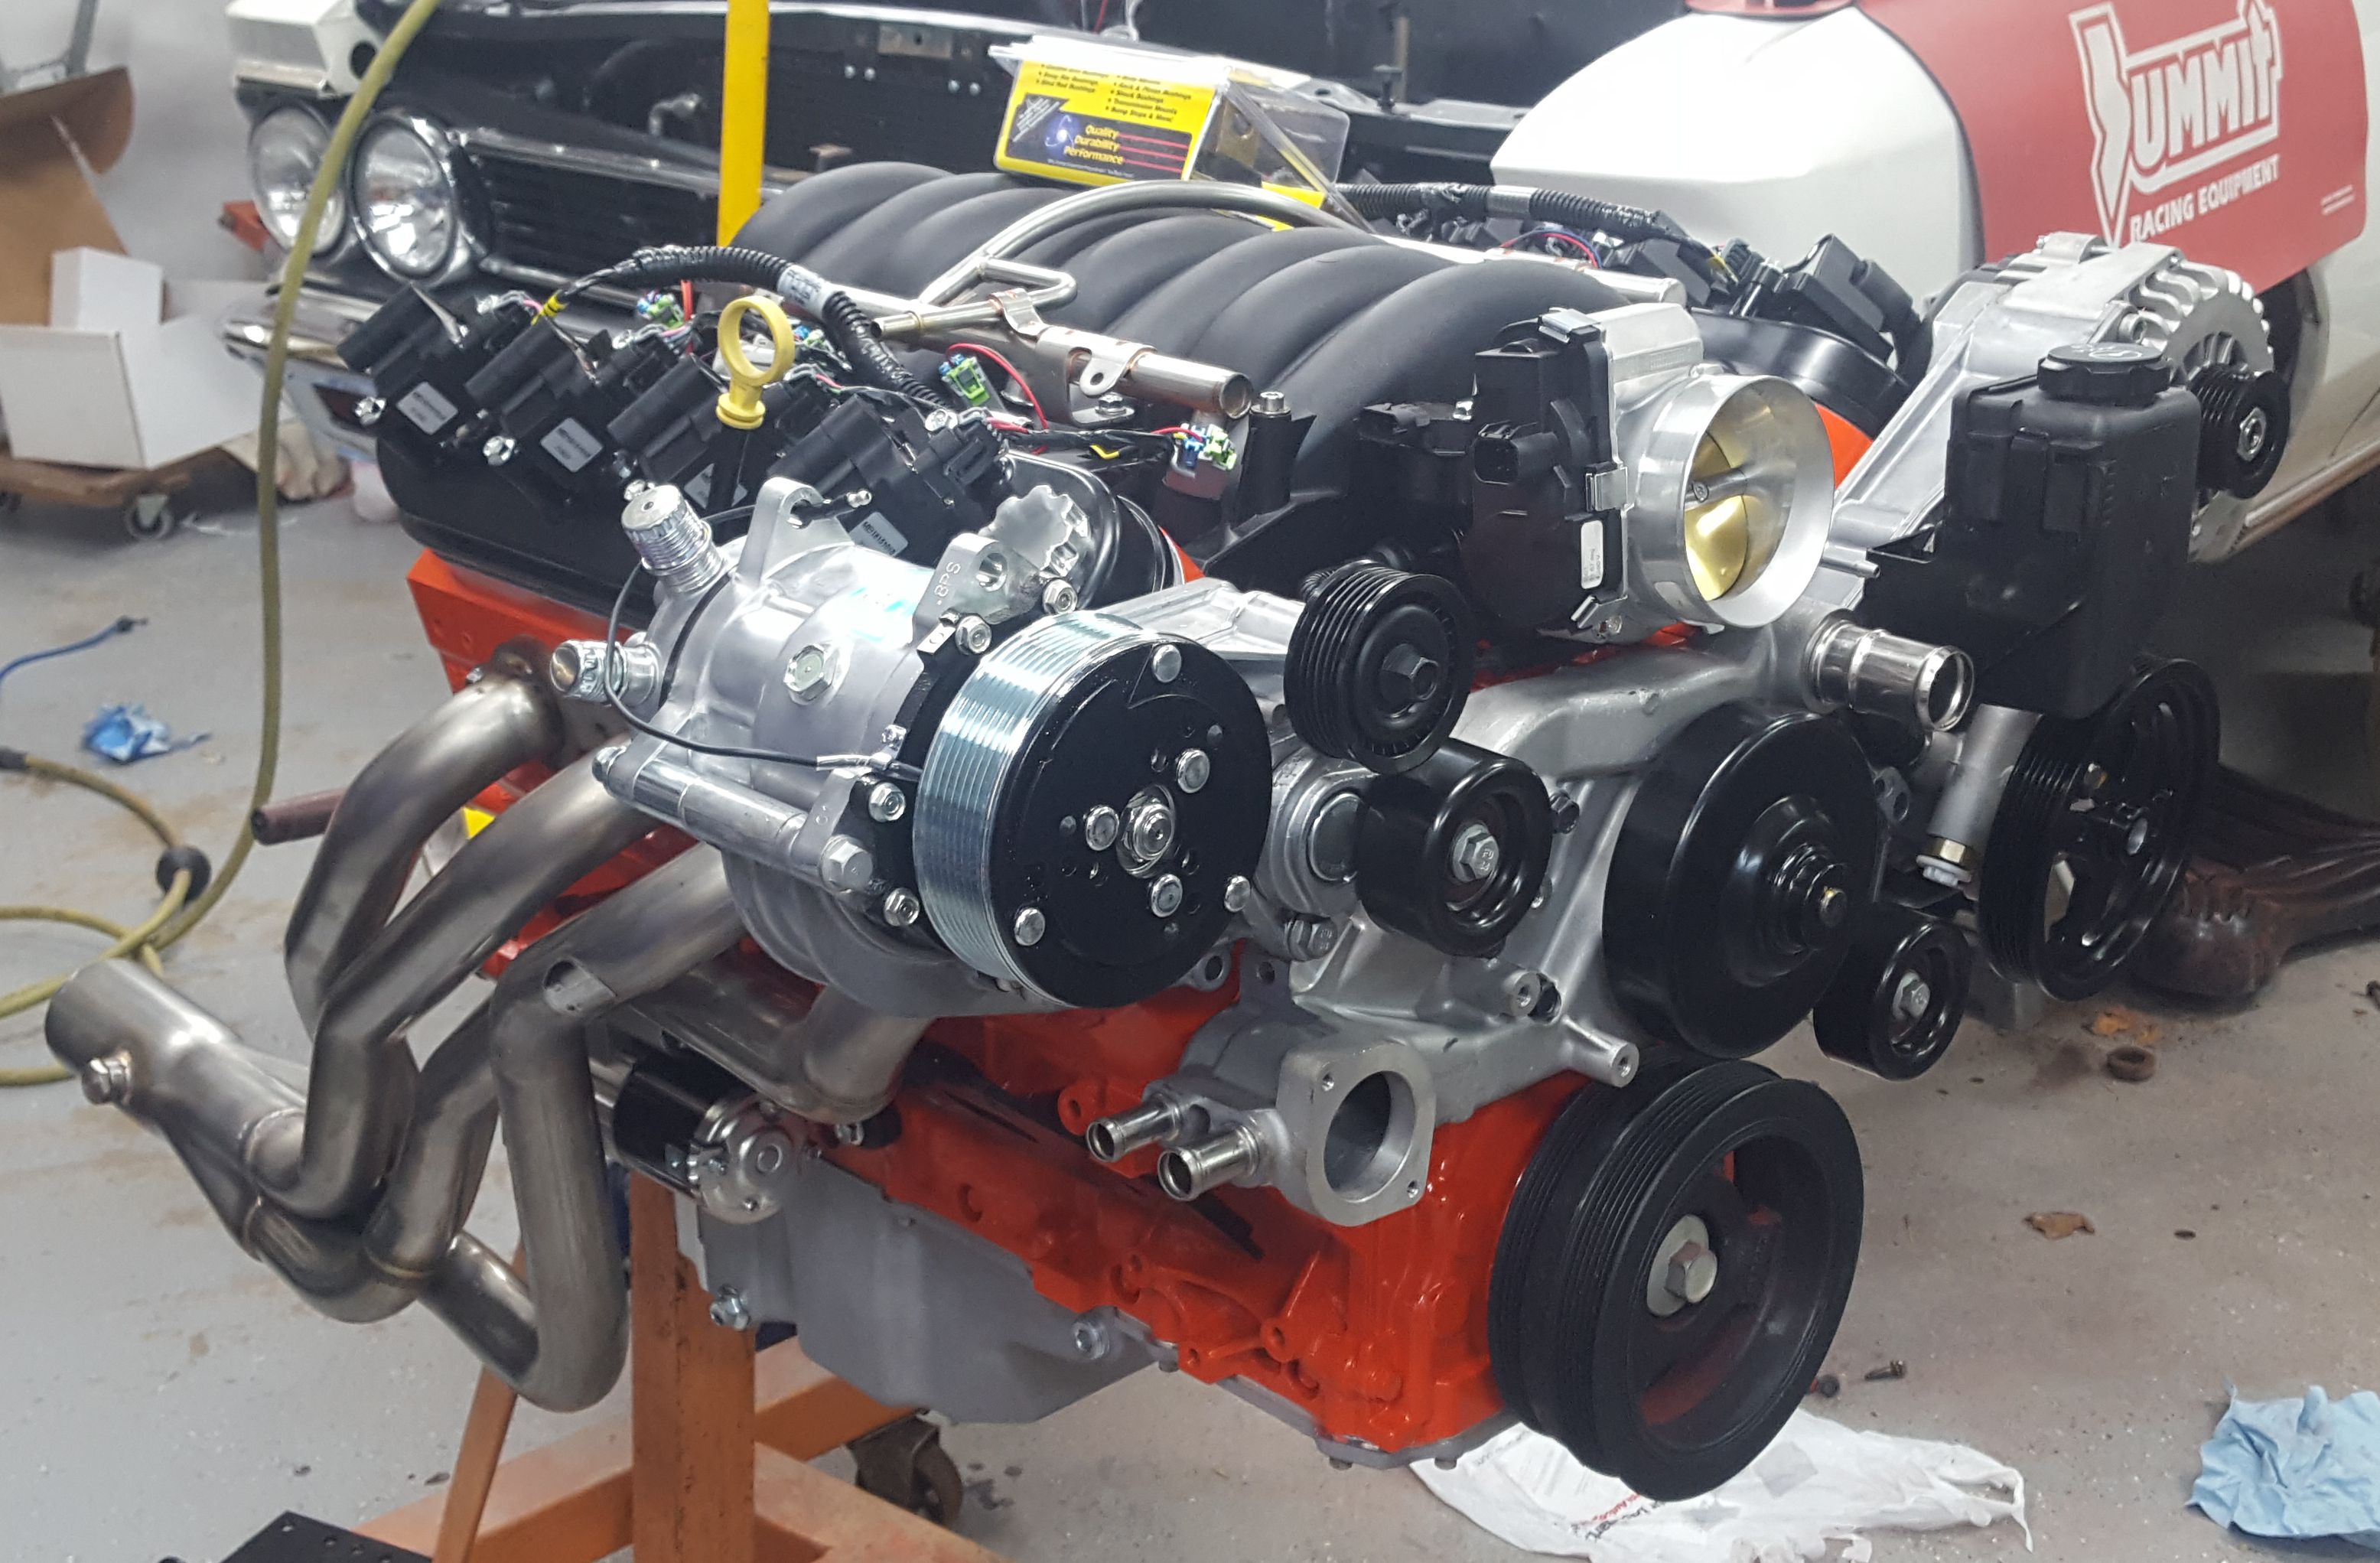
One repainted LS with the Holley accessory drive ready to be dropped into the engine bay. The oil pan did not fit, so we replaced it with a Holley. The front 3" of the pan was hitting the steering linkage. The headers are Hooker Blackhearts.
|
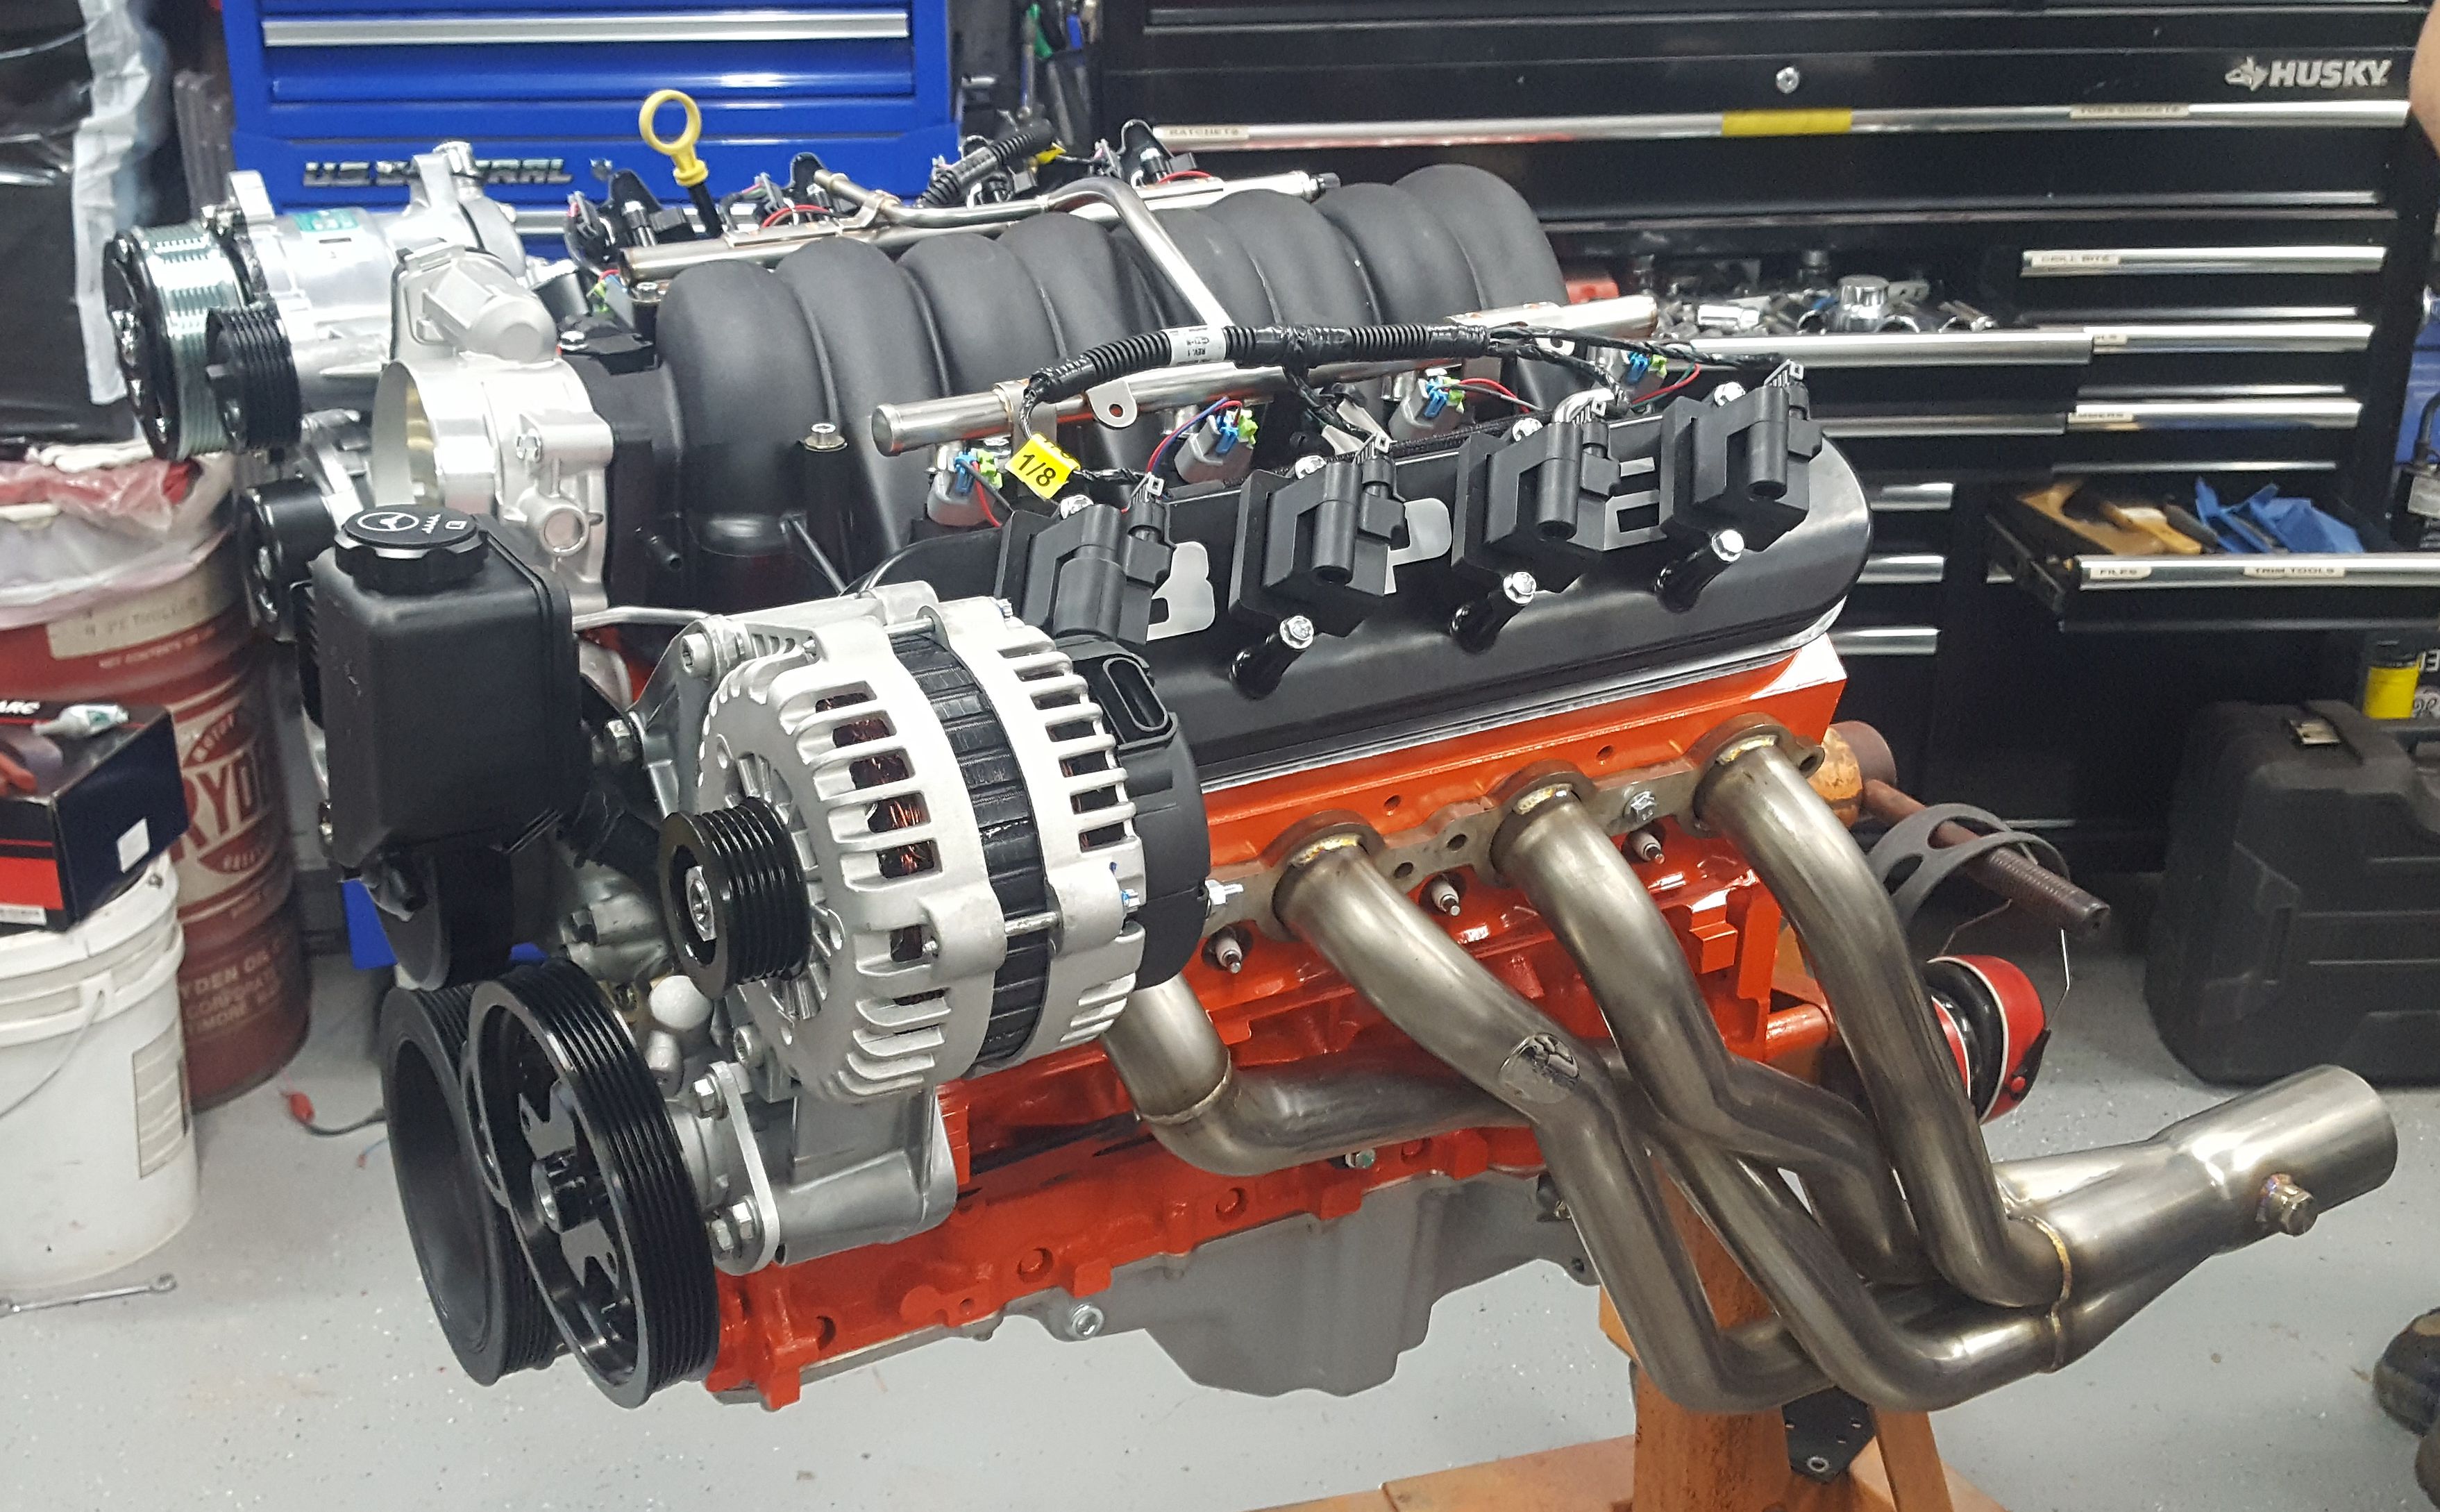
For an LS, it looks sharp.
|

The intake and coil packs were removed to reduce the chance of damage as we put the engine back into the bay.
|

The proud owner brought his wife over to see the progress. The engine looks very different than when she last saw the car.
|

Sometimes this is the only way to reach.
|

We had removed the headers to get the engine into the engine bay. Surprisingly, the headers slipped right into place without much effort and no modifications.
|

An overflow canister was installed for the radiator.
|
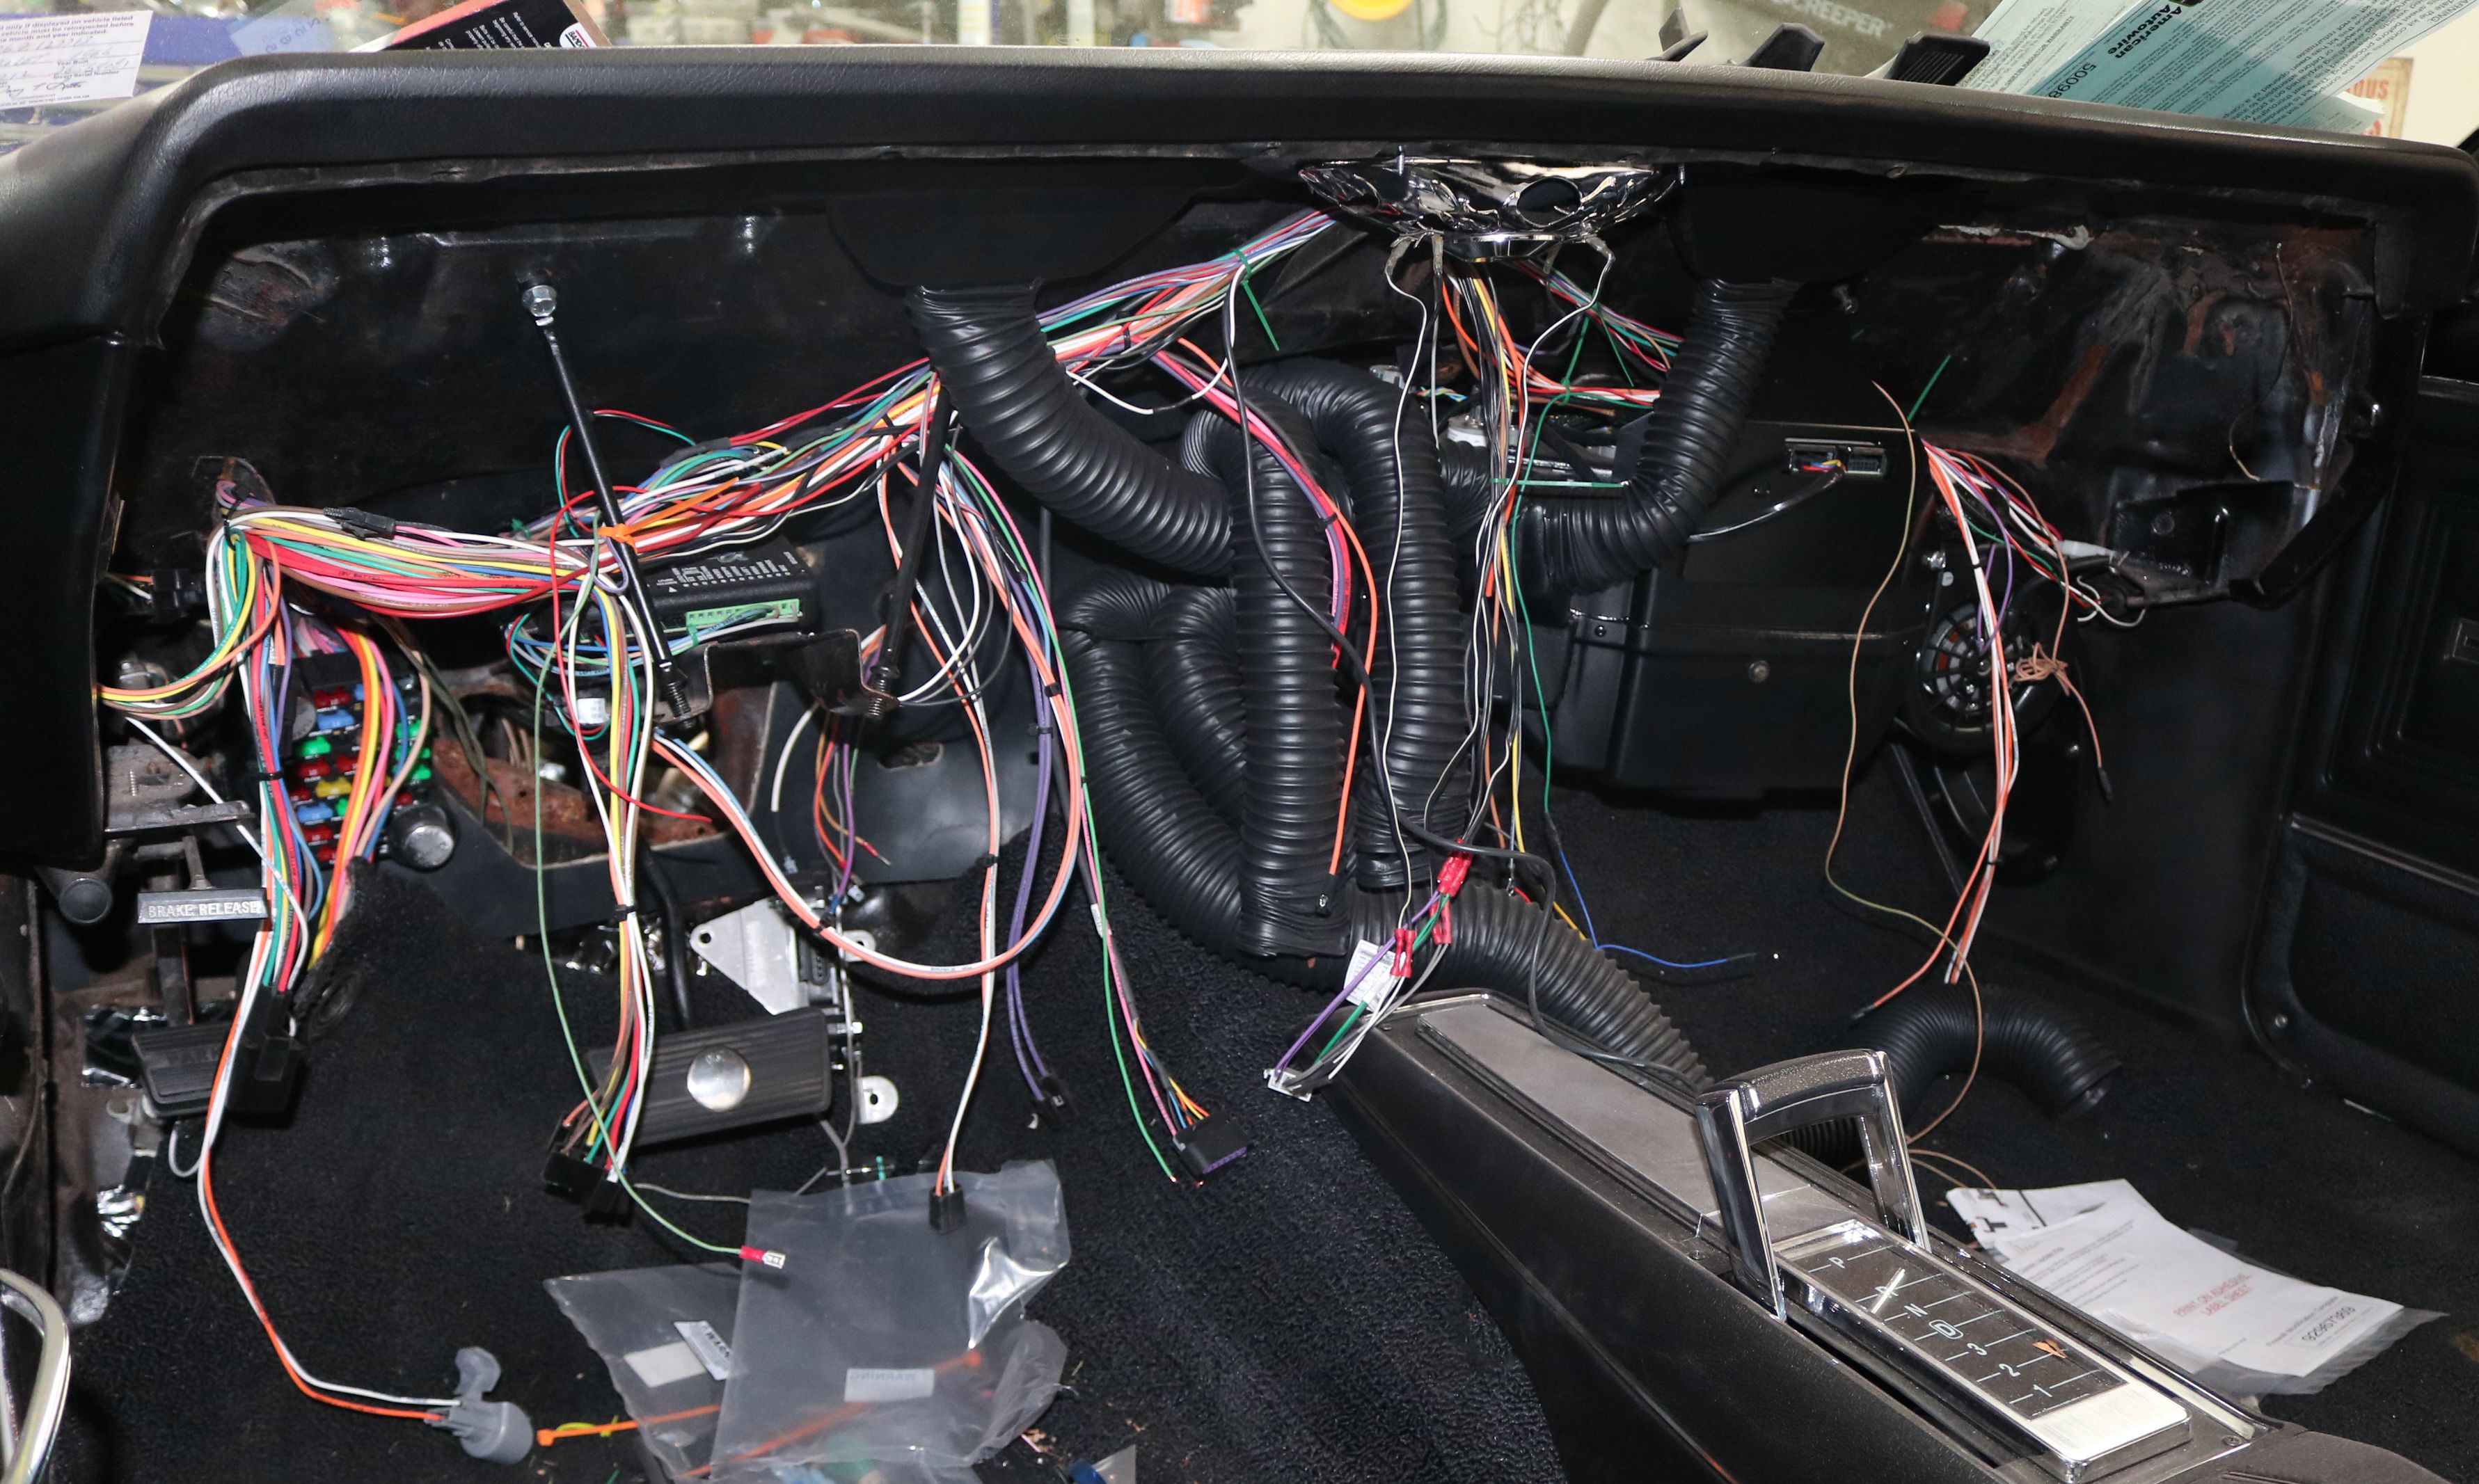
The new LS3 wiring harness had to be installed under the dash. It was easier to pull the dash rather than to work upside down for hours. While the dash is out this time, it will be worked on. More on that later.
|

The drive-by-wire throttle pedal. This isn't old-school anymore.
|

We mocked up the air intake tube, pushing it off to the side to collect cooler air.
|

After multiple weeks, we are ready to test-fire the LS3. The owner came over to hear her growl.
|
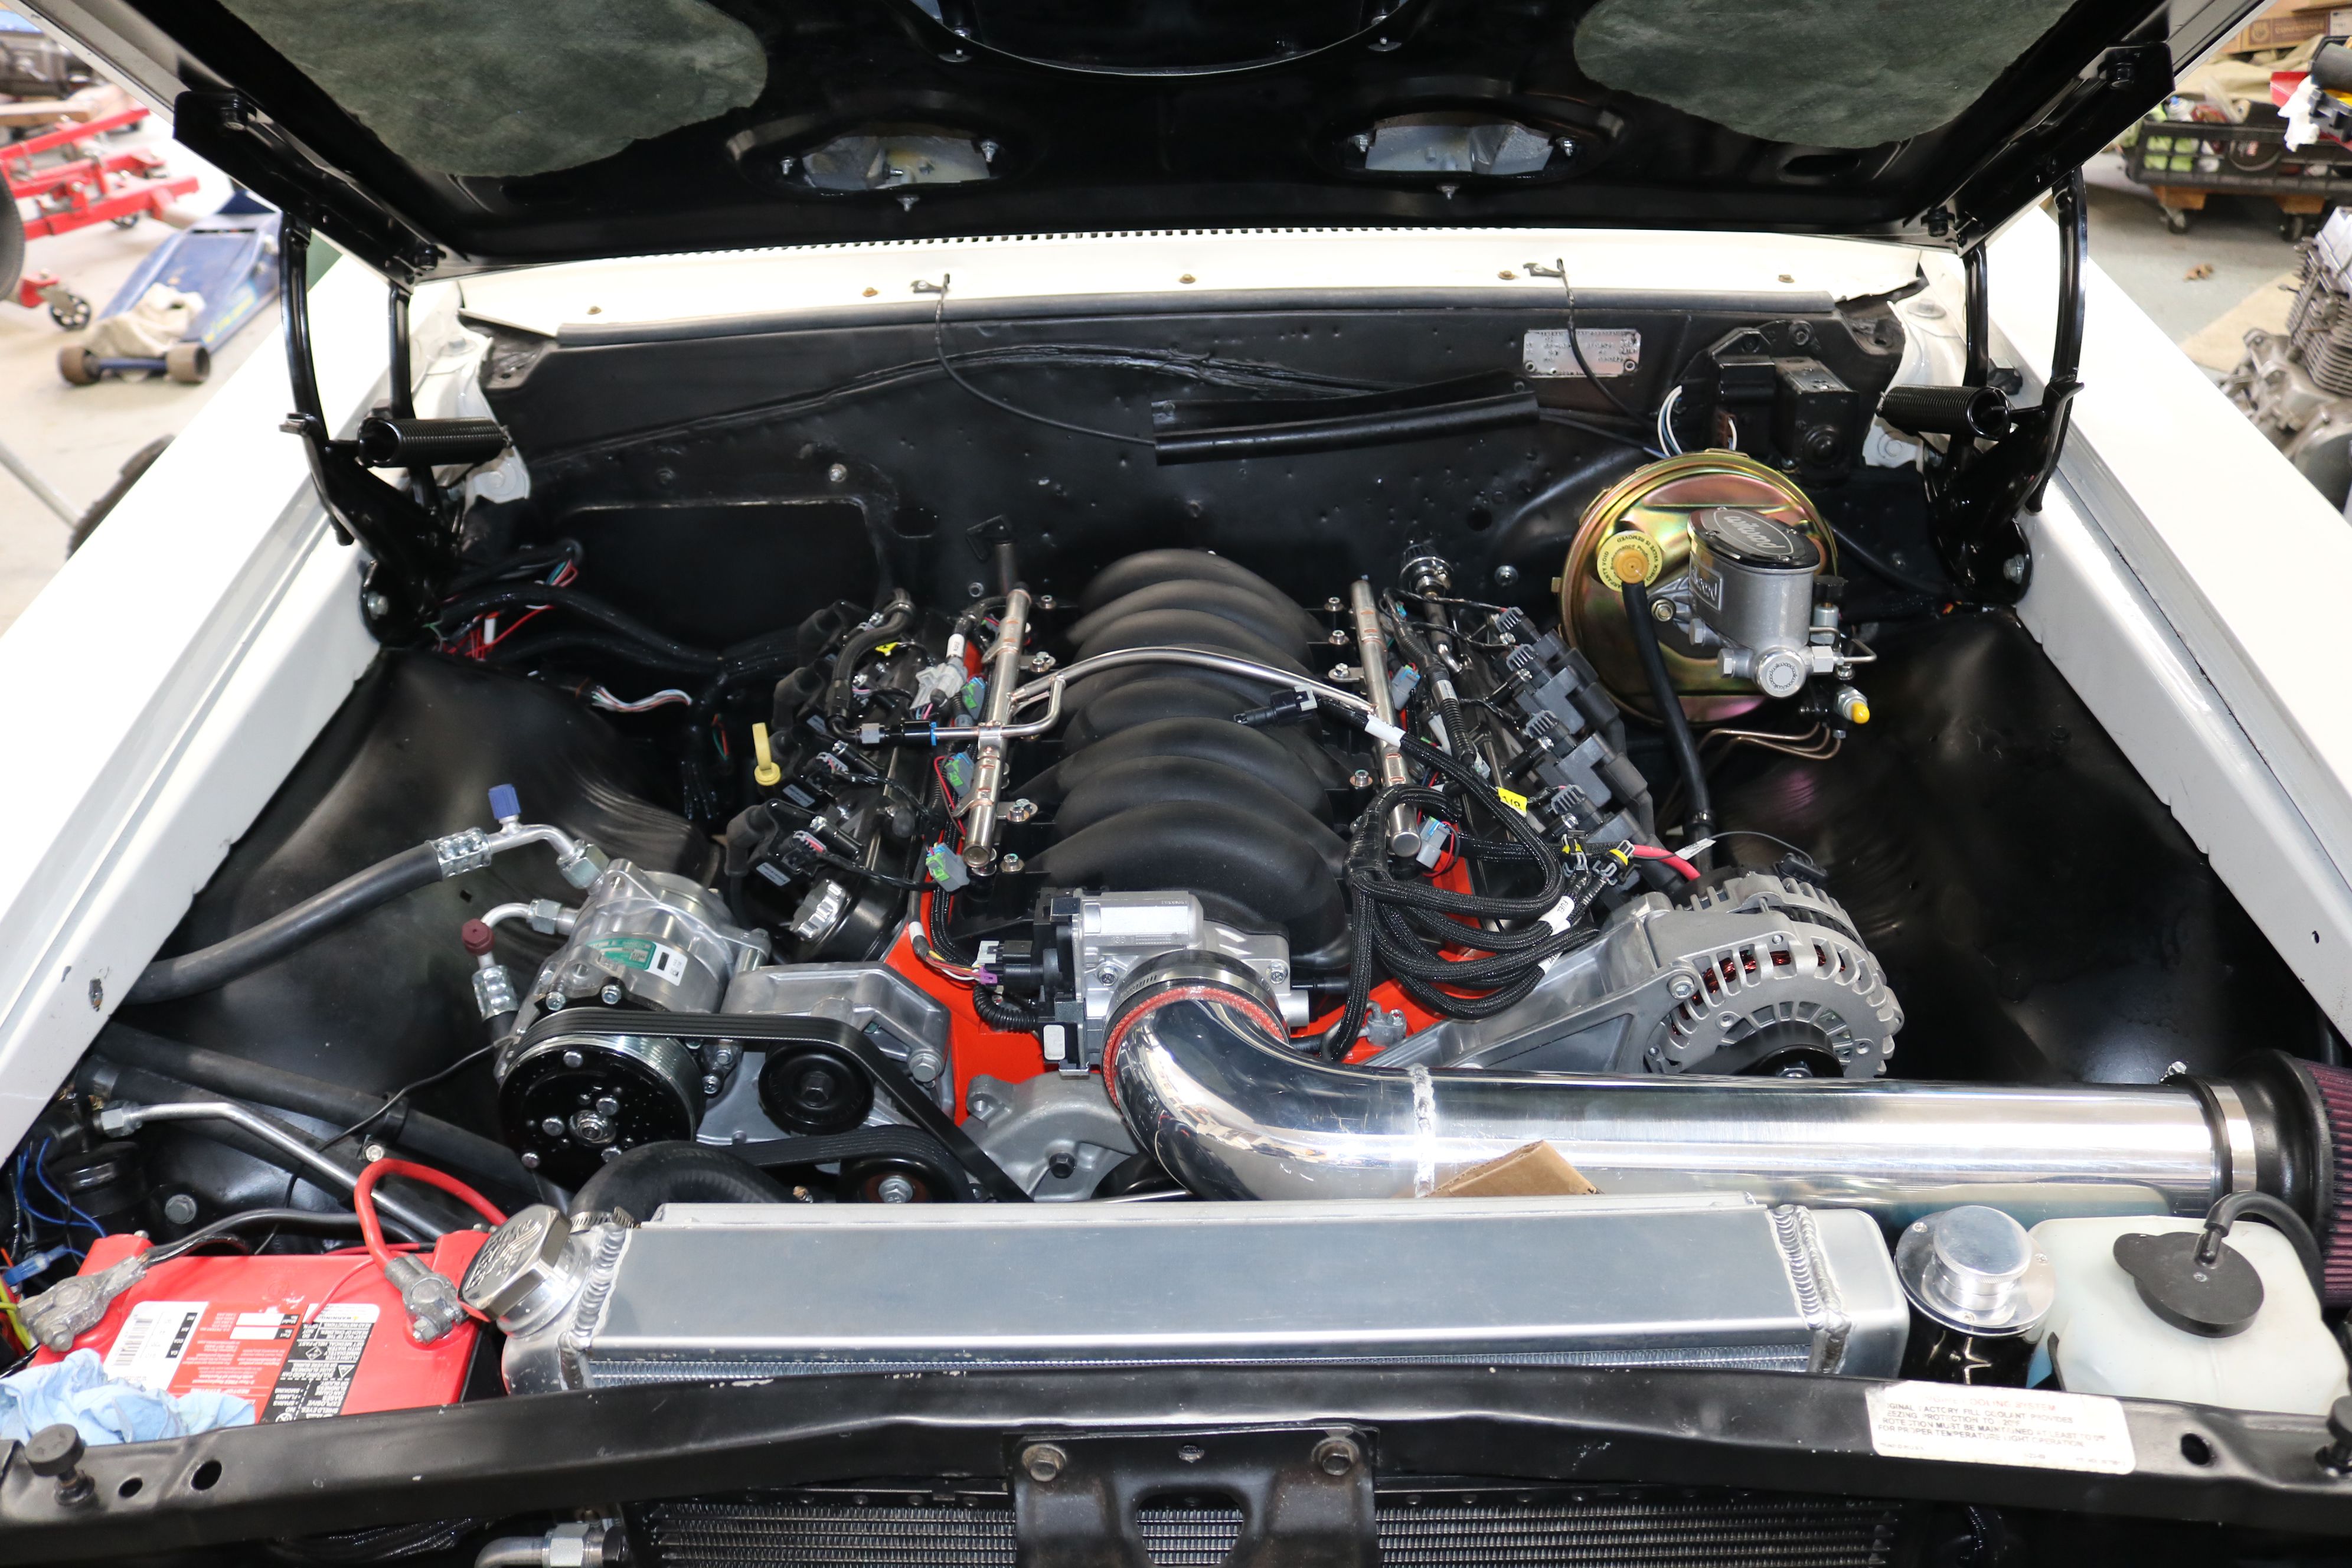
Not the cleanest look yet, but covers will be purchased eventually. And now this Chevelle has much more torque than before.
|

To fit everything, the power steering resevoir had to be relocated. There is no stock hose for this, so we had to fabricate a custom hose.
|
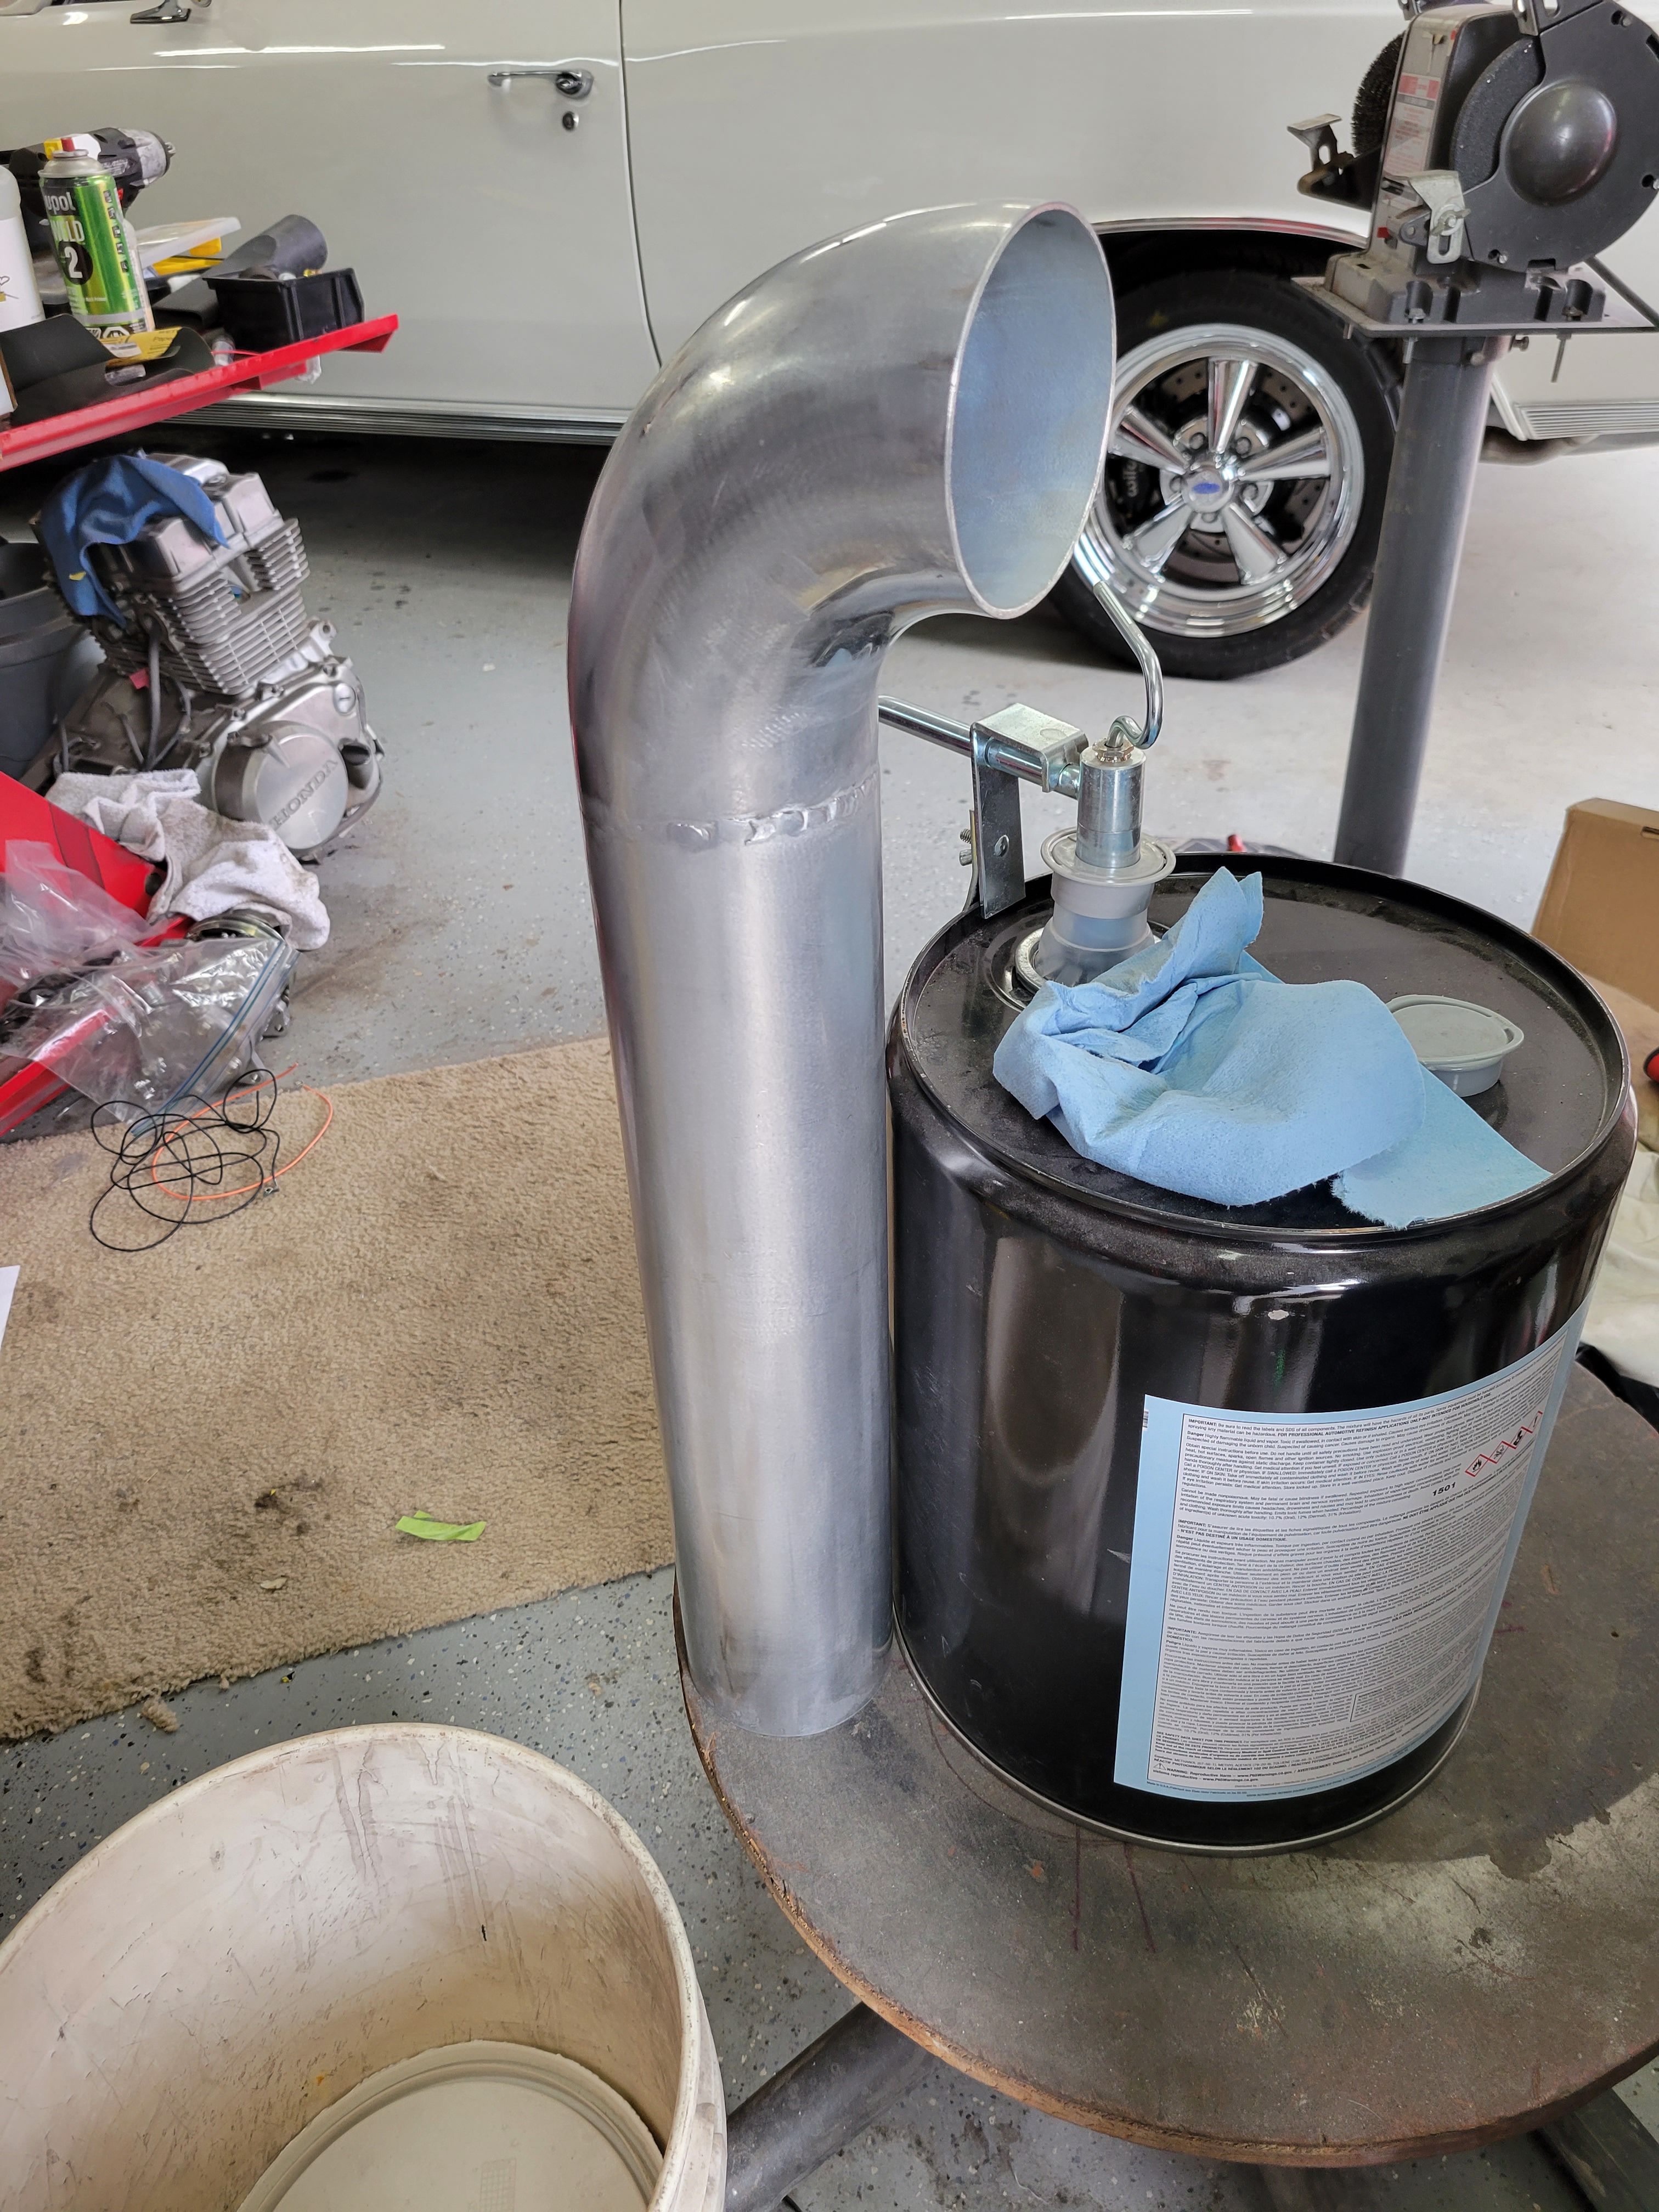
The fabricated stainless air tube had to have the bend welded to the straight pipe. Once the weld was ground down, the tube was sanded and readied for polishing.
|

Then the sensor was installed on the air tube. We probably should have done this before polishing.
|
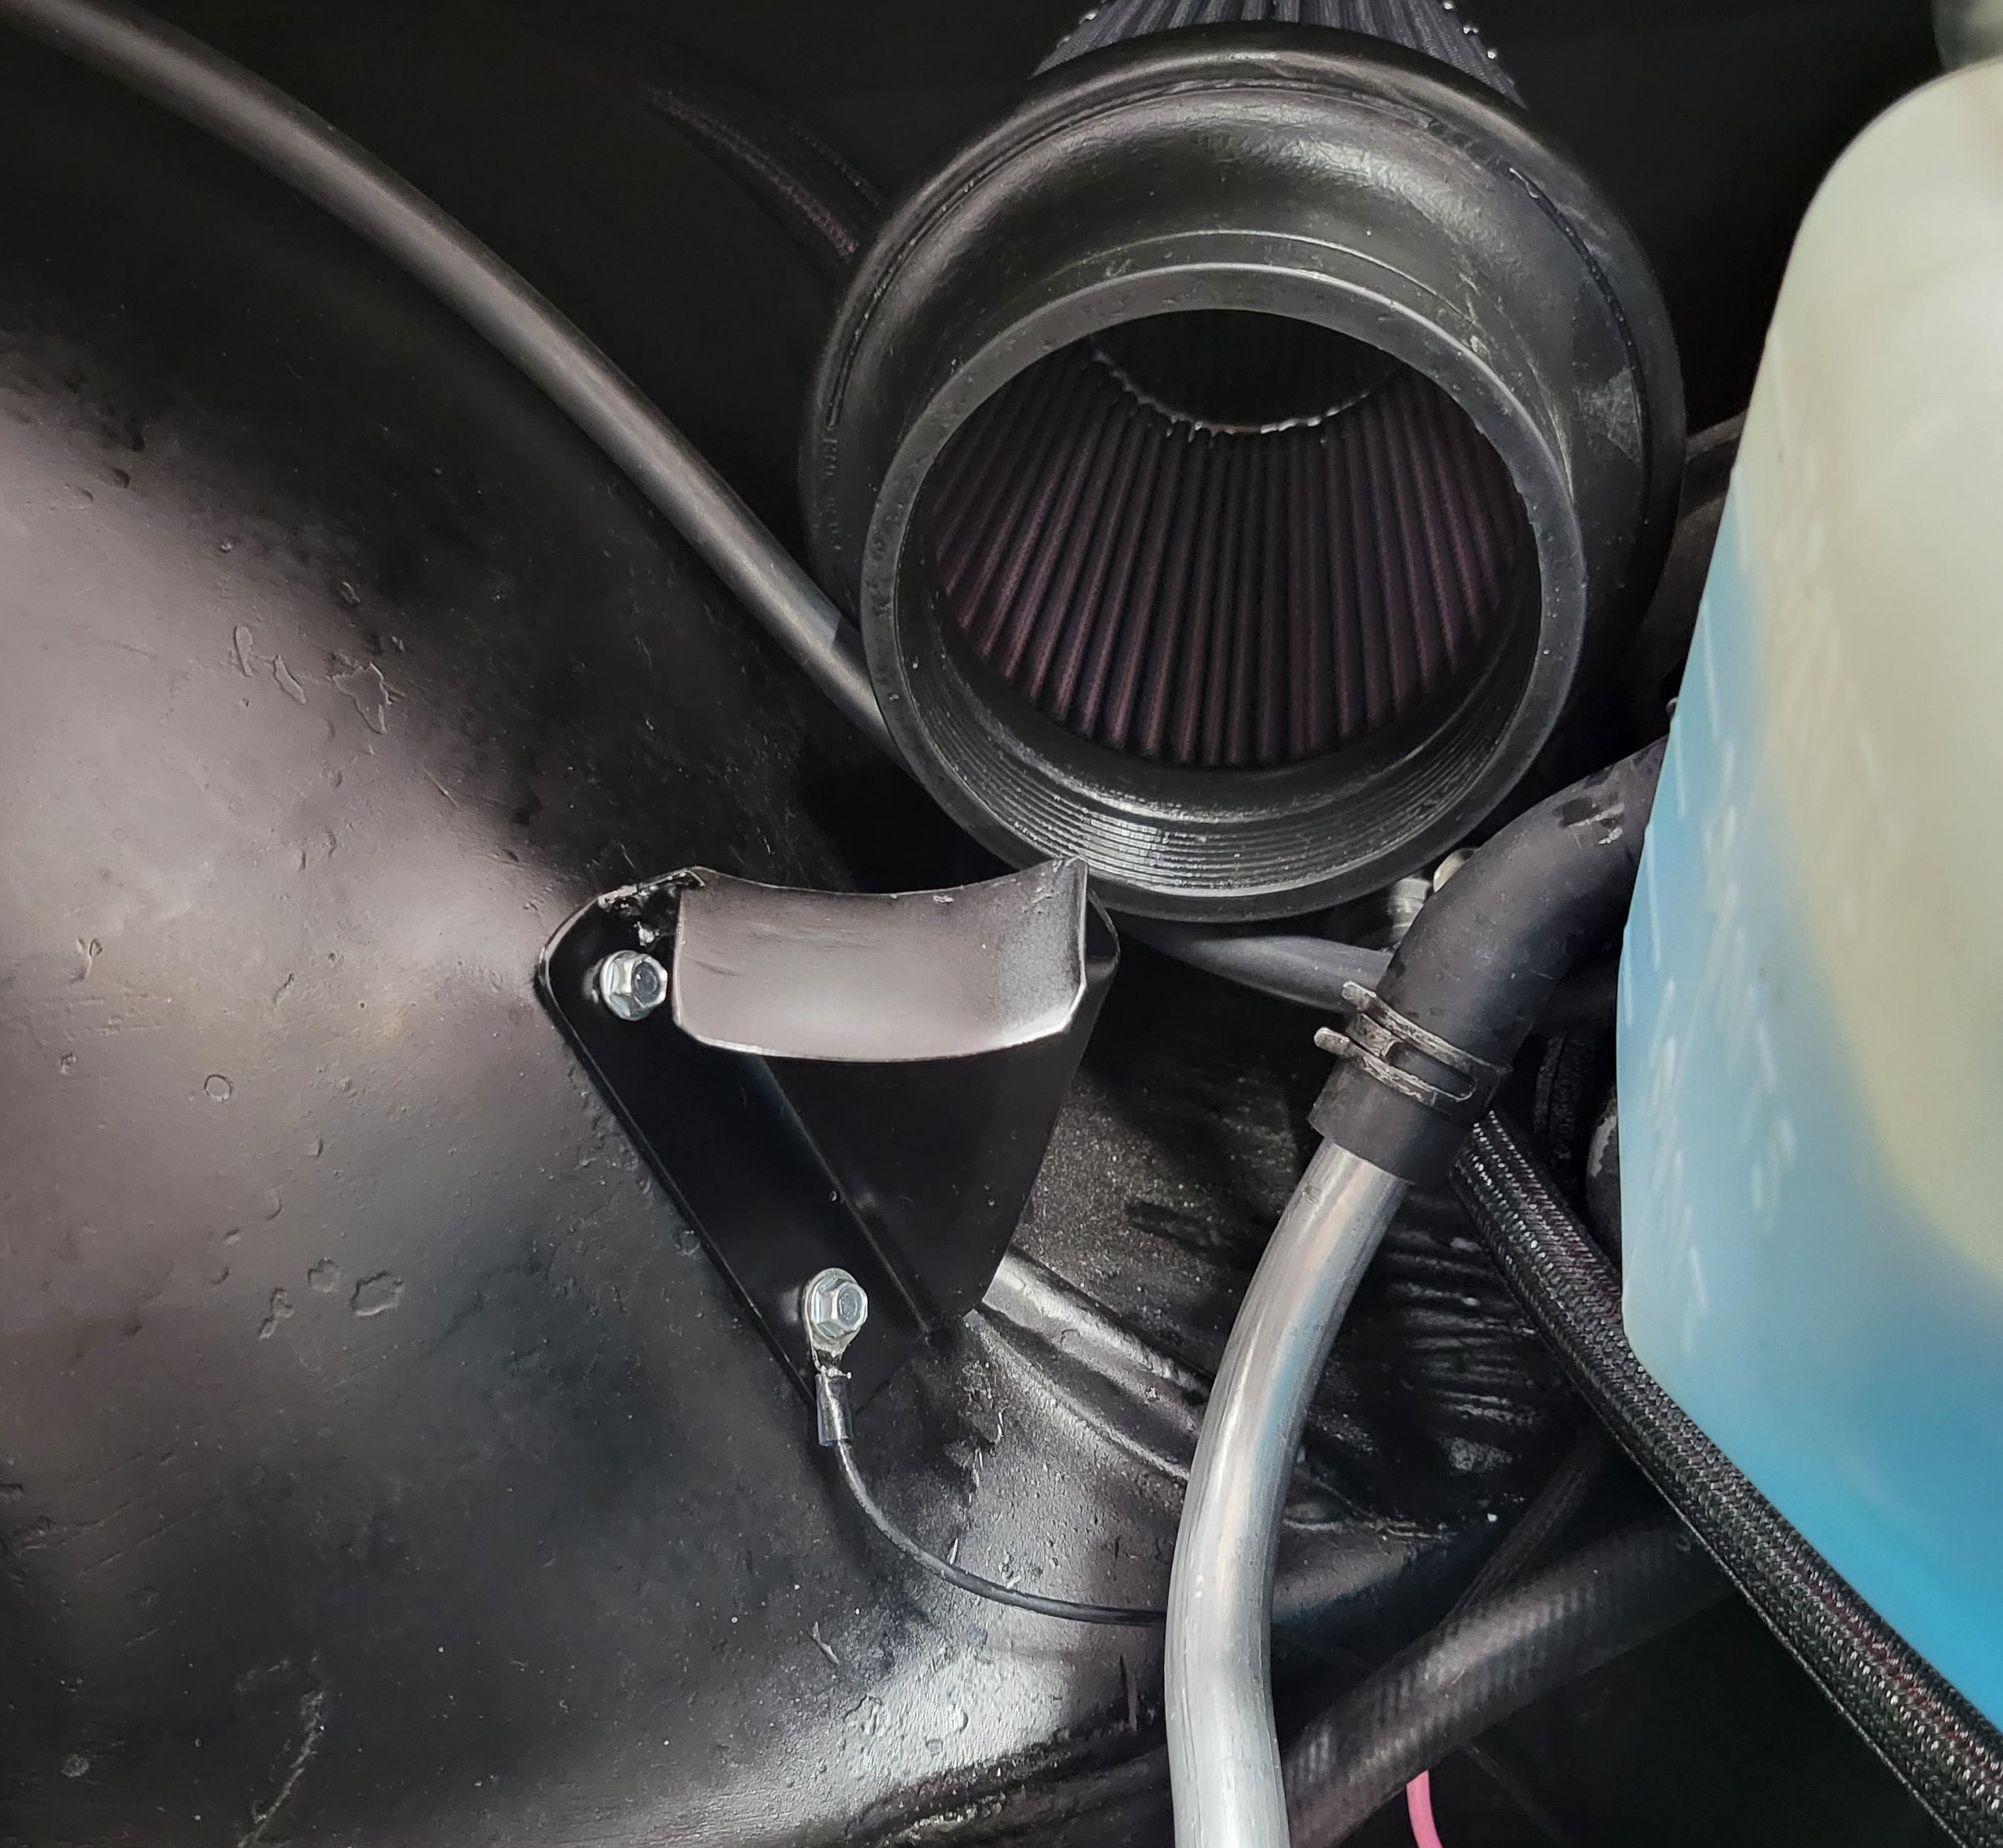
The fabricated air tube bracket.
|

Time for the first test drive. Again our friend came over to enjoy his car.
|

She definitely has a growl now but she still looks classy.
|
While we waited on parts for the LS, we tackled a few other problem areas on the Chevelle: worn out body mounts, rust in the trunk, the no-longer-needed tach hole in the dash, and worn out A arm bushings.
|

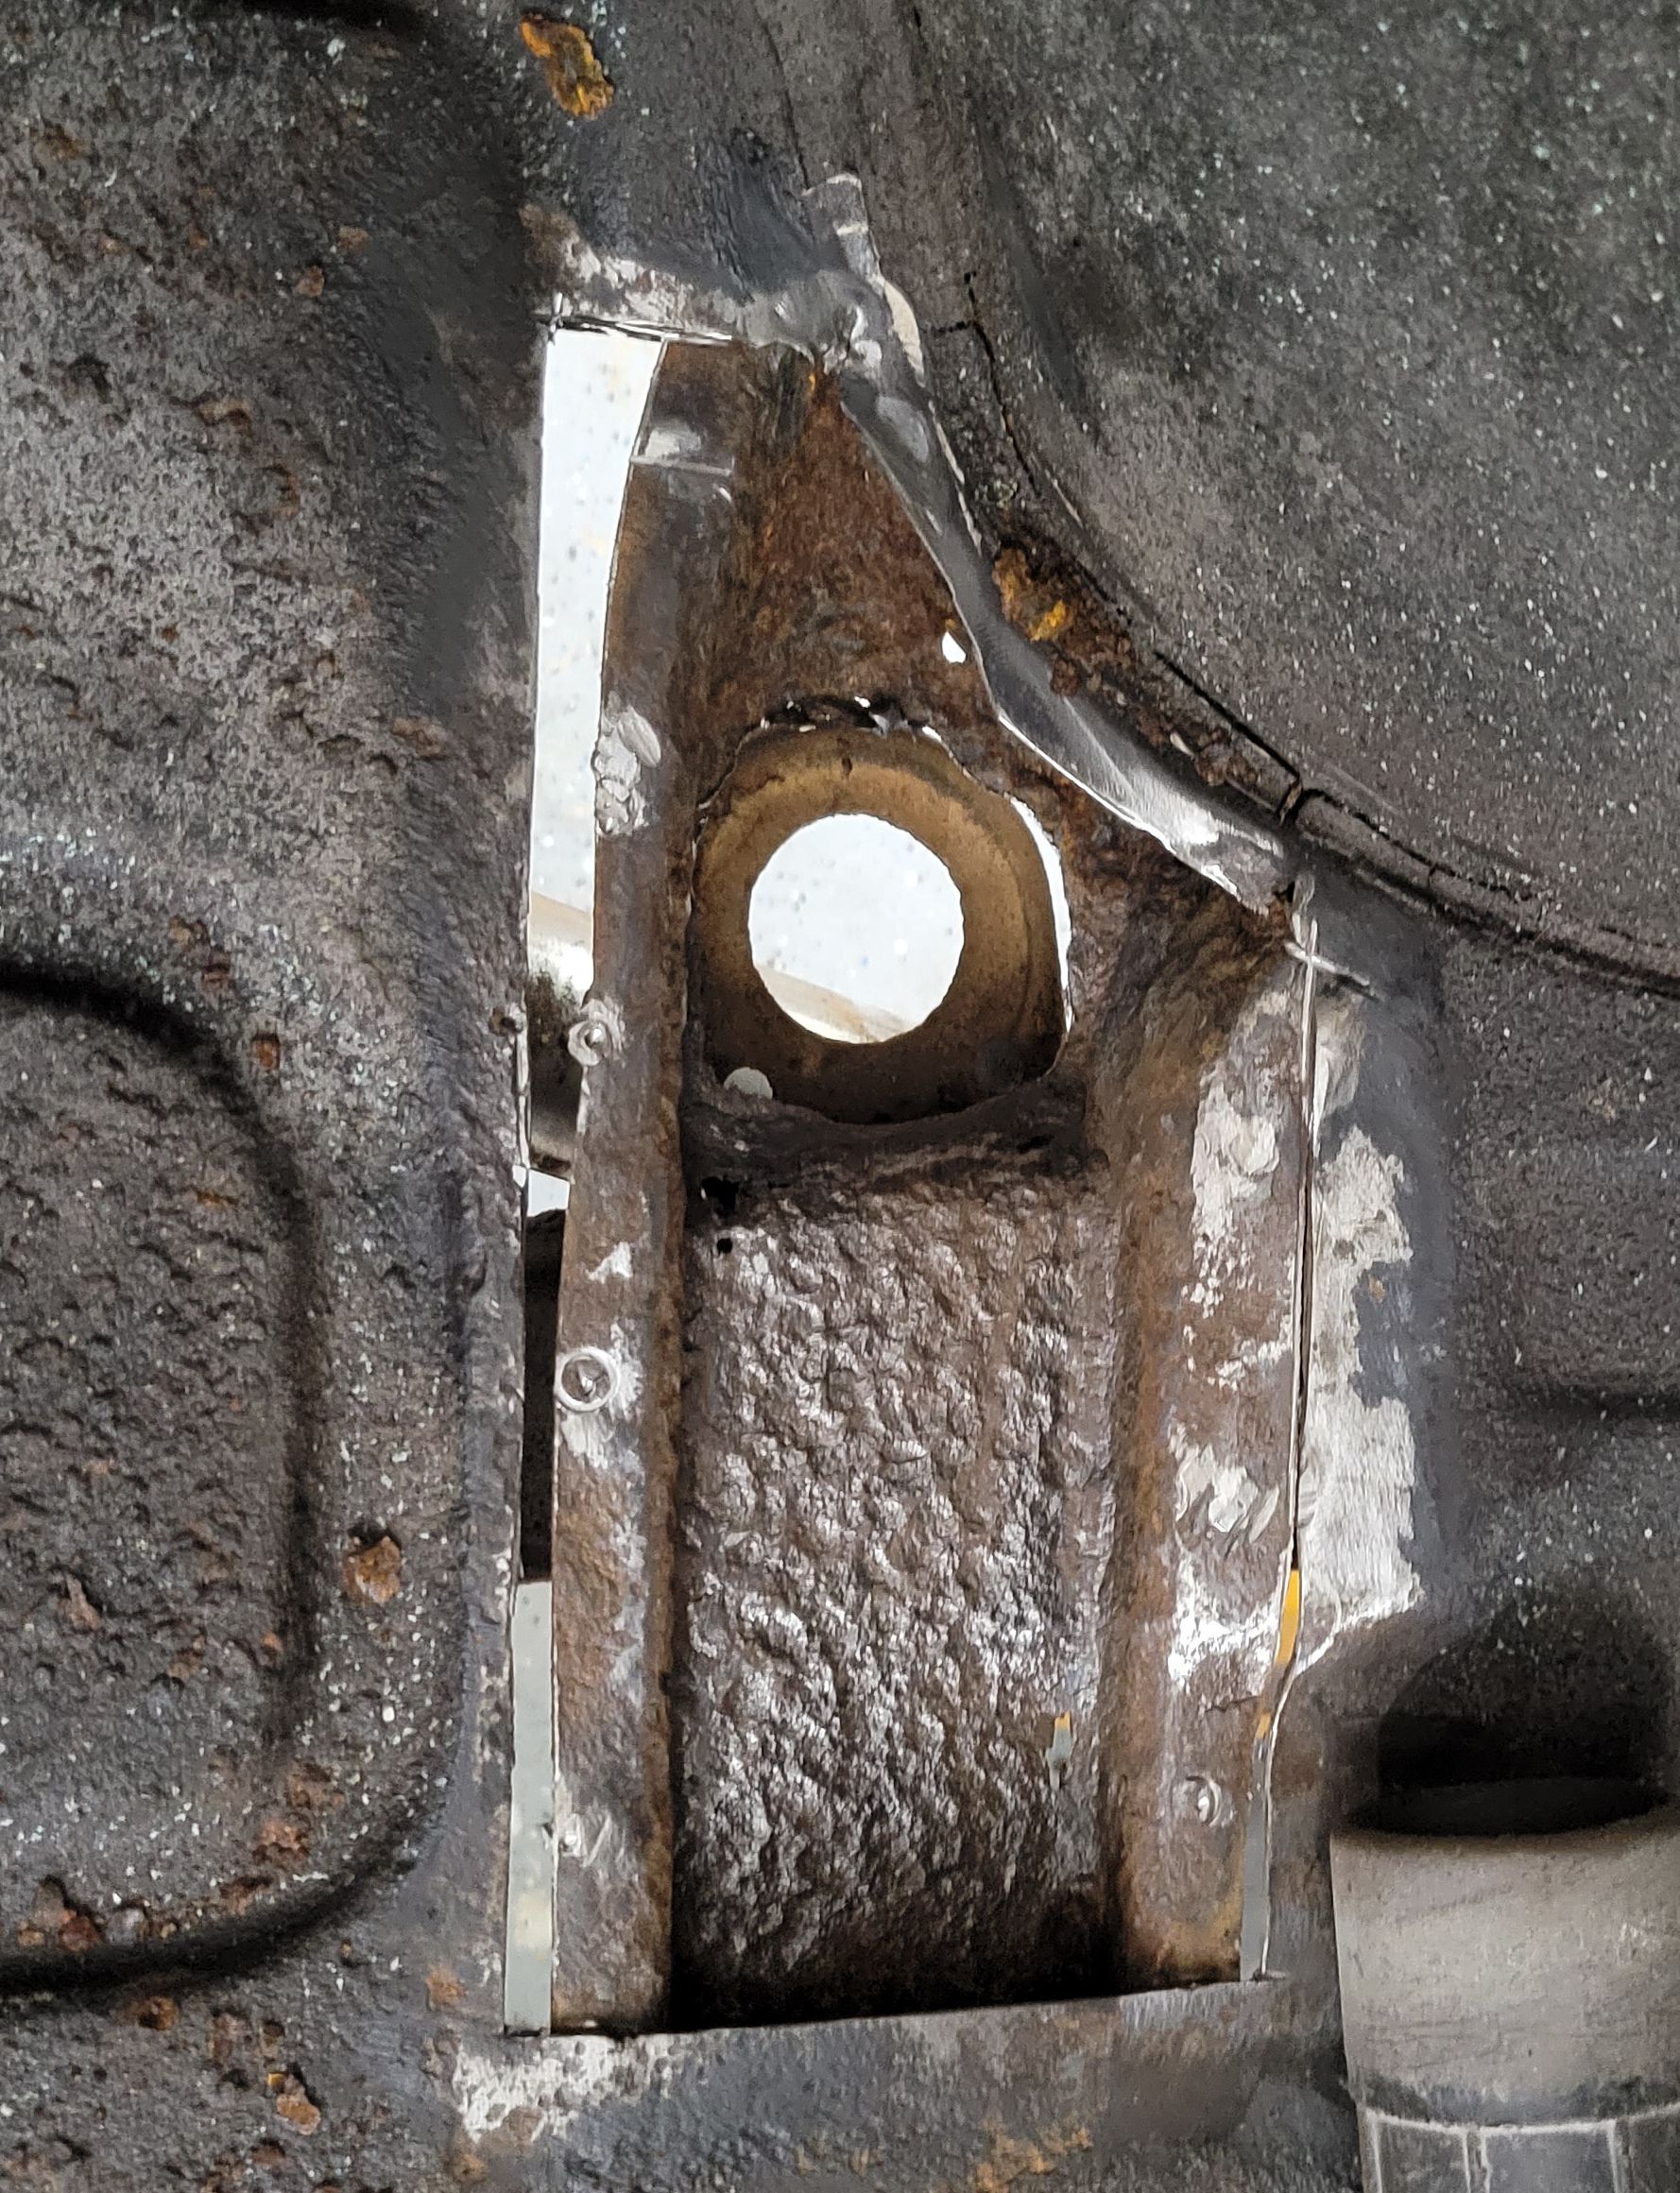
Time to tackle the body mounts. Some were actually missing. This one had to be reached by cutting a hole in the trunk floor. While there, we noticed rust on the seam. Seems we will be fixing that now, before it gets worse.
|

One of the body mount bolts. It is not supposed to have a shoulder. Rust has fused the capture nut for this bolt in place and eaten away the cage holding the nut in place, so the bolt head had to be cut off. The rest were about the same, except for the two that were completely missing.
|

Worn bushing and rusty bolts that were installed in the factory in 1966. Considering 55 years of exposure to the elements, these are in pretty good condition.
|
Once we removed the rusty metal from the trunk floor, we round a rusted brace that had to be cleaned up as well.
|

Both left and right braces were rusted out.
|

The braces were replaced and new sheet metal patched into the trunk floor.
|

The trunk floor was coated in POR15 to prevent futher rust.
|
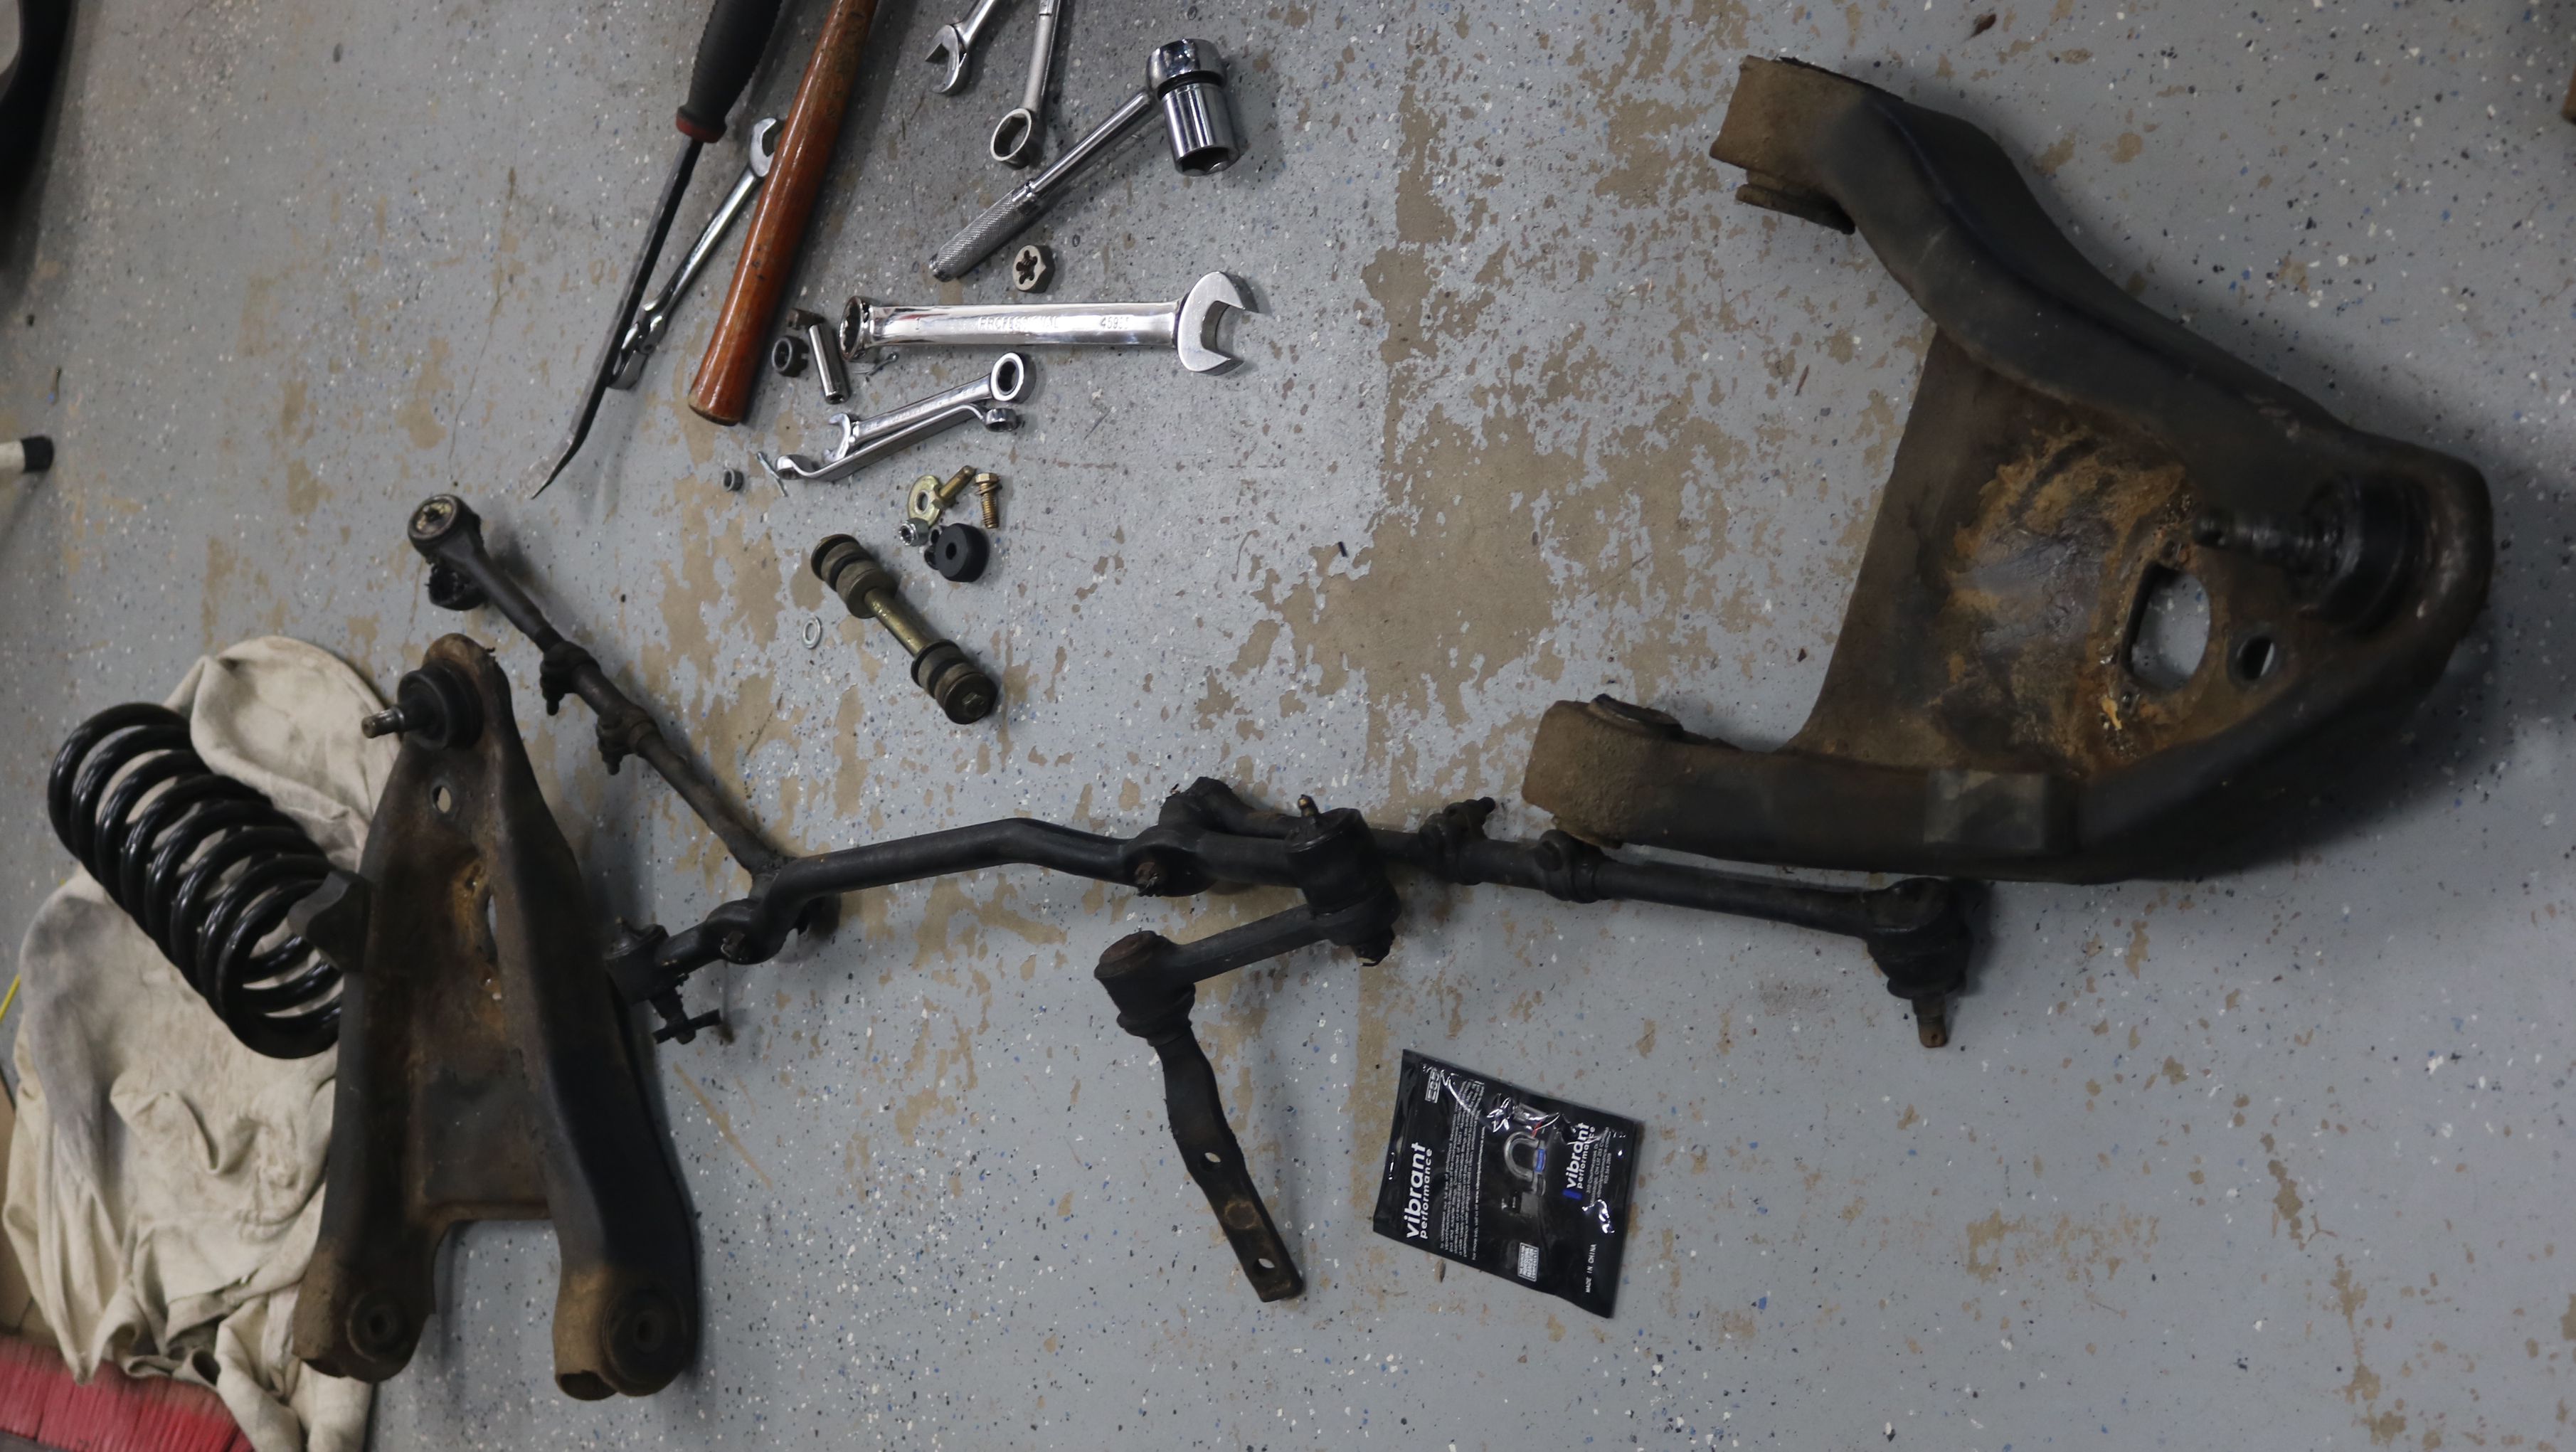
Our friend reported a problem with the steering so we checked and found worn out original A arm bushings These will be replaced.
|

The worn out A arm bushings.
|
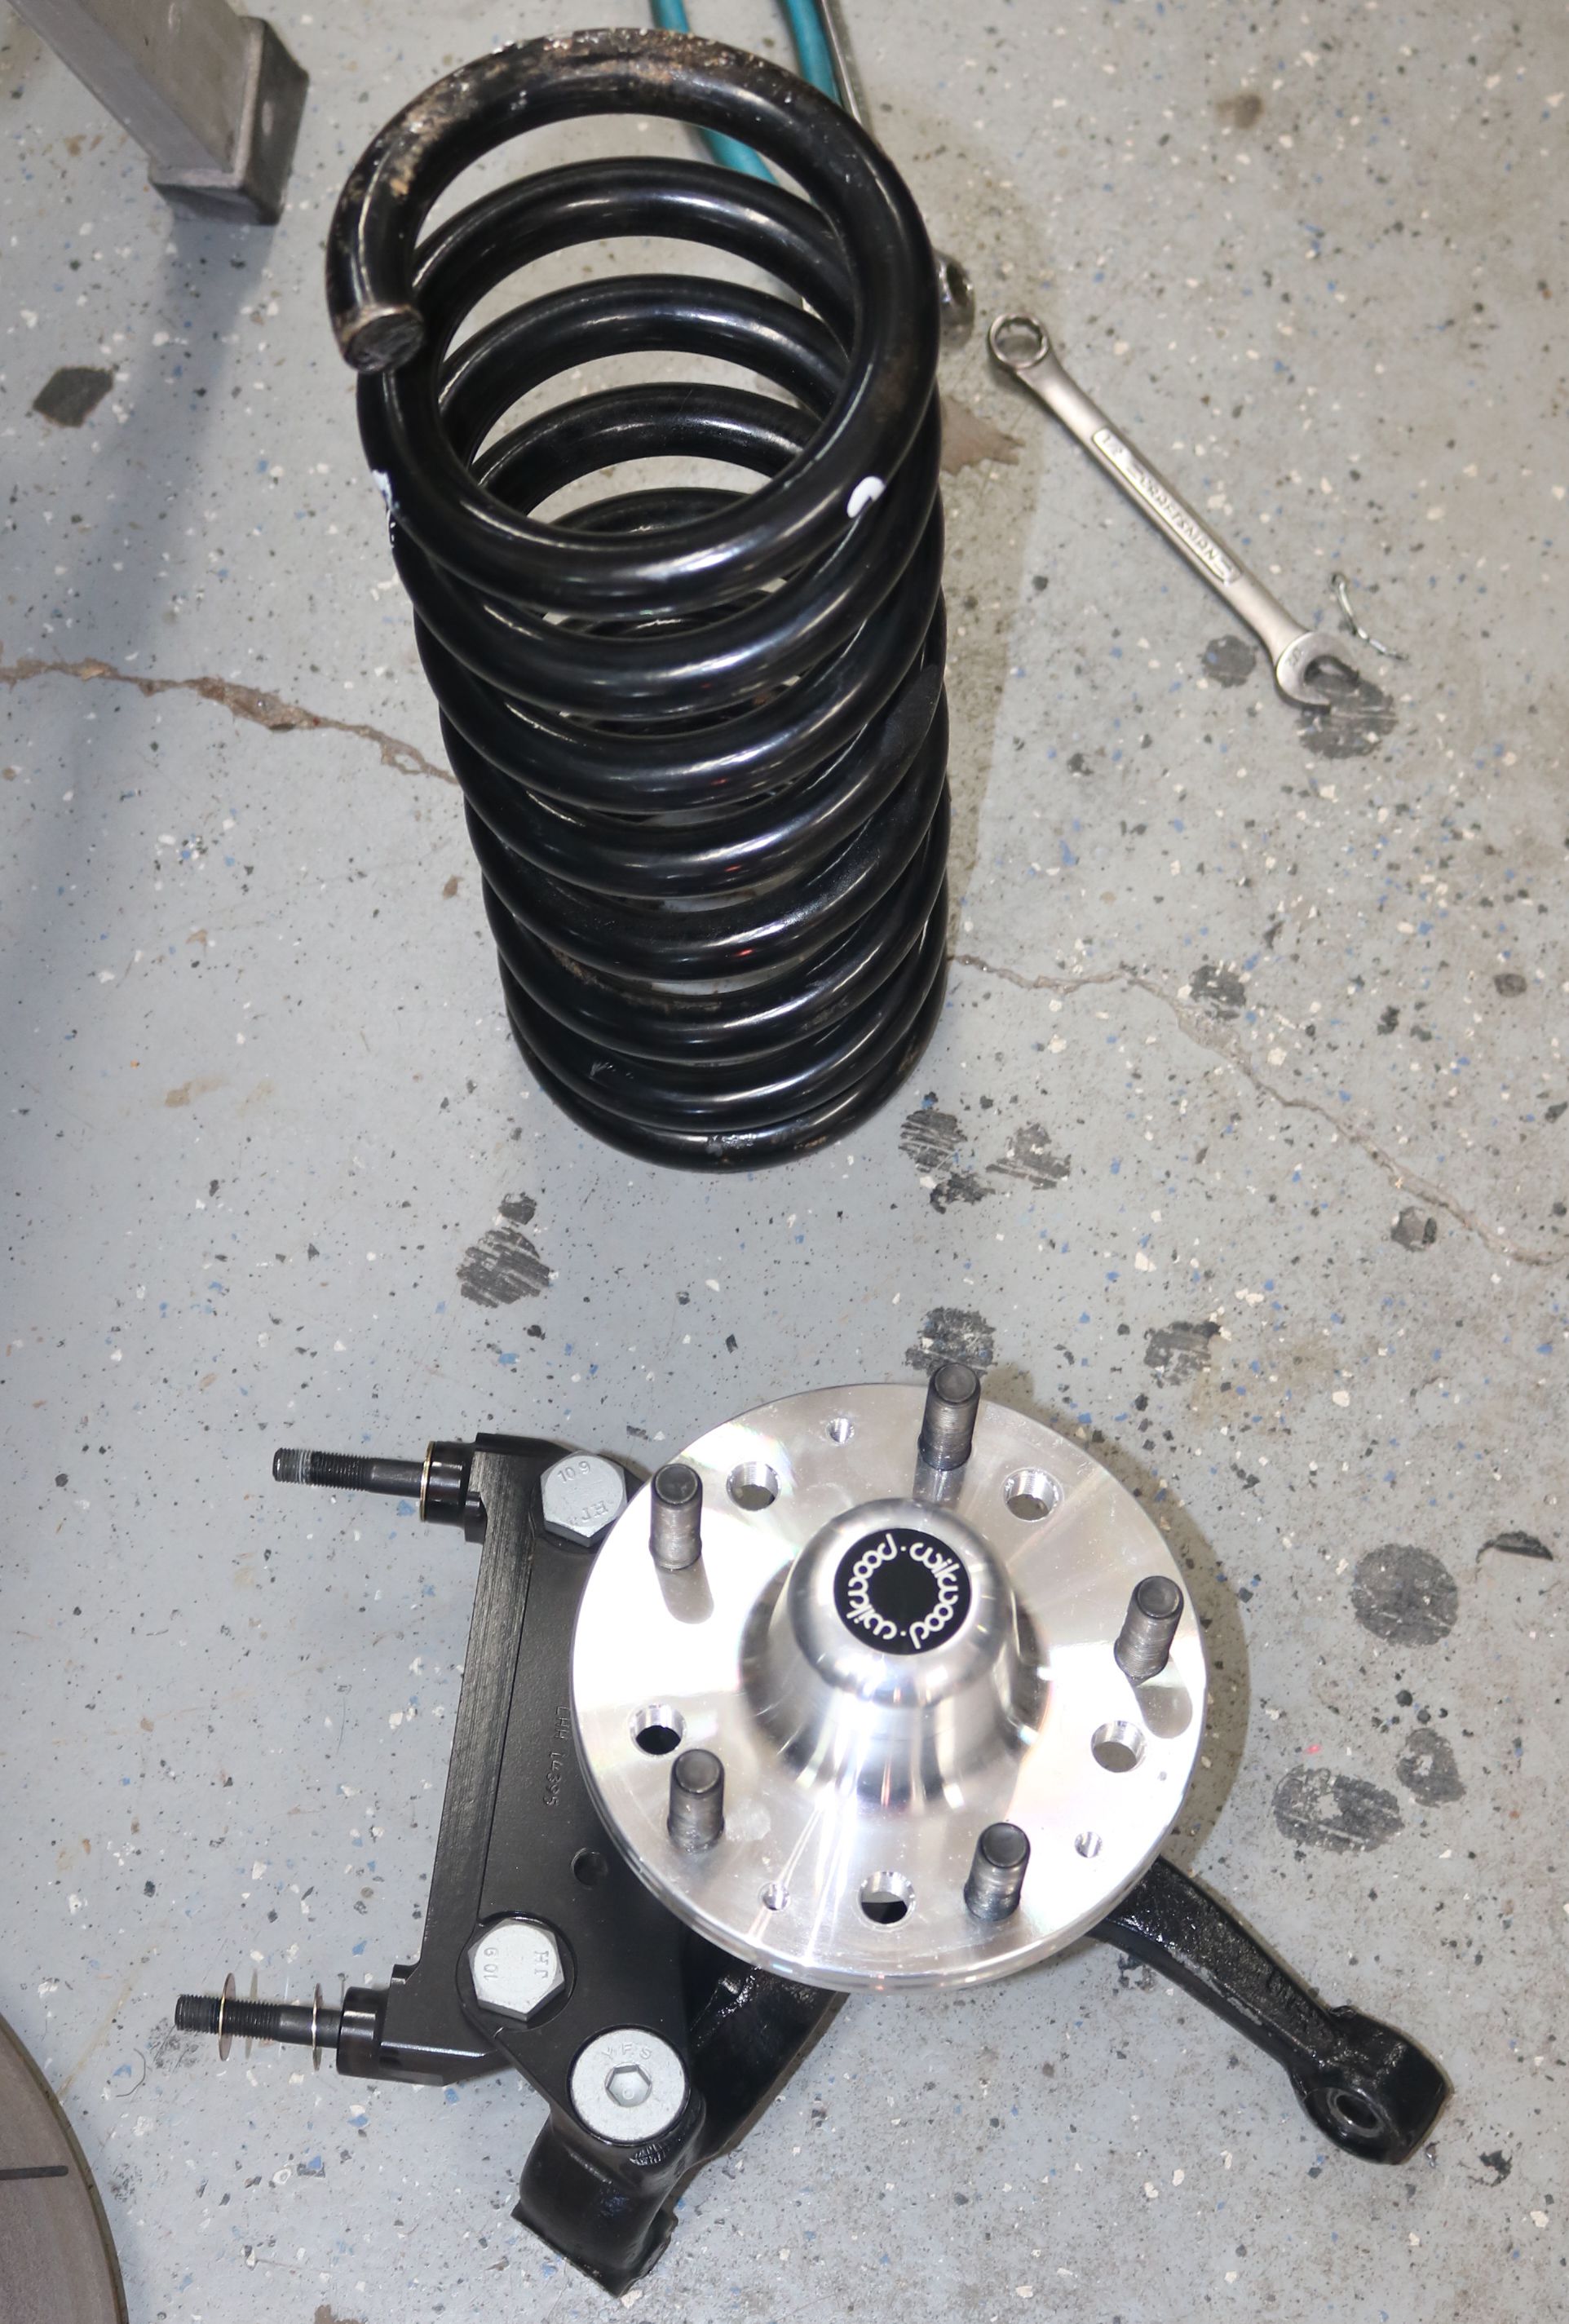
A new hub was purchased and installed.
|

The Wilwood 6 piston brakes were reinstalled on the rebuilt front steering. These will be sufficient to stop this high horsepowered beauty.
|


