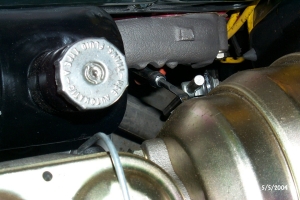
Clearance between original power steering and
new booster. Had to bend the power steering fill neck up slightly.
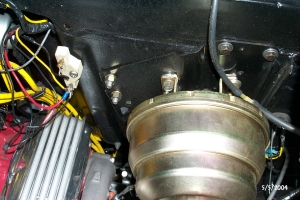
Clearance between exhaust manifold and new booster. The engine is a SBC
327.
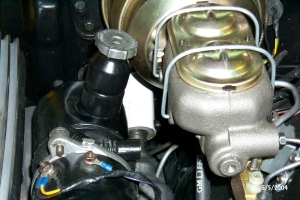
Another clearance picture.
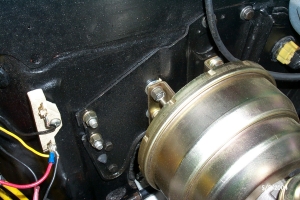
Original inside two studs are not used in the conversion
to hold the booster. The original outside two studs hold the booster
in addition to the two new drilled outside holes.
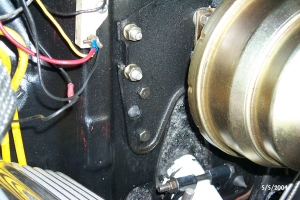
The original plate covers the extra large hole
in the firewall for the manual brakes.
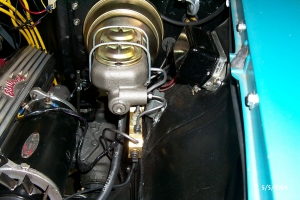
Clearance between new master cylinder and inner
fender. The proportioning valve is below the master cylinder. It's very
tight and small hands help, but it all clears.
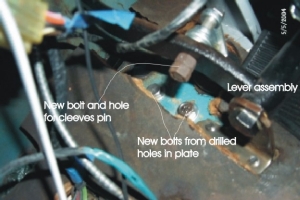
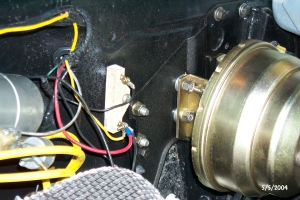
Inside the dash area. The two new outside bolts
are to the left (picture is rotated) to the left of the lever assembly
(black bar in picture). The hole in the lever assembly and the bolt were
added during the conversion.
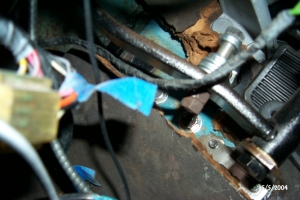
Different angle of the added bolt in the lever
assembly.
New booster and original Treadle Vac plate.
To do this, remove the bracket from the original Treadle Vac plate. You will have to drill out the original spot welds.
Make a cardboard template of the firewall where the original master cylinder was bolted on (4 studs) and the larger hole. On the plate, shift the template towards the fender side so that the inside holes lining up with the outside holes on the plate. Use the template to mark and drill two new holes on the fender side of the plate for the outside studs. Also, drill a pilot hole for the larger hole. I used a hole saw to drill that hole once the plate was mounted to the firewall again.
Now mount the plate to the firewall and drill out the new outside stud holes and the larger hole. You may also need to drill out some of the other original Treadle Vac mounting holes that the plate has but your firewall does not. Note: the dimples in your firewall should line up with the other holes in the plate.
The bracket from the booster uses the two outside original studs and the bolts that will go through the new holes that you just drilled. I used Grade 8 bolts.
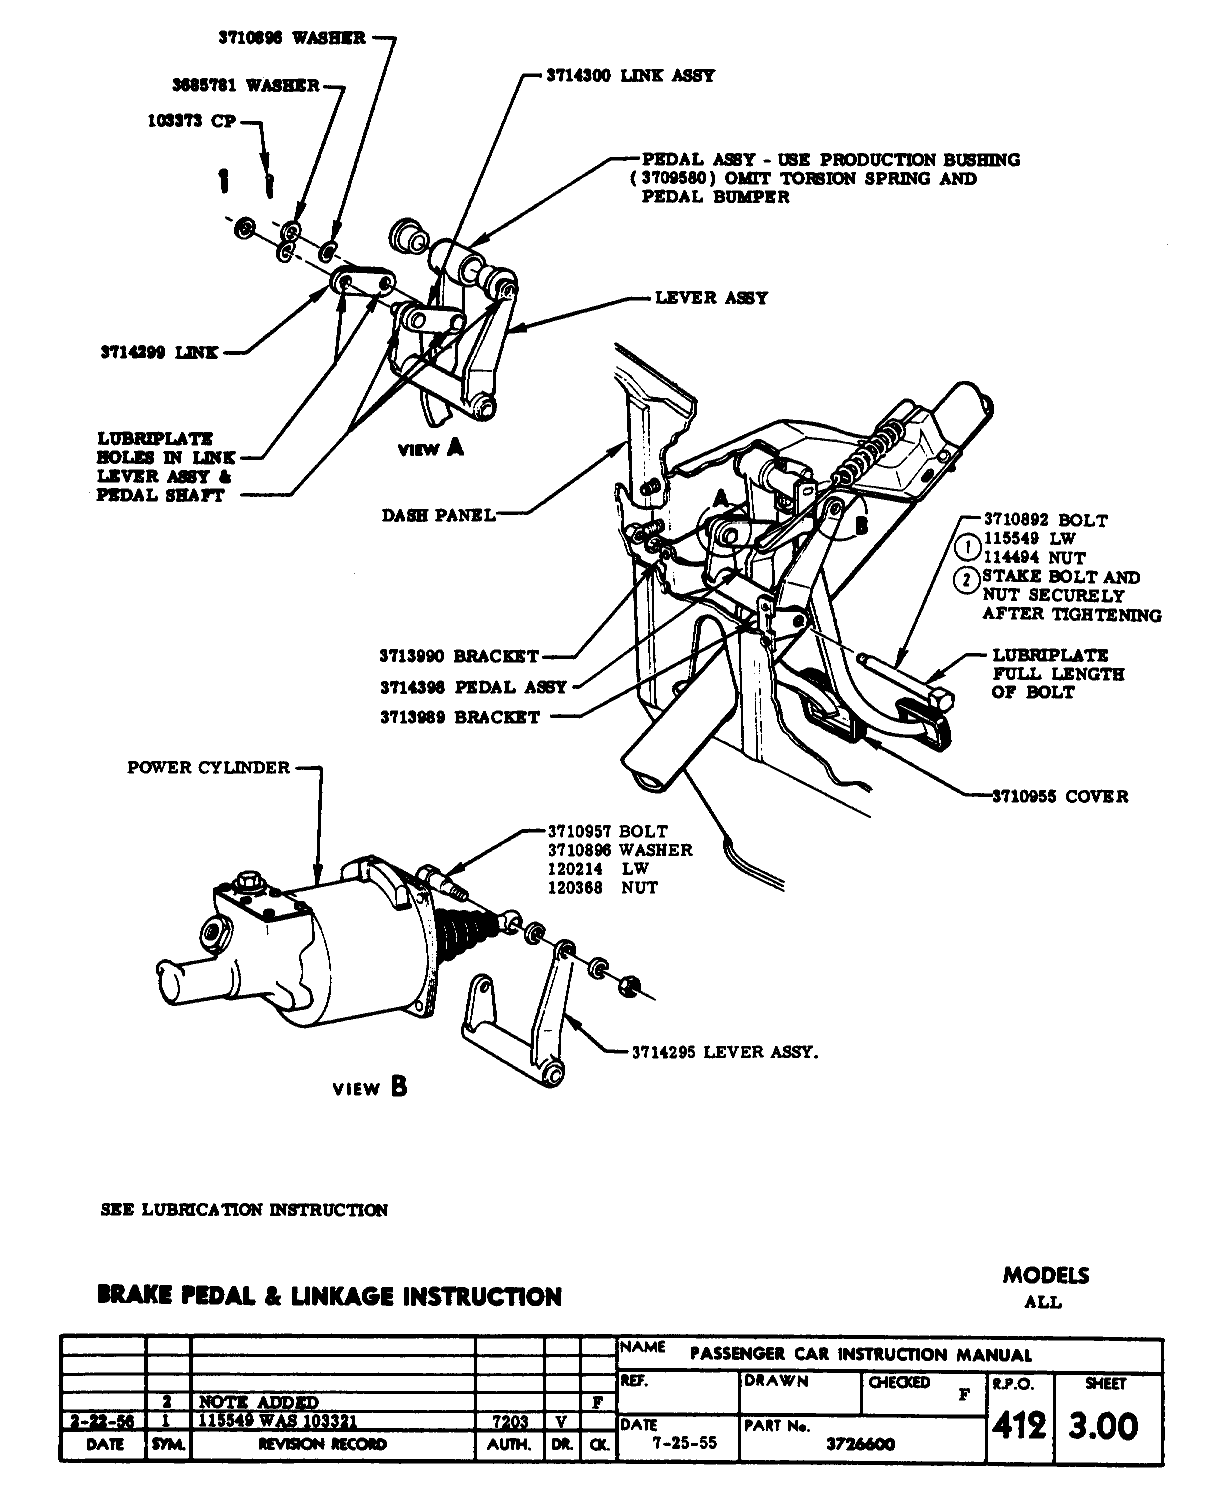
The original hole for the cleeves pin cannot be used. Look at the lever assembly picture. To locate the spot for the cleeves pin, measure the shorter bar (spot marked 'A') and drill the bar marked as Lever Assembly (spot marked 'B') at the same length (creating a new spot 'C'). I drilled and tapped the hole and used a nut on each side of the bar with washers to adjust spacing. I could tighten the bolt to adjust the "play", and use the nuts to hold everything tight once set. You need a bolt with a shoulder so that the cleeves pin rests on the smooth shoulder area. Note: I think the picture indicates a Treadle Vac with a clutch.
Don't forget to seal up the original Treadle Vac large hole or the original large manual brake hole.